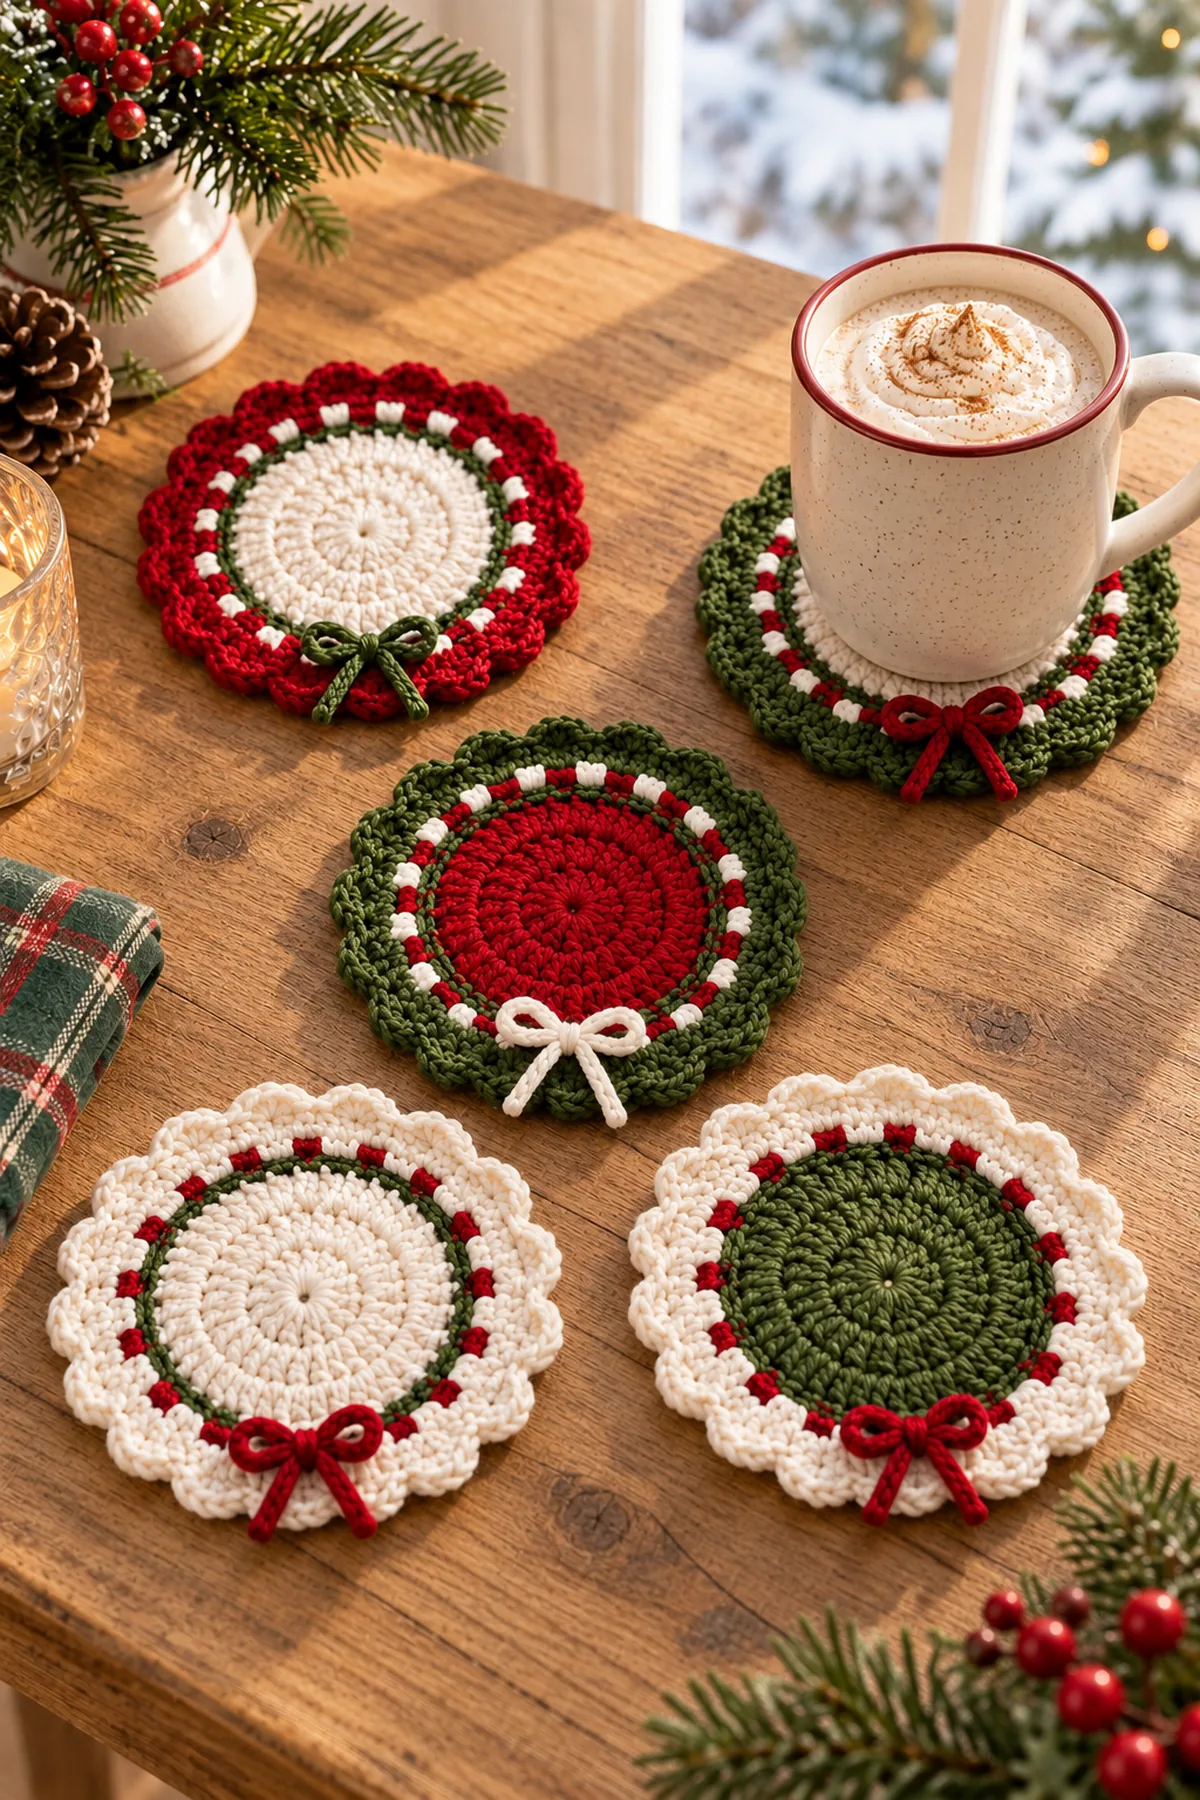
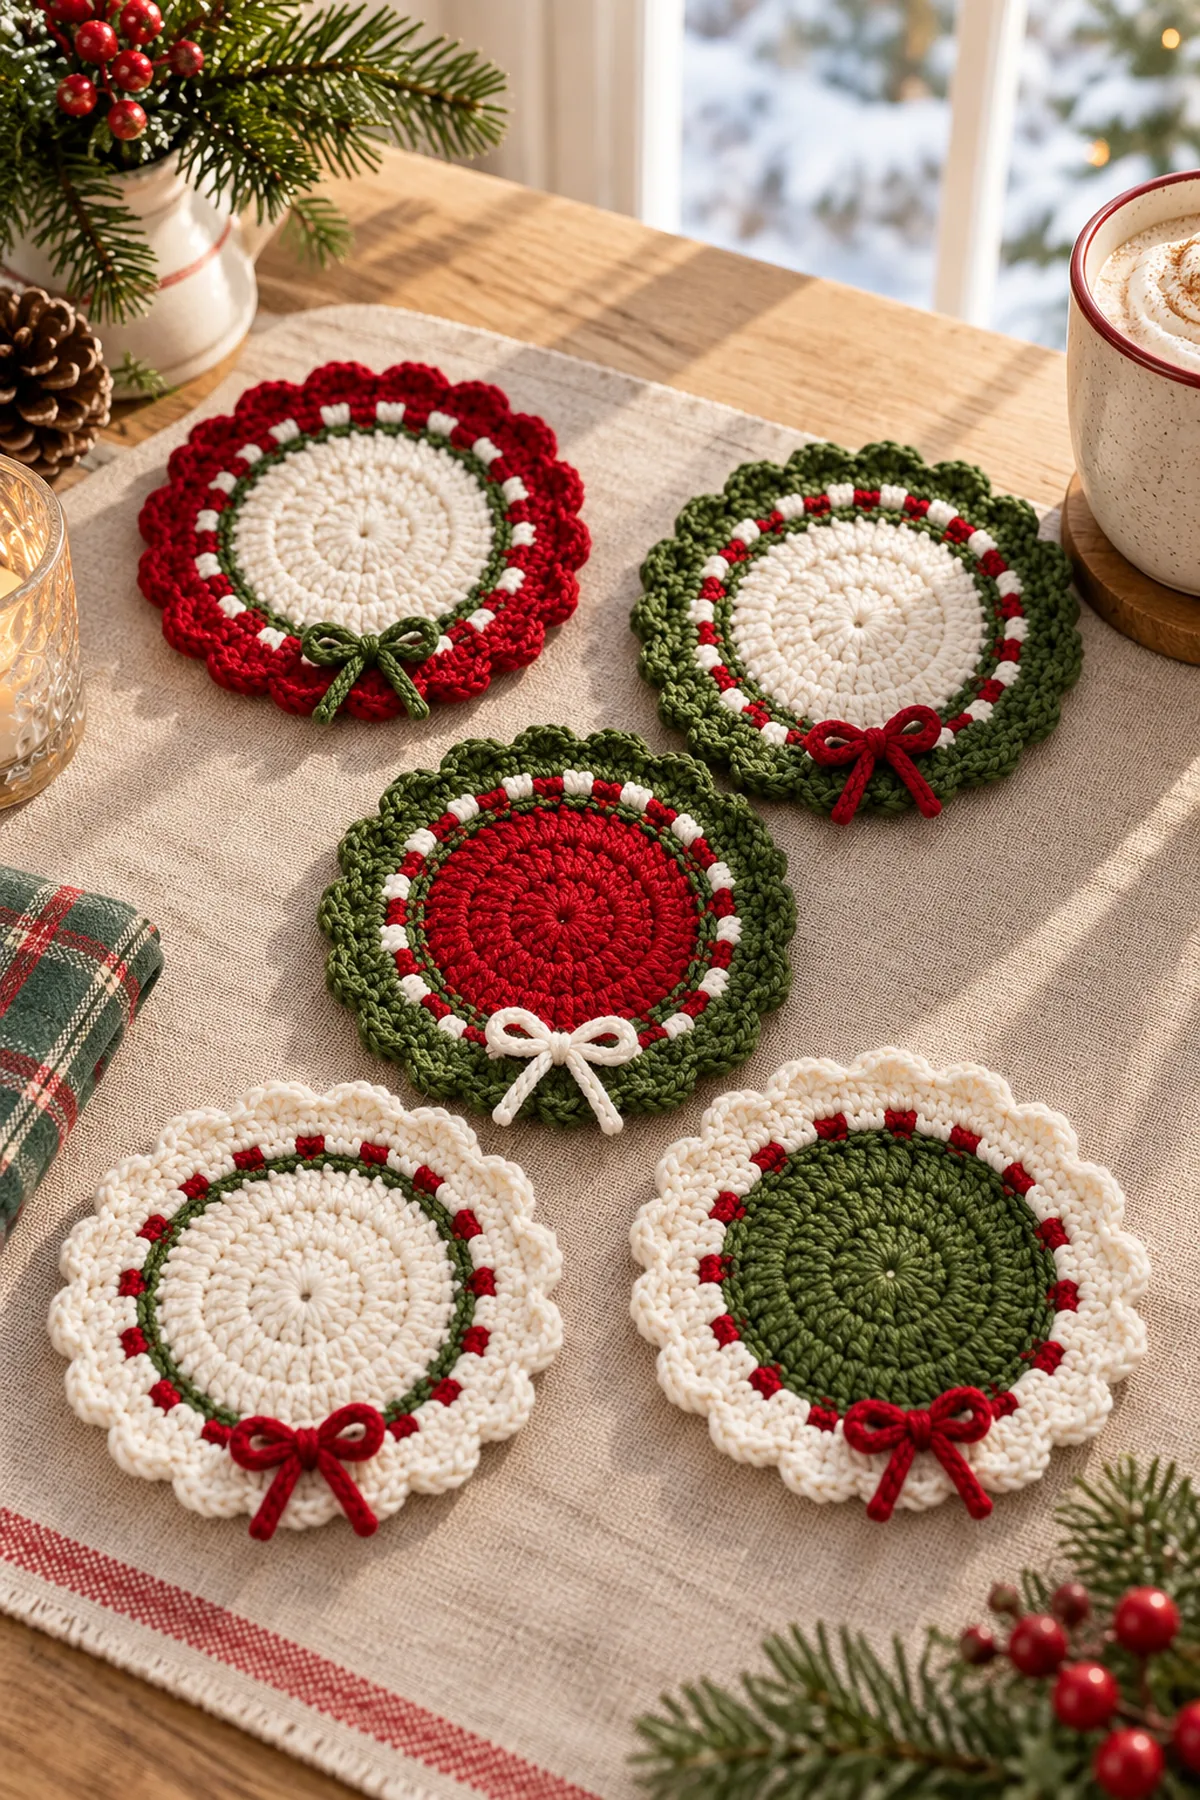
A warm mug deserves a small handmade landing place. This original BabyYarnie crochet Christmas coasters tutorial uses the round silhouette, cranberry–forest–ivory palette, contrast ring, petal-like edging and tiny edge bows in the photo you supplied as its design brief. The stitch counts and construction below are independently written. You will make five flat, washable cotton coasters from one counted base and vary the colors for a cohesive set.
Make a flat single-crochet circle, work a 20-eyelet contrast ring, cover those spaces with a stabilizing round, then add ten five-double-crochet scallops. Crochet and sew one small bow at the outer edge of each coaster. All five share the same geometry; only the colors change. This pattern uses US crochet terms.
Pattern Details
- Hook Size: 3.5 mm (E) or size needed for a flat, dense cotton fabric
- Finished Size: Planning diameter about 4.75–5.25 in (12–13.5 cm), including scallops; measure your own sample
- Gauge: Target 18 sc and 20 rounds per 4 in (10 cm), unblocked; flatness matters more than exact gauge
- Estimated Time: About 1–2 hours per coaster plus finishing
- Construction: Five 60-position flat circles; each has a 20-eyelet color ring, 60-sc stabilizer and 10 scallops, plus one 7-sc by 3-row sewn bow
- Skill level: Confident Beginner
Why You’ll Love This Project
The smooth center gives the mug a stable landing area, while the color ring and softly scalloped perimeter create the festive wreath effect visible in the reference. A single repeatable construction makes a whole gift set practical. Cotton is the right fiber for an everyday drink coaster and is easier to wash than most novelty yarns.
Materials
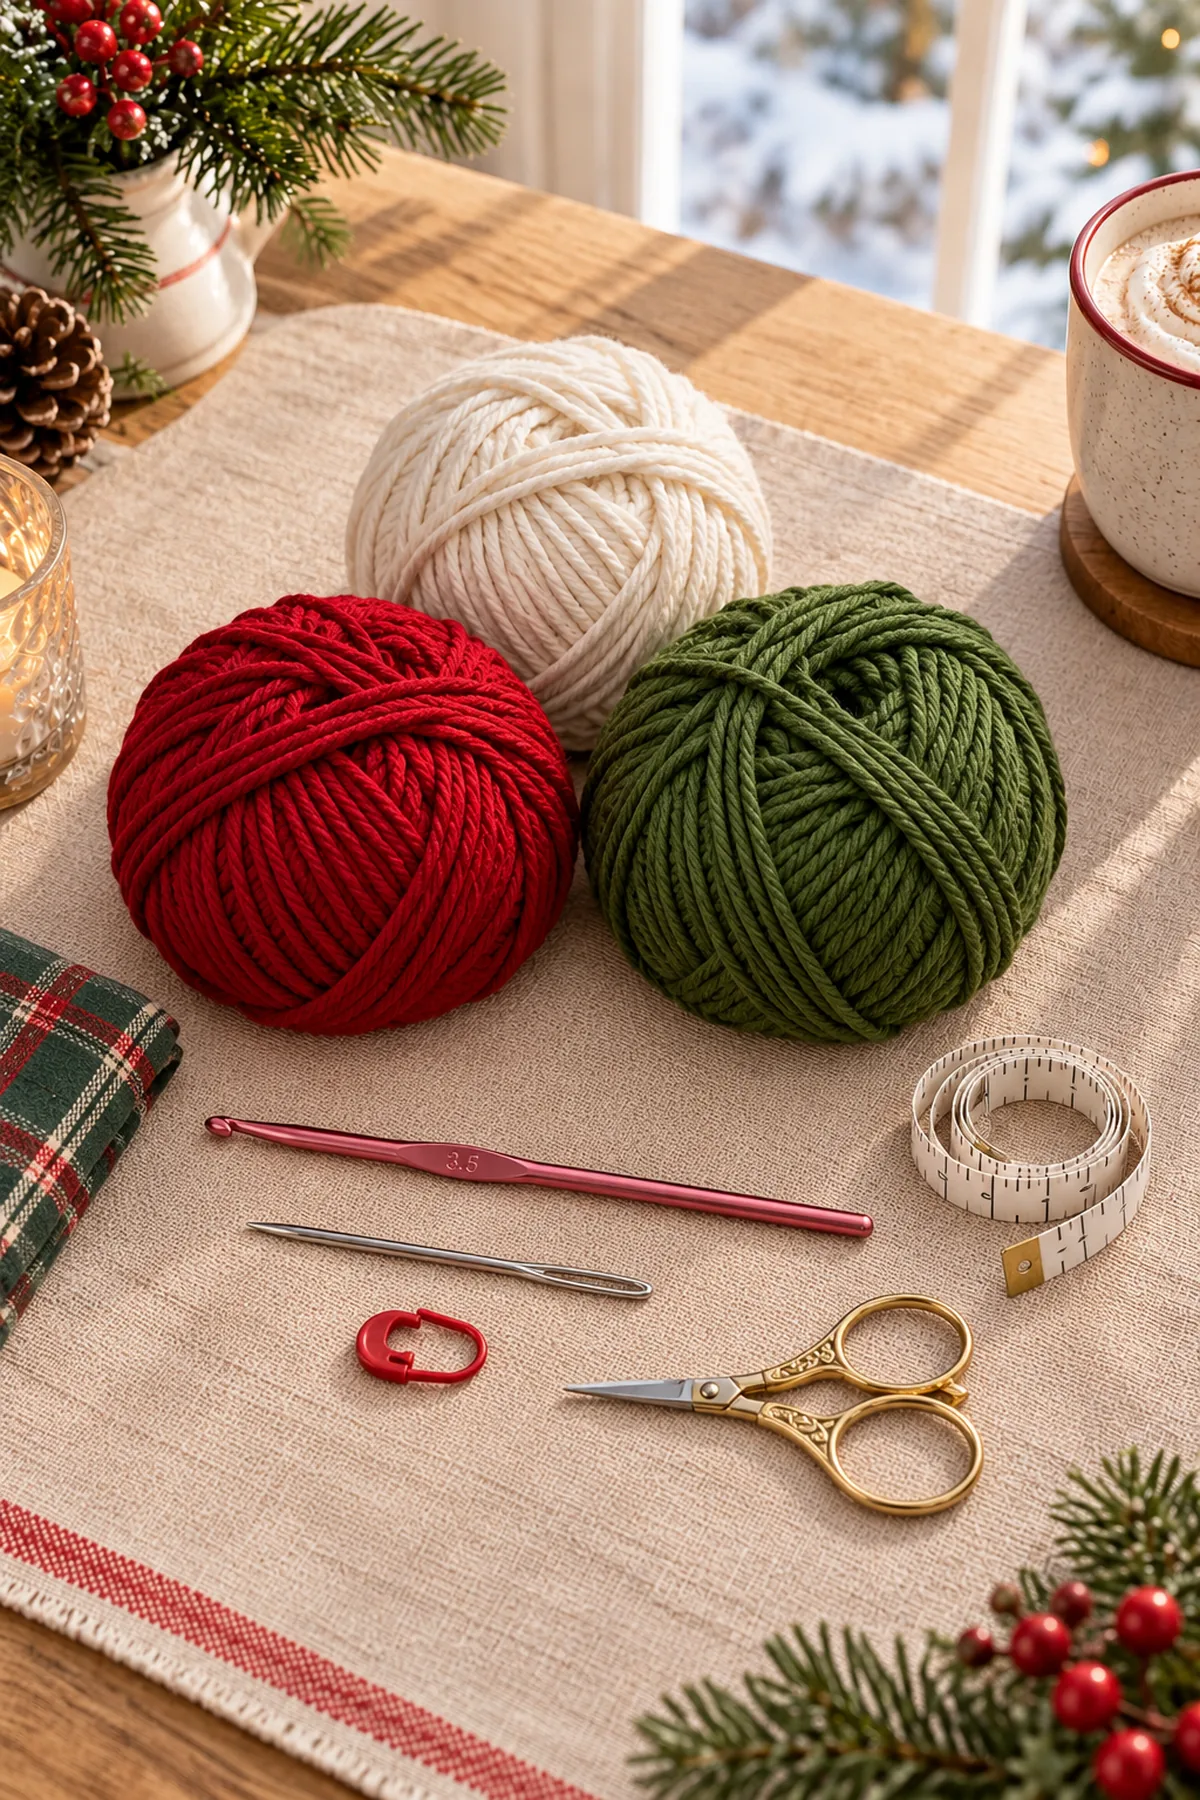
- Planning allowance: approximately 200–225 yd total worsted-weight 100% cotton across ivory, cranberry red and forest green, plus swatch allowance; around 40–45 yd per coaster
- 3.5 mm (E) crochet hook, or hook that gives a firm, flat cotton fabric; blunt yarn needle and scissors
- Removable stitch marker, tape measure and five small sewing tails in the bow colors; no glue, beads or buttons
Gauge, Measurements, and Planning
At 18 sc per 4 in, a 60-stitch circle has a nominal perimeter of 13.3 in and a nominal diameter near 4.25 in before the projecting scallops. Cotton tension, round height and blocking alter real measurements. If the circle cups, loosen tension or increase hook size; if it ripples before the scallops, tighten tension or use a smaller hook. Make one trial coaster, set a mug on it and measure before making the other four.
Make and wash a gauge swatch before beginning. Measure only after the swatch is completely dry. If the stitch width differs, change hook size rather than pulling the working yarn tighter. Keep a written count at the end of every section so the finished edges remain balanced and the assembly points line up.
Abbreviations and Special Stitches
- ch: chain
- sc: single crochet
- dc: double crochet
- sl st: slip stitch
- st(s): stitch(es)
- inc: two sc in the same stitch
- sp: space
Special stitch guidance: Increase (inc): work two sc in one old stitch. Eyelet: sc in the next two stitches, ch 1 and skip the third old stitch; that chain-space counts as one working position in the next round. Five-dc scallop: work five dc into one stitch, with a sl-st anchor and two skipped stitches on each side. A finishing slip stitch into the first scallop anchor, if needed, is uncounted. Unless stated otherwise, work the plain circle in a continuous spiral without joining or turning and move the marker each round.
Important Notes
- Development disclosure: every listed round and row has been numerically checked, but no physically crocheted sample, measured gauge or tested yarn usage is claimed. Swatch and make one trial coaster before committing to a gift set.
- The supplied photograph is the mandatory visual design reference, not a source of written instructions or image pixels. This is an independently authored BabyYarnie pattern.
- AI-generated article and Pinterest images illustrate the design; they are not photographs of a physically tested sample or stitch charts. Follow the written counts, not apparent stitches in pictures.
- Work in 100% cotton and keep the main center flat. Position each bow completely outside the level cup-contact center so a mug stands steadily.
- A cotton coaster is for mugs and condensation, not a certified heat-resistant trivet or potholder. Never put it under hot cookware or near a flame.
- If these are for a household with young children, omit the bows or stitch them down across their entire backs; never leave loose loops or detachable decorations.
Complete Instructions for Crochet Christmas Coasters: Festive Mug Set
Crochet the Flat Center
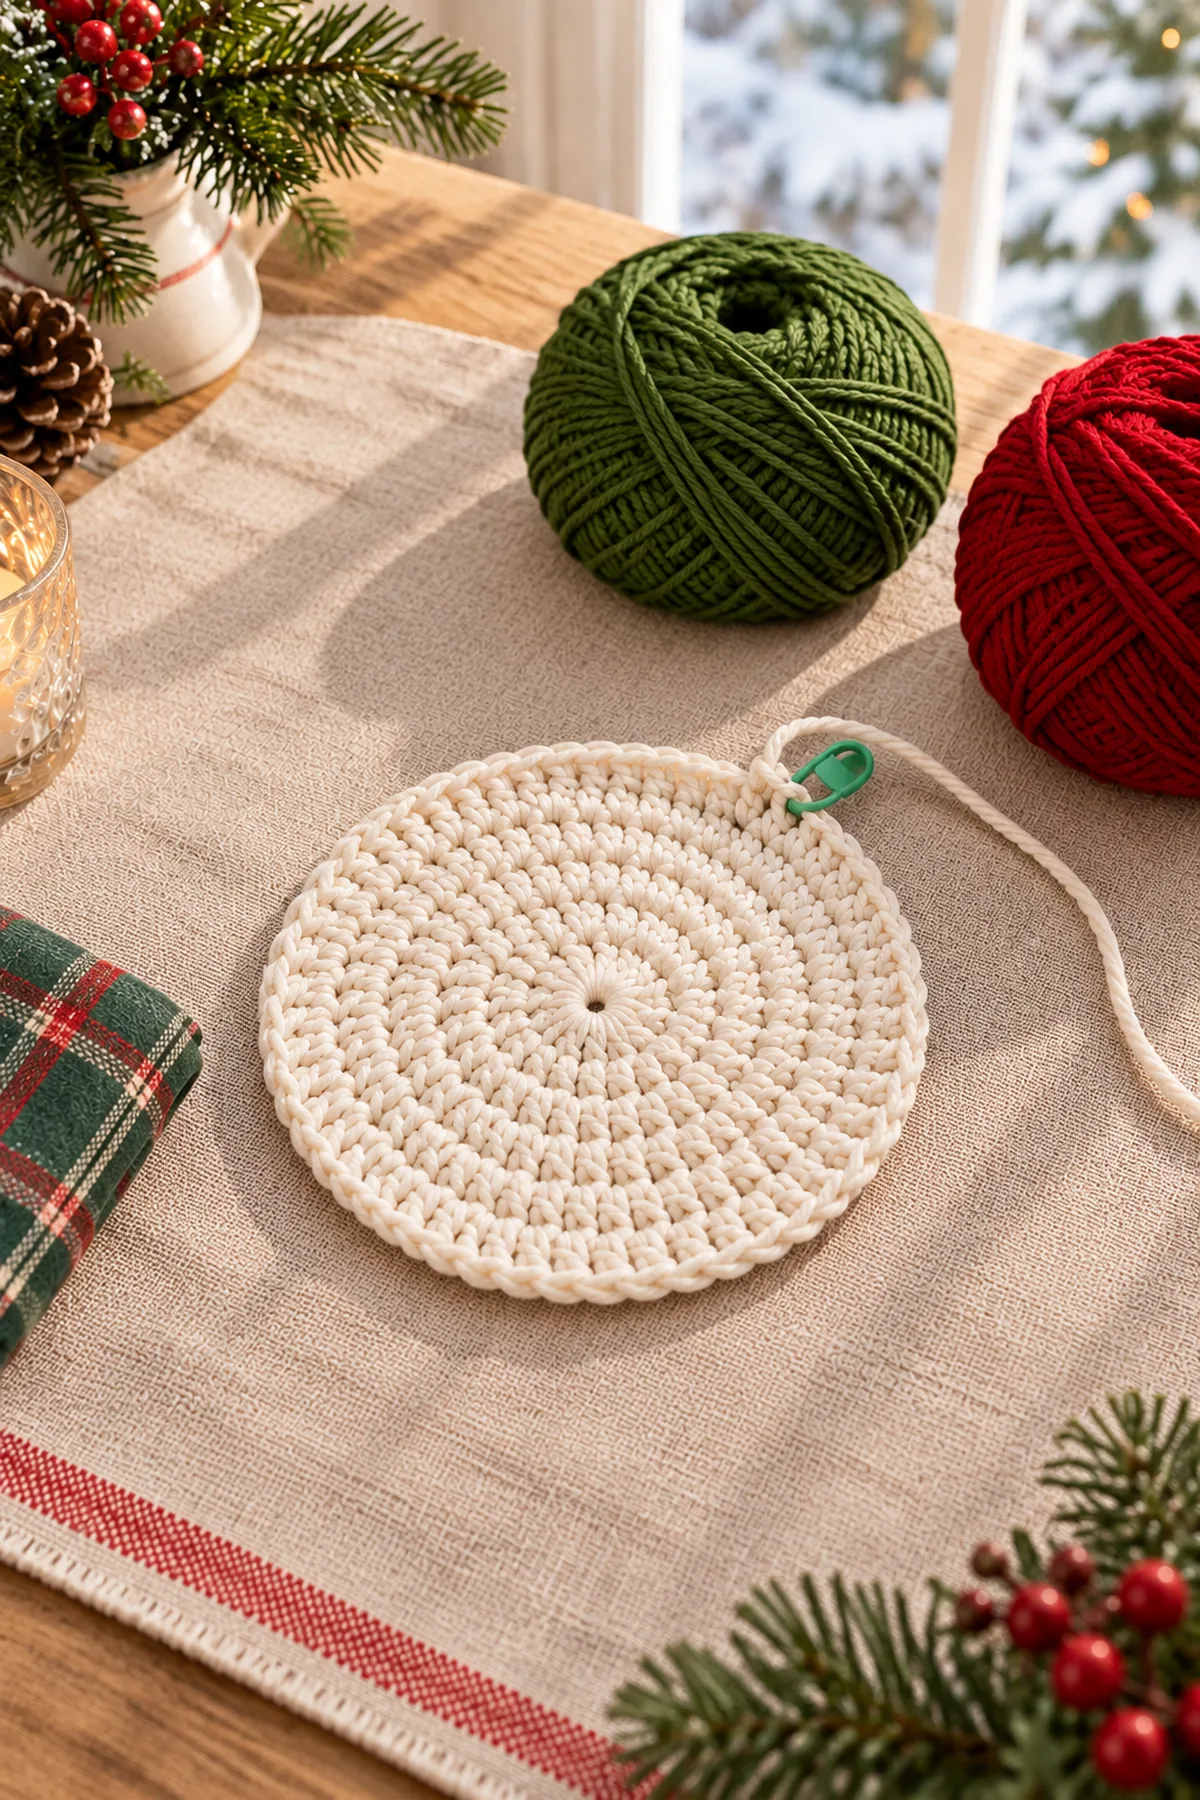
- Coaster circle Round 1: 6 sc into a magic ring. (6 sts) Tighten the ring, mark the first sc, and work a continuous spiral without joining or turning.
- Round 2: inc in each stitch. (12 sts)
- Round 3: [sc in next 1 stitches, inc in next stitch] 6 times. (18 sts)
- Round 4: [sc in next 2 stitches, inc in next stitch] 6 times. (24 sts)
- Round 5: [sc in next 3 stitches, inc in next stitch] 6 times. (30 sts)
- Round 6: [sc in next 4 stitches, inc in next stitch] 6 times. (36 sts)
- Round 7: [sc in next 5 stitches, inc in next stitch] 6 times. (42 sts)
- Round 8: [sc in next 6 stitches, inc in next stitch] 6 times. (48 sts)
- Round 9: [sc in next 7 stitches, inc in next stitch] 6 times. (54 sts)
- Round 10: [sc in next 8 stitches, inc in next stitch] 6 times. (60 sts)
- After Round 10, count 60 sc. Lay the disk on a table. It should sit flat without pulling the center upward or waving at the edge. If it does not, change hook or tension and remake the trial disk before continuing. Keep the first-stitch marker in place.
Add the Festive Eyelet Ring and Scalloped Rim
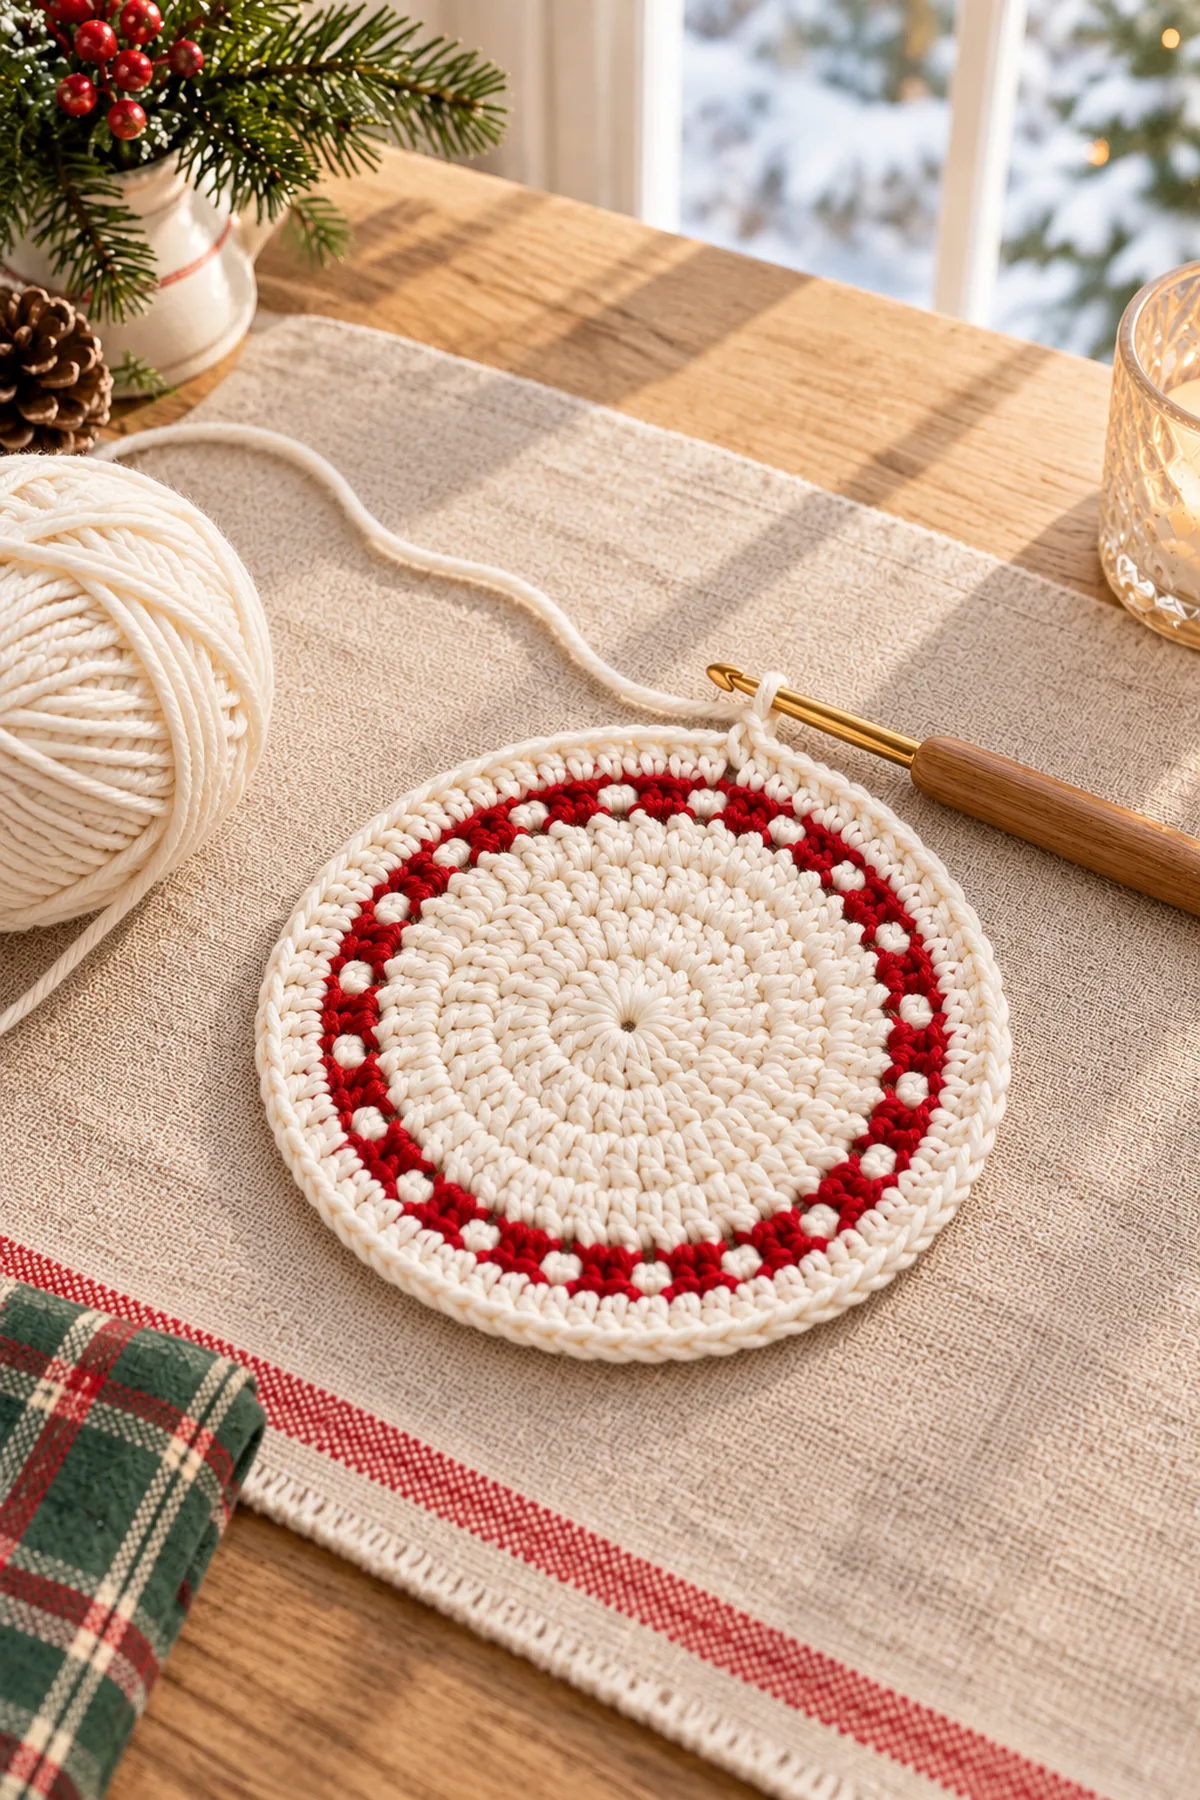
- Round 11: [Sc in next 2 stitches, ch 1, skip next stitch] 20 times. Change to the contrast ring color on the final yarn-over before this round; the 20 chain spaces are counted as positions. (60 sts)
- Round 12: Sc in each of the 40 sc and in each of the 20 ch-1 spaces. Work into the space, not the chain loop. Change to the stabilizing color on the final yarn-over before this round. (60 sts)
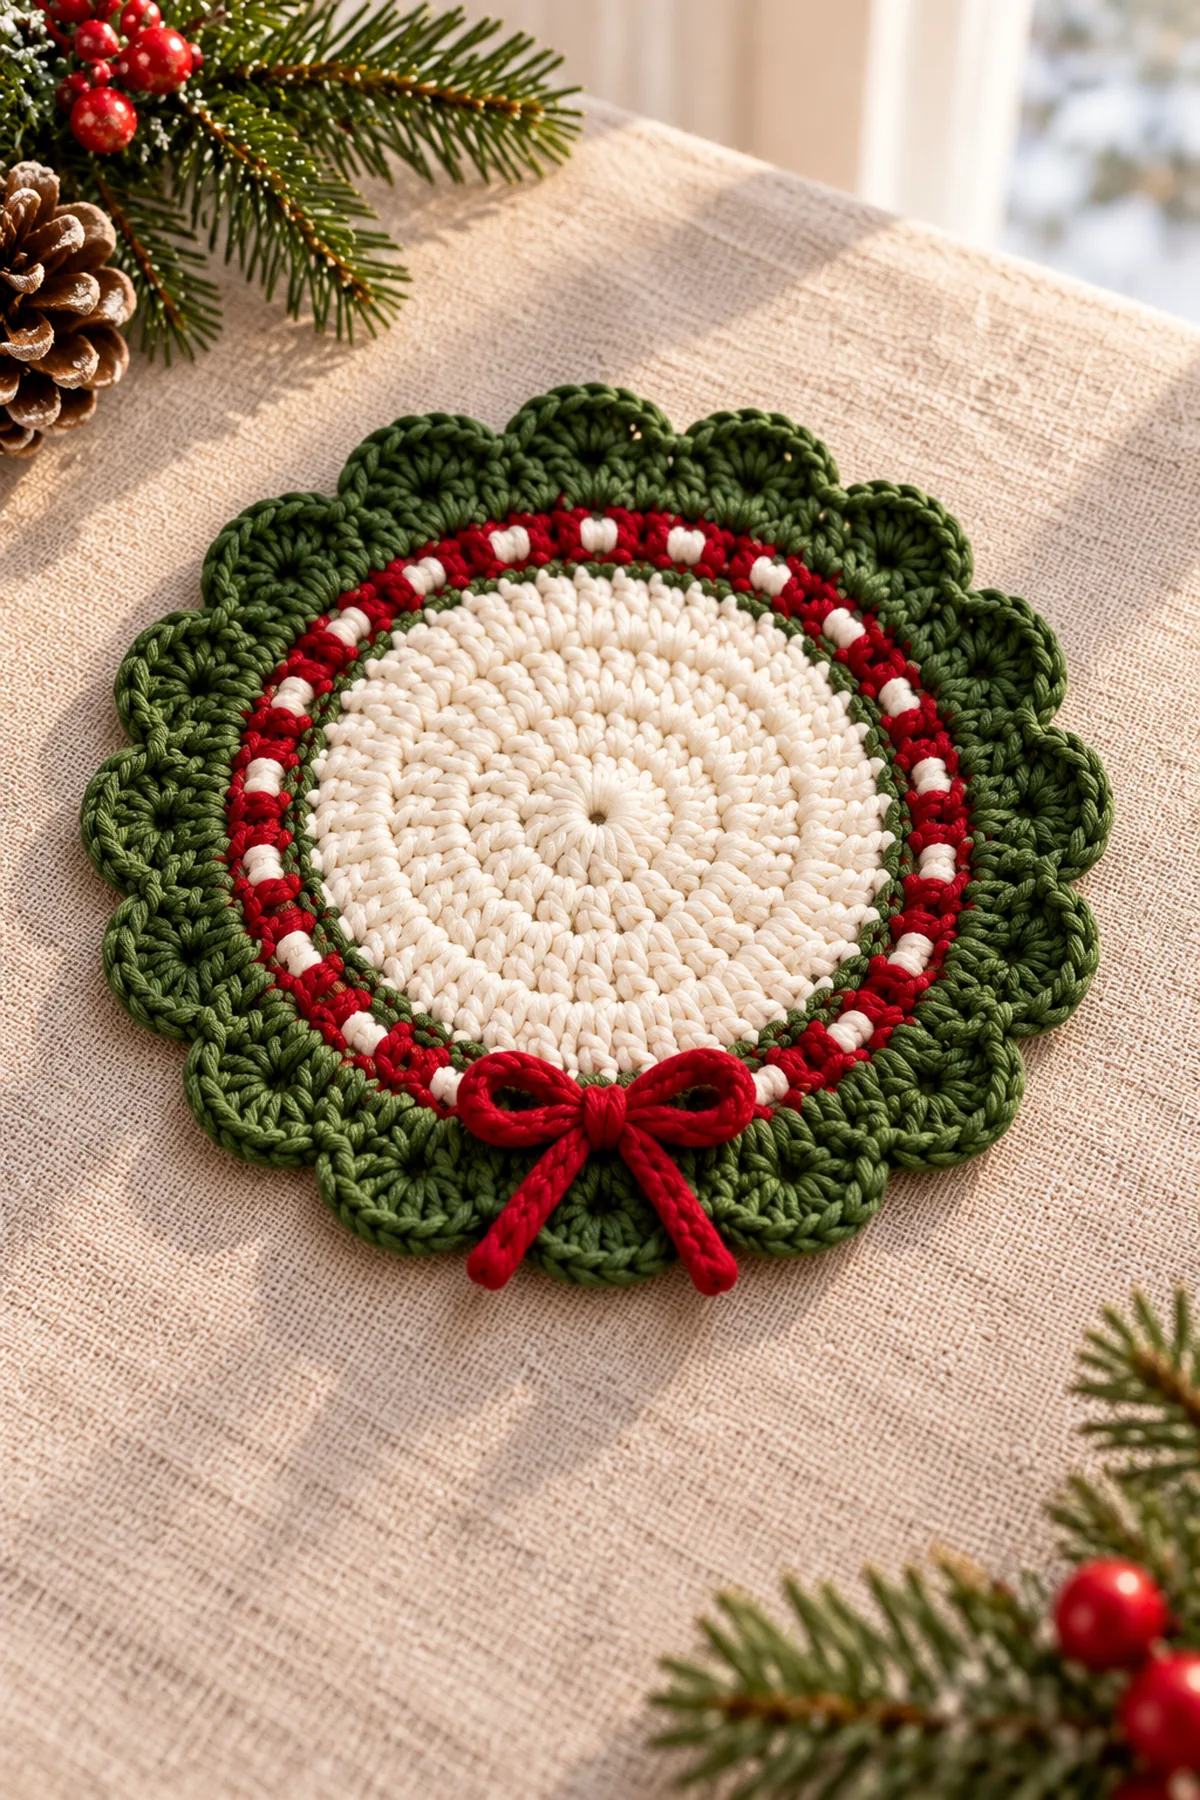
- Round 13: [Sl st in next stitch, skip next 2 stitches, 5 dc in next stitch, skip next 2 stitches] 10 times. Change to the rim color on the final yarn-over before this round. The 10 five-dc fans form the scalloped edge. (60 sts)
- After Round 11, count exactly 40 sc and 20 ch-1 spaces, which together provide 60 positions. On Round 12, place one sc in every one of those positions; do not put extra stitches into the spaces. Count 60 sc before the edge.
- For Round 13, mark every sixth old stitch if needed. Each repeat consumes six old stitches: one anchored slip stitch, two skipped stitches, one stitch holding five dc, and two skipped stitches. Repeat ten times around the 60-stitch Round 12. Slip stitch to the first anchor only if necessary for a tidy join; that slip stitch is not counted. Fasten off and weave tails into the back without pulling the disk out of shape.
Make and Secure Five Tiny Bows
- Bow strip Row 1: ch 8; sc in second chain from hook and in each remaining chain. (7 sts) Ch 1 and turn; this chain never counts.
- Row 2: Sc in each stitch. Ch 1 and turn. (7 sts)
- Row 3: Sc in each stitch. Fasten off with a 10-inch tail. (7 sts)
- Make one strip per coaster in its listed bow color. Pinch each strip at its midpoint so the two halves become short loops. Wrap the long tail around the center three times and stitch through the wraps to lock the bow shape.
- Place each bow over one scallop anchor at the outside edge, never in the flat central mug area. Sew through the bow center and both loop backs into the edge for two passes. Bury each sewing tail through three separate back-side stitch paths; trim flush. Give every bow a gentle pull test. For a completely flat coaster, simply omit the bow.
Work the Five Coordinated Colorways
- Coaster 1: ivory center (Rounds 1–10), cranberry eyelet (Round 11), ivory stabilizer (Round 12), cranberry scallop (Round 13), forest-green bow.
- Coaster 2: ivory center, cranberry eyelet, ivory stabilizer, forest-green scallop, cranberry bow.
- Coaster 3: cranberry center, forest-green eyelet, ivory stabilizer, forest-green scallop, ivory bow.
- Coaster 4: ivory center, forest-green eyelet, ivory stabilizer, ivory scallop, cranberry bow.
- Coaster 5: forest-green center, cranberry eyelet, ivory stabilizer, ivory scallop, cranberry bow.
- On every change, complete the final yarn-over of the preceding stitch with the new color. Carry no bulky strands across the front. Weave short ends on the back and keep the disk level.
Finish, Wash and Check the Set
- Lightly damp-block each piece on a flat towel. Spread the ten scallops evenly and let the cotton dry fully. Do not stretch the 60-stitch inner circle to force a stated diameter.
- Set a flat-bottom mug on each dry coaster. It must rest on the smooth center, not on the bow or raised rim. If the mug rocks, remove or reposition the bow and re-block the circle.
- Compare all five diameters and inspect the backs for loose yarn tails. Launder according to the cotton label, reshape flat and air-dry. Recheck every bow attachment after washing.
Assembly and Shaping
These are five independent flat coasters, not a joined table runner. Each has a 60-position circular base, 20-spaced eyelet ring, stabilizer, ten scallops and one securely sewn outside-edge bow. Color changes do not alter the counts.
Lay every component on a flat surface before joining. Match the marked centers first, then divide each remaining edge into equal sections. Work through both layers with consistent tension and pause after each section to check that the fabric lies flat. This measured approach prevents twisting and keeps decorative details facing the intended direction.
Finishing
- Weave all yarn tails into the back over at least three distinct stitch paths without cinching the circle.
- Damp-block each coaster flat and let it dry completely; shape ten scallops evenly.
- Sew the bows at the outer edge with two passes through center and both loop backs, or omit them for a fully flat edge.
- Test a mug on each coaster, then wash according to the cotton label and reshape flat.
For a polished result, weave each tail through several same-color stitches, reverse direction once, and trim only after the fabric has been gently stretched. Block to the listed dimensions without flattening textured stitches. Inspect joins, borders, straps, and decorative pieces before the project is used or gifted.
Helpful Tips
- Use a marker after every tenth stitch in Round 10 if counting a 60-stitch circle is difficult.
- The Round 11 chain spaces replace skipped stitches; they are not additional positions.
- Work the five-dc fans loosely enough that the edge stays soft and scalloped, not stiff or cupped.
- If your mug base is particularly wide, make a gauge swatch and test the first coaster before making the full set.
Good lighting and a contrasting stitch marker make counting much easier. If a section looks uneven, compare the current count with the previous checkpoint before continuing. Fixing one missed stitch early is faster than compensating later, and it preserves the measurements used by the assembly instructions.
Frequently Asked Questions
Are these Christmas coasters heat-proof?
No. They are cotton drink coasters, not tested potholders or trivets. Keep them away from cookware and flames.
Why does the eyelet round still have 60 positions?
Each of 20 repeats consumes three old stitches and replaces them with two sc and one ch-1 space. Round 12 works one sc into each of those 60 positions.
Can I leave off the bows?
Yes. The coaster structure is complete after the scallop round. Omitting bows produces a flatter, simpler finish.
Is this the exact pattern shown in the reference photo?
No. The photo guided the shape and palette only. These counts and instructions are an original BabyYarnie construction, numerically checked but not physically sample-tested.
Conclusion
A five-piece Christmas mug set comes together from one reliable circle and a handful of festive color swaps. Check the first coaster for flatness and mug stability, then repeat the counted rounds for the remaining four. Keep your actual hook, gauge, yarn amount and finished measurements with the pattern if you gift it.
BabyYarnie Printable Crochet Pattern Card
BabyYarnie — easy-to-follow crochet for everyday makers.
Project: Crochet Christmas Coasters: Festive Mug Set
Skill level: Confident Beginner Hook: 3.5 mm (E) or size needed for a flat, dense cotton fabric Yarn: Worsted-weight 100% cotton
Finished size: Planning diameter about 4.75–5.25 in (12–13.5 cm), including scallops; measure your own sample
Card Materials
- Planning allowance: approximately 200–225 yd total worsted-weight 100% cotton across ivory, cranberry red and forest green, plus swatch allowance; around 40–45 yd per coaster
- 3.5 mm (E) crochet hook, or hook that gives a firm, flat cotton fabric; blunt yarn needle and scissors
- Removable stitch marker, tape measure and five small sewing tails in the bow colors; no glue, beads or buttons
Card Instructions
- Crochet the Flat Center: A flat magic-ring circle grows 6, 12, 18 … 60 sc through Round 10.
- Add the Festive Eyelet Ring and Scalloped Rim: A 20-eyelet ring returns to 60 sc, then ten five-dc scallops use the complete 60-position rim.
- Make and Secure Five Tiny Bows: Five 7-sc-wide, three-row bow strips, centered and fully sewn at the outer edge.
- Work the Five Coordinated Colorways: Five photo-guided ivory, red and green arrangements from the same complete construction.
- Finish, Wash and Check the Set: Block gently, verify mug stability, secure bows and follow the yarn label for washing.
Finish: Check every count, weave in all ends, block to measurement, and inspect each join.