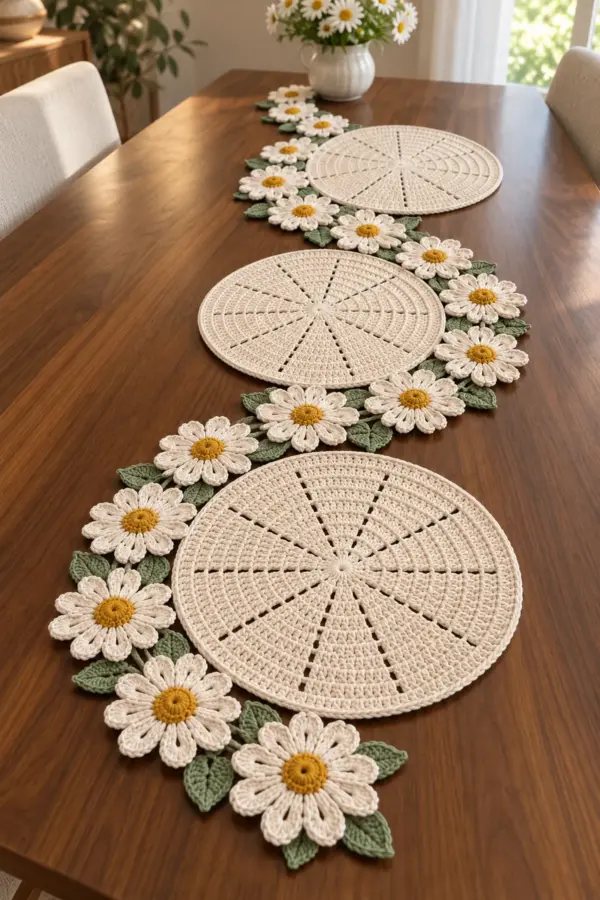
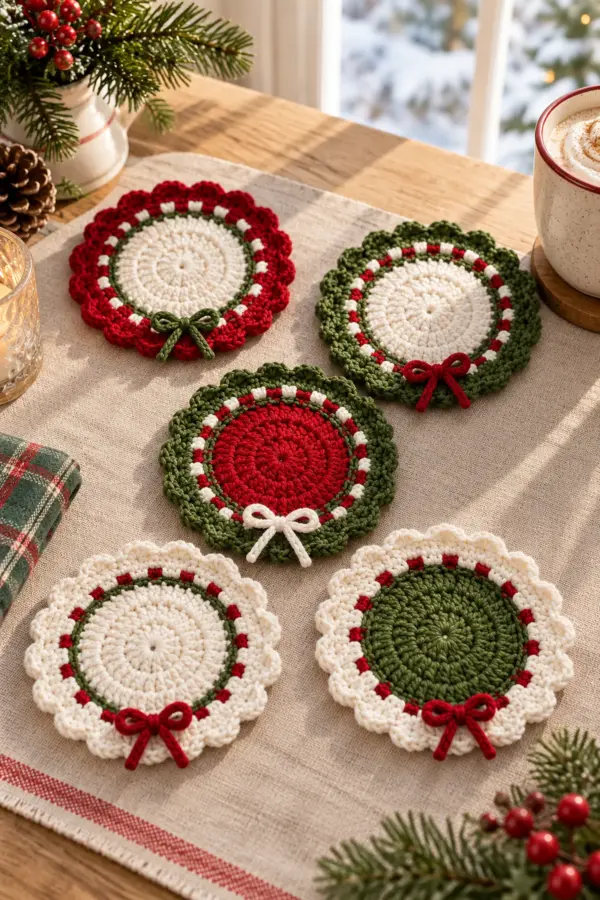
This original crochet storage cube pattern explains how to make crochet fold-flat colorblock storage cubes from the first counted stitch through final assembly. The design is a practical free tutorial in US terms, with measurements and stitch checkpoints that you can verify as you work.
Make ten flat panels total: four walls and one base for each of two sizes. Join four side panels into a soft square tube, hinge one base edge to the lower edge of one wall, and fold that base inward to keep the bin open. Untie two small yarn corner ties and lift the hinged base to collapse the cube. Use for lightweight household items only, not as a rigid shelf insert or child-climbing support.
Pattern Details
- Hook Size: 4.5 mm with two strands of worsted cotton held together; adjust from washed panel gauge
- Finished Size: Small roughly 8 × 8 × 8 inches usable height, large roughly 10 × 10 × 10 inches usable height after folding a four-row outer rim
- Gauge: 14 sc and 14 flat rows = 4 inches after washing with two cotton strands held together
- Estimated Time: 8–11 hours for small and 11–15 hours for large
- Construction: Small: four 28-stitch × 32-row walls plus one 28-stitch × 28-row base; large: four 35-stitch × 39-row walls plus one 35-stitch × 35-row base; one-edge base hinge
- Skill level: Confident Beginner
Why You’ll Love This Project
The shape comes from counted stitches rather than an unexplained diagram. You can inspect each stage against the measurements, and the finished object has a clear purpose and a distinct silhouette in photographs.
Materials
- Approximately 420 yards clay and 420 yards cream worsted washable cotton held double for both cubes together, plus 10% for swatches, corner ties and seams
- 4.5 mm hook, eight locking markers, blunt needle, tape measure, blocking surface and scissors
- Lightweight folded linens, yarn skeins or paper goods for use; no plastic canvas, rigid insert or permanent fabric liner
Gauge, Measurements, and Planning
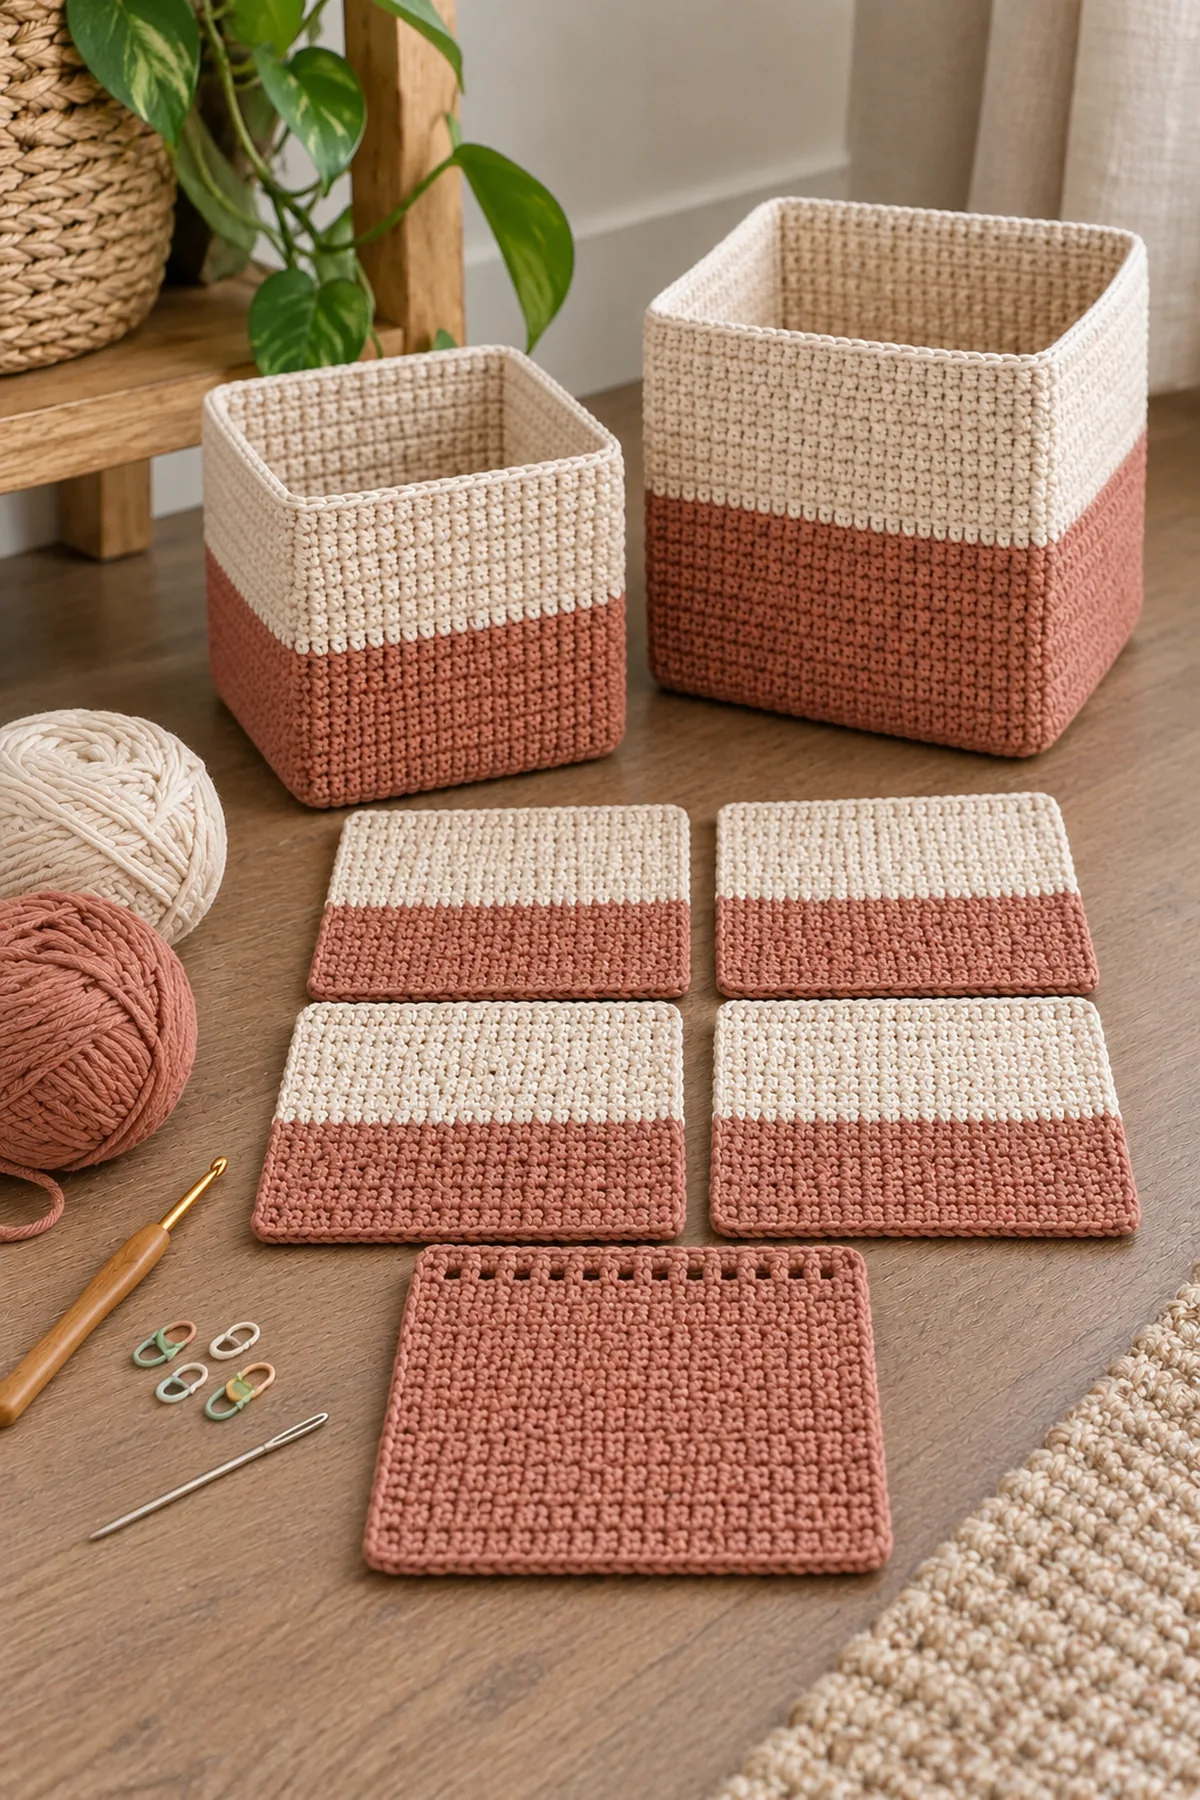
Crochet a 20-stitch by 20-row two-strand sc swatch, wash and dry flat, then measure the center 14 stitches and 14 rows as four inches. At this gauge 28 stitches and 28 rows each span eight inches; 35 stitches and 35 rows span ten inches. Each wall includes four extra top rows that fold outside to reinforce the rim, so useful height is 28/35 rows. Soft crochet cubes do not have guaranteed rigid capacity; keep the contents light enough that the sides stand without bowing.
Make and wash a gauge swatch before beginning. Measure only after the swatch is completely dry. If the stitch width differs, change hook size rather than pulling the working yarn tighter. Keep a written count at the end of every section so the finished edges remain balanced and the assembly points line up.
Abbreviations and Special Stitches
- ch: chain
- sc: single crochet
- sl st: slip stitch
- st(s): stitch(es)
- rnd: round
- inc: 2 sc in one stitch
- sc2tog: single crochet two stitches together
Special stitch guidance: Work ordinary sc through both top loops, turning with an uncounted ch 1. Change colors on the last pull-through of the final stitch of a row, carrying no long visible floats. Mattress-sew corresponding row-end bars at each upright corner. The base hinge joins one complete lower wall edge only; its other three edges stay free. Two removable short yarn corner ties keep the base seated during use and are untied before folding flat.
Important Notes
- AI-generated pictures illustrate the intended design; they are not photographs of a physically tested sample. Follow written counts rather than counting stitches in an image.
- The stitch arithmetic has been checked, but gauge, yardage and fit are planning targets until a physical sample is made. Wash a swatch and check measurements before gifting or wearing.
- A beginning ch 1 and a joining sl st never count as a stitch in this pattern. Mark the first counted stitch of each row or round.
- If a row count is wrong, return to that row. Adding an unplanned stitch later changes the shaping and the assembly alignment.
Complete Instructions for Crochet Fold-Flat Colorblock Storage Cubes
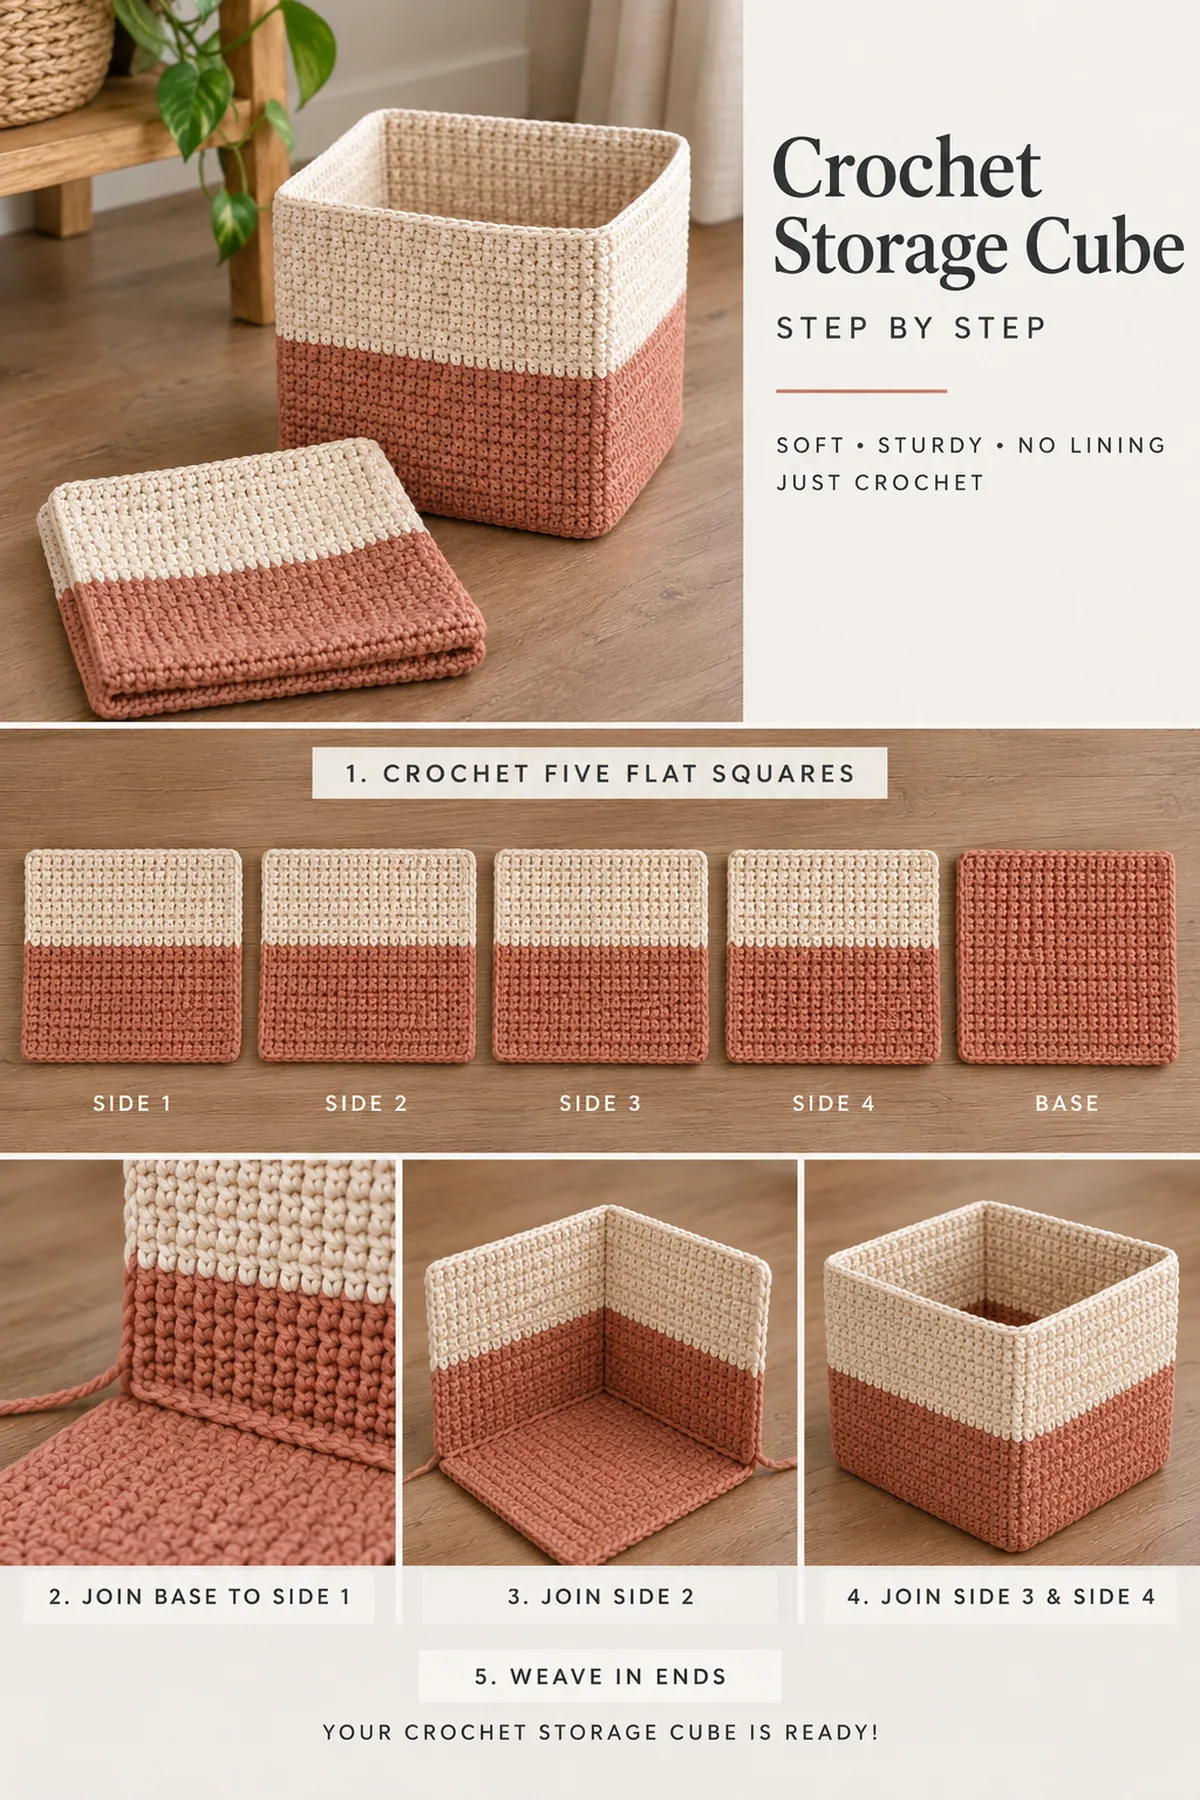
Make Five Counted Flat Panels for Each Cube
Numbers are small (large). Four wall panels are identical within each size; each cube gets one square base. Block all panels before joining so their edge counts align.
- Wall Row 1: Holding two cotton strands together, ch 29 (36). Sc in second chain and each remaining usable chain, turn. (28/35 sts)
- Wall Rows 2–16 (2–20): With clay, ch 1, sc across all 28 (35) stitches and turn each row. On the last pull-through of Row 16 (20), switch both held strands to cream without adding a stitch. (28/35 sts each row)
- Wall Rows 17–32 (21–39): With cream, sc across 28 (35) stitches per row. Rows 29–32 (36–39) are the four-row folded rim allowance, not extra usable height. Make four wall panels per size and mark each panel’s bottom Row 1 and fold line after Row 28 (35).
- Base Row 1: Ch 29 (36) with clay, sc in the second and every remaining chain, turn. (28/35 sts) Work through Base Row 28 (35), sc across each row with an uncounted turning chain. Use clay for the first 14 (18) rows and cream for the remaining 14 (17) rows, always changing on a row-end pull-through. (28/35 sts each row)
- Measure every blocked wall: width 8 (10) inches, full height about 9.1 (11.1) inches before its four-row rim fold. Measure the square base 8 × 8 (10 × 10) inches. If one wall differs, remake that panel before a four-corner seam locks in the mismatch. Small wall count audit: Row 1 (28 sts) and Rows 2–32 (28 sts).
Seam the Square Tube and Make a One-Edge Base Hinge
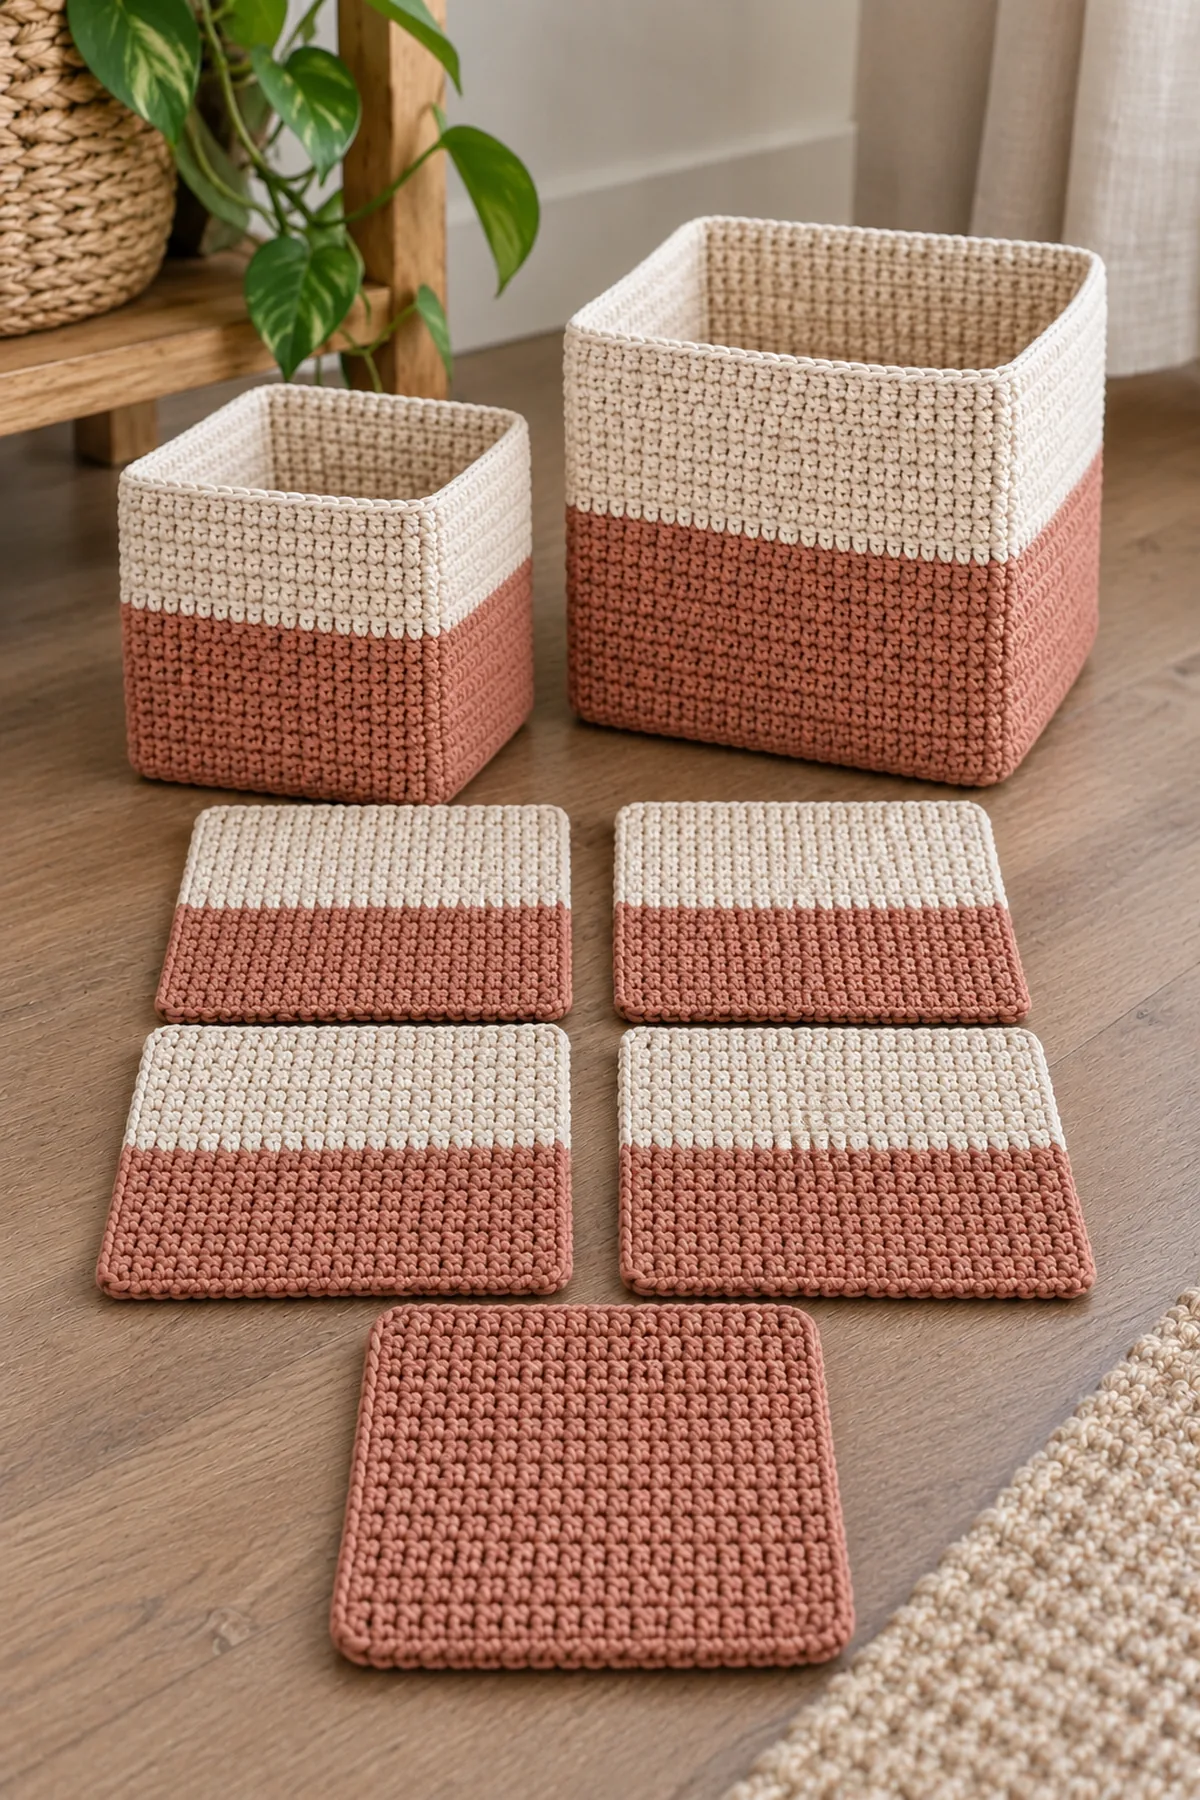
Lay four walls in a row, all clay halves at the bottom and cream halves at the top. The square tube can collapse only if the base is joined along one edge instead of permanently sewn all around.
- Mattress-sew Wall 1 to Wall 2 through corresponding 32 (39) row-end bars, bottom to top. Continue Wall 2 to 3, Wall 3 to 4, then Wall 4 to 1. Each seam pairs exactly 32 (39) row ends. Keep the inside corner seams flat; do not overlap complete stitches or the inner square will shrink.
- At the lower edge of Wall 1, mattress-sew the full 28 (35)-stitch edge of the base to the 28 (35) foundation-edge positions of that wall only. This is the permanent hinge. The base’s other three edges remain free and must fit inside the tube when laid flat across its floor.
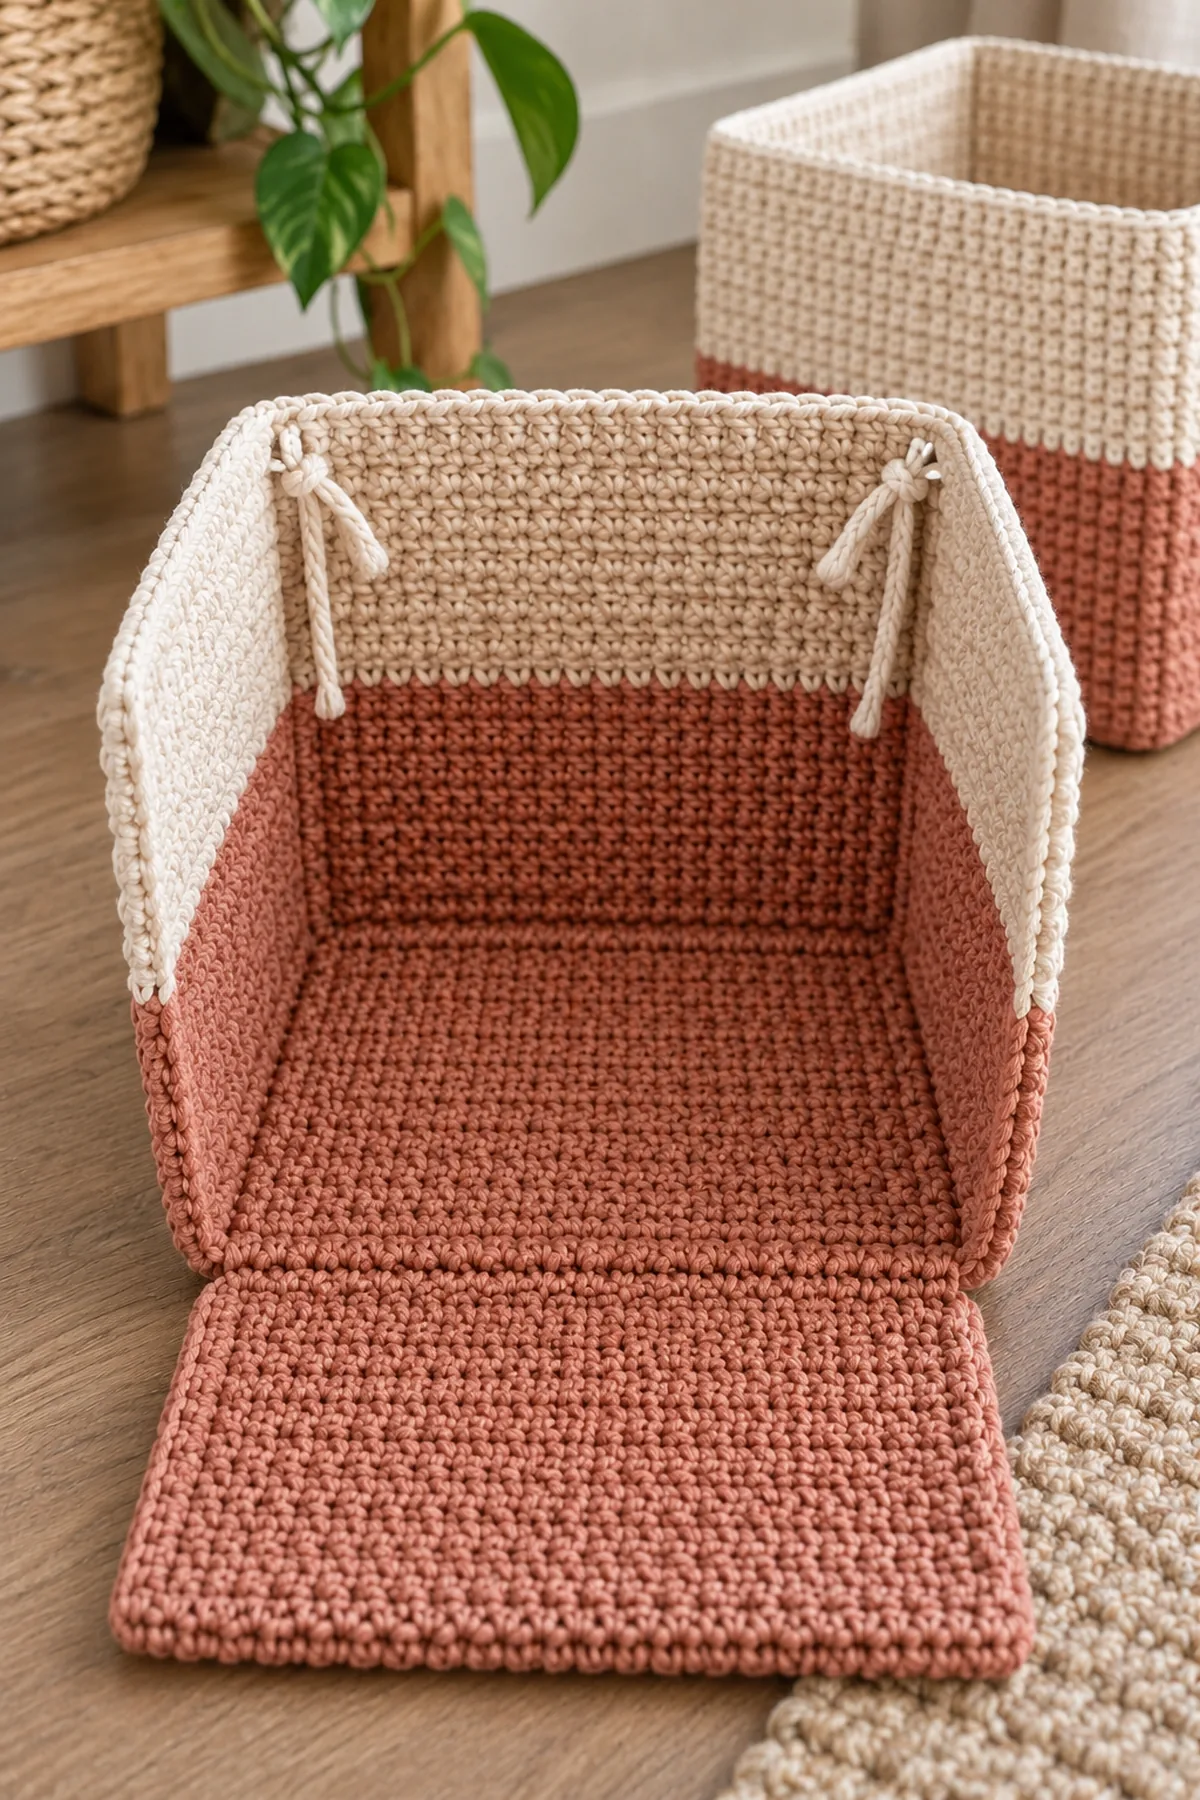
- At each of the two base corners farthest from the hinge, attach a short doubled-cotton tie about five inches long, secured through two adjacent base stitches in two passes. Make matching small yarn loops in the lower inside corners of the opposite wall. With the base folded down, tie each corner loosely to its matching loop; remove both bows before lifting the base to collapse the cube. The ties do not bear a heavy load.
- Mark the intended fold line after Wall Row 28 (35). Fold the top four cream rows outward on all four walls and tack the folded rim at each upright corner with two reversible yarn stitches. The folded rim reinforces the opening without plastic canvas; leave the inner base free to rise.
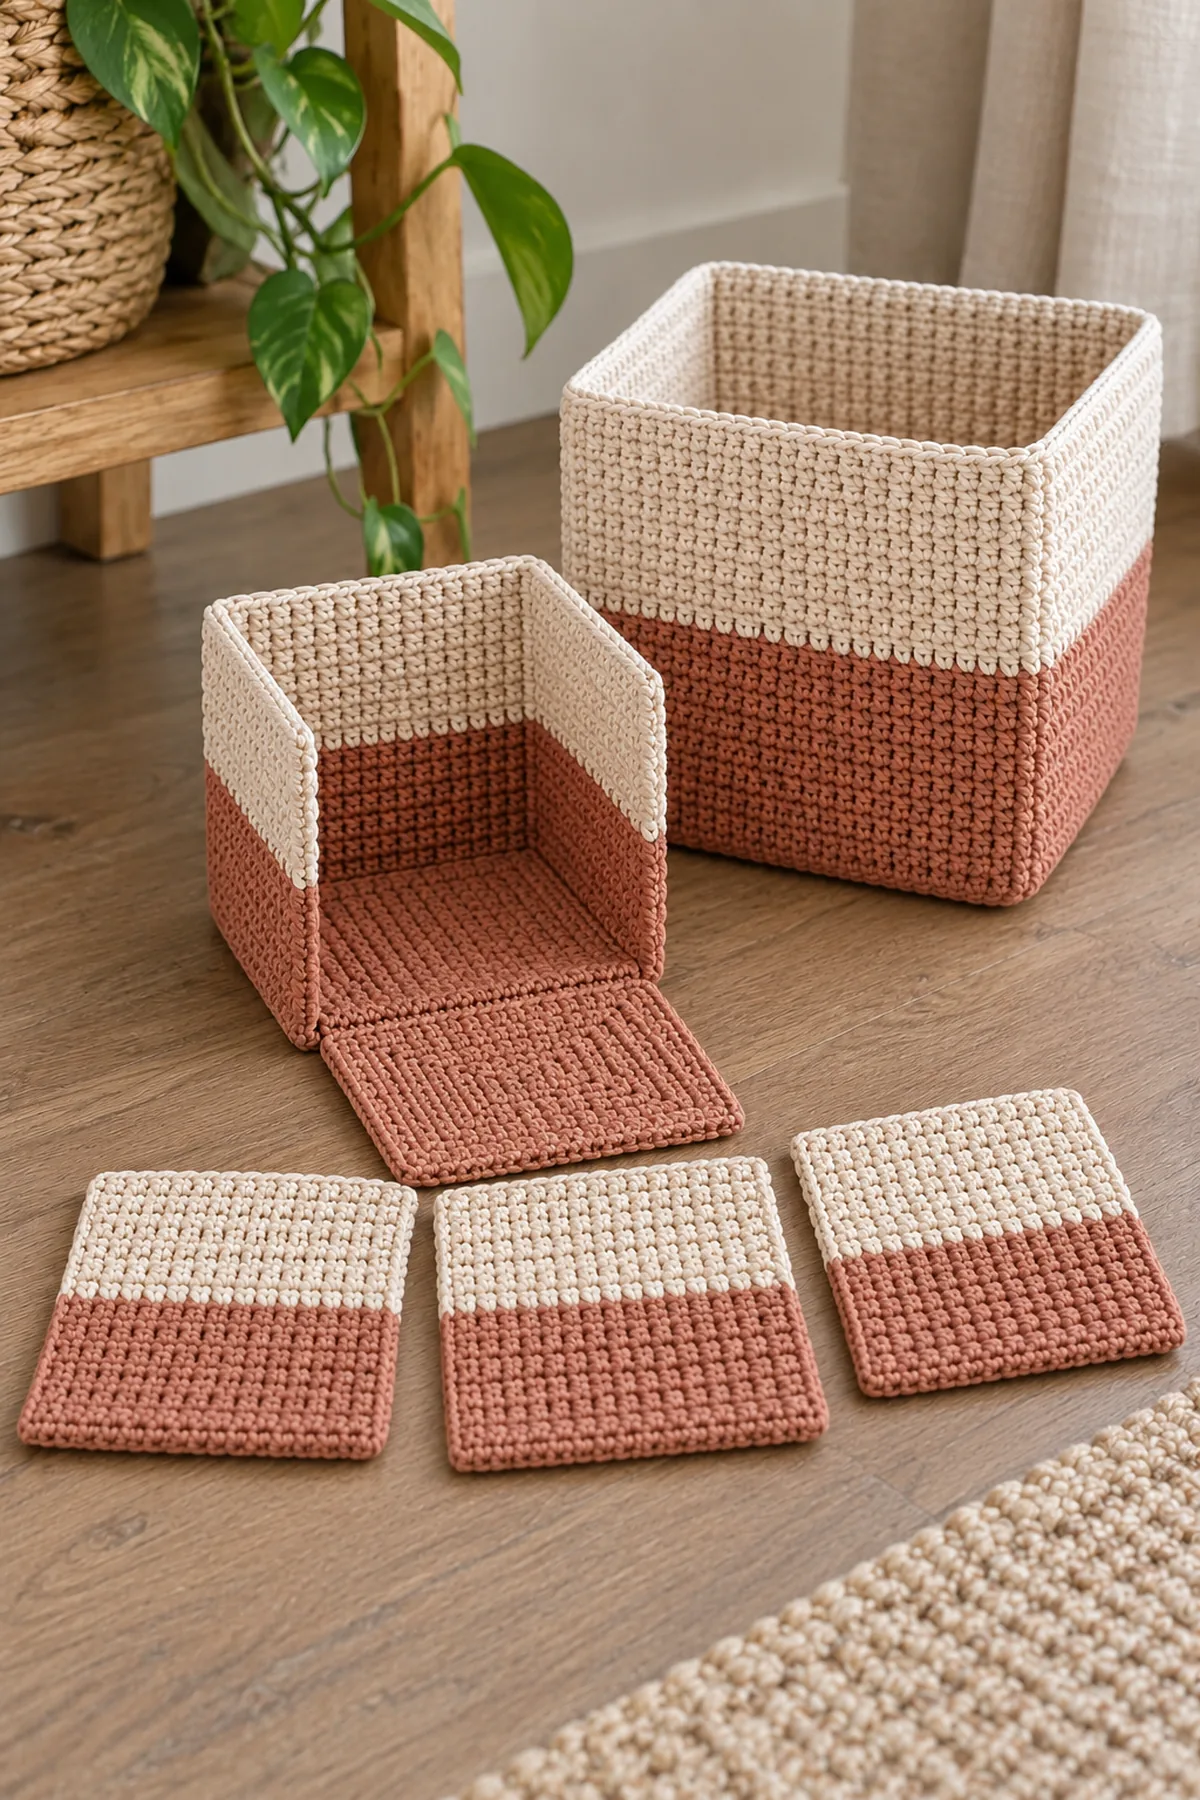
Open, Fold Flat and Check Capacity
Test the fold mechanism empty before adding household items. The crochet shell is deliberately soft and will not behave like a rigid plastic cube.
- To open, stand the square wall tube upright, rotate its hinged base inward until flat, smooth its three free edges into the lower corners and tie the two far-side yarn bows. Confirm the base does not buckle and the side seams are vertical.
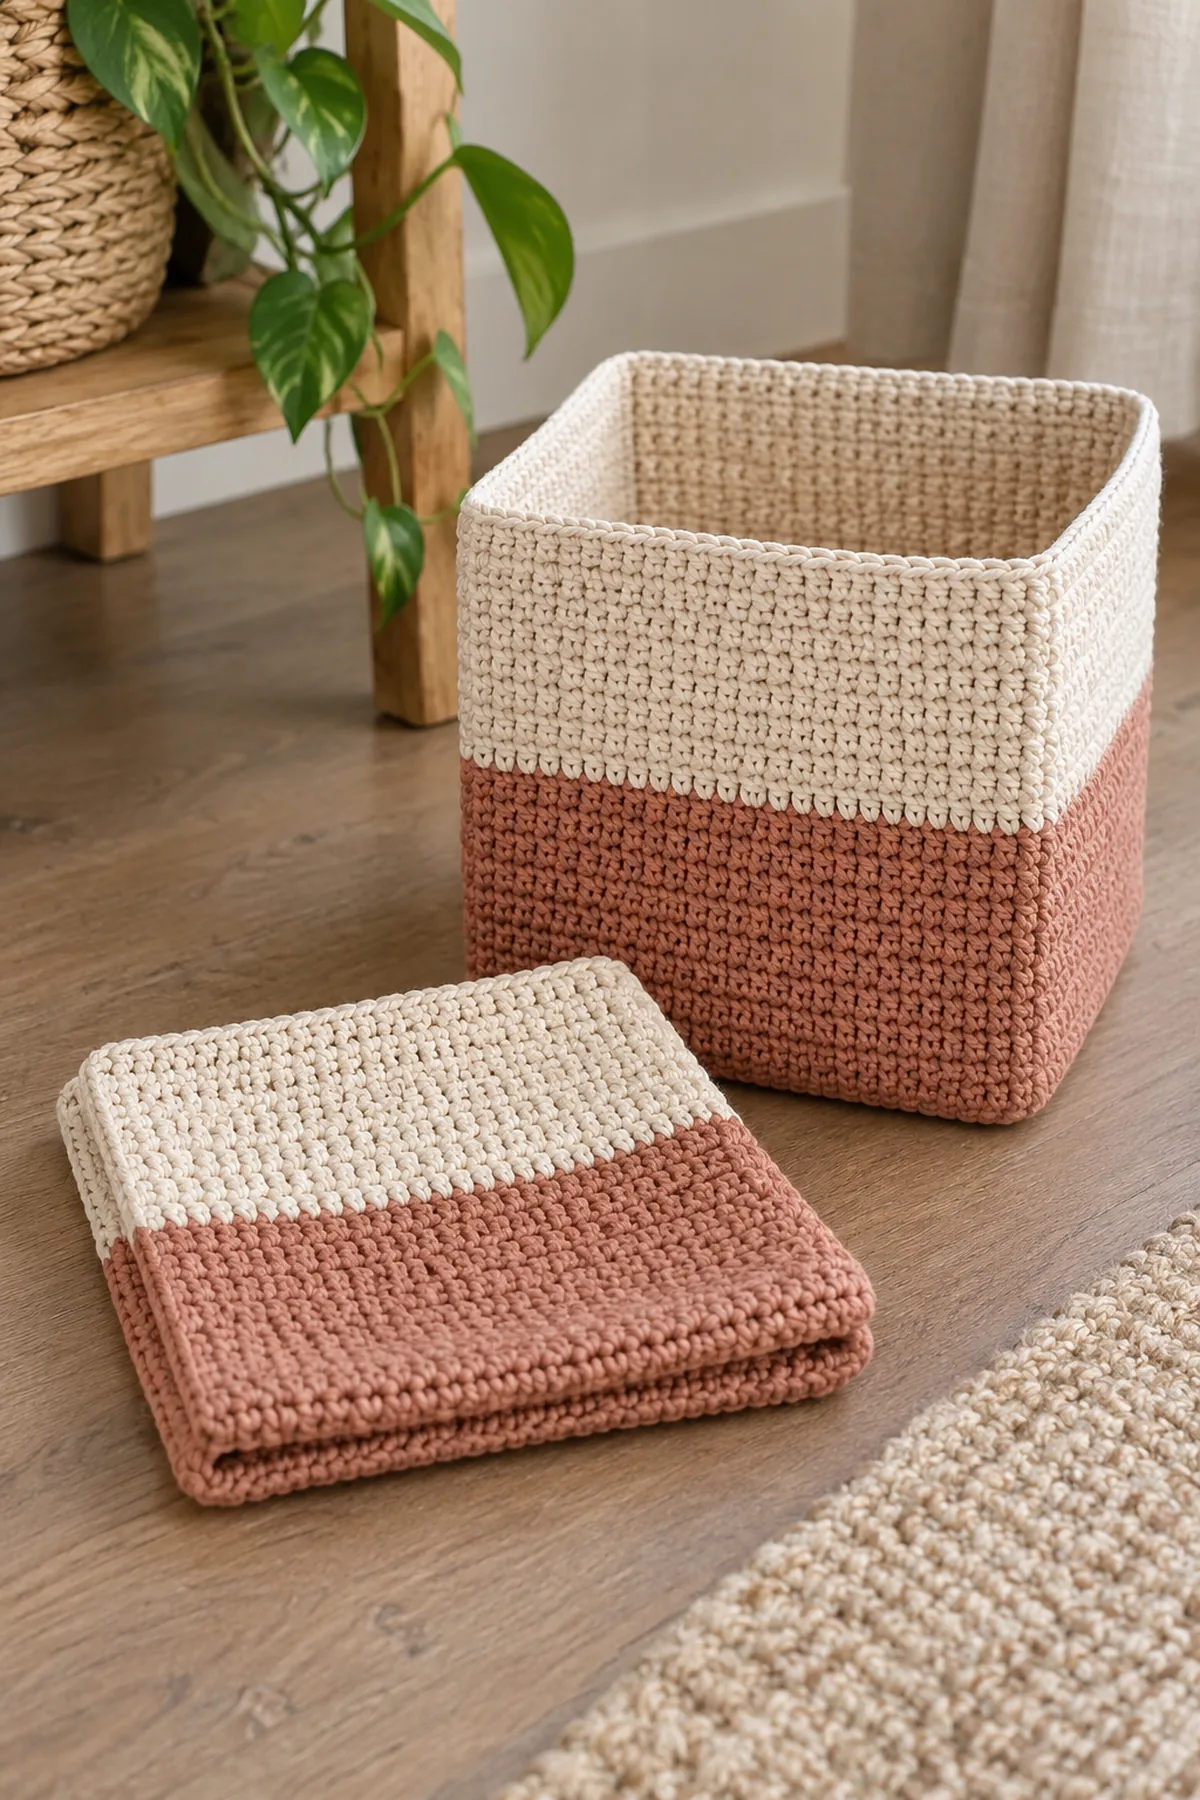
- To fold flat, remove contents, untie both inside bows, lift the free base edge so it rests against the hinged wall, and press two opposite vertical wall corners toward each other. The four-wall ring folds into a flat pair; do not force the base while ties remain closed.
- Start with light yarn skeins, folded washcloths or paper goods and inspect wall bowing. Remove contents if the base edges lift, corner seams stretch or the rim collapses. These are not load-rated shelf cubes, child toys, step stools or furniture; a physically made sample is required before assigning any weight limit.
- Wash flat according to the cotton label, dry both sizes completely with the base raised, and return each cube to its marked 8-inch or 10-inch square footprint. Inspect all four upright seams, the single hinge, tie anchors and folded rim after laundering.
Assembly and Shaping
Each small wall is 28 stitches wide and 32 rows high; each large wall is 35 stitches by 39 rows. Four rows fold outward to leave useful wall heights of 28 or 35 rows. Each matching base is a 28-by-28 or 35-by-35 stitch square. Four vertical seams pair equal row-end counts, while only one lower 28/35-stitch edge is permanently hinged to the base. The other three base edges remain free to lift for collapse.
Lay every component on a flat surface before joining. Match the marked centers first, then divide each remaining edge into equal sections. Work through both layers with consistent tension and pause after each section to check that the fabric lies flat. This measured approach prevents twisting and keeps decorative details facing the intended direction.
Finishing
- Weave each tail along three different paths on the wrong side; reverse direction before trimming.
- Wash or damp-block according to the yarn label and allow the work to dry at its measured shape.
- Inspect every seam, edge and attachment from both faces before first use, then inspect again after laundering.
For a polished result, weave each tail through several same-color stitches, reverse direction once, and trim only after the fabric has been gently stretched. Block to the listed dimensions without flattening textured stitches. Inspect joins, borders, straps, and decorative pieces before the project is used or gifted.
Helpful Tips
- Use contrasting locking markers at shaping points and record the count after every change row.
- Change hook size when the washed swatch differs from the stated gauge; do not compensate with uneven hand tension.
- Photograph the flat components before joining so it is easy to identify an inverted or twisted piece.
Good lighting and a contrasting stitch marker make counting much easier. If a section looks uneven, compare the current count with the previous checkpoint before continuing. Fixing one missed stitch early is faster than compensating later, and it preserves the measurements used by the assembly instructions.
Frequently Asked Questions
Why is the base not sewn on all four sides?
It must lift against one wall before the four-wall ring can fold flat. Sewing all sides would make a permanent box, not the requested collapsible organizer.
How much weight can the cubes hold?
No tested weight rating is claimed. Use light textiles or yarn, inspect for bowing and stop if the soft base or seams deform; do not use them to support a person or heavy objects.
Conclusion
These two colorblocked cubes share a genuinely reversible one-edge base hinge. The five-panel geometry and fold-out cream rim provide a clear organizing form without pretending that soft crochet is rigid furniture.
BabyYarnie Printable Crochet Pattern Card
BabyYarnie — easy-to-follow crochet for everyday makers.
Project: Crochet Fold-Flat Colorblock Storage Cubes
Skill level: Confident Beginner Hook: 4.5 mm with two strands of worsted cotton held together; adjust from washed panel gauge Yarn: Worsted washable 100% cotton held double
Finished size: Small roughly 8 × 8 × 8 inches usable height, large roughly 10 × 10 × 10 inches usable height after folding a four-row outer rim
Card Materials
- Approximately 420 yards clay and 420 yards cream worsted washable cotton held double for both cubes together, plus 10% for swatches, corner ties and seams
- 4.5 mm hook, eight locking markers, blunt needle, tape measure, blocking surface and scissors
- Lightweight folded linens, yarn skeins or paper goods for use; no plastic canvas, rigid insert or permanent fabric liner
Card Instructions
- Make Five Counted Flat Panels for Each Cube: For each cube, crochet four 28/35-stitch walls of 32/39 rows and one 28/35-stitch square base of 28/35 rows; reserve the top four wall rows for a folded rim.
- Seam the Square Tube and Make a One-Edge Base Hinge: Seam four 32/39-row walls into a square tube, hinge the 28/35-stitch base to one lower wall edge only, add two removable inside yarn corner ties and fold the top four rows outward.
- Open, Fold Flat and Check Capacity: Tie the hinged base down to stand the soft cube, untie and lift it to collapse flat, and reserve both sizes for lightweight contents only.
Finish: Check every count, weave in all ends, block to measurement, and inspect each join.