This original crochet succulent pattern explains how to make crochet succulent terrarium amigurumi trio from the first counted stitch through final assembly. The design is a practical free tutorial in US terms, with measurements and stitch checkpoints that you can verify as you work.
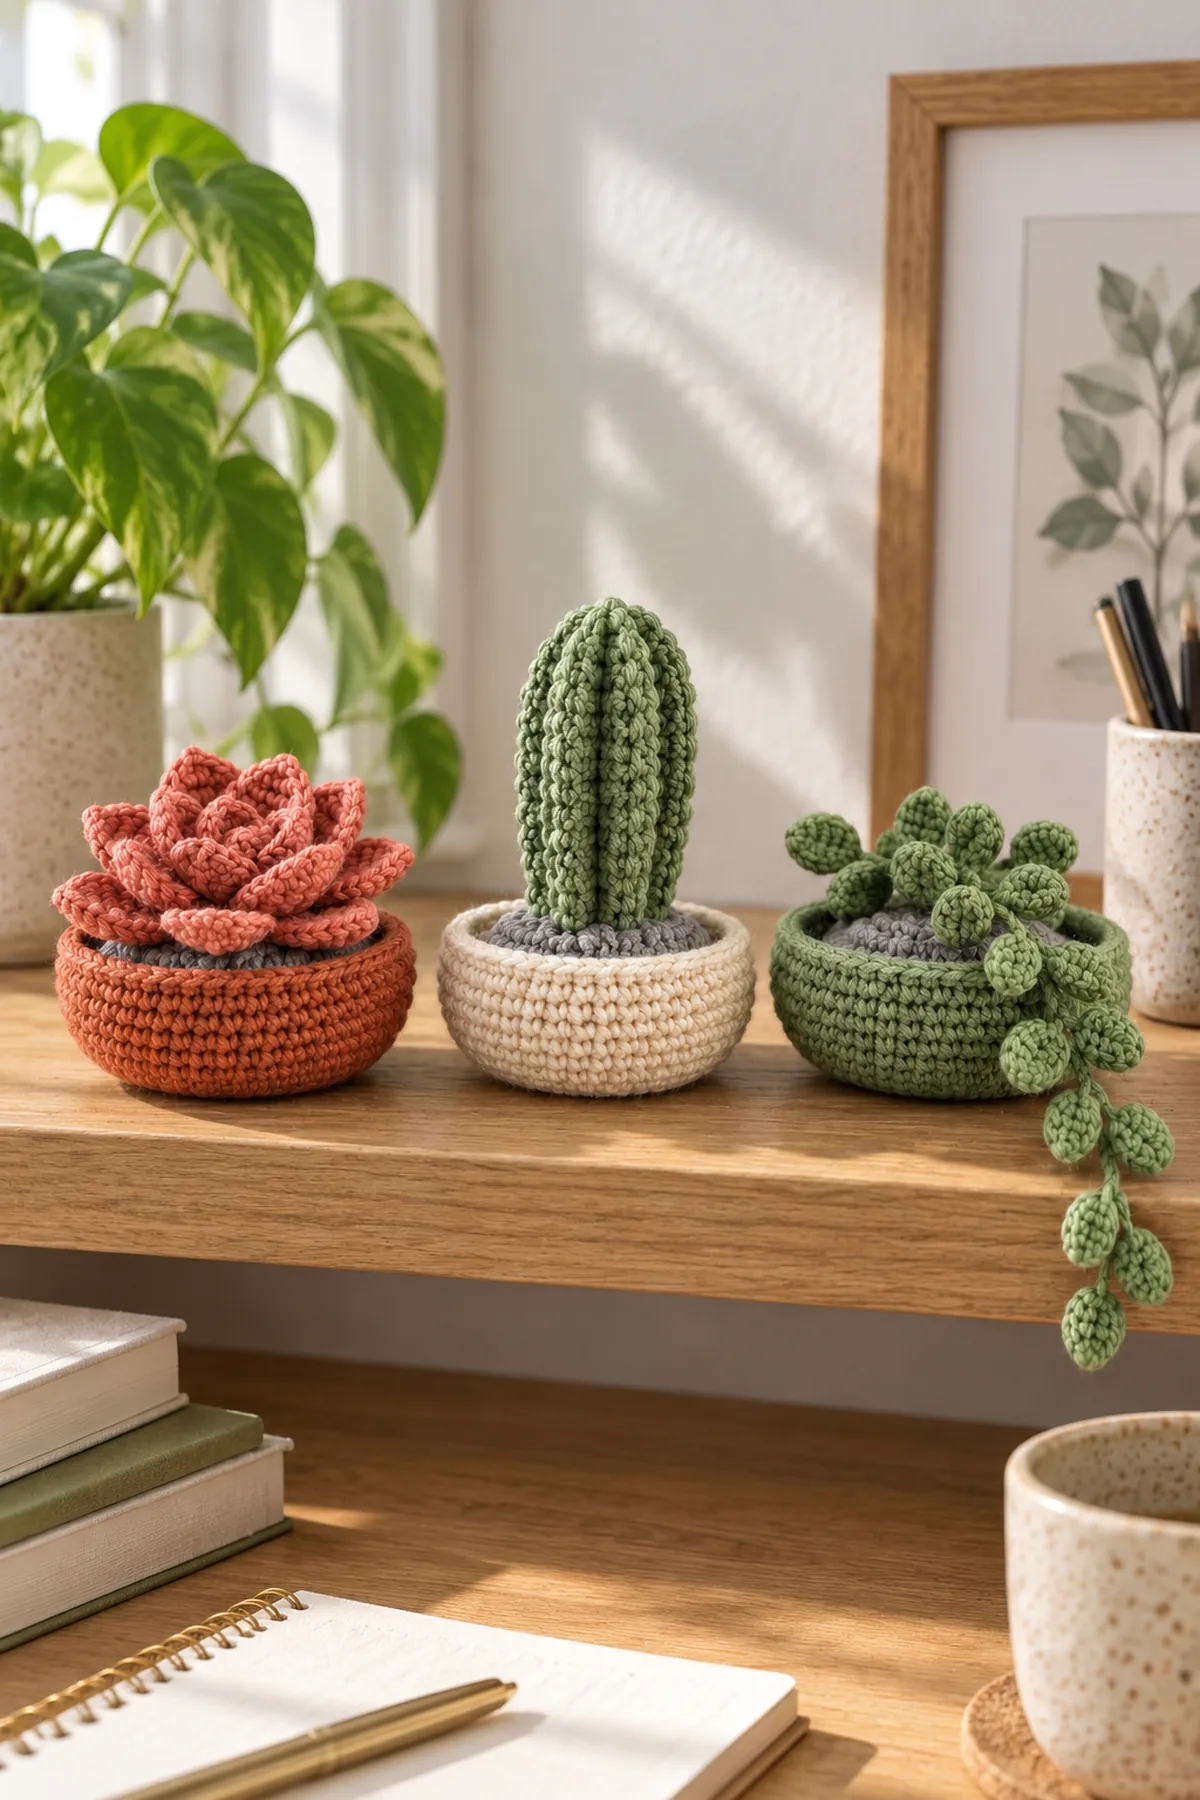
Make three identical 48-stitch shallow bowls and three matching gray pebble discs. Plant A uses stacked 12-, 18- and 24-stitch flower centers; Plant B is a stuffed 18-stitch ribbed column; Plant C is a pair of trailing 30-stitch stems with twelve sewn oval leaves. All parts are firmly sewn, with no wire, glass or loose plastic.
Pattern Details
- Hook Size: 3 mm for firm DK cotton; use a smaller hook if stuffing shows
- Finished Size: Each shallow bowl about 3 inches across and 1.25 inches tall; column about 4 inches above bowl; sprigs trail about 5 inches
- Gauge: 20 tight sc and 22 joined rounds = 4 inches after washing
- Estimated Time: 8–12 hours for all three plants and bowls
- Construction: Three 48-stitch bowls and gray inserts; layered 4/6/8-petal rosette, 18-stitch stuffed ribbed column, and two stems with six leaves each
- Skill level: Confident Beginner
Why You’ll Love This Project
The shape comes from counted stitches rather than an unexplained diagram. You can inspect each stage against the measurements, and the finished object has a clear purpose and a distinct silhouette in photographs.
Materials
- DK cotton: about 60 yards each terracotta, cream and sage for bowls; 90 yards assorted greens for plants; 45 yards gray for three inner discs, plus a 10% swatch allowance
- 3 mm hook, washable fiberfill for the column and a little for bowl bases, blunt yarn needle, ten locking markers, scissors and tape measure
- No wire, glass, beads, plastic eyes or separate stones; every decorative pebble is a securely sewn crochet stitch on the concealed gray disc
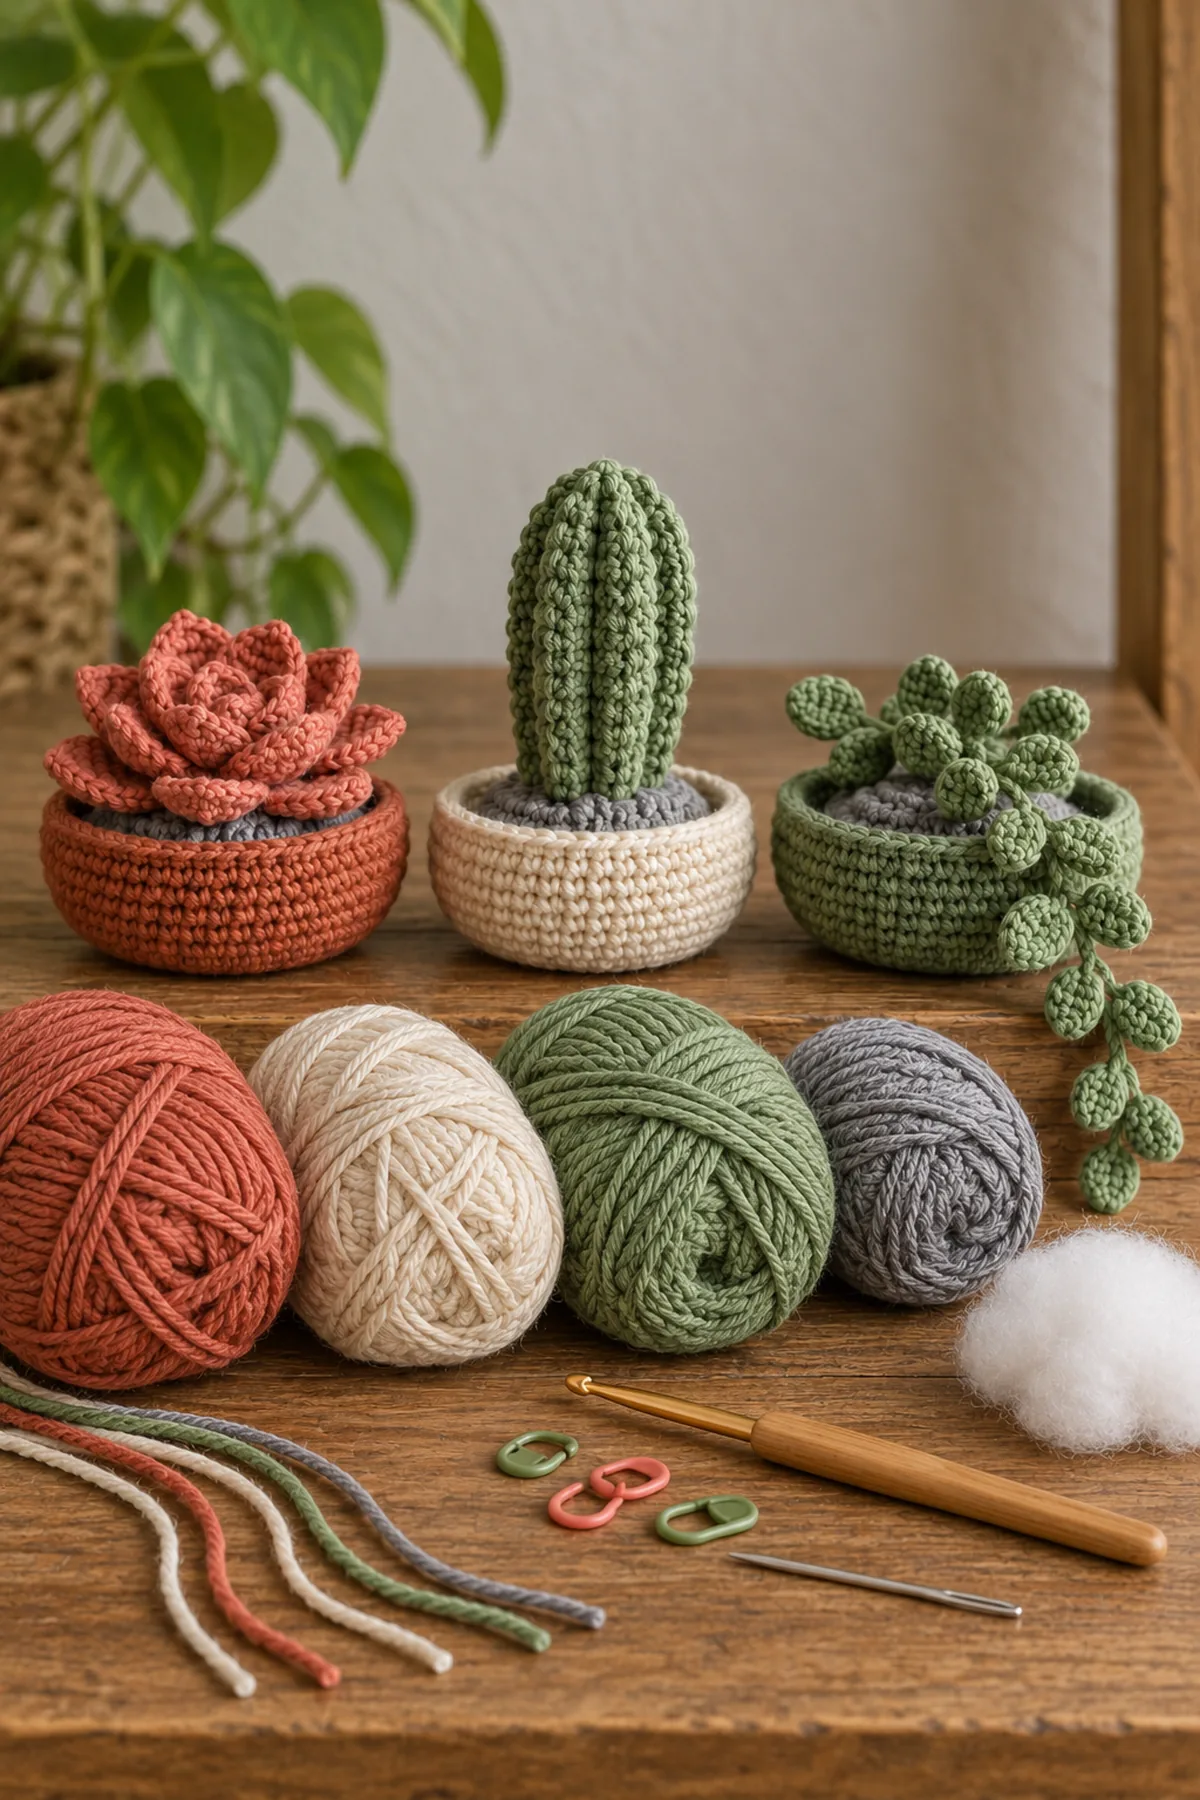
Gauge, Measurements, and Planning
Swatch tightly enough that 20 sc cover 4 inches and no fiberfill shows between stitches. A 48-stitch circumference at that gauge is about 9.6 inches, or just over 3 inches in diameter before the wall is shaped. The display is shelf decor, not a toy: keep it out of reach of young children and pets, and tug-test every plant attachment. A bowl that tips needs less stuffing or a flatter base, not a hidden hard weight.
Make and wash a gauge swatch before beginning. Measure only after the swatch is completely dry. If the stitch width differs, change hook size rather than pulling the working yarn tighter. Keep a written count at the end of every section so the finished edges remain balanced and the assembly points line up.
Abbreviations and Special Stitches
- ch: chain
- sc: single crochet
- sl st: slip stitch
- st(s): stitch(es)
- rnd: round
- inc: 2 sc in one stitch
- sc2tog: single crochet two stitches together
- hdc: half double crochet
- dc: double crochet
Special stitch guidance: Inc = 2 sc in one stitch. Sc2tog consumes two stitches and produces one. Petal group = sl st in first of three disc stitches, 3 hdc in the middle stitch, sl st in the third; the group uses exactly three center stitches. Leaf = work around both sides of a six-chain foundation: sc, hdc, dc, hdc, sc along five chains, then the same five stitches along the opposite chain loops and sl st to the base. All joined-round ch 1 lifts and sl st joins are uncounted.
Important Notes
- AI-generated pictures illustrate the intended design; they are not photographs of a physically tested sample. Follow written counts rather than counting stitches in an image.
- The stitch arithmetic has been checked, but gauge, yardage and fit are planning targets until a physical sample is made. Wash a swatch and check measurements before gifting or wearing.
- A beginning ch 1 and a joining sl st never count as a stitch in this pattern. Mark the first counted stitch of each row or round.
- If a row count is wrong, return to that row. Adding an unplanned stitch later changes the shaping and the assembly alignment.
Complete Instructions for Crochet Succulent Terrarium Amigurumi Trio
Crochet Three Bowls and Their Pebble Inserts
Work one bowl in each display color. Join each round to the first sc and do not turn; move a marker into the first counted stitch after every join.
- Bowl Round 1: Make 6 sc in an adjustable ring, tighten and join. (6 sts)
- Rounds 2–8: Increase by six per round: Round 2, inc in each stitch (12 sts); Round 3, repeat [sc, inc] six times (18 sts); Round 4, [2 sc, inc] six times (24 sts); Round 5, [3 sc, inc] six times (30 sts); Round 6, [4 sc, inc] six times (36 sts); Round 7, [5 sc, inc] six times (42 sts); Round 8, [6 sc, inc] six times (48 sts).
- Wall Round 9: Ch 1, BLO sc in each stitch and join. The unused outer loops mark the bend of the bowl. (48 sts)
- Wall Rounds 10–13: Ch 1, sc in every stitch, join and do not turn. (48 sts) each round. Fasten off after Round 13, leaving a 20-inch tail for the insert seam.
- For each gray insert, repeat the 6-sc ring and six-increase rounds through a 48-stitch Round 8. Work one surface sl st in gray across every sixth stitch of its top to suggest attached pebbles without adding loose objects. Do not add an insert wall. Make three inserts total and hold them aside for plant attachment.
- The colored bowl bases and gray inserts must each lie flat before assembly. If any disc cups, change hook size or loosen the increases uniformly rather than inserting a hard weight.
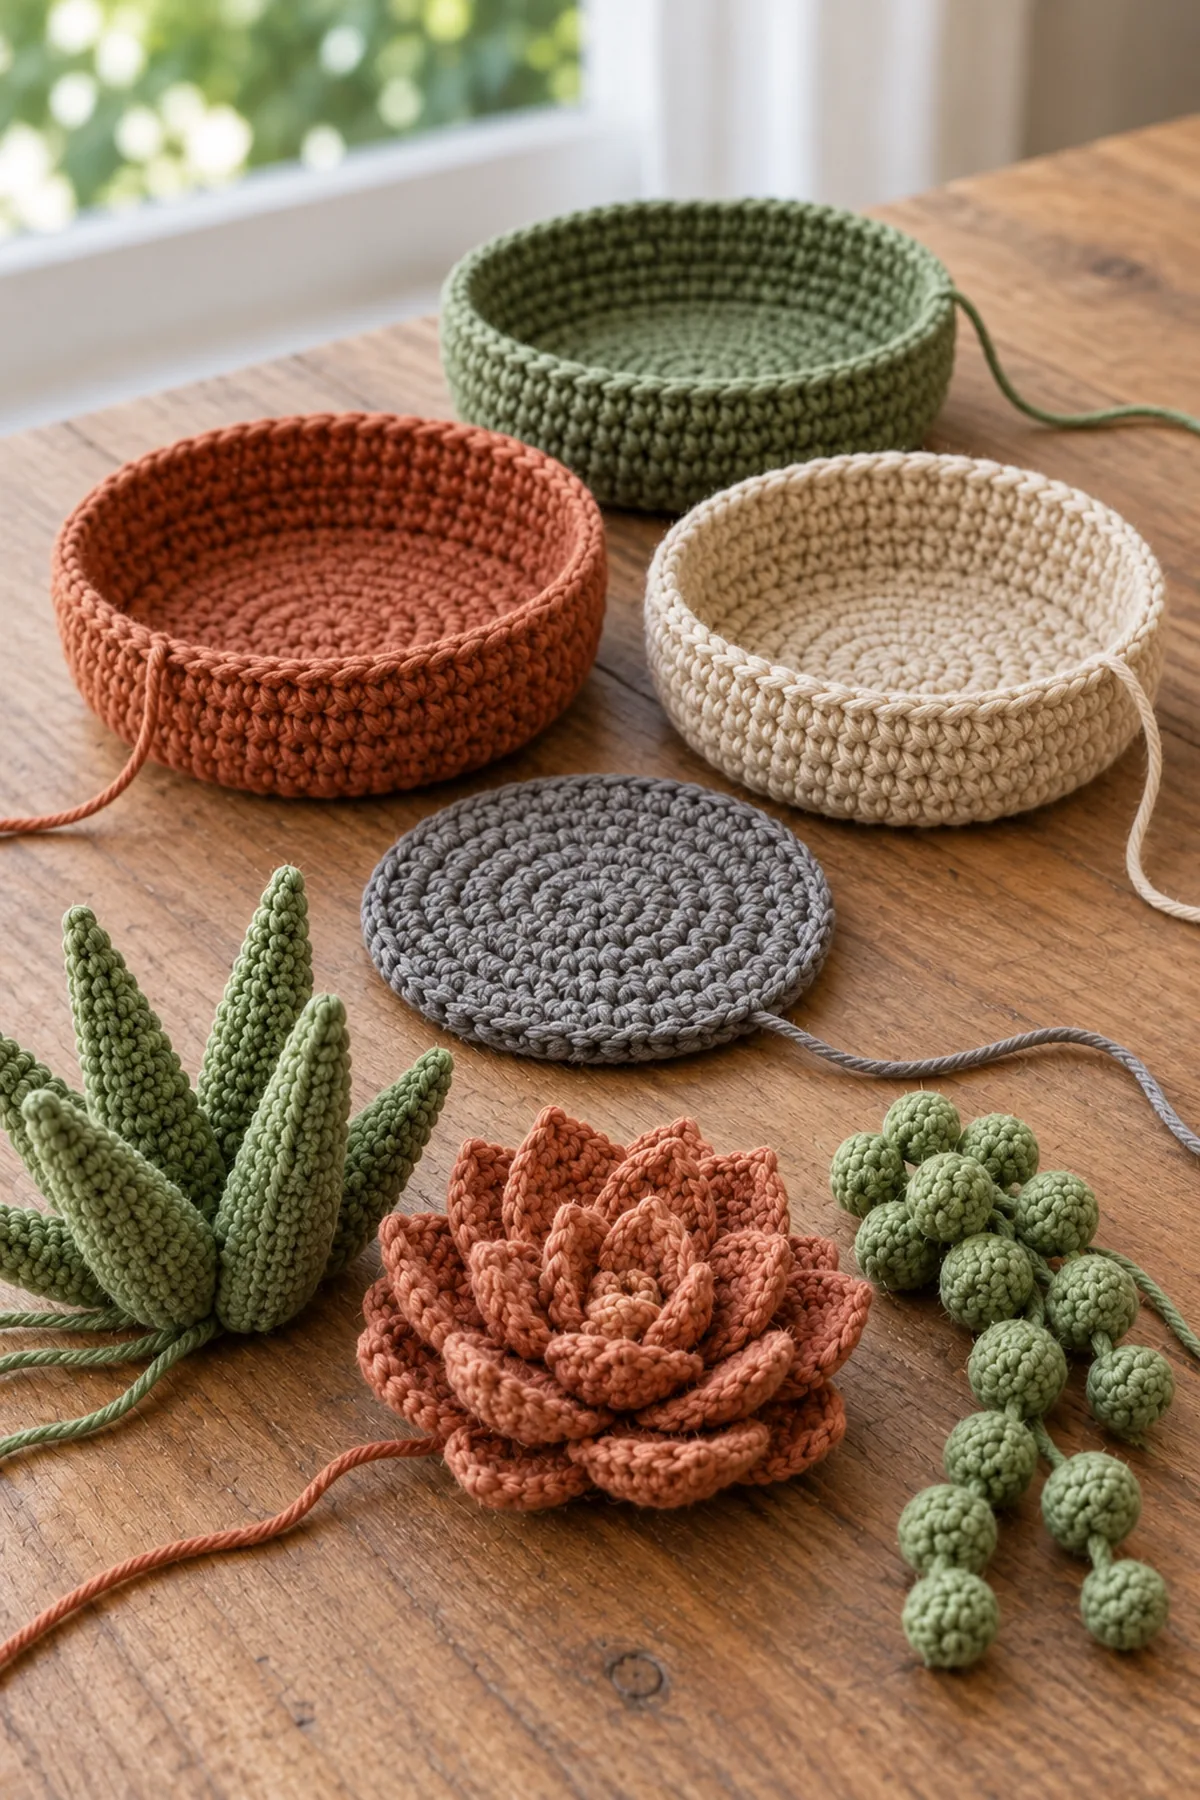
Make the Layered Rosette and Ribbed Column
Plant A is a three-layer flat flower; Plant B is a separate upright soft tube. They share neither an animal face nor a hidden wire armature.
- Rosette: Make three green circles beginning with 6 sc in a ring. For the smallest, increase to 12 sc and stop; for the medium, increase to 12 then 18; for the largest, increase to 12, 18 then 24. Join every round and keep ch 1 uncounted. The center counts are (12 sts), (18 sts) and (24 sts).
- Around the small 12-stitch center, work the three-stitch petal group four times; around the medium 18-stitch center, six times; around the large 24-stitch center, eight times. Each petal occupies its own three consecutive center stitches. Make no additional petal in a joining slip stitch. Stack largest to smallest, rotate lobes to show all three tiers and sew firmly through all centers to one gray insert.
- Column: Make 6 sc in a ring (6 sts), inc in each stitch (12 sts), then [sc, inc] six times (18 sts). Work 10 even 18-stitch joined rounds, alternating ordinary sc and BLO sc rounds to form horizontal tactile ribs. Stuff lightly as you go.
- To close the top, [sc, sc2tog] six times (12 sts), then sc2tog six times (6 sts). Thread the final tail through all six front loops, tighten, knot invisibly and sew the base of the column to the second gray insert through at least two full stitch circles.
- Press the column gently sideways. If the base shifts, add more sewn passes through the fabric rather than inserting wire or a rigid stem.
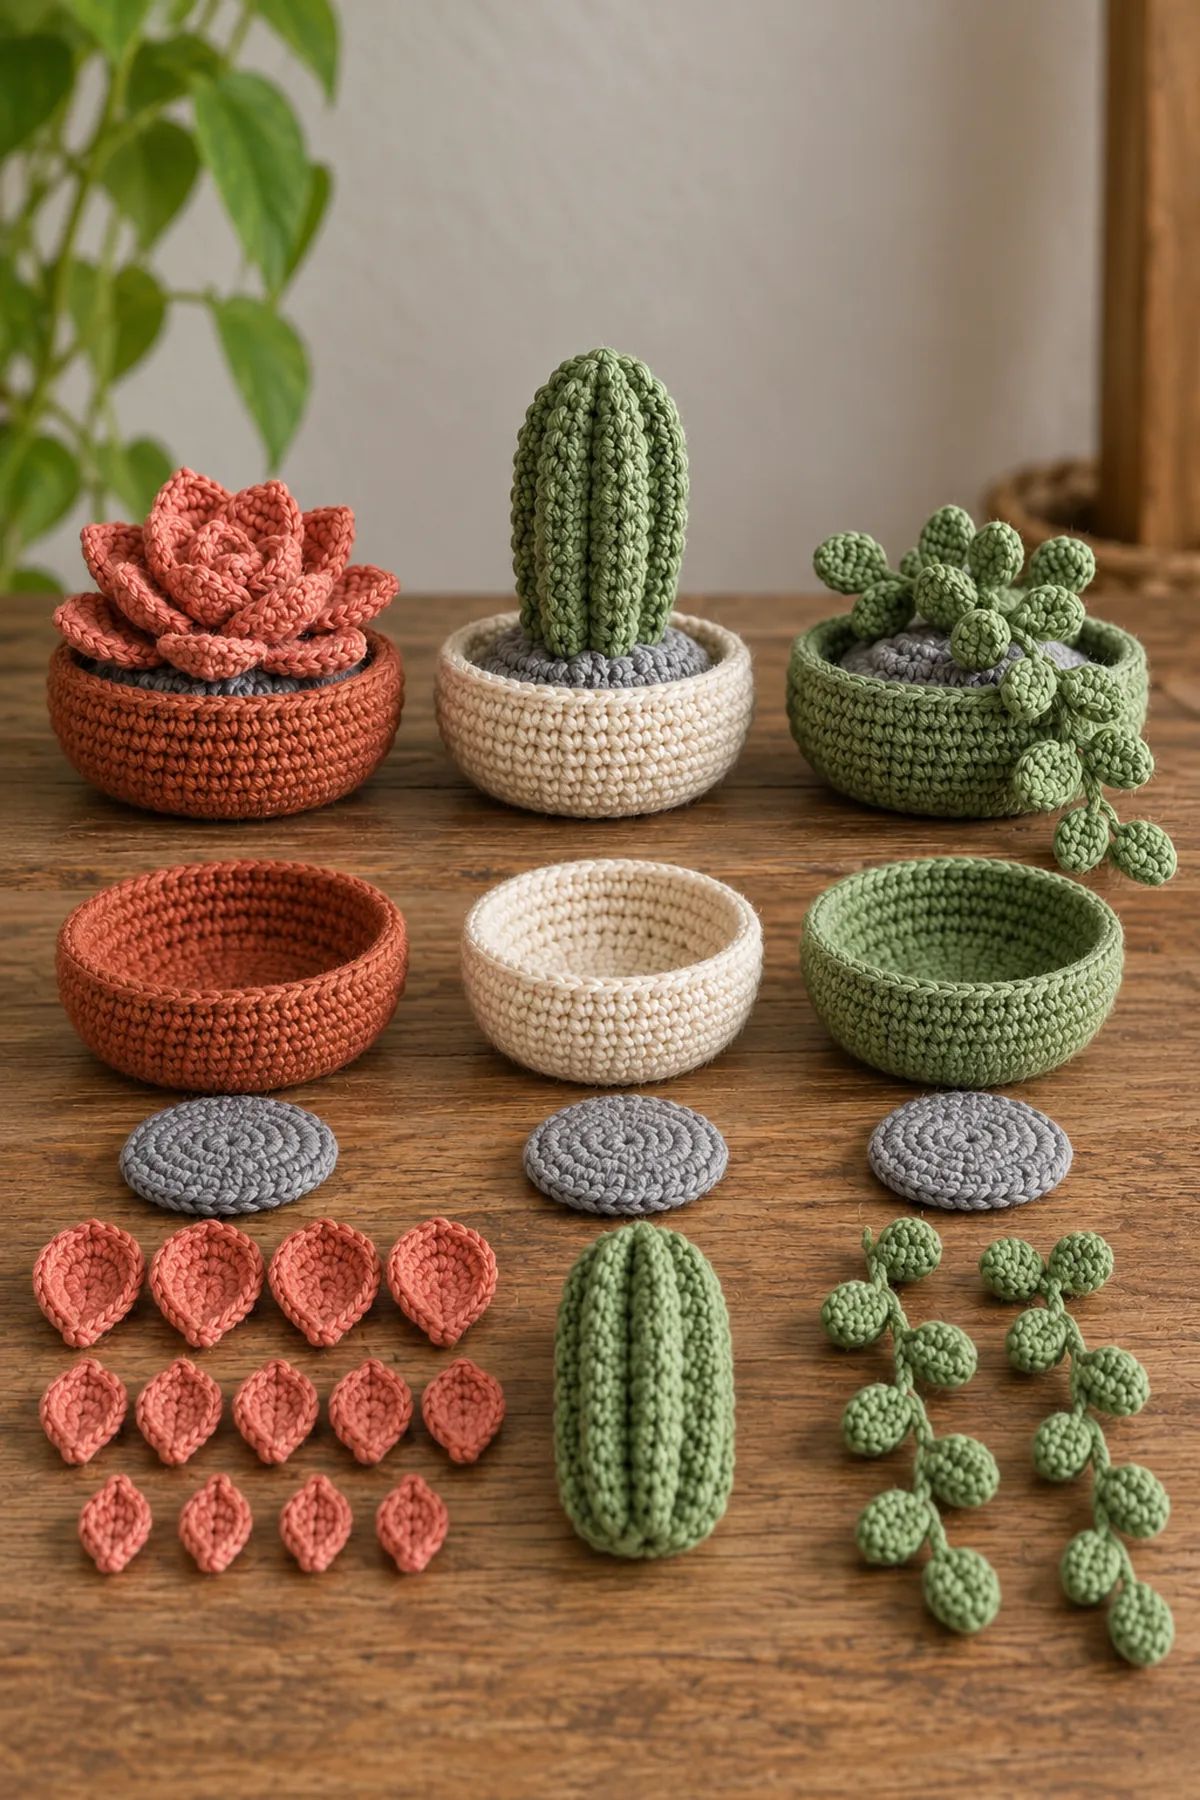
Make Two Trailing Bead-Leaf Sprigs
Plant C uses two soft chains with six separate sewn leaves each. No leaf is detachable, and no bead or wire is included.
- For each stem, ch 31 in dark green and work one sl st into the second chain from the hook and each of the other 29 chains. The finished stem has 30 anchored slip stitches and a long sewing tail. Make two stems. (30 sts) per stem.
- For each leaf, ch 6 in light green. In the second through sixth chains work sc, hdc, dc, hdc, sc; turn the chain and work sc, hdc, dc, hdc, sc into the unused loops on the opposite side. Slip stitch to the leaf base and leave a sewing tail. Each leaf has ten worked edge stitches. Make twelve total, six for each stem.
- Mark stem stitches 5, 10, 15, 20, 25 and 30. Sew one leaf base through the marked stem stitch and two adjacent stem bars at each mark, alternating the side to which its tip points. Tug each leaf gently; if its base slides, sew it again. Coil the upper 3 inches of both stems onto the third gray insert and sew them down while the remaining lengths trail over its bowl edge.
- An optional small raised gray surface stitch may be sewn into the pebble disc near each stem root, but do not attach separate beads or stones. The trailing form must remain flexible and safe to dust.
Secure Each Plant Inside Its Shallow Bowl
The gray inserts conceal the plant sewing tails and a very small amount of fiberfill beneath them. They are textile pieces, not a glass terrarium.
- Place a thin, even pinch of washable fiberfill in each colored bowl, no higher than Wall Round 10. Lower the plant-bearing 48-stitch gray insert so its edge sits just inside the 48-stitch bowl wall at Wall Round 12. Align all four quarter markers before joining.
- Using the bowl’s 20-inch tail, whip stitch gray insert stitch 1 to colored bowl wall stitch 1, then each of the remaining 47 paired positions. Catch both fabric layers on every pass. Make a second pass around the last quarter and knot beneath the insert. The bowl rim remains visibly above the gray pebble surface.
- Repeat for the other two plants. Check the rosette, column and sprig separately with a firm but gentle tug, then set each bowl on a level shelf. If any tips, redistribute soft fill or flatten its crochet base; never insert coins, glass or weights.
- Wipe or hand-wash following the cotton label and allow the interior to dry completely. Label the trio as adult shelf decor, not as a toy or a real potted plant.
Assembly and Shaping
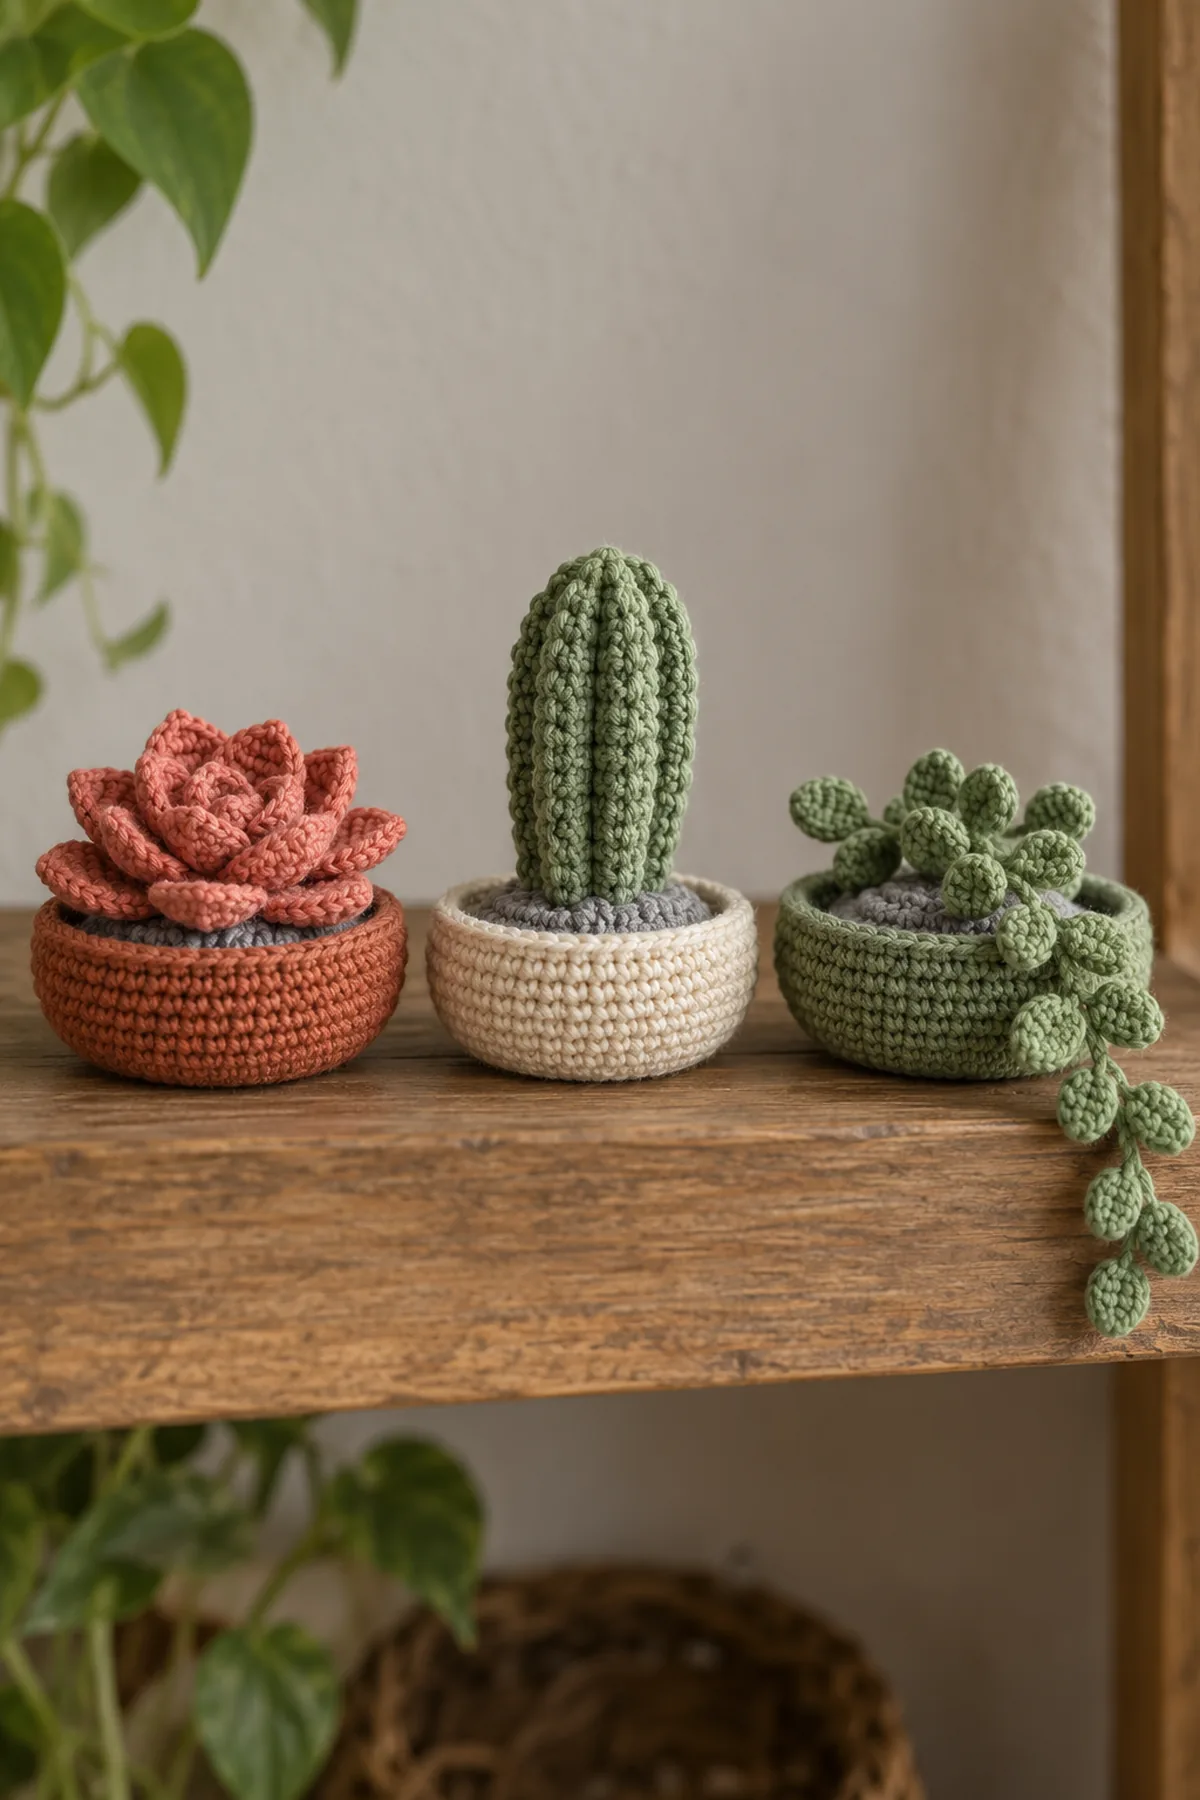
Each 48-stitch gray insert carries exactly one distinct plant and is sewn inside a matching 48-stitch shallow bowl. The largest rosette goes in terracotta, the ribbed column in cream and the two trailing bead-leaf sprigs in sage. No wire, glass, loose beads or plastic fasteners are used.
Lay every component on a flat surface before joining. Match the marked centers first, then divide each remaining edge into equal sections. Work through both layers with consistent tension and pause after each section to check that the fabric lies flat. This measured approach prevents twisting and keeps decorative details facing the intended direction.
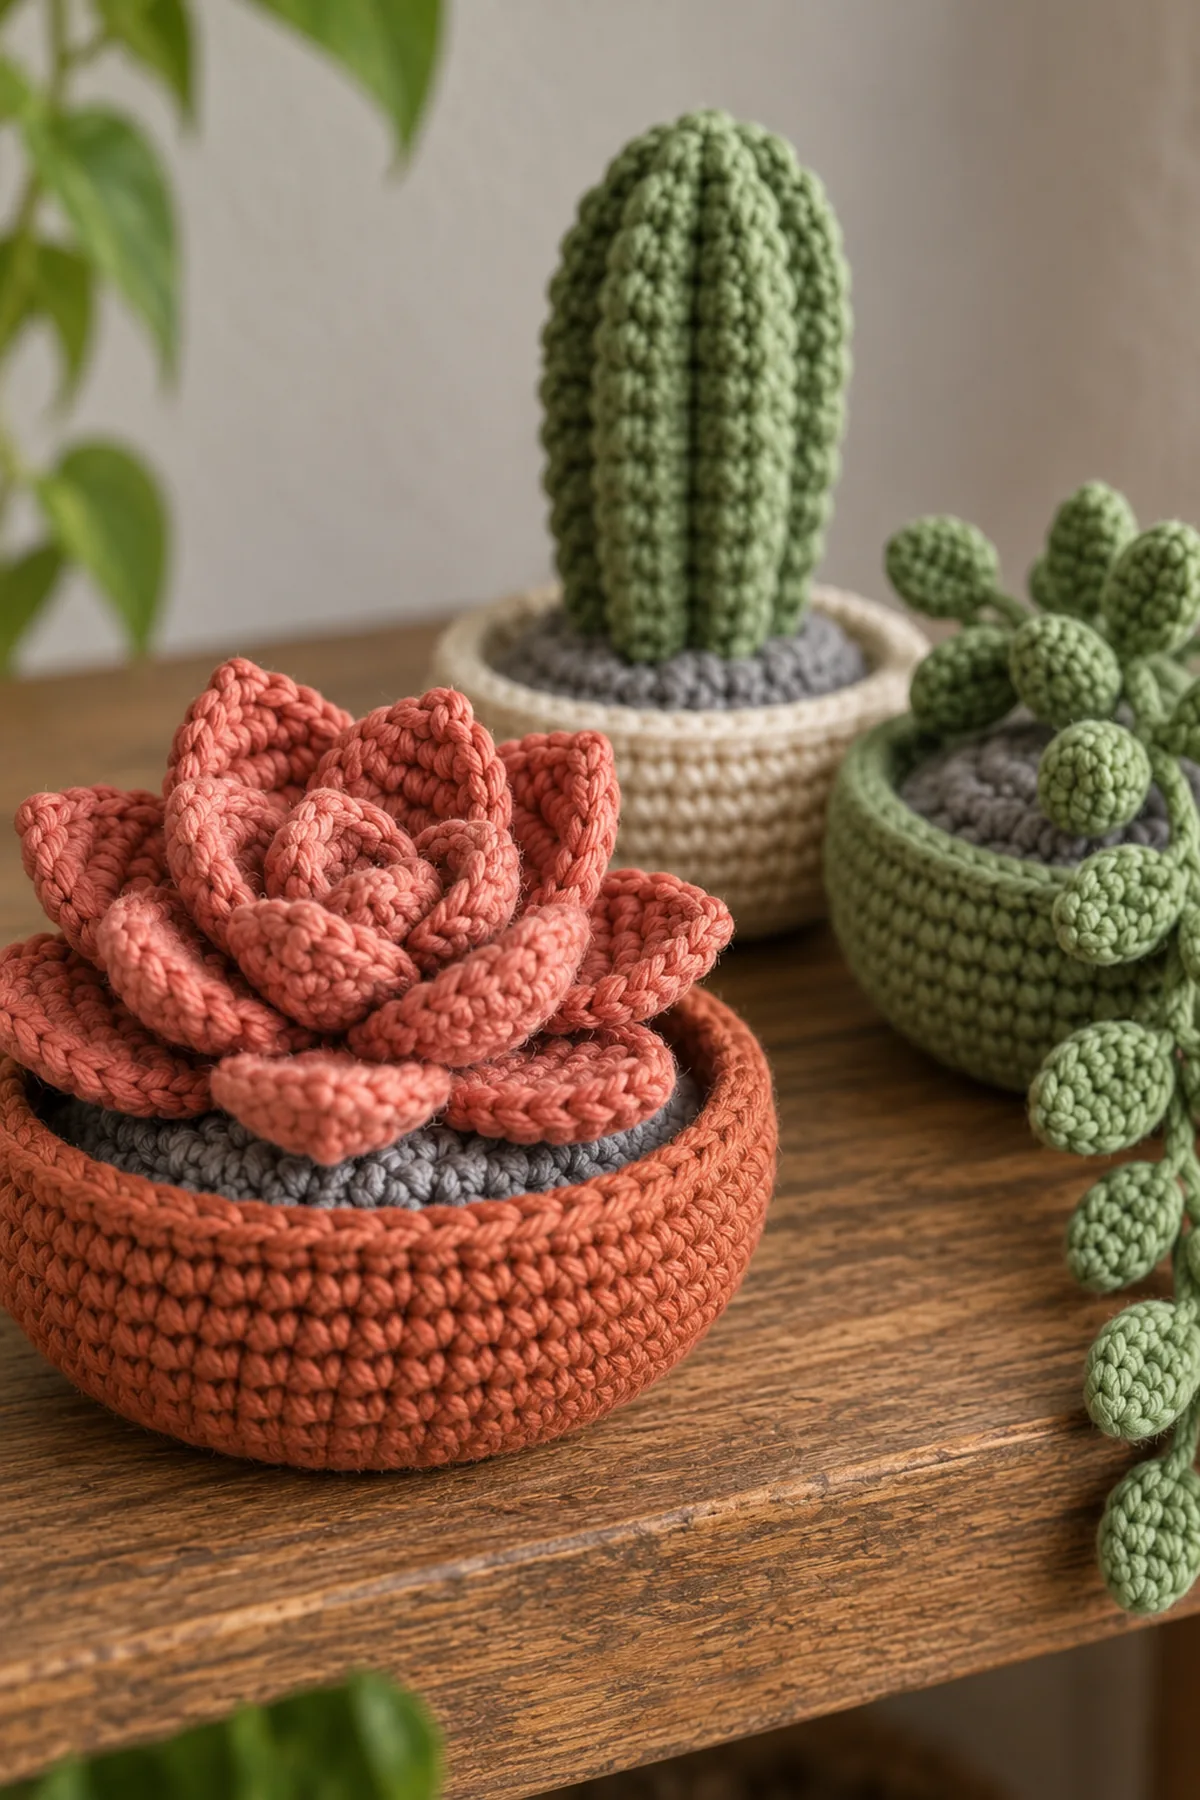
Finishing
- Weave each tail along three different paths on the wrong side; reverse direction before trimming.
- Wash or damp-block according to the yarn label and allow the work to dry at its measured shape.
- Inspect every seam, edge and attachment from both faces before first use, then inspect again after laundering.
For a polished result, weave each tail through several same-color stitches, reverse direction once, and trim only after the fabric has been gently stretched. Block to the listed dimensions without flattening textured stitches. Inspect joins, borders, straps, and decorative pieces before the project is used or gifted.
Helpful Tips
- Use contrasting locking markers at shaping points and record the count after every change row.
- Change hook size when the washed swatch differs from the stated gauge; do not compensate with uneven hand tension.
- Photograph the flat components before joining so it is easy to identify an inverted or twisted piece.
Good lighting and a contrasting stitch marker make counting much easier. If a section looks uneven, compare the current count with the previous checkpoint before continuing. Fixing one missed stitch early is faster than compensating later, and it preserves the measurements used by the assembly instructions.
Frequently Asked Questions
Are these safe as toys for toddlers or pets?
No. These are decorative shelf pieces with sewn small leaves and long trailing stems. Keep them out of reach and inspect the stitching regularly.
How do I keep a bowl from tipping?
Use a firm washed gauge, spread only a thin layer of fiberfill and flatten the 48-stitch base. Do not add coins, stones or other concealed hard weights.
Conclusion
The trio displays three visibly different crochet plant constructions in matching shallow bowls. Every leaf and insert is sewn down, so the arrangement remains soft and can be inspected without disturbing a hidden armature.
BabyYarnie Printable Crochet Pattern Card
BabyYarnie — easy-to-follow crochet for everyday makers.
Project: Crochet Succulent Terrarium Amigurumi Trio
Skill level: Confident Beginner Hook: 3 mm for firm DK cotton; use a smaller hook if stuffing shows Yarn: DK cotton
Finished size: Each shallow bowl about 3 inches across and 1.25 inches tall; column about 4 inches above bowl; sprigs trail about 5 inches
Card Materials
- DK cotton: about 60 yards each terracotta, cream and sage for bowls; 90 yards assorted greens for plants; 45 yards gray for three inner discs, plus a 10% swatch allowance
- 3 mm hook, washable fiberfill for the column and a little for bowl bases, blunt yarn needle, ten locking markers, scissors and tape measure
- No wire, glass, beads, plastic eyes or separate stones; every decorative pebble is a securely sewn crochet stitch on the concealed gray disc
Card Instructions
- Crochet Three Bowls and Their Pebble Inserts: Make three colored 48-stitch bowl bases with five even wall rounds, plus three flat 48-stitch gray inner discs.
- Make the Layered Rosette and Ribbed Column: Layer 4-, 6- and 8-petal rosettes from 12/18/24-stitch discs; stuff and close one 18-stitch ribbed column to 12 then 6 stitches.
- Make Two Trailing Bead-Leaf Sprigs: Make two 30-slip-stitch stems and twelve ten-stitch leaves; sew six leaves at five-stitch intervals on each stem.
- Secure Each Plant Inside Its Shallow Bowl: Sew each 48-stitch plant insert to its matching 48-stitch colored bowl through all positions; use only light soft fill and inspect every attachment.
Finish: Check every count, weave in all ends, block to measurement, and inspect each join.