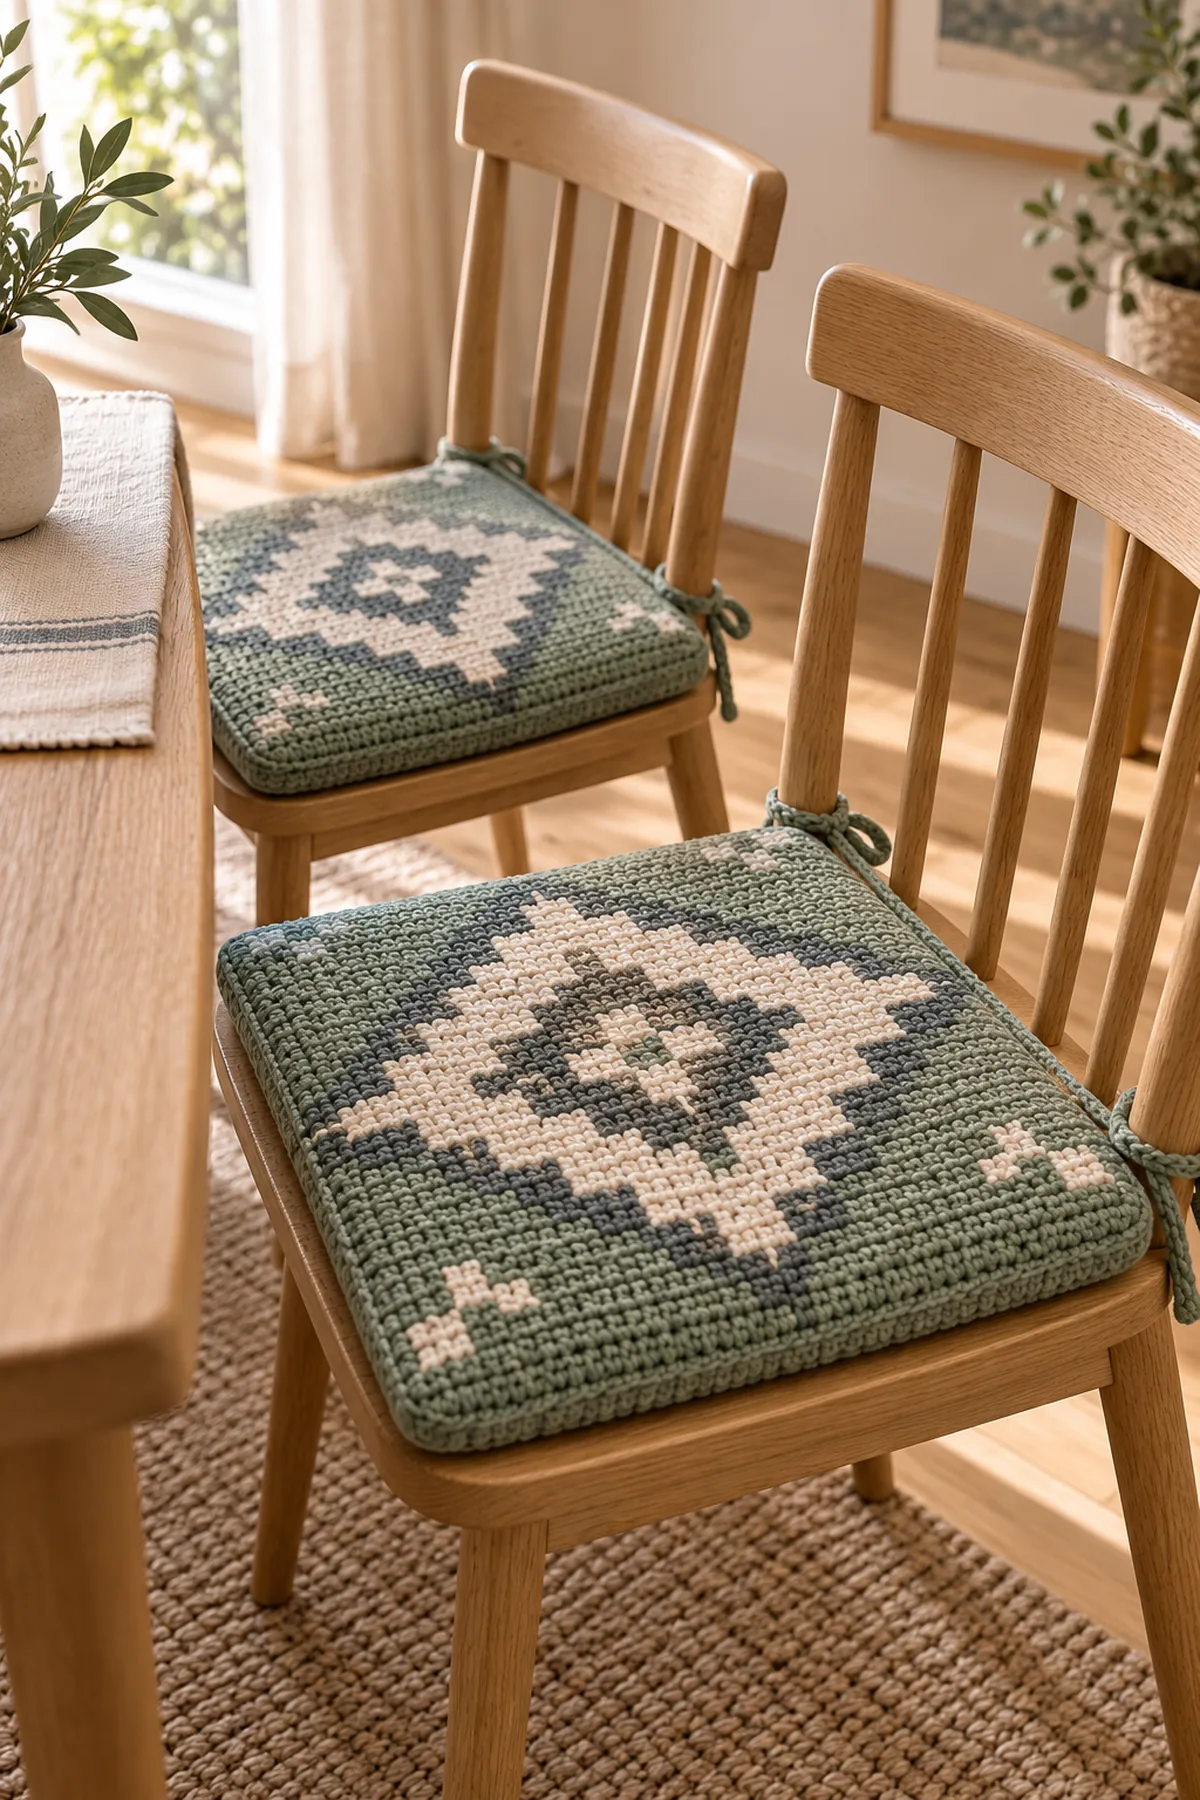
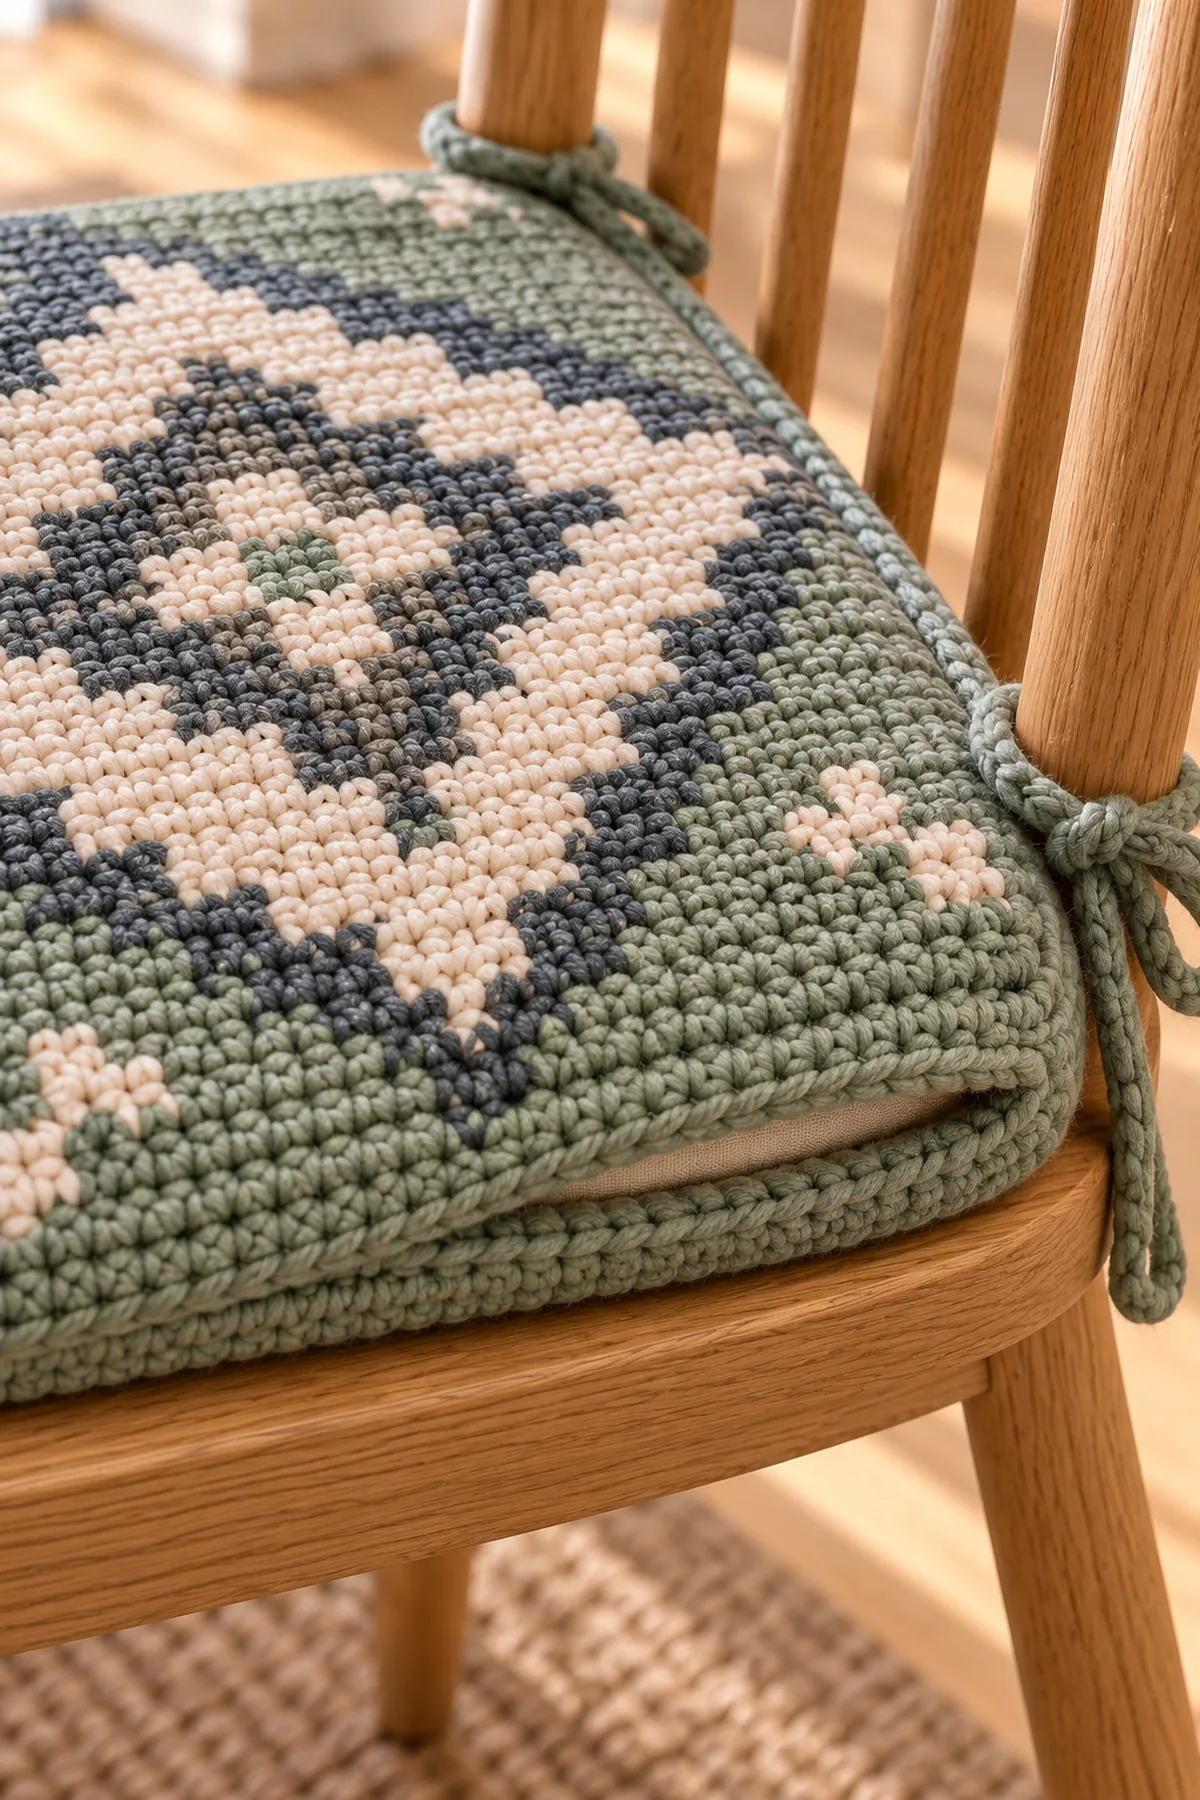
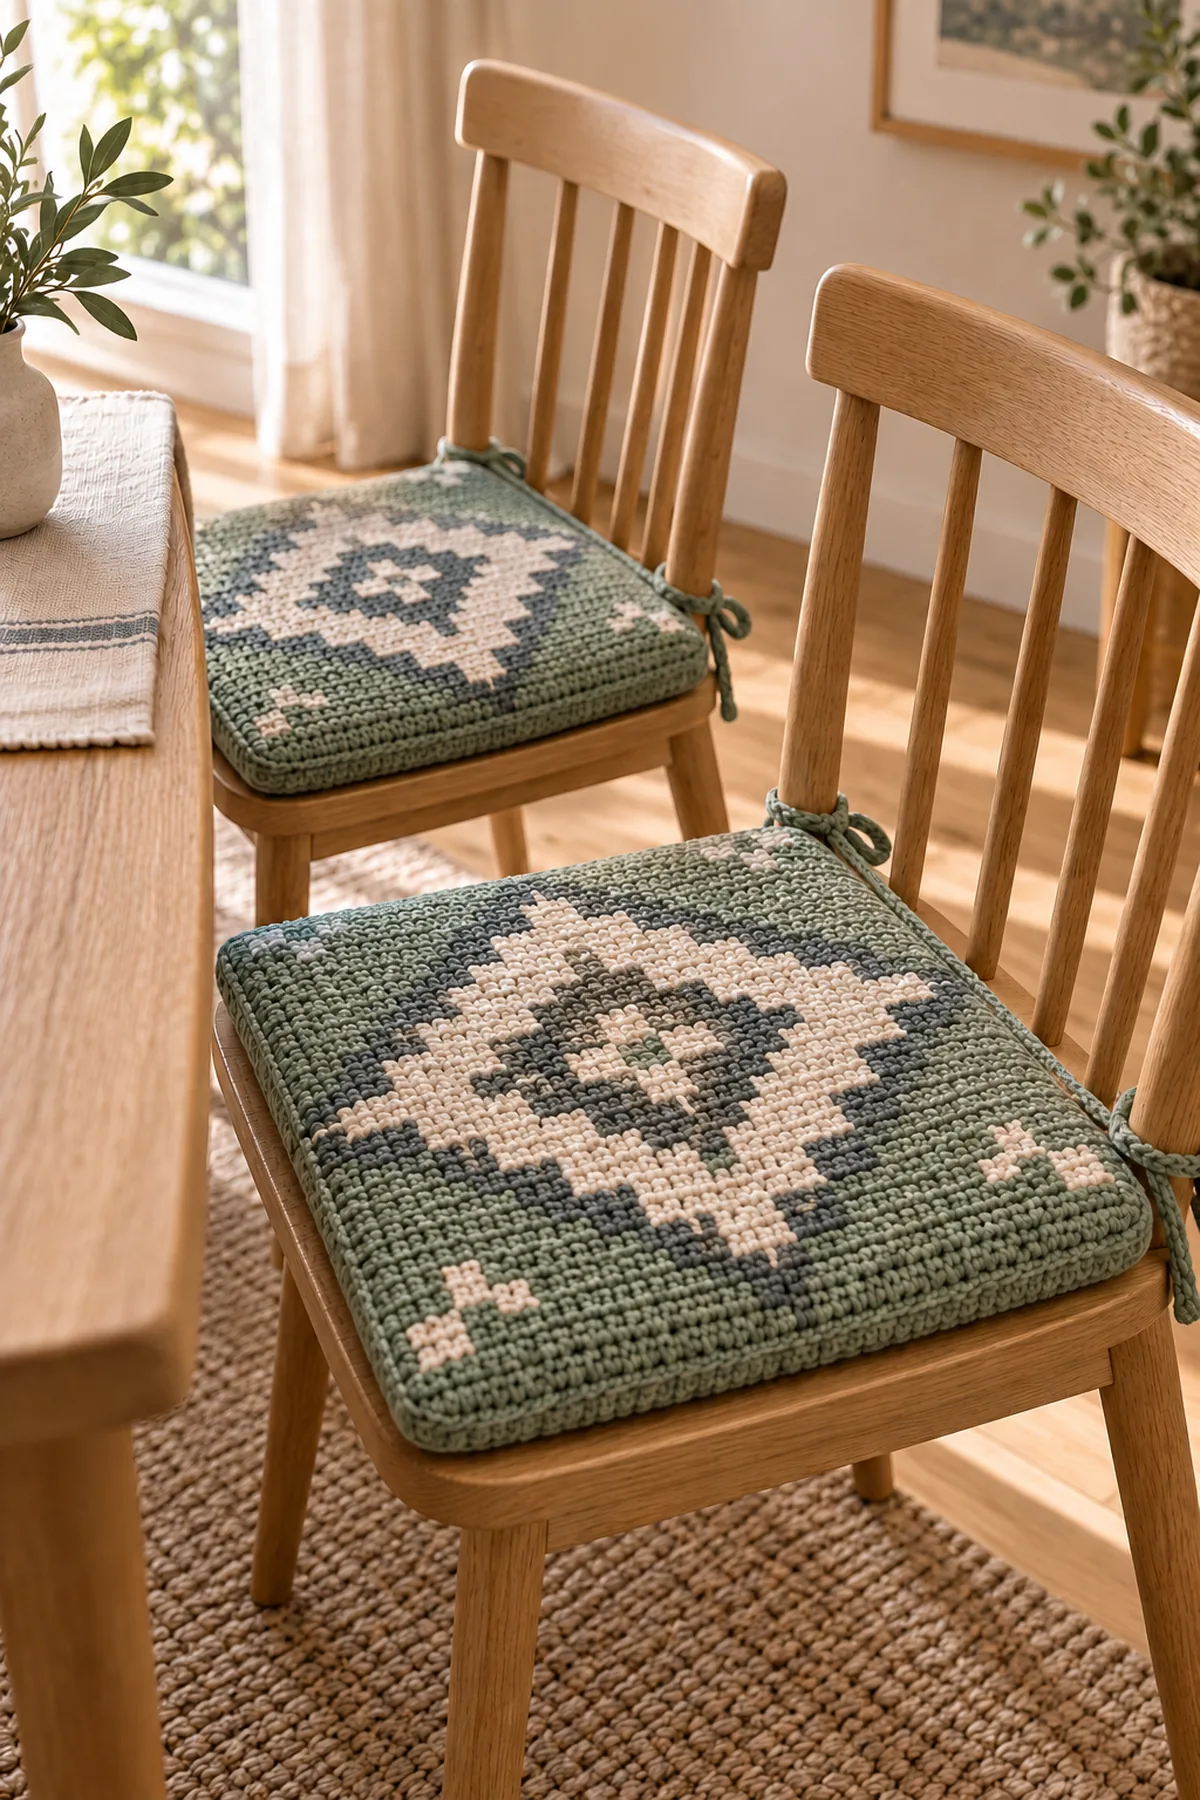
This crochet chair pad pattern makes two coordinated square cushions sized for dining chairs. Each pad uses a tapestry-crochet front with an original centered cream-and-slate diamond grid and a plain sage back. Three sides are joined permanently; a button-free envelope opening at the back edge lets the slim insert come out for washing. Four reinforced ties per pad keep the cushion aligned without placing hard fasteners beneath the sitter.
This free tutorial is written as an original measured construction rather than a color-only variation. Read the complete pattern before beginning, make a washed gauge swatch, and record the selected size and every adjustment. The stitch audit checks the written arithmetic, but it does not claim a physical sample or fit test.
Pattern Details
- Hook Size: 4.5 mm
- Finished Size: Two pads, each about 16 by 16 in with a 1.5 in insert
- Gauge: 16 sc and 17 rows = 4 in
- Terminology: US
- Construction: Two charted fronts, two plain backs, envelope flaps, joined edges and corner ties
- Yarn Weight: Worsted weight (category 4)
- Yarn Amount: 900 yd sage, 170 yd cream and 120 yd slate blue for the pair
Materials
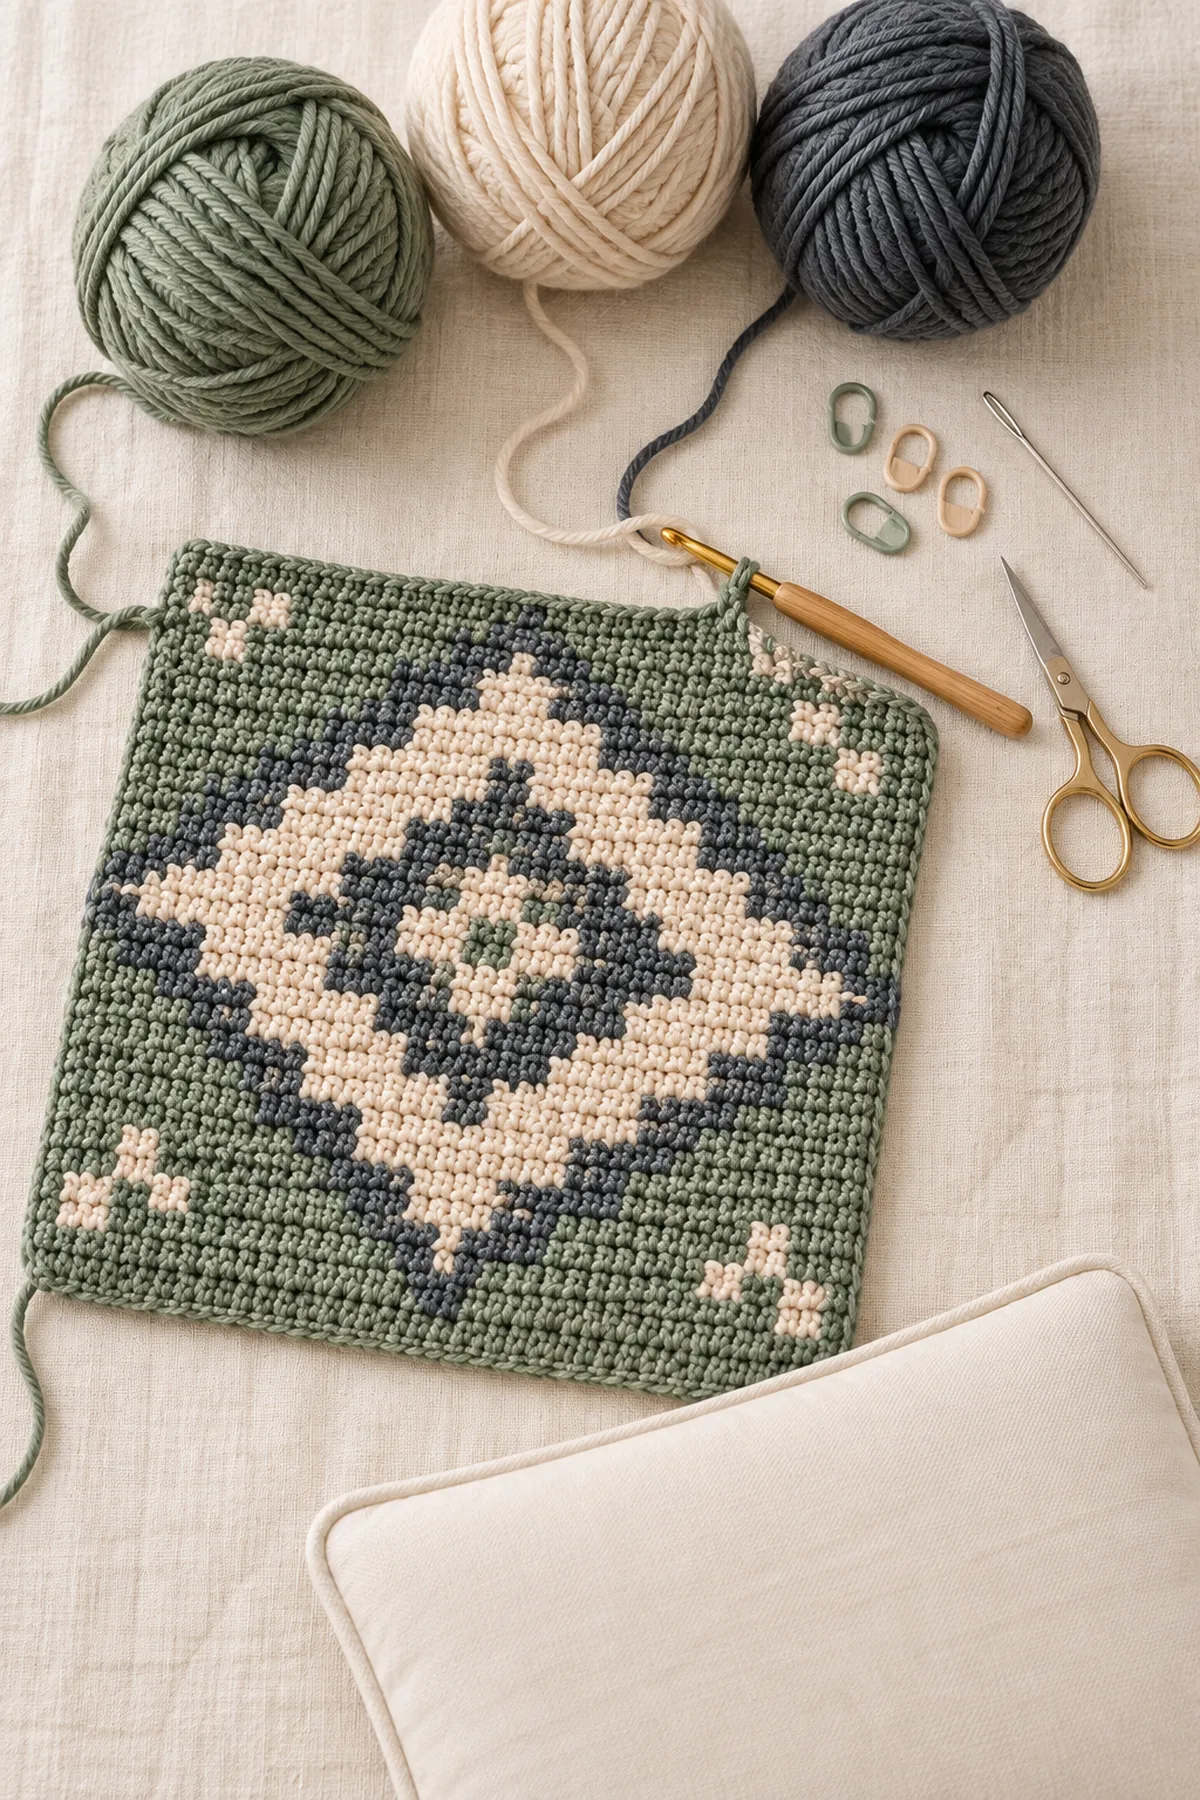
- Worsted cotton-blend yarn in sage, cream and slate
- 4.5 mm hook
- Four 15-inch square washable inserts
- Markers, yarn needle, scissors and tape measure
Abbreviations and Special Stitches
- ch: chain
- sc: single crochet
- BLO: back loop only
- sl st: slip stitch
- st(s): stitch(es)
Tapestry single crochet: carry only the active short contrast strand inside the stitch tops, changing color on the last yarn-over before the charted stitch.
Gauge, Sizing and Planning
Wash and dry a generous swatch in the same yarn, hook and colorwork method planned for the project. Measure only the relaxed center. If the stitch gauge is too tight, move up a hook; if it is too loose, move down. Recheck row gauge because length and shaping depend on it. Parenthetical counts follow the listed size order throughout. Place removable markers at all shaping points and recount before moving to the next section.
Instructions
Crochet Two Geometric Fronts
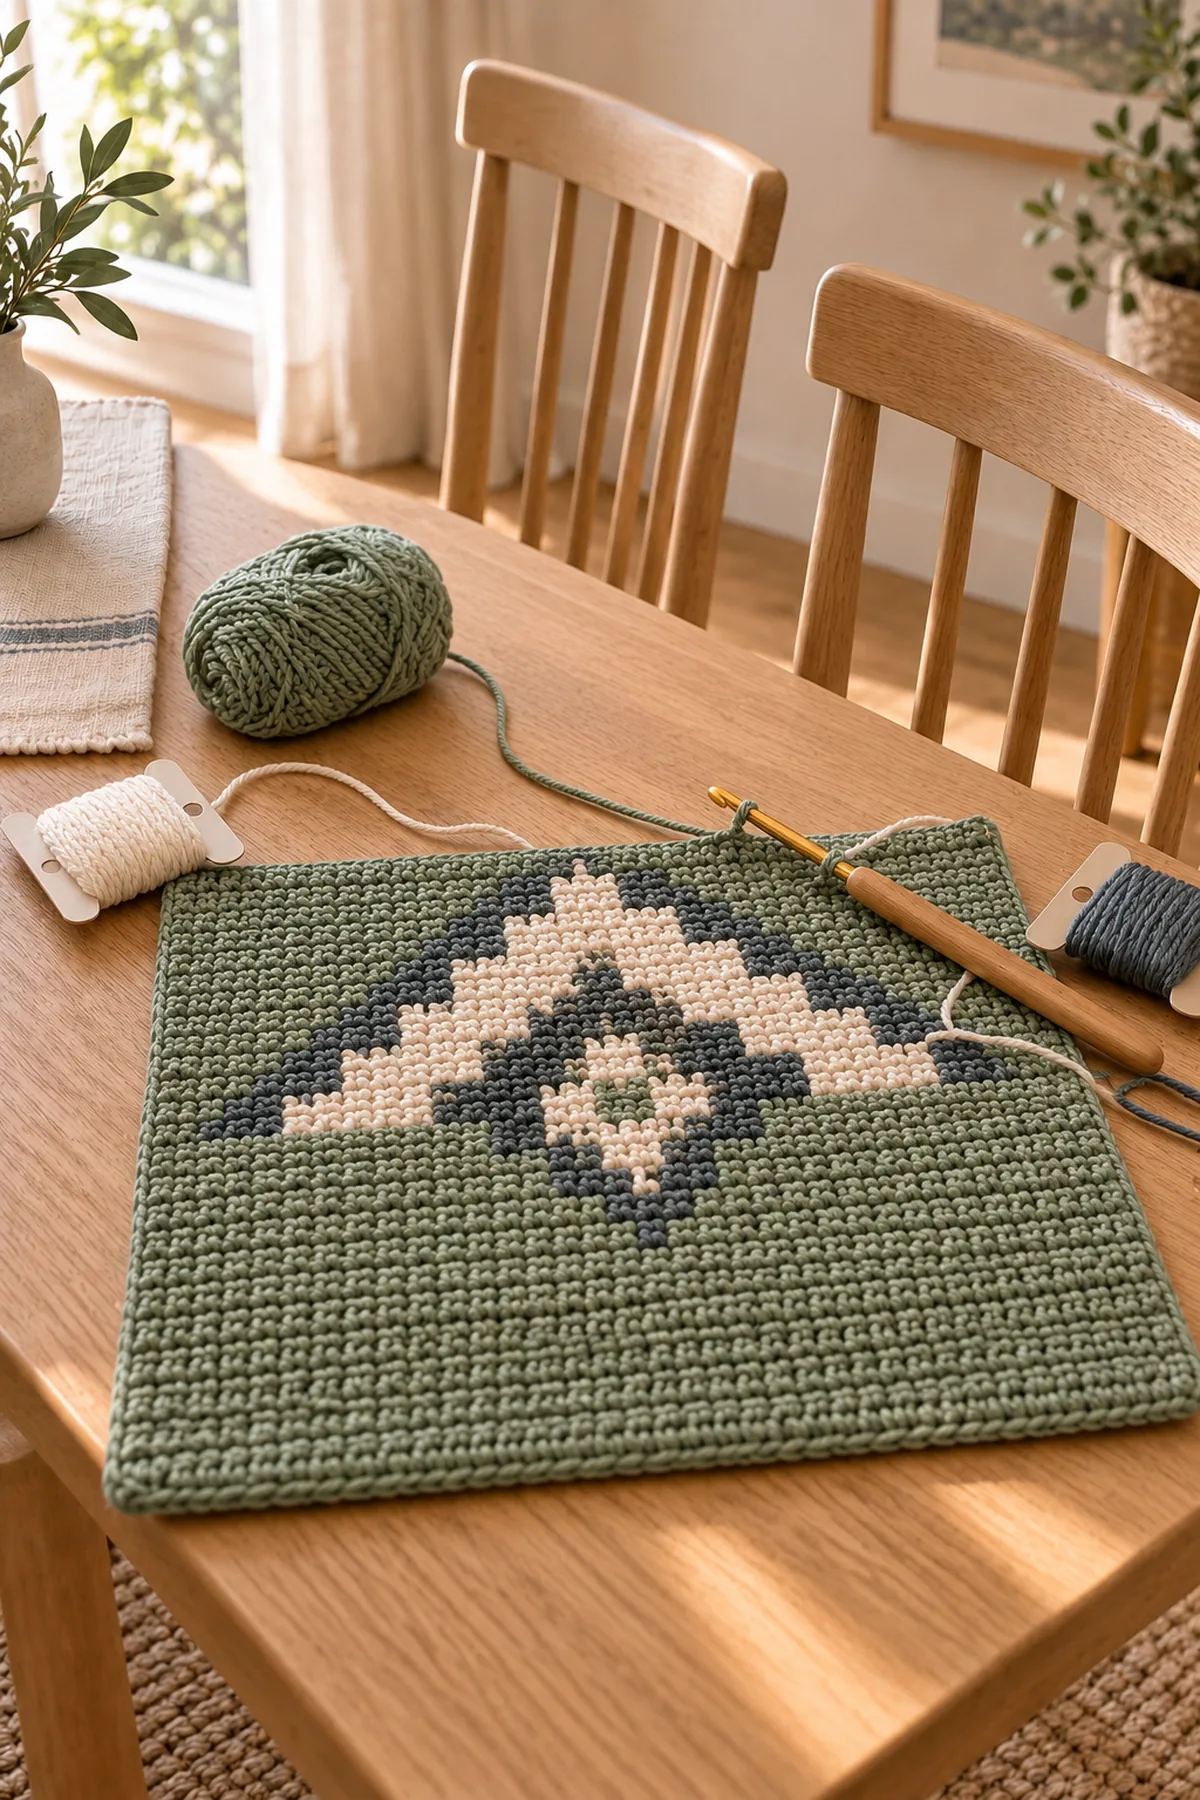
- With sage, ch 66. Row 1: sc in the second chain and across, turn: 65 sts. Ch 1 never counts. Work Rows 2–12 in sage, one sc in every stitch.
- Rows 13–53 contain a centered 41-row motif field. Keep 12 sage stitches at each side: 12 + 41 chart positions + 12 = 65. Within the field, build four cream stepped diamonds, each outlined by one slate stitch and separated by three sage columns.
- Read right-side chart rows from right to left and wrong-side rows from left to right. Carry contrast only within its diamond; use separate bobbins so no float crosses more than five stitches.
- Work Rows 54–65 entirely in sage. The finished front remains 65 stitches wide by 65 rows tall. Make a second front with exactly the same chart orientation.
Make the Backs and Envelope Flaps
- For each back, ch 66 and work 65 sc across. Continue even through Row 55, maintaining 65 stitches. Fasten off after making two identical backs.
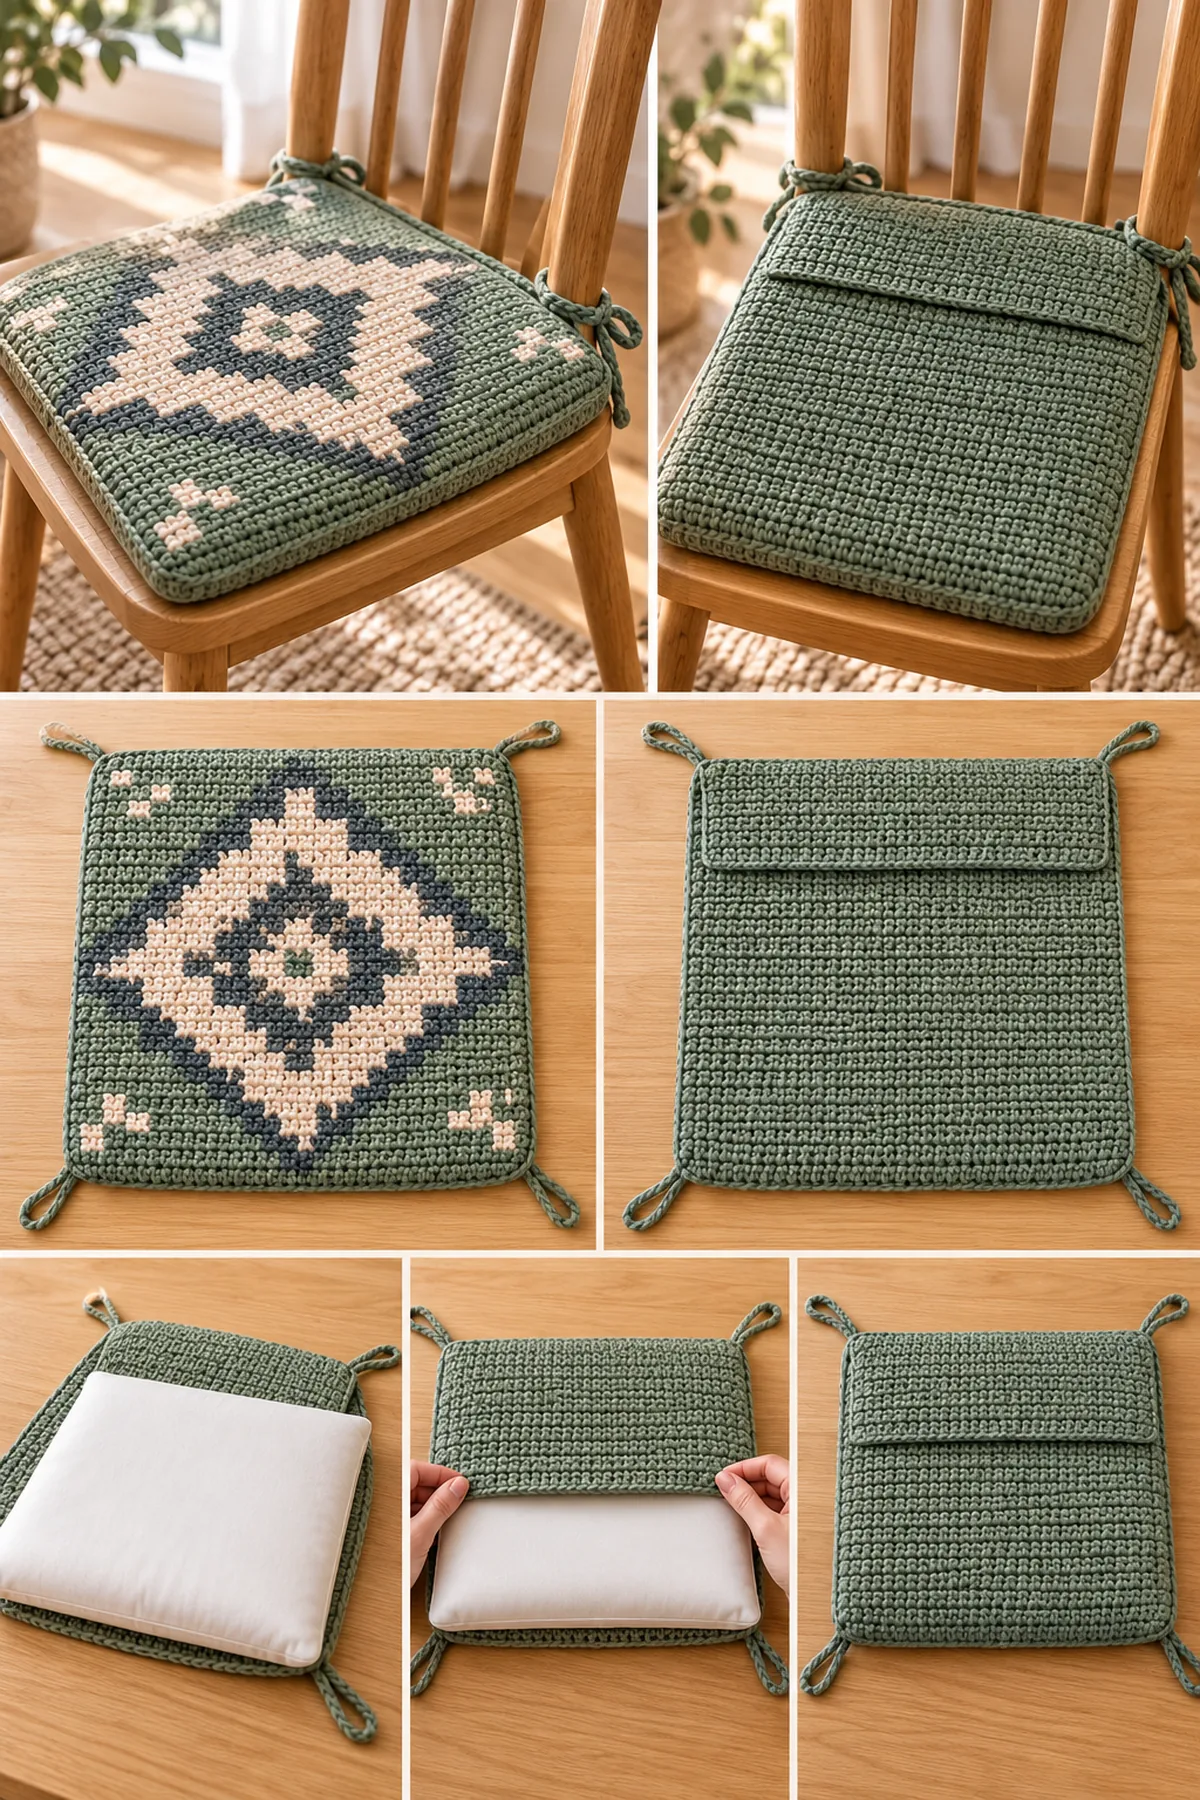
- For each envelope flap, ch 66 and work 65 sc across for 16 rows. On Row 17 work BLO sc across to form a fold line, then work Rows 18–24 normally. Make two flaps.
- Overlap each flap over the upper 9 rows of its matching back, wrong sides together. Baste the side edges with loose slip stitches so the combined back remains a 65-by-65-stitch square.
- Lay each front over a prepared back with wrong sides together. Confirm the envelope opening faces the chair back, not the front edge.
Join, Insert and Add Ties
- Join sage at the upper-left corner. Working through both layers, sc down the first side, across the front edge, up the second side and across the back edge, placing (sc, ch 1, sc) in each corner. Join and fasten off.
- Work a second decorative round in sage, placing one reverse sc in every sc and one reverse sc in each corner chain space. Keep the envelope flap free from the outer front layer.
- For each tie, ch 45 and slip stitch back through 44 chains. Make four ties per pad. Sew two ties to each back corner, spacing the pair 1 inch apart and reinforcing through the edge round.
- Insert one slim 15-inch pad through the envelope. Smooth it into every corner, close the flap over it, and repeat all steps for the second chair pad.
Finishing
- Block all crochet panels to 16 inches square before assembly.
- Weave chart tails into matching colors and keep the envelope edge flexible.
- Tie each completed pad to a chair and check that no cord or seam sits beneath the seating area.
Tips
- Make a labeled chart photocopy and mark each completed row.
- Use bobbins instead of carrying contrast across the entire pad.
- Choose a dense, washable insert rather than loose stuffing.
- Measure both fronts after every ten rows so the pair remains identical.
Frequently Asked Questions
Can I make one pad?
Yes. Halve all yarn quantities and make one front, one back, one flap and four ties.
Can I change the size?
Add or remove equal numbers of plain sage stitches at both sides and rows at top and bottom; preserve the 41-by-41 motif field.
Why use an envelope back?
It removes hard buttons or zippers from the sitting surface and lets the insert come out for washing.
Conclusion
The finished project combines measured shaping, readable colorwork and practical finishing in one complete original crochet construction. Compare the finished measurements with the plan, confirm that every seam and carried strand is secure, and follow the yarn label for washing and storage.
Stitch-count audit references: (65 sts).
Printable Pattern Card
Each front is ch 66, then 65 sc for 65 rows. Chart field: 12 sage + 41 motif + 12 sage = 65. Each back is 65 stitches for 55 rows plus a 65-stitch, 24-row overlap flap.