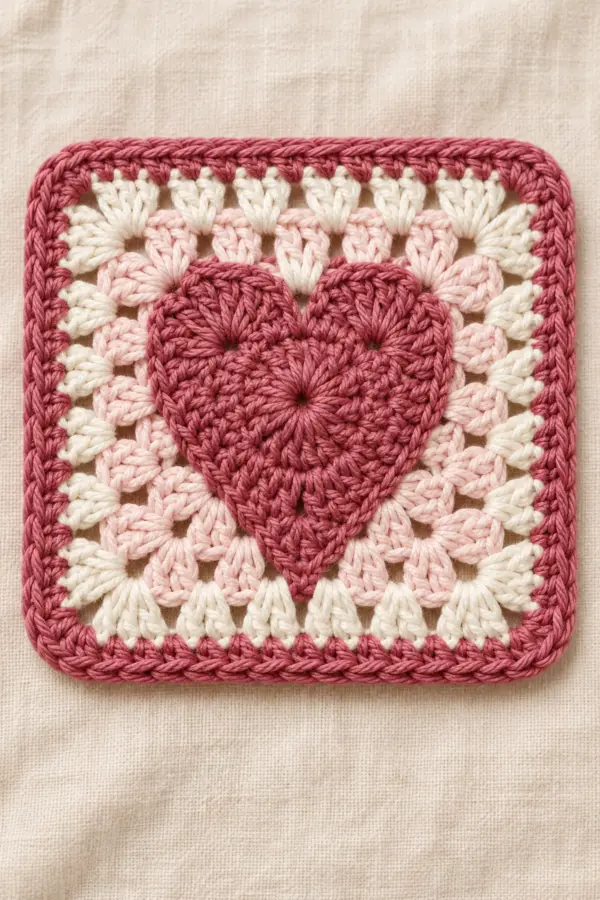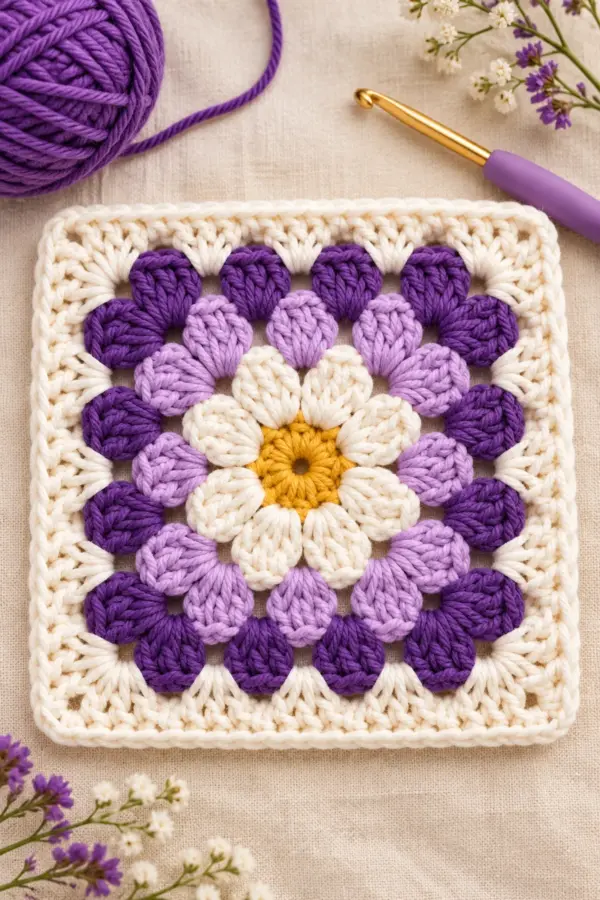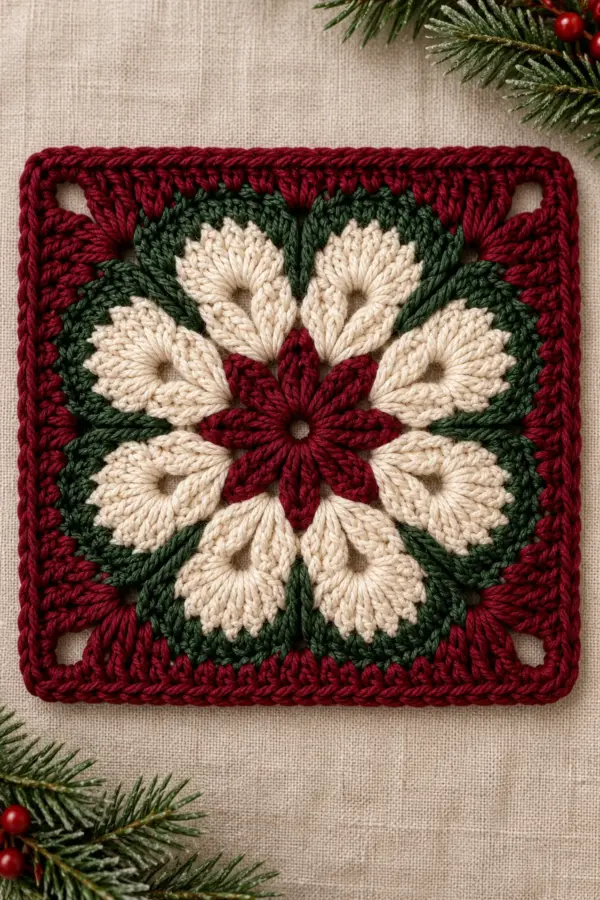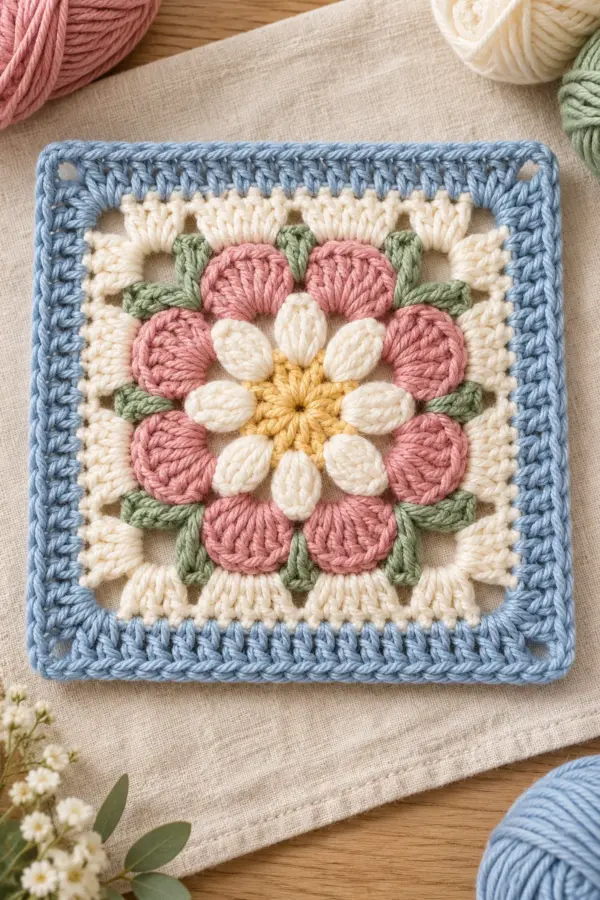
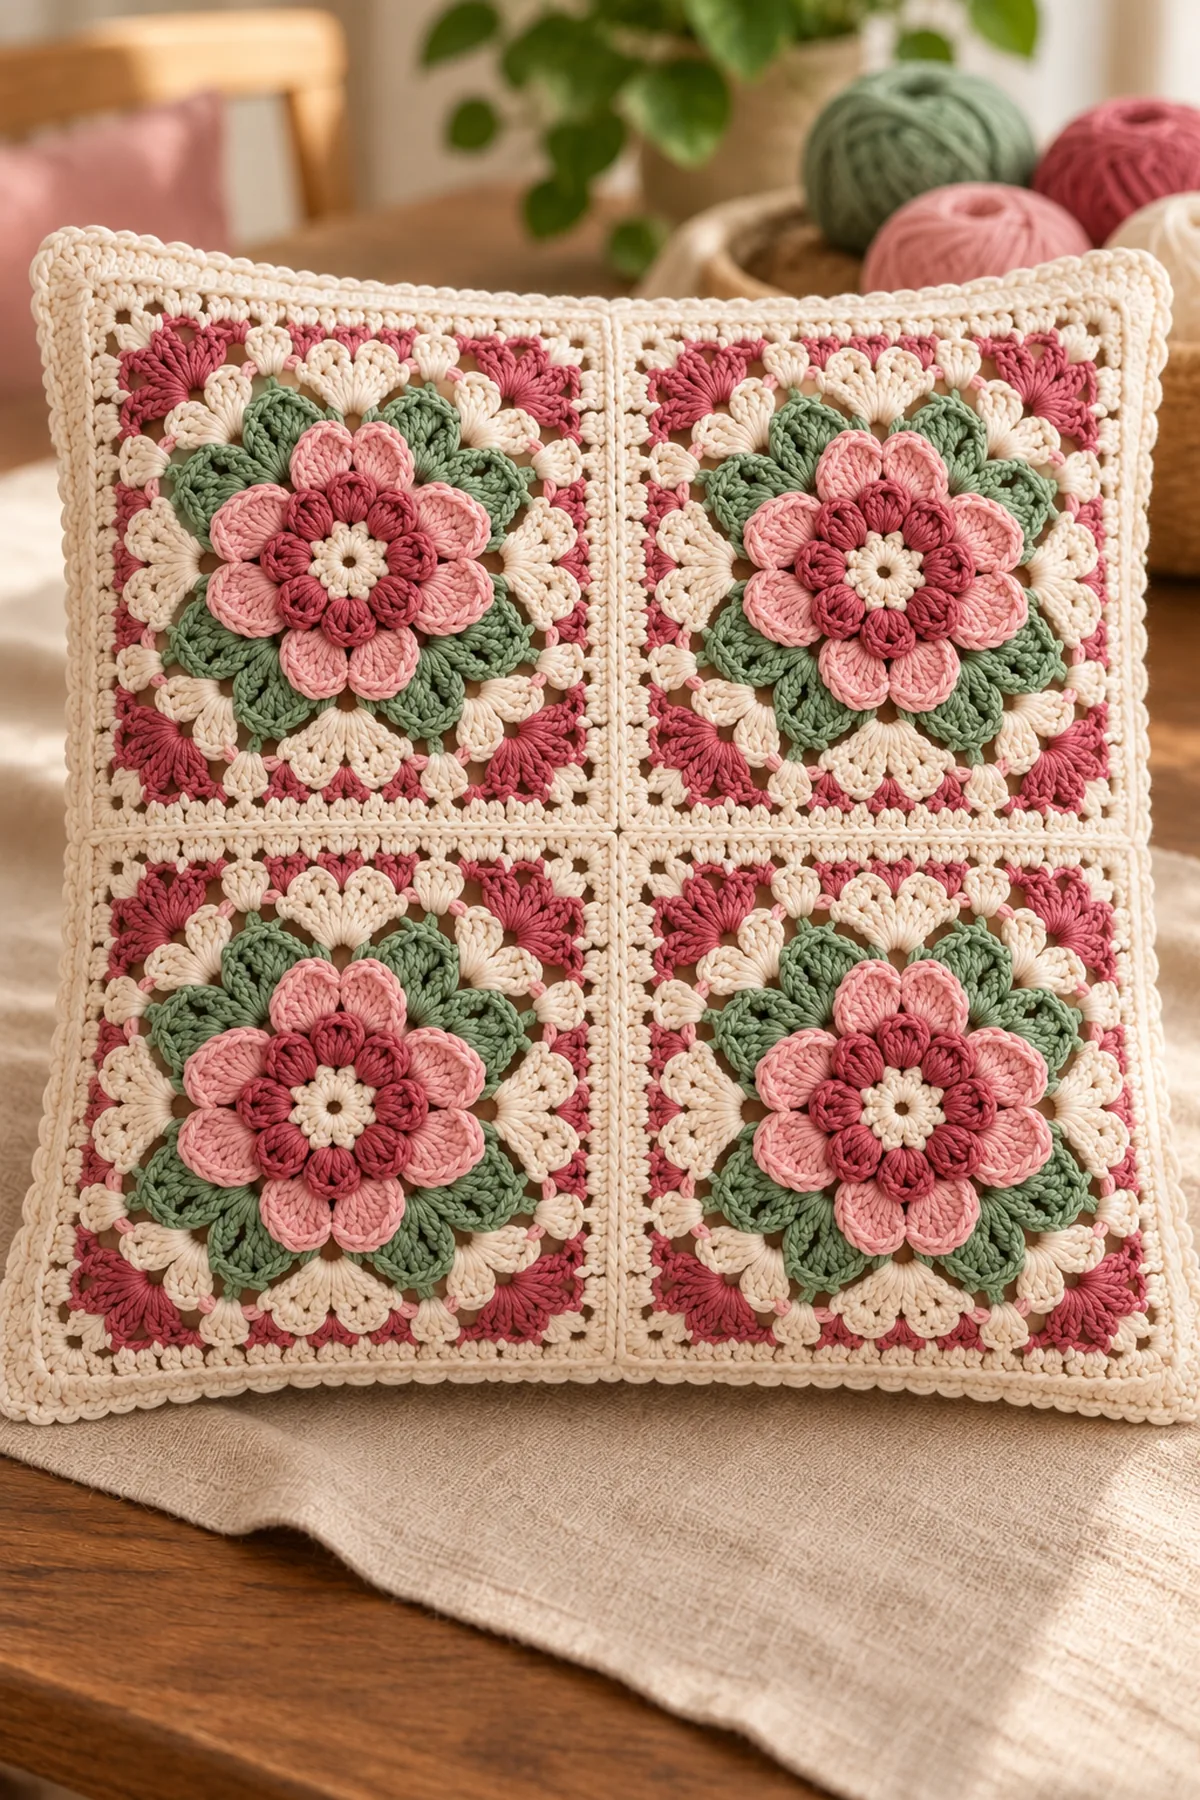
This original rose granny square crochet pattern turns the supplied deep rose, blush, sage and cream design direction into a complete, independently counted BabyYarnie motif. The dimensional flower is added over a stable support disc, while the square frame keeps every joining edge measurable.
The center rose is built in two surface layers so the flower sits above the fabric. Four broad sage leaves divide the square, cream arches add light, and dusty-rose corner fans lead into a narrow cream joining frame.
Pattern Details
- Hook Size: 3.5 mm
- Finished Size: One 8-inch openwork square after blocking
- Gauge: Support Round 3 measures 3.25 inches; final frame measures 8 inches
- Estimated Time: 3–4 hours
- Construction: Counted support disc, two rose-petal passes, four broad leaves, cream arches and three square/frame rounds
Materials
- About 22 yards cream, 20 yards blush, 12 yards deep rose and 12 yards sage DK cotton
- 3.5 mm crochet hook, eight locking markers, yarn needle, ruler and scissors
- Blocking mat and rustproof pins for the open arches
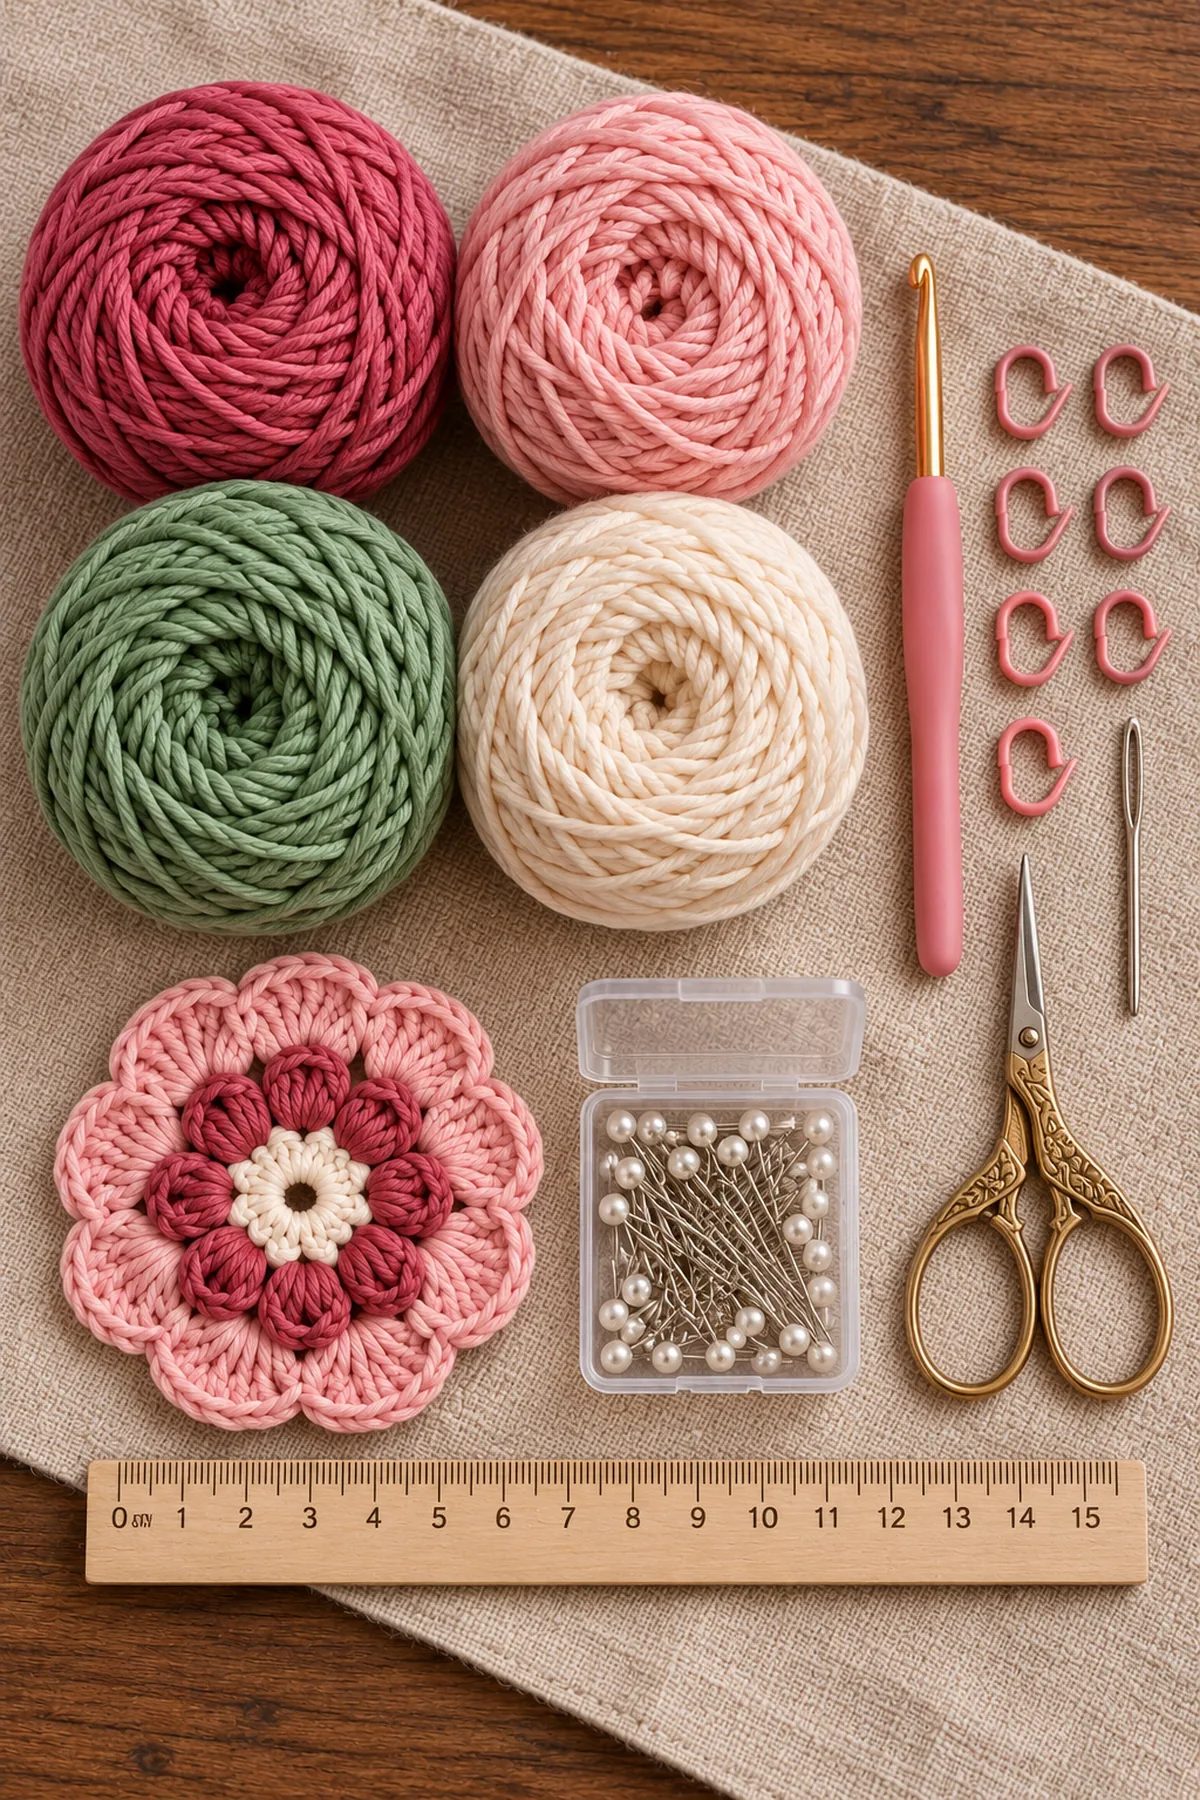
Gauge, Measurements, and Planning
Make one complete practice piece, wet-block it without stretching, and measure only after it is fully dry. Change hook size if the blocked measurement differs by more than one quarter inch. Record every round count before cutting a color. For a multi-square project, make and block all motifs to the same measurement before joining.
Abbreviations and Special Stitches
- ch: chain
- sc: single crochet
- hdc: half double crochet
- dc: double crochet
- tr: treble crochet
- sl st: slip stitch
- st(s): stitch(es)
- rnd: round
Special stitch guidance: Rolled rose petal: in one reserved loop work (sl st, ch 2, 4 dc, ch 2, sl st); fold the five-stitch fan forward before beginning the next petal. Large petal: substitute 6 tr between the two chain arches.
Important Notes
- The photographs are design references only. The written construction and stitch arithmetic below are original BabyYarnie instructions.
- AI-generated production images illustrate the intended result and are not photographs of a physically tested sample. Follow the written counts rather than counting stitches in an image.
- Gauge, yardage and finished measurements are planning targets until a physical sample is made. Wash and block a swatch before committing to a large project.
- Beginning chains and joining slip stitches do not count unless a step explicitly includes them. Mark every corner before continuing.
Complete Instructions for Layered Rose Garden Granny Square – Free Crochet Pattern
Build the Counted Support Disc
- Center Round 1: With the center color, make a magic ring and work 8 sc into it. Pull the ring closed, join to the first sc and mark that stitch. (8 sts)
- Support Round 2: Work 2 sc in each stitch around. Join without turning. Keep the front loops available where the decorative pass specifies them. (16 sts)
- Support Round 3: Working in the back loops, repeat [2 sc in the next stitch, sc in the next stitch] eight times. Join and place four corner markers six stitches apart. (24 sts)
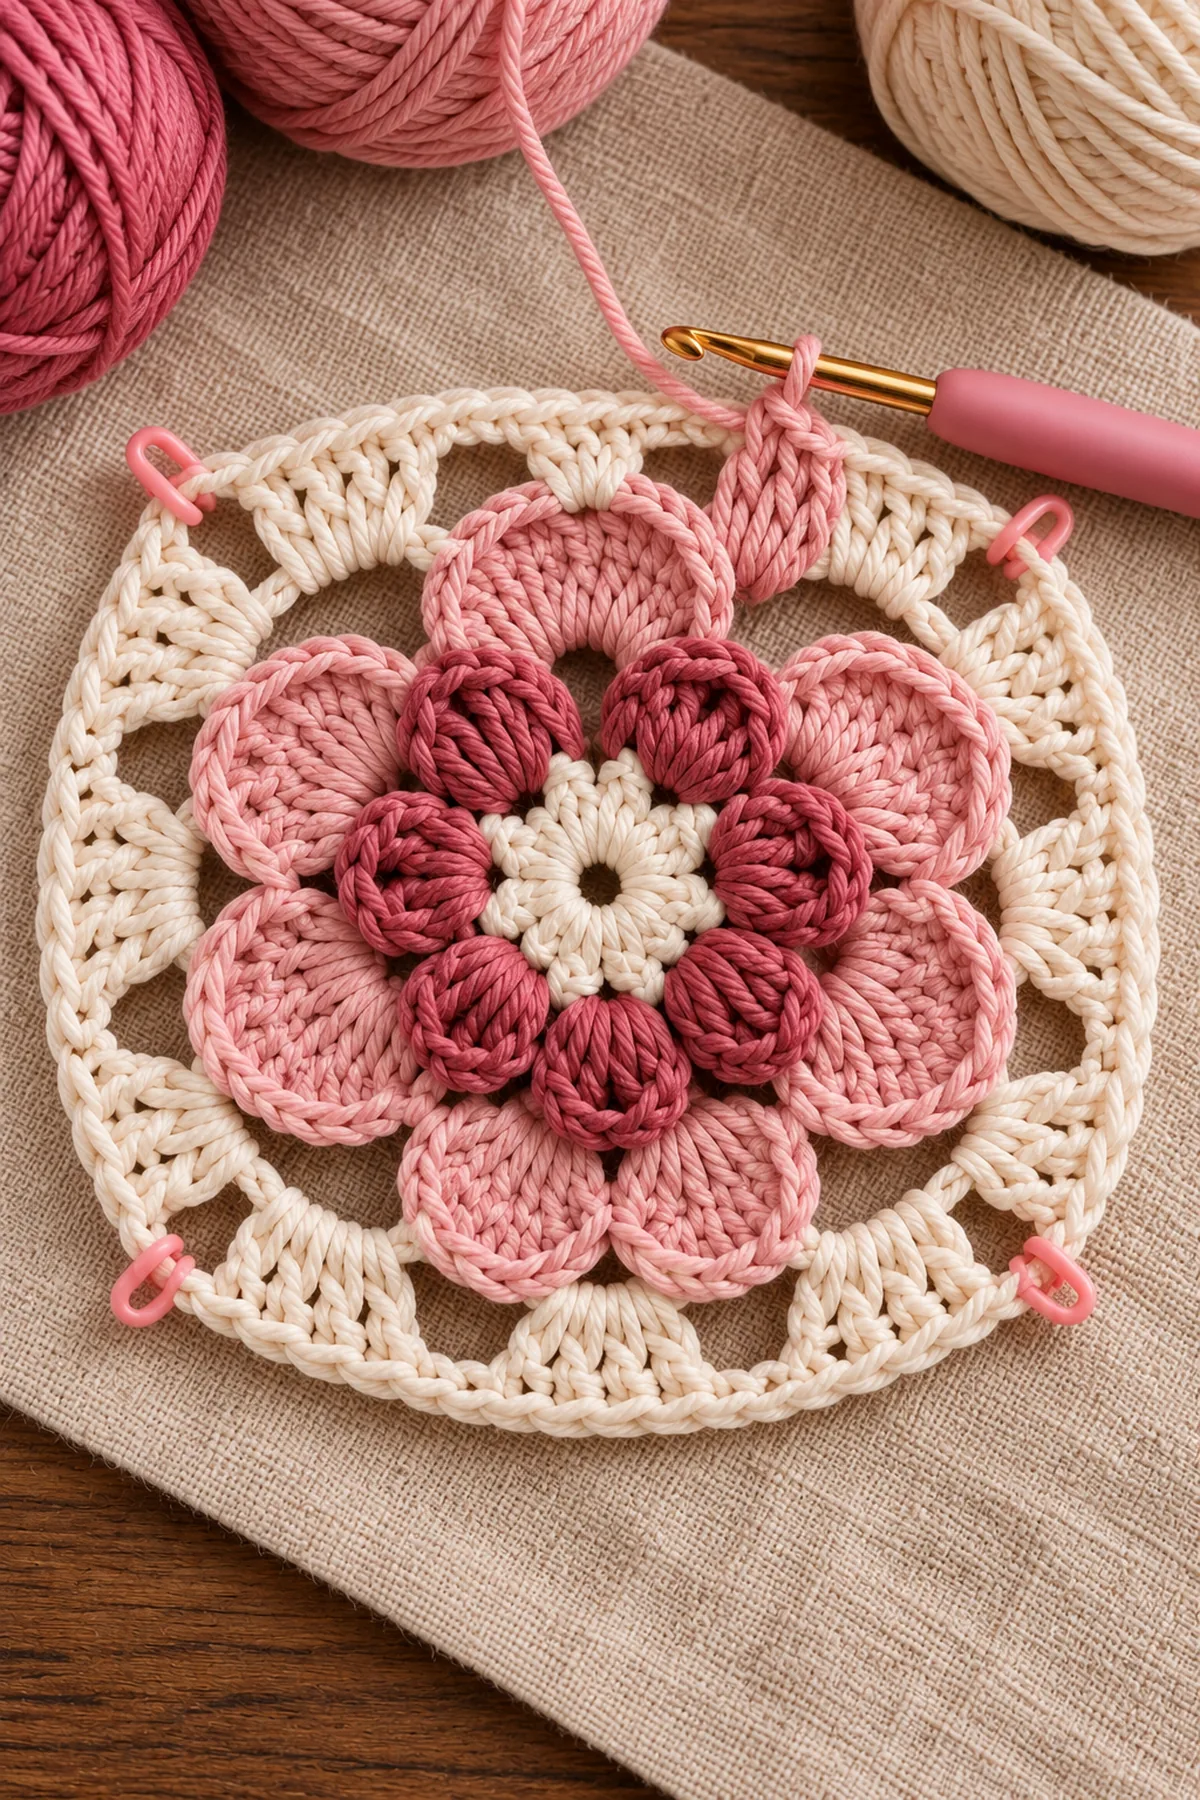
Square the Motif and Add the Frame
- Square Round 4: Join sage at a marked corner. In each marked corner anchor work (hdc, ch 1, 2 hdc); work 1 hdc in each of the 20 noncorner anchors. The four ch-1 spaces are not included in the count. Join without turning. (32 sts)
- Openwork Round 5: Join dusty rose. In the center stitch of every corner work (sc, ch 2, 2 sc); work 1 sc in each of the 28 other stitches. Keep all four ch-2 spaces open and move the markers to the center corner stitch. (40 sts)
- Frame Round 6: Join cream. In every marked corner stitch work (hdc, ch 1, 2 hdc); work 1 hdc in each of the 36 other stitches. Join, fasten off and count 12 stitches per side when the corner center is shared between adjacent sides. (48 sts)
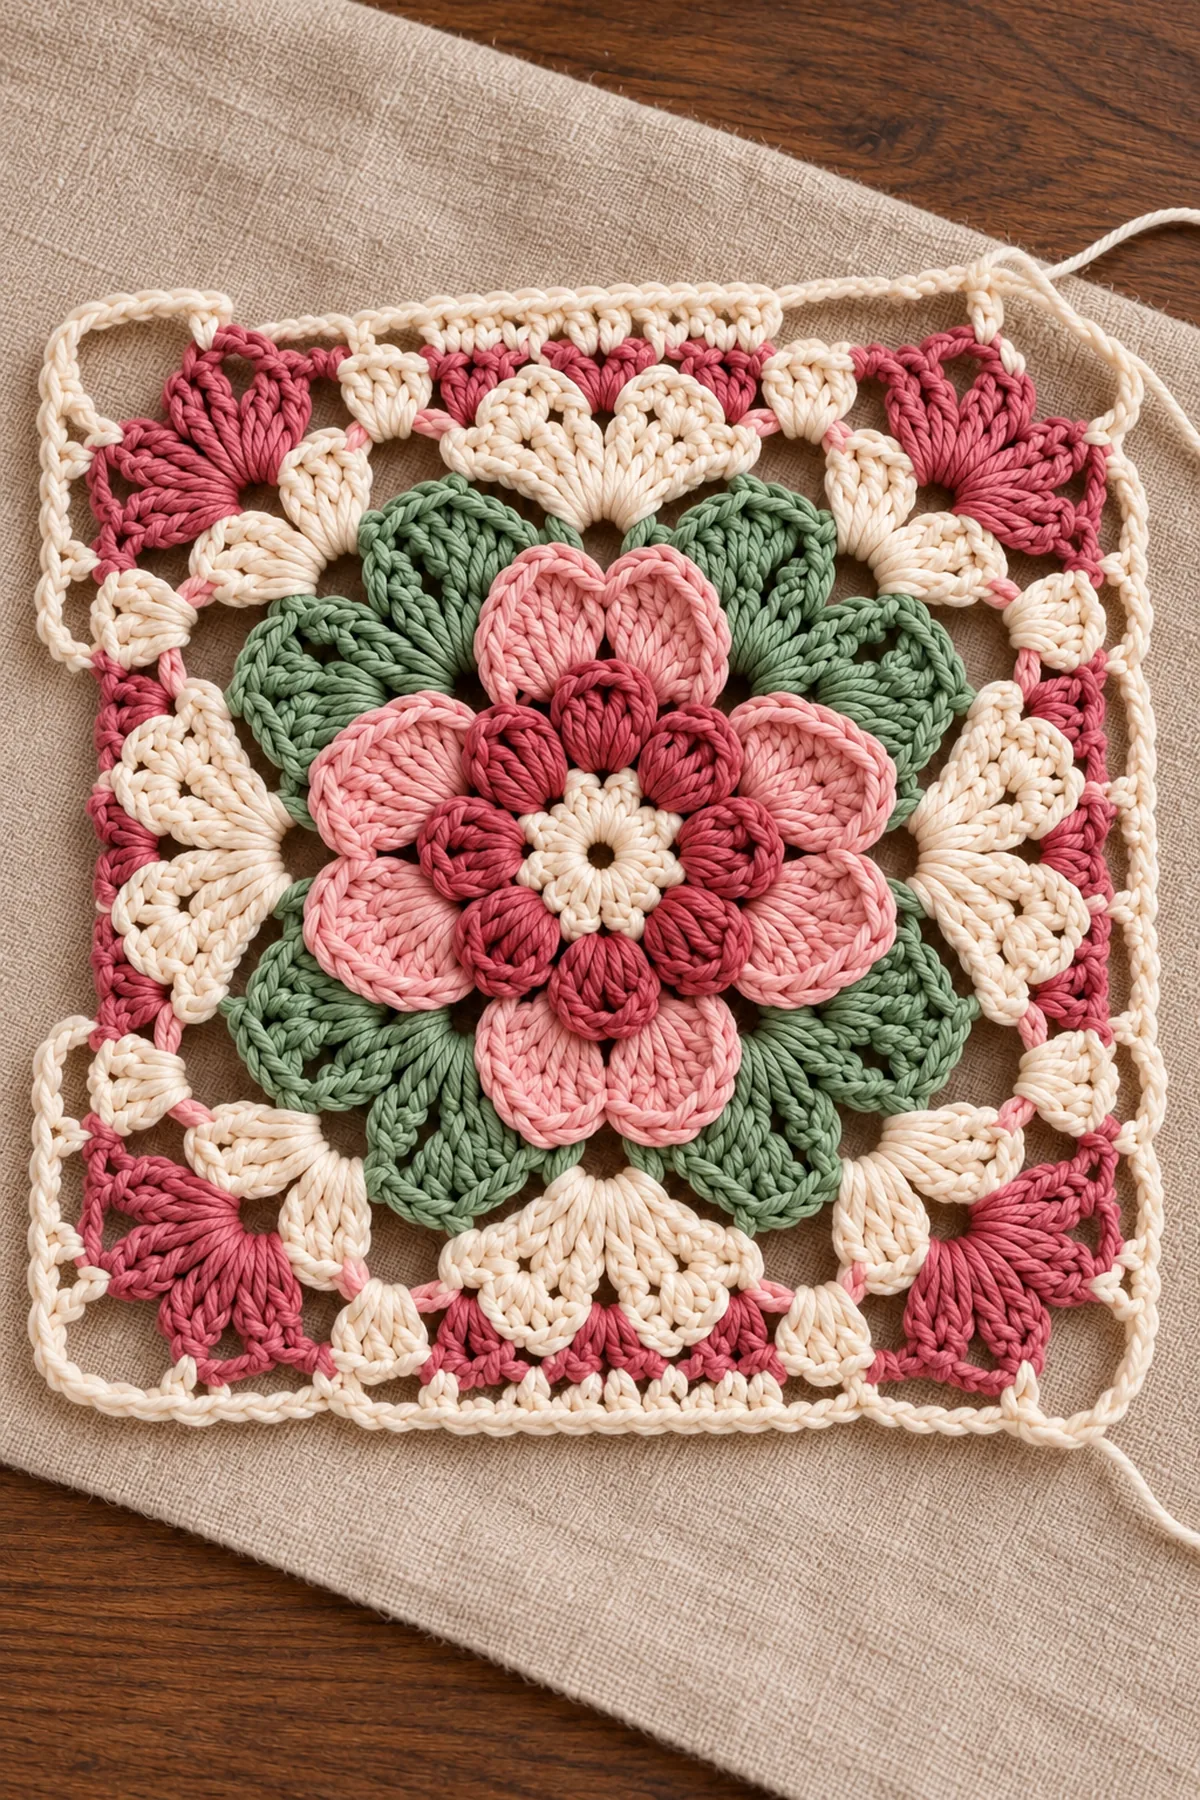
Add the Dimensional Floral Layers
- With deep rose, join in a free front loop of Center Round 1 and work eight rolled rose petals: (sl st, ch 2, 4 dc, ch 2, sl st) in each loop.
- With blush, join in every third free front loop of Support Round 3 and work eight large petals: (sl st, ch 4, 6 tr, ch 4, sl st). Overlap each new petal slightly over the previous one.
- With sage, work four broad leaves at the marked diagonal anchors: ch 7, then sc, hdc, dc, 2 tr, dc and sc back along the chain; sl st at the base. With cream, add a loose ch-5 arch between adjacent leaf bases and secure each arch with a sl st.
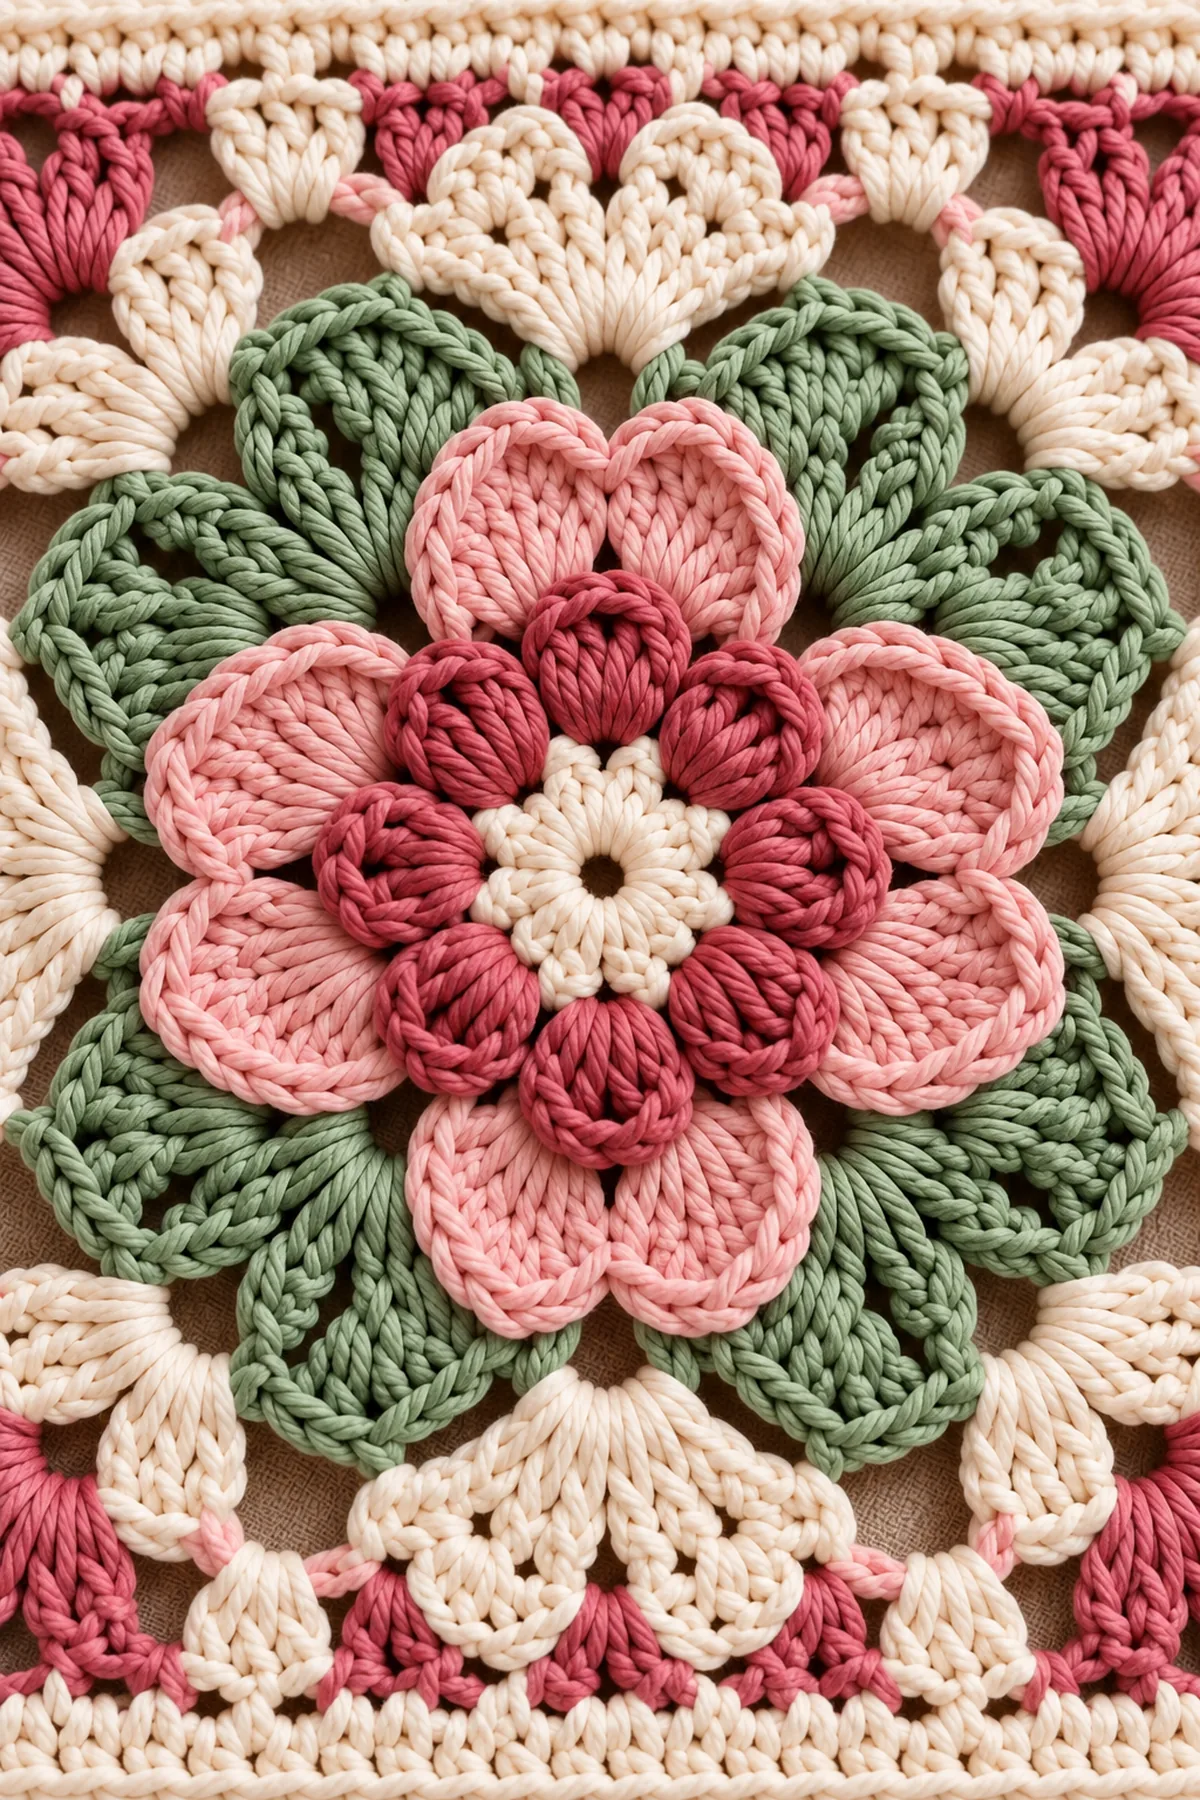
Finishing and Joining
- Thread every color tail under at least five same-color stitches, reverse direction through three stitches and trim only after a gentle stretch test.
- Wet-block the square to the listed measurement. Pin the four corners first, then the midpoint of each side. Lift the raised petals while the piece dries so they are not flattened.
- For a blanket, join only through the 48-stitch frame. Match all four corner spaces and the eleven intervals between adjacent corner centers; do not sew through a petal or leaf.
- Inspect the reverse for loose floats. Any span longer than three quarters inch must be woven down before the motif is used in a blanket, cushion or bag.
Helpful Tips
- Block the square before arranging the rose so the arches determine the final shape.
- Fold each inner petal toward the center while attaching the next one.
- Use a blunt needle to tack only the base of a petal that lifts too high.
Photograph the first blocked motif from directly above and use it as the standard for later squares. If one side bows outward, the edge tension is loose; if the center cups, the petal pass is tight. Correct the tension rather than adding unplanned stitches, because the 48-stitch joining frame must remain consistent.
Frequently Asked Questions
Why is the center cupping?
The surface slip stitches are too tight. Redo the petal pass with a larger hook or looser anchors.
Can I wash a blanket made from these squares?
Use washable yarn, secure every petal base and follow the yarn label; dry flat to protect the dimensional flower.
Which joining method protects the rose?
A flat slip-stitch or mattress join through the cream frame keeps the raised center untouched.
Conclusion
The finished motif combines a stable counted frame with a separate surface-flower pass. That division keeps the join edge predictable while allowing the petals and leaf details to remain dimensional. Use one square as a small decorative panel or repeat the verified 48-stitch frame for a coordinated blanket or cushion.
BabyYarnie Printable Crochet Pattern Card
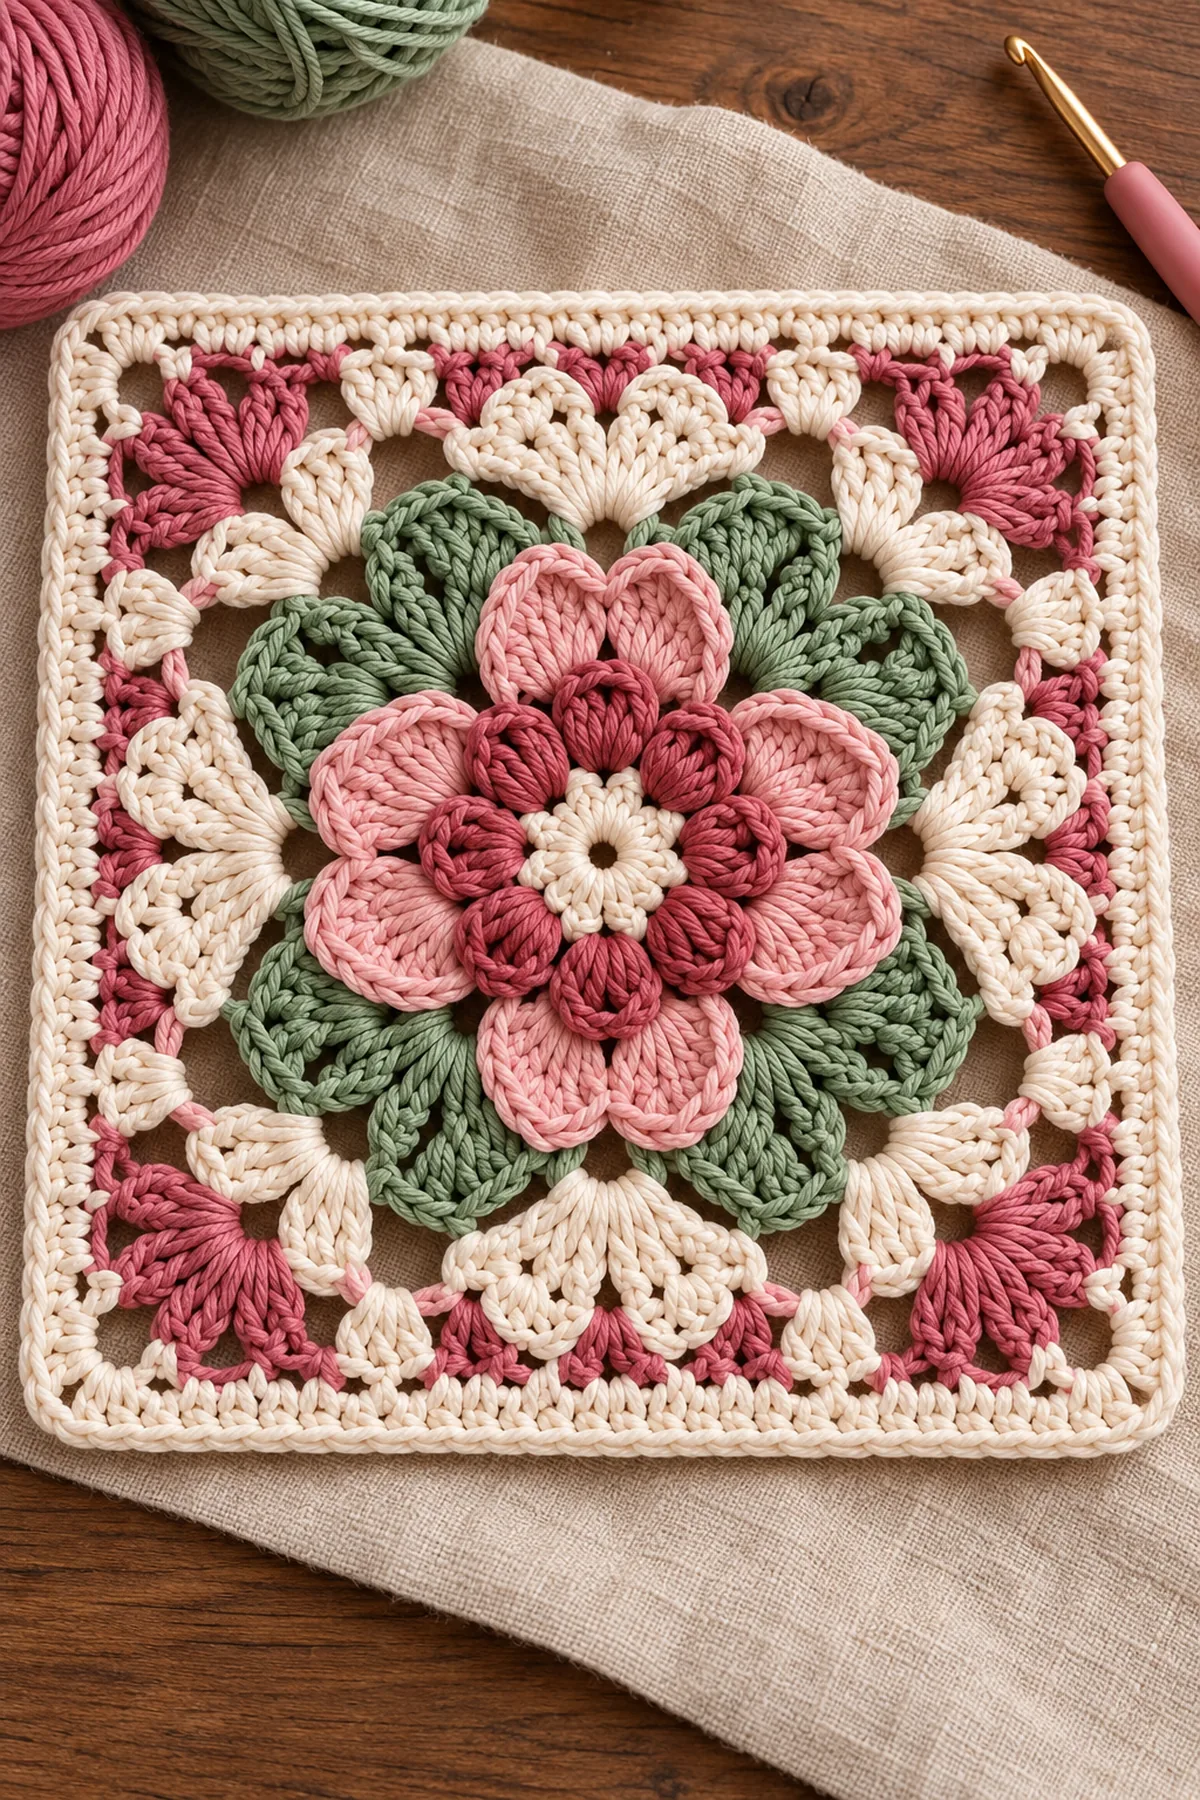
BabyYarnie — original crochet tutorials with count checkpoints.
Project: Layered Rose Garden Granny Square – Free Crochet Pattern
Skill level: Intermediate Hook: 3.5 mm Yarn: DK cotton (category 3)
Finished size: One 8-inch openwork square after blocking
Card Materials
- About 22 yards cream, 20 yards blush, 12 yards deep rose and 12 yards sage DK cotton
- 3.5 mm crochet hook, eight locking markers, yarn needle, ruler and scissors
- Blocking mat and rustproof pins for the open arches
Card Instructions
- Work the 8-, 16- and 24-stitch support disc.
- Shape the sage, dusty-rose and cream square rounds to 48 stitches.
- Add two rose layers, four leaves and cream arches on reserved loops.
Finish: Verify the final count, weave every end in two directions, wet-block to measurement and inspect the piece from both sides.