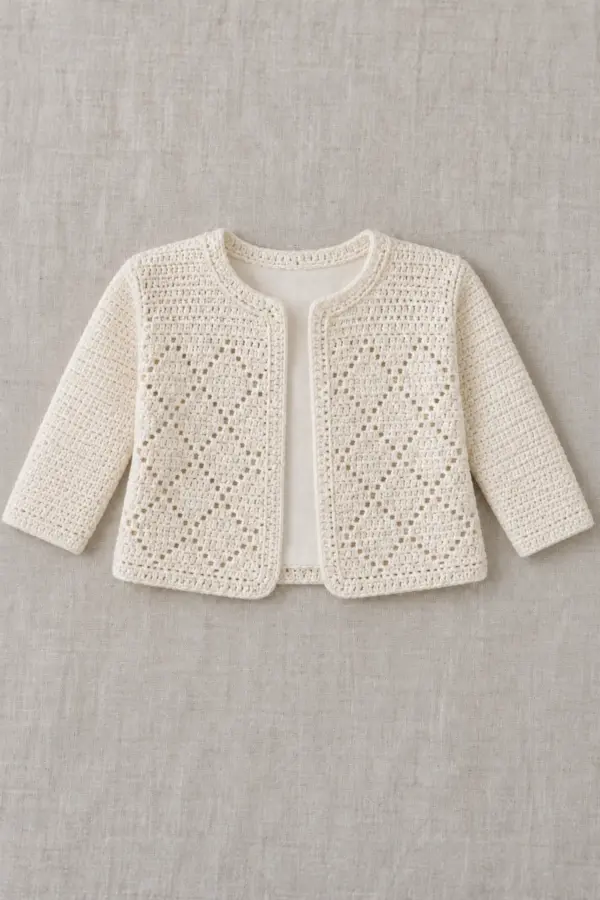
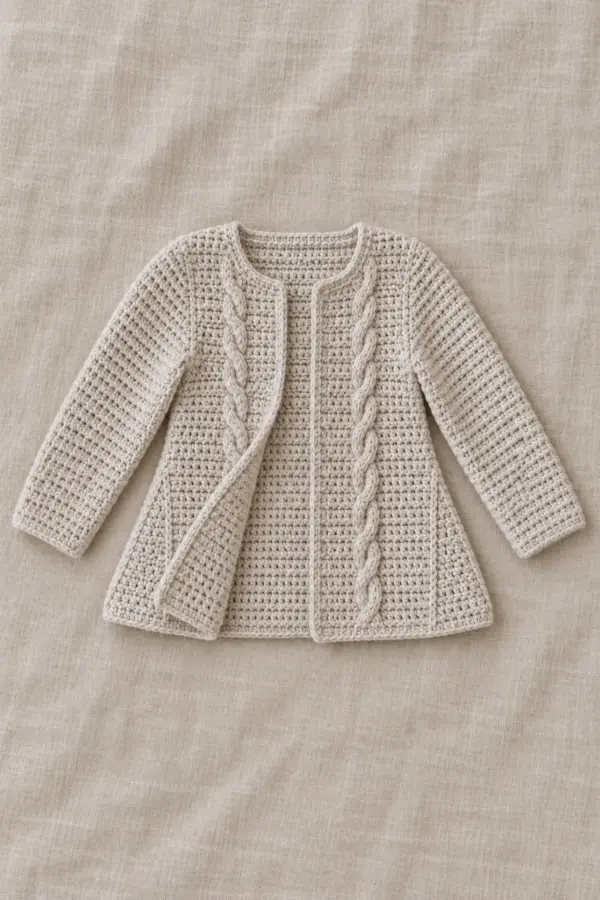
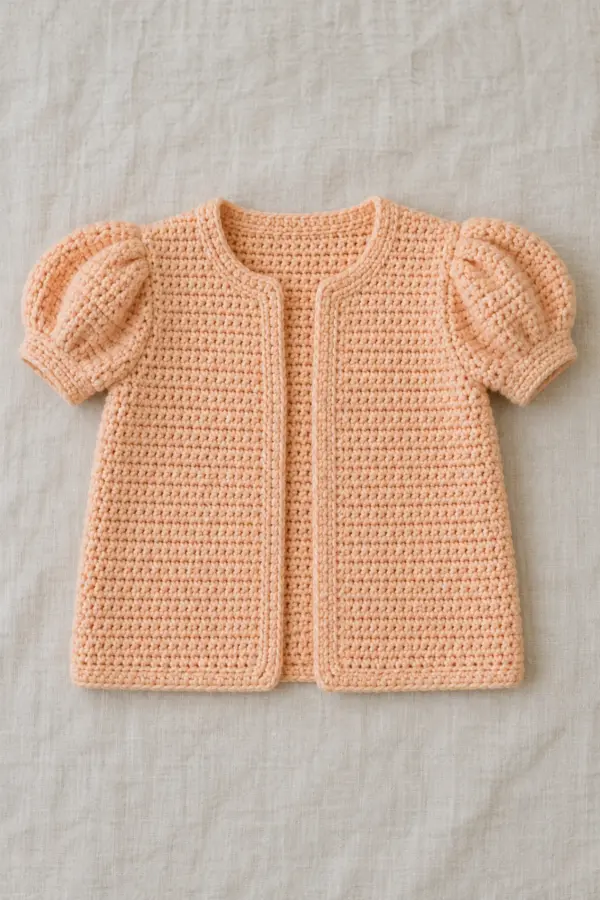
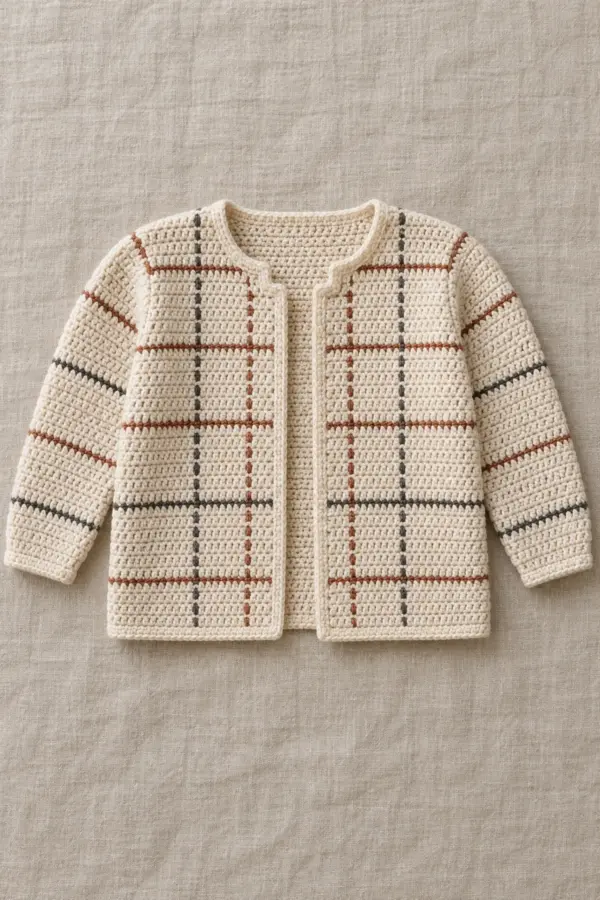
This original crochet pintuck yoke baby cardigan pattern explains how to make crochet pintuck bib-yoke baby cardigan from the first counted stitch through final assembly. The design is a practical free tutorial in US terms, with measurements and stitch checkpoints that you can verify as you work.
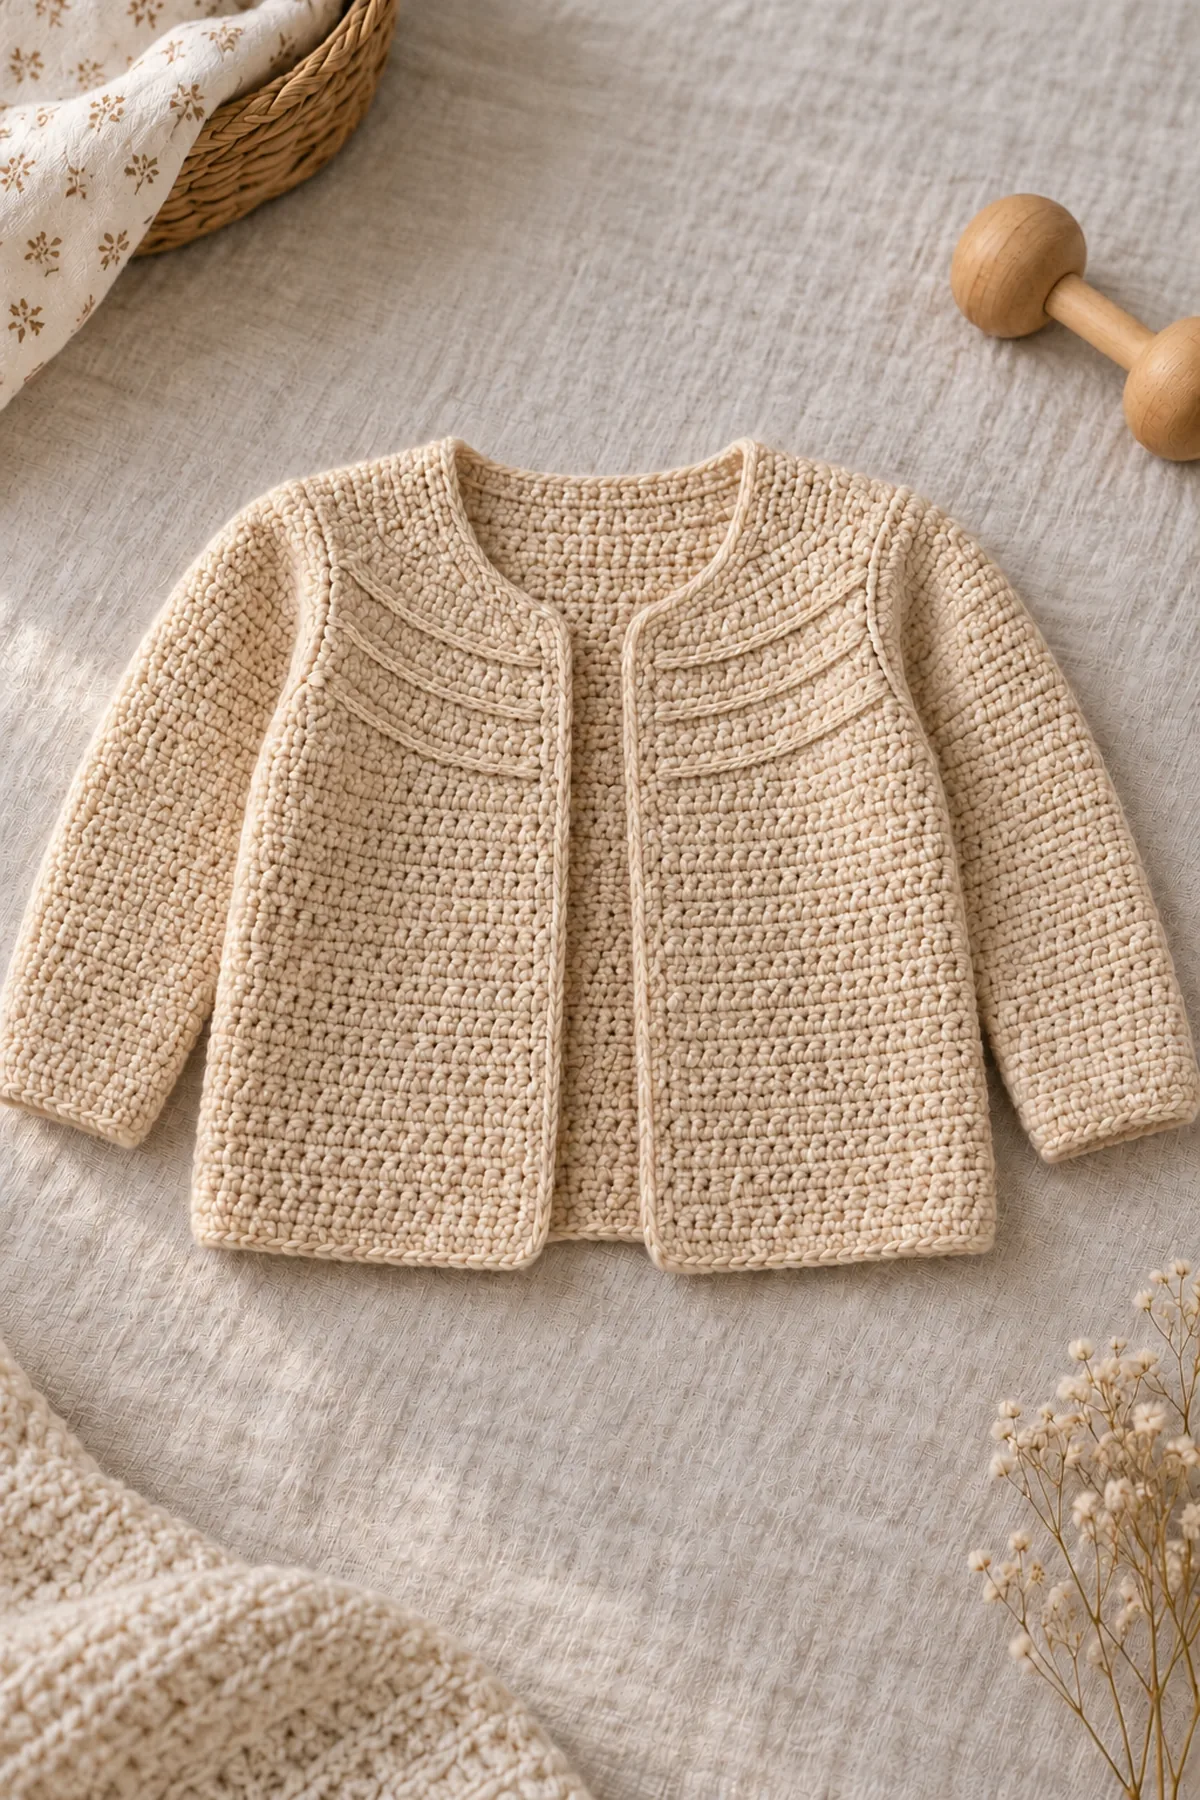
Separate biscuit lower panels join to a shallow U-shaped upper bib. Three graduated horizontal surface-slip ridges give a pintuck-style effect without folding out a row of fabric. Shoulder and neckline shaping, two matching sleeve caps and all seams are written explicitly; this is not an all-over ribbed jacket or a sewn-on collar.
Pattern Details
- Hook Size: 4 mm for hdc fabric; use relaxed 4 mm surface slips, reswatch if the ridges tighten
- Finished Size: 6–12-month planning size: 19-inch fabric chest, approximately 11.3-inch shoulder-to-hem length and 9-inch upper sleeve; fit and cap seams require measured checks
- Gauge: 16 hdc stitches and 12 hdc rows = 4 inches after washing; surface slips must not shorten the panel
- Estimated Time: 14–18 hours plus swatching and seam checks
- Construction: 40-stitch back and two 18-stitch lower fronts, 14-row upper bib, 10-stitch shoulders, two 36-stitch sleeve heads reduced to 12 across six cap rows
- Skill level: Intermediate
Why You’ll Love This Project
The decorative shoulder area reads clearly in a flat-lay photograph while the lower body stays soft and practical. Every change in circumference has a stated stitch count, so the garment can be checked before a sleeve is separated.
Materials
- Approximately 610 yards soft biscuit washable DK cotton-wool blend, including about 25 yards for surface ridges and swatches; actual use is not sample-measured
- 4 mm hook, blunt needle, many locking markers, contrasting basting yarn, measuring tape and scissors
- Completely open front with no buttons, ties, glued parts or loose embellishments
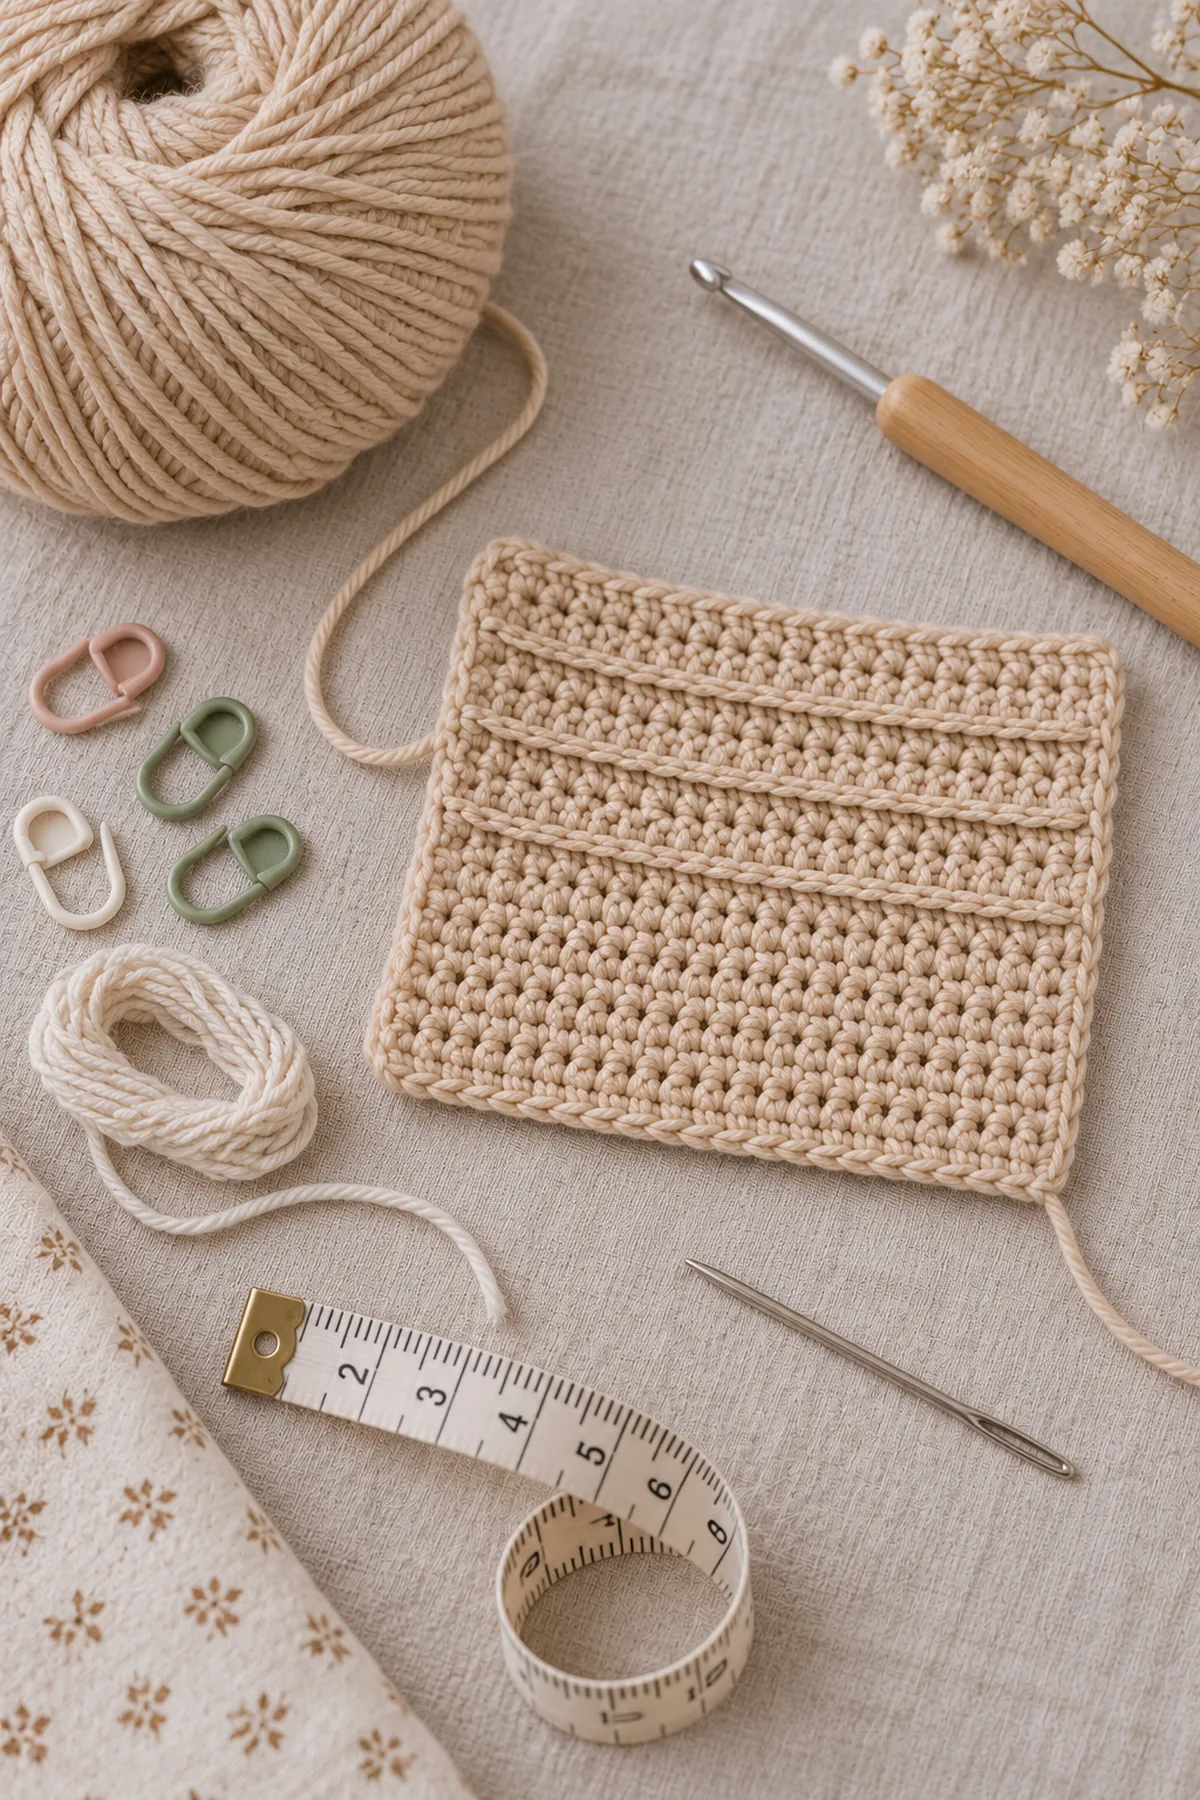
Gauge, Measurements, and Planning
The back width is40÷4=10 inches and the two front widths are18÷4=4.5 inches each, giving19 inches of fabric chest before the front gap. Twenty lower hdc rows are about6.7 inches and fourteen upper rows about4.7, for11.3 inches total. Each body underarm steps inward two stitches (half an inch), then runs fourteen upper row ends (4.7 inches) on front and back: the nominal armhole path is about10.3 inches. Measure that curved path and both sleeve-cap perimeters before sewing. A cap approximately10.2 inches along its two sloping sides and three-inch top is a geometric planning target, not a sample-tested guarantee. If the actual cap differs by more than a quarter inch, stop and reswatch the cap or armhole fabric; do not gather or stretch an incorrect cap into place.
Make and wash a gauge swatch before beginning. Measure only after the swatch is completely dry. If the stitch width differs, change hook size rather than pulling the working yarn tighter. Keep a written count at the end of every section so the finished edges remain balanced and the assembly points line up.
Abbreviations and Special Stitches
- ch: chain
- sc: single crochet
- sl st: slip stitch
- st(s): stitch(es)
- rnd: round
- inc: 2 sc in one stitch
- sc2tog: single crochet two stitches together
- hdc: half double crochet
- dc: double crochet
- FPdc: front-post double crochet
- BPdc: back-post double crochet
Special stitch guidance: Hdc3tog: yarn over, draw up a loop in each of the next three old stitches with a yarn over before each insertion, then yarn over and draw through all seven loops. Three old stitches become one, decreasing two. Surface slip ridge: from the public side insert through the indicated stitch-top bar, catch the strand behind the fabric, draw a loop to the front and through the loop on the hook. Use loose loops that rest on the surface. Here ‘pintuck’ means a low raised slip-stitch line, not a sewn fold or a removed row of garment height.
Important Notes
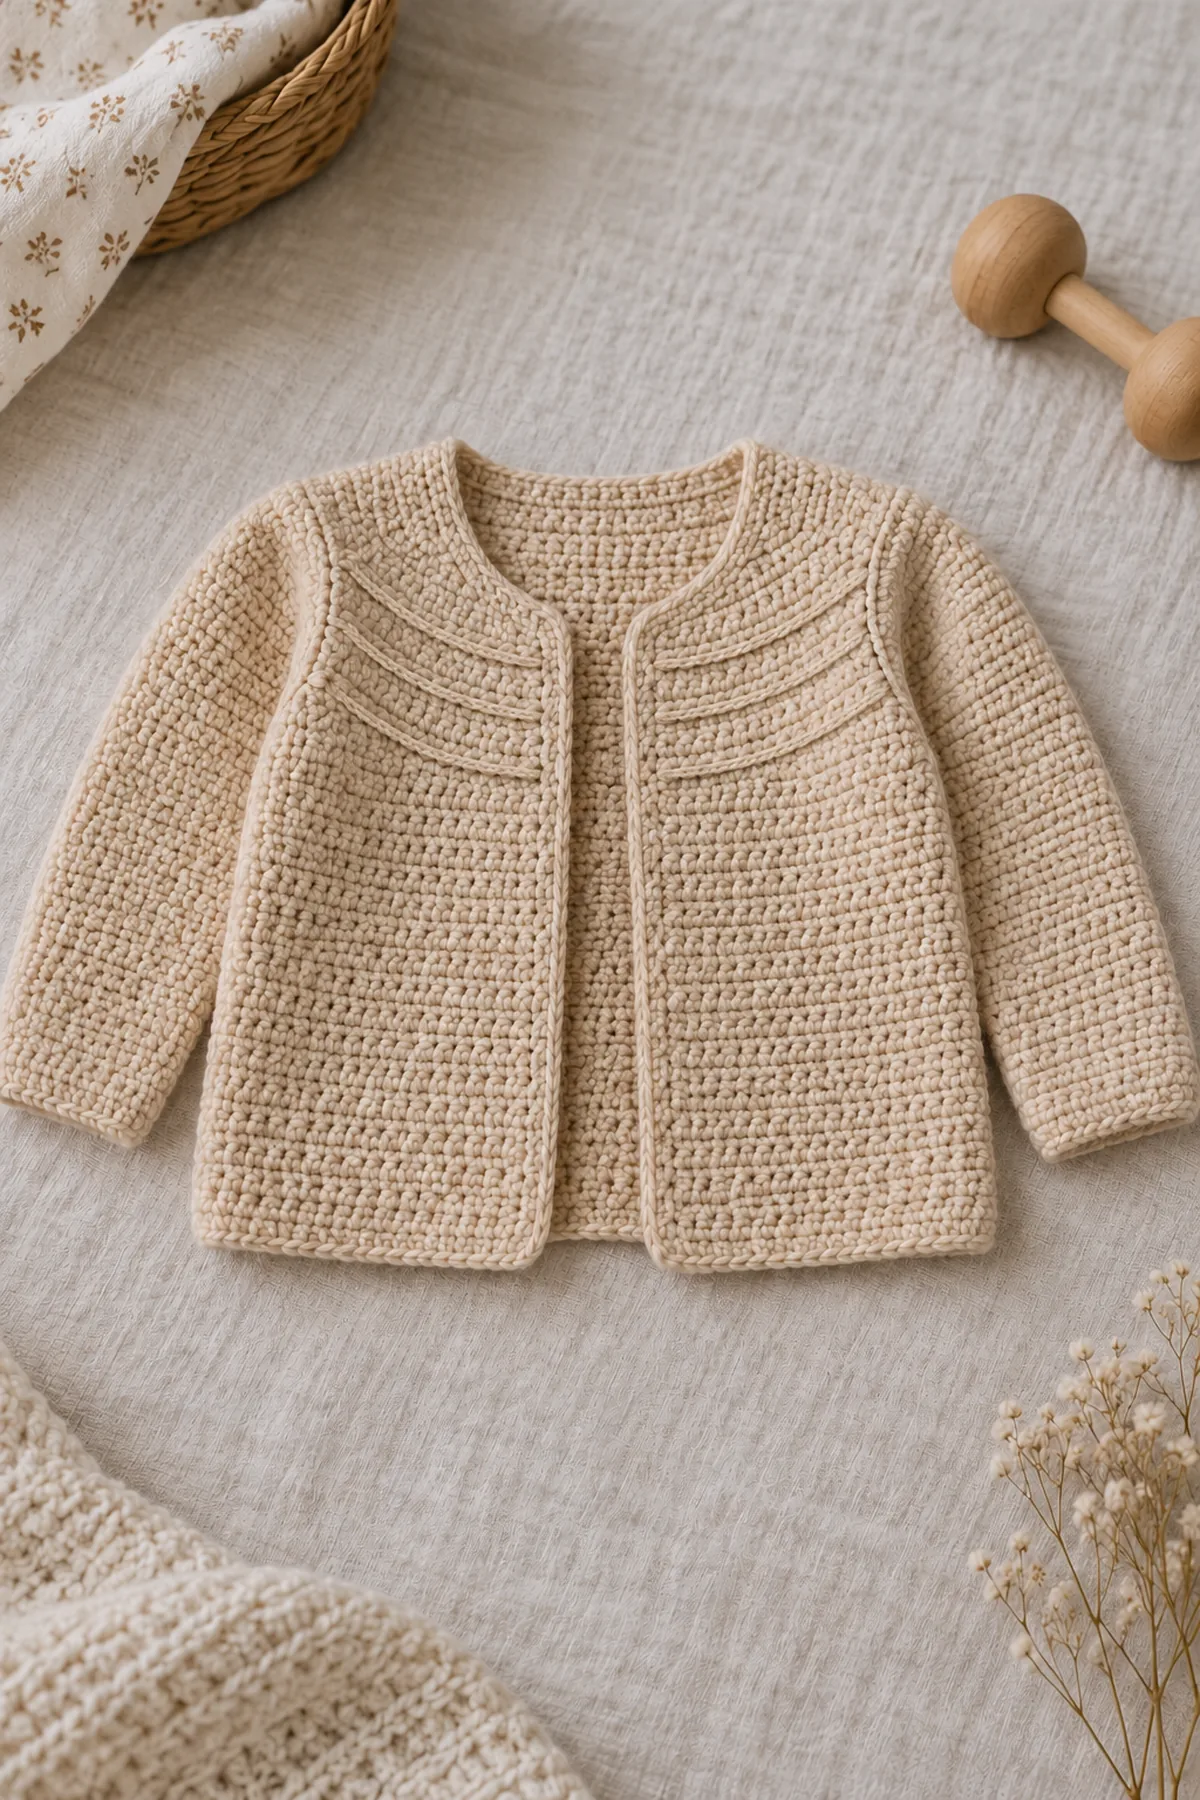
- This is an original, arithmetically checked design; no physical sample has been made. The photographs are illustrative, not stitch-count references.
- Measure a washed swatch and compare the finished chest, length and armhole with a comfortable garment for the intended child. Age ranges are guidance, not a substitute for measurements.
- A starting chain and a joining slip stitch do not count unless a row explicitly says that an interior chain counts. Mark the first counted stitch and all shaping boundaries.
- Use smooth washable yarn, avoid buttons and dangling ties, and inspect seams and ends before supervised wear. Remove outerwear for sleep; never leave an infant unattended in it.
- Audit counts: lower back (40 sts), upper back (36 sts), combined shoulder strands (20 sts). Each front begins (18 sts), then (16 sts), (14 sts), (12 sts), (10 sts). Sleeves (28 sts), (30 sts), (32 sts), (34 sts), (36 sts); caps (32 sts), (28 sts), (24 sts), (20 sts), (16 sts), (12 sts).
Complete Instructions for Crochet Pintuck Bib-Yoke Baby Cardigan
Make the Three Plain Lower Panels
All hdc rows use an uncounted ch2 and turn. Keep the public face marked; the lower rectangles remain entirely plain.
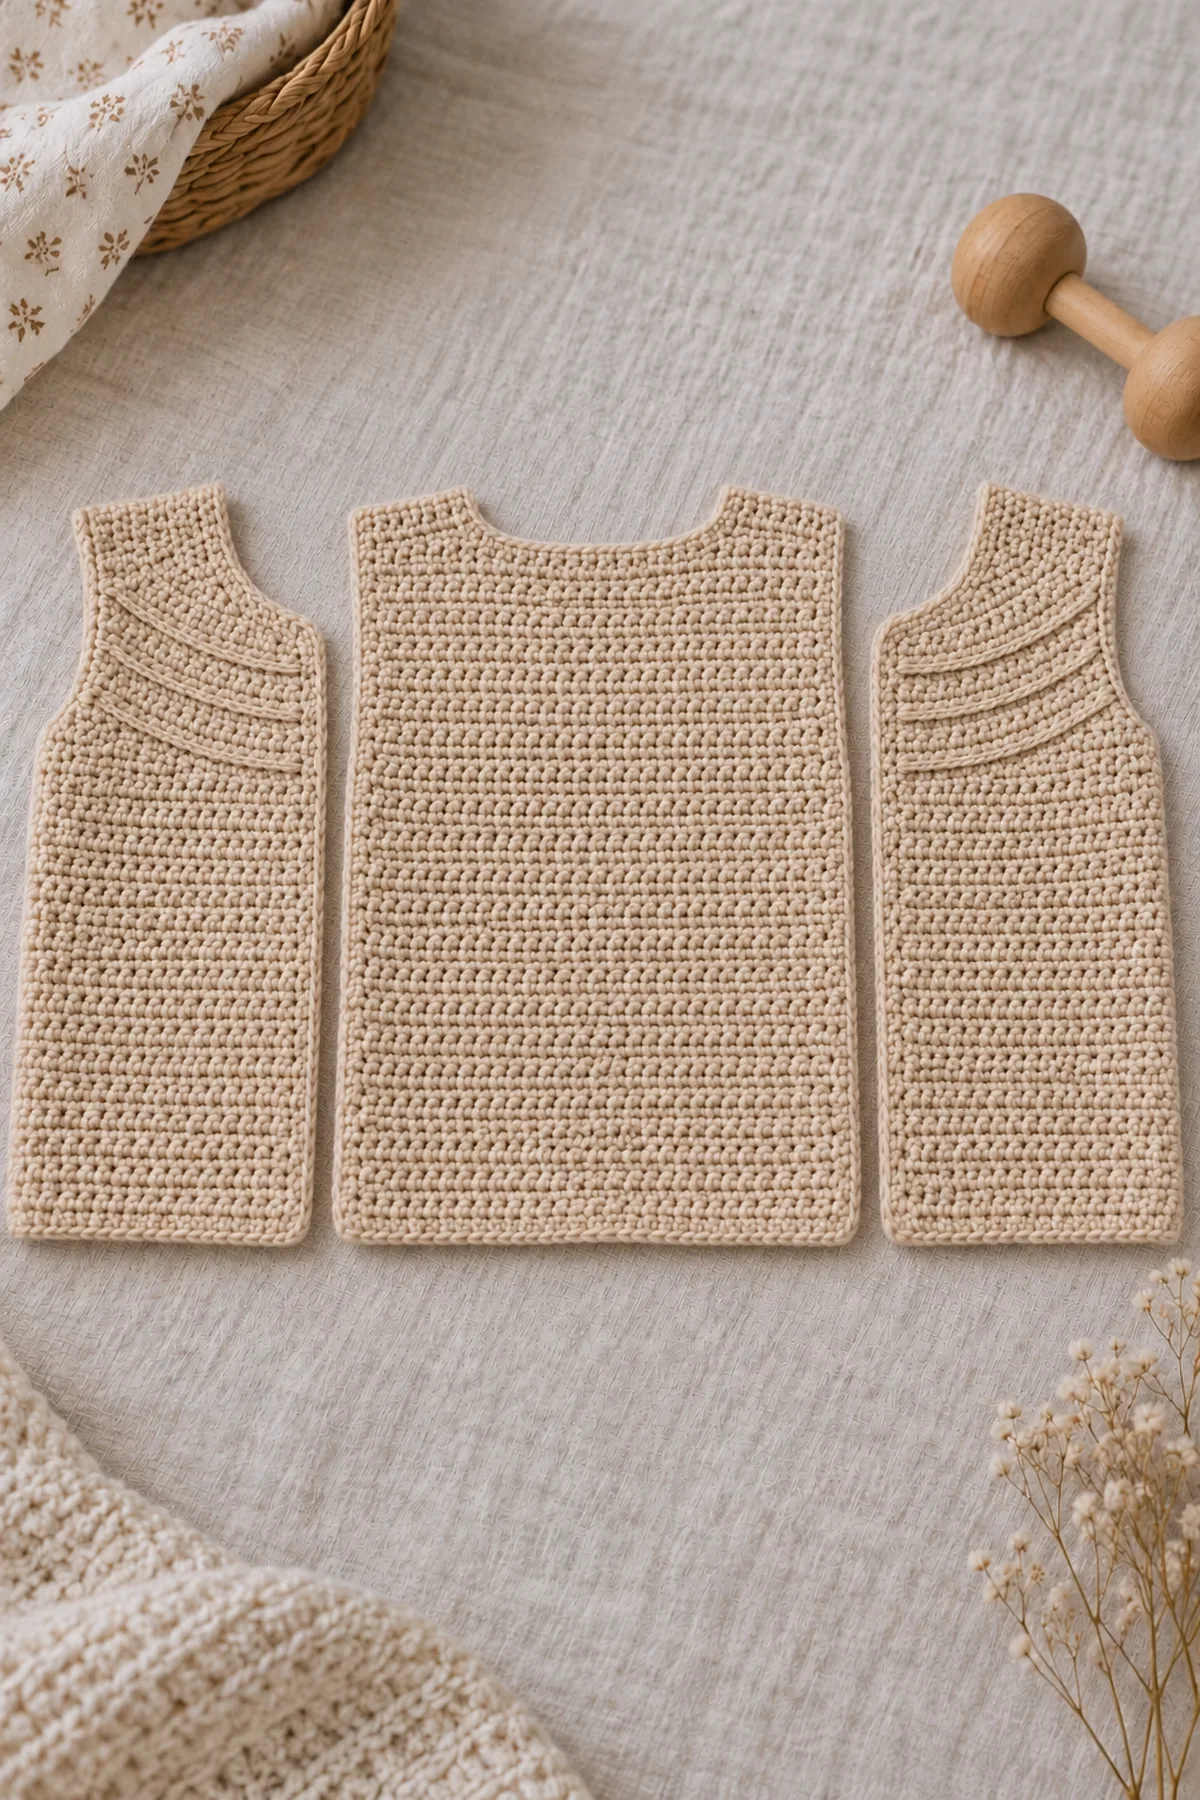
- Lower back Row1: Ch42, hdc in the third chain and each remaining chain, turn. (40 sts) Rows2–20: ch2, hdc in every stitch and turn. Keep the rectangle40 stitches wide by20 rows tall.
- Lower front Row1: Ch20, hdc in the third chain and each remaining chain, turn. (18 sts) Rows2–20: hdc in all18 and turn. Make two identical fronts, then mark their inner opening edges as mirror images.
- Lay all three pieces side by side at equal row height. The back’s center is between stitches20/21; mark two outer stitches at each back side and the two outer stitches of each front. Those short top-edge steps become the lower armhole corners, not extra seam allowance.
Join and Shape the U-Shaped Bib Panels
Work the upper panels directly into the lower top edges, leaving the marked underarm stitches unworked. Number upper rows separately from the lower twenty. Start with the public side facing when attaching; turn thereafter.
- Upper back Row1: Join at the third top stitch, leaving the first two unworked; ch2, hdc in the next36 and leave the final two unworked, turn. (36 sts) Rows2–12: hdc in all36 and turn. Mark the top as10 shoulder,16 neck,10 shoulder.
- Back shoulder Rows13–14: With a separate strand on each shoulder, hdc across only its ten marked stitches for two rows, turning between them. Leave the central16 stitches of Row12 unworked. Each shoulder ends with10 counted stitches; no yarn is carried across the neck opening.
- Each upper front Row1: Leave its two outer top stitches unworked; hdc once in all16 remaining stitches, turn. (16 sts) Rows2–8: hdc across16, turn. Retain the mirror-image INNER marker at the opening edge.
- Front Row9: Decrease two only at the marked inner neck edge: when starting there, hdc3tog over the first three, then hdc in the other13; when ending there, hdc in the first13, then hdc3tog over the last three. (14 sts) Row10: repeat the inner-edge hdc3tog with11 plain stitches. (12 sts) Row11: repeat with9 plain stitches. (10 sts)
- Front Rows12–14: Hdc in each of the remaining ten, turning each row. (10 sts) Make the other front with the shaping on its opposite INNER edge. Both outer armhole edges stay straight through all14 rows; do not place the neck decreases on the outside.
- Pin each ten-stitch front shoulder to the corresponding ten-stitch back shoulder, public faces outside. Seam one stitch to one with a flat mattress seam and no hidden overlapping row. Close both body side seams through the twenty matching lower row ends only; the upper14 rows and two-stitch ledges stay open as armholes.
Add the Three Shallow Pintuck-Style Tracks
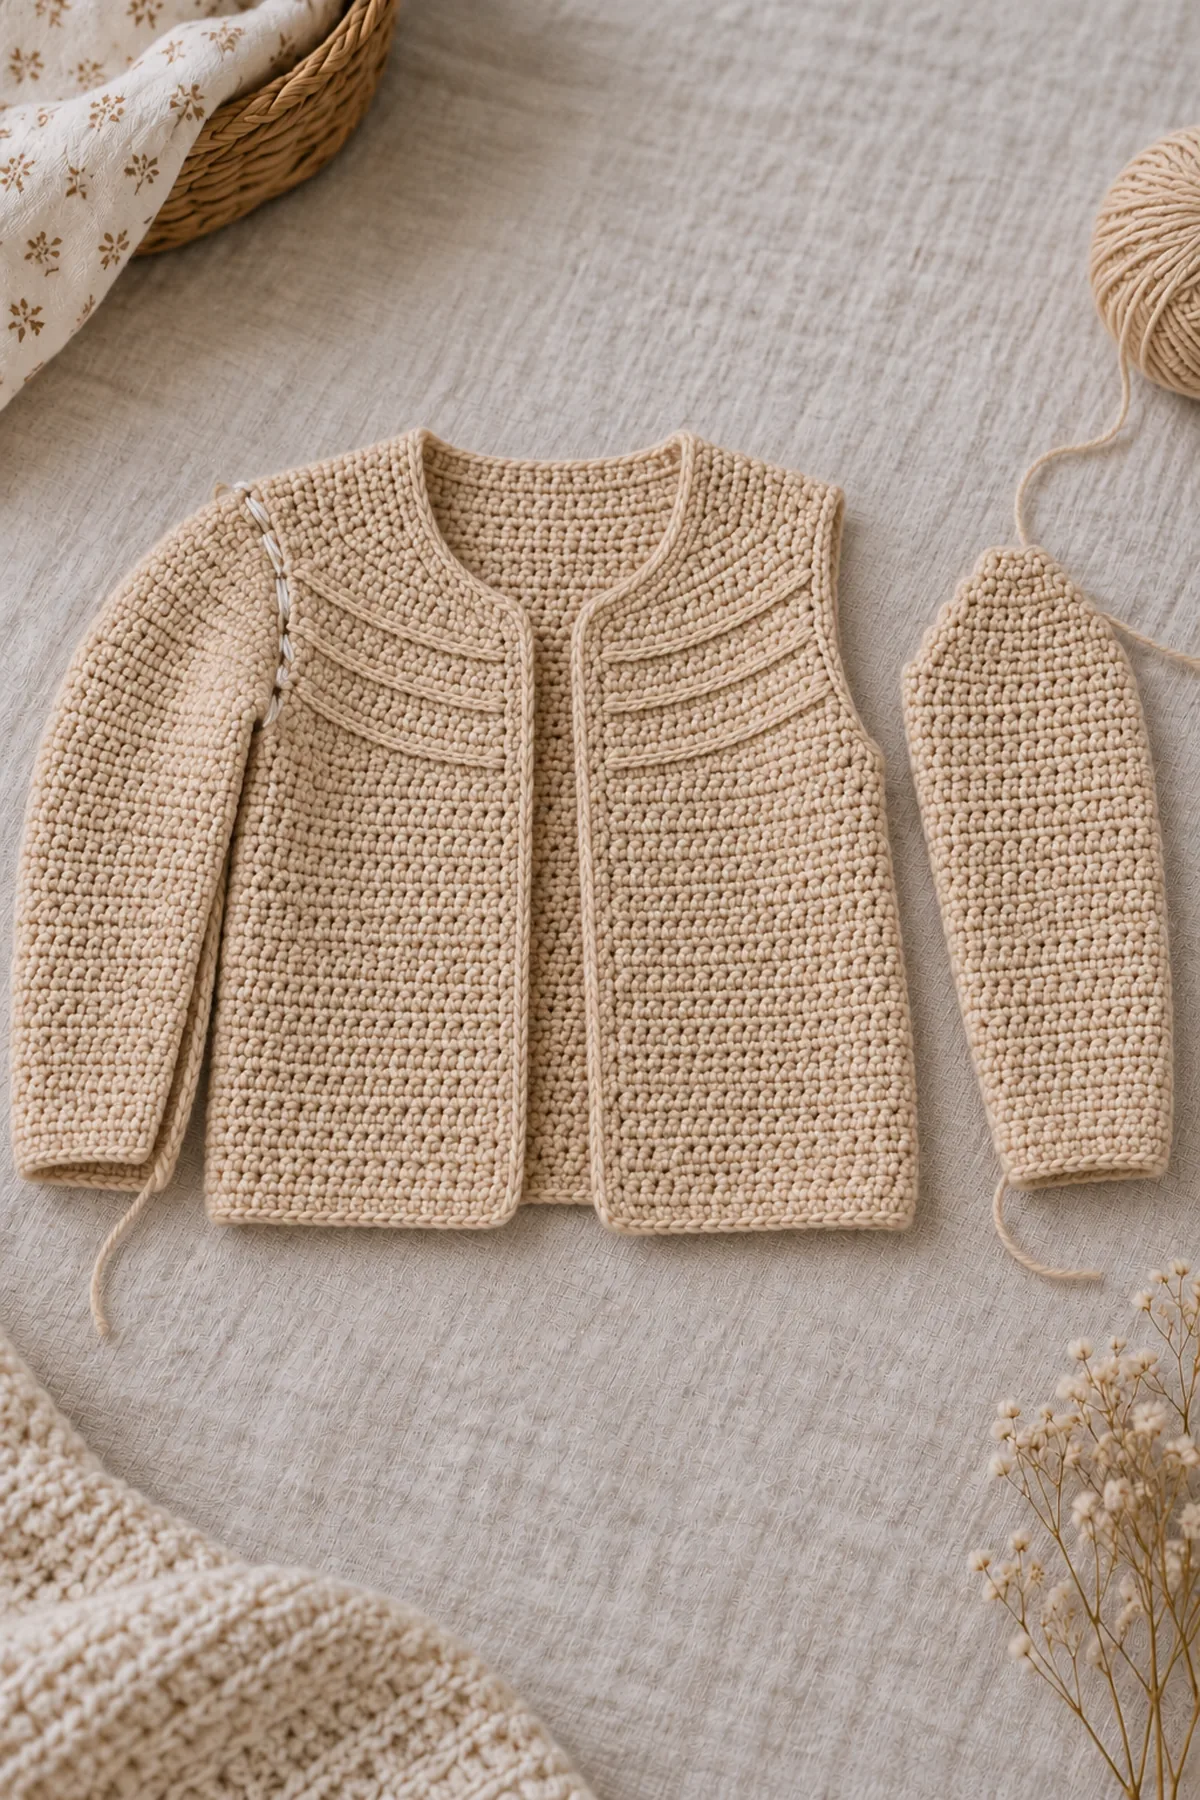
Work ridges after the upper panels are shaped, but before sleeves obscure the armholes. The surface loops must not pleat, fold, or shorten the fabric. Number stitch positions from each panel’s outer edge in its marked public-face orientation.
- On each front’s Upper Row3, surface sl st through the top bars of positions3–14, twelve loops; on Row6 through positions3–12, ten loops; on Row8 through positions3–10, eight loops. Mirror these positions on the other front so the graduated lines occupy the broad lower bib and stop clear of both neck and armhole edges.
- On the back’s Upper Row3, surface sl st through positions3–34, thirty-two loops; on Row6 through5–32, twenty-eight loops; on Row8 through7–30, twenty-four loops. These tapered lines visually wrap the contained shoulder bib instead of repeating down the whole body.
- For every track, bring the working yarn from behind at its first position, make the surface slips consecutively, and pull the final cut tail through the last loop. Take that tail back through the same final fabric position and weave both ends securely on the wrong side. Do not leave a chain handle or a detached applique.
- Lay the bib flat after each track. It must retain its full washed width and height. If a track draws its panel inward, remove that track and redo with longer loops; this finish is raised texture, not a tightly cinched pleat. Keep the outer two columns clear so sleeve seams remain supple.
Crochet the Two Shaped Set-In Sleeves
Work flat from cuff to cap in biscuit. Each sleeve has26 body rows followed by six shaped cap rows. The 36-stitch upper-arm width is nine inches at gauge; seam through outer full loops without consuming a whole extra stitch column.
- Sleeve Row1: Ch30; hdc in the third chain and every remaining chain, turn. (28 sts) Rows2–4: hdc in all28. Row5:2 hdc in first, one in next26,2 in last, turn. (30 sts) Rows6–8: hdc across30.
- Row9:2 hdc in first, one in next28,2 in last. (32 sts) Rows10–12:32 hdc. Row13:2 hdc in first, one in next30,2 in last. (34 sts) Rows14–16:34 hdc. Row17:2 hdc in first, one in next32,2 in last. (36 sts) Rows18–26:36 hdc, turning each row.
- Cap Row1: Fasten off and rejoin at the third upper stitch, leaving two at each end unworked. Hdc across the middle32, turn. (32 sts) Cap Row2: hdc3tog over first three, hdc in next26, hdc3tog over final three, turn. (28 sts)
- Cap Row3: hdc3tog,22 hdc,hdc3tog, turn. (24 sts) Cap Row4: hdc3tog,18 hdc,hdc3tog, turn. (20 sts) Cap Row5: hdc3tog,14 hdc,hdc3tog, turn. (16 sts) Cap Row6: hdc3tog,10 hdc,hdc3tog. (12 sts) Fasten off. Make the second sleeve identically; compare cap shapes before seaming.
- Baste each sleeve side seam through its26 matching body row ends from cuff to the cap-start ledges, leaving the shaped cap perimeter free. Center the twelve-stitch cap top at the shoulder seam, with six top stitches on front and six on back. Match the sleeve’s two held ledges to the corresponding body ledges at the underarm. Pin each curved side at its midpoint before basting.
- Measure the cap perimeter against its armhole without stretching either. Its two six-row shaped edges plus twelve-stitch top must follow the whole front/back armhole. Sew the12 top stitches one-to-one to twelve evenly marked shoulder positions; sew each cap row-end bar firmly, distributing those six bars over its pinned curved side and passing twice through a long row-end bar where necessary to avoid a seam gap. Seam the two held underarm stitches to their matching body ledge on each side. Remove baste only after both seams lie flat; no gathering or puff cap is intended.
Finish the Neckline, Hem and Seams
A single flexible sc edge smooths the shaped neck; it is not a separate collar. Work front pickups at the hdc row-to-stitch ratio rather than one tight sc per row.
- Sc once across the76 combined lower foundation positions at the hem. Edge each cuff with28 sc. Along a straight hdc front, use four sc across every three row-end bars: one per bar plus a second at each third bar. The straight outer opening beneath neck shaping contains the20 lower rows and eight upper rows; its28 bars receive37 sc (extra at bars3,6,9,12,15,18,21,24,27). Mirror the other front.
- Continue along each shaped inner neck with one sc in every exposed horizontal stitch top and four sc per three vertical hdc row-end bars, keeping corners flexible with one extra sc only at a pulling inside turn and its matching mirror. Sc once in the central16 back-neck tops and along the two back shoulder row ends. The stepped neckline stays open without a closure; do not bridge the front opening with yarn.
- Weave all surface and seam tails securely, wash and dry flat. Recheck that the ridges have not shortened the bib, both sleeve caps lie smooth, and both arms move comfortably. Inspect every ledge seam, tuck tail and cap join before supervised wear; remove the garment for sleep.
Assembly and Shaping
The 40-stitch back and two18-stitch fronts give76 hem positions. Leaving two at each side yields upper back36 and fronts16. Back shoulders10+16 neck+10=36; three inner-front hdc3tog rows reduce16→14→12→10, matching shoulders. Sleeve bodies grow28→36, then two held positions per side leave32; five four-decrease cap rows reach12. Surface ridges do not alter these counts. Flat seam paths must be measured before final sewing; no physically tested cap fit is claimed.
Lay every component on a flat surface before joining. Match the marked centers first, then divide each remaining edge into equal sections. Work through both layers with consistent tension and pause after each section to check that the fabric lies flat. This measured approach prevents twisting and keeps decorative details facing the intended direction.
Finishing
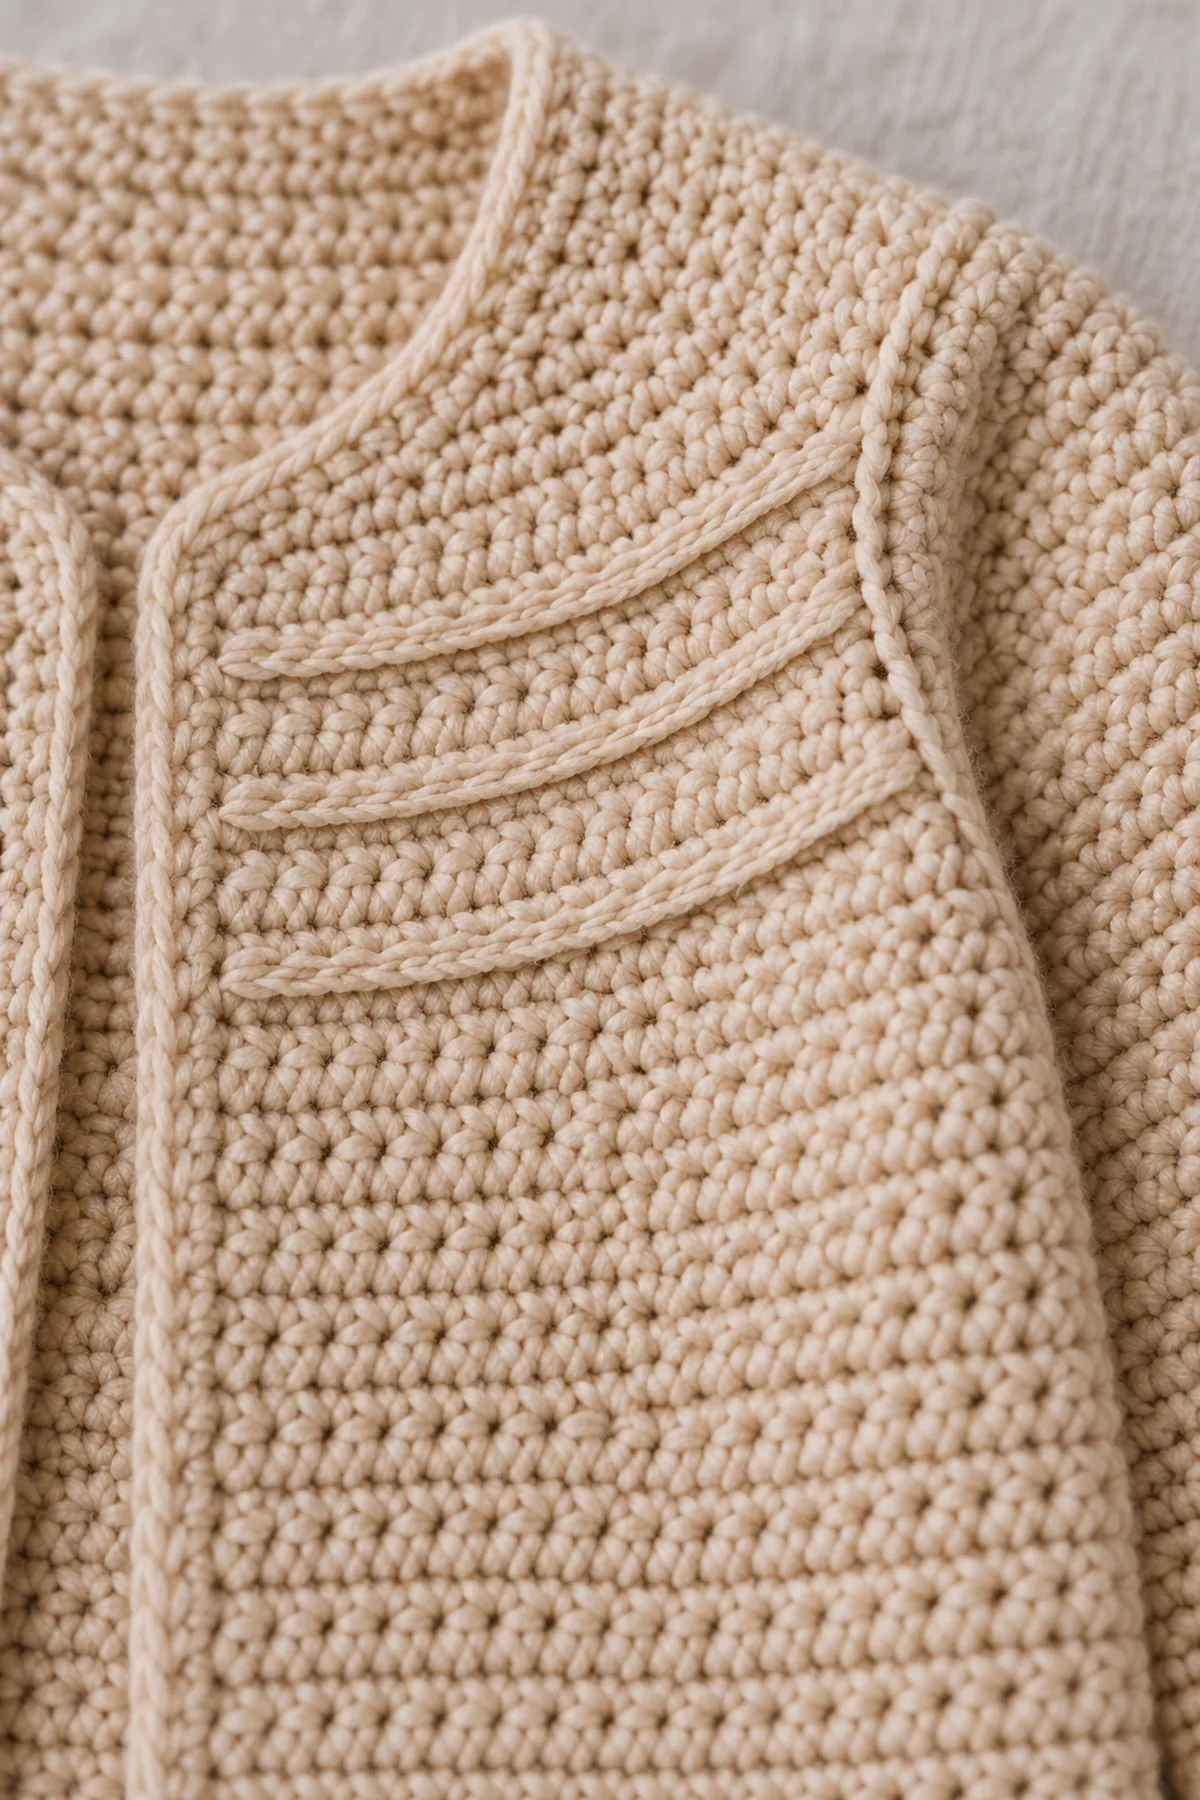
- Weave each tail in three directions on the wrong side, reversing once, then trim after gentle stretching.
- Wash by the yarn label, dry flat to the measured dimensions and check the neckline, armholes and sleeve openings again.
- Inspect every underarm join and edge for gaps or loose yarn. This garment is for supervised wear only and should not be used during sleep.
For a polished result, weave each tail through several same-color stitches, reverse direction once, and trim only after the fabric has been gently stretched. Block to the listed dimensions without flattening textured stitches. Inspect joins, borders, straps, and decorative pieces before the project is used or gifted.
Helpful Tips
- Use a different marker color at the front edges and each sleeve boundary; move markers upward after every shaping row.
- Count the whole row before turning. If a count is wrong, return to that row instead of hiding an extra stitch in the next one.
- Make both sleeves to the same counted round and compare their measured lengths before weaving ends.
Good lighting and a contrasting stitch marker make counting much easier. If a section looks uneven, compare the current count with the previous checkpoint before continuing. Fixing one missed stitch early is faster than compensating later, and it preserves the measurements used by the assembly instructions.
Frequently Asked Questions
How should I choose the size?
Use the listed finished chest and a washed gauge swatch. Compare with a comfortable garment; if the gauge or desired ease differs, do not rely on the age label alone.
Can I change the sleeve length?
Work the same additional plain rounds on each sleeve before edging. Recheck yarn quantity and measure the child or reference garment after washing.
Conclusion
The finished cardigan has its own counted shoulder construction, smooth body and matched sleeves. Check the final measurements and all joins before using it as supervised outerwear.
BabyYarnie Printable Crochet Pattern Card
BabyYarnie — easy-to-follow crochet for everyday makers.
Project: Crochet Pintuck Bib-Yoke Baby Cardigan
Skill level: Intermediate Hook: 4 mm for hdc fabric; use relaxed 4 mm surface slips, reswatch if the ridges tighten Yarn: Soft washable DK cotton-wool blend
Finished size: 6–12-month planning size: 19-inch fabric chest, approximately 11.3-inch shoulder-to-hem length and 9-inch upper sleeve; fit and cap seams require measured checks
Card Materials
- Approximately 610 yards soft biscuit washable DK cotton-wool blend, including about 25 yards for surface ridges and swatches; actual use is not sample-measured
- 4 mm hook, blunt needle, many locking markers, contrasting basting yarn, measuring tape and scissors
- Completely open front with no buttons, ties, glued parts or loose embellishments
Card Instructions
- Make the Three Plain Lower Panels: Back40×20 hdc rows; two fronts18×20. Mark two outer top stitches at every body underarm corner.
- Join and Shape the U-Shaped Bib Panels: Back bib36 stitches, shoulders10/neck16/shoulder10. Front bib16→14→12→10 at inner neck on Rows9–11; shoulders finish after Row14. Close lower20-row side seams.
- Add the Three Shallow Pintuck-Style Tracks: Front tracks12/10/8 loops at Upper Rows3/6/8, mirrored; back tracks32/28/24. Surface loops add no new garment stitches and must not shrink the bib.
- Crochet the Two Shaped Set-In Sleeves: Sleeves28→30→32→34→36 through Row26. Caps32→28→24→20→16→12, six rows; center the12-stitch top and baste measured seams before final sewing.
- Finish the Neckline, Hem and Seams: Edge76 hem positions,28 at each cuff,37 straight-front pickups each plus counted exposed neck tops and proportional row ends. Inspect all cap seams and surface tails.
Finish: Check every count, weave in all ends, block to measurement, and inspect each join.