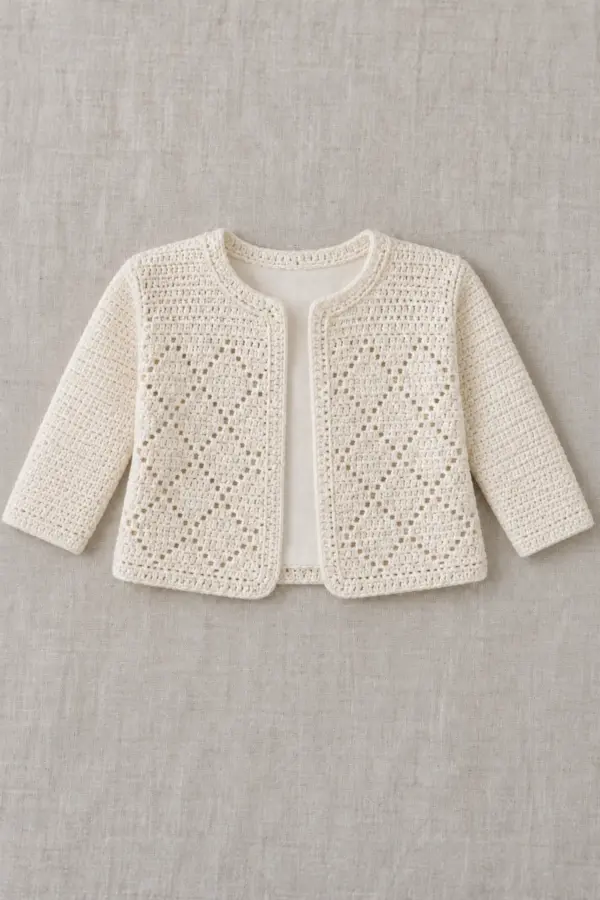
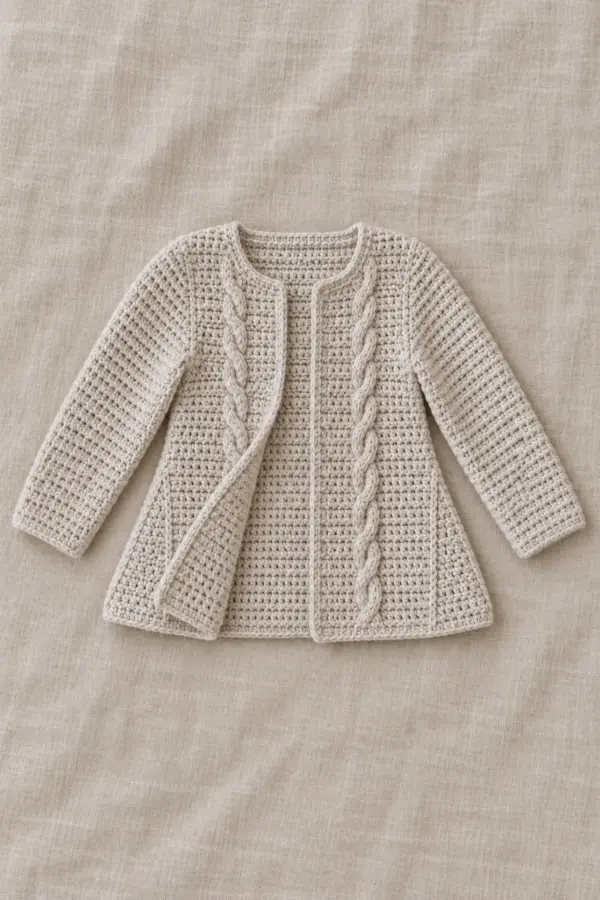
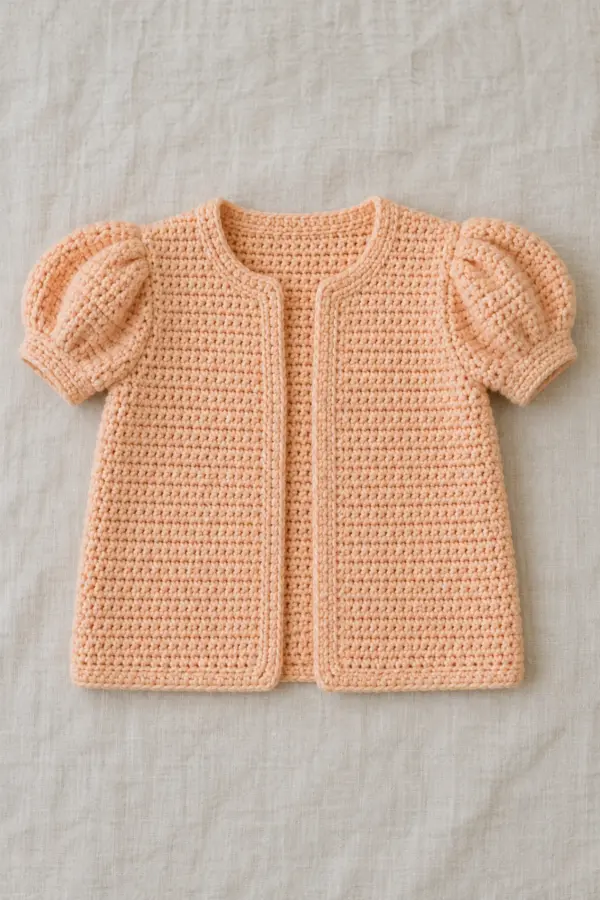
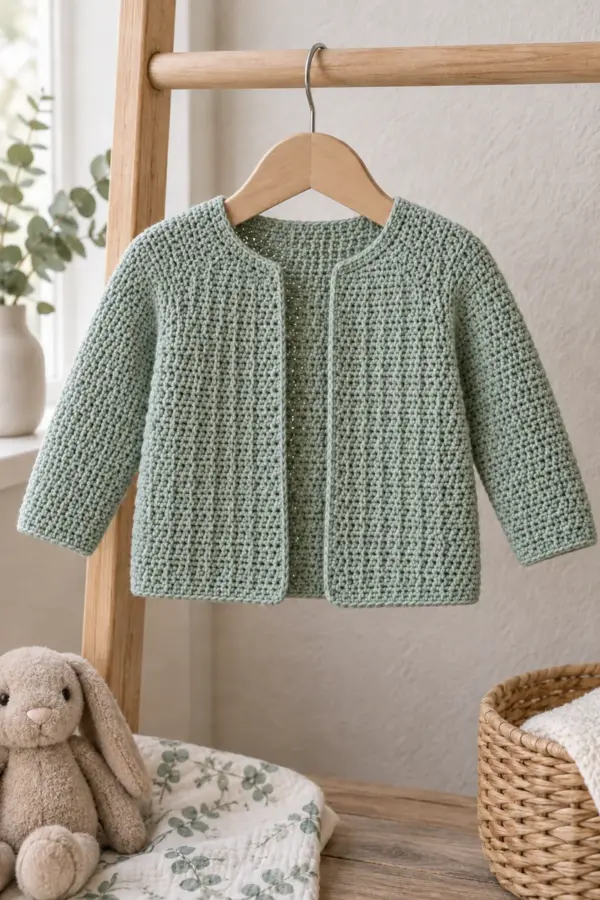
This original crochet plaid baby cardigan pattern explains how to make crochet woven-plaid intarsia baby cardigan from the first counted stitch through final assembly. The design is a practical free tutorial in US terms, with measurements and stitch checkpoints that you can verify as you work.
This design uses plain sc back, mirrored intarsia plaid fronts, two tapered plaid sleeves and fully anchored tiny vertical accent passes. Work the named components in their stated direction, verify each count, and baste every shaped join before finishing.
Pattern Details
- Hook Size: 3.5 mm starting hook; adjust to washed sc gauge
- Finished Size: 12–24-month planning size:22.4-inch fabric chest,10-inch body before bands,6-inch sleeve before cuff,8-inch upper sleeve
- Gauge: 20 sc and20 rows =4 inches after washing, including a colorwork swatch
- Estimated Time: 22–30 hours plus swatching
- Construction: Back56×50; fronts28×40 then18×10; sleeves30→40 over30 rows; borders140/112/30
- Skill level: Intermediate
Why You’ll Love This Project
The shape comes from counted stitches rather than an unexplained diagram. You can inspect each stage against the measurements, and the finished object has a clear purpose and a distinct silhouette in photographs.
Materials
- Planning estimate:550 yards cream A,110 yards rust R and80 yards charcoal K washable smooth DK; includes swatches, not sample-measured
- Hook, separate small yarn bobbins, blunt needle, locking markers, basting yarn, scissors and measuring tape
Gauge, Measurements, and Planning
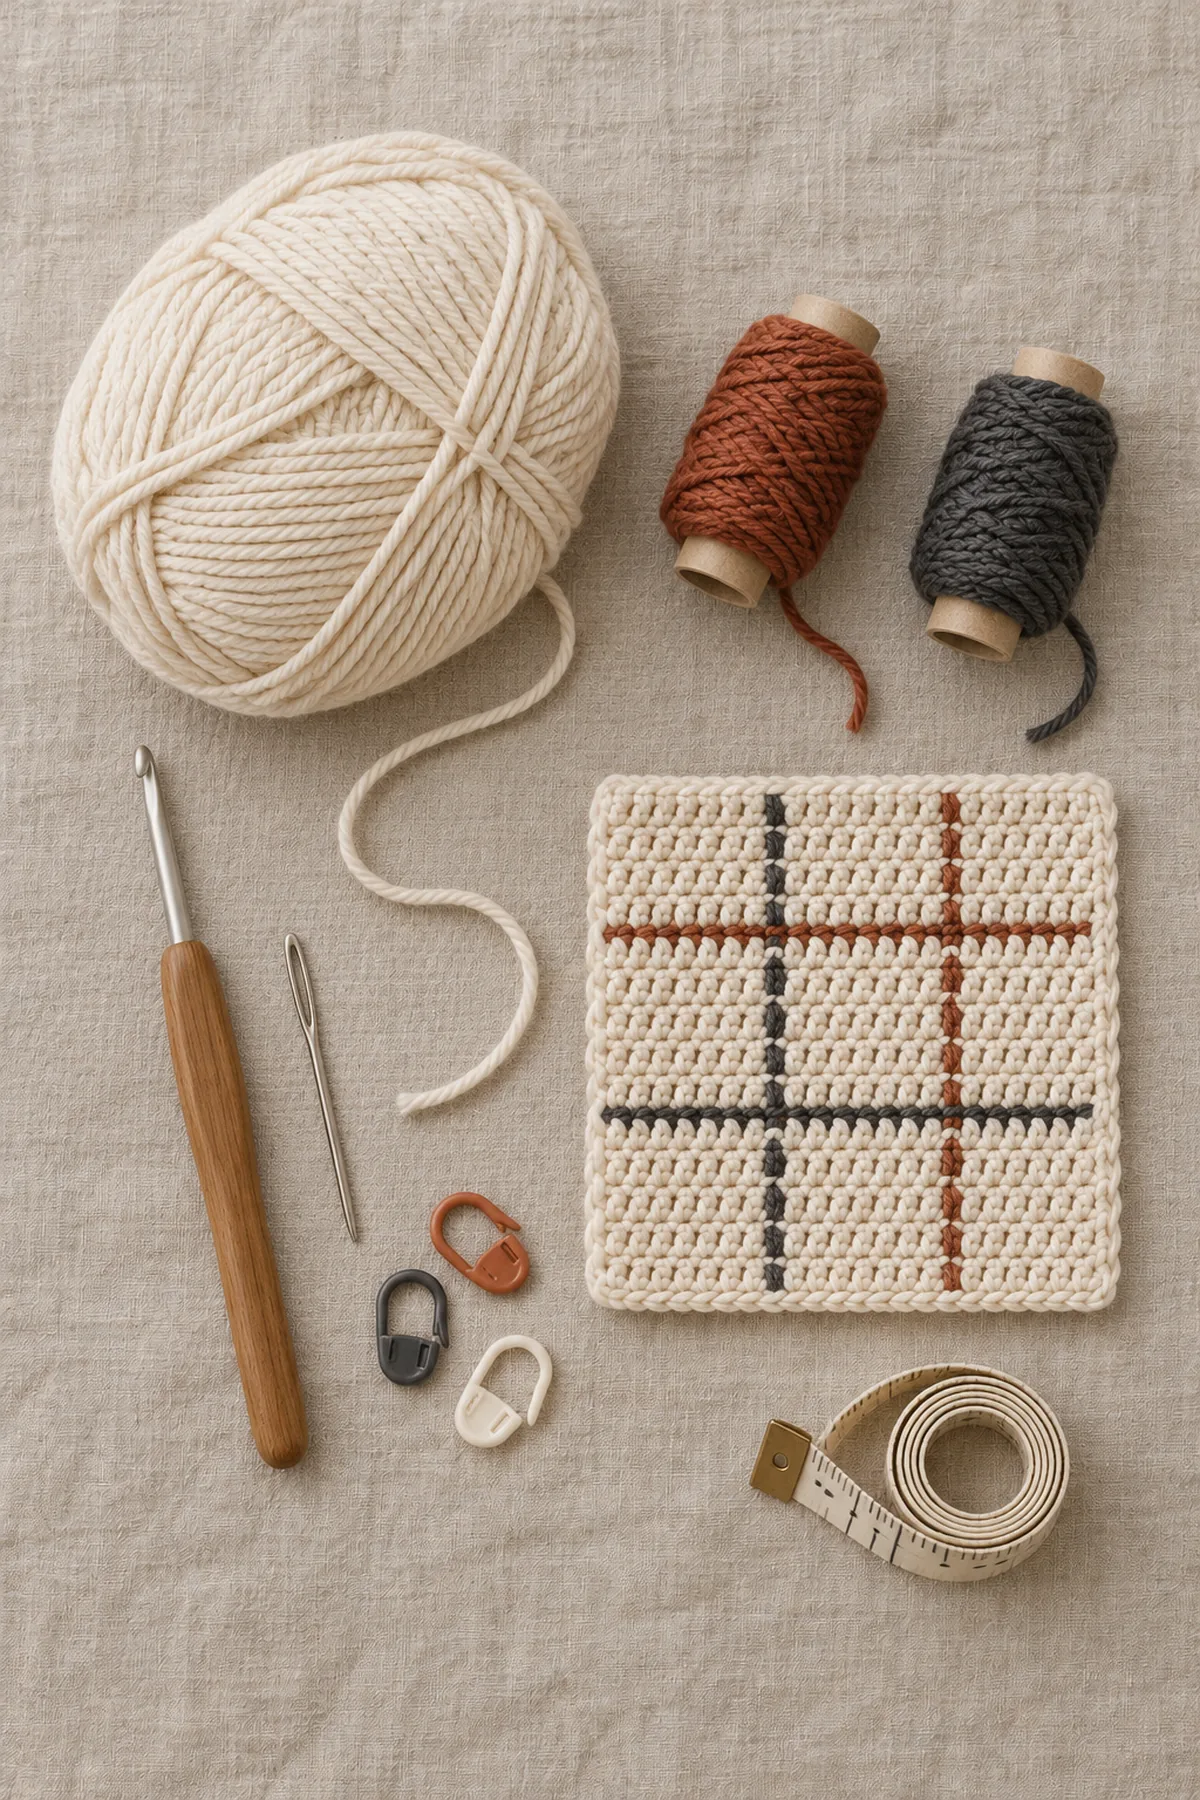
Swatch at least28 sc by28 rows using the chart below and wash it before measuring. The central20 stitches and20 rows must each span4 inches. Make a plain swatch as well: the back and colorwork must share the same washed size. Separate balls are used for each intarsia region; do not carry unused colors across cream gaps. Back width11.2 inches plus two5.6-inch fronts gives22.4 inches. Each upper20-row armhole side measures4 inches, matching the eight-inch40-stitch sleeve top. Re-swatch rather than pulling a seam to fit. All dimensions and yarn amounts are planning targets until physically checked.
Make and wash a gauge swatch before beginning. Measure only after the swatch is completely dry. If the stitch width differs, change hook size rather than pulling the working yarn tighter. Keep a written count at the end of every section so the finished edges remain balanced and the assembly points line up.
Abbreviations and Special Stitches
- ch: chain
- sc: single crochet
- sl st: slip stitch
- st(s): stitch(es)
- rnd: round
- inc: 2 sc in one stitch
- sc2tog: single crochet two stitches together
- hdc: half double crochet
- dc: double crochet
- hdc2tog: half double crochet two together
- dc2tog: double crochet two together
- RS/WS: right side/wrong side
Special stitch guidance: A=cream, R=rust, K=charcoal. All chart positions are single crochet; change color on the final pull-through of the preceding stitch. Cross the incoming strand under the outgoing strand on the wrong side, drop the old bobbin there and continue with a separate bobbin. Do not crochet over an unused strand through an entire background area. Label columns on the public face, so an even-numbered return row reads those same columns in reverse. Chart colors never change the number of stitches.
Important Notes
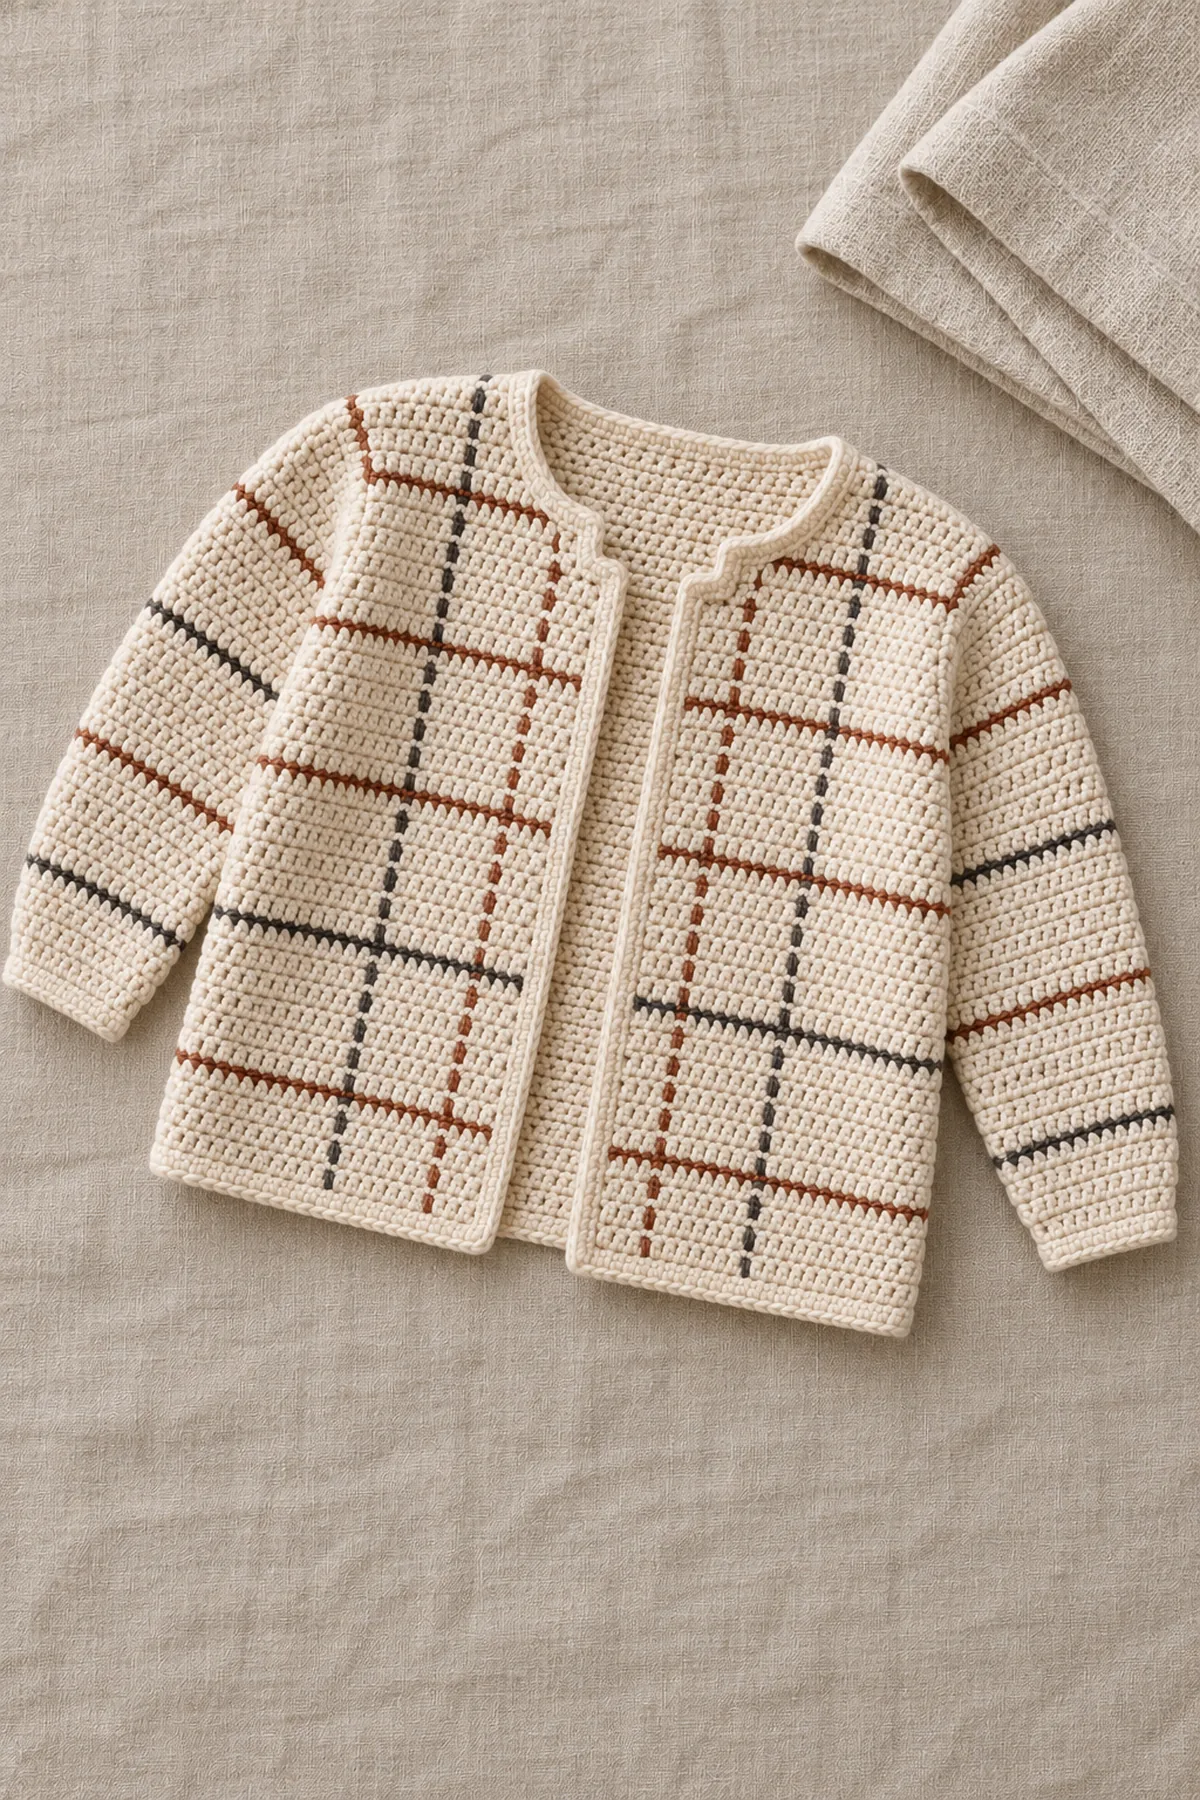
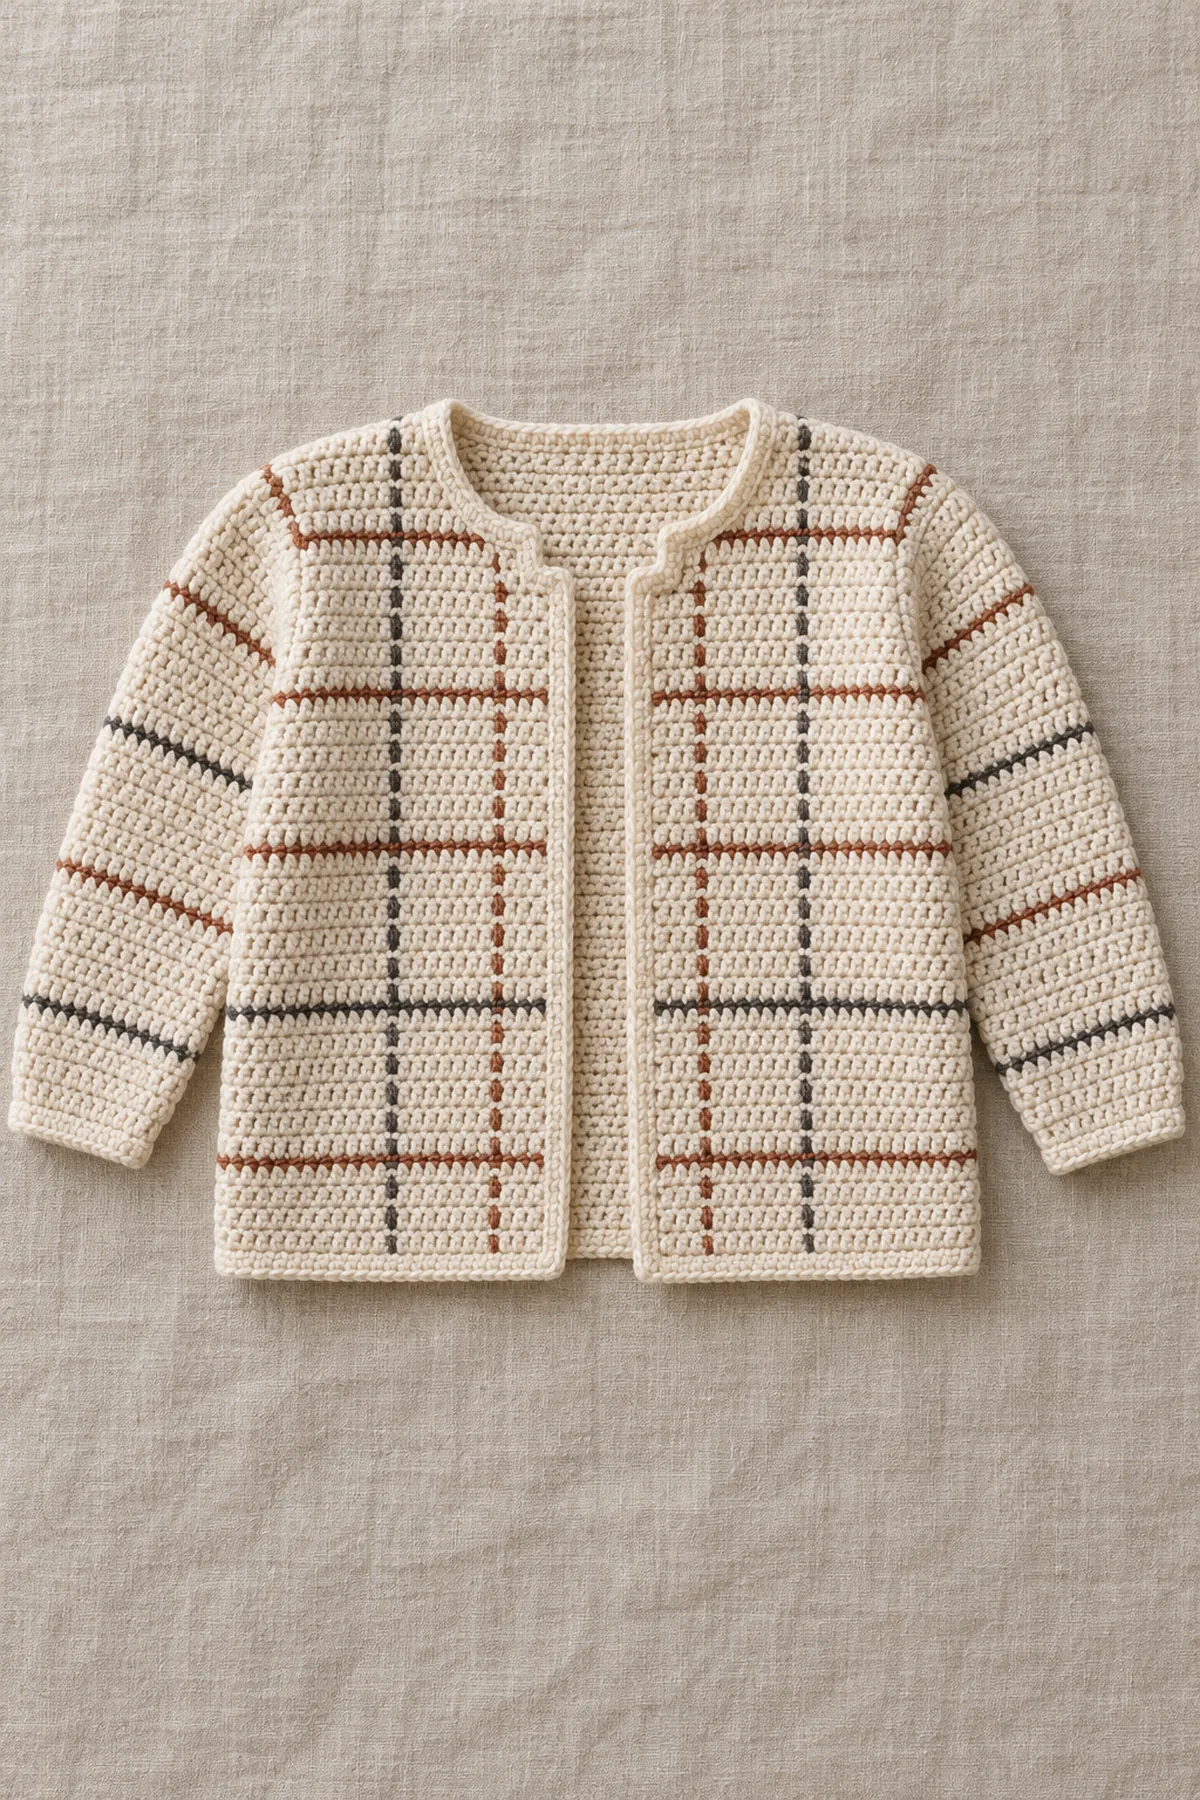
- AI-generated pictures illustrate the intended design; they are not photographs of a physically tested sample. Follow written counts rather than counting stitches in an image.
- The stitch arithmetic has been checked, but gauge, yardage and fit are planning targets until a physical sample is made. Wash a swatch and check measurements before gifting or wearing.
- A beginning ch 1 and a joining sl st never count as a stitch in this pattern. Mark the first counted stitch of each row or round.
- If a row count is wrong, return to that row. Adding an unplanned stitch later changes the shaping and the assembly alignment.
- Age labels are planning guidance only. Compare washed chest, arm openings, sleeve length and neckline to a comfortable garment for the intended child. Use as supervised awake outerwear, never for sleep.
- Arithmetic reference, not a size chart: (56 sts). Counts refer to the component named in the corresponding row.
Complete Instructions for Crochet Woven-Plaid Intarsia Baby Cardigan
Make the Back and Two Mirrored Fronts
Use US sc through both loops. Turn every flat row; ch1 never counts. Mark each first actual stitch and mark the public face after Row1.
- Back Row1: ch57, sc in the second chain and each remaining chain, turn. (56 sts) Rows2–50: ch1, sc56, turn. Mark eighteen top stitches at each end for the shoulders and leave the central twenty for the back neck. There are fifty row-end bars along either side.
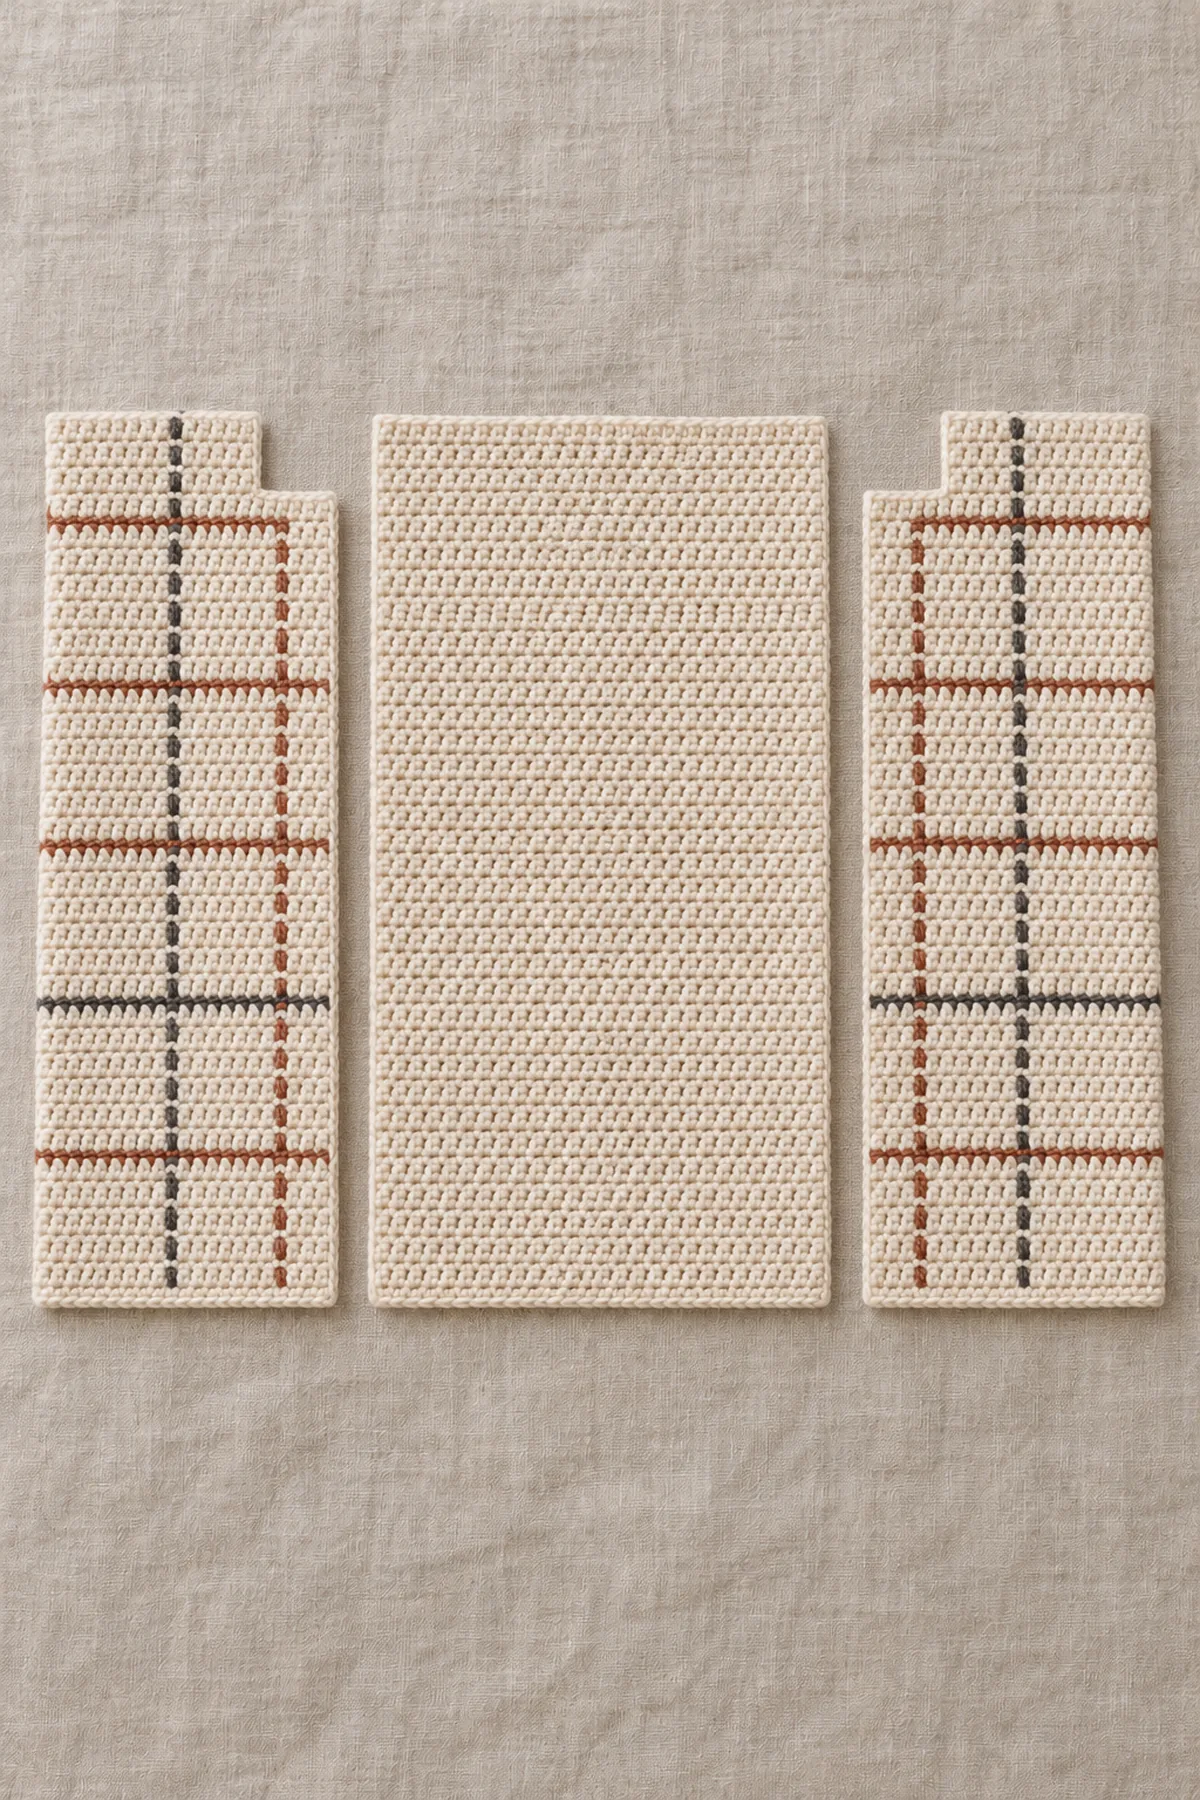
- Each front Row1: ch29, sc from second chain across28, turn. (28 sts) Rows2–40: ch1, sc28, turn. Label one long edge OPENING and the other SIDE before continuing. Keep both pieces public-face up when deciding which is left or right.
- Front Rows41–50: fasten off after Row40. Leave the ten inner opening-edge stitches unworked. Rejoin at the first of the outer eighteen stitches; ch1 and sc18, turn. (18 sts) Work nine further rows at18. The second front holds the opposite physical ten stitches so the two neck ledges face each other, never outward.
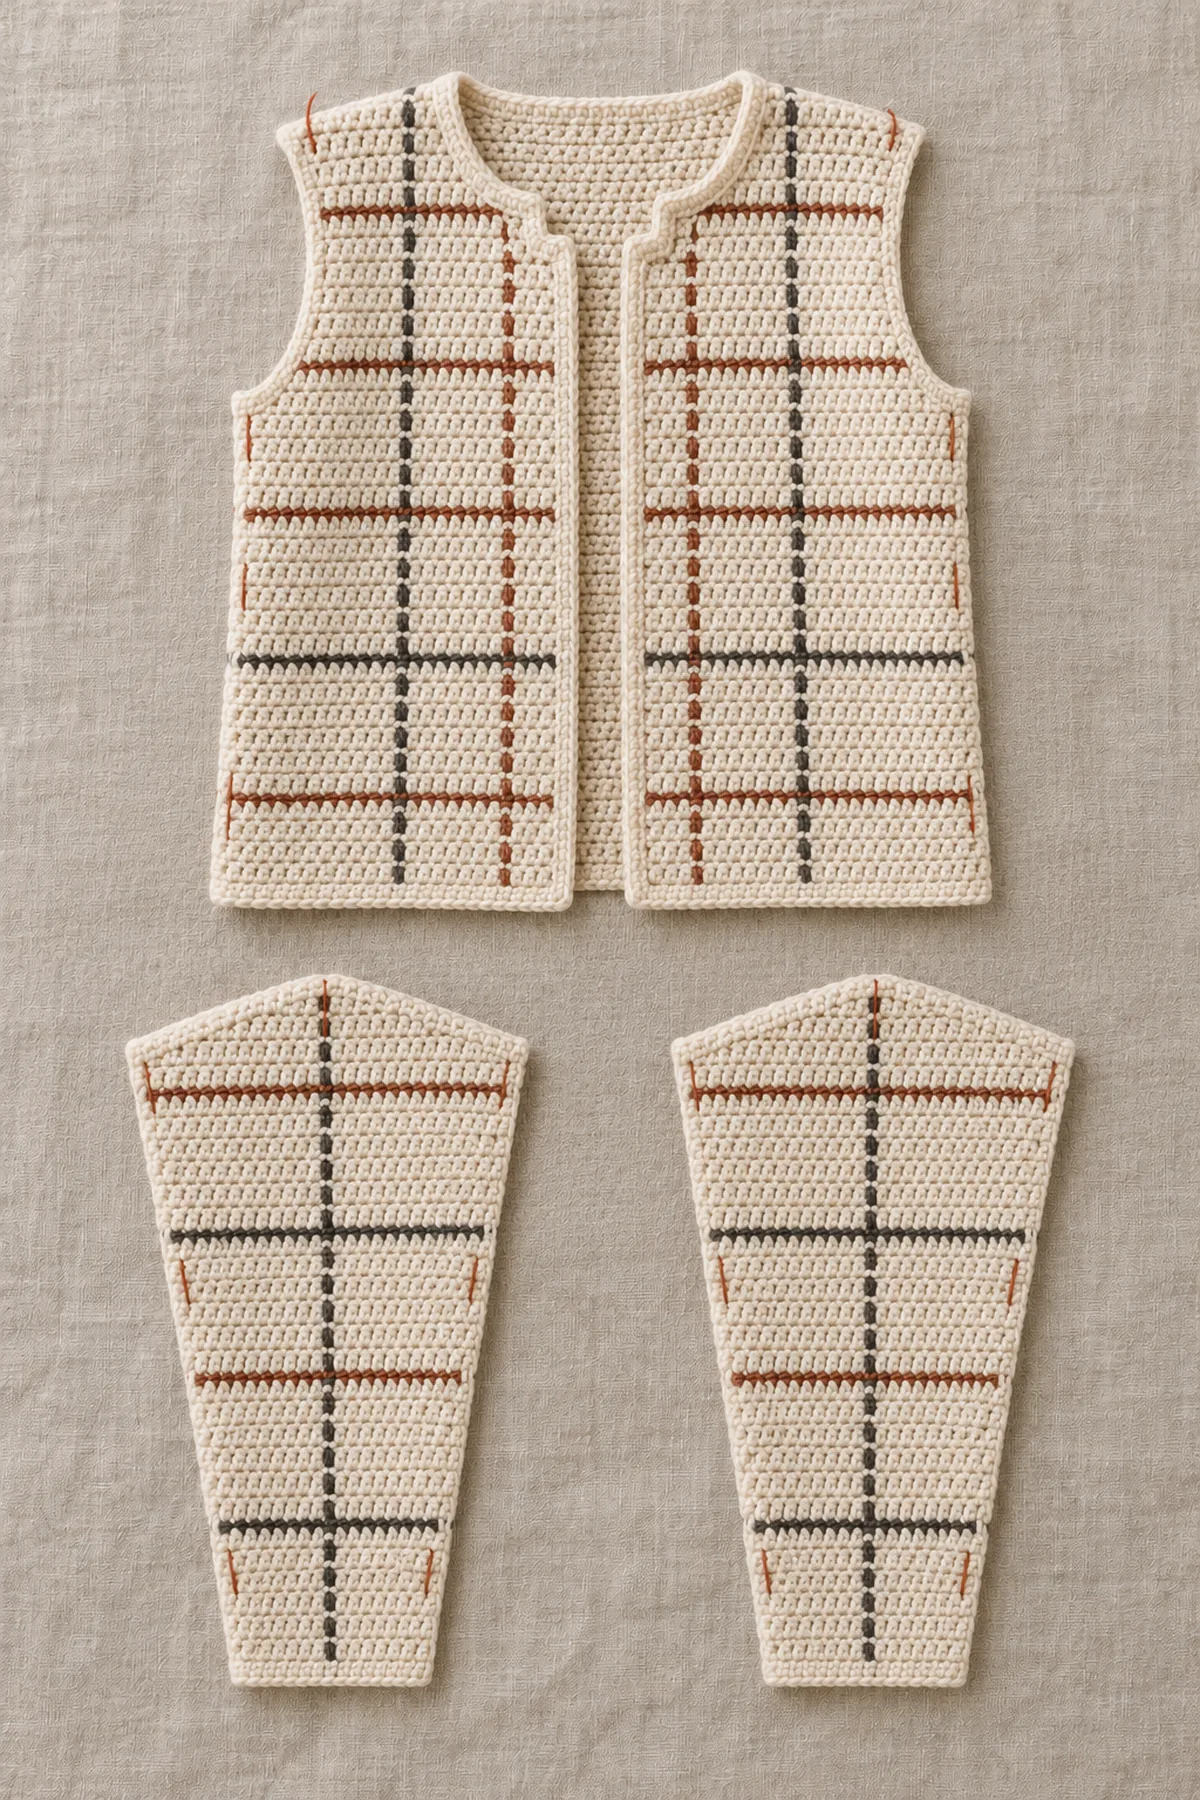
- Baste each eighteen-stitch shoulder to eighteen back-shoulder stitches. Match front and back side Rows1–30 one-to-one. Leave Rows31–50 unseamed: twenty front bars plus twenty back bars make each armhole, forty bars total. At five rows per inch this perimeter is eight inches. Measure before attaching a sleeve; do not stretch a short armhole.
- Lay the basted open garment flat. Back56 plus two fronts28 equals112 stitches of fabric, giving22.4 inches at five stitches per inch before bands. Body height is10 inches; the shallow rectangular neck notch is two inches wide on each front. These are planning dimensions for12–24 months, not a tested age-based size guarantee.
Read the Original Twelve-Row Plaid Map
Use this coordinate chart on both fronts and both sleeves while making their rows, not as an instruction to embroider an entire finished garment. The back remains cream.
- Chart columns are numbered from the physical SIDE edge on each front toward its opening; on each sleeve they are numbered from one marked seam edge. For row r, phase p is the remainder after dividing r−1 by12, plus1. Thus Rows1–12 use phases1–12, Row13 restarts phase1 and Row25 restarts phase1.
- Phase6: every active stitch is rust R. Phase12: every active stitch is charcoal K. Phases5 and11: every stitch is cream A. On phases1–4 and7–10, work cream except physical columns4,16,28,40 are rust and columns9,21,33 are charcoal, including only columns actually present on that panel. All other positions are cream. This complete chart is equivalent to R when column mod12=4 and K when column mod12=9 on those eight phases.
- For example, a28-stitch Row1 reads A3,R1,A4,K1,A6,R1,A4,K1,A6,R1 from SIDE to OPENING:3+1+4+1+6+1+4+1+6+1=28. On Row2 read the physical columns in reverse working direction. On a solid horizontal stripe use one ball across the row and secure discontinued bobbins; introduce fresh bobbins when interrupted vertical sections restart.
- After the front neck notch, retain the original outer columns1–18, rather than renumbering from the opening. Sleeve increases add new columns at the marked seam edges: after each increase row, renumber the resulting width from its marked edge for that row. Both sleeves follow this same rule so their plaid remains paired. Swatch the stepped color alignment before beginning the garment.
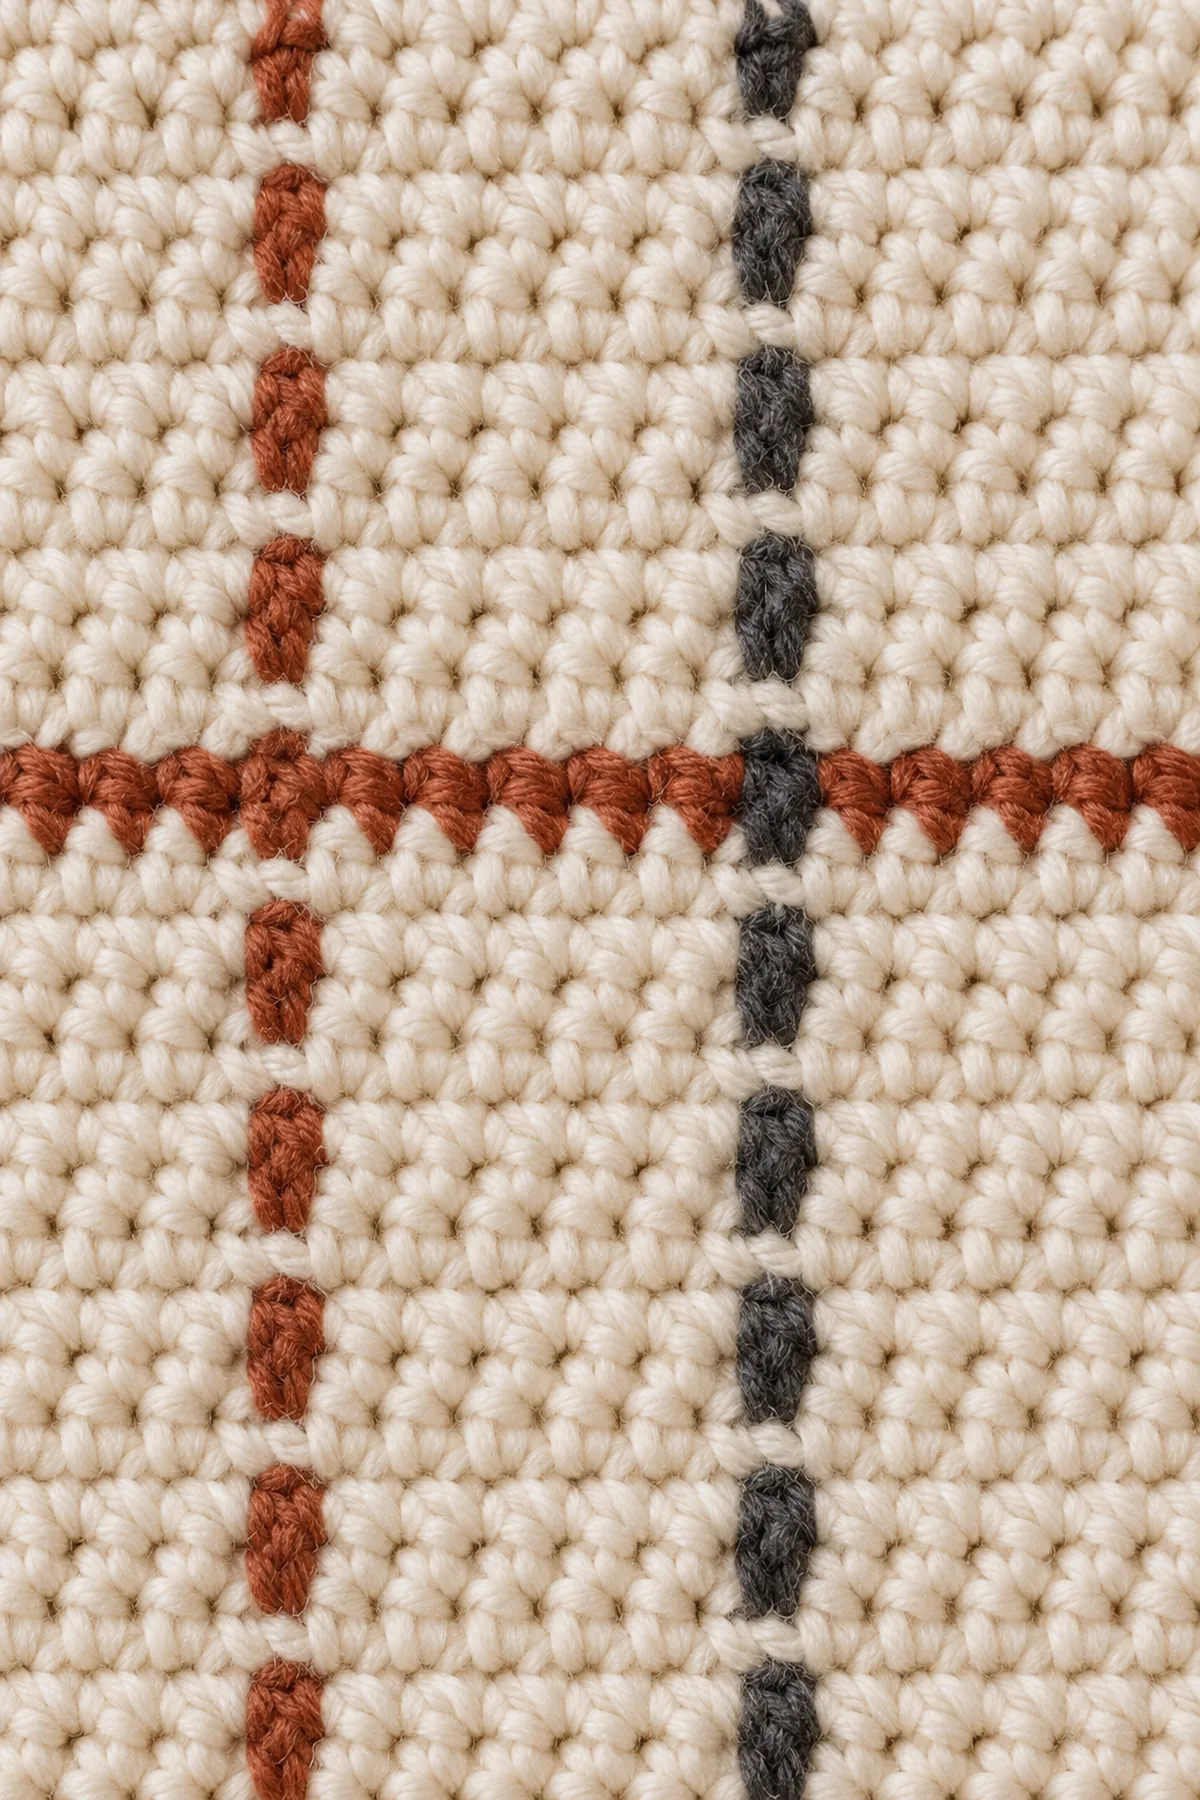
- Anchor a tiny vertical accent at each intersection of a rust vertical column and a rust horizontal row: front columns4 and16 at Rows6,18 and30; sleeve columns4,16 and28 at Rows6,18 and30 where present. For one accent, secure matching rust yarn inside stitch backs, emerge at that intersection and make three separate one-row vertical passes down through the next three rows, catching solid stitch strands at every boundary. Return each pass inside the fabric, not across the reverse face. Secure the end nearby. No exposed pass spans more than one row. This adds texture without gathering or changing a count.
Crochet the Tapered Plaid Sleeves and Join
Make two equal thirty-row sleeves with the chart colors. Increases are part of the counted sc fabric, not added chain loops.
- Sleeve Row1: ch31, sc from second chain across30, turn. (30 sts) Rows2–4 remain30. On Rows5,10,15,20 and25 work2 sc in the first stitch, one in each interior stitch and2 sc in the last. The successive totals are32,34,36,38 and40. Every other row through Row30 works even at its current count.
- Each increase consumes N old positions and makes N+2: two edge increases produce4 stitches and N−2 plain stitches complete the row. Assign the chart colors to the newly numbered output columns, including the two stitches within each increase. Measure the30-row length at six inches and the40-column upper edge at eight inches before sewing.
- Baste the thirty row-end bars along each sleeve into a tube. Place its seam at the underarm junction; pin the sleeve top into four groups of ten stitches and the armhole into four groups of ten bars. Join one stitch to one bar without puckering. Check both public and reverse intarsia joins before permanent seaming. Cuffs use30 sc under the finishing directions.
Work Counted Borders and Finish
Make all borders in the main color at the same washed sc gauge. A joining slip and ch1 lift never create a new target.
- Opening Row1: starting at a lower front corner, sc once in each of its fifty row-end bars, ten times across the exposed front neck ledge, twenty times across the back neck, ten across the opposite ledge, and fifty along the other opening edge:50+10+20+10+50=140 sc. Turn and work two additional140-sc rows. (140 sts) Do not add corner increases; these are narrow flexible bands, not a broad collar.
- Hem Row1: sc once in each of the112 body foundation positions, excluding the ends of the new opening bands. (112 sts) Work two more turned112-sc rows. Fill each short lower opening-band end with three sc, one in each band row-end; keep these separate from the112-stitch hem count.
- At each wrist, sc once per foundation stitch, then work two further rounds at that same count, joining to the first sc and turning after each round. Remove every marker and basting strand. Weave all ends inside several stitches in at least two directions and inspect both faces for loose ends or loops.
- Wash following the yarn label, dry flat and compare chest, sleeve clearance, neck opening and seam paths to a comfortable garment. Stop if a hand cannot pass through the cuff or the armhole binds. Use only as supervised awake outerwear and remove for sleep. Add no buttons, neckline ties or detachable decorations.
Assembly and Shaping
Shoulders18+20+18=56; fronts28−10=18. Body112, sleeve30+five paired increases=40, armhole40 bars. Opening140, hem112, wrist30. Plaid front and sleeve charts use independent bobbins without carried floats; tiny embroidery is anchored at every row boundary.
Lay every component on a flat surface before joining. Match the marked centers first, then divide each remaining edge into equal sections. Work through both layers with consistent tension and pause after each section to check that the fabric lies flat. This measured approach prevents twisting and keeps decorative details facing the intended direction.
Finishing
- Weave each tail along three different paths on the wrong side; reverse direction before trimming.
- Wash or damp-block according to the yarn label and allow the work to dry at its measured shape.
- Inspect every seam, edge and attachment from both faces before first use, then inspect again after laundering.
For a polished result, weave each tail through several same-color stitches, reverse direction once, and trim only after the fabric has been gently stretched. Block to the listed dimensions without flattening textured stitches. Inspect joins, borders, straps, and decorative pieces before the project is used or gifted.
Helpful Tips
- Use contrasting locking markers at shaping points and record the count after every change row.
- Change hook size when the washed swatch differs from the stated gauge; do not compensate with uneven hand tension.
- Photograph the flat components before joining so it is easy to identify an inverted or twisted piece.
Good lighting and a contrasting stitch marker make counting much easier. If a section looks uneven, compare the current count with the previous checkpoint before continuing. Fixing one missed stitch early is faster than compensating later, and it preserves the measurements used by the assembly instructions.
Frequently Asked Questions
Has this design been physically sample-tested?
No. The arithmetic and assembly plan are checked, but gauge, yarn amount, fit and seam geometry remain planning targets. The AI illustrations are not a stitch-count chart.
How do I select the size?
Use the listed fabric dimensions and a washed swatch, not the age alone. If the swatch or measured garment does not fit these targets, stop before assembly and revise the size with checked counts.
Conclusion
Counted shaping and measured joins make this an independent cardigan construction rather than a renamed raglan recipe. Wash, check fit and inspect every seam before supervised wear. No physically crocheted sample is claimed.
BabyYarnie Printable Crochet Pattern Card
BabyYarnie — easy-to-follow crochet for everyday makers.
Project: Crochet Woven-Plaid Intarsia Baby Cardigan
Skill level: Intermediate Hook: 3.5 mm starting hook; adjust to washed sc gauge Yarn: Smooth washable DK cotton-wool blend
Finished size: 12–24-month planning size:22.4-inch fabric chest,10-inch body before bands,6-inch sleeve before cuff,8-inch upper sleeve
Card Materials
- Planning estimate:550 yards cream A,110 yards rust R and80 yards charcoal K washable smooth DK; includes swatches, not sample-measured
- Hook, separate small yarn bobbins, blunt needle, locking markers, basting yarn, scissors and measuring tape
Card Instructions
- Make the Back and Two Mirrored Fronts: Back Row1: ch57, sc in the second chain and each remaining chain, turn. (56 sts) Rows2–50: ch1, sc56, turn. Mark eighteen top stitches at each end for the shoulders and leave the central twenty for the back neck. There are fifty row-end bars along either side. Each front Row1: ch29, sc from second chain across28, turn. (28 sts) Rows2–40: ch1, sc28, turn. Label one long edge OPENING and the other SIDE before continuing. Keep both pieces public-face up when deciding which is left or right. Front Rows41–50: fasten off after Row40. Leave the ten inner opening-edge stitches unworked. Rejoin at the first of the outer eighteen stitches; ch1 and sc18, turn. (18 sts) Work nine further rows at18. The second front holds the opposite physical ten stitches so the two neck ledges face each other, never outward. Baste each eighteen-stitch shoulder to eighteen back-shoulder stitches. Match front and back side Rows1–30 one-to-one. Leave Rows31–50 unseamed: twenty front bars plus twenty back bars make each armhole, forty bars total. At five rows per inch this perimeter is eight inches. Measure before attaching a sleeve; do not stretch a short armhole. Lay the basted open garment flat. Back56 plus two fronts28 equals112 stitches of fabric, giving22.4 inches at five stitches per inch before bands. Body height is10 inches; the shallow rectangular neck notch is two inches wide on each front. These are planning dimensions for12–24 months, not a tested age-based size guarantee.
- Read the Original Twelve-Row Plaid Map: Chart columns are numbered from the physical SIDE edge on each front toward its opening; on each sleeve they are numbered from one marked seam edge. For row r, phase p is the remainder after dividing r−1 by12, plus1. Thus Rows1–12 use phases1–12, Row13 restarts phase1 and Row25 restarts phase1. Phase6: every active stitch is rust R. Phase12: every active stitch is charcoal K. Phases5 and11: every stitch is cream A. On phases1–4 and7–10, work cream except physical columns4,16,28,40 are rust and columns9,21,33 are charcoal, including only columns actually present on that panel. All other positions are cream. This complete chart is equivalent to R when column mod12=4 and K when column mod12=9 on those eight phases. For example, a28-stitch Row1 reads A3,R1,A4,K1,A6,R1,A4,K1,A6,R1 from SIDE to OPENING:3+1+4+1+6+1+4+1+6+1=28. On Row2 read the physical columns in reverse working direction. On a solid horizontal stripe use one ball across the row and secure discontinued bobbins; introduce fresh bobbins when interrupted vertical sections restart. After the front neck notch, retain the original outer columns1–18, rather than renumbering from the opening. Sleeve increases add new columns at the marked seam edges: after each increase row, renumber the resulting width from its marked edge for that row. Both sleeves follow this same rule so their plaid remains paired. Swatch the stepped color alignment before beginning the garment. Anchor a tiny vertical accent at each intersection of a rust vertical column and a rust horizontal row: front columns4 and16 at Rows6,18 and30; sleeve columns4,16 and28 at Rows6,18 and30 where present. For one accent, secure matching rust yarn inside stitch backs, emerge at that intersection and make three separate one-row vertical passes down through the next three rows, catching solid stitch strands at every boundary. Return each pass inside the fabric, not across the reverse face. Secure the end nearby. No exposed pass spans more than one row. This adds texture without gathering or changing a count.
- Crochet the Tapered Plaid Sleeves and Join: Sleeve Row1: ch31, sc from second chain across30, turn. (30 sts) Rows2–4 remain30. On Rows5,10,15,20 and25 work2 sc in the first stitch, one in each interior stitch and2 sc in the last. The successive totals are32,34,36,38 and40. Every other row through Row30 works even at its current count. Each increase consumes N old positions and makes N+2: two edge increases produce4 stitches and N−2 plain stitches complete the row. Assign the chart colors to the newly numbered output columns, including the two stitches within each increase. Measure the30-row length at six inches and the40-column upper edge at eight inches before sewing. Baste the thirty row-end bars along each sleeve into a tube. Place its seam at the underarm junction; pin the sleeve top into four groups of ten stitches and the armhole into four groups of ten bars. Join one stitch to one bar without puckering. Check both public and reverse intarsia joins before permanent seaming. Cuffs use30 sc under the finishing directions.
- Work Counted Borders and Finish: Opening Row1: starting at a lower front corner, sc once in each of its fifty row-end bars, ten times across the exposed front neck ledge, twenty times across the back neck, ten across the opposite ledge, and fifty along the other opening edge:50+10+20+10+50=140 sc. Turn and work two additional140-sc rows. (140 sts) Do not add corner increases; these are narrow flexible bands, not a broad collar. Hem Row1: sc once in each of the112 body foundation positions, excluding the ends of the new opening bands. (112 sts) Work two more turned112-sc rows. Fill each short lower opening-band end with three sc, one in each band row-end; keep these separate from the112-stitch hem count. At each wrist, sc once per foundation stitch, then work two further rounds at that same count, joining to the first sc and turning after each round. Remove every marker and basting strand. Weave all ends inside several stitches in at least two directions and inspect both faces for loose ends or loops. Wash following the yarn label, dry flat and compare chest, sleeve clearance, neck opening and seam paths to a comfortable garment. Stop if a hand cannot pass through the cuff or the armhole binds. Use only as supervised awake outerwear and remove for sleep. Add no buttons, neckline ties or detachable decorations.
Finish: Check every count, weave in all ends, block to measurement, and inspect each join.