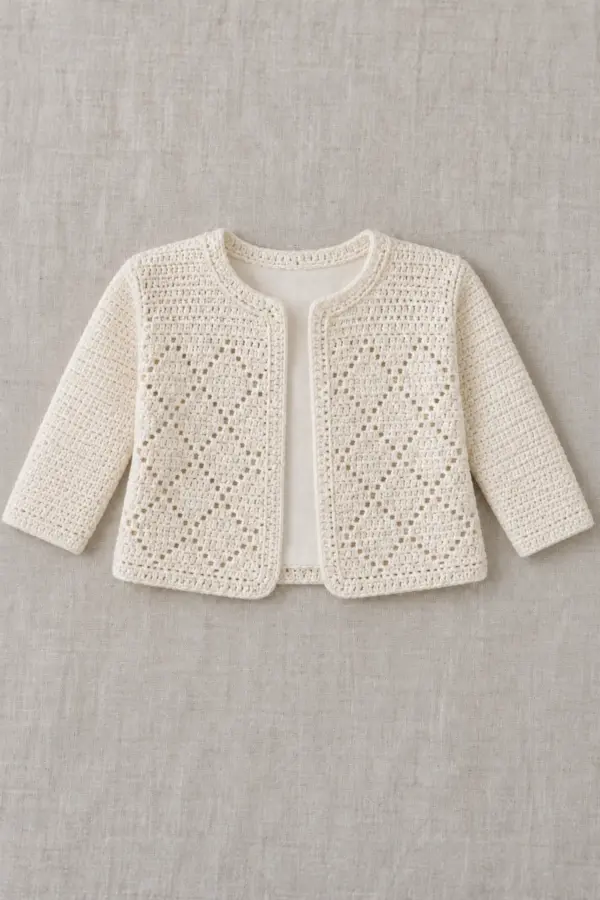
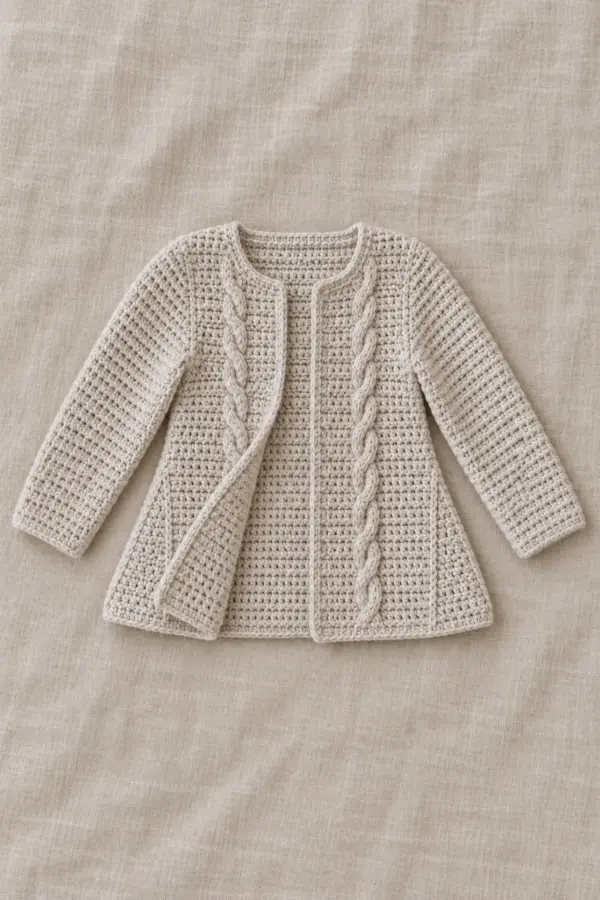
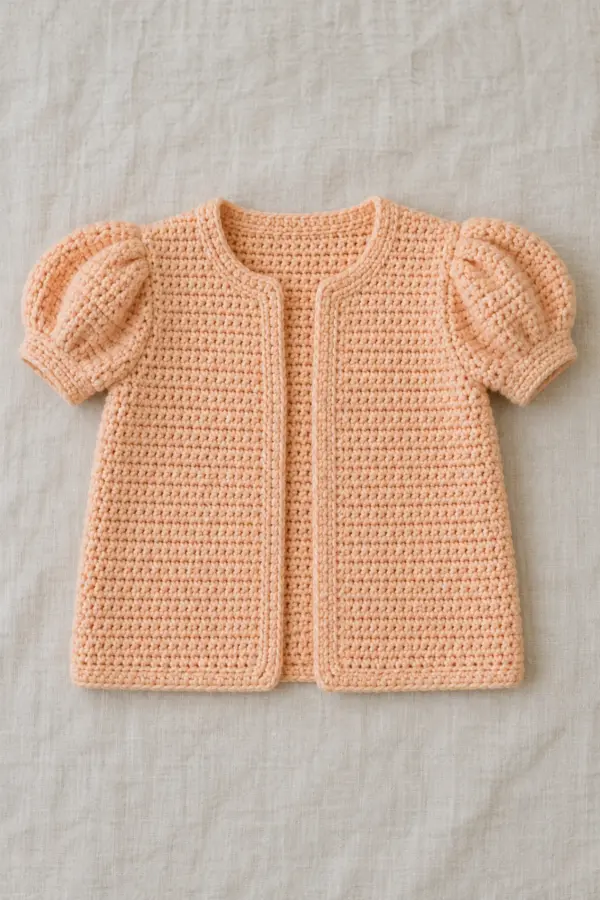
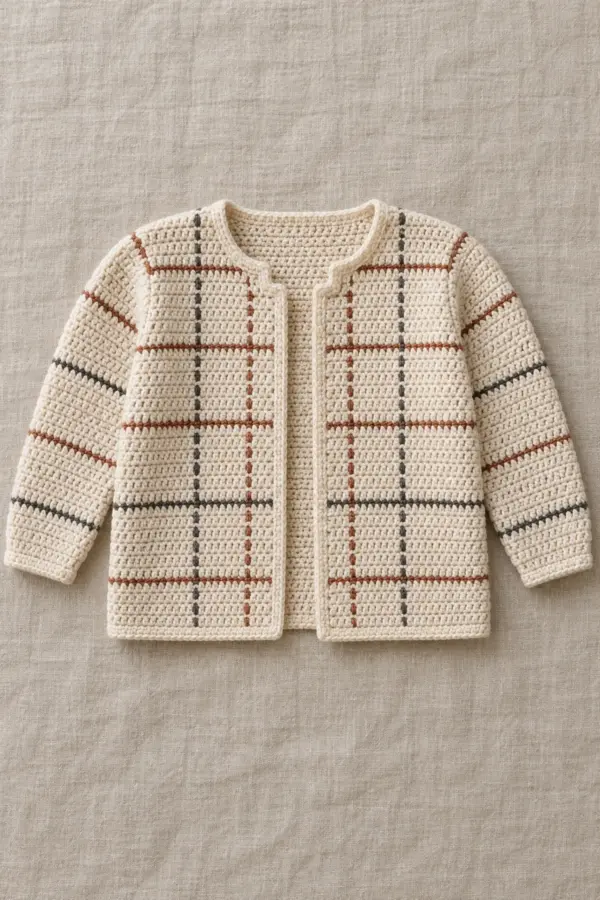
This original crochet mitered square baby cardigan pattern explains how to make crochet modular mitered-square baby cardigan from the first counted stitch through final assembly. The design is a practical free tutorial in US terms, with measurements and stitch checkpoints that you can verify as you work.
This design uses solid single-crochet center-decreased squares and purpose-shaped triangular half modules, joined into a counted body and tapered modular sleeves. Work the named components in their stated direction, verify each count, and baste every shaped join before finishing.
Pattern Details
- Hook Size: 3.5 mm starting hook, adjust to washed edged-module gauge
- Finished Size: 12–24-month planning size:20-inch fabric chest,10-inch body,7.5-inch modular sleeves,10-inch roomy upper sleeve and5-inch cuff; check all fit measurements
- Gauge: One completed edged full module =2.5 ×2.5 inches; one half module has two2.5-inch legs and a diagonal about3.5 inches; seam edges15 positions per2.5 inches
- Estimated Time: 28–40 hours plus module swatching and joining
- Construction: 50 full solid mitered squares plus six triangular halves: back16 full, fronts14 full+two halves, sleeves20 full+four halves
- Skill level: Intermediate
Why You’ll Love This Project
The shape comes from counted stitches rather than an unexplained diagram. You can inspect each stage against the measurements, and the finished object has a clear purpose and a distinct silhouette in photographs.
Materials
- Approximately 850 yards dusty-teal washable fine sport yarn, including modules, joining and swatches; estimate, not measured consumption
- 3.5 mm hook, blunt needle, many locking markers, contrasting basting yarn, scissors and tape measure
Gauge, Measurements, and Planning
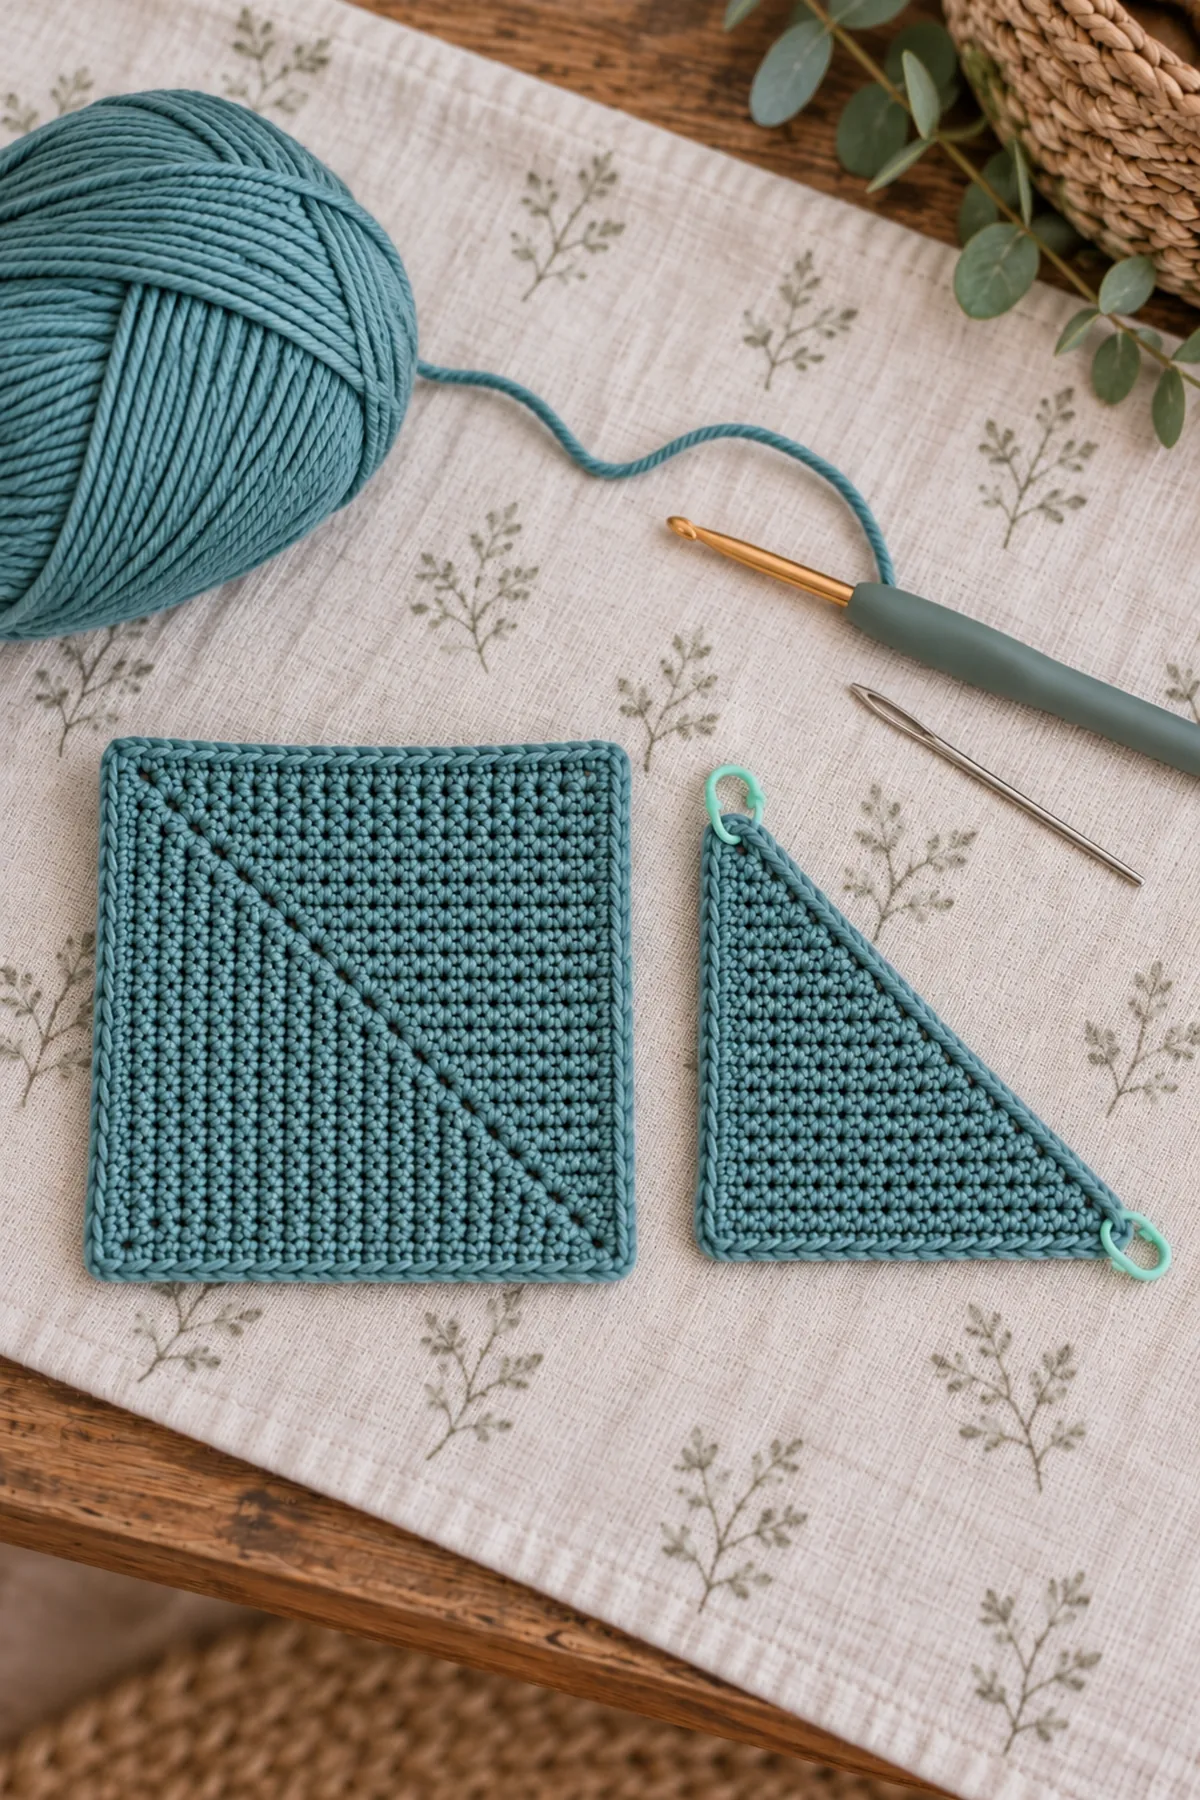
Use a finished module rather than an isolated straight-row swatch as the size gauge. Make a full module and a triangular half, edge them as written, wash and dry flat. The full must have four2.5-inch sides without stretching one axis; the half must have two matching2.5-inch legs. The diagonal is longer and receives21 edging positions, not15. If the pair cannot match naturally, adjust hook or yarn and remake them before committing to50 squares. Do not stretch56 finished modules to disguise a mismatch. Four modules across the back measure10 inches; two across each front give another10 inches, for20 inches of fabric before the opening edge. The deliberately roomy upper sleeve is10 inches around; compare the child’s garment and reject this planning size if that amount of ease is unsuitable.
Make and wash a gauge swatch before beginning. Measure only after the swatch is completely dry. If the stitch width differs, change hook size rather than pulling the working yarn tighter. Keep a written count at the end of every section so the finished edges remain balanced and the assembly points line up.
Abbreviations and Special Stitches
- ch: chain
- sc: single crochet
- sl st: slip stitch
- st(s): stitch(es)
- rnd: round
- inc: 2 sc in one stitch
- sc2tog: single crochet two stitches together
- hdc: half double crochet
- dc: double crochet
- hdc2tog: half double crochet two together
- dc2tog: double crochet two together
- RS/WS: right side/wrong side
- sc3tog: single crochet three stitches together
Special stitch guidance: sc3tog: draw one loop through each of the next three base positions, yarn over and close all four loops; three positions become one central stitch. sc2tog closes two adjacent bases into one. Work through both loops throughout, with ch1 lifts uncounted and every flat row turned. Full modules start along two adjacent square edges and close toward the opposite corner: the marked sc3tog traces their central diagonal. The triangular half uses a one-edge decrease ladder, not a cut piece of a full square. Full square seams join15 targets along each side; triangular diagonals join21 and must never be forced onto a15-target square edge.
Important Notes
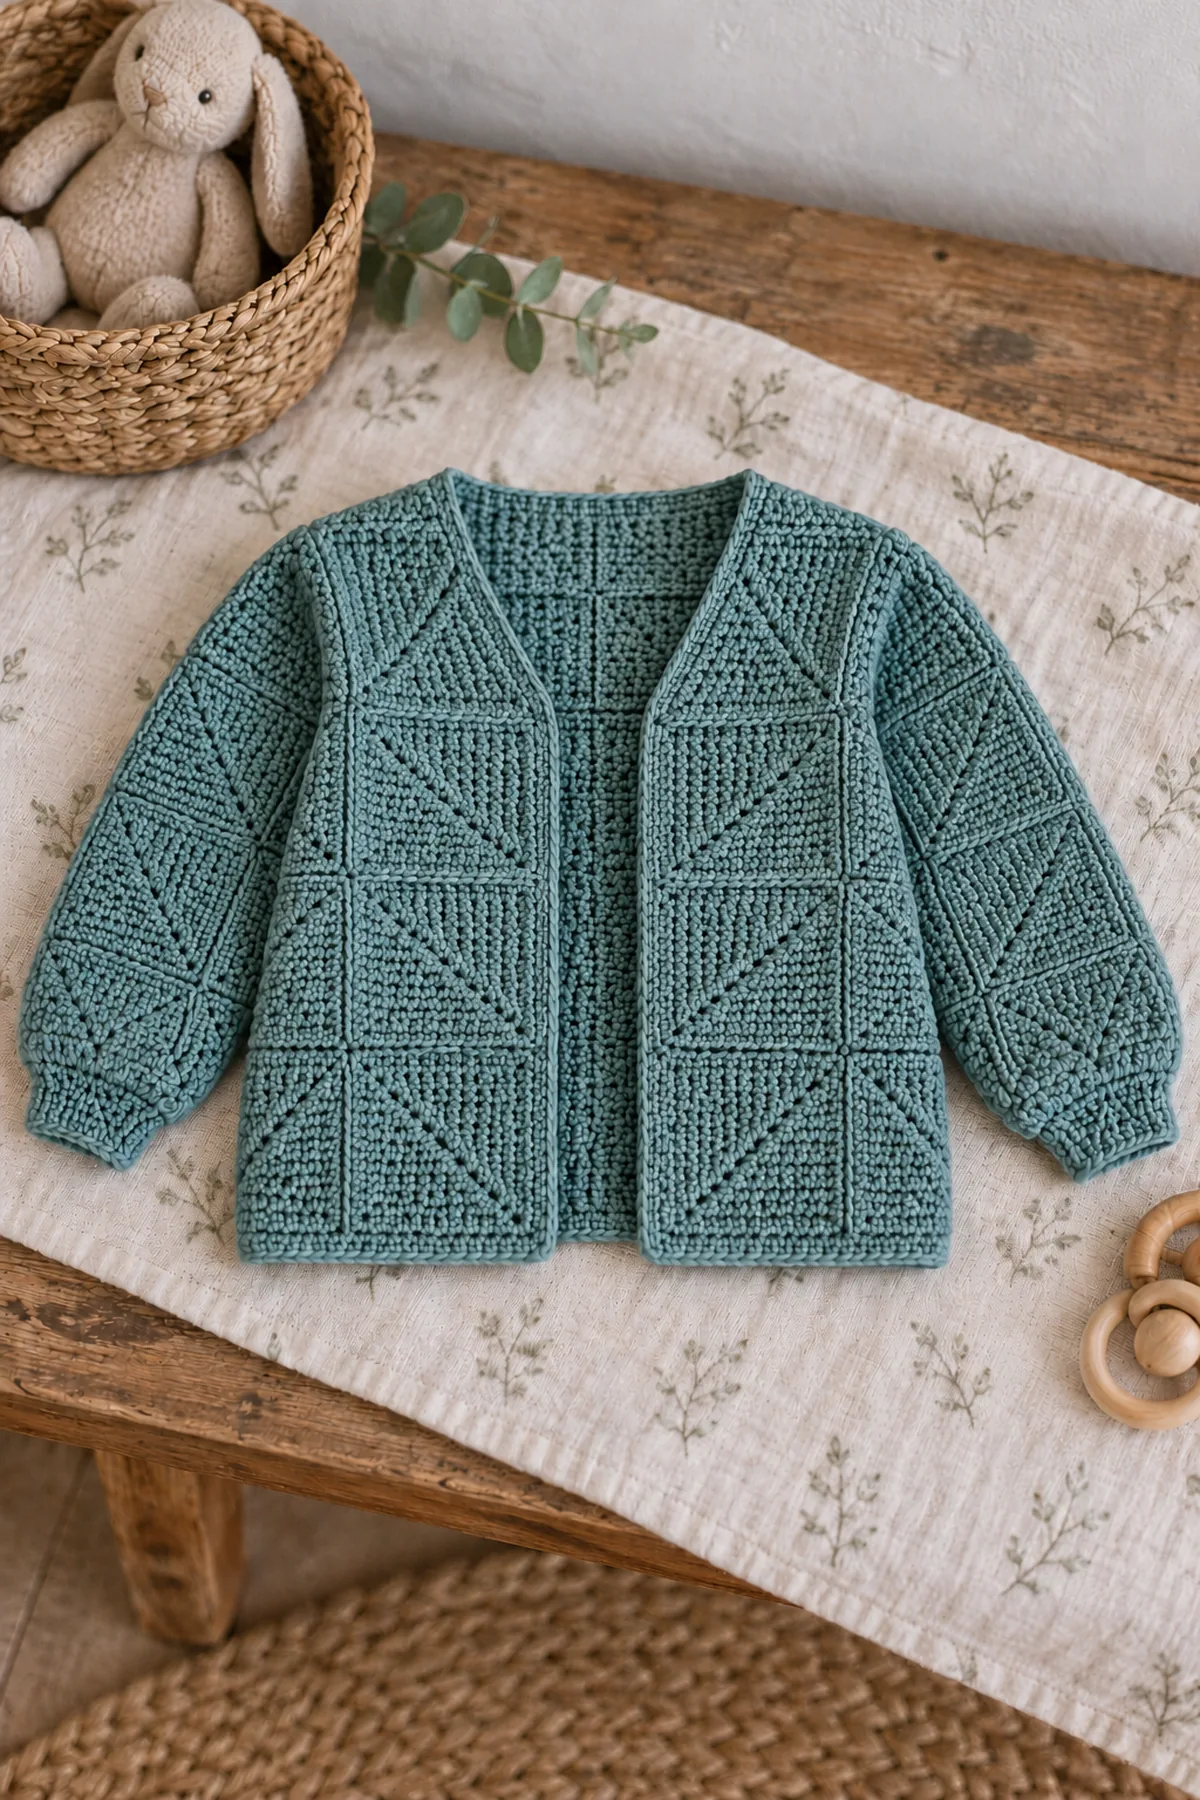
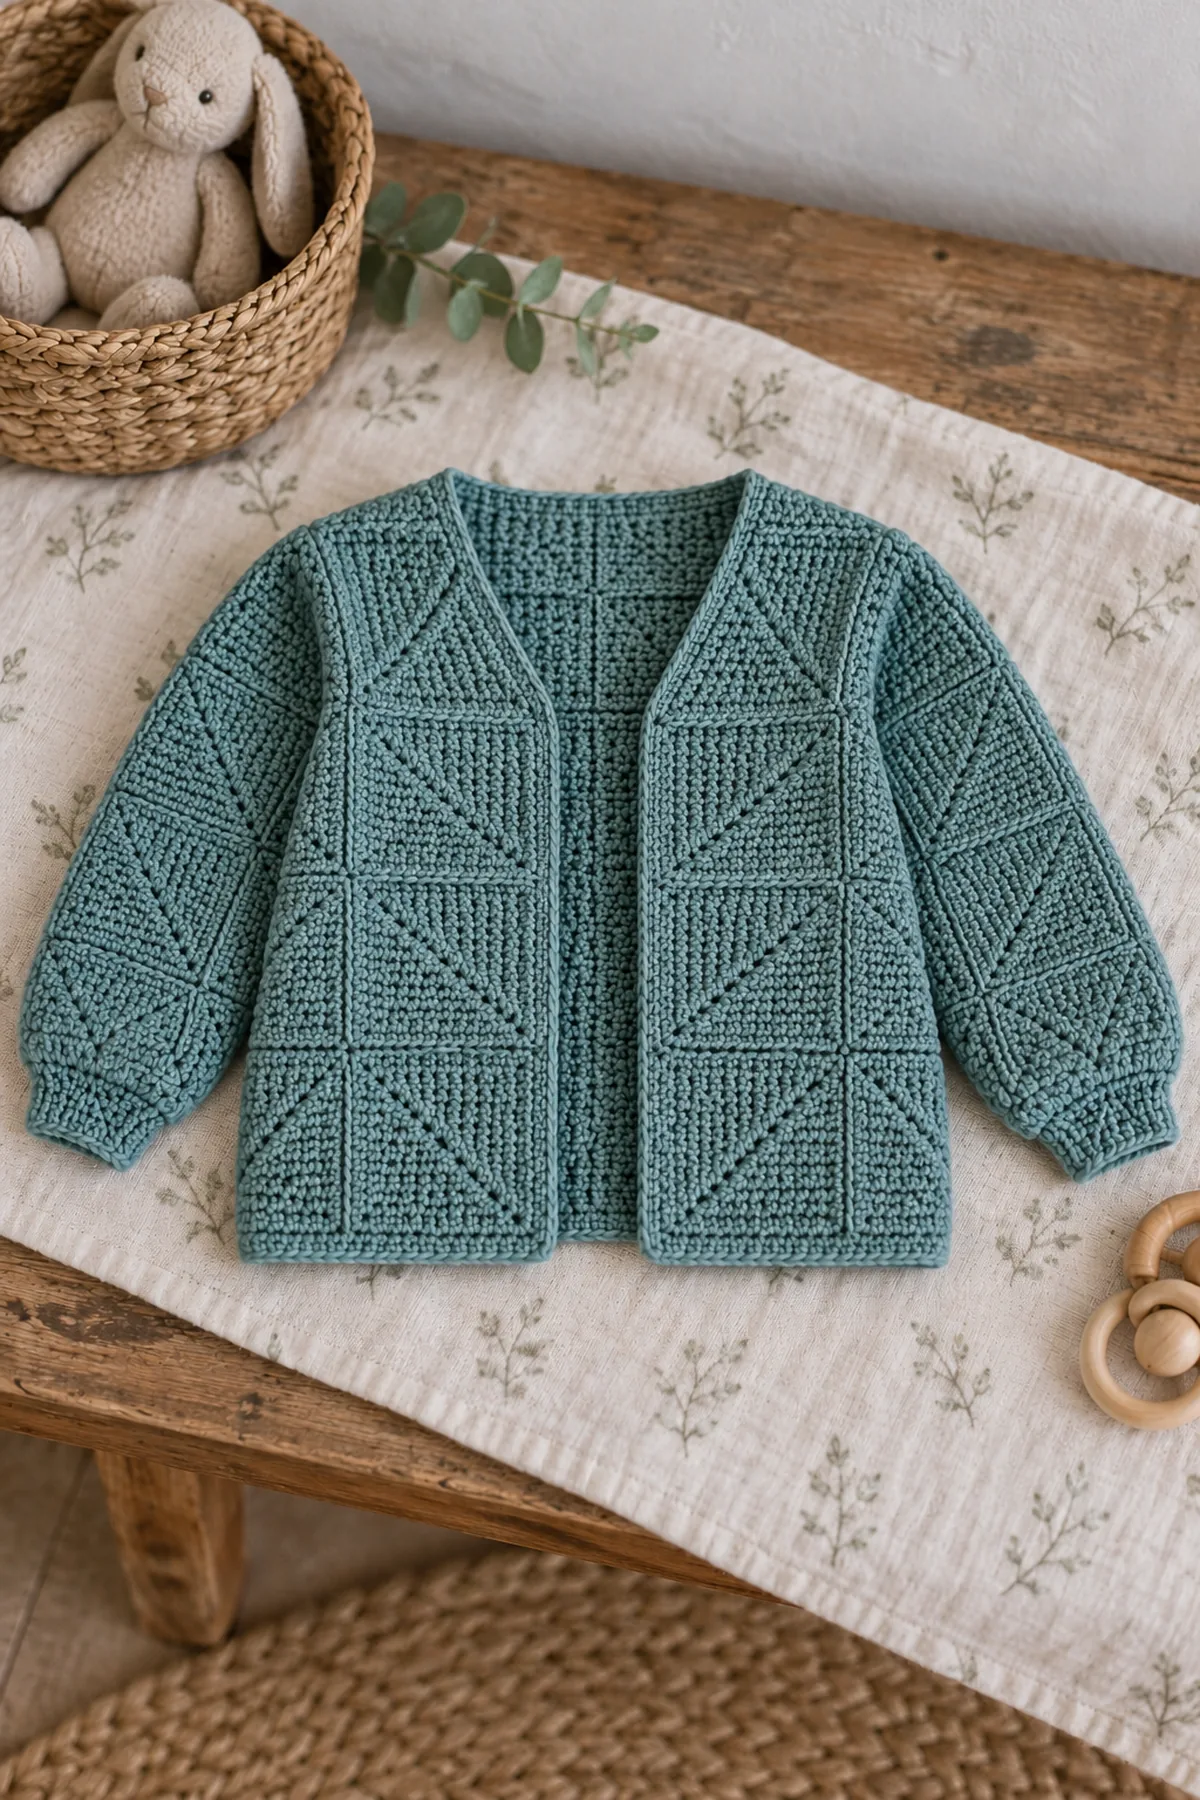
- AI-generated pictures illustrate the intended design; they are not photographs of a physically tested sample. Follow written counts rather than counting stitches in an image.
- The stitch arithmetic has been checked, but gauge, yardage and fit are planning targets until a physical sample is made. Wash a swatch and check measurements before gifting or wearing.
- A beginning ch 1 and a joining sl st never count as a stitch in this pattern. Mark the first counted stitch of each row or round.
- If a row count is wrong, return to that row. Adding an unplanned stitch later changes the shaping and the assembly alignment.
- Age labels are planning guidance only. Compare washed chest, arm openings, sleeve length and neckline to a comfortable garment for the intended child. Use as supervised awake outerwear, never for sleep.
- Arithmetic reference, not a size chart: (1 sts); (3 sts); (5 sts); (7 sts); (9 sts); (11 sts); (13 sts); (15 sts); (17 sts); (19 sts); (21 sts); (23 sts); (25 sts); (27 sts); (29 sts); (31 sts). Counts refer to the component named in the corresponding row.
Complete Instructions for Crochet Modular Mitered-Square Baby Cardigan
Make the Solid Mitered Full Module
The module is solid sc, not a radial granny square or C2C block. Keep the same dusty teal for every piece. Make50 accepted full modules and reserve a separate swatch.
- Ch32, giving31 usable foundation positions after the uncounted lift. For the foundation-position audit these are (31 sts). Mark the middle usable position16. Row1: sc in the first14 usable chains, sc3tog over chains15–17, then sc14 to the end; turn. (29 sts) Mark the newly made central decrease.
- Row2: ch1, sc13, sc3tog over the stitch before the marked center, the center and the following stitch, then sc13; turn. (27 sts) Continue this structure: when the previous row has N stitches, work (N−3)/2 sc, one central sc3tog and (N−3)/2 sc. Move the center marker to the decrease after each row.
- Rows1–15 end with29,27,25,23,21,19,17,15,13,11,9,7,5,3 and1 stitch respectively. Row15 has only the sc3tog across the preceding three stitches. Fasten off after that last stitch. Both sides lose one base at each central decrease; no outer-edge decreases or skipped bases are used.
- Identify four physical corners: the shared middle of the original L foundation, its two outer endpoints and the last one-stitch corner. Flatten the central decrease line from the shared foundation corner to the last corner. If it forms a deep cup or kite rather than a relaxed square, stop and fix module gauge before edging.
- Normalize each of the four sides to15 sc edging targets. The two foundation-side paths use their corresponding15 underside positions; the two row-end paths use one stitch per each of15 completed row-end bars. At each corner, assign the corner to the side ending there, never again to the next side. Mark all four15-position sides. Total60 sc, joined without an added corner chain. (60 sts) This edging is part of the2.5-inch finished-module gauge, not added after measuring it.
Make the Six Purpose-Shaped Half Modules
Each half is a right triangle that fits a square cell along two straight legs. Make two neckline halves and four sleeve-taper halves; label the straight legs and diagonal before assembly.
- Ch17. Row1: sc from the second chain across16, turn. (16 sts) Rows2–16 each have one sc2tog at the designated physical diagonal edge and ordinary sc in all other positions; ch1 and turn after every row. End counts15,14,13,12,11,10,9,8,7,6,5,4,3,2 and1. Follow the physical-edge placement rule below rather than blindly decreasing at the last end of every turned row.
- Place every decrease at the SAME physical diagonal edge. On a row that begins there, make sc2tog first and work the remaining sc. On a row that ends there, work the sc first and make sc2tog last. Mark the opposite straight edge and move its marker upward without decreasing it. This produces one straight row-end leg and one sloping leg; decreasing at the last end every turned row would instead make an isosceles shape.
- Edge the16-stitch foundation leg with15 sc: sc7, sc2tog across the next two bases and sc7. Edge the straight16-bar leg identically by distribution: one sc per bar except a single sc spanning the two central adjacent bars. Edge the16-bar sloping path with21 sc, one per bar plus one extra in bars3,6,9,12 and15. Assign each corner once to the side ending there. Total15+15+21=51 edge stitches. (51 sts)
- Check both straight legs against the15-target sides of the edged full square: they must each measure2.5 inches. Check its21-target diagonal against another half’s diagonal, approximately3.5 inches. Mark the endpoints of every seam path. This is the acceptance gate for a half module; it is not permission to pull a mismatched triangle until it fits.
- Two mirrored orientations can be obtained by turning a completed triangle over or rotating it, because both-loop solid sc has no required permanent public face in this design. Keep the center-decrease diagonal of the full squares arranged consistently, and choose each half’s public face before sewing. No square is cut, folded into a hidden triangle or left with an unstitched diagonal.
Assemble the Original Module Map
Number body rows from hem upward and columns from the garment’s outer side toward its front opening. Baste first, using the15-target edges rather than counting stitches in the AI images.
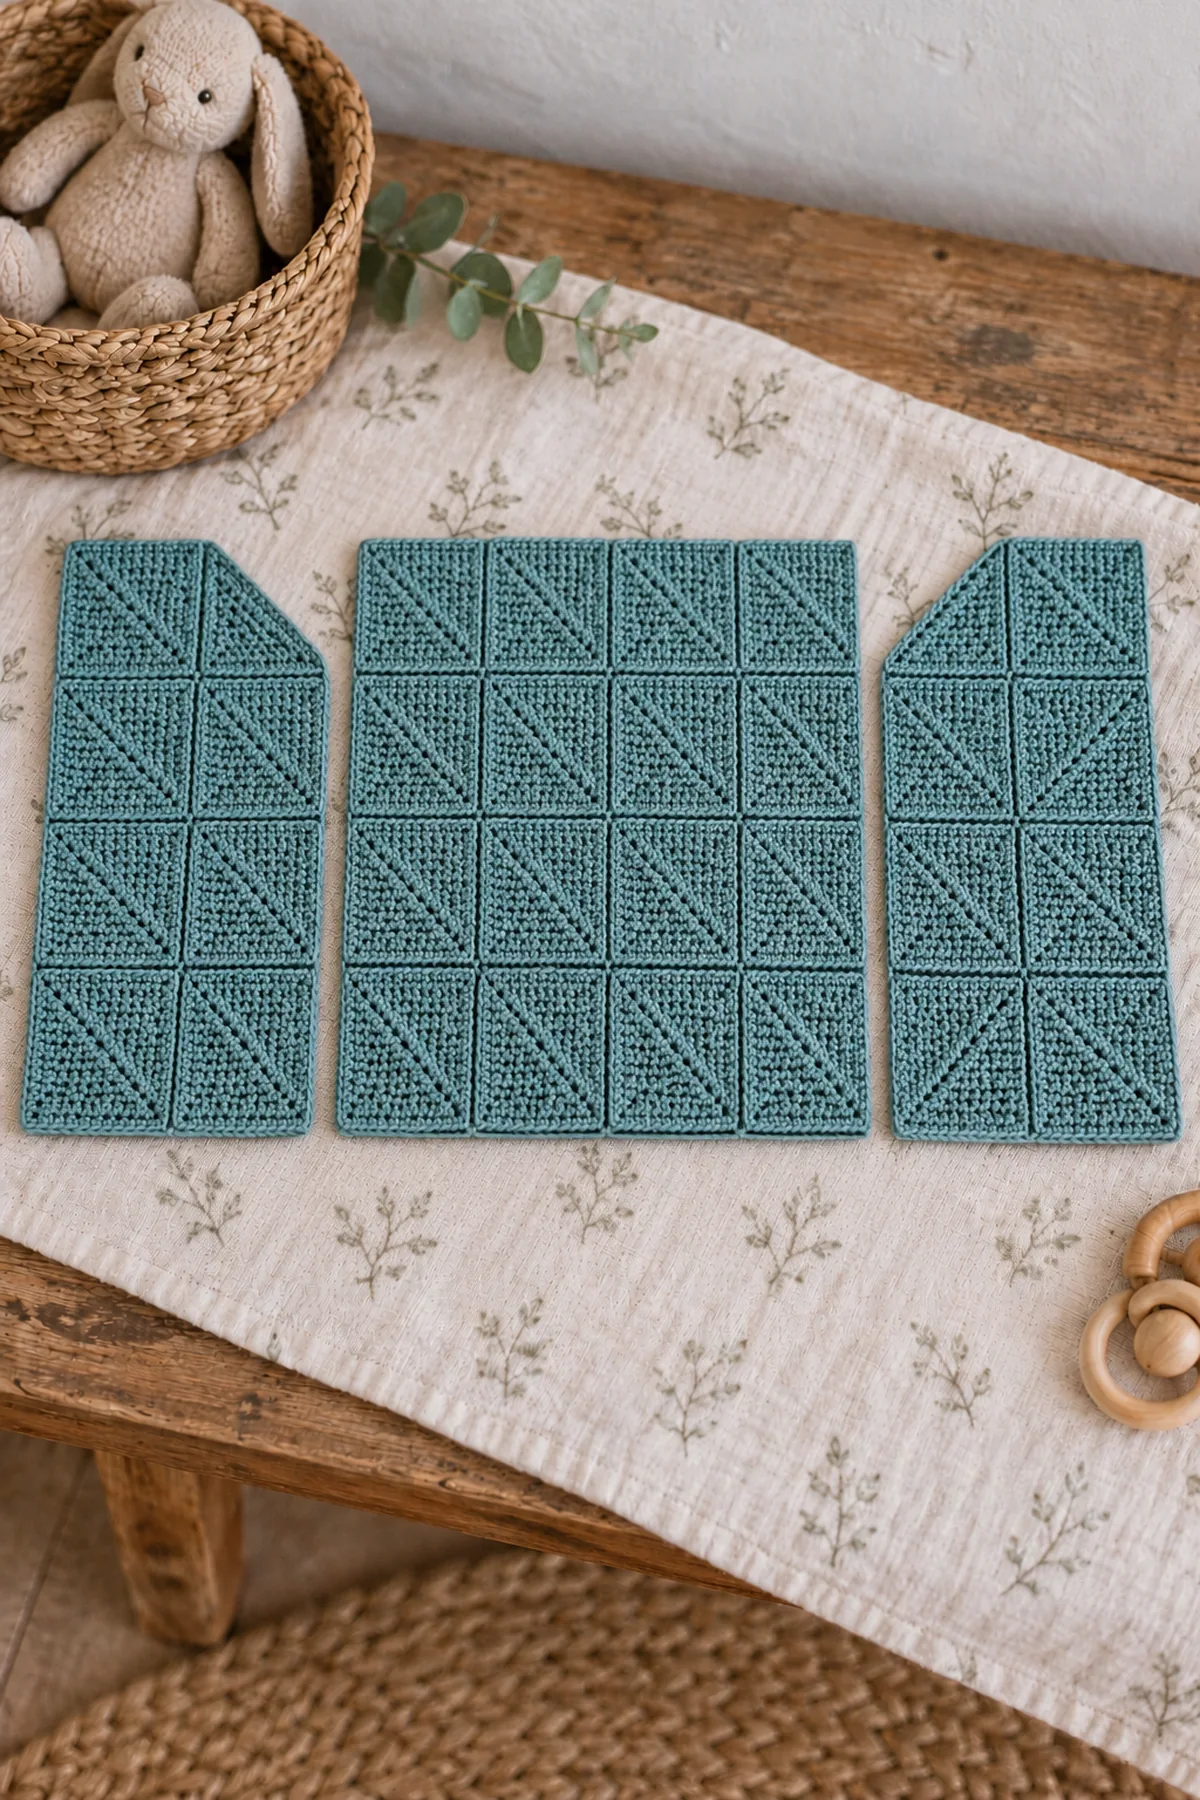
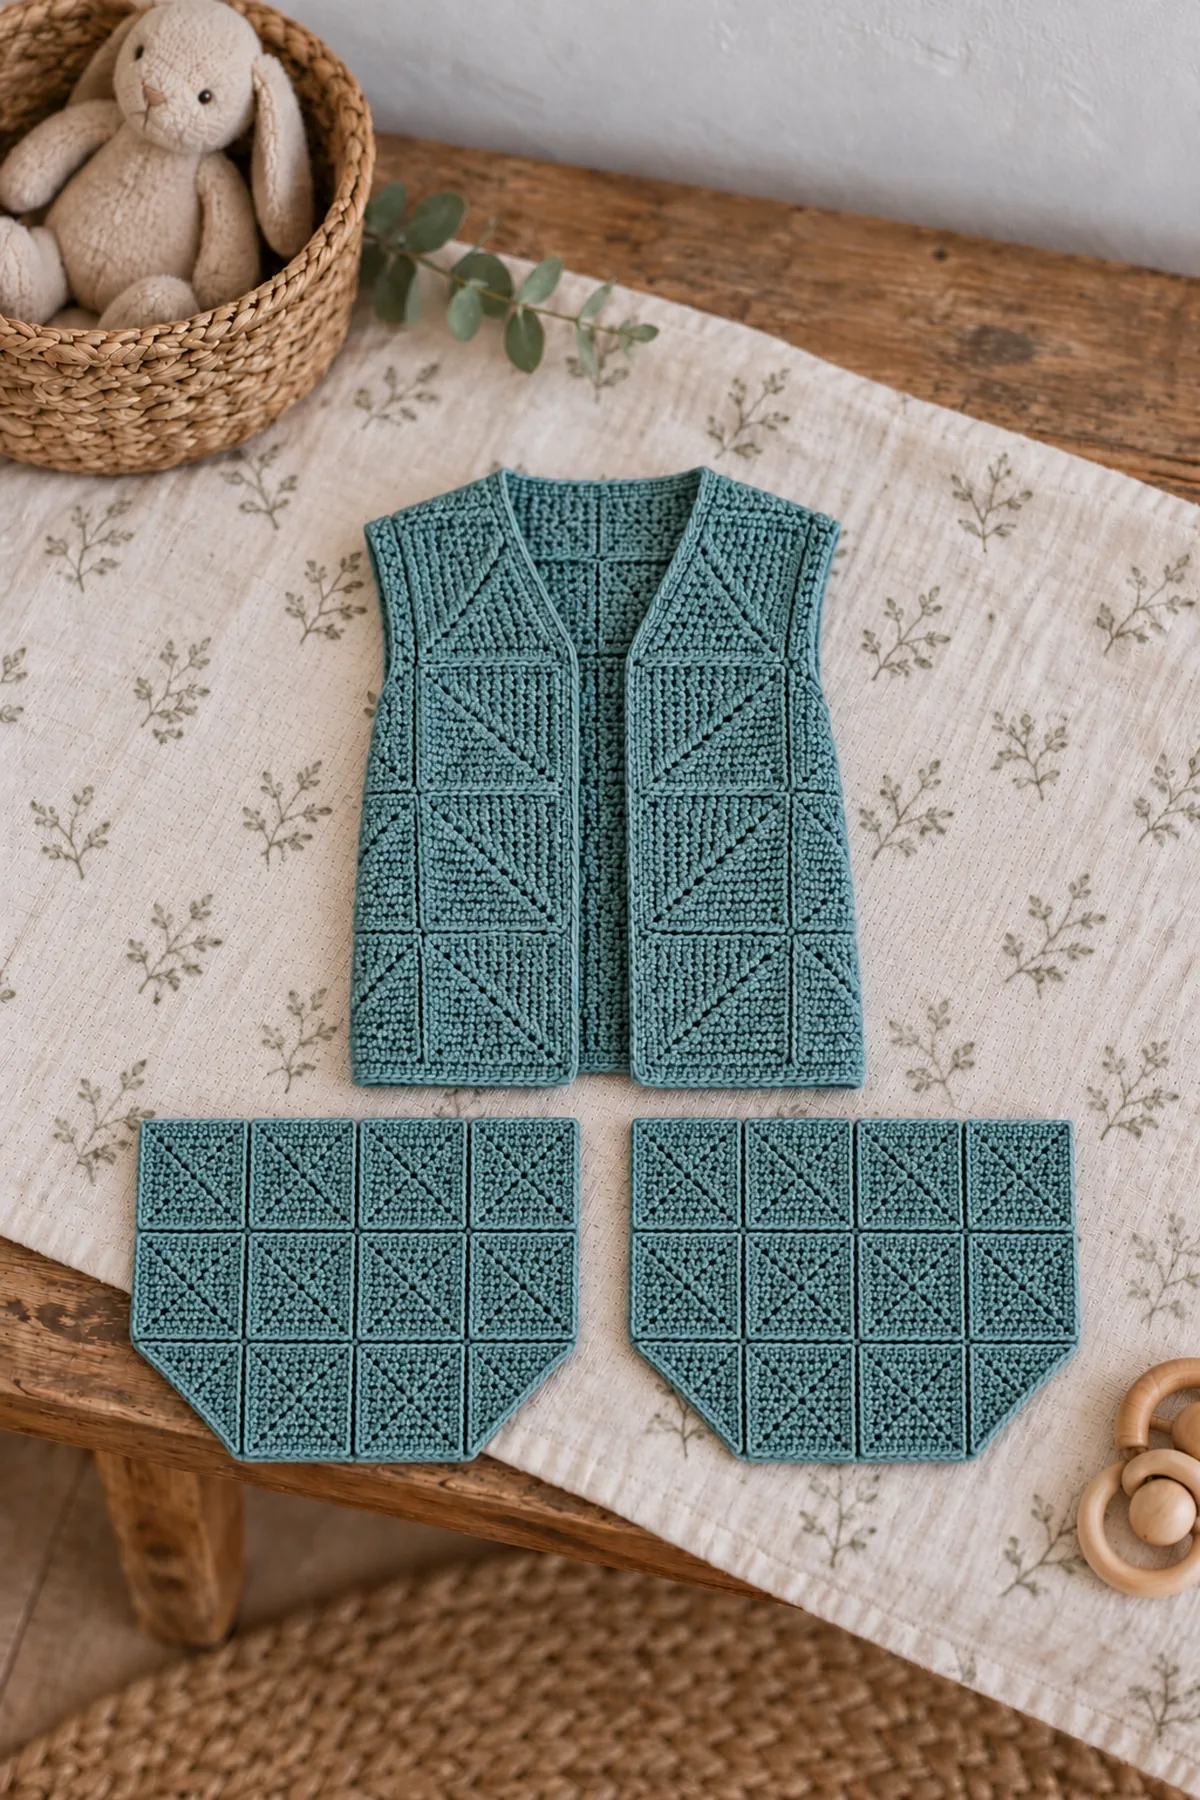
- Back: join a four-column by four-row grid of16 full squares. Name columnsB1–B4 and rows1–4. Every internal seam joins15 positions to15, one-to-one, with a flat mattress seam. The back measures10 ×10 inches before outer edging. Leave its outer boundaries free for shoulder, side, armhole and neck joins.
- Each front has two columns and four rows. Rows1–3 each use two full squares. Row4 uses one full square at the OUTER shoulder cell and one triangle at the INNER neck cell: seven full squares plus one half per front. The triangle’s full lower leg joins the square below and its full outer leg joins the shoulder square. Its diagonal runs from upper outer corner down to the opening’s inner corner, creating a sloped neckline. Mirror the second front.
- Join each outer row4 front square’s top15-target side to the back’s corresponding outer top square: one module-wide shoulder per side. Leave the back’s middle two top squares,30 positions, as the neck. Sew body side seams through the bottom two module rows only,30 targets per side; leave the top two rows open on the front and back. Each armhole has four free module sides,60 targets and10 inches of seam path.
- Each sleeve has four columns across its circumference and three rows from armhole to wrist. Upper Rows1 and2 each contain four full squares. Wrist Row3 contains two central full squares and one triangle at each outer side. Each outer triangle has its full top leg against the row above and full INNER vertical leg against a central wrist square; its OUTER diagonal slopes inward to the wrist. One sleeve uses10 full and two halves.
- Join all internal15-target sleeve paths. Bring the two outer sleeve boundaries together to form a tube: upper two module sides give30 targets and the two taper diagonals give21 more,51 matching targets on each side. Sew30 straight targets to30, then21 diagonal targets to21. The wrist retains only the two central square edges,30 targets and5 inches around. Do not sew those cuff edges closed.
- Attach each sleeve top’s four full-square sides,60 targets, to its60-target armhole. Align the sleeve seam at the underarm and the middle top boundary at the shoulder. Pin all four quarters, then sew15 to15 within each quarter. The counted seam lengths match, but the maker must still check the folded shoulder, arm movement and bulky join corners before permanent sewing.
Finish the Module Boundaries and Inspect Fit
All structural joins are complete edges, never decorative corner-only ties. The single color and solid center-decrease fabric are the identity of this cardigan.
- Opening edging: start at one lower front and sc45 along three vertical full-square sides,21 along its neckline diagonal,30 along the two exposed back-neck square sides,21 along the opposite diagonal and45 down the other opening. Total162 sc. (162 sts) Exclude the shoulder seam endpoints from double counting. Turn and work a second162-sc row, with ch1 uncounted.
- Hem edging: eight full-square sides span the back and two fronts, eight times15=120 sc. (120 sts) Cuff edging: two remaining full-square sides give30 sc each. (30 sts) Join each cuff round to its first sc and fasten off. Smooth the two short opening-band ends with one sc per its two row-end bars, without adding those stitches to the120 body-hem count.
- The inventory is back16 full, fronts14 full plus two halves, sleeves20 full plus four halves:50 full and six half modules total. Check that no neckline half has accidentally been used as a sleeve taper with its diagonal against a square edge. Each full square contributes area6.25 square inches; each accepted half contributes half that area. This is a module inventory check, not proof of measured yarn consumption.
- Wash and dry flat without stretching seams, then inspect every joined corner and both sleeve diagonal seams from both faces. No bulky yarn loops, unsewn gaps or exposed tails may remain. Compare the20-inch chest,10-inch body,7.5-inch sleeves,10-inch upper sleeve and5-inch hand opening to a comfortable garment. If the oversized upper sleeve is inappropriate, do not gift or use this ungraded planning size.
- Remove all basting and markers. Wear as supervised awake outerwear, never sleepwear. Do not add buttons, pom-poms or tie fasteners to solve a fit problem. To make another size, redesign and swatch the entire module map and its openings before proceeding; merely substituting a larger square changes chest, neck, armhole and sleeve at once.
Assembly and Shaping
Solid full squares close31 foundation positions to29→1 through15 central sc3tog rows. Each right-triangle half has16→1 and edges15/15/21. Body back4×4, fronts2×4 with inner-top halves; each sleeve4×3 with outer wrist halves. Inventory50 full+six half. Shoulders15 each, side seams30 each, armhole and sleeve tops60 each, sleeve tube seams51, wrists30, opening162 and hem120. Accept matched washed modules and basted fit before use.
Lay every component on a flat surface before joining. Match the marked centers first, then divide each remaining edge into equal sections. Work through both layers with consistent tension and pause after each section to check that the fabric lies flat. This measured approach prevents twisting and keeps decorative details facing the intended direction.
Finishing
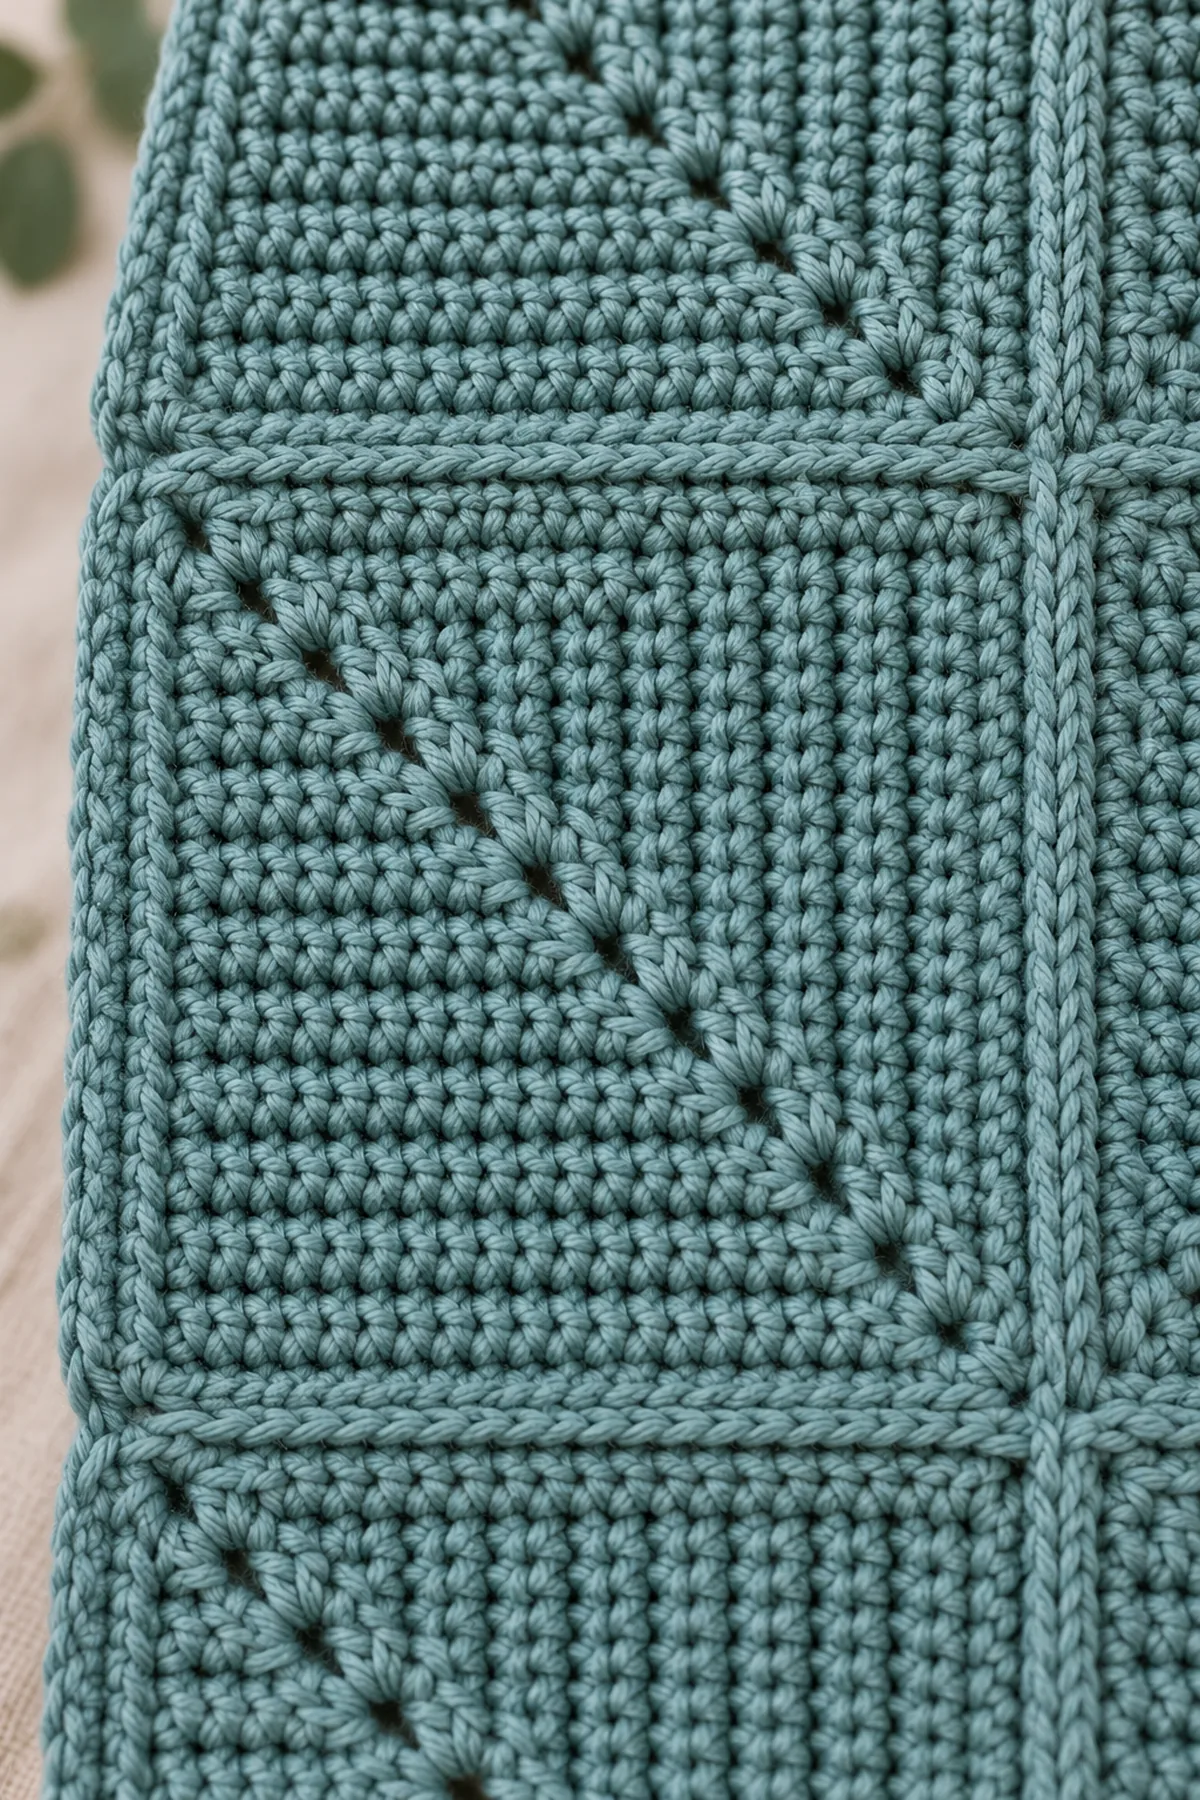
- Weave each tail along three different paths on the wrong side; reverse direction before trimming.
- Wash or damp-block according to the yarn label and allow the work to dry at its measured shape.
- Inspect every seam, edge and attachment from both faces before first use, then inspect again after laundering.
For a polished result, weave each tail through several same-color stitches, reverse direction once, and trim only after the fabric has been gently stretched. Block to the listed dimensions without flattening textured stitches. Inspect joins, borders, straps, and decorative pieces before the project is used or gifted.
Helpful Tips
- Use contrasting locking markers at shaping points and record the count after every change row.
- Change hook size when the washed swatch differs from the stated gauge; do not compensate with uneven hand tension.
- Photograph the flat components before joining so it is easy to identify an inverted or twisted piece.
Good lighting and a contrasting stitch marker make counting much easier. If a section looks uneven, compare the current count with the previous checkpoint before continuing. Fixing one missed stitch early is faster than compensating later, and it preserves the measurements used by the assembly instructions.
Frequently Asked Questions
Has this design been physically sample-tested?
No. The arithmetic and assembly plan are checked, but gauge, yarn amount, fit and seam geometry remain planning targets. The AI illustrations are not a stitch-count chart.
How do I select the size?
Use the listed fabric dimensions and a washed swatch, not the age alone. If the swatch or measured garment does not fit these targets, stop before assembly and revise the size with checked counts.
Conclusion
Counted shaping and measured joins make this an independent cardigan construction rather than a renamed raglan recipe. Wash, check fit and inspect every seam before supervised wear. No physically crocheted sample is claimed.
BabyYarnie Printable Crochet Pattern Card
BabyYarnie — easy-to-follow crochet for everyday makers.
Project: Crochet Modular Mitered-Square Baby Cardigan
Skill level: Intermediate Hook: 3.5 mm starting hook, adjust to washed edged-module gauge Yarn: Smooth washable DK cotton-wool blend
Finished size: 12–24-month planning size:20-inch fabric chest,10-inch body,7.5-inch modular sleeves,10-inch roomy upper sleeve and5-inch cuff; check all fit measurements
Card Materials
- Approximately 850 yards dusty-teal washable fine sport yarn, including modules, joining and swatches; estimate, not measured consumption
- 3.5 mm hook, blunt needle, many locking markers, contrasting basting yarn, scissors and tape measure
Card Instructions
- Make the Solid Mitered Full Module: Ch32, giving31 usable foundation positions after the uncounted lift. For the foundation-position audit these are (31 sts). Mark the middle usable position16. Row1: sc in the first14 usable chains, sc3tog over chains15–17, then sc14 to the end; turn. (29 sts) Mark the newly made central decrease. Row2: ch1, sc13, sc3tog over the stitch before the marked center, the center and the following stitch, then sc13; turn. (27 sts) Continue this structure: when the previous row has N stitches, work (N−3)/2 sc, one central sc3tog and (N−3)/2 sc. Move the center marker to the decrease after each row. Rows1–15 end with29,27,25,23,21,19,17,15,13,11,9,7,5,3 and1 stitch respectively. Row15 has only the sc3tog across the preceding three stitches. Fasten off after that last stitch. Both sides lose one base at each central decrease; no outer-edge decreases or skipped bases are used. Identify four physical corners: the shared middle of the original L foundation, its two outer endpoints and the last one-stitch corner. Flatten the central decrease line from the shared foundation corner to the last corner. If it forms a deep cup or kite rather than a relaxed square, stop and fix module gauge before edging. Normalize each of the four sides to15 sc edging targets. The two foundation-side paths use their corresponding15 underside positions; the two row-end paths use one stitch per each of15 completed row-end bars. At each corner, assign the corner to the side ending there, never again to the next side. Mark all four15-position sides. Total60 sc, joined without an added corner chain. (60 sts) This edging is part of the2.5-inch finished-module gauge, not added after measuring it.
- Make the Six Purpose-Shaped Half Modules: Ch17. Row1: sc from the second chain across16, turn. (16 sts) Rows2–16 each have one sc2tog at the designated physical diagonal edge and ordinary sc in all other positions; ch1 and turn after every row. End counts15,14,13,12,11,10,9,8,7,6,5,4,3,2 and1. Follow the physical-edge placement rule below rather than blindly decreasing at the last end of every turned row. Place every decrease at the SAME physical diagonal edge. On a row that begins there, make sc2tog first and work the remaining sc. On a row that ends there, work the sc first and make sc2tog last. Mark the opposite straight edge and move its marker upward without decreasing it. This produces one straight row-end leg and one sloping leg; decreasing at the last end every turned row would instead make an isosceles shape. Edge the16-stitch foundation leg with15 sc: sc7, sc2tog across the next two bases and sc7. Edge the straight16-bar leg identically by distribution: one sc per bar except a single sc spanning the two central adjacent bars. Edge the16-bar sloping path with21 sc, one per bar plus one extra in bars3,6,9,12 and15. Assign each corner once to the side ending there. Total15+15+21=51 edge stitches. (51 sts) Check both straight legs against the15-target sides of the edged full square: they must each measure2.5 inches. Check its21-target diagonal against another half’s diagonal, approximately3.5 inches. Mark the endpoints of every seam path. This is the acceptance gate for a half module; it is not permission to pull a mismatched triangle until it fits. Two mirrored orientations can be obtained by turning a completed triangle over or rotating it, because both-loop solid sc has no required permanent public face in this design. Keep the center-decrease diagonal of the full squares arranged consistently, and choose each half’s public face before sewing. No square is cut, folded into a hidden triangle or left with an unstitched diagonal.
- Assemble the Original Module Map: Back: join a four-column by four-row grid of16 full squares. Name columnsB1–B4 and rows1–4. Every internal seam joins15 positions to15, one-to-one, with a flat mattress seam. The back measures10 ×10 inches before outer edging. Leave its outer boundaries free for shoulder, side, armhole and neck joins. Each front has two columns and four rows. Rows1–3 each use two full squares. Row4 uses one full square at the OUTER shoulder cell and one triangle at the INNER neck cell: seven full squares plus one half per front. The triangle’s full lower leg joins the square below and its full outer leg joins the shoulder square. Its diagonal runs from upper outer corner down to the opening’s inner corner, creating a sloped neckline. Mirror the second front. Join each outer row4 front square’s top15-target side to the back’s corresponding outer top square: one module-wide shoulder per side. Leave the back’s middle two top squares,30 positions, as the neck. Sew body side seams through the bottom two module rows only,30 targets per side; leave the top two rows open on the front and back. Each armhole has four free module sides,60 targets and10 inches of seam path. Each sleeve has four columns across its circumference and three rows from armhole to wrist. Upper Rows1 and2 each contain four full squares. Wrist Row3 contains two central full squares and one triangle at each outer side. Each outer triangle has its full top leg against the row above and full INNER vertical leg against a central wrist square; its OUTER diagonal slopes inward to the wrist. One sleeve uses10 full and two halves. Join all internal15-target sleeve paths. Bring the two outer sleeve boundaries together to form a tube: upper two module sides give30 targets and the two taper diagonals give21 more,51 matching targets on each side. Sew30 straight targets to30, then21 diagonal targets to21. The wrist retains only the two central square edges,30 targets and5 inches around. Do not sew those cuff edges closed. Attach each sleeve top’s four full-square sides,60 targets, to its60-target armhole. Align the sleeve seam at the underarm and the middle top boundary at the shoulder. Pin all four quarters, then sew15 to15 within each quarter. The counted seam lengths match, but the maker must still check the folded shoulder, arm movement and bulky join corners before permanent sewing.
- Finish the Module Boundaries and Inspect Fit: Opening edging: start at one lower front and sc45 along three vertical full-square sides,21 along its neckline diagonal,30 along the two exposed back-neck square sides,21 along the opposite diagonal and45 down the other opening. Total162 sc. (162 sts) Exclude the shoulder seam endpoints from double counting. Turn and work a second162-sc row, with ch1 uncounted. Hem edging: eight full-square sides span the back and two fronts, eight times15=120 sc. (120 sts) Cuff edging: two remaining full-square sides give30 sc each. (30 sts) Join each cuff round to its first sc and fasten off. Smooth the two short opening-band ends with one sc per its two row-end bars, without adding those stitches to the120 body-hem count. The inventory is back16 full, fronts14 full plus two halves, sleeves20 full plus four halves:50 full and six half modules total. Check that no neckline half has accidentally been used as a sleeve taper with its diagonal against a square edge. Each full square contributes area6.25 square inches; each accepted half contributes half that area. This is a module inventory check, not proof of measured yarn consumption. Wash and dry flat without stretching seams, then inspect every joined corner and both sleeve diagonal seams from both faces. No bulky yarn loops, unsewn gaps or exposed tails may remain. Compare the20-inch chest,10-inch body,7.5-inch sleeves,10-inch upper sleeve and5-inch hand opening to a comfortable garment. If the oversized upper sleeve is inappropriate, do not gift or use this ungraded planning size. Remove all basting and markers. Wear as supervised awake outerwear, never sleepwear. Do not add buttons, pom-poms or tie fasteners to solve a fit problem. To make another size, redesign and swatch the entire module map and its openings before proceeding; merely substituting a larger square changes chest, neck, armhole and sleeve at once.
Finish: Check every count, weave in all ends, block to measurement, and inspect each join.