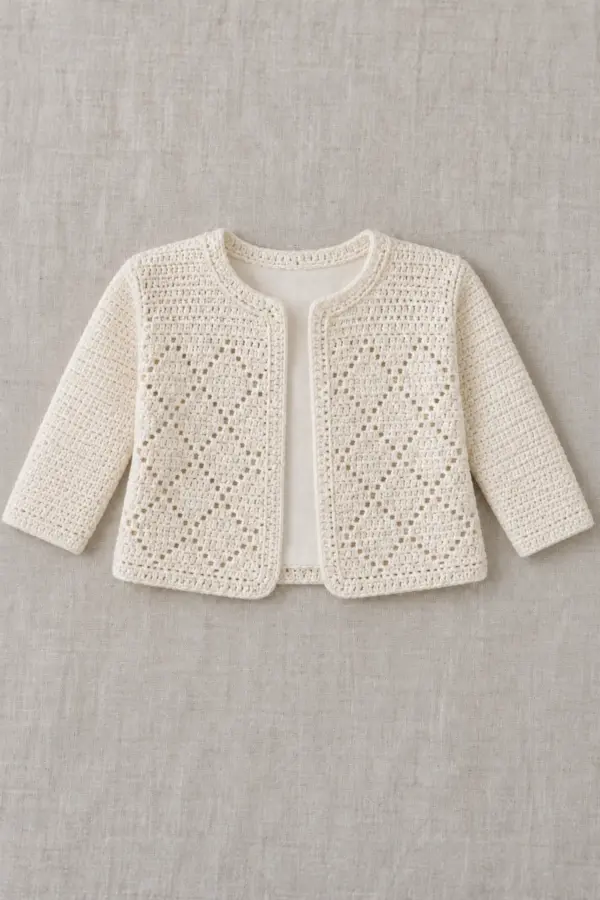
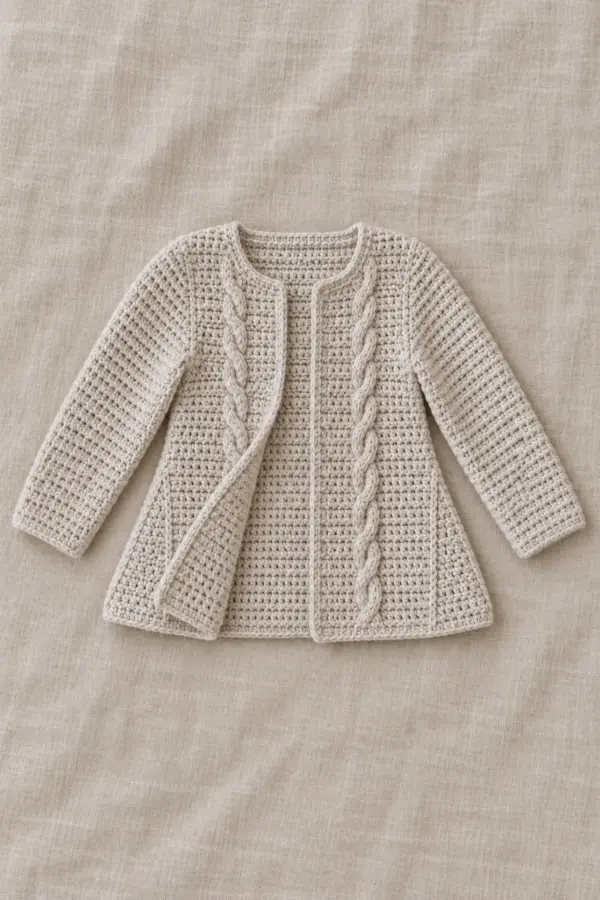
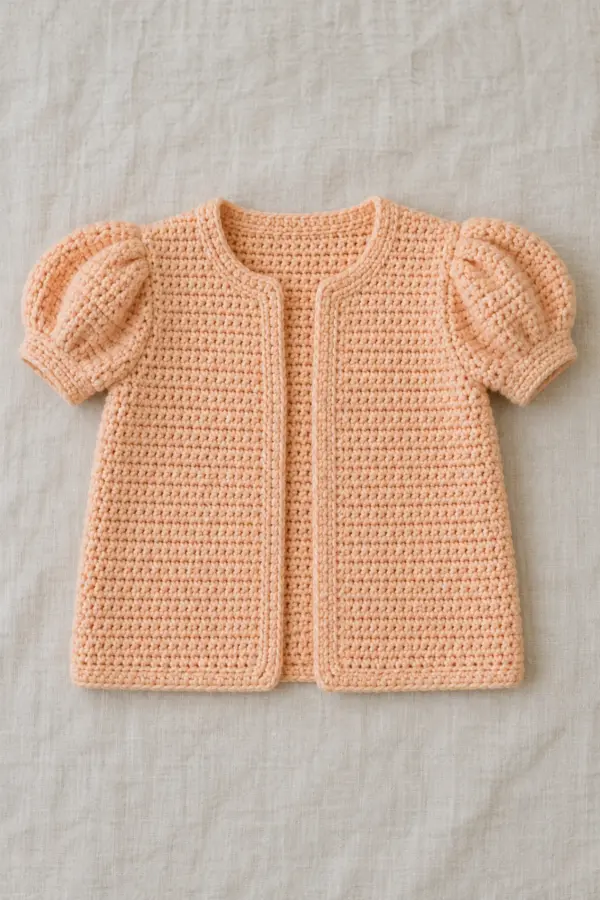
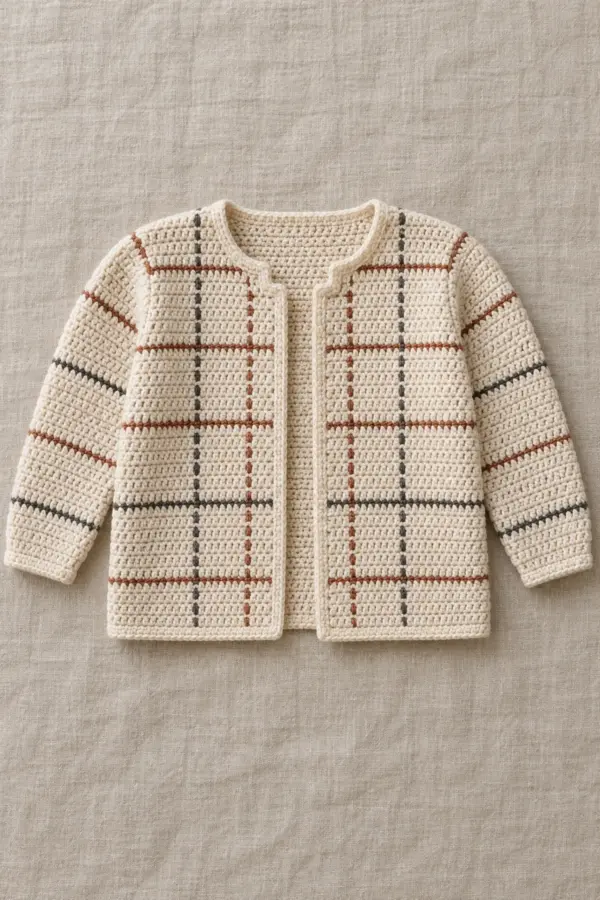
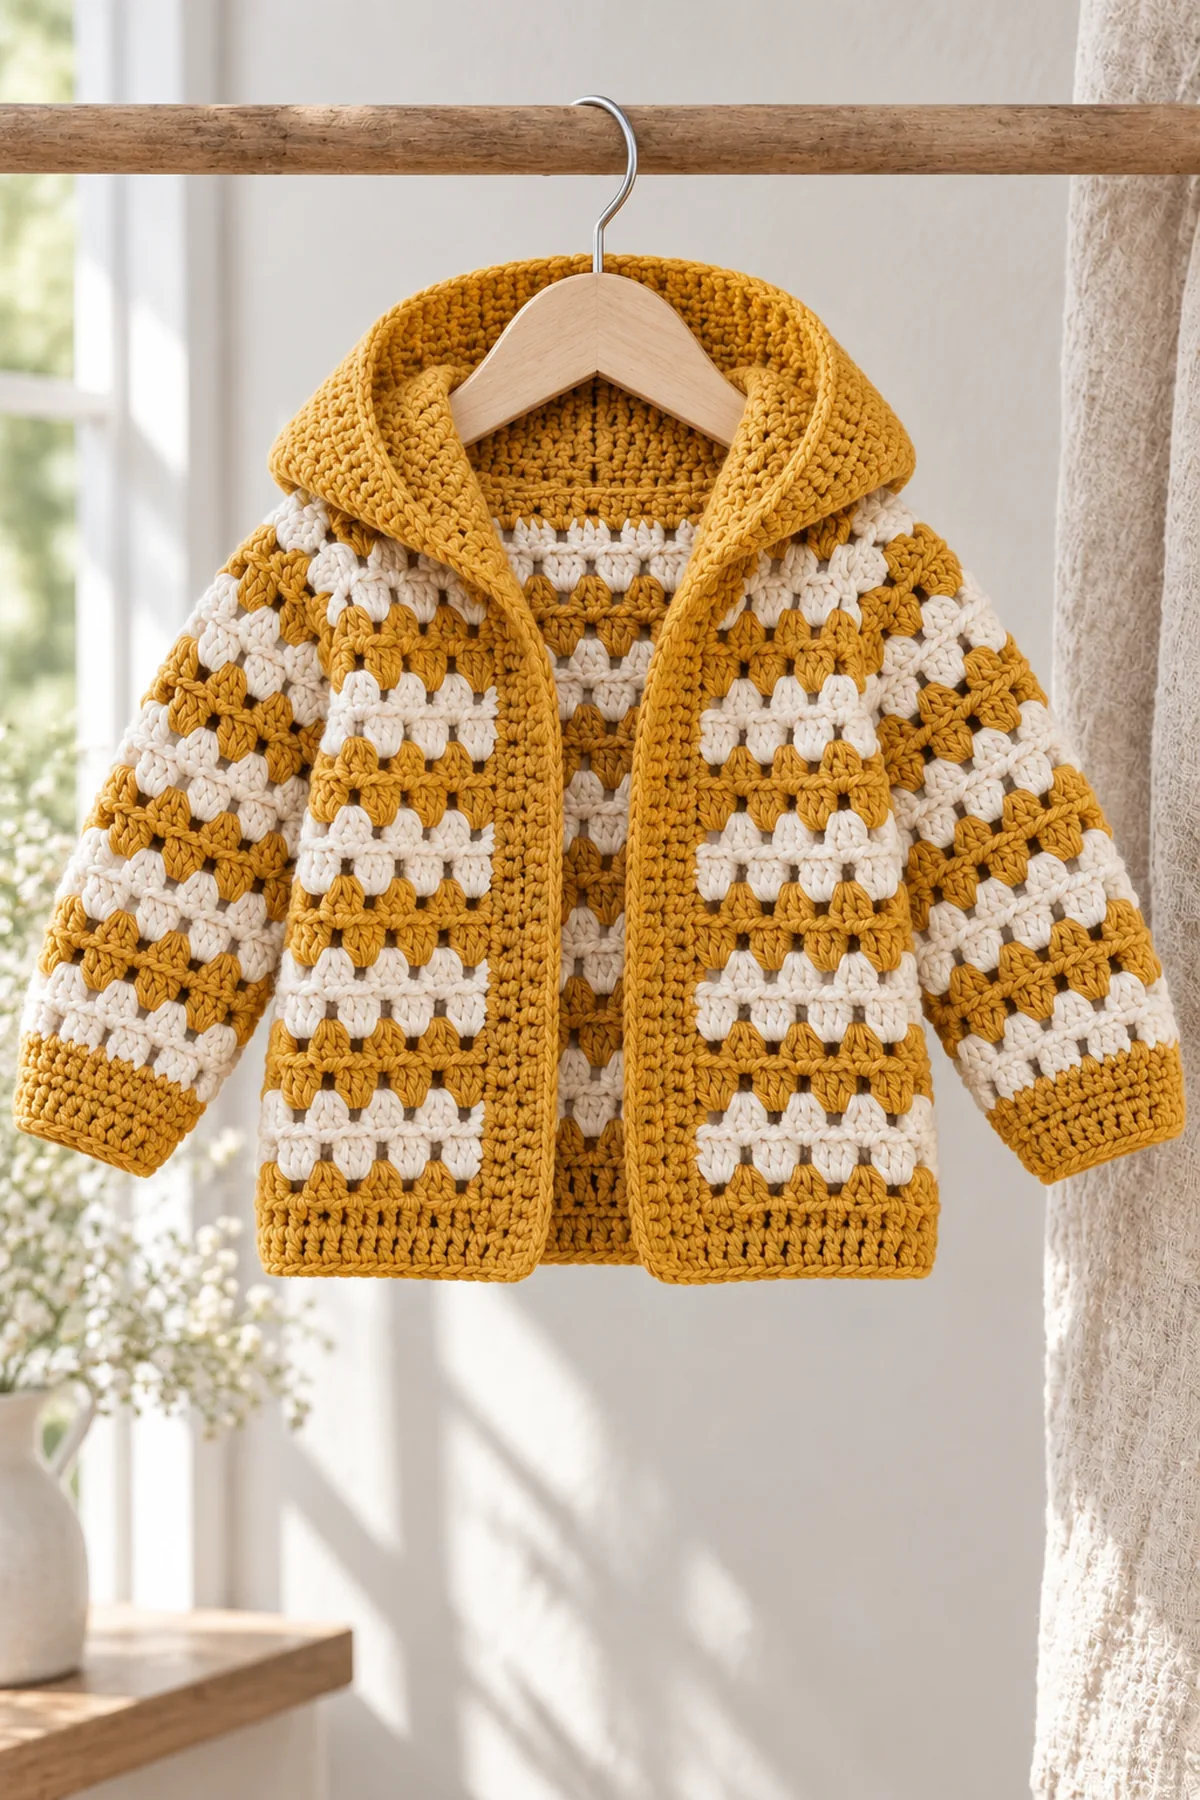
This original crochet granny-stripe hooded baby cardigan targets beginner granny stripe baby cardigan crochet pattern and is a complete free beginner baby cardigan pattern. The garment is built from the specific pieces described below, with stitch counts and measured checkpoints before each join. The written arithmetic has been checked, but gauge and fit require a washed swatch and a trial fitting over a suitable layer.
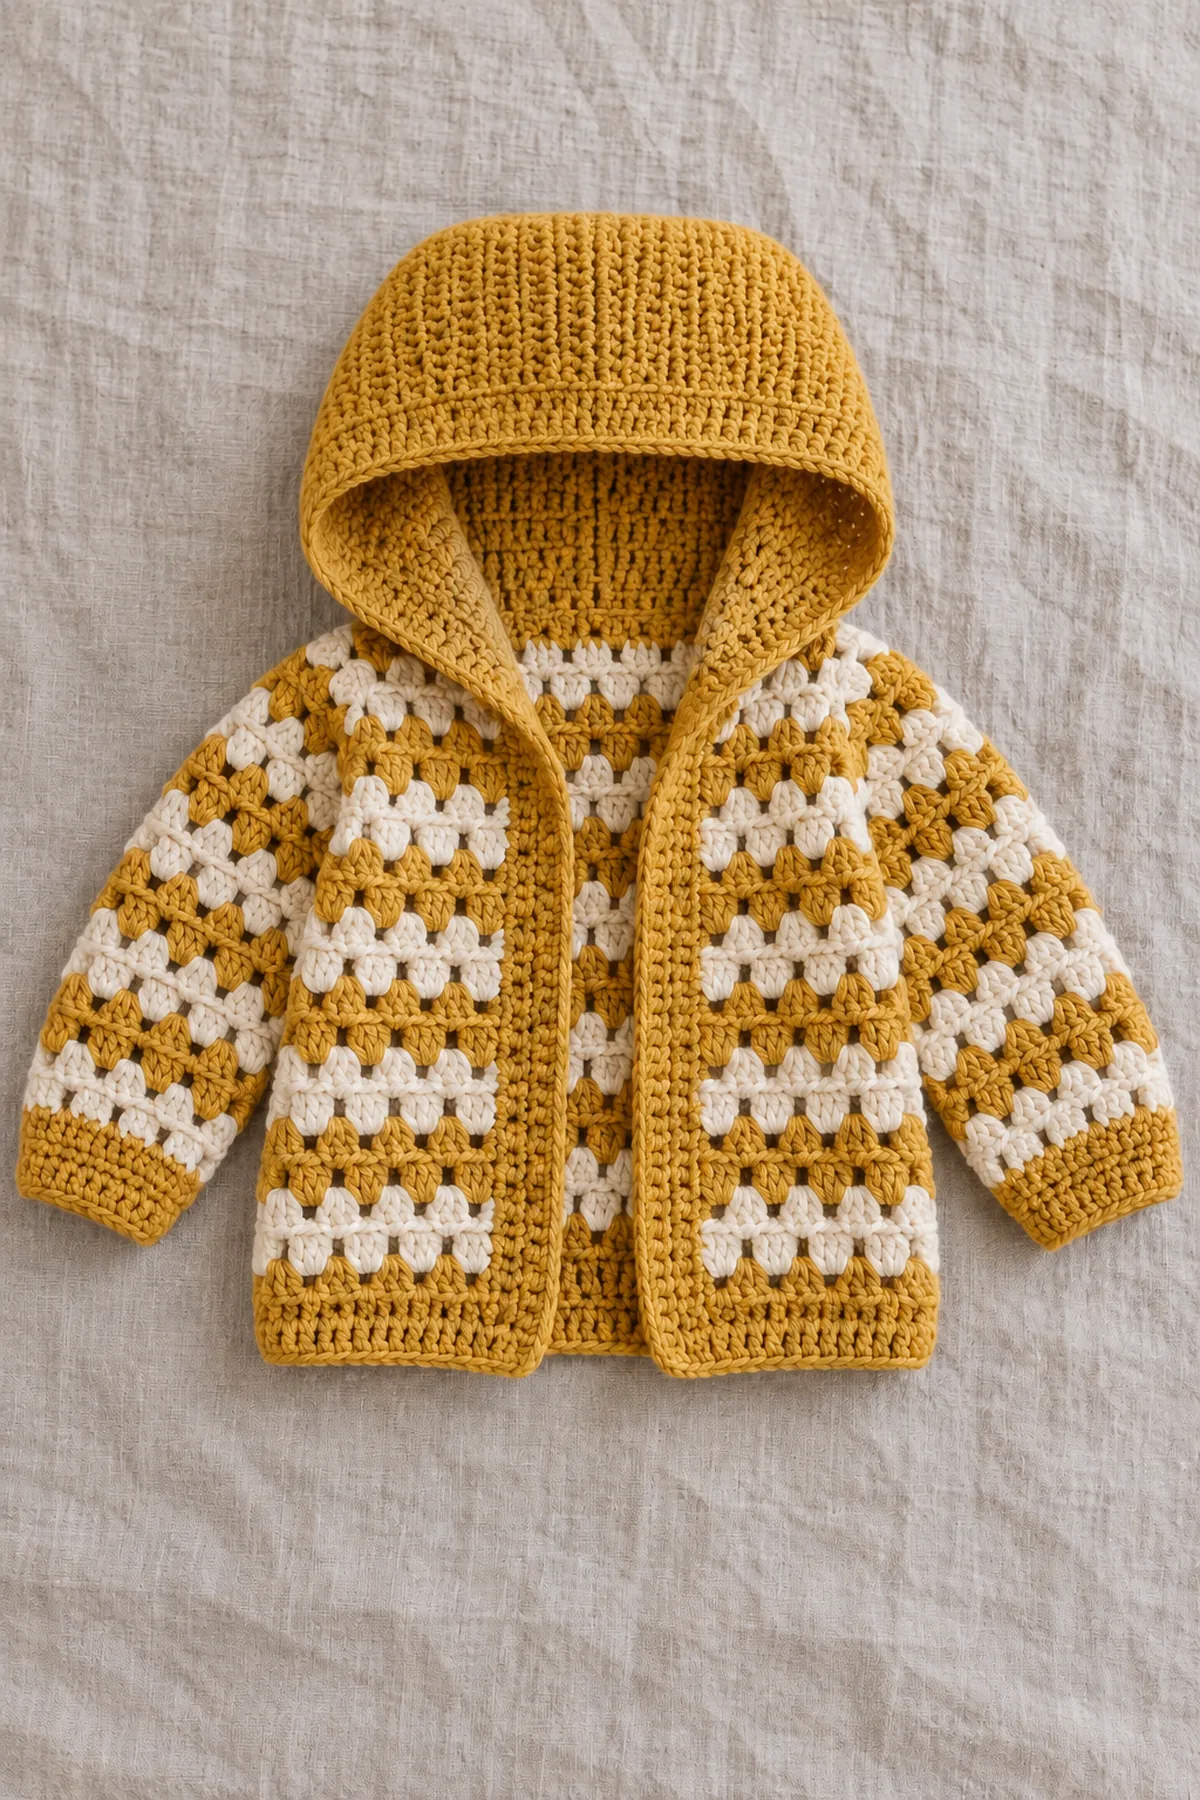
Straight rows of three-double-crochet clusters create an open mustard-and-cream stripe fabric. A shaped two-piece plain hood is attached to the neck after the shoulders and sleeves are joined. The jacket has an open front with no strings, toggles or separate motifs.
Pattern Details
- Hook Size: 4 mm, adjusted to washed granny-cluster gauge
- Finished Size: 12-24 months planning target; about22-inch chest,10-inch body length and a shaped5.8-inch hood height
- Gauge: 18 counted cluster positions and16 rows=4 inches after washing; plain hood20 sc and22 rows=4 inches
- Estimated Time: 8-10 hours
- Construction: Three stacked-cluster body panels, two straight sleeves, a shaped two-piece hood and continuous front edge
- Skill level: Easy
Why You’ll Love This Project
Each stitch repeat is short enough to count without a chart. The changing silhouette comes from how the pieces are assembled, and each seam has a named edge and count. The project can be stopped at every stage for a measurement before yarn is cut.
Materials
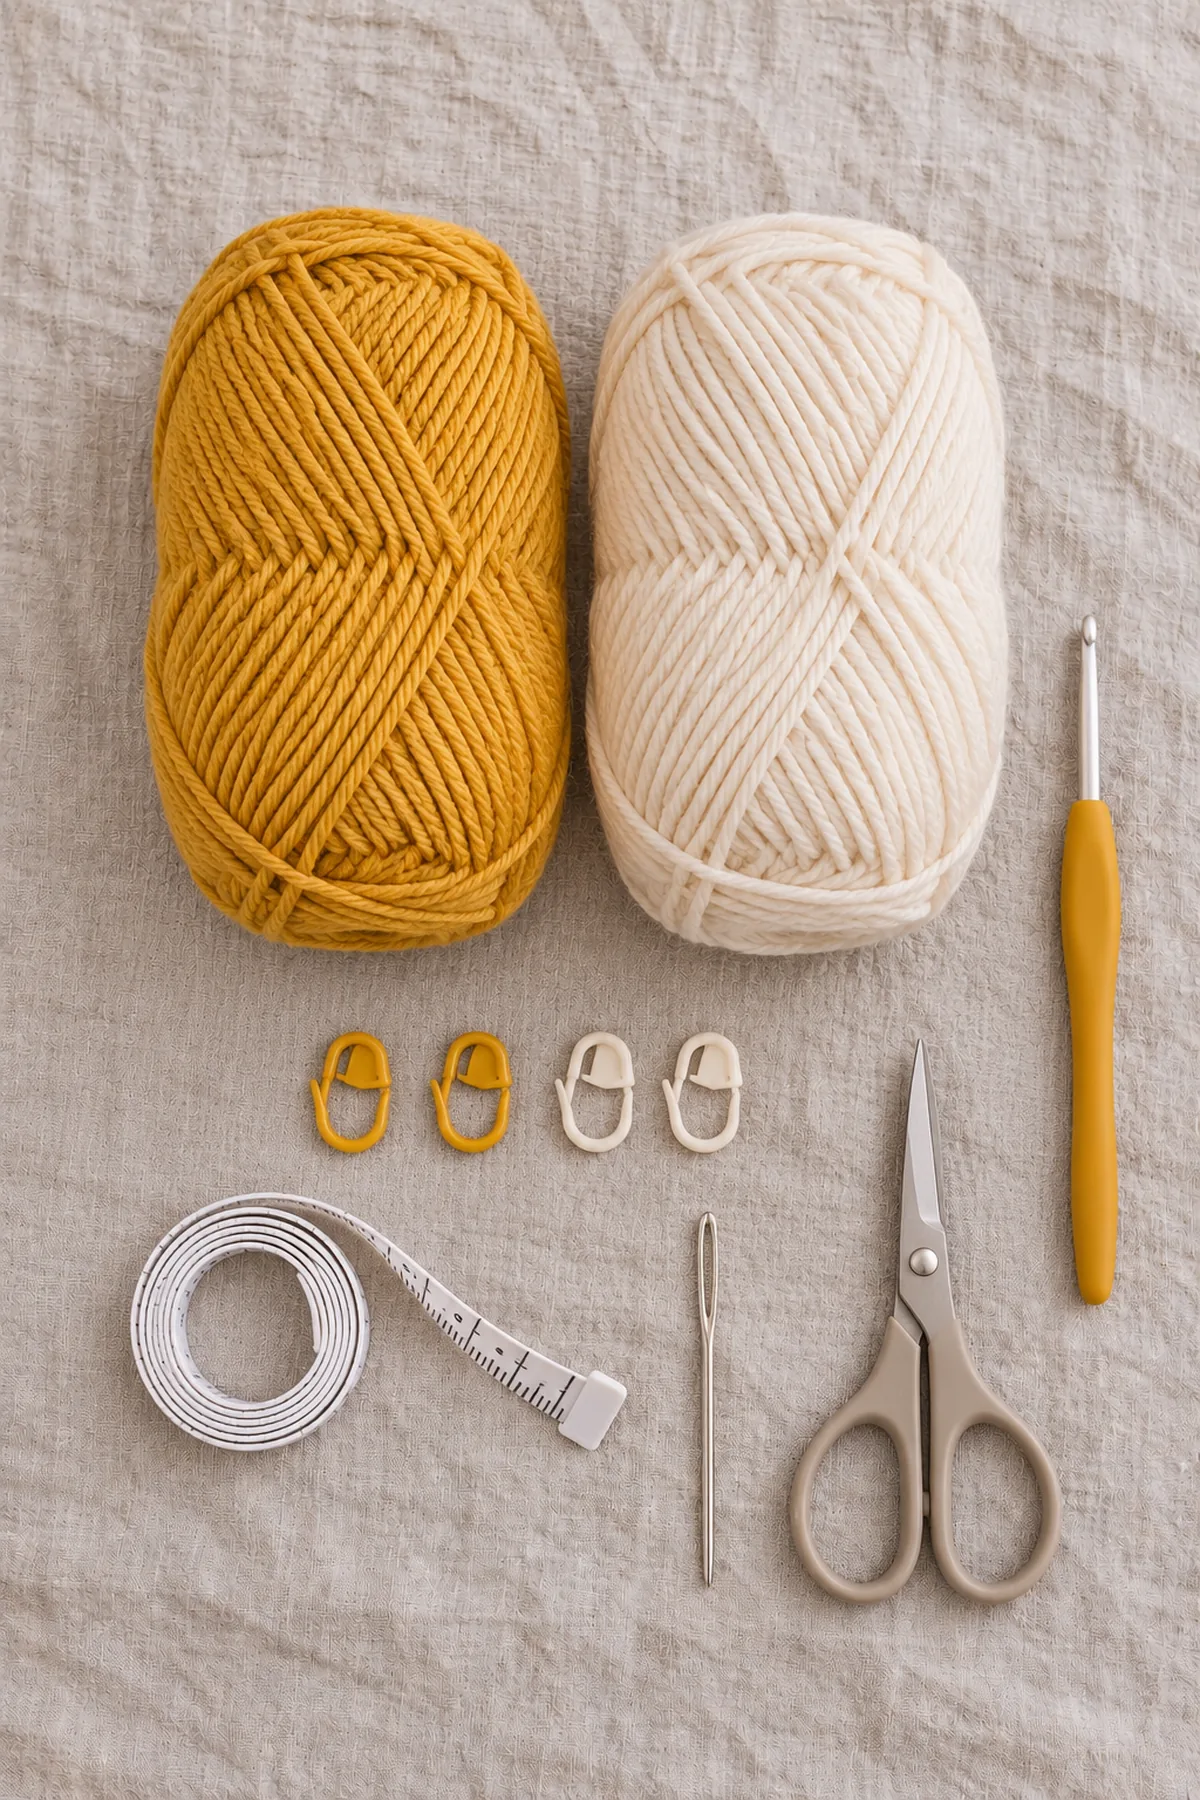
- Approximately390 yards soft washable mustard DK yarn and140 yards matching cream DK yarn
- 4 mm hook, six removable markers, blunt yarn needle, scissors and tape measure
Gauge, Measurements, and Planning
The fifty-position back is about11.1 inches wide at18 positions per4 inches; two26-position fronts together give about11.6 inches, so the open chest is roughly22.7 inches before seaming. Forty body rows at16 rows per4 inches give about10 inches. A seventeen-row armhole on each side is about4.25 inches deep, matching an approximately8.5-inch upper sleeve edge at38 positions. Swatch the open cluster fabric and the plain hood separately; these gauges are not interchangeable.
Make and wash a gauge swatch before beginning. Measure only after the swatch is completely dry. If the stitch width differs, change hook size rather than pulling the working yarn tighter. Keep a written count at the end of every section so the finished edges remain balanced and the assembly points line up.
Abbreviations and Special Stitches
- ch: chain
- sc: single crochet
- hdc: half double crochet
- dc: double crochet
- sl st: slip stitch
- BLO: back loop only
- st(s): stitch(es)
- rnd: round
Special stitch guidance: A stacked granny cluster here means3dc in the third of each consecutive three old positions after skipping the first two; the next row again skips the first two dc of each cluster and works3dc in its third dc. The edge sc at first and last positions is worked on every row. No chain gaps or motif squares are used. Ch3 turning height does not count; work an edge sc in the first real stitch.
Important Notes
- Images are AI-generated illustrations of the intended construction, not photographs of a physically tested sample. Follow the written counts rather than counting image stitches.
- Development note: stitch arithmetic has been checked computationally. This garment has not been physically sample-tested. Sizes, gauge and yardage are planning targets; swatch, measure and trial-fit before gifting.
- Beginning turning chains and joining slip stitches do not count unless specifically stated. Work into the first real stitch and mark it.
- Use a smooth washable baby-suitable yarn. No ties, beads, buttons or loose appliqués are part of these four designs. Keep openings and cuffs comfortable; remove garment if it bunches or catches.
- A cardigan is supervised daytime clothing, not sleepwear or a safe-sleep item. Remove it before sleep and check seams, yarn tails and markers each time.
Complete Instructions for Crochet Granny-Stripe Hooded Baby Cardigan
Work the Striped Cluster Panels
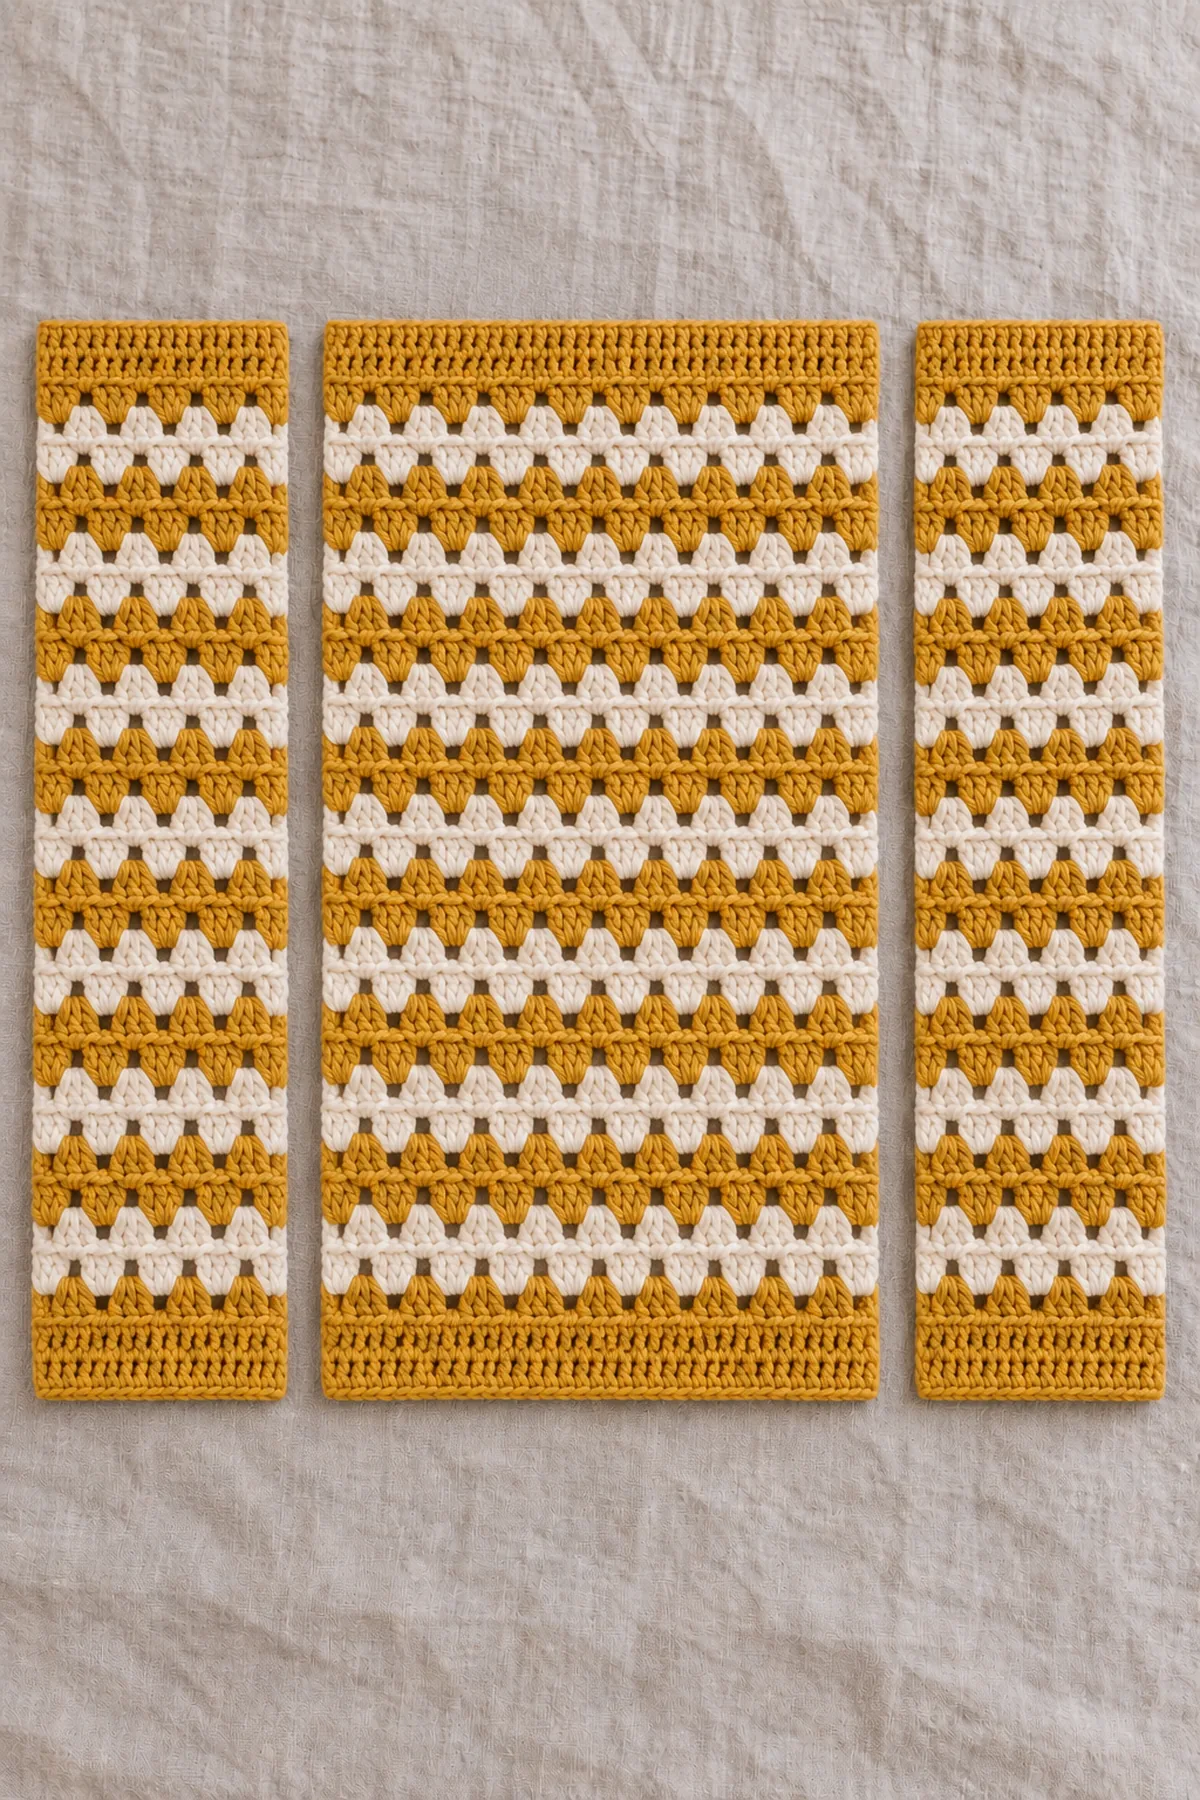
- Back: ch51 in mustard. Row1: sc in second chain and each remaining chain. (50 sts) Ch3 and turn; the ch3 is height only.
- Row2: sc in first old stitch, then repeat [skip next two old stitches,3dc in the following old stitch] 16 times; sc in final old stitch. (50 sts) Ch3 and turn. The sixteen cluster groups each consume and produce three counted positions.
- Rows3-40: sc in the first edge sc; over the sixteen old clusters repeat [skip first two dc of next cluster,3dc in its third dc]; sc in the final edge sc. (50 sts) Change to cream for Rows7-10,19-22 and31-34, then to mustard for the following rows. Change on the final pull-through before the new row. Fasten off after40.
- For each front ch27 in mustard, sc in second chain across. (26 sts) Row2: sc first, repeat [skip two old stitches,3dc in next] eight times, sc final. (26 sts) Rows3-40 stack the eight clusters above their preceding third dc as for the back. (26 sts) Use the same cream stripe row numbers and make the second front identical.
- Wash a cluster swatch before deciding whether the openings are suitable over a layer. Do not enlarge the spaces with an oversized hook. No granny-square motifs are sewn onto this garment.
Make Straight Cluster Sleeves and the Hood
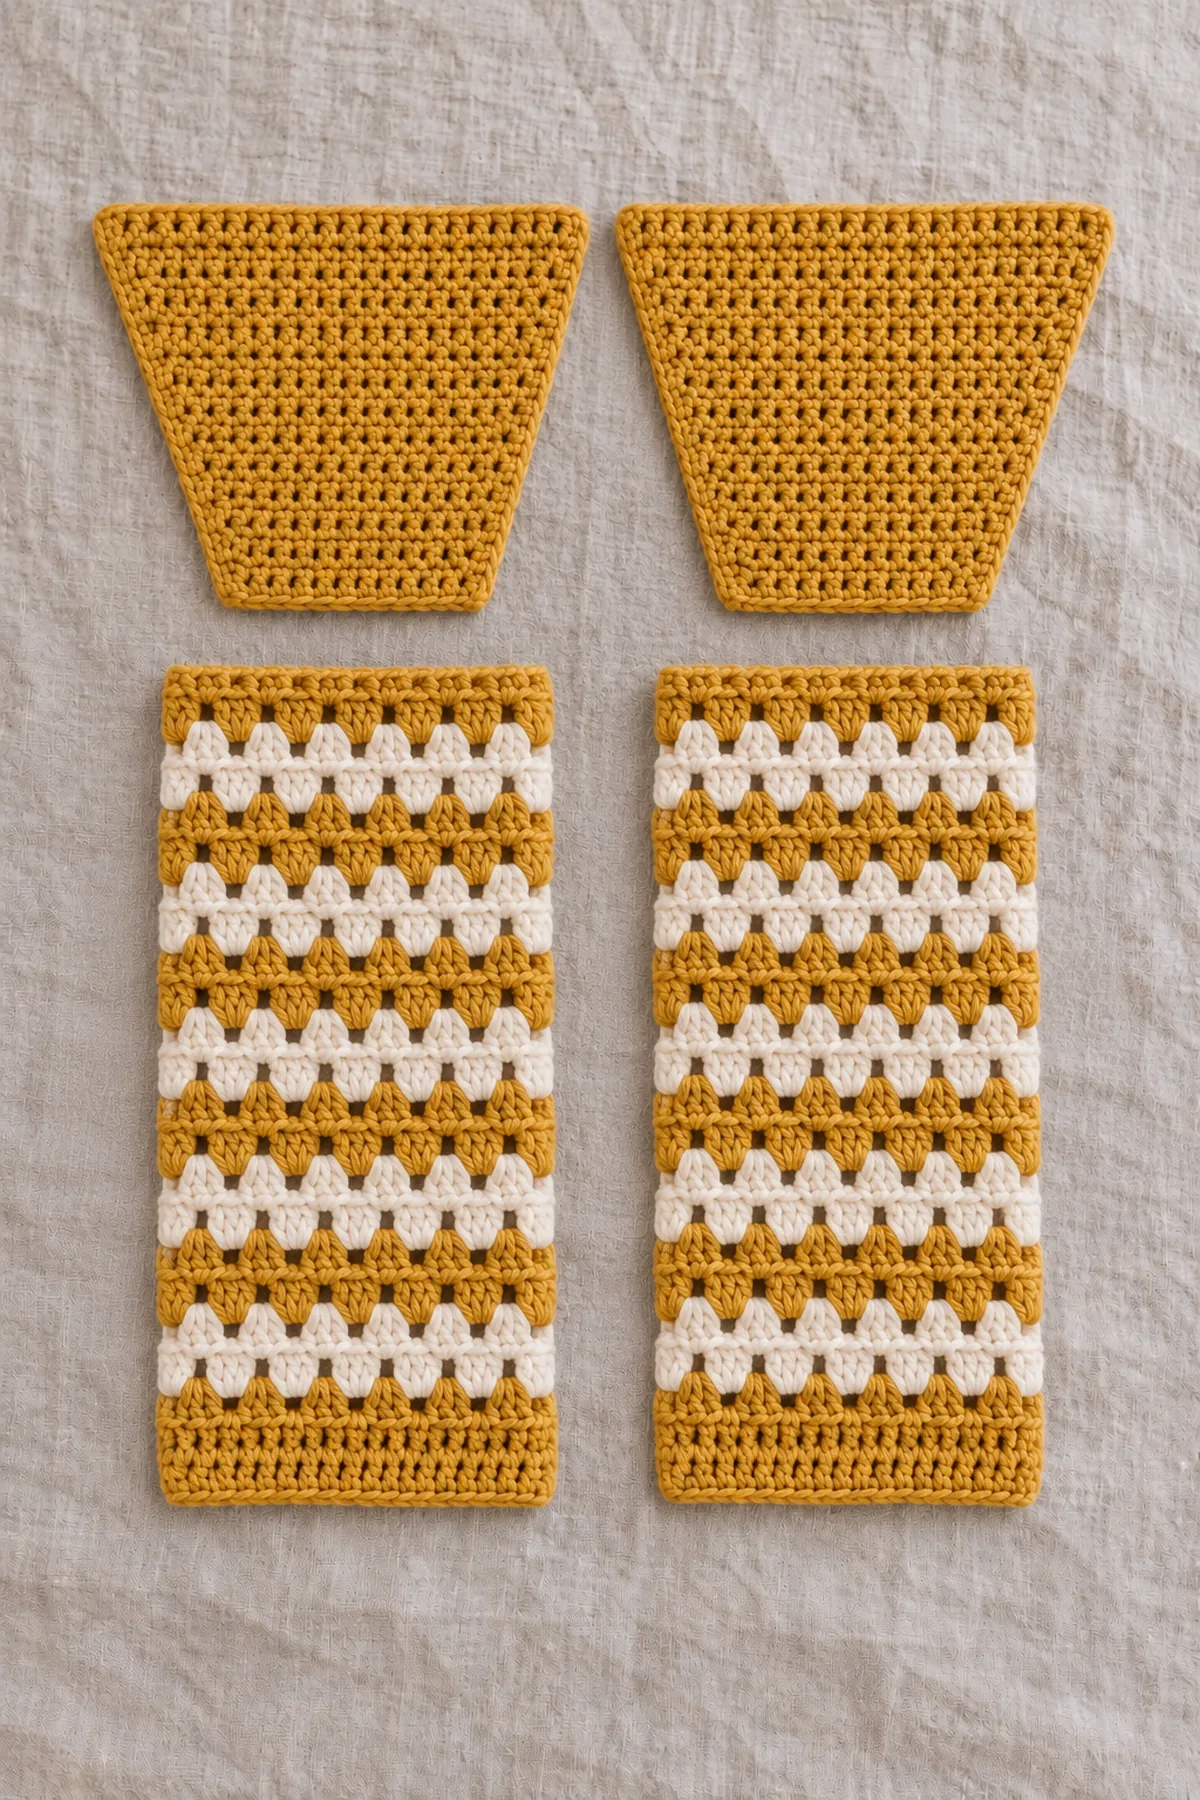
- Sleeves: make two. Ch39 in mustard and sc in second chain across. (38 sts) Row2: sc first, repeat [skip two old stitches,3dc in next] twelve times, sc last. (38 sts) Rows3-28 repeat the stacked cluster operation of Row2 into the previous clusters; keep38 counted positions. Use cream for Rows23-26 only. The foundation is the upper arm edge; leave each long seam open for now.
- Hood: make two mirror-oriented plain mustard halves. Ch20 and sc in second chain across. (19 sts) Mark the face-side edge and opposite center-back edge. Rows2-12: ch1, turn; work2sc in the old stitch at the marked face edge and one sc in every other old stitch, moving the face marker to the new outer edge. Counts after Rows2-12 are20,21,22,23,24,25,26,27,28,29,30 stitches. Increase at the face edge regardless of whether that edge is first or last after turning. Rows13-32: ch1, turn, sc through both loops in all30 positions. (30 sts) The Row1 foundation remains the narrow neckline-base edge and Row32 is the broader crown edge.
- Lay the two hood halves as mirror images with center-back edges together and face-edge increases outward. Sew the center-back row-end edges across all32 rows; then sew their top Row32 edges together across30 stitches. Leave the curved front face edges open. Turn right side out. The two 19-stitch foundations together form one38-position neckline base; the two 30-stitch crown halves give about12 inches of top circumference before seaming.
Join Body, Sleeves and Hood
- Sew each front’s sixteen outer upper positions to the matching sixteen outer back top positions. Leave the middle eighteen back positions and the inner ten positions on each front unsewn:18+10+10=38 open neck positions.
- Sew each side from the hem through the first23 body row ends. Leave the top17 front and17 back row ends open as an armhole. Place one sleeve’s38-stitch foundation around the34 row ends, centering it at the shoulder; distribute its four extra stitches evenly across the opening rather than adding four stitches to the body. Sew firmly, then close its long sleeve seam along28 row ends. Repeat opposite side.
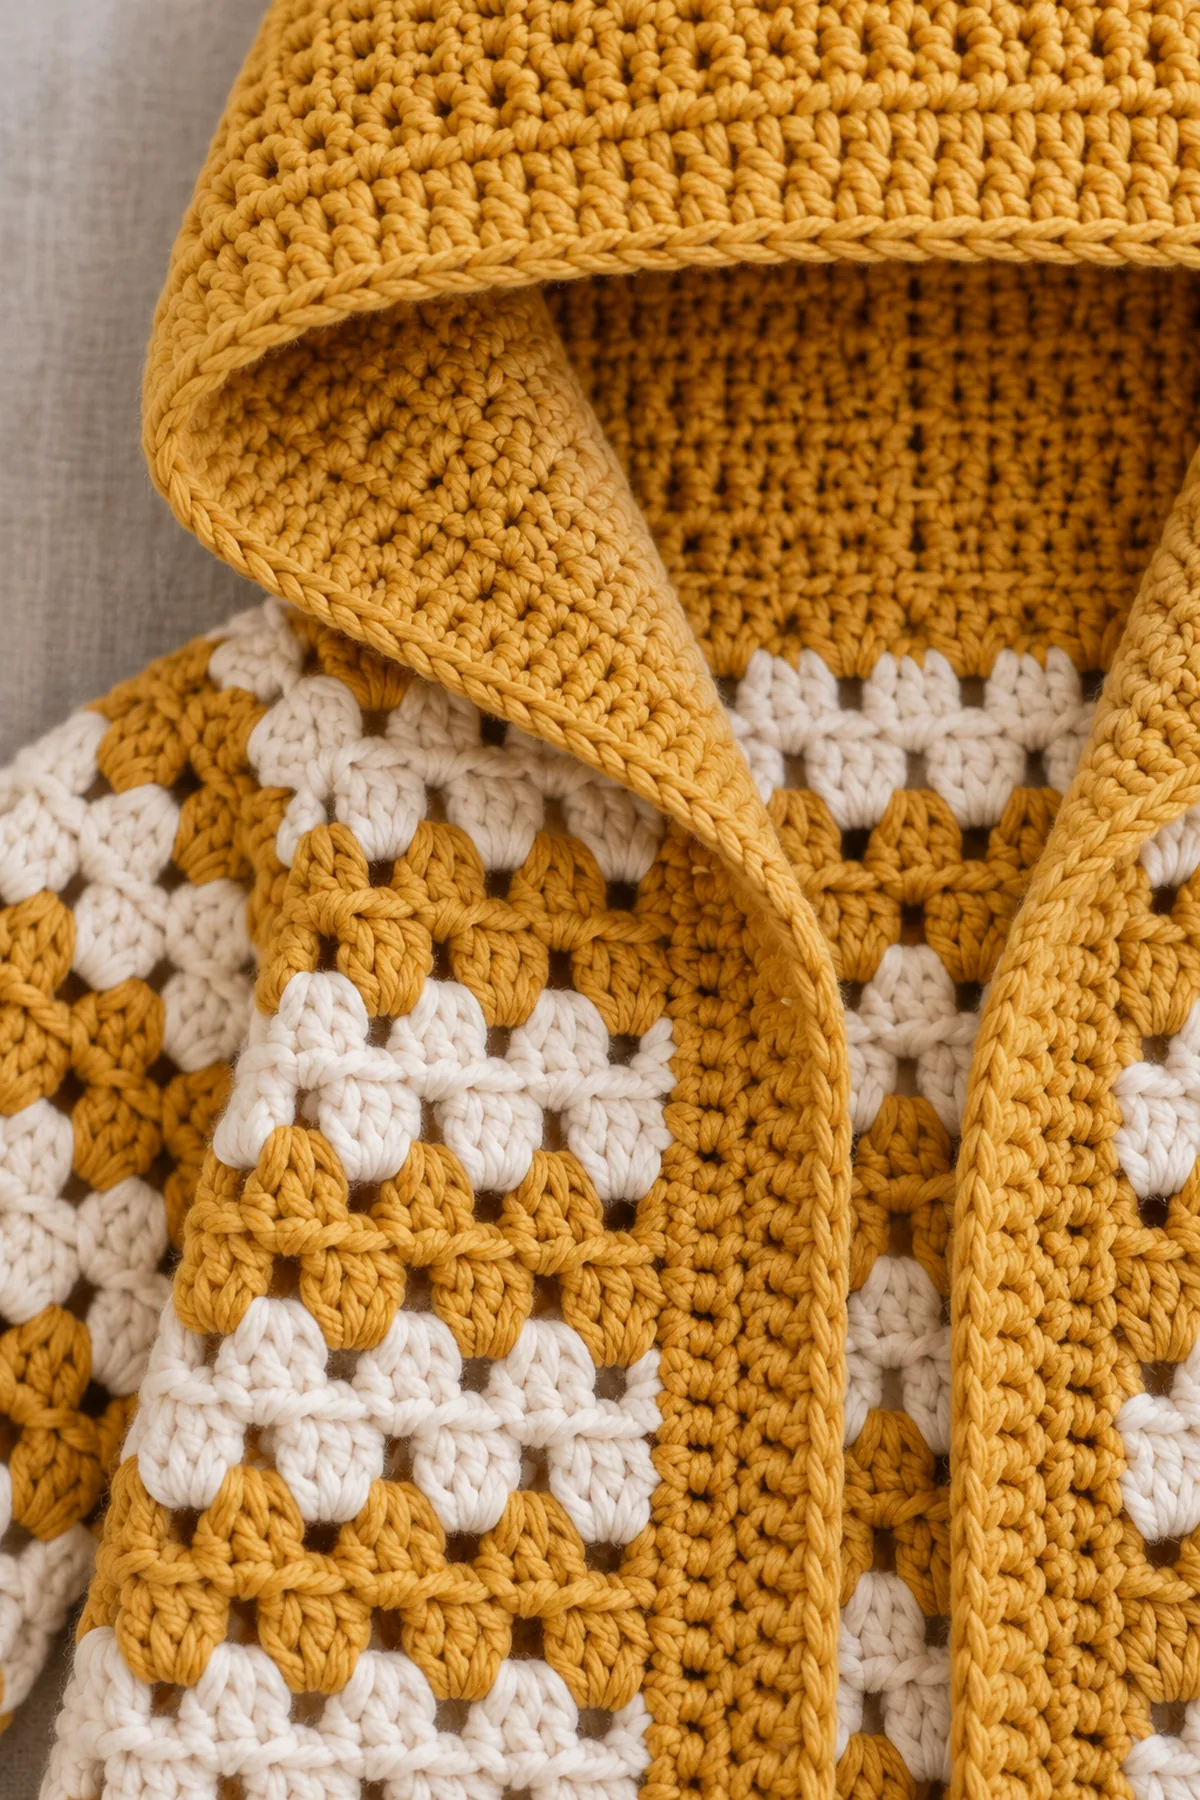
- Starting at one front neckline corner, pin the hood’s38 foundation stitches to the38 open neckline positions one to one, with its center-back seam centered on the back’s eighteen-position neck. Sew the base twice through full loops. The plain hood must lie flat; remove and refit it if either front face edge pulls inward.
- Add a light sc front and hood-face edging according to the measured row-end length, keeping all edges flat. No drawstring, pompoms, ties or buttons. Hold the garment up and confirm the hood does not pull the neck backward.
Finish for Supervised Wear
- Weave every yarn tail, wash and dry the cardigan, and inspect cluster openings for catching fingers. Check the hood shape and neck comfort over the intended underlayer. Use the hood only while the child is awake and supervised; remove the whole garment before sleep.
- Check both sleeve cuffs and underarms after gentle movement. The written age range is a planning target, not a fit guarantee; adjust gauge or choose a different size if the washed garment does not fit.
Assembly and Shaping
Join each 26-position front’s sixteen outer top positions to sixteen outer back top positions. This leaves eighteen back neck positions and ten inner positions on each front, a total of38 neck positions. Sew body sides through Rows1-23, leaving17 row ends above on each piece. Each sleeve foundation38 positions is matched to those two seventeen-row sections by measured ease. Two shaped plain hood halves each have19 positions at their neckline base and grow to30 at the crown; together the two bases fit the38 free neck positions. Sew center back and top hood seams before attaching the base.
Lay every component on a flat surface before joining. Match the marked centers first, then divide each remaining edge into equal sections. Work through both layers with consistent tension and pause after each section to check that the fabric lies flat. This measured approach prevents twisting and keeps decorative details facing the intended direction.
Finishing
- Weave every tail through three changing stitch paths on the wrong side. Gently stretch each seam; repair any moving end.
- Wash according to the yarn label, reshape without stretching and dry fully. Check the washed chest, neck, sleeve circumference and overall length.
- Remove all markers. Inspect sleeves, neck and hem for loose loops, openings that catch fingers, or stitches that distort when lightly pulled.
- Give the caregiver the fiber, care method, measured size and advice to use the garment only while the baby is supervised and awake.
For a polished result, weave each tail through several same-color stitches, reverse direction once, and trim only after the fabric has been gently stretched. Block to the listed dimensions without flattening textured stitches. Inspect joins, borders, straps, and decorative pieces before the project is used or gifted.
Helpful Tips
- Make a practice swatch in the actual stitch pattern, then wash and dry it before measuring four central inches.
- Label right and wrong sides of panels with removable markers so both fronts are mirror images.
- Count the first and final stitch at every row. Mark the armhole start before sewing side seams.
- If the written count is right but your measurement differs, change hook size and swatch again before making all the pieces.
Good lighting and a contrasting stitch marker make counting much easier. If a section looks uneven, compare the current count with the previous checkpoint before continuing. Fixing one missed stitch early is faster than compensating later, and it preserves the measurements used by the assembly instructions.
Frequently Asked Questions
Is this cardigan physically size tested?
No physical sample test is claimed. The stitch counts were checked computationally. Measure the washed panels and do a supervised fit check over a layer before use.
Can I change yarn?
Use another smooth washable yarn only after a washed swatch matches both stitch and row gauge. Recheck sleeve and neck openings.
Are buttons or cords needed?
No. This written version has an open front without buttons, drawstrings or long ties. Do not add small detachable trim to an infant garment.
Conclusion
Keep the measured dimensions and yarn details with your pattern notes. Check the construction and safety guidance before styling or gifting the finished crochet project.
BabyYarnie Printable Crochet Pattern Card
BabyYarnie — easy-to-follow crochet for everyday makers.
Project: Crochet Granny-Stripe Hooded Baby Cardigan
Skill level: Easy Hook: 4 mm, adjusted to washed granny-cluster gauge Yarn: DK
Finished size: 12-24 months planning target; about22-inch chest,10-inch body length and a shaped5.8-inch hood height
Card Materials
- Approximately390 yards soft washable mustard DK yarn and140 yards matching cream DK yarn
- 4 mm hook, six removable markers, blunt yarn needle, scissors and tape measure
Card Instructions
- Work the Striped Cluster Panels: Back50positions with16 stacked clusters; two26-position fronts with eight clusters each; forty rows.
- Make Straight Cluster Sleeves and the Hood: Two38-position by28-row sleeves; two hood halves grow19 to30 at the face edge, then continue to Row32.
- Join Body, Sleeves and Hood: Shoulders16 each, neck38, side seams23 rows, sleeve edges38 eased into34 row ends and hood base38.
- Finish for Supervised Wear: Open hooded cardigan finished without cords or closures.
Finish: Check every count, weave in all ends, block to measurement, and inspect each join.