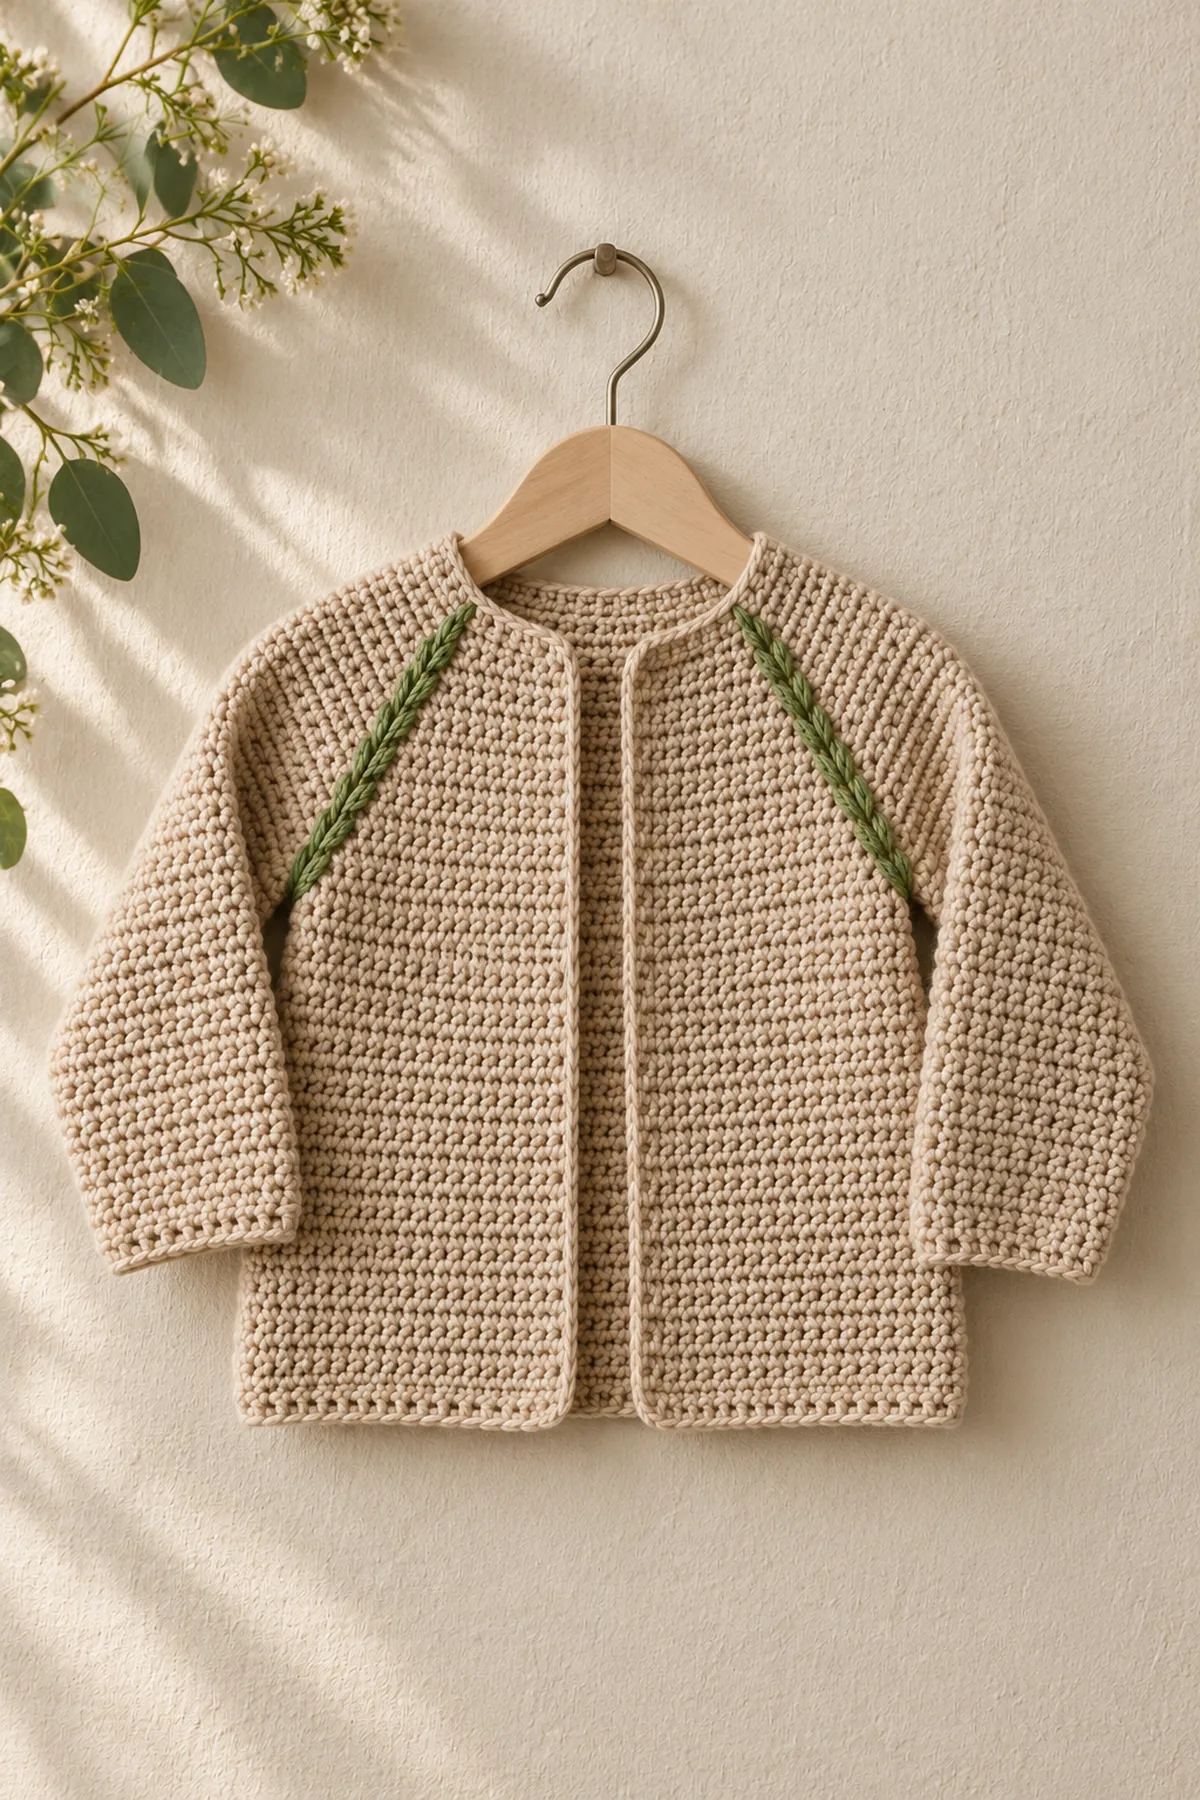
This original crochet raglan baby cardigan pattern explains how to make crochet fernline raglan baby cardigan from the first counted stitch through final assembly. The design is a practical free tutorial in US terms, with measurements and stitch checkpoints that you can verify as you work.
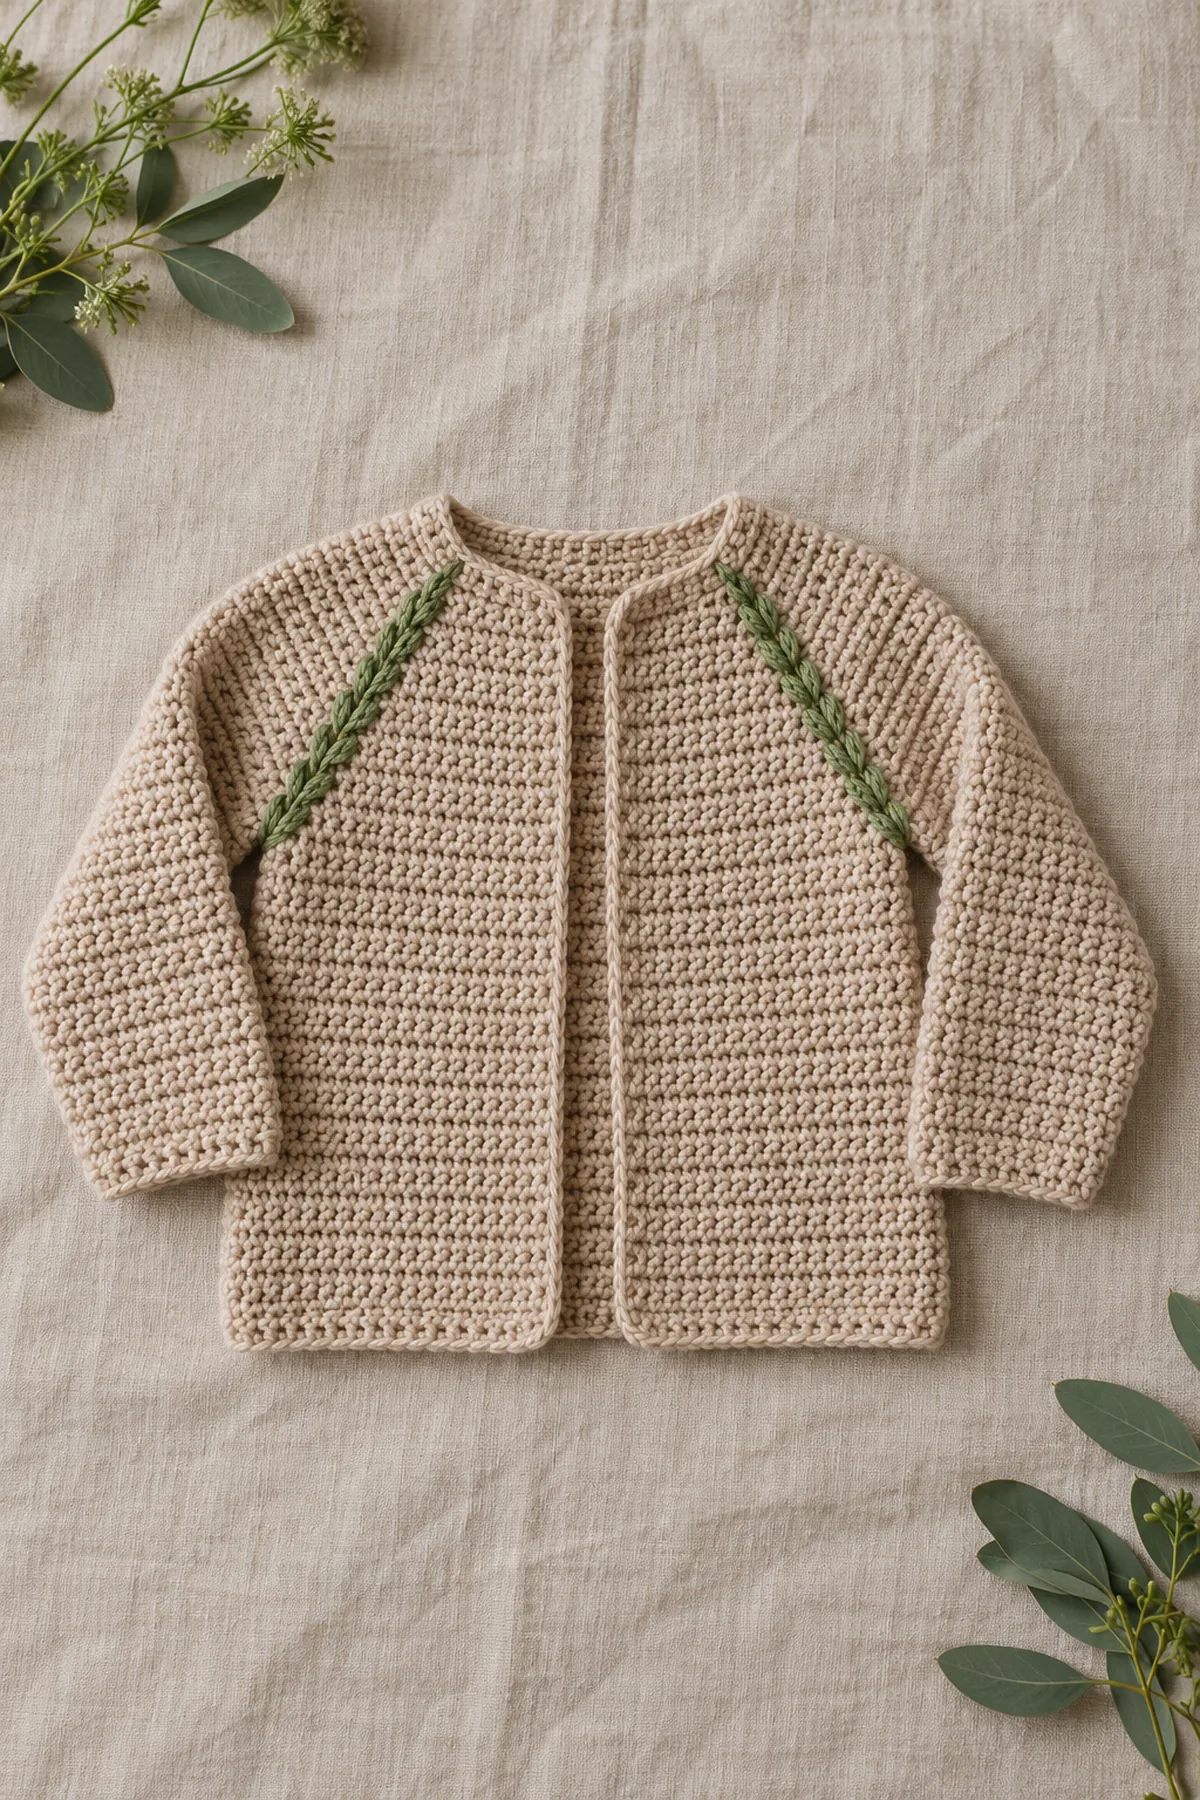
The cardigan uses a top-down raglan with four two-stitch raised fernline seams, solid lower body and straight sleeves. Each shaping stage is counted below, including the underarm bridge, body, both sleeves and front edging. The yoke motif is worked into the fabric rather than attached later.
Pattern Details
- Hook Size: 4 mm or size needed for washed gauge
- Finished Size: 6–12 months planning size: about 21-inch chest, 12.5-inch shoulder-to-hem length and 7.5-inch upper-sleeve circumference; verify fit
- Gauge: 16 hdc stitches and 12 turned rows = 4 inches after washing
- Estimated Time: 12–16 hours plus swatching and drying
- Construction: 56-stitch neck with four fixed two-stitch seam pairs; nine 8-stitch raglan rows to 128; 84-stitch body and two 30-stitch sleeves
- Skill level: Intermediate
Why You’ll Love This Project
The decorative shoulder area reads clearly in a flat-lay photograph while the lower body stays soft and practical. Every change in circumference has a stated stitch count, so the garment can be checked before a sleeve is separated.
Materials
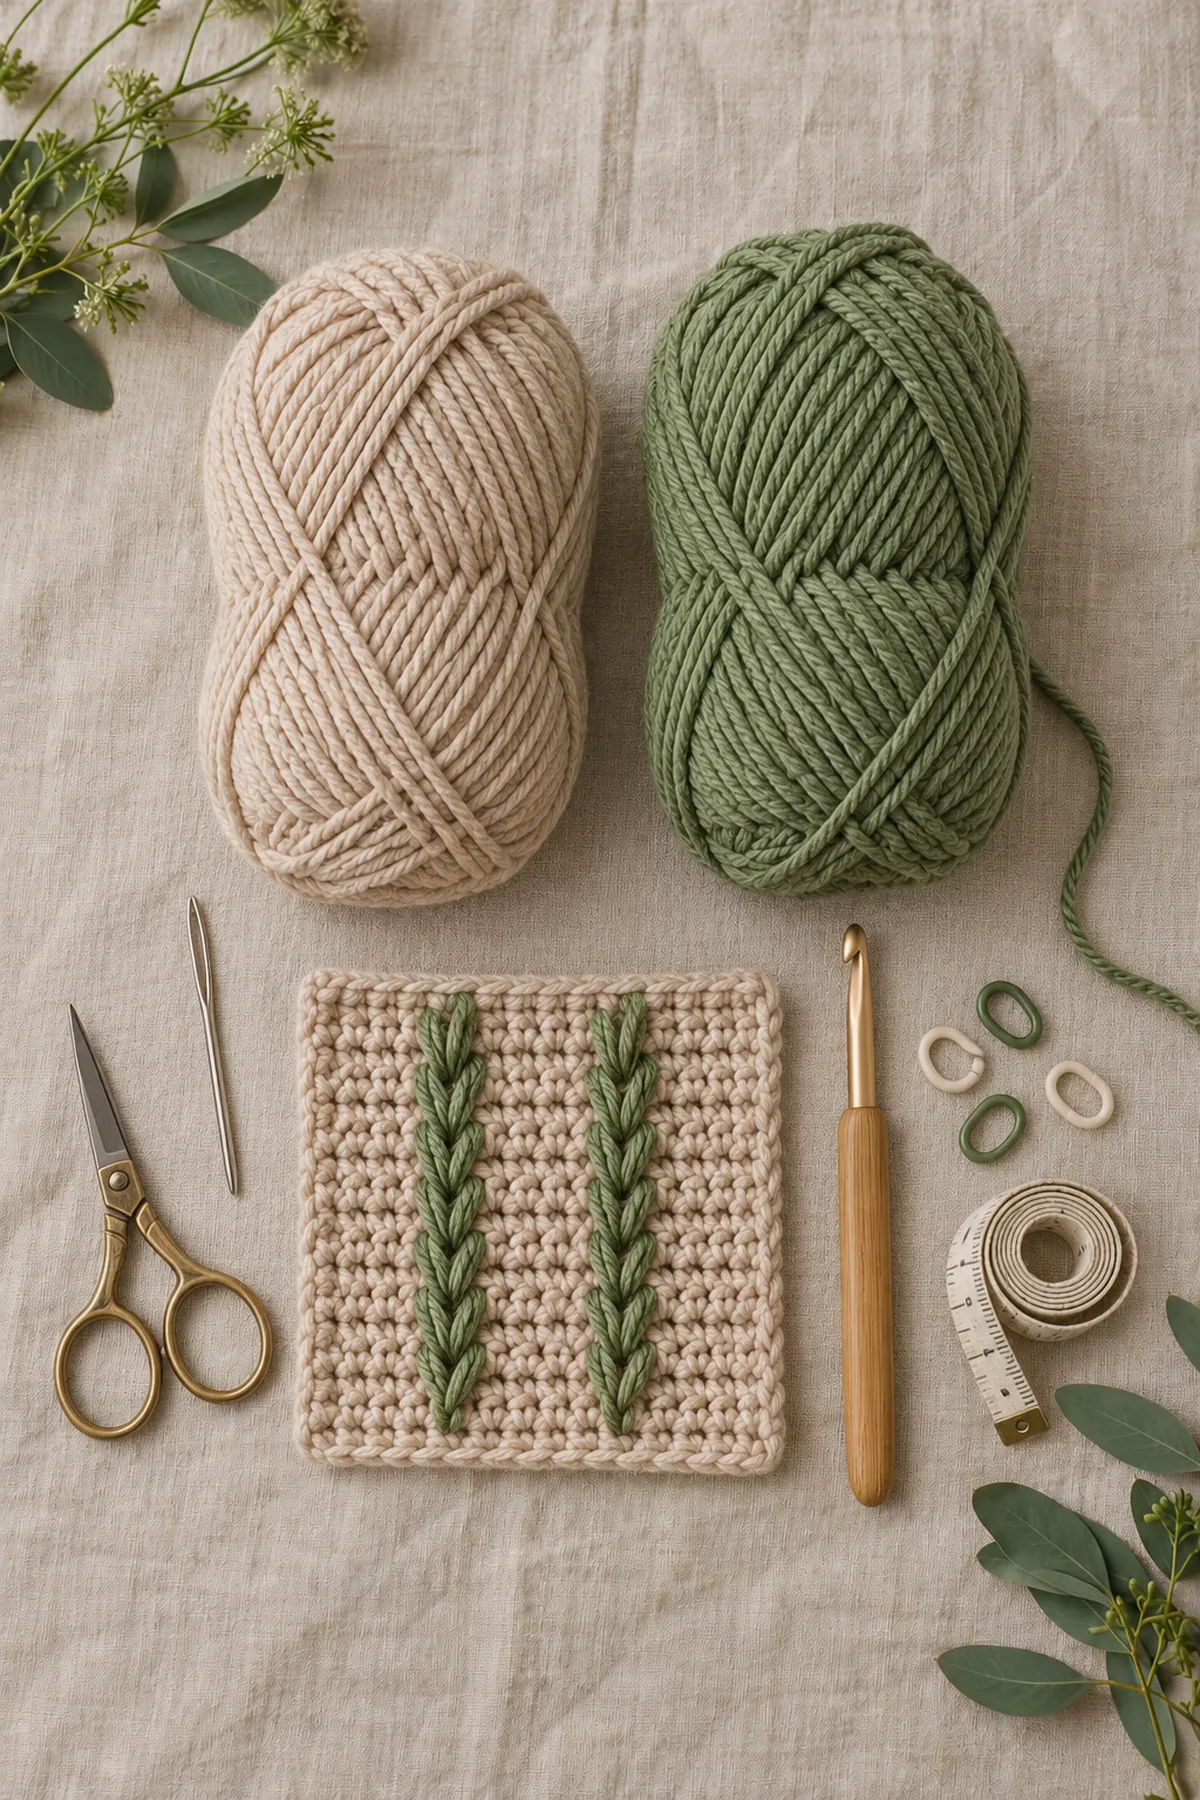
- Approximately 500 yards sand and 90 yards fern-green washable DK cotton-wool blend plus 10% for swatching
- 4 mm hook, eight locking markers, blunt yarn needle, measuring tape and scissors
- No buttons, ties, beads or detachable decorations
Gauge, Measurements, and Planning
Wash a 24-stitch by 18-row hdc swatch including two rows of post stitches. The central 16 stitches and 12 rows should each measure four inches. At this gauge the 84-stitch open body spans about 21 inches; each 30-stitch upper sleeve spans about 7.5 inches. Measure yoke depth and underarm opening against a comfortable 6–12-month cardigan; adjust hook before starting, not by adding unplanned stitches.
Make and wash a gauge swatch before beginning. Measure only after the swatch is completely dry. If the stitch width differs, change hook size rather than pulling the working yarn tighter. Keep a written count at the end of every section so the finished edges remain balanced and the assembly points line up.
Abbreviations and Special Stitches
- ch: chain
- sc: single crochet
- sl st: slip stitch
- st(s): stitch(es)
- rnd: round
- inc: 2 sc in one stitch
- sc2tog: single crochet two stitches together
- hdc: half double crochet
- dc: double crochet
- FPdc: front-post double crochet
- BPdc: back-post double crochet
Special stitch guidance: A two-stitch fernline seam stays two stitches wide. On public-side rows, replace its two regular hdc with two FPdc worked around the matching posts below; on reverse-side rows use two BPdc so the raised line stays on the public side. Begin the first textured row by working dc into those two seam positions so later rows have posts. At each seam, increase with 2 hdc in the stitch immediately before the pair and 2 hdc in the stitch immediately after it: four increases add eight stitches per row while the two seam stitches remain counted and unchanged.
Important Notes
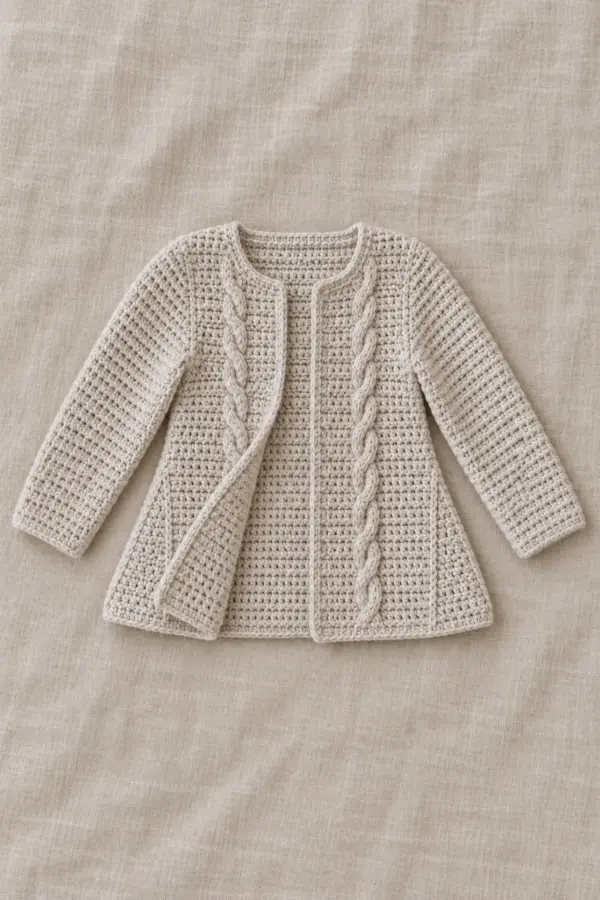
- This is an original, arithmetically checked design; no physical sample has been made. The photographs are illustrative, not stitch-count references.
- Measure a washed swatch and compare the finished chest, length and armhole with a comfortable garment for the intended child. Age ranges are guidance, not a substitute for measurements.
- A starting chain and a joining slip stitch do not count unless a row explicitly says that an interior chain counts. Mark the first counted stitch and all shaping boundaries.
- Use smooth washable yarn, avoid buttons and dangling ties, and inspect seams and ends before supervised wear. Remove outerwear for sleep; never leave an infant unattended in it.
- Audit ladder: neck (56 sts); Yoke Rows 2–10 end at (64 sts), (72 sts), (80 sts), (88 sts), (96 sts), (104 sts), (112 sts), (120 sts), (128 sts); body (84 sts); each sleeve (30 sts).
Complete Instructions for Crochet Fernline Raglan Baby Cardigan
Work the Counted Fernline Raglan
Turn after every yoke row. Divide the 56 counted neck stitches in order: front 6, seam 2, sleeve 8, seam 2, back 20, seam 2, sleeve 8, seam 2, front 6. Mark both stitches of every seam pair, not a gap.
- Yoke Row 1: Ch 58, hdc in the third chain and each remaining chain; turn. (56 hdc) Place markers around the four seam pairs at section boundaries.
- Yoke Row 2: Ch 2, hdc across, making 2 hdc in the stitch immediately before and after each two-stitch seam pair. Work one dc in each seam stitch to establish posts; each dc replaces one hdc. Turn. (64 sts)
- Yoke Rows 3–10: Repeat the same eight increases each row. Work two FPdc around the seam posts on right-side rows and two BPdc on wrong-side rows, never increasing inside the marked pair. Continue hdc in all other positions; turn every row. End counts for Rows 3–10: 72, 80, 88, 96, 104, 112, 120, 128.
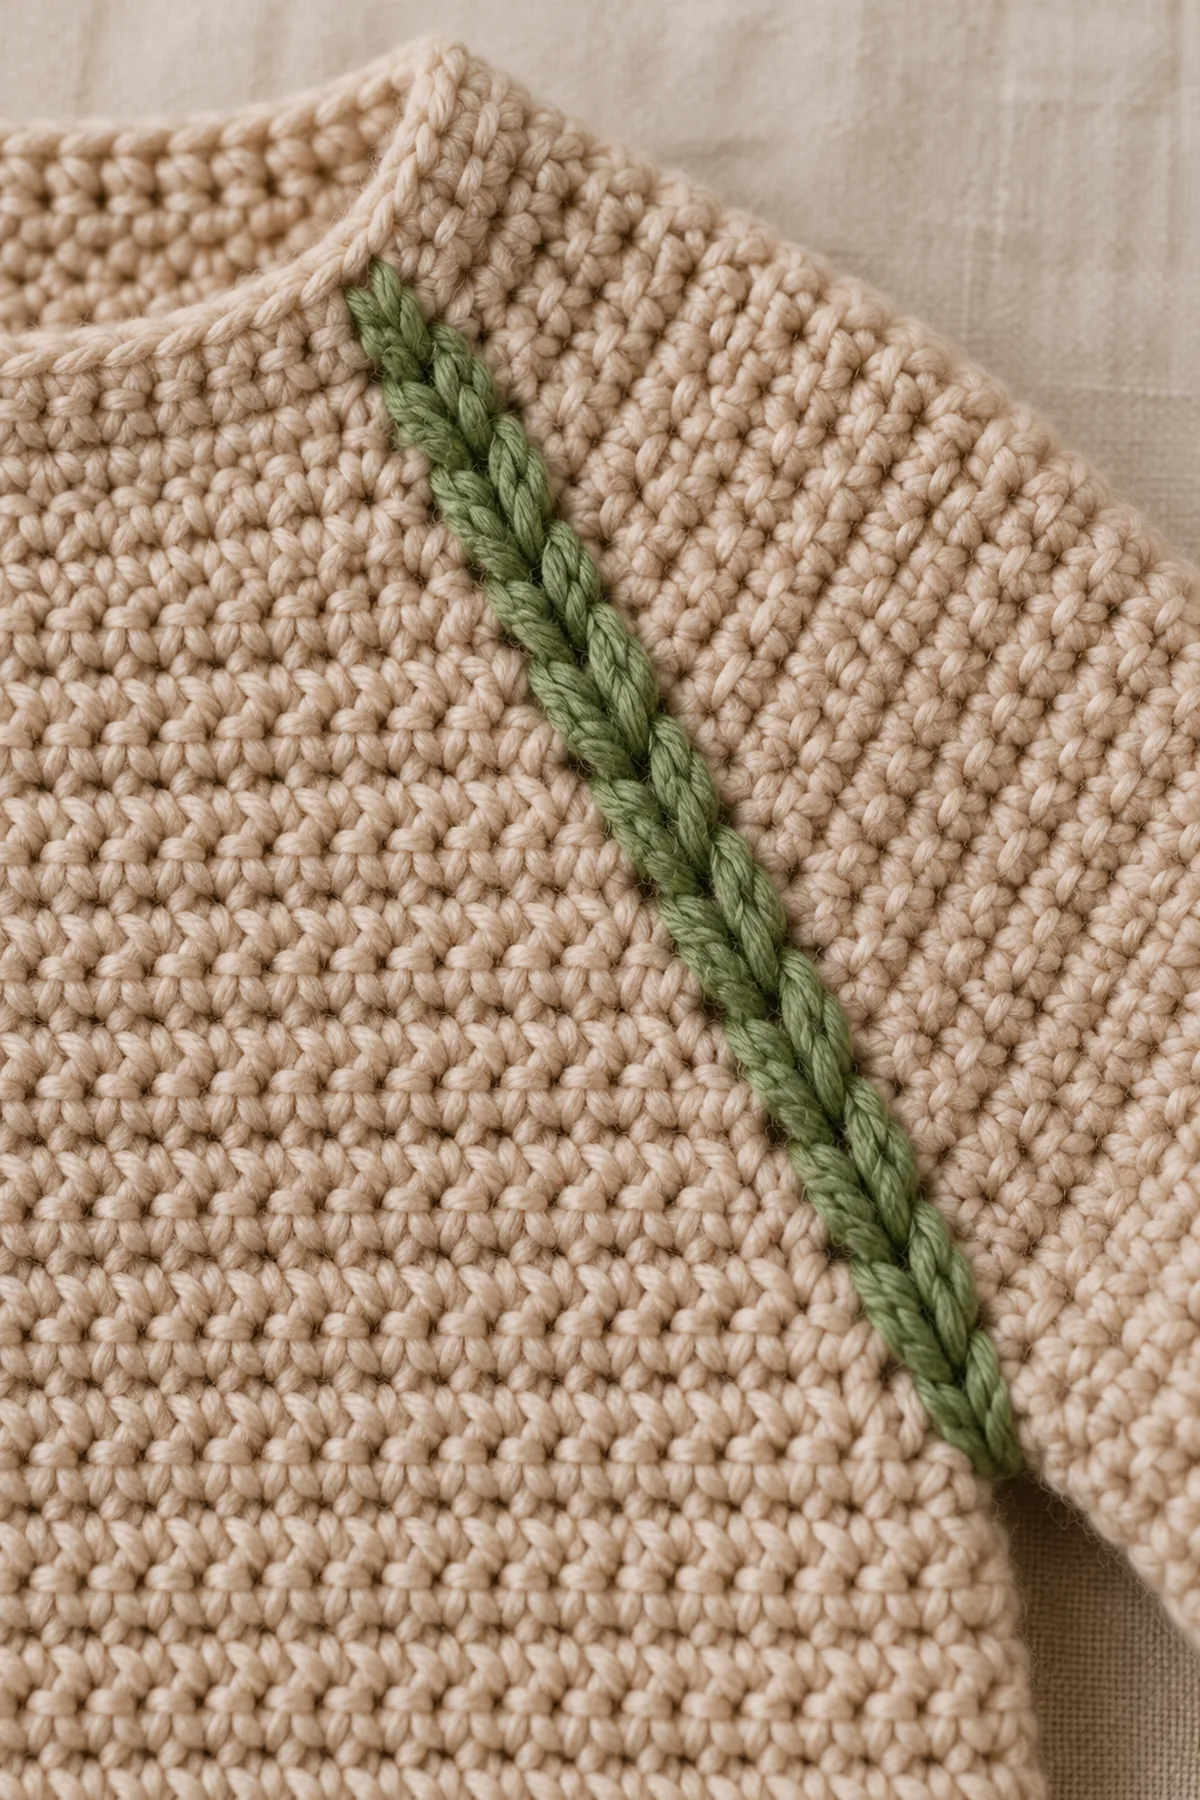
- Join fern yarn for the two seam stitches on Rows 3–10, completing each preceding stitch’s last pull-through in fern and returning to sand immediately after the pair. Carry no long strand across sleeves or back; cut and weave short local tails on the wrong side. The raised seam line stays two stitches wide.
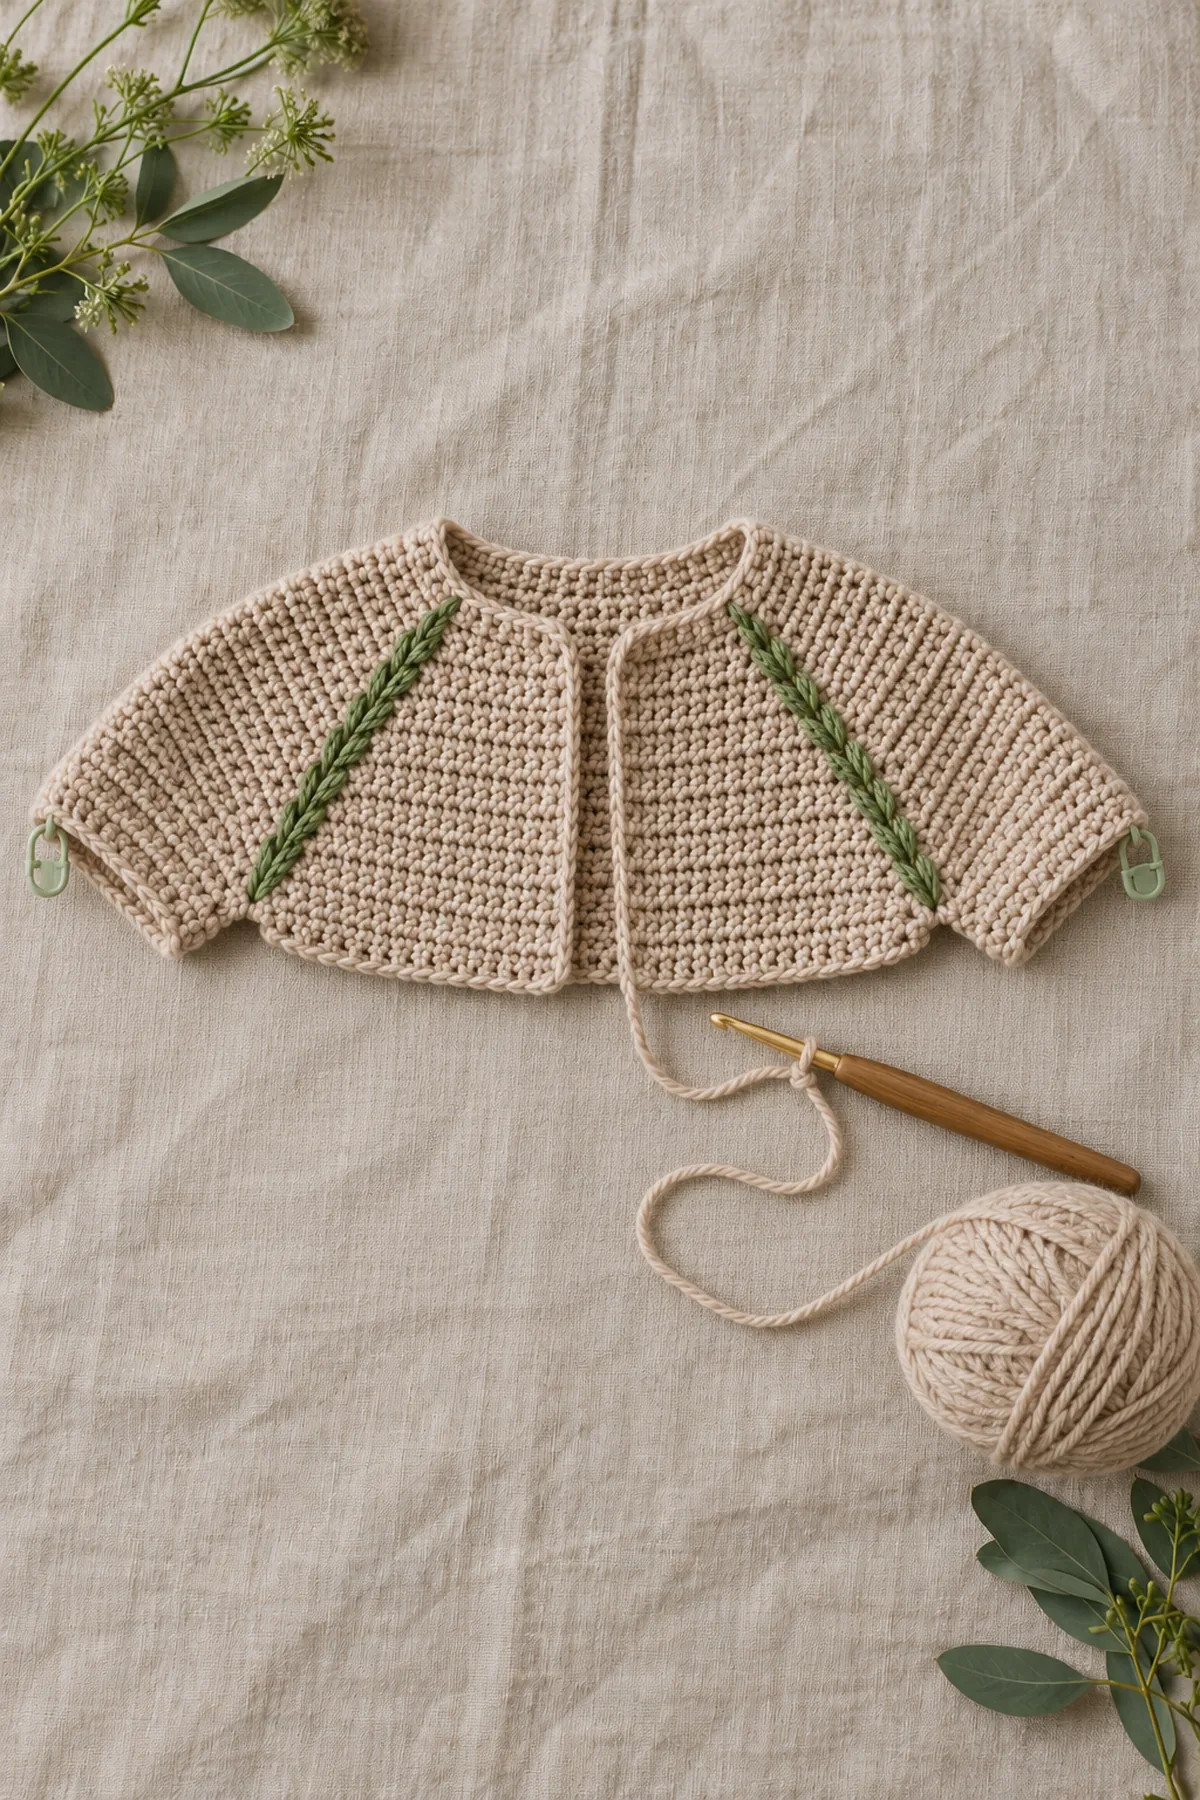
- After Row 10, audit in order: front 15, seam 2, sleeve 26, seam 2, back 38, seam 2, sleeve 26, seam 2, front 15. Their sum is 128. Do not separate sleeves if any one section is off.
Hold Sleeves and Crochet the Body
At the underarm divide, assign all eight seam stitches to the body. Hold only the 26 plain stitches of each sleeve. The four-chain bridges add eight body positions.
- Body Row 1: Ch 2, hdc in 15 front stitches and the first 2 seam stitches; ch 4, skip 26 held sleeve stitches; hdc in the next 2 seam stitches, 38 back stitches and next 2 seam stitches; ch 4, skip 26 held sleeve stitches; hdc in the last 2 seam stitches and 15 front stitches; turn. (84 body positions = 76 retained stitches + 8 chains)
- Body Row 2: Ch 2, hdc in each retained stitch and each underarm chain; turn. (84 hdc) Check that the fernline seams flow into four short vertical columns at the armhole junction.
- Body Rows 3–28: Ch 2, hdc in every stitch, turn. (84 each row) Work one final even sc hem row with 84 sc. The body remains straight; do not add a peplum, collar or pocket.
- Measure the flat body after washing a swatch and before finishing sleeves. If the 84-stitch circumference is too small or large for the intended child, re-swatch or choose a different size rather than inserting unmatched side stitches.
Complete the Sleeves and Front Border
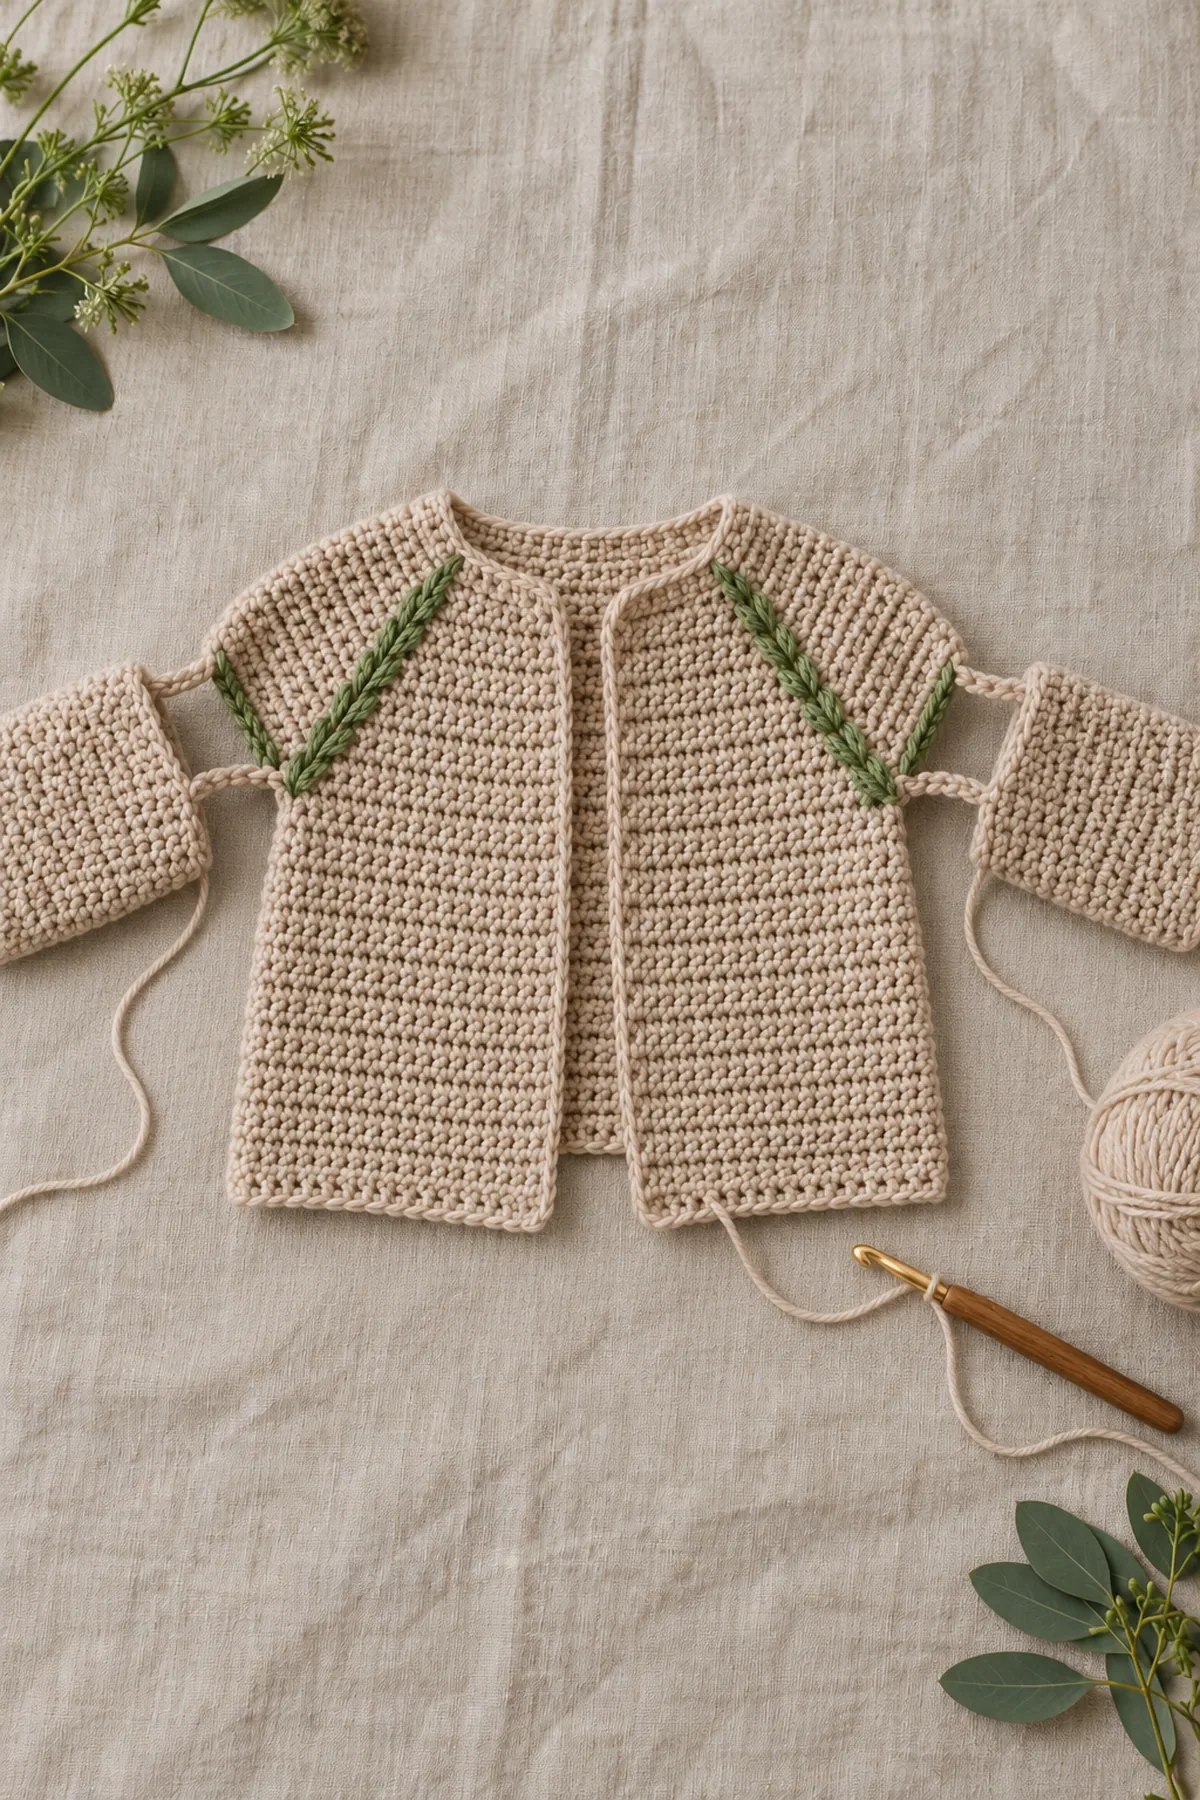
Join under each arm and work joined rounds without turning. The sleeve stitches are independent of the seam pairs kept in the body.
- For Sleeve Round 1, hdc once in each of the 26 held sleeve stitches and once in the underside of each of four underarm chains; join to the first hdc, ch 2 and mark the first stitch. (30 hdc)
- Work Sleeve Rounds 2–22 in sand, one hdc in each stitch; join and ch 2, counting neither. (30 hdc each) Work a final even sc cuff round of 30 sc. Repeat for the second sleeve with the same round count.
- Join sand at the right lower front. Sc in each body-row end up the front, across the neck and down the opposite front, easing one additional sc into a neckline corner only if it pulls. Count both front lengths separately and keep them equal; leave the opening without buttons or ties.
- Secure every short fern-color tail on the wrong side, wash and dry flat, and remeasure chest, armhole, sleeve length and neck opening. Inspect the four raglan seams and both underarms before supervised wear.
Assembly and Shaping
The 56-stitch neck consists of 48 section stitches plus four two-stitch seams. Nine rows each add eight outside-seam stitches: 56 + 72 = 128. Final sections are 15/2/26/2/38/2/26/2/15. Hold 52 sleeve stitches; retain the other 76 and add eight underarm chains to make an 84-stitch body. Each sleeve regains 26 stitches plus four underside chain loops = 30.
Lay every component on a flat surface before joining. Match the marked centers first, then divide each remaining edge into equal sections. Work through both layers with consistent tension and pause after each section to check that the fabric lies flat. This measured approach prevents twisting and keeps decorative details facing the intended direction.
Finishing
- Weave each tail in three directions on the wrong side, reversing once, then trim after gentle stretching.
- Wash by the yarn label, dry flat to the measured dimensions and check the neckline, armholes and sleeve openings again.
- Inspect every underarm join and edge for gaps or loose yarn. This garment is for supervised wear only and should not be used during sleep.
For a polished result, weave each tail through several same-color stitches, reverse direction once, and trim only after the fabric has been gently stretched. Block to the listed dimensions without flattening textured stitches. Inspect joins, borders, straps, and decorative pieces before the project is used or gifted.
Helpful Tips
- Use a different marker color at the front edges and each sleeve boundary; move markers upward after every shaping row.
- Count the whole row before turning. If a count is wrong, return to that row instead of hiding an extra stitch in the next one.
- Make both sleeves to the same counted round and compare their measured lengths before weaving ends.
Good lighting and a contrasting stitch marker make counting much easier. If a section looks uneven, compare the current count with the previous checkpoint before continuing. Fixing one missed stitch early is faster than compensating later, and it preserves the measurements used by the assembly instructions.
Frequently Asked Questions
How should I choose the size?
Use the listed finished chest and a washed gauge swatch. Compare with a comfortable garment; if the gauge or desired ease differs, do not rely on the age label alone.
Can I change the sleeve length?
Work the same additional plain rounds on each sleeve before edging. Recheck yarn quantity and measure the child or reference garment after washing.
Conclusion
The finished cardigan has its own counted shoulder construction, smooth body and matched sleeves. Check the final measurements and all joins before using it as supervised outerwear.
BabyYarnie Printable Crochet Pattern Card
BabyYarnie — easy-to-follow crochet for everyday makers.
Project: Crochet Fernline Raglan Baby Cardigan
Skill level: Intermediate Hook: 4 mm or size needed for washed gauge Yarn: Soft washable DK cotton-wool blend
Finished size: 6–12 months planning size: about 21-inch chest, 12.5-inch shoulder-to-hem length and 7.5-inch upper-sleeve circumference; verify fit
Card Materials
- Approximately 500 yards sand and 90 yards fern-green washable DK cotton-wool blend plus 10% for swatching
- 4 mm hook, eight locking markers, blunt yarn needle, measuring tape and scissors
- No buttons, ties, beads or detachable decorations
Card Instructions
- Work the Counted Fernline Raglan: Start with 56 neck stitches and four fixed two-stitch seams; nine raglan increase rows add eight stitches each to reach 128.
- Hold Sleeves and Crochet the Body: Hold two 26-stitch sleeves; retain 76 yoke stitches and add eight underarm chains for an 84-stitch straight body through Row 28.
- Complete the Sleeves and Front Border: Each sleeve is 26 held stitches plus four underarm loops = 30; make 22 even hdc rounds and secure a plain open-front border.
Finish: Check every count, weave in all ends, block to measurement, and inspect each join.