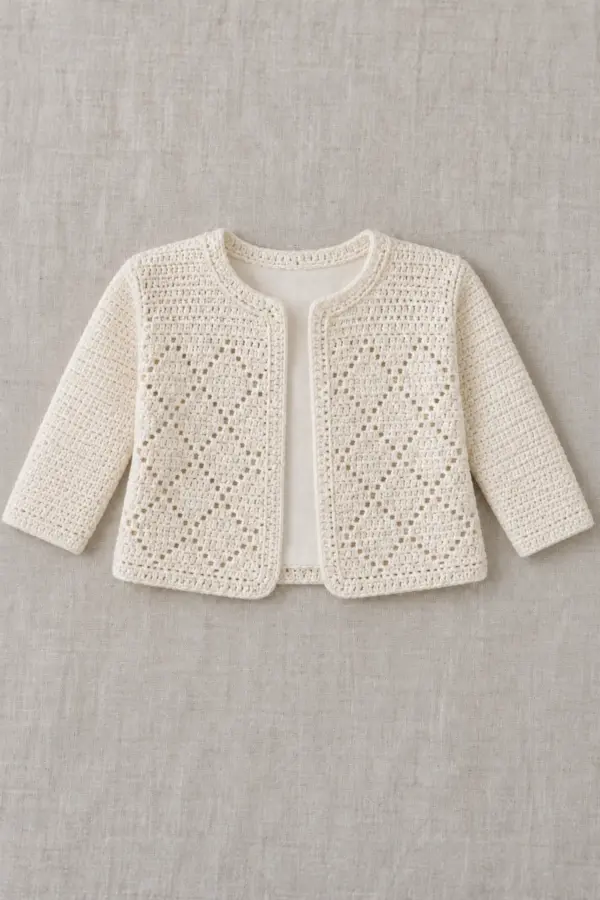
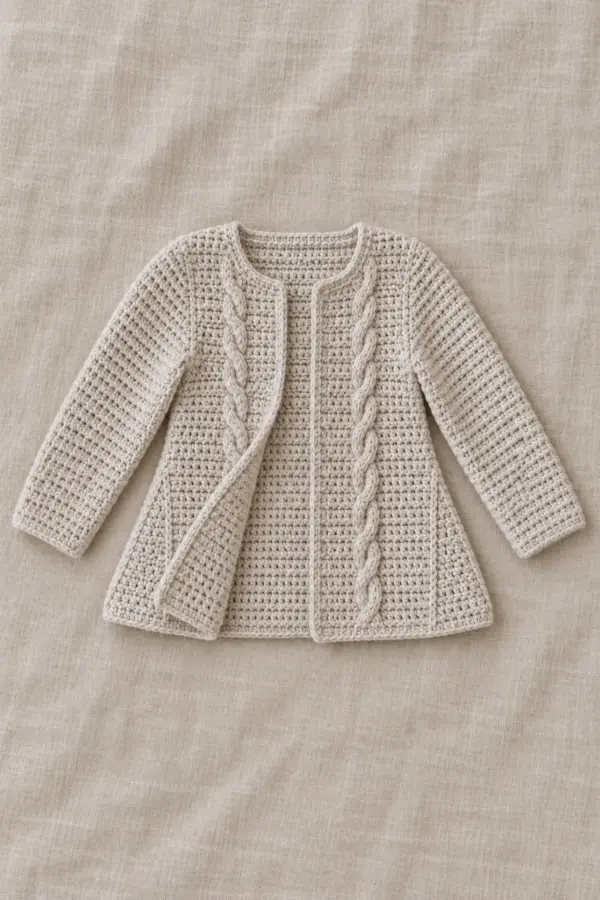
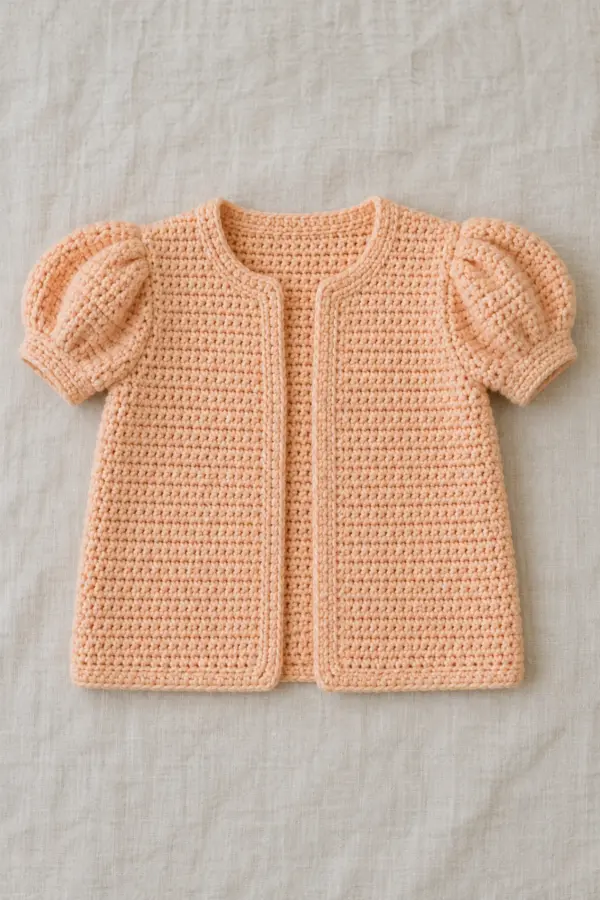
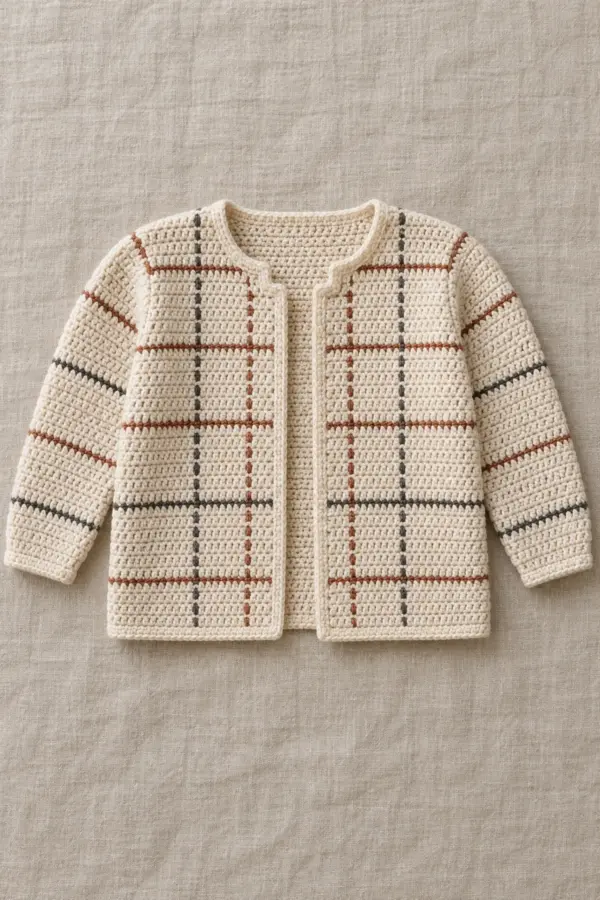
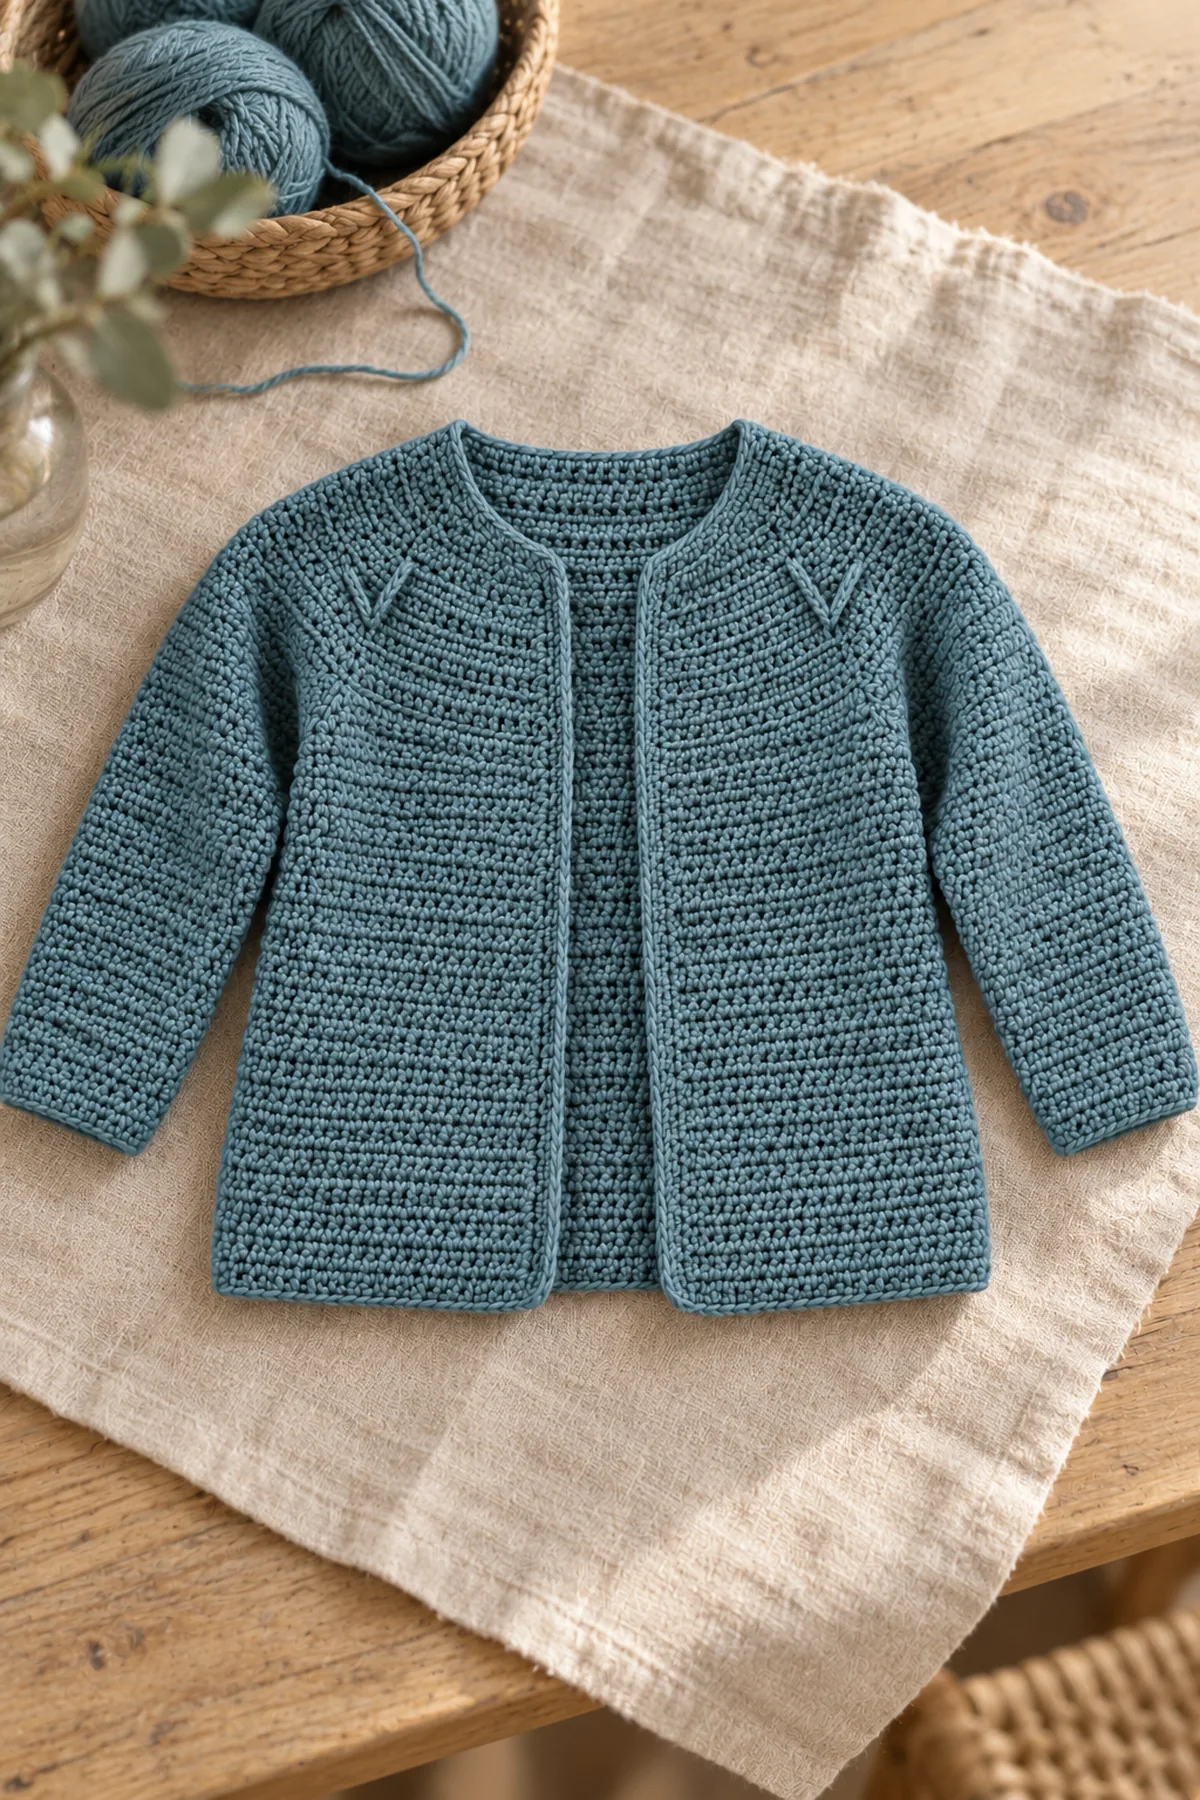
This original crochet chevron yoke baby cardigan pattern explains how to make crochet chevron relief-yoke baby cardigan from the first counted stitch through final assembly. The design is a practical free tutorial in US terms, with measurements and stitch checkpoints that you can verify as you work.
The cardigan uses a bottom-up body and two sleeves joined into a decreasing round yoke with two low-profile raised chevrons. Each shaping stage is counted below, including the underarm bridge, body, both sleeves and front edging. The yoke motif is worked into the fabric rather than attached later.
Pattern Details
- Hook Size: 4 mm or size needed for both washed fabrics
- Finished Size: 6–12-month planning size: 19-inch fabric chest, approximately 12.5-inch total length and 8-inch upper-sleeve circumference; fit depends on measured gauge
- Gauge: 16 hdc stitches and 12 rows = 4 inches; 16 dc stitches and 10 dc rows = 4 inches after washing
- Estimated Time: 12–16 hours including counted yoke shaping
- Construction: 76-stitch lower body; two sleeves 28→30→32; hold four stitches at each body and sleeve underarm, join 124 active stitches and decrease to a 52-stitch neck
- Skill level: Intermediate
Why You’ll Love This Project
The decorative shoulder area reads clearly in a flat-lay photograph while the lower body stays soft and practical. Every change in circumference has a stated stitch count, so the garment can be checked before a sleeve is separated.
Materials
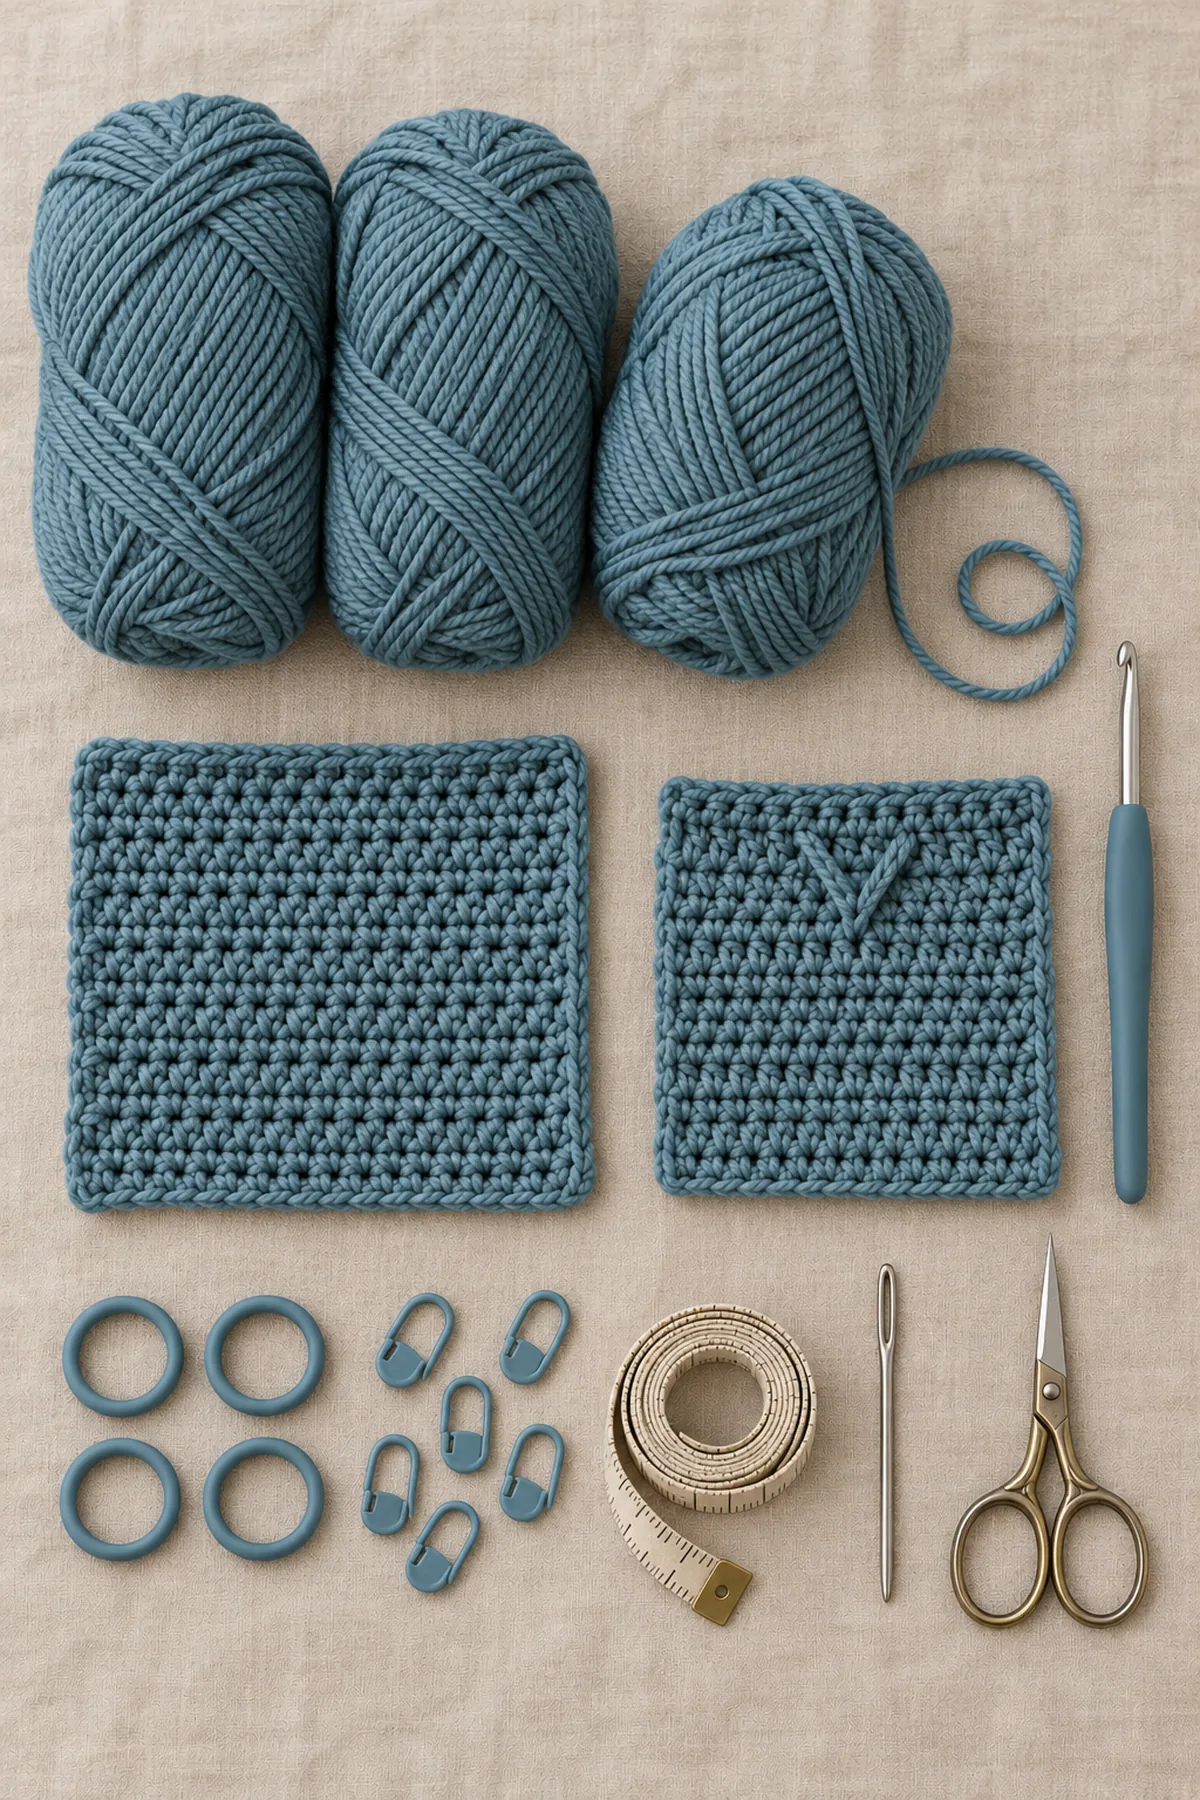
- Approximately 610 yards muted moss-blue washable DK cotton-wool blend with swatching allowance
- 4 mm hook, four underarm holders, markers for front edges and relief positions, yarn needle, tape and scissors
- Single color throughout; no colorwork floats, buttons or ties
Gauge, Measurements, and Planning
The 76-stitch body is approximately 19 inches of fabric around the chest. Twenty-two hdc body rows measure about 7.3 inches; thirteen dc yoke rows add about 5.2 inches, giving a calculated 12.5-inch length. Each 32-stitch upper sleeve measures eight inches around; 22 hdc sleeve rounds target 7.3 inches below the underarm. The final 52-stitch open neck edge measures about 13 inches; check it against the child’s comfortable garment. Swatch the dc/FPdc yoke separately so the chevrons do not draw in the shoulders. The decrease rows and motif index list apply only to this size; do not silently change the group length to resize.
Make and wash a gauge swatch before beginning. Measure only after the swatch is completely dry. If the stitch width differs, change hook size rather than pulling the working yarn tighter. Keep a written count at the end of every section so the finished edges remain balanced and the assembly points line up.
Abbreviations and Special Stitches
- ch: chain
- sc: single crochet
- sl st: slip stitch
- st(s): stitch(es)
- rnd: round
- inc: 2 sc in one stitch
- sc2tog: single crochet two stitches together
- hdc: half double crochet
- dc: double crochet
- FPdc: front-post double crochet
- BPdc: back-post double crochet
Special stitch guidance: Dc2tog: yarn over, insert into next stitch, pull up a loop and draw through two; yarn over and repeat the unfinished dc in the following stitch, then yarn over and draw through all three loops. FPdc replaces one dc by working around that next stitch’s post on the right side of the garment. On wrong-side rows work BPdc at relief positions so the raised posts stay on the right side. For a relief position that falls on a decrease output, work FPdc2tog on a right-side row or BPdc2tog on a wrong-side row: make two unfinished post dc around the next two posts, then close their final three loops together. Consume both source stitches, produce one, and do not also work into their top loops. Hdc sleeve increases put 2 hdc in one edge stitch.
Important Notes
- This is an original, arithmetically checked design; no physical sample has been made. The photographs are illustrative, not stitch-count references.
- Measure a washed swatch and compare the finished chest, length and armhole with a comfortable garment for the intended child. Age ranges are guidance, not a substitute for measurements.
- A starting chain and a joining slip stitch do not count unless a row explicitly says that an interior chain counts. Mark the first counted stitch and all shaping boundaries.
- Use smooth washable yarn, avoid buttons and dangling ties, and inspect seams and ends before supervised wear. Remove outerwear for sleep; never leave an infant unattended in it.
- Yoke join (124 sts); decreasing rows (112 sts), (100 sts), (88 sts), (76 sts), (64 sts), (52 sts). Sleeve ladder (28 sts), (30 sts), (32 sts).
Complete Instructions for Crochet Chevron Relief-Yoke Baby Cardigan
Crochet the Body and Two Sleeves from the Bottom
Use moss-blue throughout. Work body rows flat, turning every row and omitting the beginning ch 2 from stitch counts. Sleeves use joined rounds without turning.
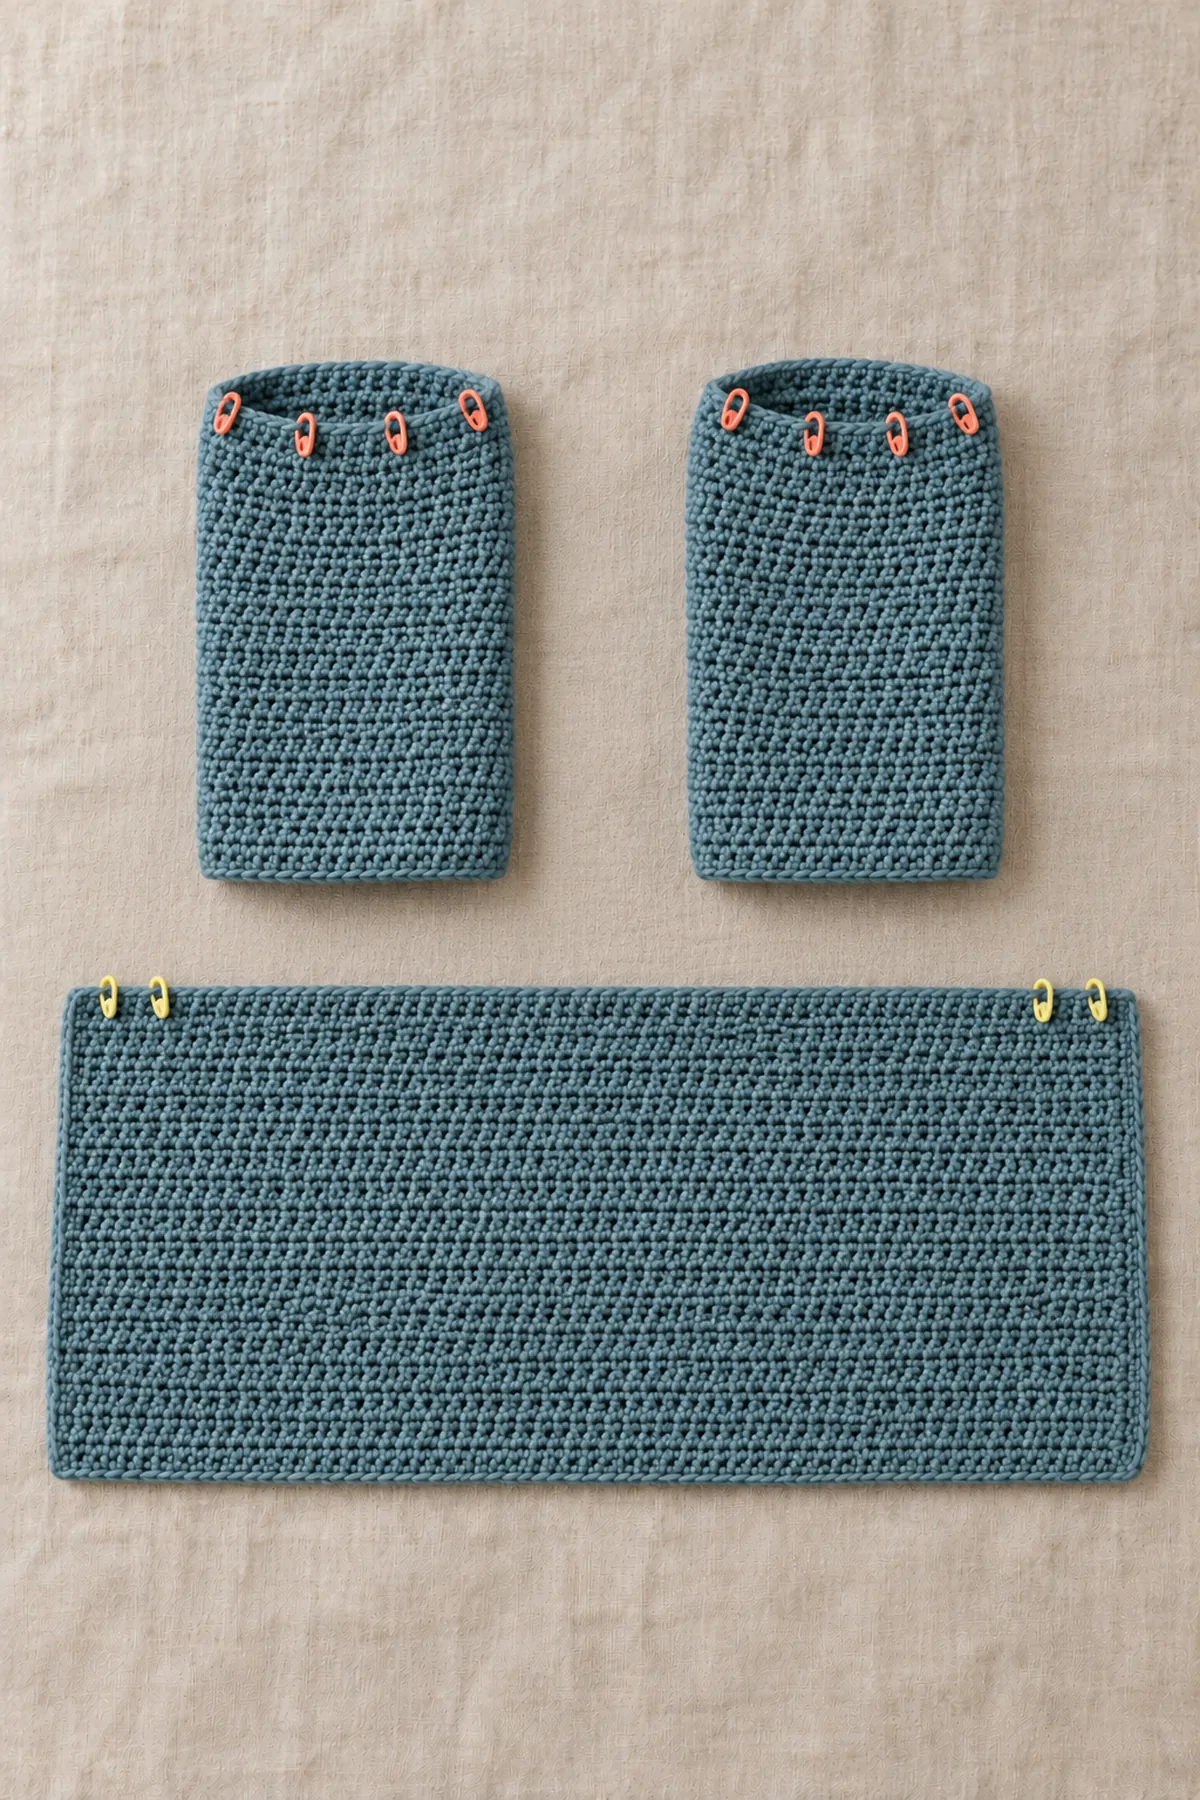
- Body Row 1: Ch 78, hdc in chain three and each remaining chain, turn. (76 sts) Rows 2–22: ch 2, hdc in all 76 stitches, turn. Finish the row with the right side ready to face for the yoke join. Mark sections from the current working edge: 18 front, four underarm, 32 back, four underarm, 18 front.
- Sleeve Round 1: Ch 28, join into a ring with sl st without twisting; ch 2, hdc once in every chain, join to the first hdc. (28 sts) Rounds 2–4: ch 2, hdc in each stitch and join. Round 5: ch 2, 2 hdc in first stitch, hdc in next 12, 2 hdc in next, hdc in final 14, join. (30 sts)
- Sleeve Rounds 6–8: hdc in every stitch and join, maintaining 30. Round 9: 2 hdc in first, hdc in next 13, 2 hdc in next, hdc in final 15; join. (32 sts) Rounds 10–22: hdc in all 32 stitches and join. Make the second sleeve identically and measure both before joining.
- Place four consecutive stitches centered on each sleeve’s starting-round seam onto a holder, leaving 28 active sleeve stitches. Place the body’s two marked four-stitch underarm groups on separate holders. These held loops will be sewn together; they are not chained over or added to the active yoke count.
Join the Pieces and Shape the Round Yoke
Yoke Row 1 is a right-side row. Alternate right and wrong sides thereafter. Each repeat on a decrease row produces one fewer stitch than it consumes; the four front-edge stitches stay plain.
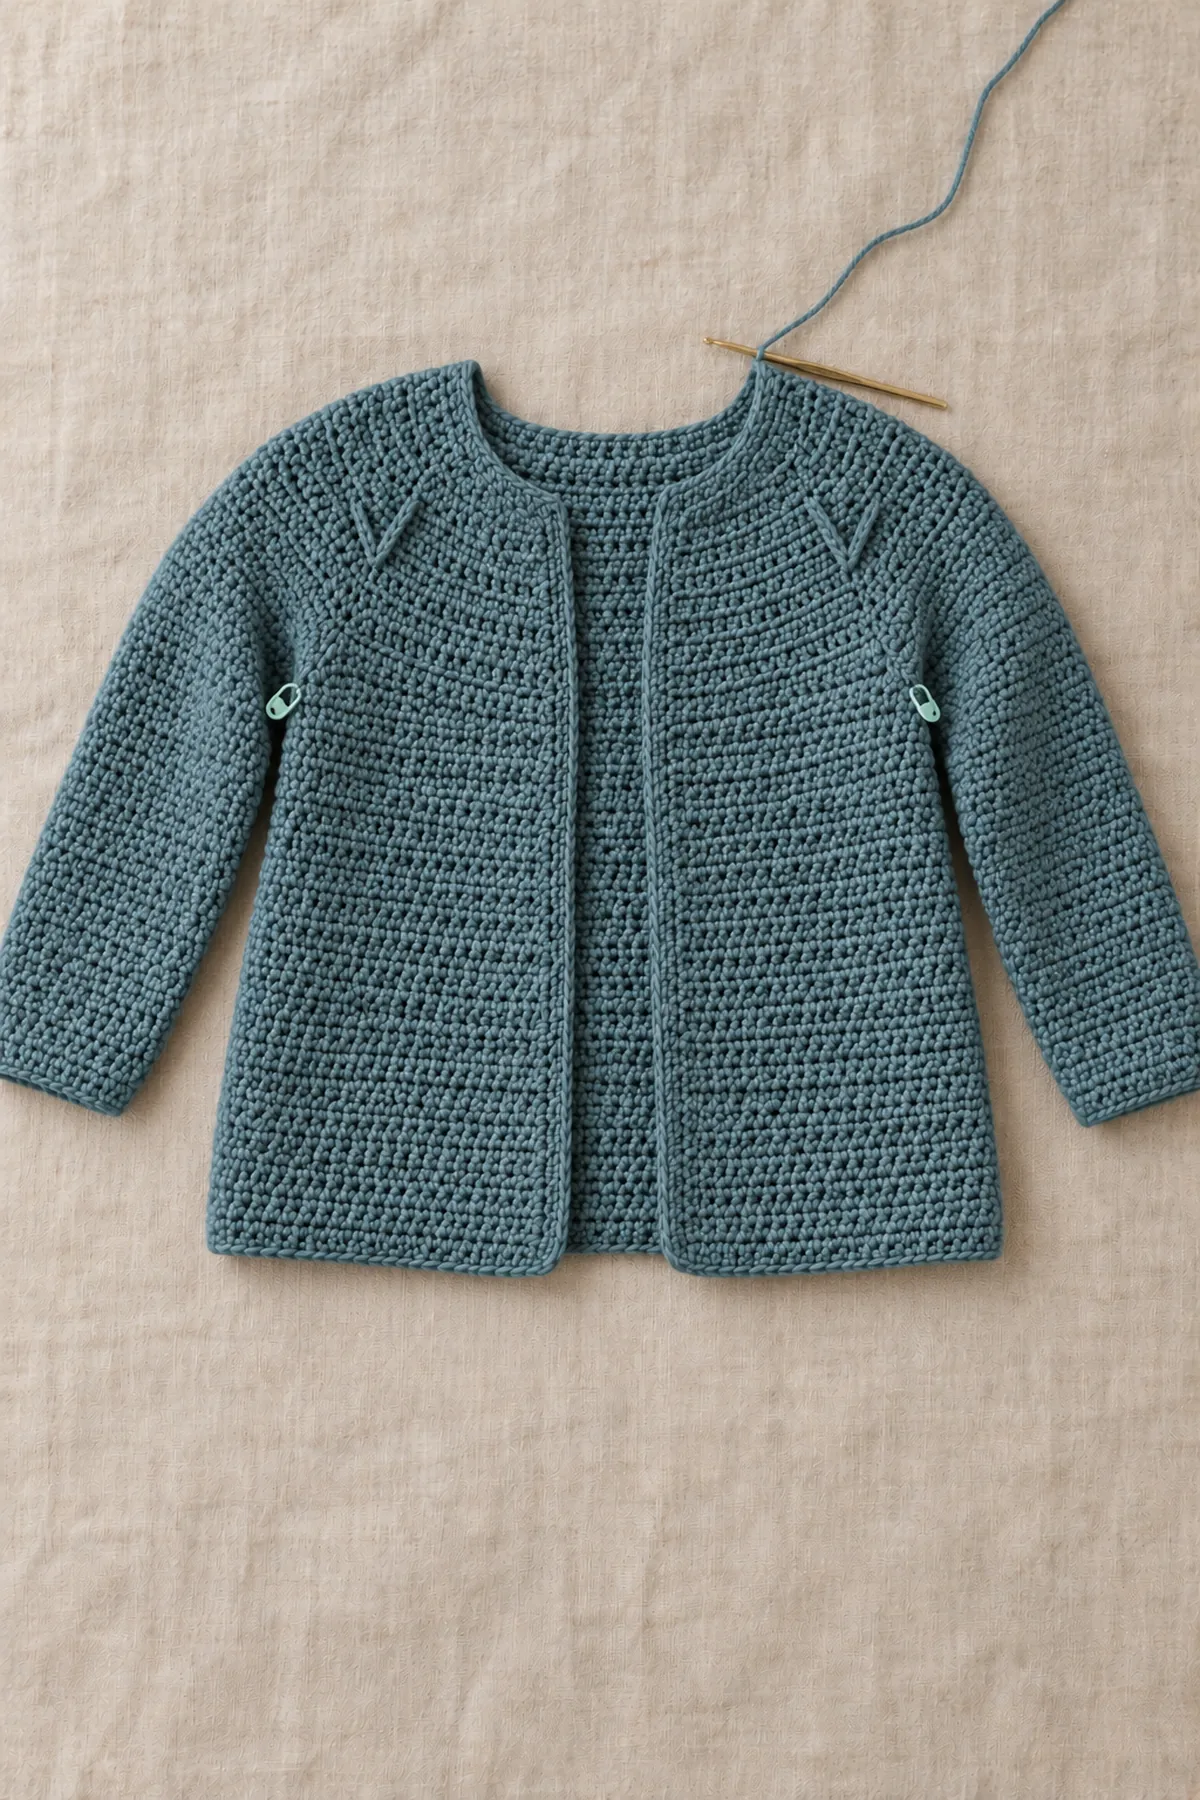
- Yoke Row 1: Ch 2 and dc across 18 front stitches, the first sleeve’s 28 active stitches, the back’s 32 stitches, the second sleeve’s 28 active stitches and the other 18 front stitches. Turn. (124 sts) Keep every holder below the active yoke and check the sleeve seam markers face the underarms.
- Yoke Row 2: Ch 2, dc in first two stitches; repeat [dc in next 8, dc2tog across next two] six times, then repeat [dc2tog across next two, dc in next 8] six times; dc in final two, turn. (112 sts)
- Yoke Row 4: Ch 2, dc in first two stitches; repeat [dc in next 7, dc2tog across next two] six times, then repeat [dc2tog across next two, dc in next 7] six times; dc in final two, turn. (100 sts) Apply the listed relief substitutions while counting the output positions.
- Yoke Row 6: Ch 2, dc in first two stitches; repeat [dc in next 6, dc2tog across next two] six times, then repeat [dc2tog across next two, dc in next 6] six times; dc in final two, turn. (88 sts) Apply the listed relief substitutions while counting the output positions.
- Yoke Row 8: Ch 2, dc in first two stitches; repeat [dc in next 5, dc2tog across next two] six times, then repeat [dc2tog across next two, dc in next 5] six times; dc in final two, turn. (76 sts)
- Yoke Row 10: Ch 2, dc in first two stitches; repeat [dc in next 4, dc2tog across next two] six times, then repeat [dc2tog across next two, dc in next 4] six times; dc in final two, turn. (64 sts)
- Yoke Row 12: Ch 2, dc in first two stitches; repeat [dc in next 3, dc2tog across next two] six times, then repeat [dc2tog across next two, dc in next 3] six times; dc in final two, turn. (52 sts)
- All odd Yoke Rows 3, 5, 7, 9, 11 and 13 work one dc per available stitch and turn, preserving respectively (112 sts), (100 sts), (88 sts), (76 sts), (64 sts) and (52 sts). Apply the relief list to Rows 3, 5 and 7. Rows 9, 11 and 13 are entirely plain. The shaping ladder is 124→112→100→88→76→64→52; there are exactly six decrease rows.
- Work the rows in numerical order, not all the listed decrease rows together. For each even row, combine its decrease instructions with its relief substitutions when supplied; the odd row immediately follows before the next decrease. The decrease pattern spreads around the yoke rather than forming four raglan lines.
Place the Two Raised Chevron Tracks Exactly
Number output stitches from one at the current working edge after each row operation. Relief positions below replace the usual dc or dc2tog output; they never add a stitch. Symmetric pairs make the chart valid after turning.
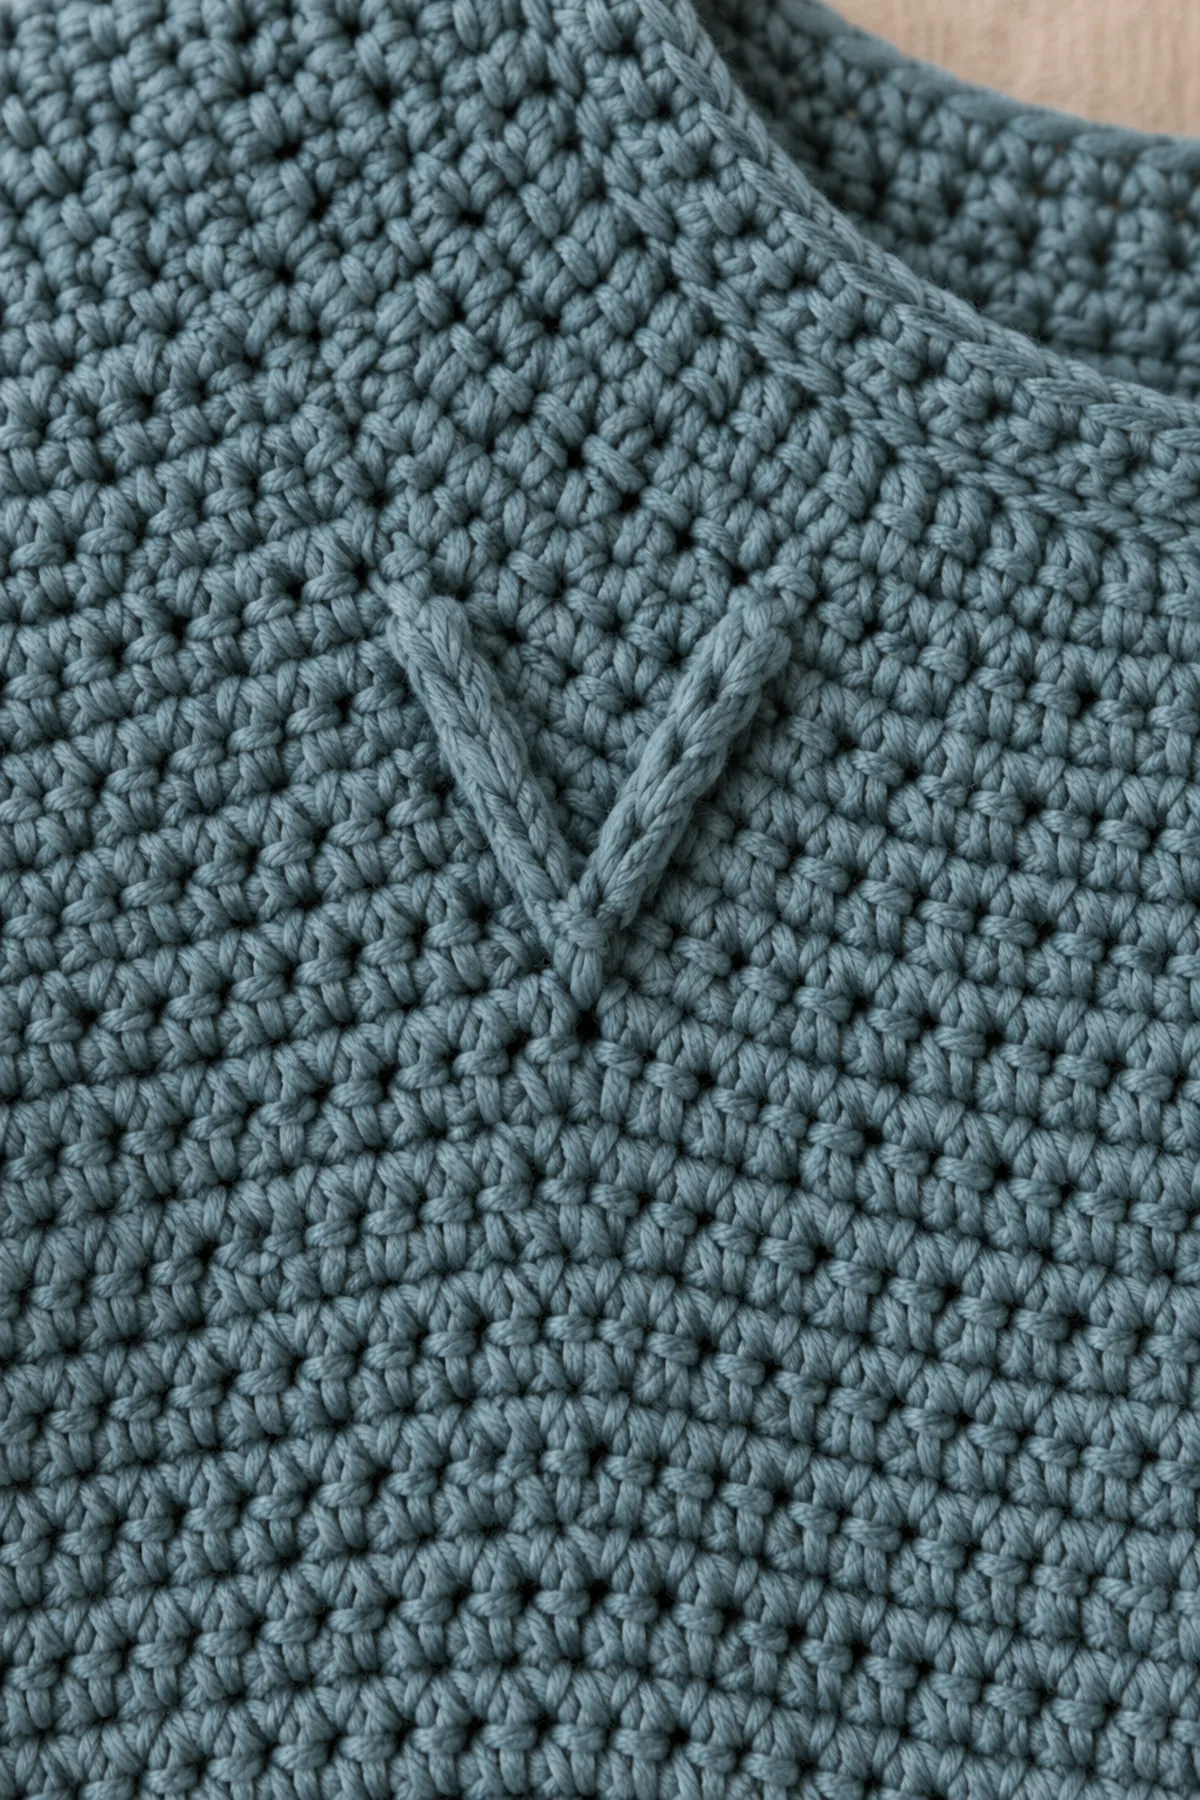
- Use relief at these output indices only: Row 3: 15, 21, 92, 98; Row 4: 14, 19, 82, 87; Row 5: 15, 18, 83, 86; Row 6: 14, 16, 73, 75; Row 7: 15, 74. Use FPdc on right-side Rows 3/5/7 and BPdc on wrong-side Rows 4/6. Every other position follows the shaping row’s ordinary stitch.
- For a plain-stitch output at a relief index, crochet around the post of that same next source stitch instead of its top loops. For a decrease output at a relief index, crochet the two next posts together as FPdc2tog or BPdc2tog. In Row 6, indices 16 and 73 are the decrease outputs; use BPdc2tog there. The other two marked Row 6 outputs use BPdc. This keeps the relief on the right side and preserves all counts.
- Each track begins with two raised posts separated by six output positions on Row 3, narrows as the yoke decreases and finishes at one raised point on Row 7. The two tracks are mirrored over the two shoulder areas; they are single-color texture rather than stripes or a multicolor diamond chart.
- At the end of every relief row, verify the total first, then compare the two raised tracks with each other on the right side. A misplaced post can be corrected by undoing just that row. Do not skip a source stitch to pull a post diagonally across the fabric, and do not add a separate surface-crochet motif.
Close Underarms and Finish the Open Edges
The four held sleeve loops match four held body loops at each underarm. Close the two holes before edging and washing.
- At one underarm, pair each of the four sleeve-holder stitches with one of the four body-holder stitches and sew through their top loops, one-to-one, with a blunt needle. Anchor the two seam ends into the adjacent junction stitch on each side without gathering. Repeat at the other underarm and remove holders.
- For each open-front edge, give the 22 body hdc row ends 29 sc: one per bar plus a second in Body Rows 3, 6, 9, 12, 15, 18 and 21. Give the 13 dc yoke row ends 21 sc: two per bar at Yoke Rows 1, 3, 4, 6, 8, 9, 11 and 13, one per bar at the five other yoke rows. This makes 50 sc up one front, 52 sc once into each neck stitch, and a mirrored 50 down the other front: nominally 152 sc. Ease a matching extra stitch at each front-neck corner only if it curls; keep the fronts separate. For the straight hem, sc in each of 76 body foundation loops. Each cuff gets 28 sc in its foundation loops.
- Weave ends securely, wash and dry flat without crushing the raised posts. Check both relief tracks, the 19-inch chest fabric, 12.5-inch length target and sleeve lengths. Hold the underarms open gently to confirm seams close the holes without restricting the child’s shoulder movement.
- Inspect joins and all ends before supervised wear and remove outerwear for sleep. The article pictures illustrate the intended relief effect; use the numerical stitch list for construction rather than counting a generated image.
Assembly and Shaping
Body 76−8 held underarm loops leaves 68 active positions. Each 32-stitch sleeve holds four and contributes 28, so the join is 68+28+28=124. Six twelve-stitch decreases give 52 neck stitches. Each decrease row uses twelve groups plus four edge stitches, with source widths 10/9/8/7/6/5 and output widths 9/8/7/6/5/4. Post substitutions replace existing outputs, including the two Row 6 post decreases, so they cannot change the shaping arithmetic.
Lay every component on a flat surface before joining. Match the marked centers first, then divide each remaining edge into equal sections. Work through both layers with consistent tension and pause after each section to check that the fabric lies flat. This measured approach prevents twisting and keeps decorative details facing the intended direction.
Finishing
- Weave each tail in three directions on the wrong side, reversing once, then trim after gentle stretching.
- Wash by the yarn label, dry flat to the measured dimensions and check the neckline, armholes and sleeve openings again.
- Inspect every underarm join and edge for gaps or loose yarn. This garment is for supervised wear only and should not be used during sleep.
For a polished result, weave each tail through several same-color stitches, reverse direction once, and trim only after the fabric has been gently stretched. Block to the listed dimensions without flattening textured stitches. Inspect joins, borders, straps, and decorative pieces before the project is used or gifted.
Helpful Tips
- Use a different marker color at the front edges and each sleeve boundary; move markers upward after every shaping row.
- Count the whole row before turning. If a count is wrong, return to that row instead of hiding an extra stitch in the next one.
- Make both sleeves to the same counted round and compare their measured lengths before weaving ends.
Good lighting and a contrasting stitch marker make counting much easier. If a section looks uneven, compare the current count with the previous checkpoint before continuing. Fixing one missed stitch early is faster than compensating later, and it preserves the measurements used by the assembly instructions.
Frequently Asked Questions
How should I choose the size?
Use the listed finished chest and a washed gauge swatch. Compare with a comfortable garment; if the gauge or desired ease differs, do not rely on the age label alone.
Can I change the sleeve length?
Work the same additional plain rounds on each sleeve before edging. Recheck yarn quantity and measure the child or reference garment after washing.
Conclusion
The finished cardigan has its own counted shoulder construction, smooth body and matched sleeves. Check the final measurements and all joins before using it as supervised outerwear.
BabyYarnie Printable Crochet Pattern Card
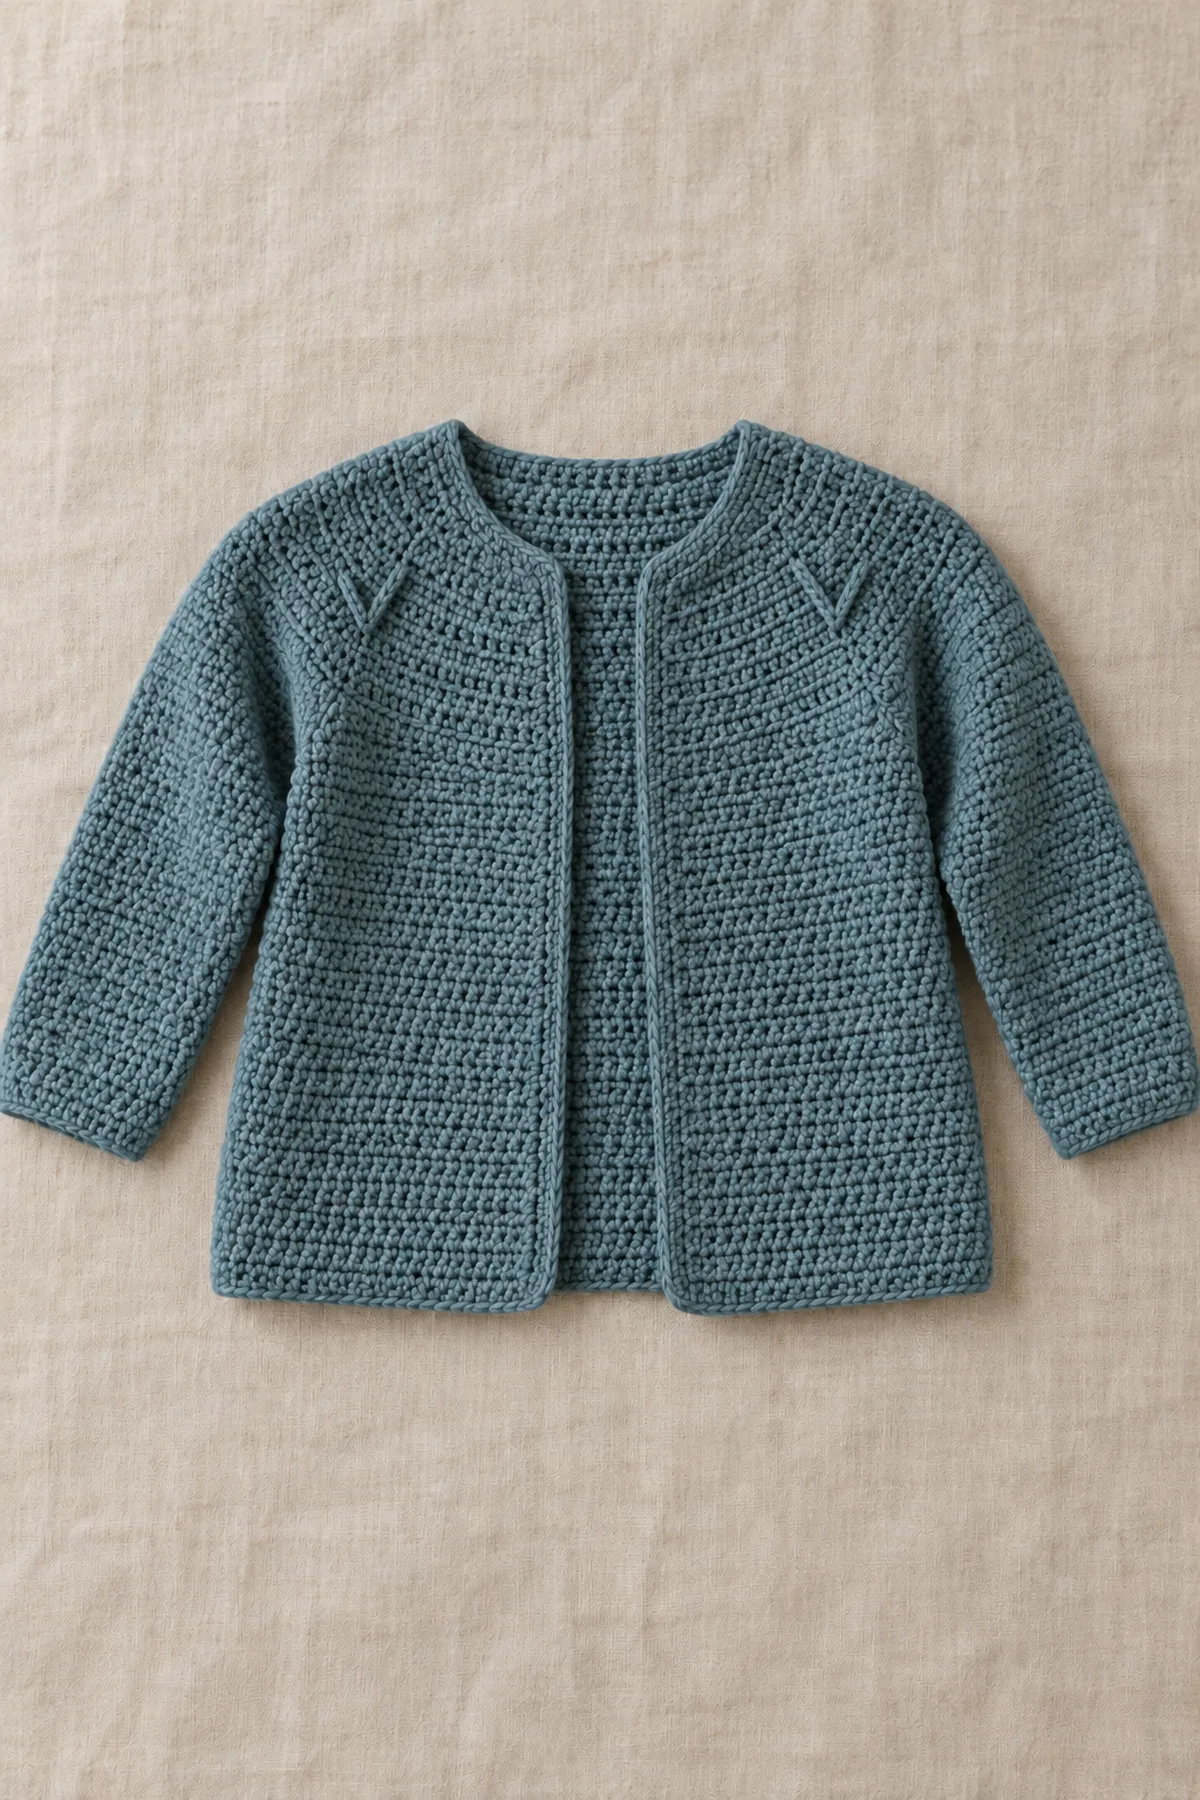
BabyYarnie — easy-to-follow crochet for everyday makers.
Project: Crochet Chevron Relief-Yoke Baby Cardigan
Skill level: Intermediate Hook: 4 mm or size needed for both washed fabrics Yarn: Soft washable DK cotton-wool blend
Finished size: 6–12-month planning size: 19-inch fabric chest, approximately 12.5-inch total length and 8-inch upper-sleeve circumference; fit depends on measured gauge
Card Materials
- Approximately 610 yards muted moss-blue washable DK cotton-wool blend with swatching allowance
- 4 mm hook, four underarm holders, markers for front edges and relief positions, yarn needle, tape and scissors
- Single color throughout; no colorwork floats, buttons or ties
Card Instructions
- Crochet the Body and Two Sleeves from the Bottom: Body: 76 hdc for 22 rows. Sleeves: 28 stitches, increase to 30 on Round 5 and 32 on Round 9, finish Round 22; hold four underarm stitches on each piece.
- Join the Pieces and Shape the Round Yoke: Join 124 active stitches; decrease twelve on Rows 2/4/6/8/10/12. Alternate plain or relief odd rows and end Row 13 with 52 neck stitches.
- Place the Two Raised Chevron Tracks Exactly: Substitute right-side FPdc or wrong-side BPdc at the stated symmetric indices on Rows 3–7. Row 6 relief outputs 16/73 are post decreases; counts remain unchanged.
- Close Underarms and Finish the Open Edges: Sew both four-to-four underarms, edge the 52-stitch neck and open fronts, hem and cuffs; wash, measure and inspect all joins.
Finish: Check every count, weave in all ends, block to measurement, and inspect each join.