Images are AI-generated illustrations of the intended design, not photographs of a physically tested sample. Follow the written stitch counts and construction instructions rather than counting stitches in an image.
This original crochet black cat zipper wristlet answers the crochet cat wristlet pattern search with a complete construction rather than a decorative idea alone. The written instructions use US crochet terms and explicitly name shaping, assembly and fit checks. Gauge and measurements are planning targets; make a washed swatch before committing to a size.
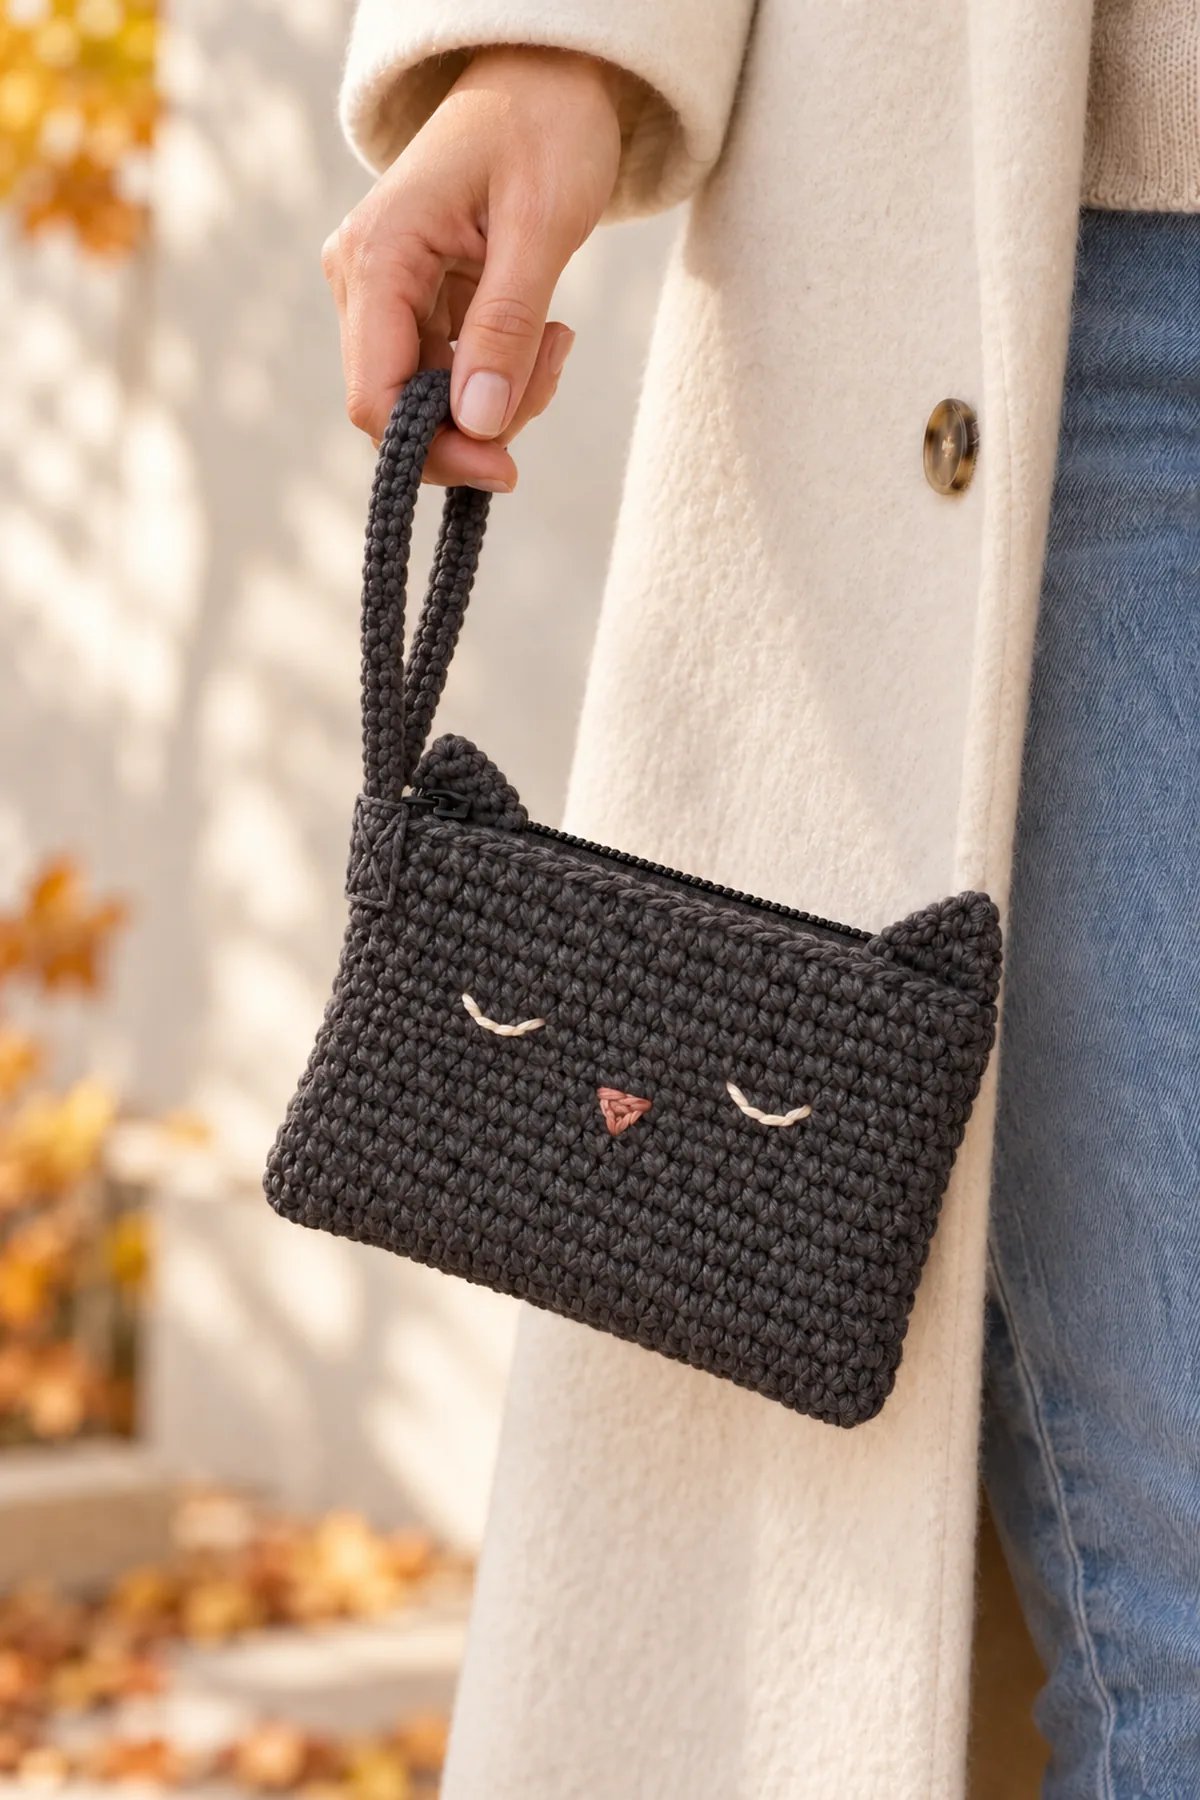
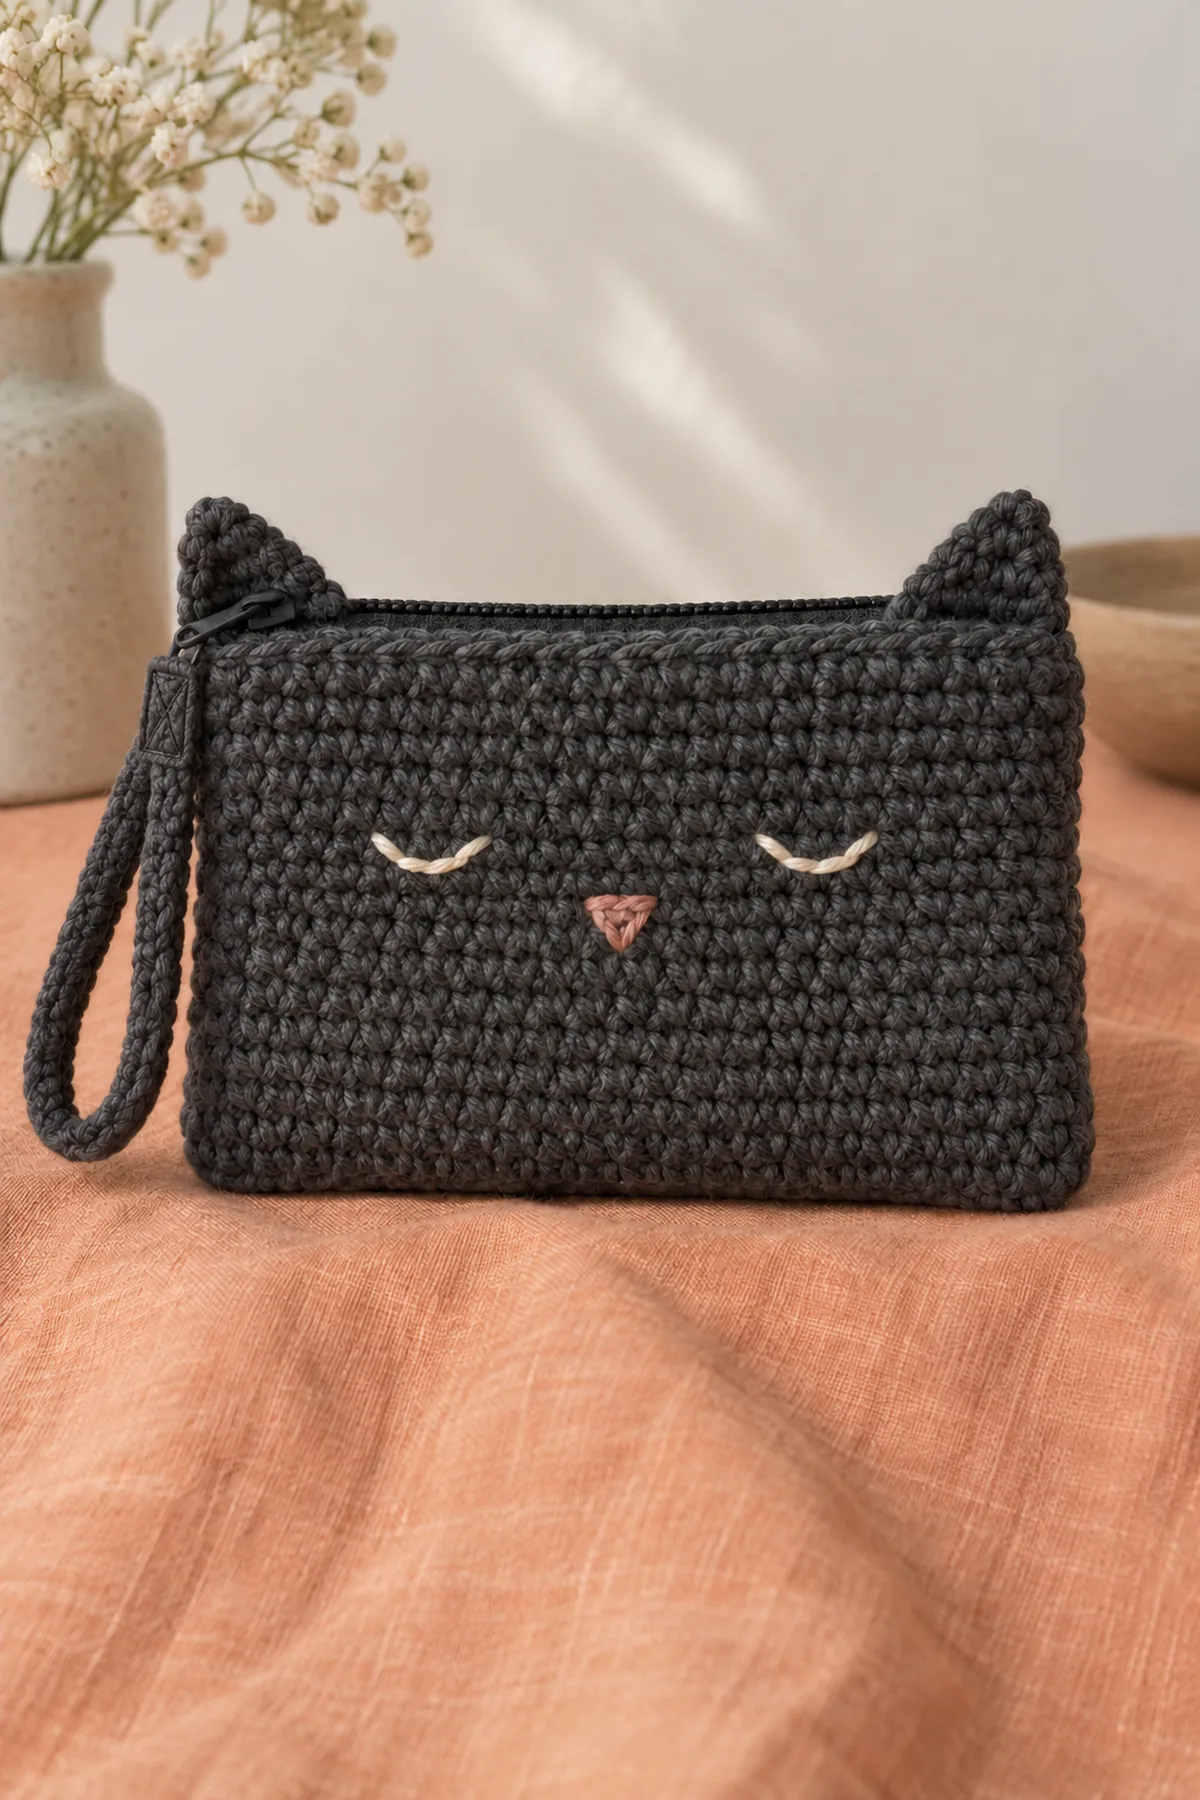
A small charcoal zipper pouch becomes a cat through two flat doubled ears and quiet embroidered features. It is a usable adult wristlet rather than a stuffed toy: two equal single-crochet panels form the bag, a fabric zipper closes the mouth, and a narrow doubled-back strap makes one wrist loop.
Pattern Details
- Hook Size: 3.5 mm or size that gives the target dense fabric
- Finished Size: Approximately 6 by 4.5 inches before ears; wrist loop approximately 5 inches long when folded
- Gauge: Target 20 sc and 24 rows = 4 inches after washing and drying flat
- Estimated Time: 5-7 hours
- Construction: Two rectangular panels, two double-layer triangular ears, hand-sewn zipper and flat wrist loop
- Skill level: Intermediate
Why You’ll Love This Project
The project has a practical use and a recognizable silhouette. Each component has its own checkpoint so you can compare the count and size before joining. The stitch choices and finishing are intended to give the object a distinctive handmade texture without relying on another pattern or image.
Materials
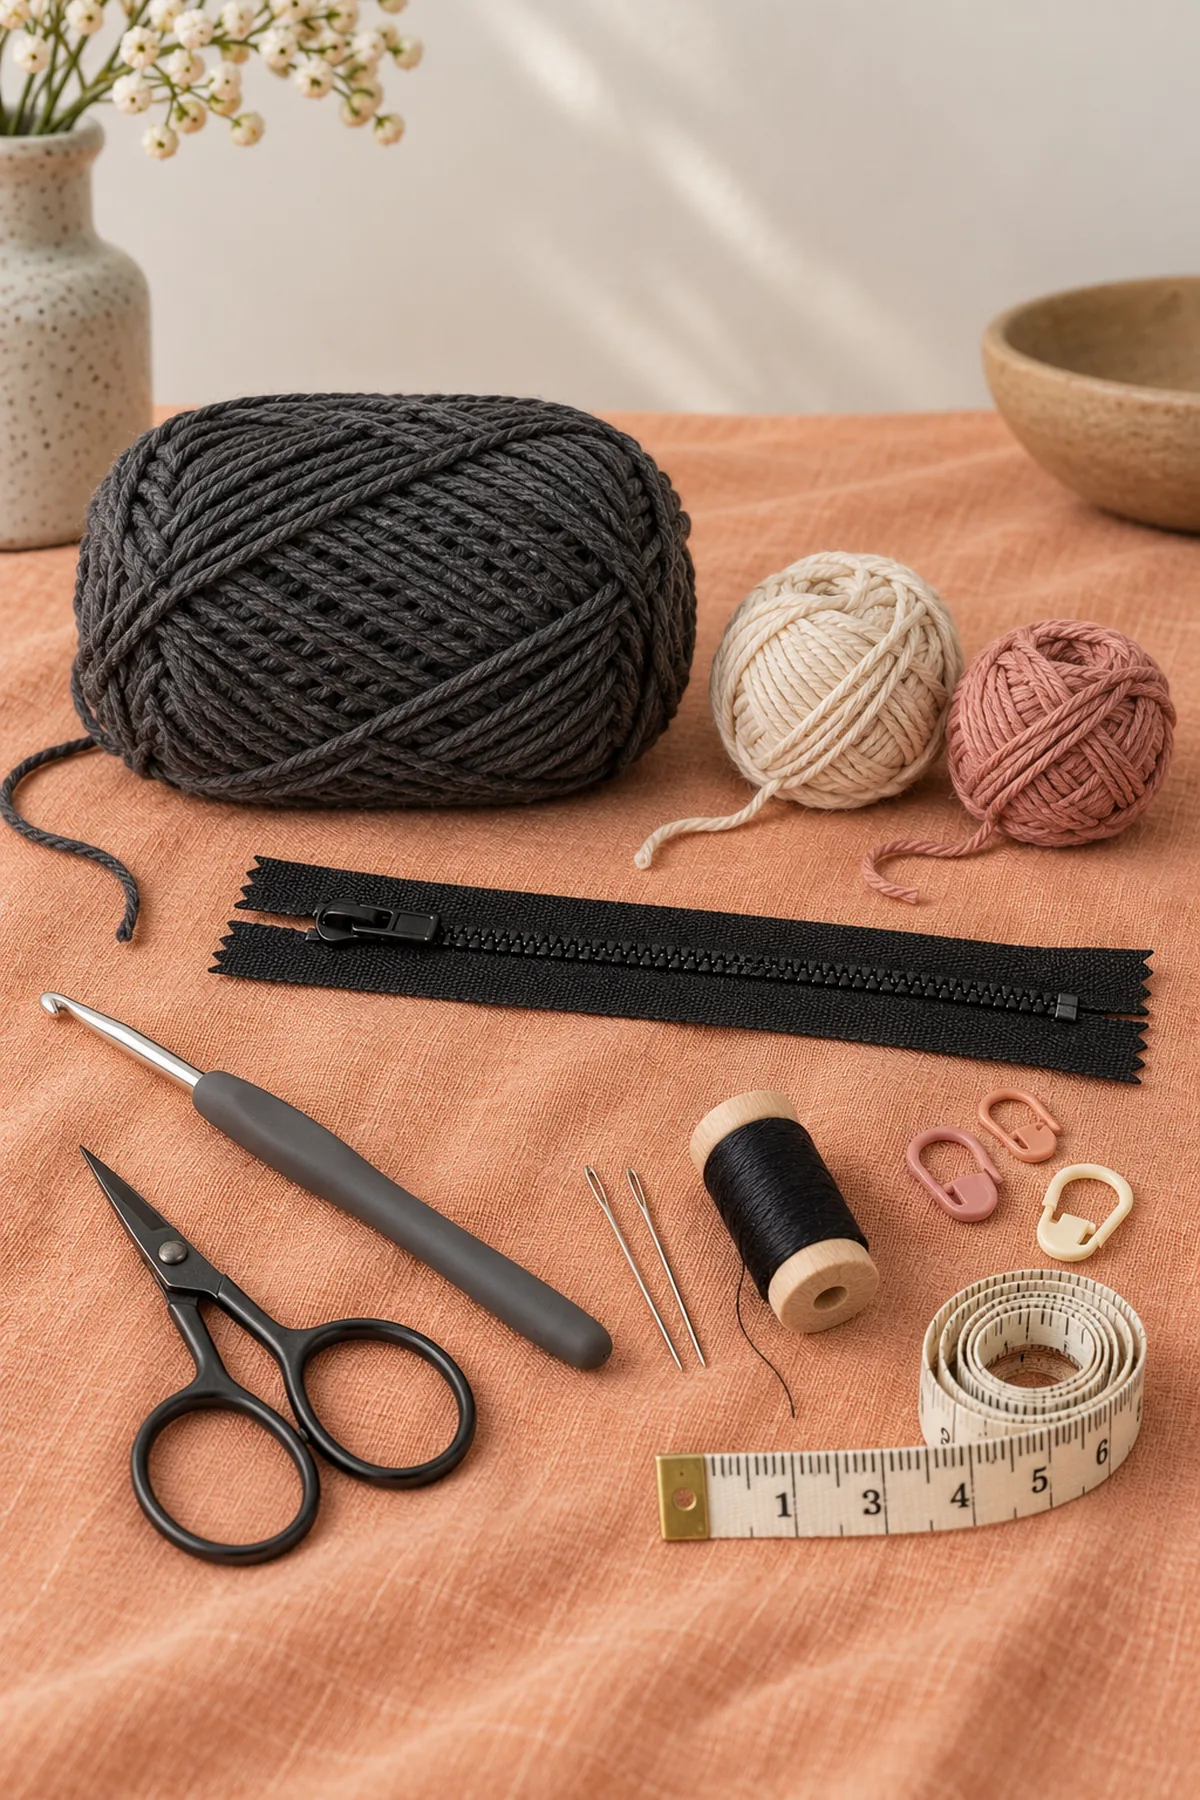
- Approximately 150 yards charcoal DK cotton, small scraps of cream and muted rose cotton for embroidery
- 3.5 mm hook, stitch markers, tapestry needle, scissors and tape measure
- One nylon-coil zipper with a 6-inch working opening, matching sewing thread and sharp sewing needle
- Optional tightly woven cotton lining: two 6.5 by 5-inch rectangles, adjusted after measuring the finished pouch
Gauge, Measurements, and Planning
Work a 24-stitch by 28-row sc swatch. Wash as the yarn label directs, dry flat, then measure the central four inches without stretching. The 30-stitch panels should measure six inches across. Match the zipper opening to that width; do not stretch crochet over a zipper that is too long. Panel row count gives approximately 4.5 inches of height. For a different zipper width, multiply its opening in inches by your stitches per inch and round to a whole stitch; use that same new count for both panels. Ear placement and embroidery can then be centered by measurement.
Make and wash a gauge swatch before beginning. Measure only after the swatch is completely dry. If the stitch width differs, change hook size rather than pulling the working yarn tighter. Keep a written count at the end of every section so the finished edges remain balanced and the assembly points line up.
Abbreviations and Special Stitches
- ch: chain
- sc: single crochet
- hdc: half double crochet
- dc: double crochet
- sl st: slip stitch
- st(s): stitch(es)
- rnd: round
- BLO: back loop only
- inc: two stitches in one stitch
- sc2tog: single-crochet two stitches together
- hdc2tog: half-double-crochet two stitches together
Special stitch guidance: Sc2tog: insert hook in next stitch, yarn over and draw up a loop; repeat in the following stitch, yarn over and pull through all three loops. This consumes two old stitches and makes one. All body rows work through both loops. Ch 1 at a turn is never a stitch. Whipstitch catches a full edge loop on each piece, not only a fragile strand.
Important Notes
- Development note: the written stitch arithmetic has been checked computationally, but this design has not been physically sample-tested. Gauge, yardage, fit and dimensions are planning targets. Make a swatch and a trial fit or assembly before gifting.
- Turning chains and joining slip stitches are not counted unless a step explicitly says otherwise. Mark the first counted stitch of each round or the first and last stitches of a flat row.
- Use the washed gauge to check dimensions at each named checkpoint. If the count is right but the measurement is wrong, change hook or yarn and reswatch rather than adding unplanned stitches.
- Keep all yarn tails on the wrong side and weave them through three different stitch paths before trimming. Do not use glue for structural joints.
Complete Instructions for Crochet Black Cat Zipper Wristlet
Crochet Two Matching Body Panels
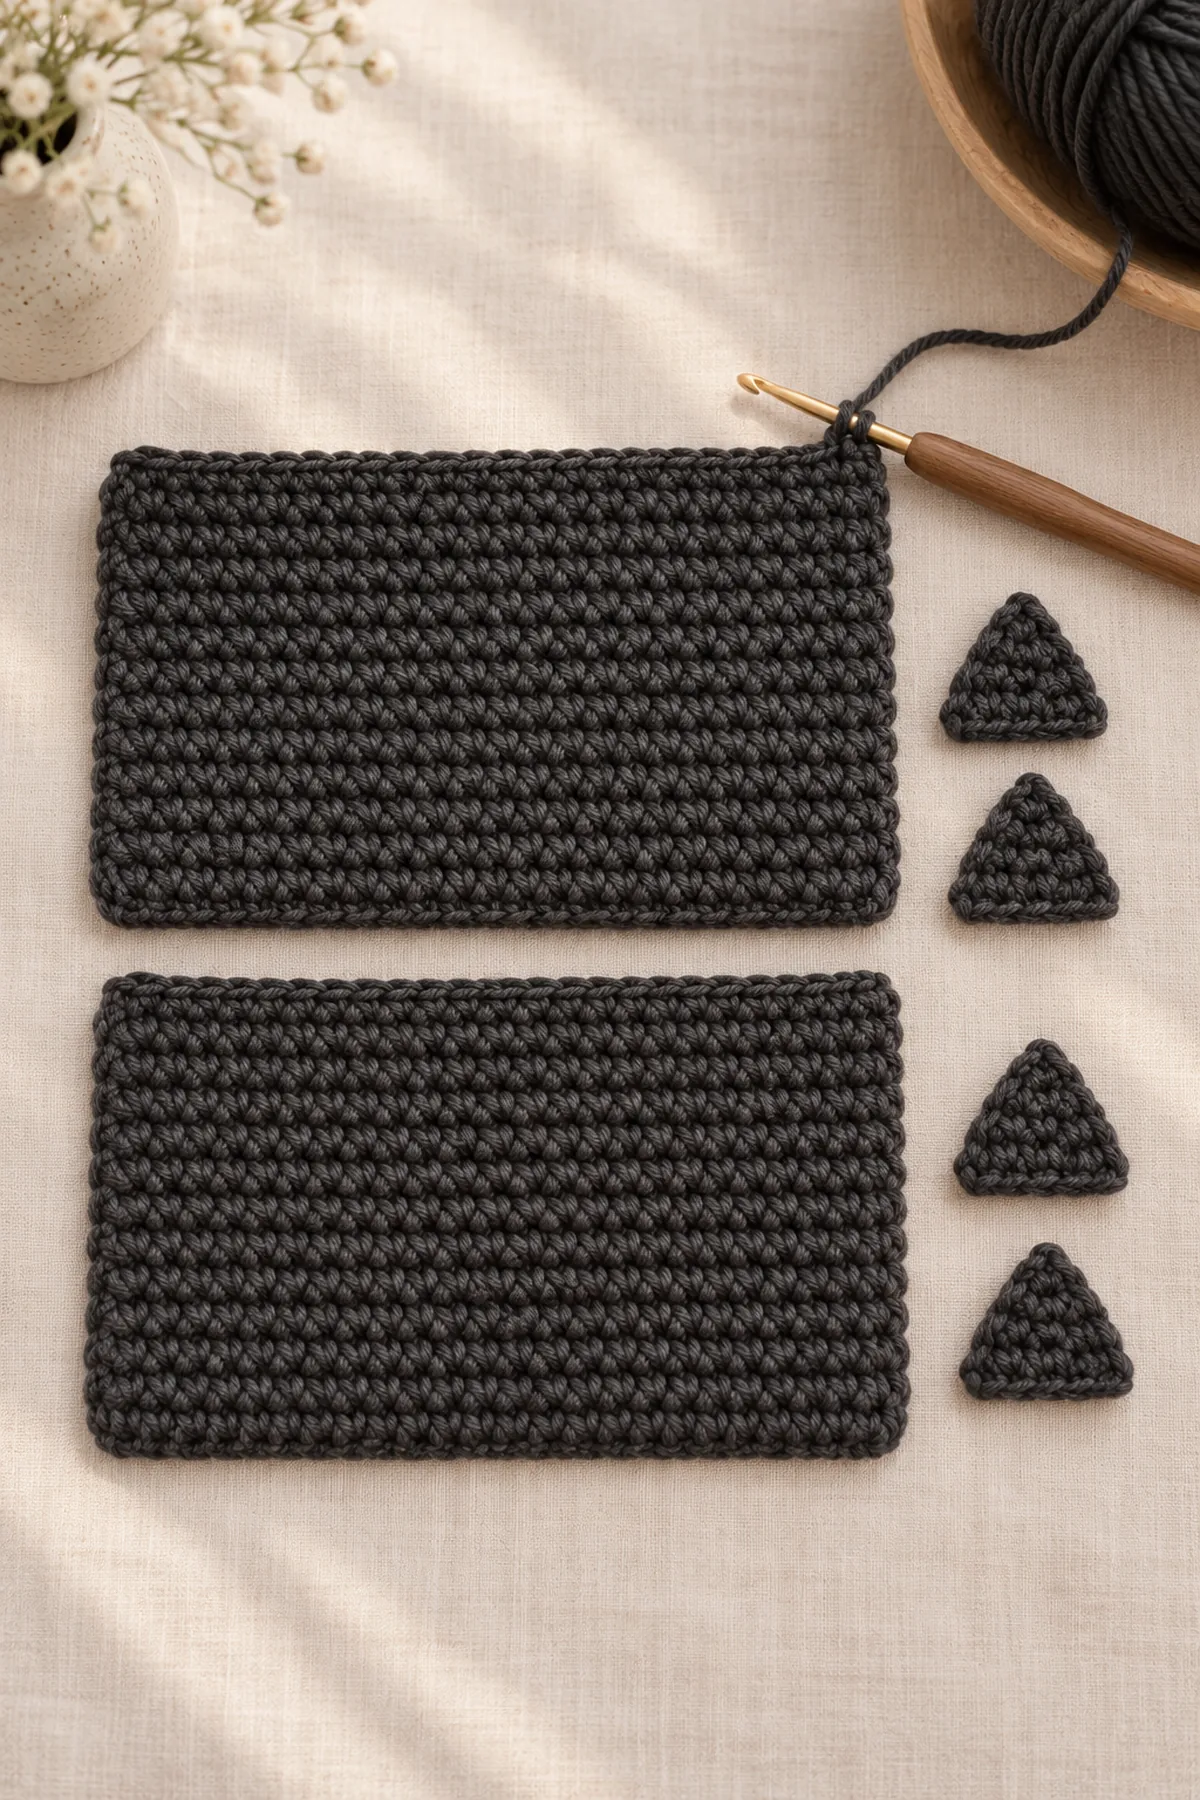
- Make two in charcoal. Row 1: ch 31, sc in second chain from hook and every remaining chain. (30 sts) Ch 1 and turn.
- Rows 2-27: sc in every stitch, ch 1 and turn after each row except the last. (30 sts) Mark Row 27 as the zipper edge. Fasten off with a 20-inch sewing tail. Make the second panel to exactly the same count and height.
- Lay the panels flat without stretching. Both should be approximately six inches wide by 4.5 inches high. Steam is not required; damp-block gently if the yarn label permits. Let both dry fully before installing the zipper. Do not add a decorative border that would change their dimensions.
Shape Four Ear Layers and Embroider the Face
- Make four triangles in charcoal. Ear Row 1: ch 9, sc in second chain and next seven chains. (8 sts) Ch 1 and turn. Row 2: sc2tog, sc in next four stitches, sc2tog. (6 sts) Ch 1 and turn.
- Ear Row 3: sc2tog, sc in next two stitches, sc2tog. (4 sts) Ch 1 and turn. Row 4: sc2tog twice. (2 sts) Ch 1 and turn. Row 5: sc2tog once. (1 sts) Fasten off. Match two triangles wrong sides together and whipstitch their two sloping edges from base to point to base. Leave the eight-stitch base open and unstuffed. Repeat for the second ear.
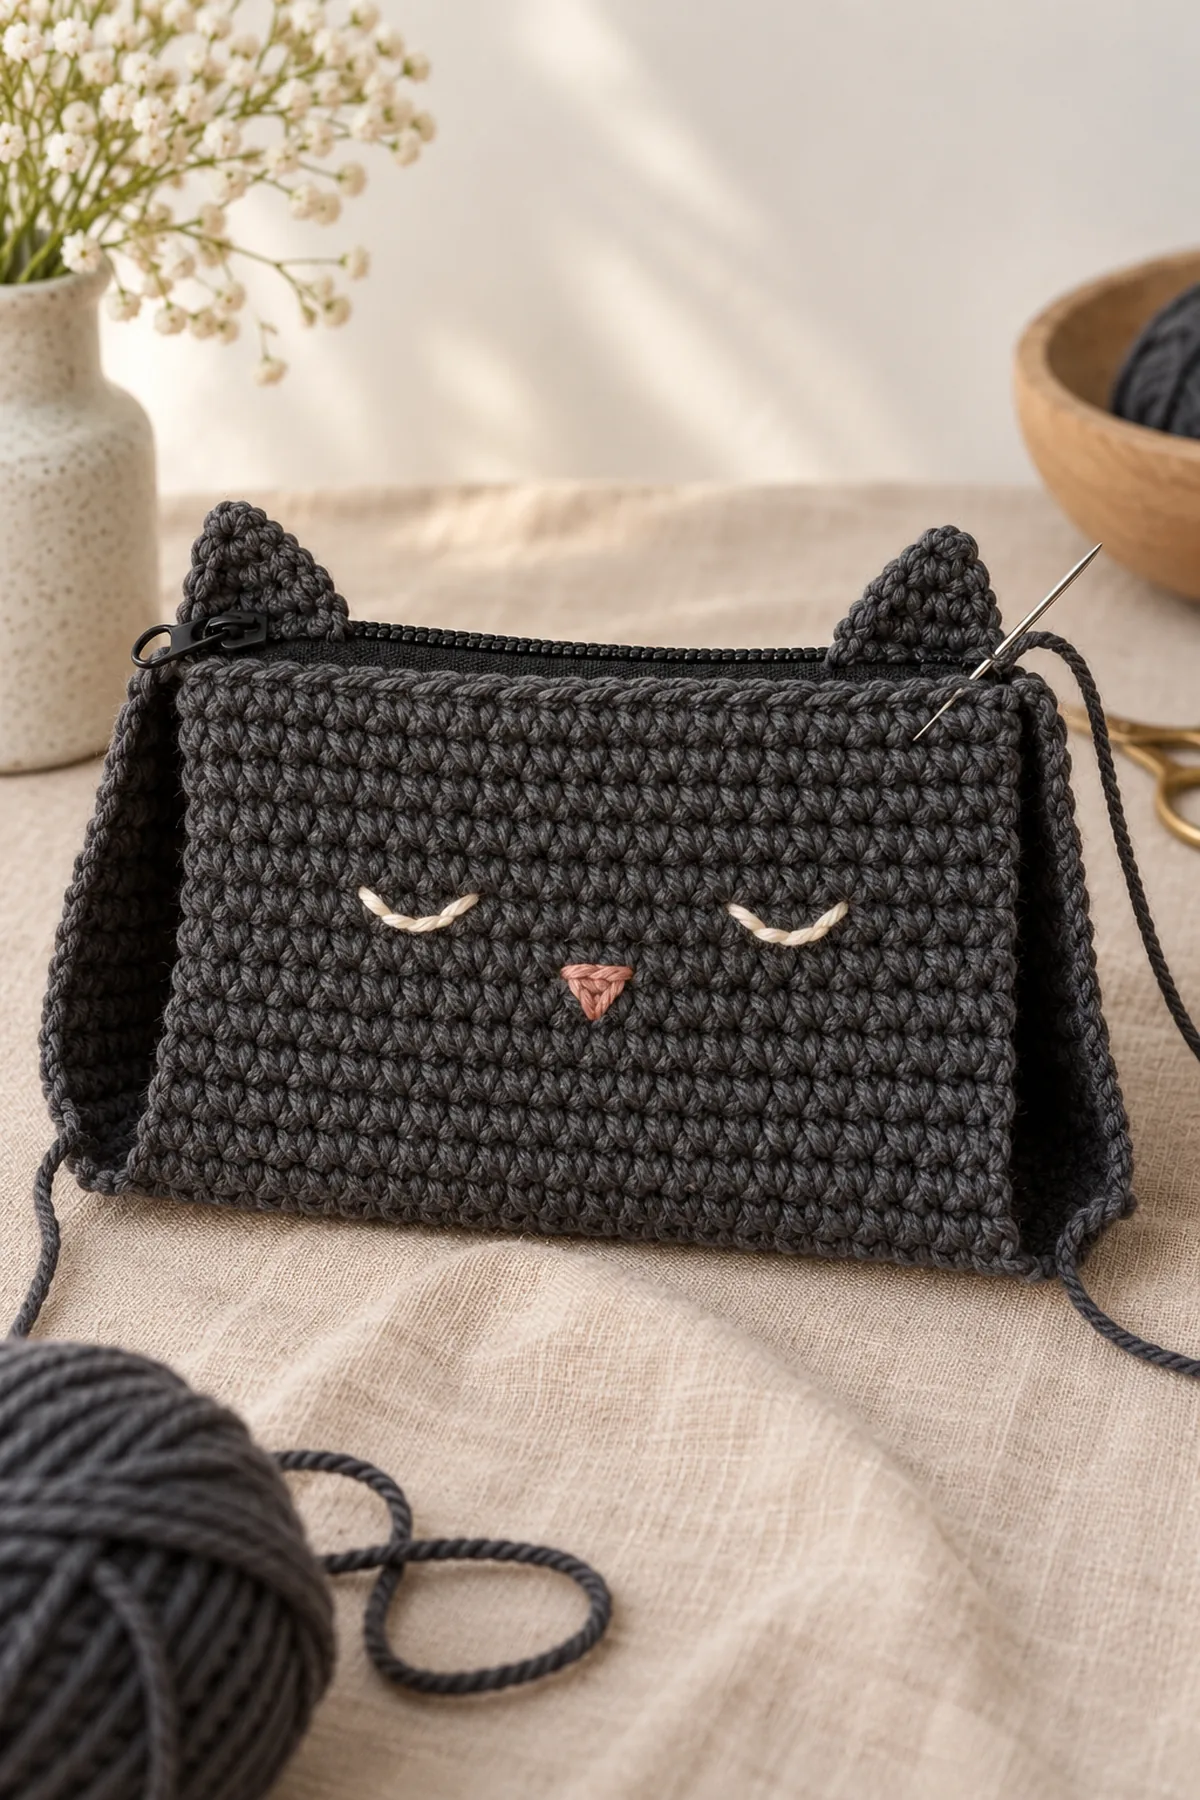
- On the front panel mark the horizontal center between stitches 15 and 16. With cream yarn embroider two short downward-curving closed-eye lines across Rows 17-18: one over stitches 7-12 and the other over stitches 19-24. Use three short backstitches per eye, not one long exposed strand.
- With muted rose, embroider a small triangle across stitches 15-16 at Row 14 and a short cream mouth line just below it. Keep embroidery loose enough not to pucker. Knot and weave tails on the inside through several stitches. No face is needed on the back panel.
Fit the Zipper and Join the Pouch
- Close the zipper and lay the front panel face up. Place its Row 27 edge beside one side of the zipper teeth, leaving approximately 1/8 inch of fabric tape visible so yarn cannot enter the slider. Pin or clip the edge at both ends and the center. Hand backstitch the tape to the crochet with small stitches about 1/8 inch apart.
- Repeat with the second panel on the other zipper tape, checking that the two side edges align with the zipper closed. Open and close it five times. If yarn catches, unpick that section and move the crochet away from the teeth; do not force the slider.
- Place an ear behind the front panel over zipper-edge stitches 3-10 and the second over stitches 21-28. Their tips project above the panel while bases sit about half an inch below its top on the inside. Sew both base layers down across all eight stitches in two passes, catching front-panel fabric only, never zipper teeth or the back panel.
- Open the zipper halfway. Place the panels right sides together and whipstitch the two sides and foundation edge, matching row ends and chain positions. Leave the entire zippered top unseamed. Turn right side out through the open zipper and ease out the corners without a sharp tool.
- Optional lining: measure the completed interior, then cut two fabric rectangles with a 1/4-inch seam allowance at every edge. Sew the two sides and bottom with right sides together. Leave this fabric pouch inside-out, fold its upper raw edge under 1/4 inch and place it inside the crochet pouch so its seam allowances are hidden between layers. Slipstitch its folded rim to the zipper tape below the slider path. Keep sewing needles accounted for.
Add and Check the Wrist Loop
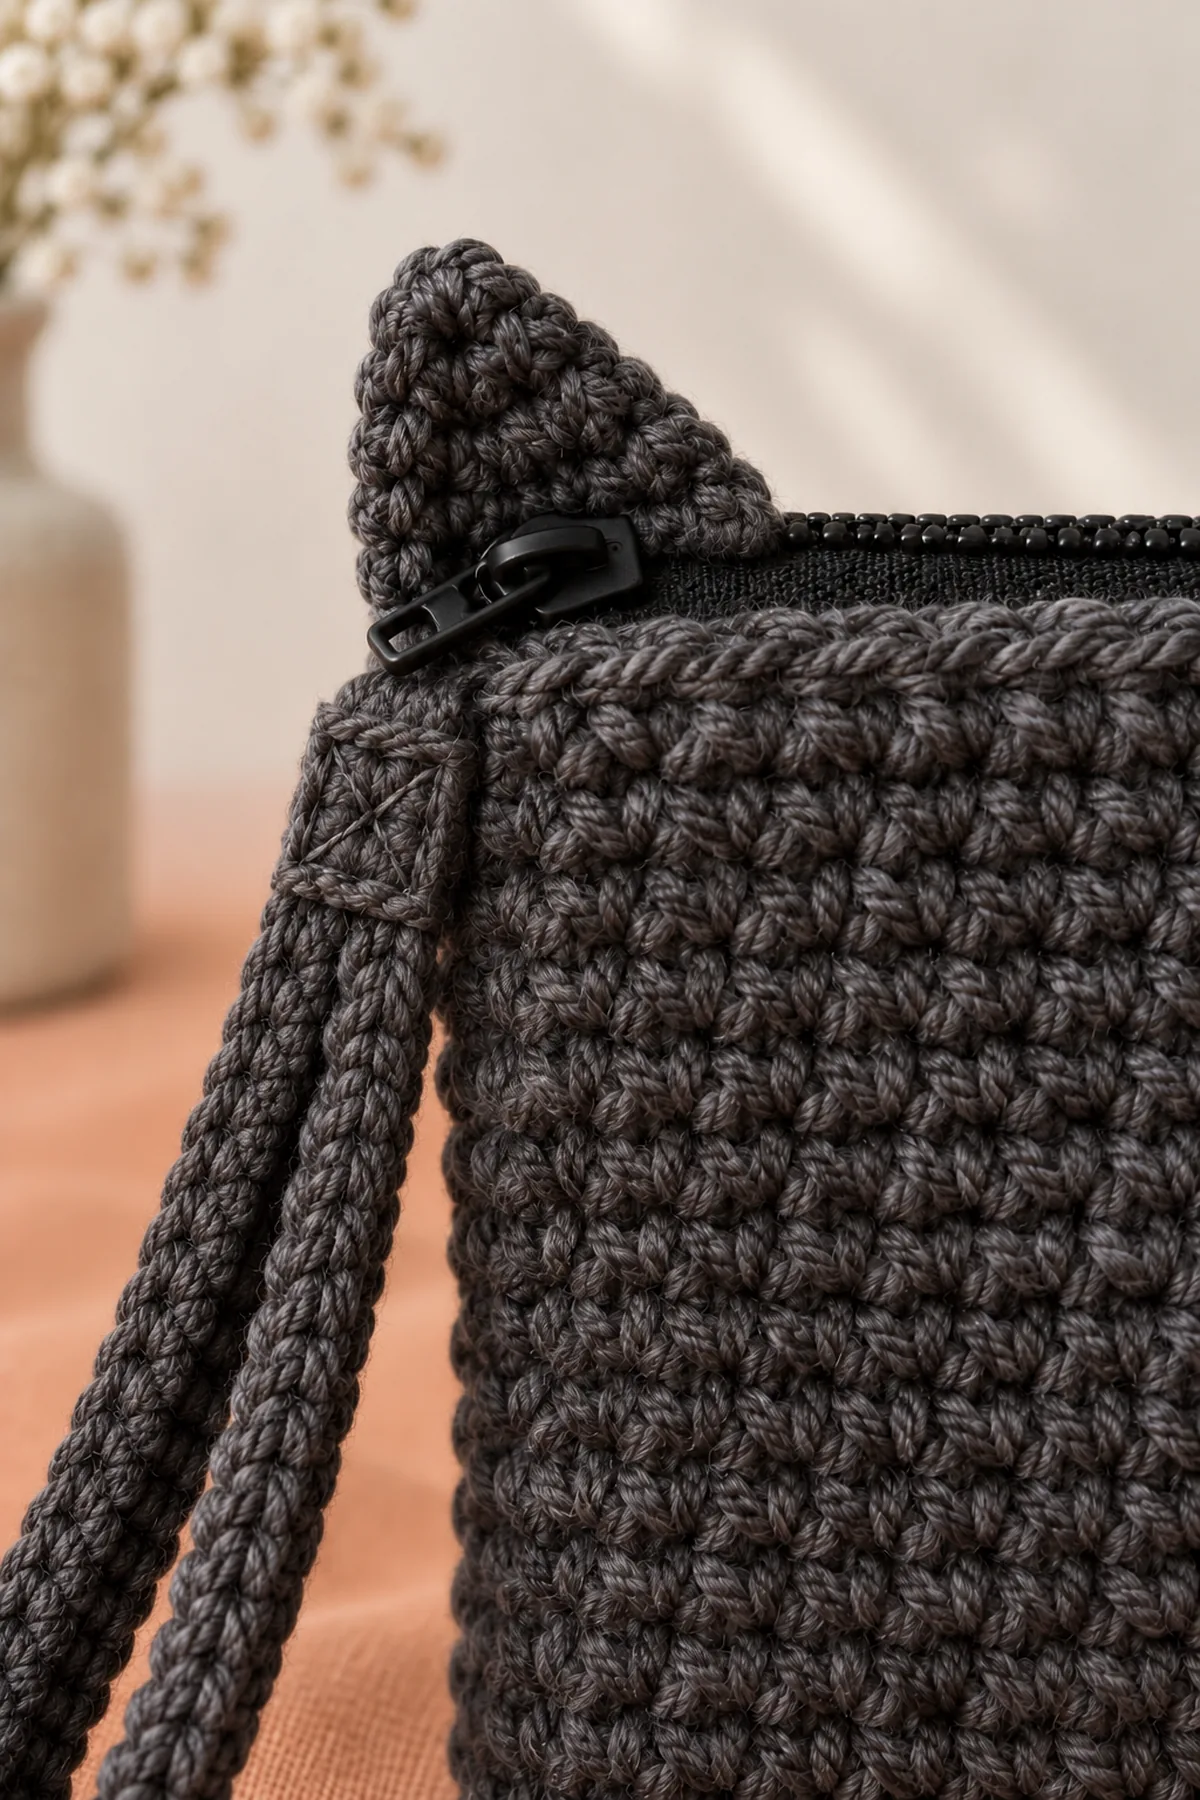
- Strap Row 1: ch 5, sc in second chain and next three chains. (4 sts) Rows 2-66: ch 1, turn and sc in all four stitches. (4 sts) At gauge the strip is about eleven inches long. Check that it folds into a comfortable wrist loop before fastening off.
- Bring the two short strap ends together without twisting. Overlap their first six rows with the upper outside side seam of the pouch; the loop projects above that corner. Sew a rectangle around this overlap through both strap ends and the bag side fabric, then sew both diagonals inside the rectangle. Keep the opening unobstructed.
- Weave ends in three directions. Place the intended light contents inside and lift the pouch by the strap over a table. If stitches distort or sewing shifts, remove the load and reinforce the anchor. Check the zipper again. Hand wash with the zipper open, following yarn and zipper care guidance; reshape and dry completely. This is an adult accessory, not a toy or a child wrist tether.
Assembly and Shaping
Fit and sew the zipper to the two separate top edges first. Place ear bases behind the front panel so the tips point upward but do not cross the zipper teeth. Join the remaining three bag edges, then anchor both ends of the wrist strap together at one upper side. Test the opening before adding an optional lining.
Lay every component on a flat surface before joining. Match the marked centers first, then divide each remaining edge into equal sections. Work through both layers with consistent tension and pause after each section to check that the fabric lies flat. This measured approach prevents twisting and keeps decorative details facing the intended direction.
Finishing
- Weave each yarn tail through several same-color stitches, reverse direction twice and stretch the fabric gently before trimming.
- Block to the stated shape according to the yarn label and let every component dry fully before final assembly.
- Inspect the first and last row, joins, edges, and any sewn attachment from both sides; repair loose stitches before use.
- Include the fiber content, finished dimensions and care instructions when gifting. Keep yarn projects away from open flames and direct heat.
For a polished result, weave each tail through several same-color stitches, reverse direction once, and trim only after the fabric has been gently stretched. Block to the listed dimensions without flattening textured stitches. Inspect joins, borders, straps, and decorative pieces before the project is used or gifted.
Helpful Tips
- Place removable markers at each shaping repeat and record the count before beginning the next row.
- Use a contrasting cloth behind dark yarn so it is easier to see both loops of every stitch.
- Lay the piece flat and compare opposite sides at each measurement checkpoint rather than pulling one side to match.
- If an edge ripples or cups unexpectedly, stop and check stitch count and washed gauge before adding a border.
Good lighting and a contrasting stitch marker make counting much easier. If a section looks uneven, compare the current count with the previous checkpoint before continuing. Fixing one missed stitch early is faster than compensating later, and it preserves the measurements used by the assembly instructions.
Frequently Asked Questions
Is this a stuffed cat?
No. The body is an empty zipper pouch, the ears are unstuffed double layers, and the face is embroidered without plastic eyes.
Can I skip the zipper?
The pattern is designed around a zipper opening. A closure-free version would not safely retain small belongings, so fit the zipper before joining the sides.
How much can the wristlet carry?
Use it for light personal items only. Test the strap with the intended contents over a table and reinforce any moving attachment. It is not a load-rated bag.
Conclusion
Keep the measured dimensions and yarn details with your pattern notes. Check the construction and safety guidance before styling or gifting the finished crochet project.
BabyYarnie Printable Crochet Pattern Card
BabyYarnie — easy-to-follow crochet for everyday makers.
Project: Crochet Black Cat Zipper Wristlet
Skill level: Intermediate Hook: 3.5 mm or size that gives the target dense fabric Yarn: DK
Finished size: Approximately 6 by 4.5 inches before ears; wrist loop approximately 5 inches long when folded
Card Materials
- Approximately 150 yards charcoal DK cotton, small scraps of cream and muted rose cotton for embroidery
- 3.5 mm hook, stitch markers, tapestry needle, scissors and tape measure
- One nylon-coil zipper with a 6-inch working opening, matching sewing thread and sharp sewing needle
- Optional tightly woven cotton lining: two 6.5 by 5-inch rectangles, adjusted after measuring the finished pouch
Card Instructions
- Crochet Two Matching Body Panels: Both plain panels have thirty stitches and twenty-seven rows; the last row is the bag mouth.
- Shape Four Ear Layers and Embroider the Face: Each doubled ear follows eight, six, four, two and one stitches; all facial features are sewn thread.
- Fit the Zipper and Join the Pouch: The two zipper seams remain independent; ear bases stay clear of the slider and all other bag edges are closed.
- Add and Check the Wrist Loop: The four-stitch strap is sixty-six rows long; its overlapped ends have a rectangular and crossed reinforcement seam.
Finish: Check every count, weave in all ends, block to measurement, and inspect each join.