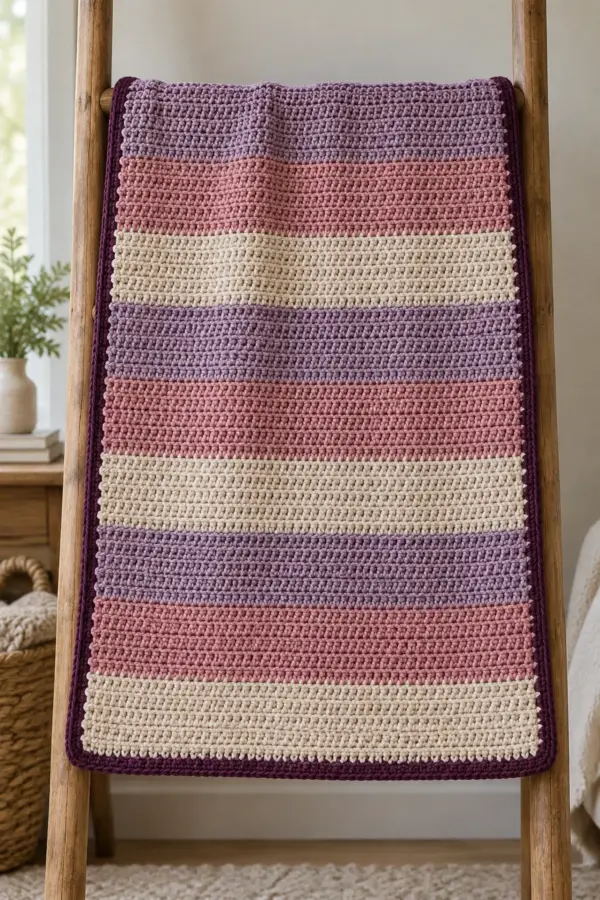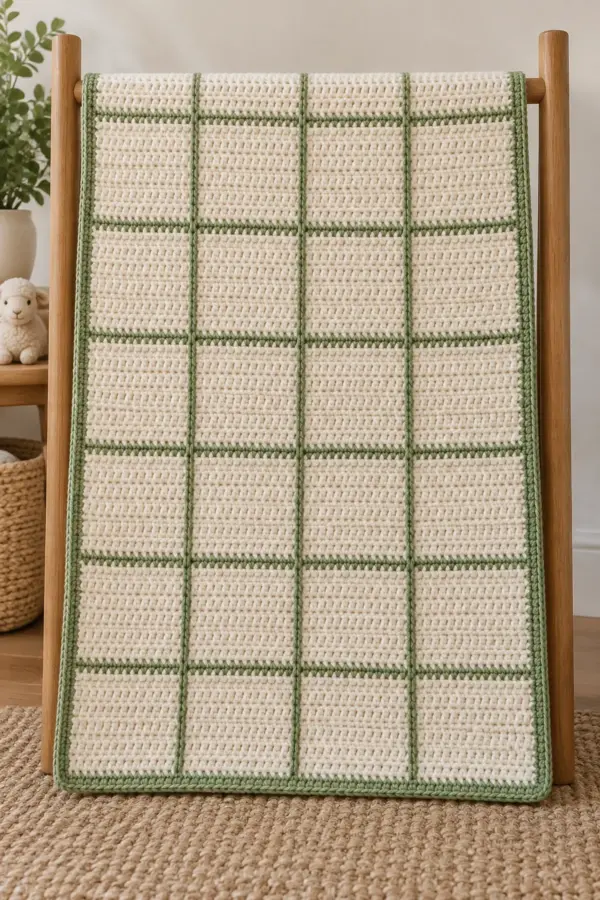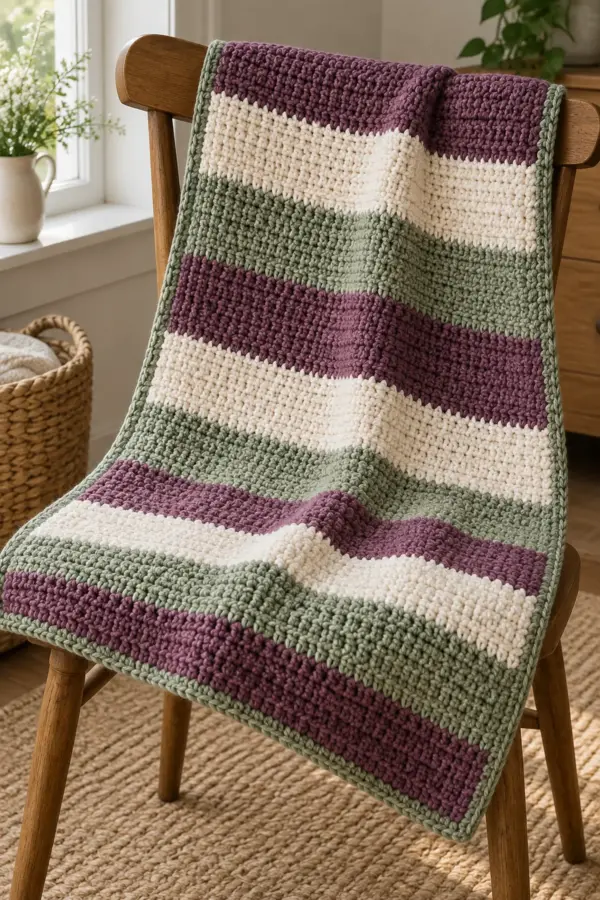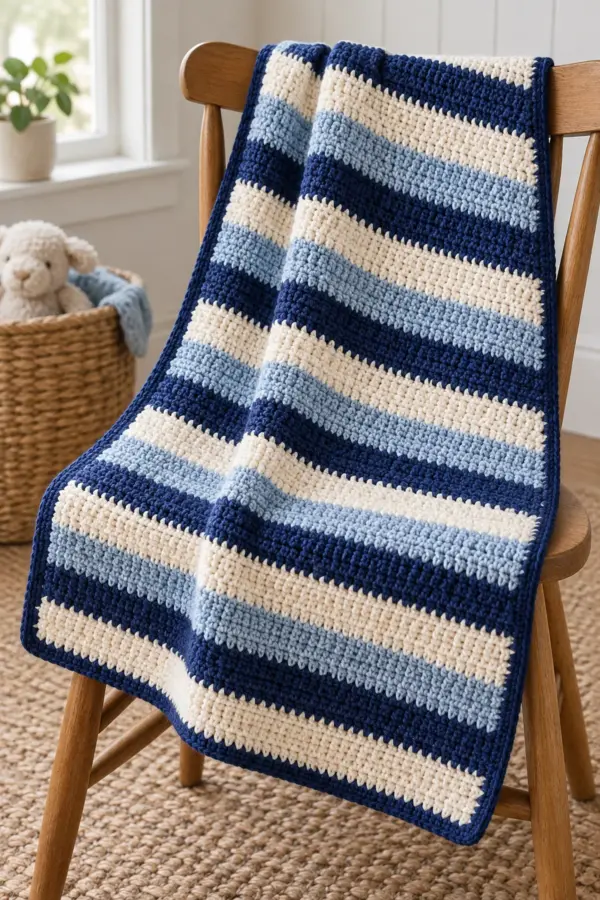
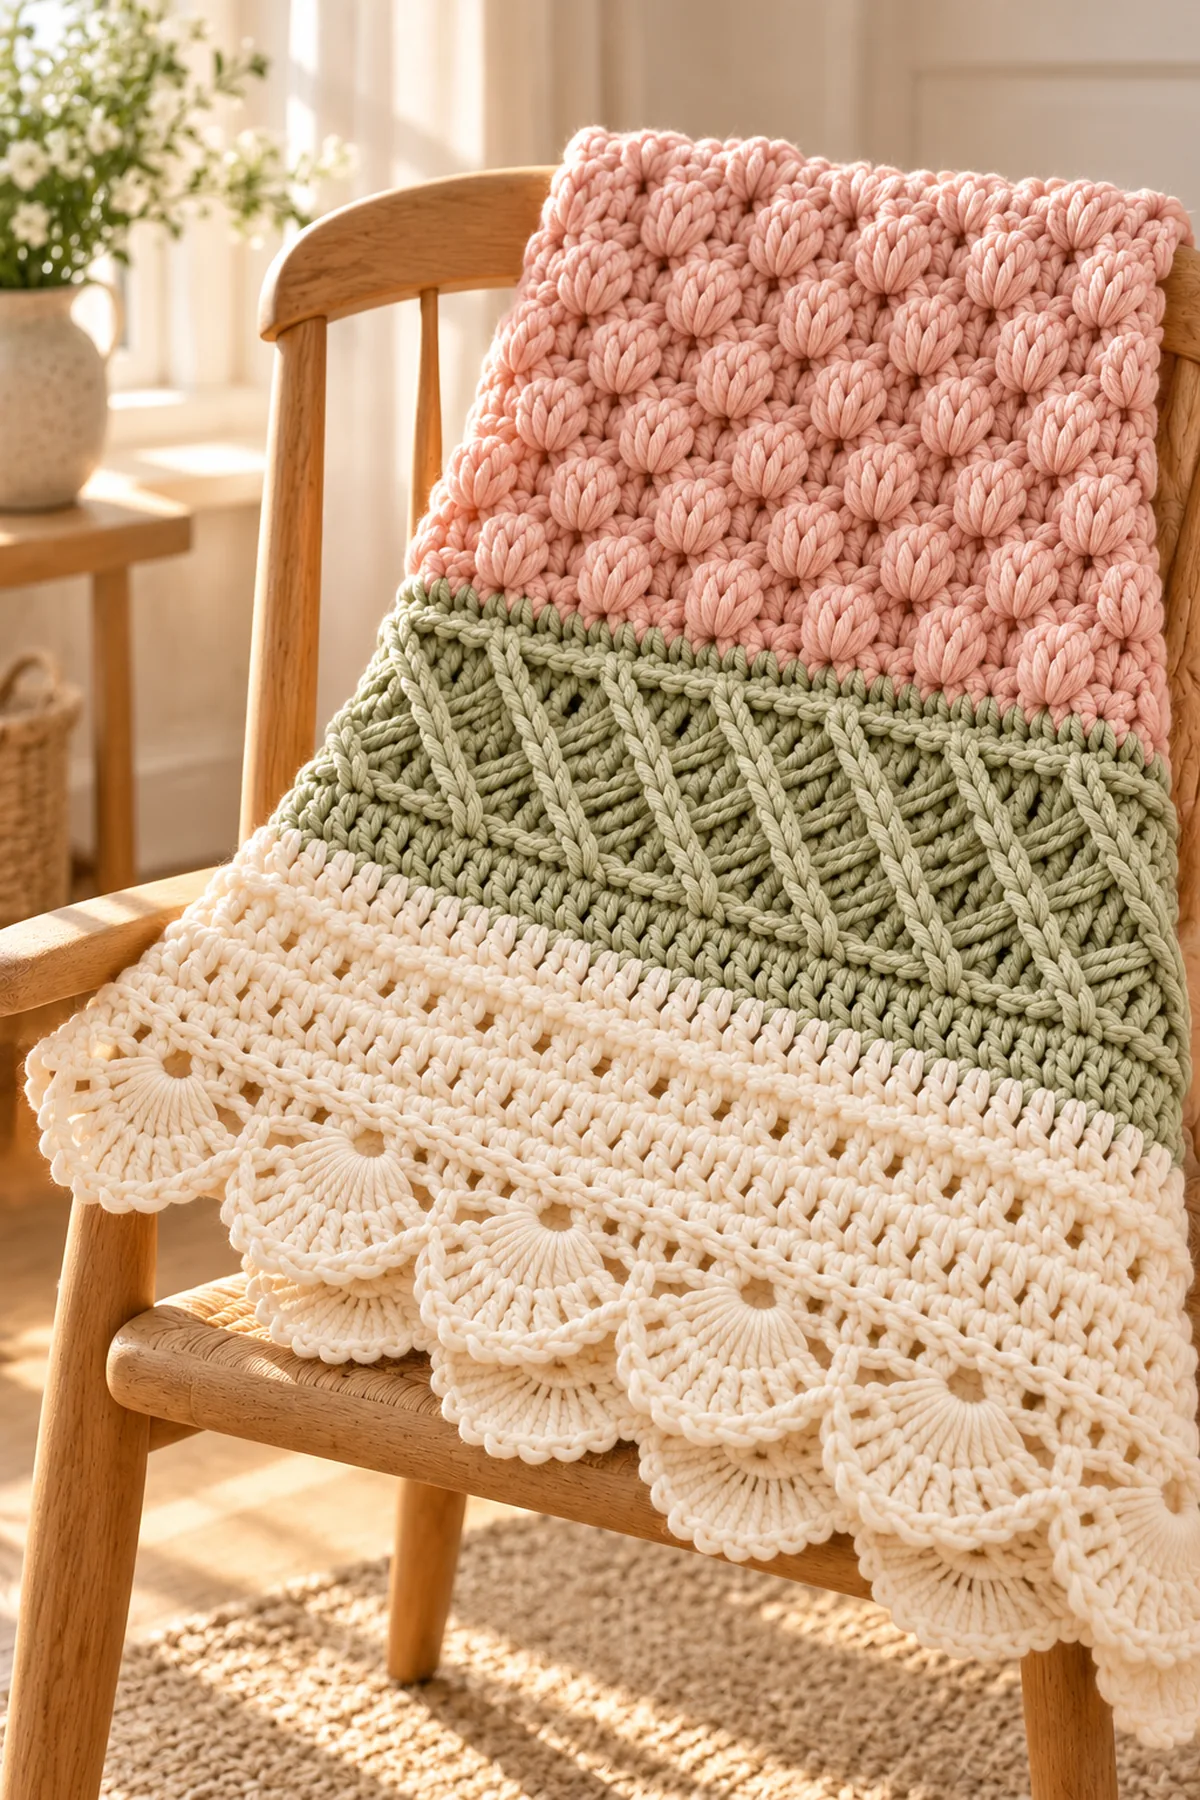
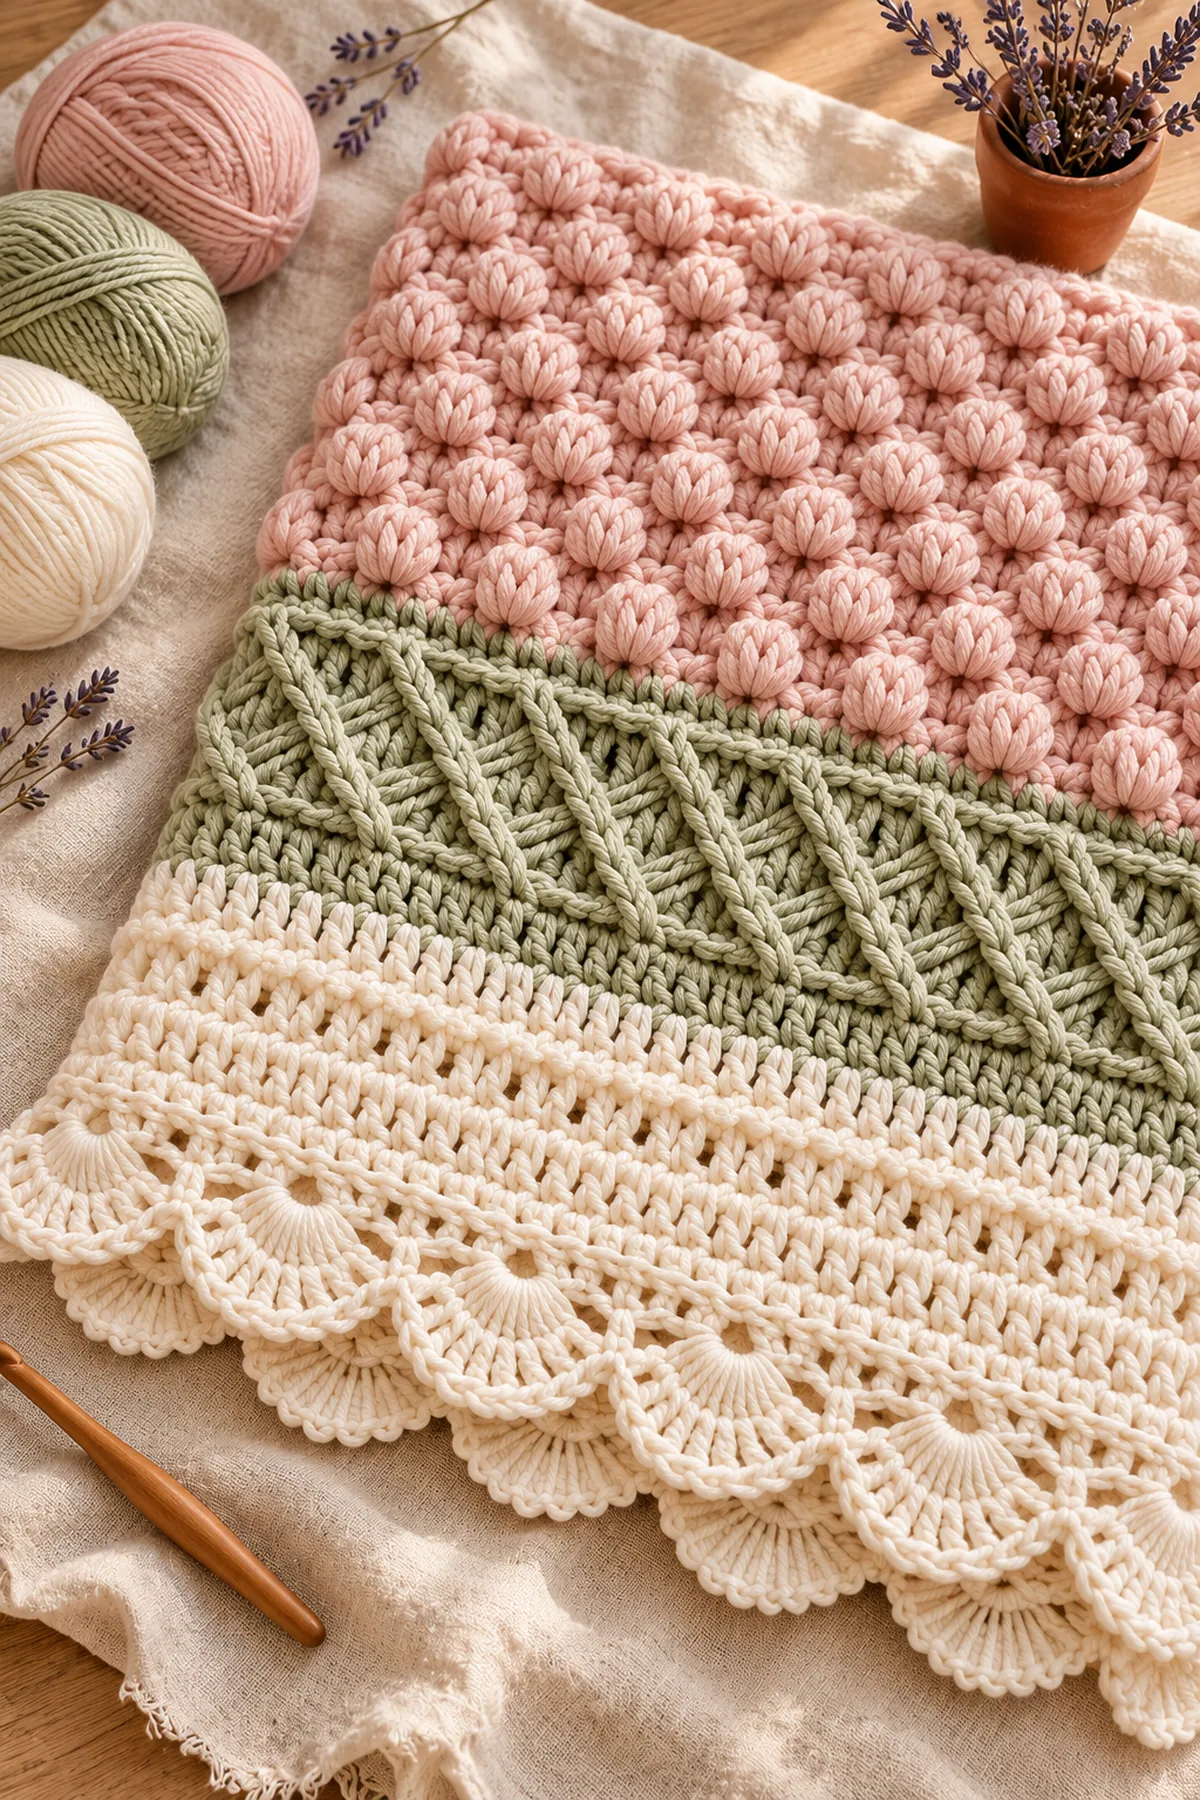
This original BabyYarnie three color crochet baby blanket tutorial uses the supplied photograph only as a visual design brief. The stitch plan, arithmetic, sizing and wording below are independently authored in US crochet terms.
Work from the written counts rather than the styled images. Each counted section includes a checkpoint so an error can be corrected before the next texture, shaping step or seam begins.
Pattern Details
- Hook Size: 5 mm; adjust to washed gauge
- Finished Size: Planning 30 x 36 inches including border
- Gauge: 12 hdc and 9 rows = 4 inches after washing
- Estimated Time: 18–24 hours
- Construction: One 90-stitch rectangular sampler: blush puff section, sage crossed-ridge section, ivory openwork section and four-round shell border
- Skill level: Easy Intermediate
Why You’ll Love This Project
The project combines a clear visual idea with practical construction notes. Color, texture and measured checkpoints are separated, making it easier to substitute yarn without losing the intended proportions.
Materials
- Planning allowance: 520 yd blush, 420 yd muted sage and 520 yd warm ivory worsted washable yarn
- 5 mm hook, twelve locking markers, yarn needle, scissors and tape measure
- A gauge notebook and care-label card for the finished baby blanket
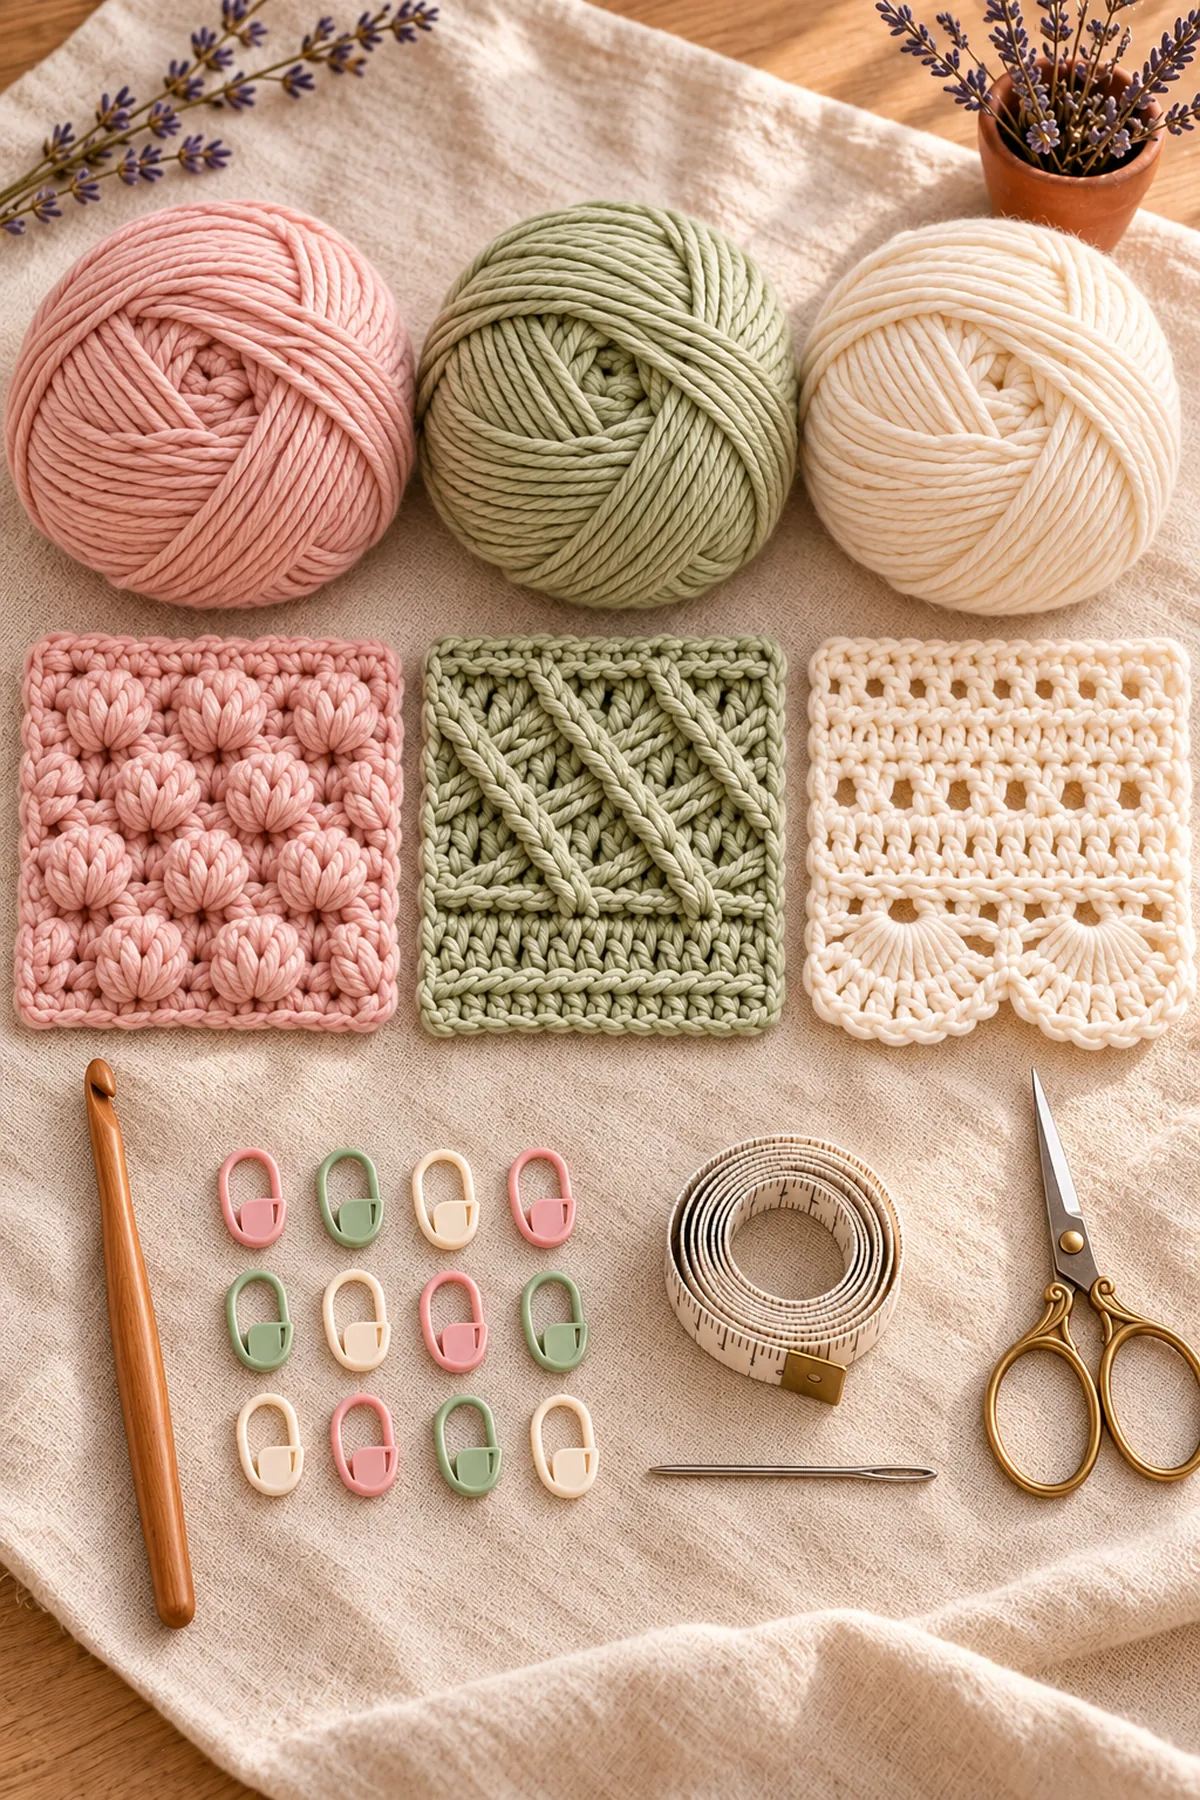
Gauge, Measurements, and Planning
At 12 stitches per 4 inches, 90 stitches span about 30 inches. Sixty rows at roughly 9 rows per 4 inches produce about 26.5 inches before the border; the four border rounds add the remaining depth. Swatch the puff, crossed-ridge and openwork sections because their row heights differ.
Make and wash a gauge swatch before beginning. Measure only after the swatch is completely dry. If the stitch width differs, change hook size rather than pulling the working yarn tighter. Keep a written count at the end of every section so the finished edges remain balanced and the assembly points line up.
Abbreviations and Special Stitches
- ch: chain
- sl st: slip stitch
- sc: single crochet
- hdc: half double crochet
- dc: double crochet
- tr: treble crochet
- st(s): stitch(es)
- RS/WS: right side/wrong side
- BLO: back loop only
- FLO: front loop only
Special stitch guidance: Puff: yarn over, insert in the named stitch, pull up a loop three times, yarn over and pull through all seven loops, ch 1 to close; the closing chain is part of the puff and not an extra base stitch. Front crossed ridge: skip one stitch, dc around the front post of the next stitch, then dc around the front post of the skipped stitch. Shell: 5 dc in one marked stitch.
Important Notes
- The supplied image is a mandatory visual reference only. No source text, chart, logo, layout or external pattern was copied or consulted.
- AI-generated production images illustrate the intended appearance and are not photographs of a physically tested sample or stitch charts.
- The written stitch arithmetic has been checked, but gauge, yarn amount, fit and drape remain planning targets until a physical sample is made.
- Make and wash a swatch. If the washed gauge differs, change hook size and recheck measurements before continuing.
- For baby items, use smooth washable yarn, avoid loose parts and long ties, supervise use, and keep crochet items out of infant sleep spaces.
- Arithmetic audit checkpoint: every worked blanket row ends with (90 sts).
Complete Instructions for 3 Color Tips for a Soft Crochet Baby Blanket
Choose and Swatch the Three Colors
- Tip 1—assign jobs, not equal shares: blush is the warm focal color, sage is the quiet bridge and ivory is the light-restoring neutral. Make three 6-inch swatches rather than judging yarn balls.
- Tip 2—compare value in a grayscale phone photo. The sage must separate from both blush and ivory; if two values merge, choose a darker sage or lighter ivory.
- Tip 3—repeat each color at the border or in a one-row accent so the palette looks intentional. Wash all swatches together and reject any combination that bleeds, sheds or changes hand unevenly.
- With ivory, ch 91. Hdc in the second chain and every remaining chain; ch 1 and turn. (90 sts) This setup row establishes the full width and is not included in the 60 design rows.
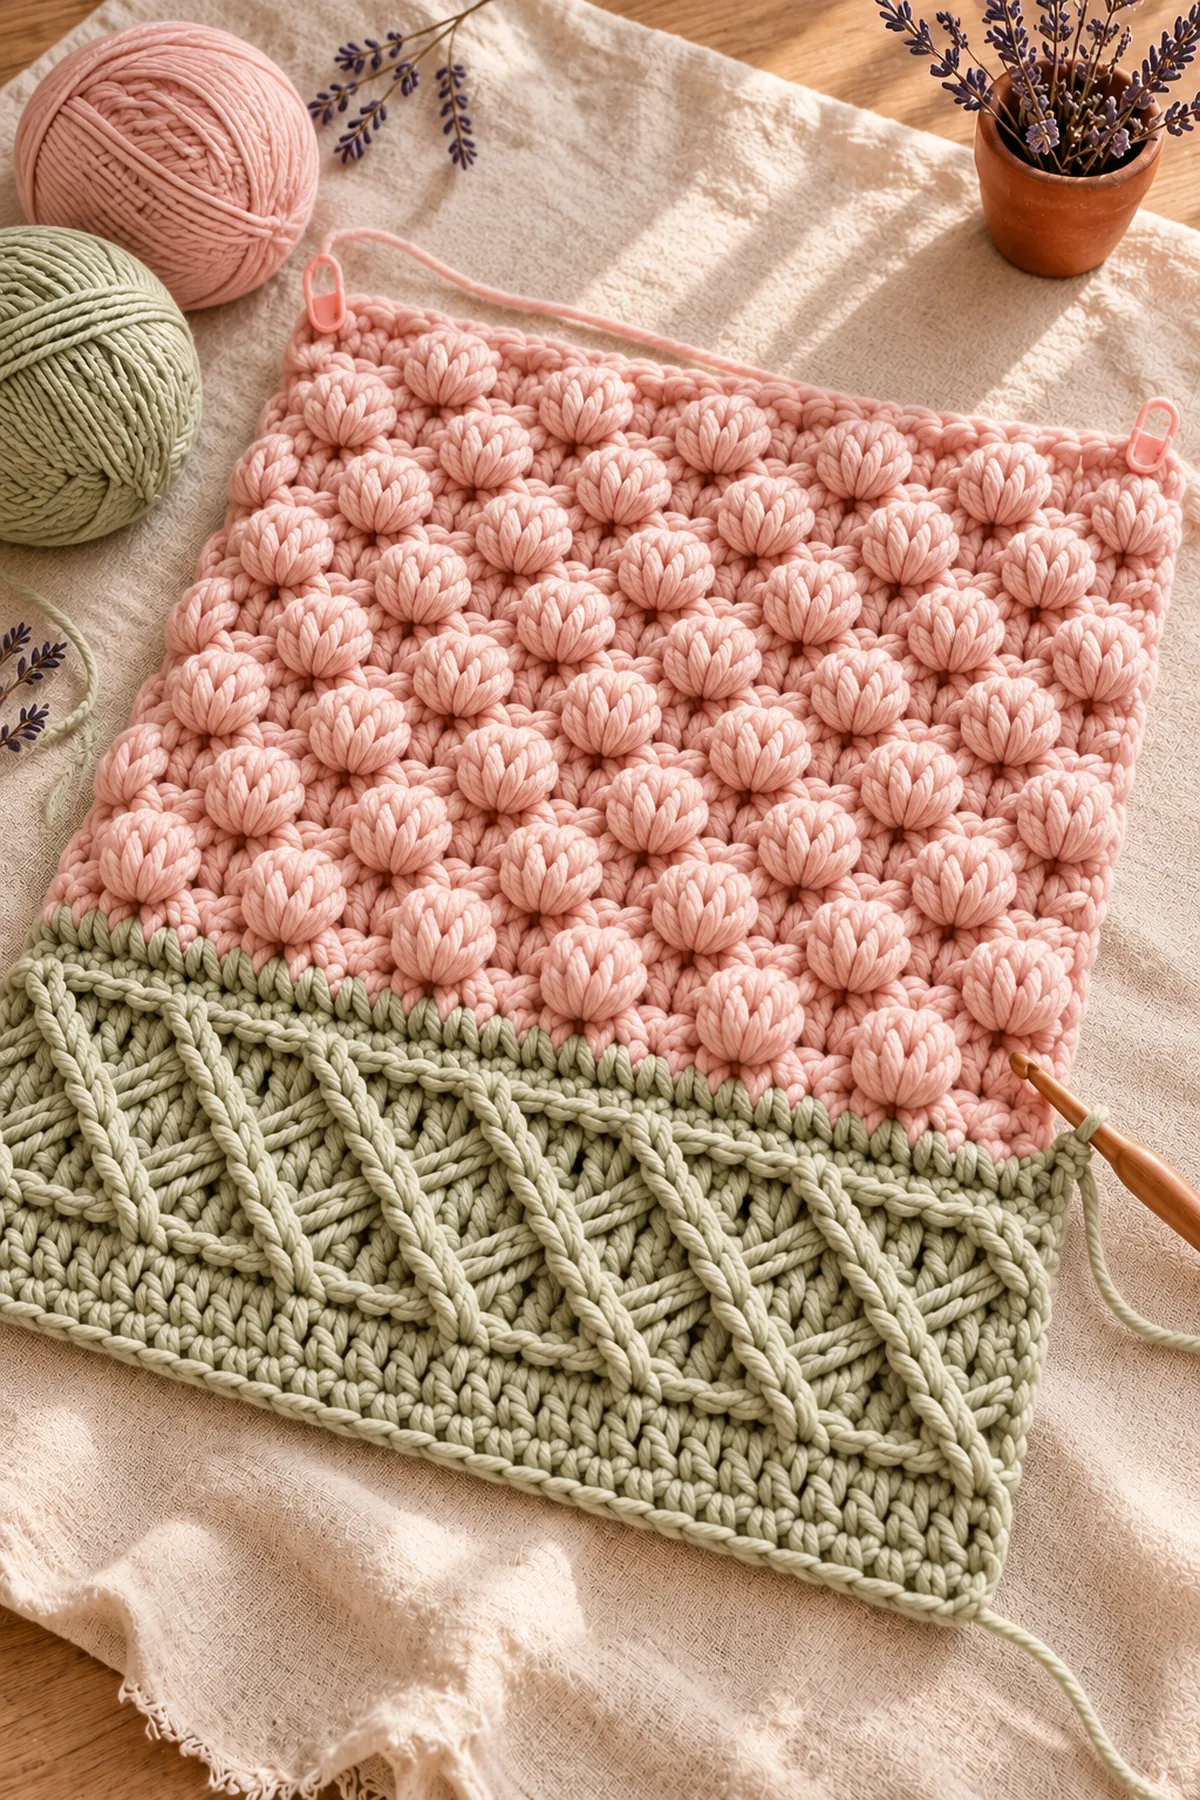
Crochet the Blush Puff and Sage Ridge Sections
- Rows 1–2 in blush: hdc in every stitch, ch 1 and turn. (90)
- Row 3: hdc in first 3, then repeat [puff in next stitch, hdc in next 5] fourteen times; puff in next stitch, hdc in final 2. Count the 15 puff bases plus 75 hdc as 90 positions. Turn.
- Rows 4–6: hdc across. Repeat Rows 3–6 three more times, then work Rows 15–18 in hdc. The blush section ends after 18 rows at 90 stitches.
- Change to sage. Rows 19–20: dc across, turn. Rows 21–22: alternate one plain dc and one front crossed-ridge pair across groups of two, keeping the first and last stitch plain. If the pairing does not consume exactly 90 positions, undo the row.
- Repeat Rows 19–22 four times total through Row 34; work Rows 35–36 in dc. The sage section remains 90 stitches wide.
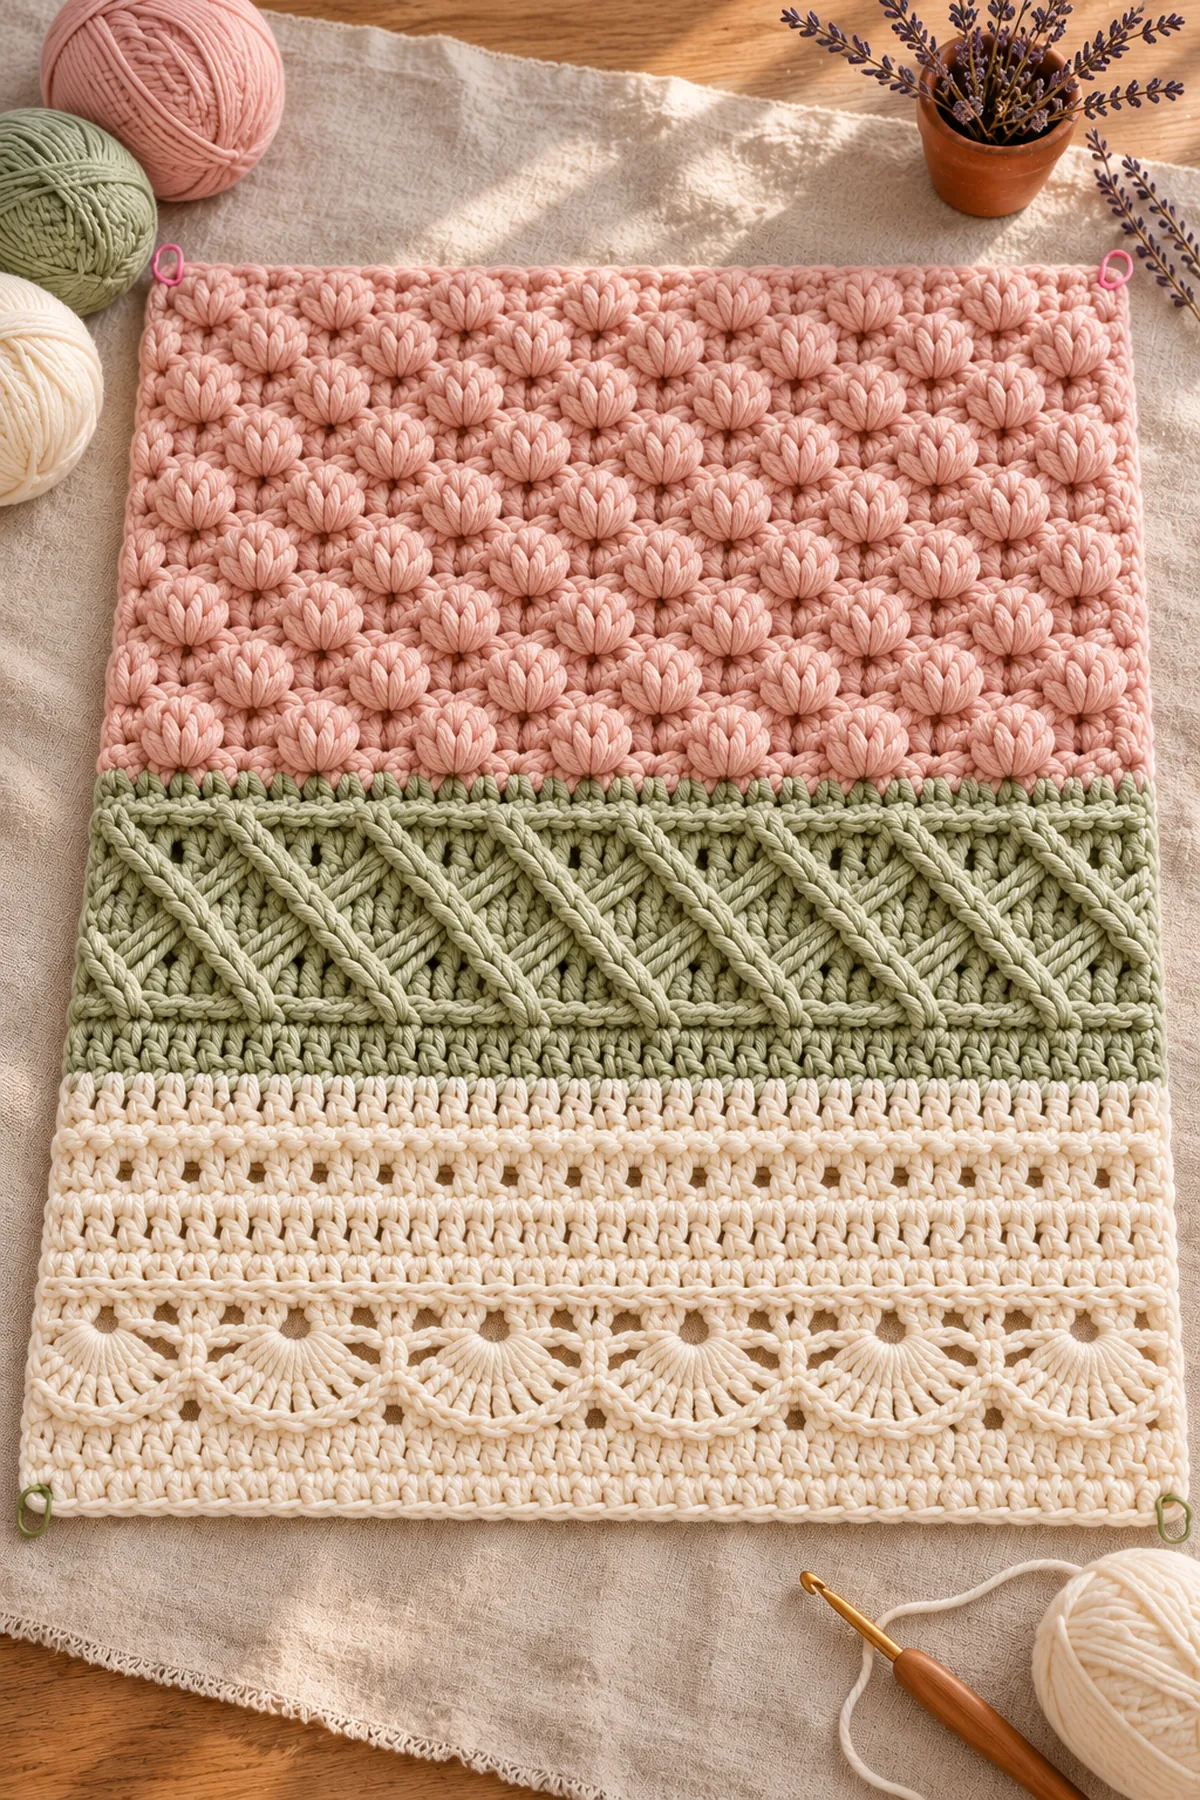
Work the Ivory Openwork Field and Shell Border
- Change to ivory. Row 37: dc across. Row 38: dc in first 3, then repeat [ch 1, skip 1, dc in next] forty-two times; dc in final 3. The row consumes 90 old positions and creates 48 dc plus 42 chain spaces.
- Row 39: dc in each dc and one dc in each ch-1 space to restore 90 dc. Row 40: dc across. Repeat Rows 37–40 four times through Row 52, then work Rows 53–60 in dc. Do not stretch the chain spaces.
- Border Round 1: with ivory, sc evenly around, placing 90 sc across each short edge and 78 sc along each long edge, plus (sc, ch 2, sc) in each corner. Opposite sides must match.
- Rounds 2–3: sc in every side stitch and (sc, ch 2, sc) in each corner. Round 4: place one 5-dc shell in every fourth side stitch with a slip stitch midway between shells; adjust only within the final three stitches before a corner, then mirror the adjustment on the opposite side.
Assembly and Shaping
The blanket is worked in one piece, so there are no structural seams. Align the three horizontal color sections before adding the border. Mark every corner and the midpoint of each side; opposite sides must contain equal setup-round counts.
Lay every component on a flat surface before joining. Match the marked centers first, then divide each remaining edge into equal sections. Work through both layers with consistent tension and pause after each section to check that the fabric lies flat. This measured approach prevents twisting and keeps decorative details facing the intended direction.
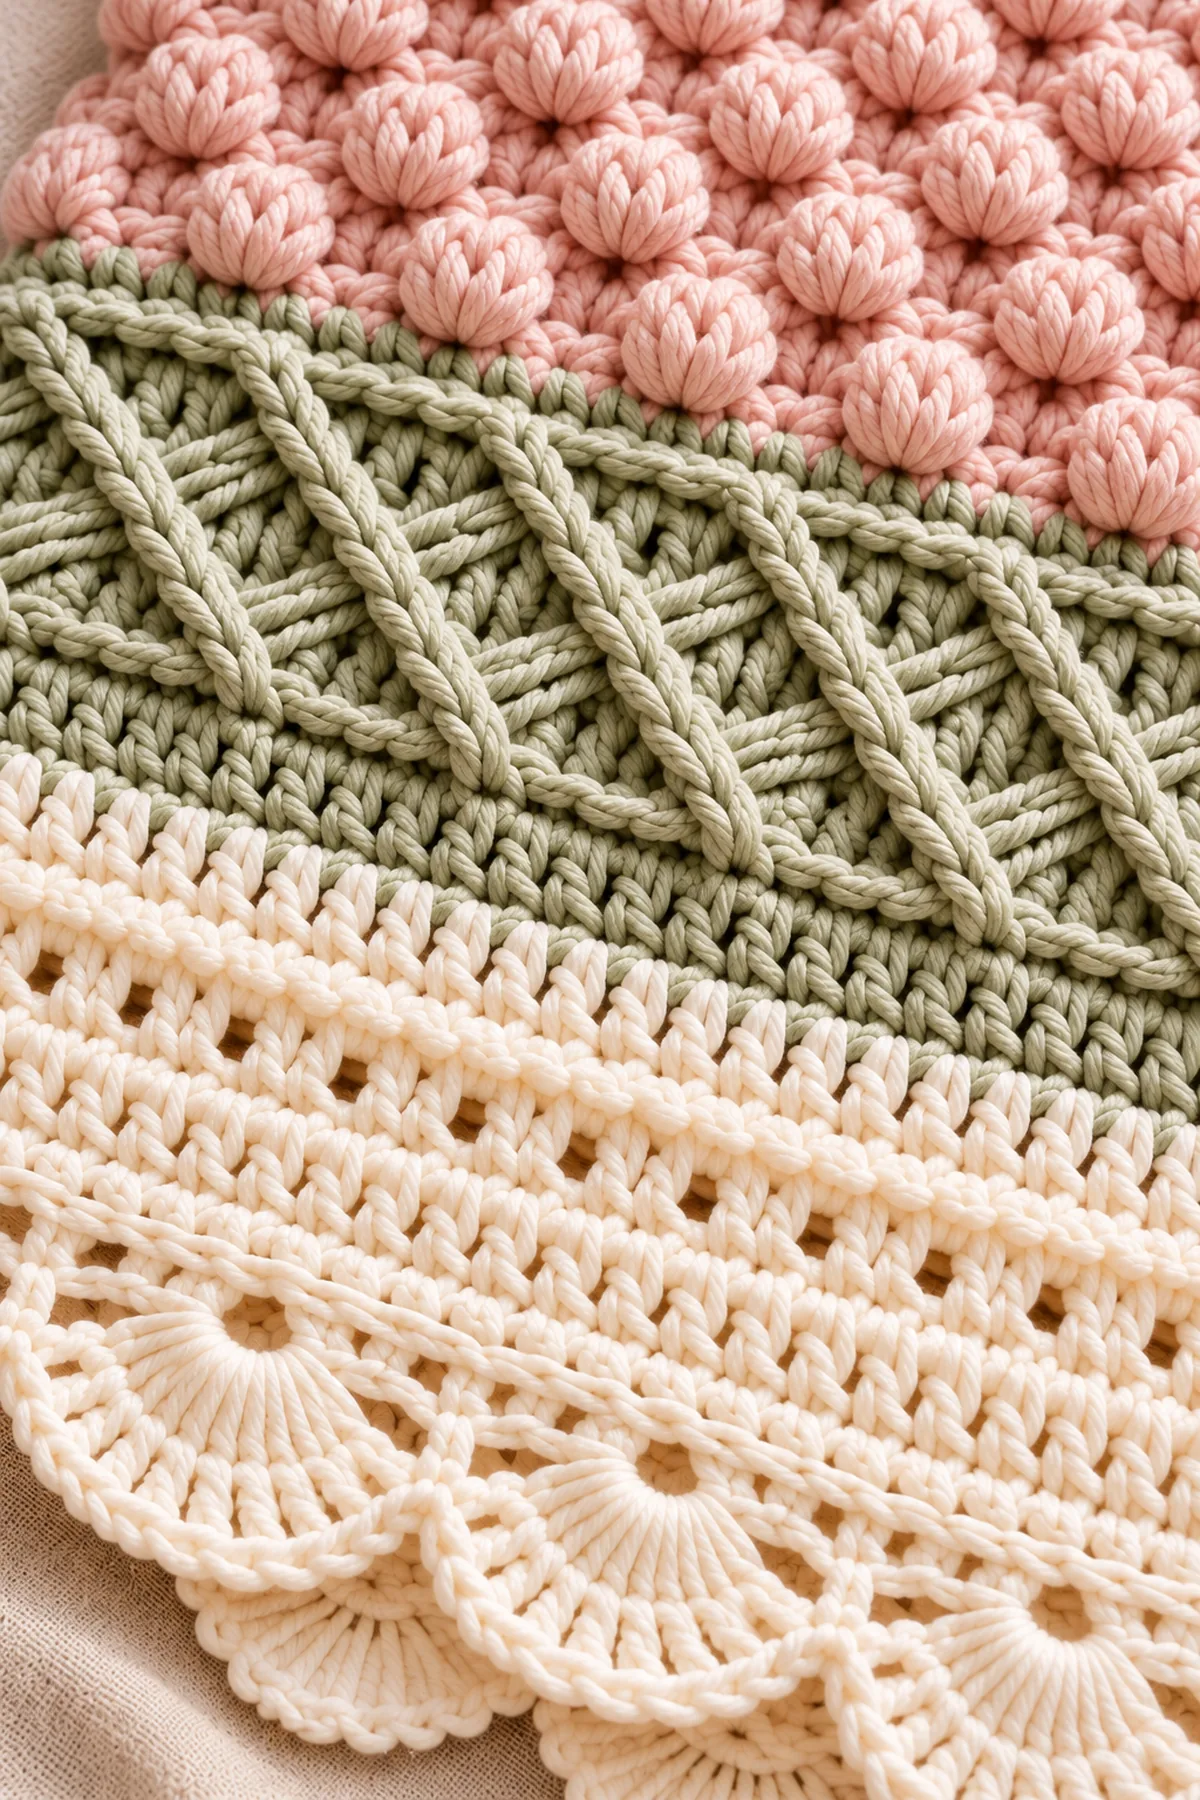
Finishing
- Count the final row or round before fastening off and correct any mismatch rather than hiding it in a seam.
- Weave every tail through several same-color stitches, reverse direction once, and trim only after a gentle stretch test.
- Wash or damp-block according to the yarn label, shape to the stated measurements and dry completely.
- Inspect both faces, every edge and every attachment before use or gifting; include fiber, care and supervision information.
For a polished result, weave each tail through several same-color stitches, reverse direction once, and trim only after the fabric has been gently stretched. Block to the listed dimensions without flattening textured stitches. Inspect joins, borders, straps, and decorative pieces before the project is used or gifted.
Helpful Tips
- Place a locking marker at every repeat boundary before beginning a textured row.
- Record the count after each color or shaping section instead of relying on memory.
- Use a smooth, solid-color swatch yarn when learning a new stitch so every loop remains visible.
- If fabric ripples or cups, stop and correct the count or gauge before blocking.
Good lighting and a contrasting stitch marker make counting much easier. If a section looks uneven, compare the current count with the previous checkpoint before continuing. Fixing one missed stitch early is faster than compensating later, and it preserves the measurements used by the assembly instructions.
Frequently Asked Questions
Is this copied from the reference image?
No. The image controls the visual direction only; the instructions and arithmetic are an independent BabyYarnie construction.
Has a finished physical sample been tested?
No physical sample is claimed. Numerical validation cannot establish real drape, fit, yarn use or laundering behavior, so make a washed swatch and trial section.
Can I substitute yarn?
Yes. Match the washed stitch and row gauge, fabric feel and care requirements rather than relying only on the yarn-weight label.
Conclusion
Keep notes for the hook, yarn, washed gauge and finished measurement you actually obtain. The written checkpoints are the construction authority; use the design image only to compare overall color and silhouette.
BabyYarnie Printable Crochet Pattern Card
BabyYarnie — easy-to-follow crochet for everyday makers.
Project: 3 Color Tips for a Soft Crochet Baby Blanket
Skill level: Easy Intermediate Hook: 5 mm; adjust to washed gauge Yarn: Worsted washable merino-acrylic or cotton blend
Finished size: Planning 30 x 36 inches including border
Card Materials
- Planning allowance: 520 yd blush, 420 yd muted sage and 520 yd warm ivory worsted washable yarn
- 5 mm hook, twelve locking markers, yarn needle, scissors and tape measure
- A gauge notebook and care-label card for the finished baby blanket
Card Instructions
- Choose and Swatch the Three Colors: Swatch three washable colors; foundation ch91 produces90 hdc.
- Crochet the Blush Puff and Sage Ridge Sections: Eighteen90-stitch blush rows followed by eighteen90-position sage rows.
- Work the Ivory Openwork Field and Shell Border: Twenty-four90-position ivory rows; balanced setup border and mirrored ivory shells.
Finish: Check every count, weave in all ends, block to measurement, and inspect each join.