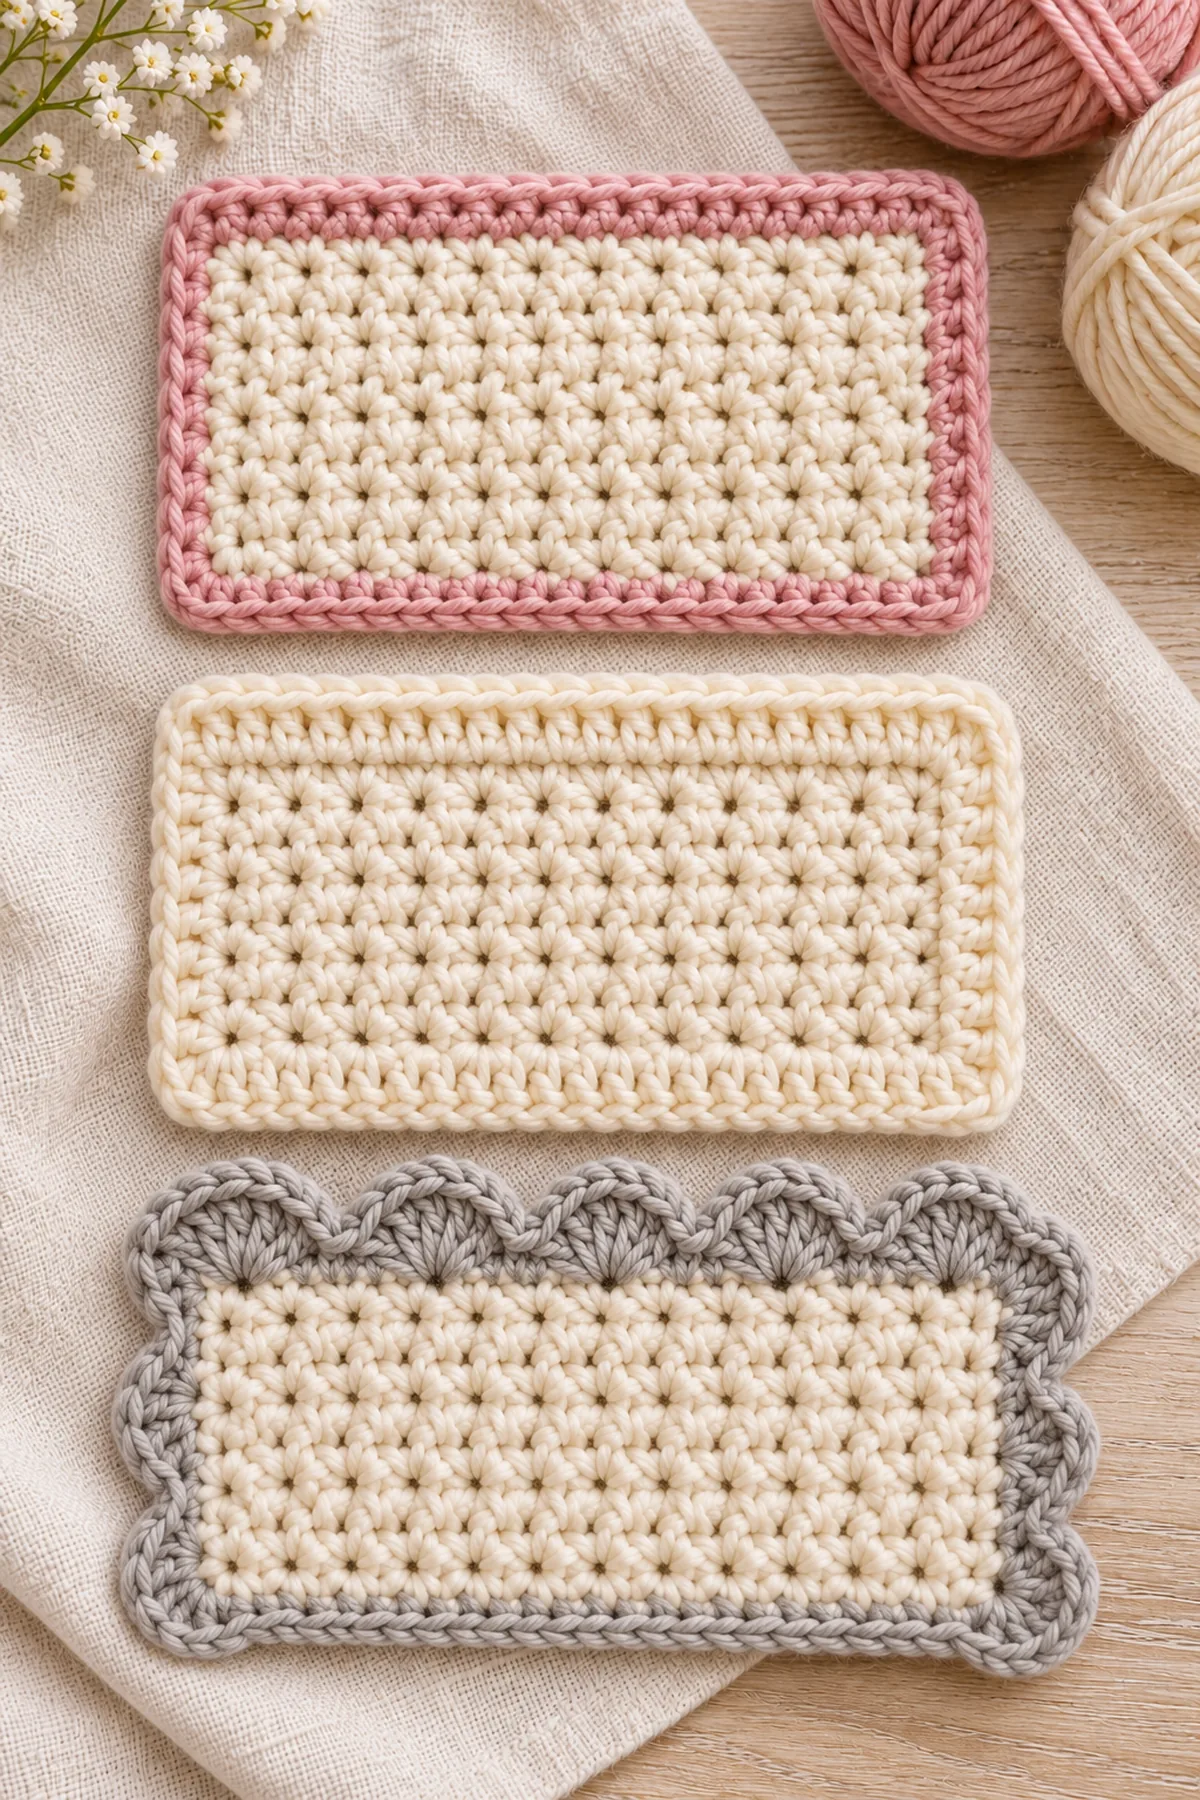
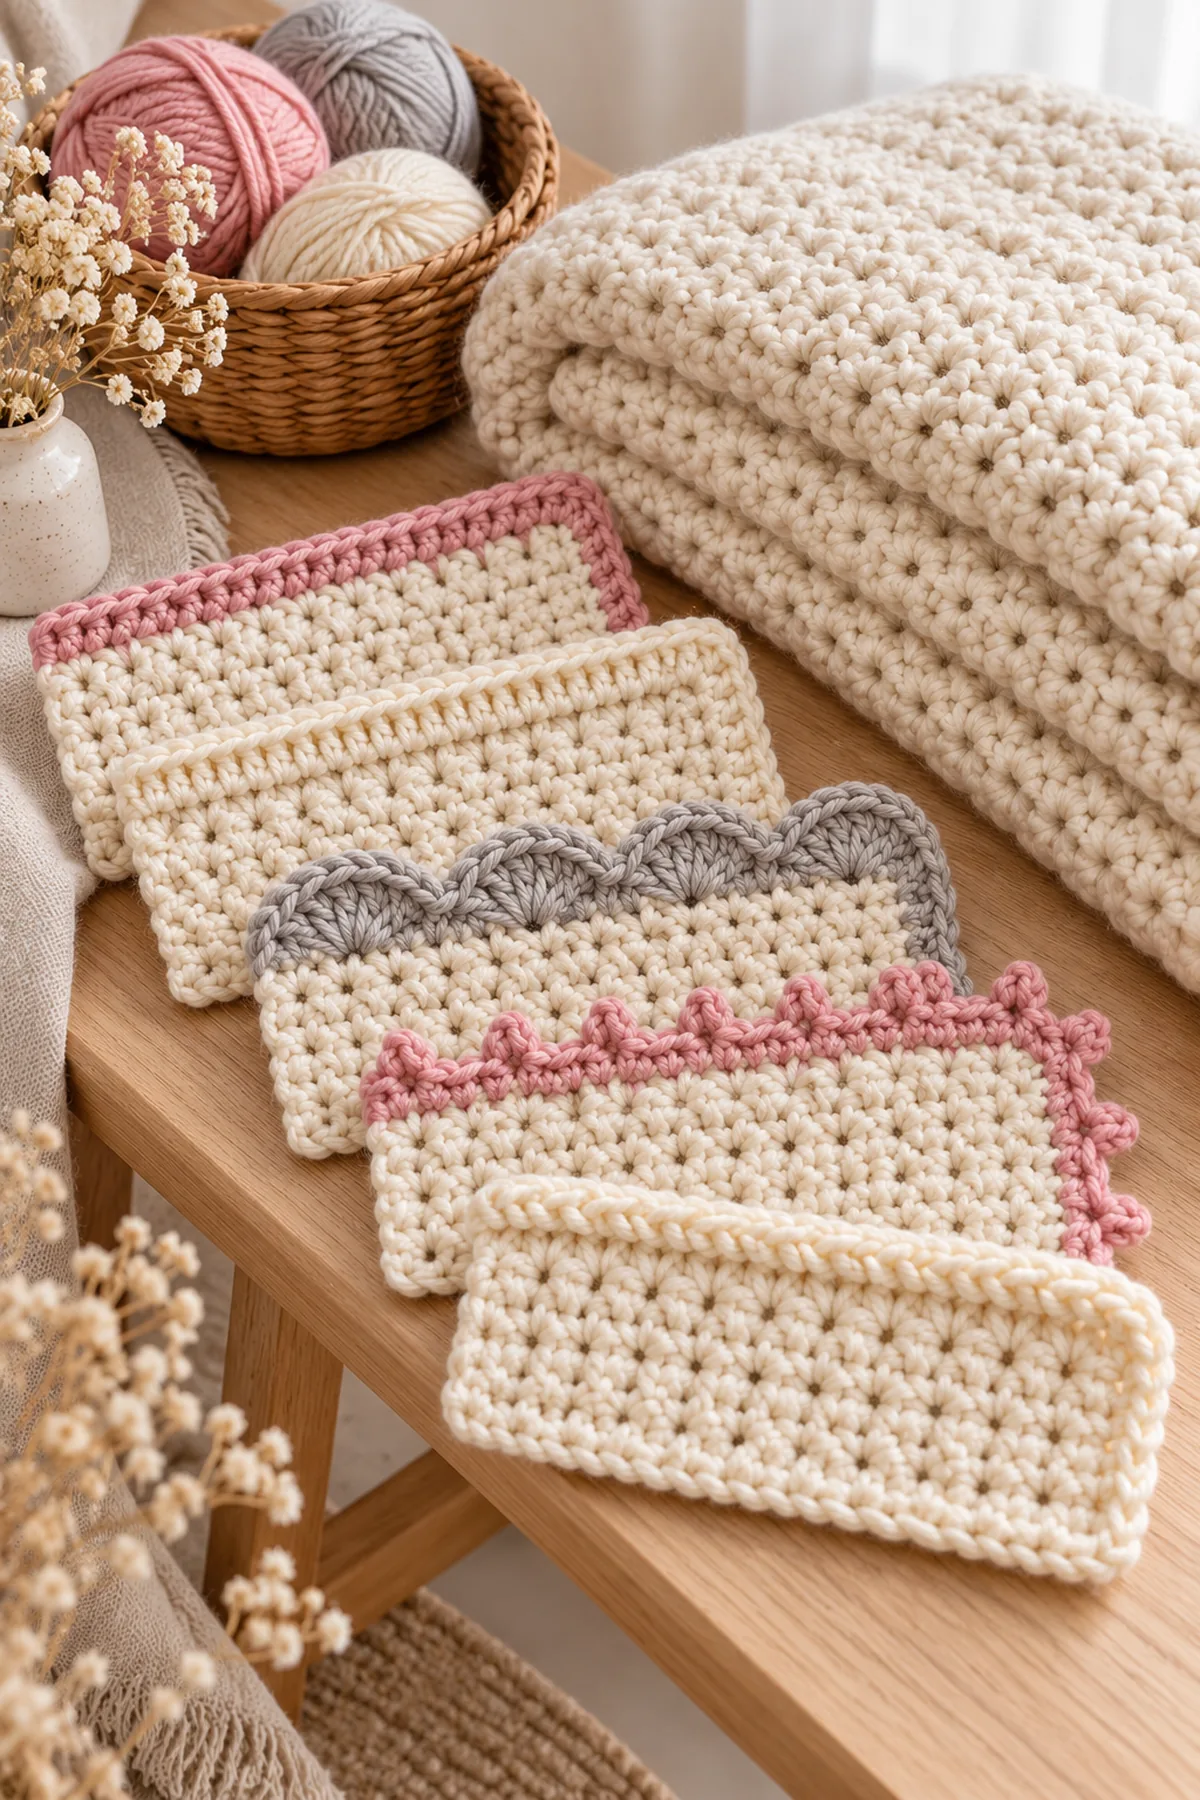
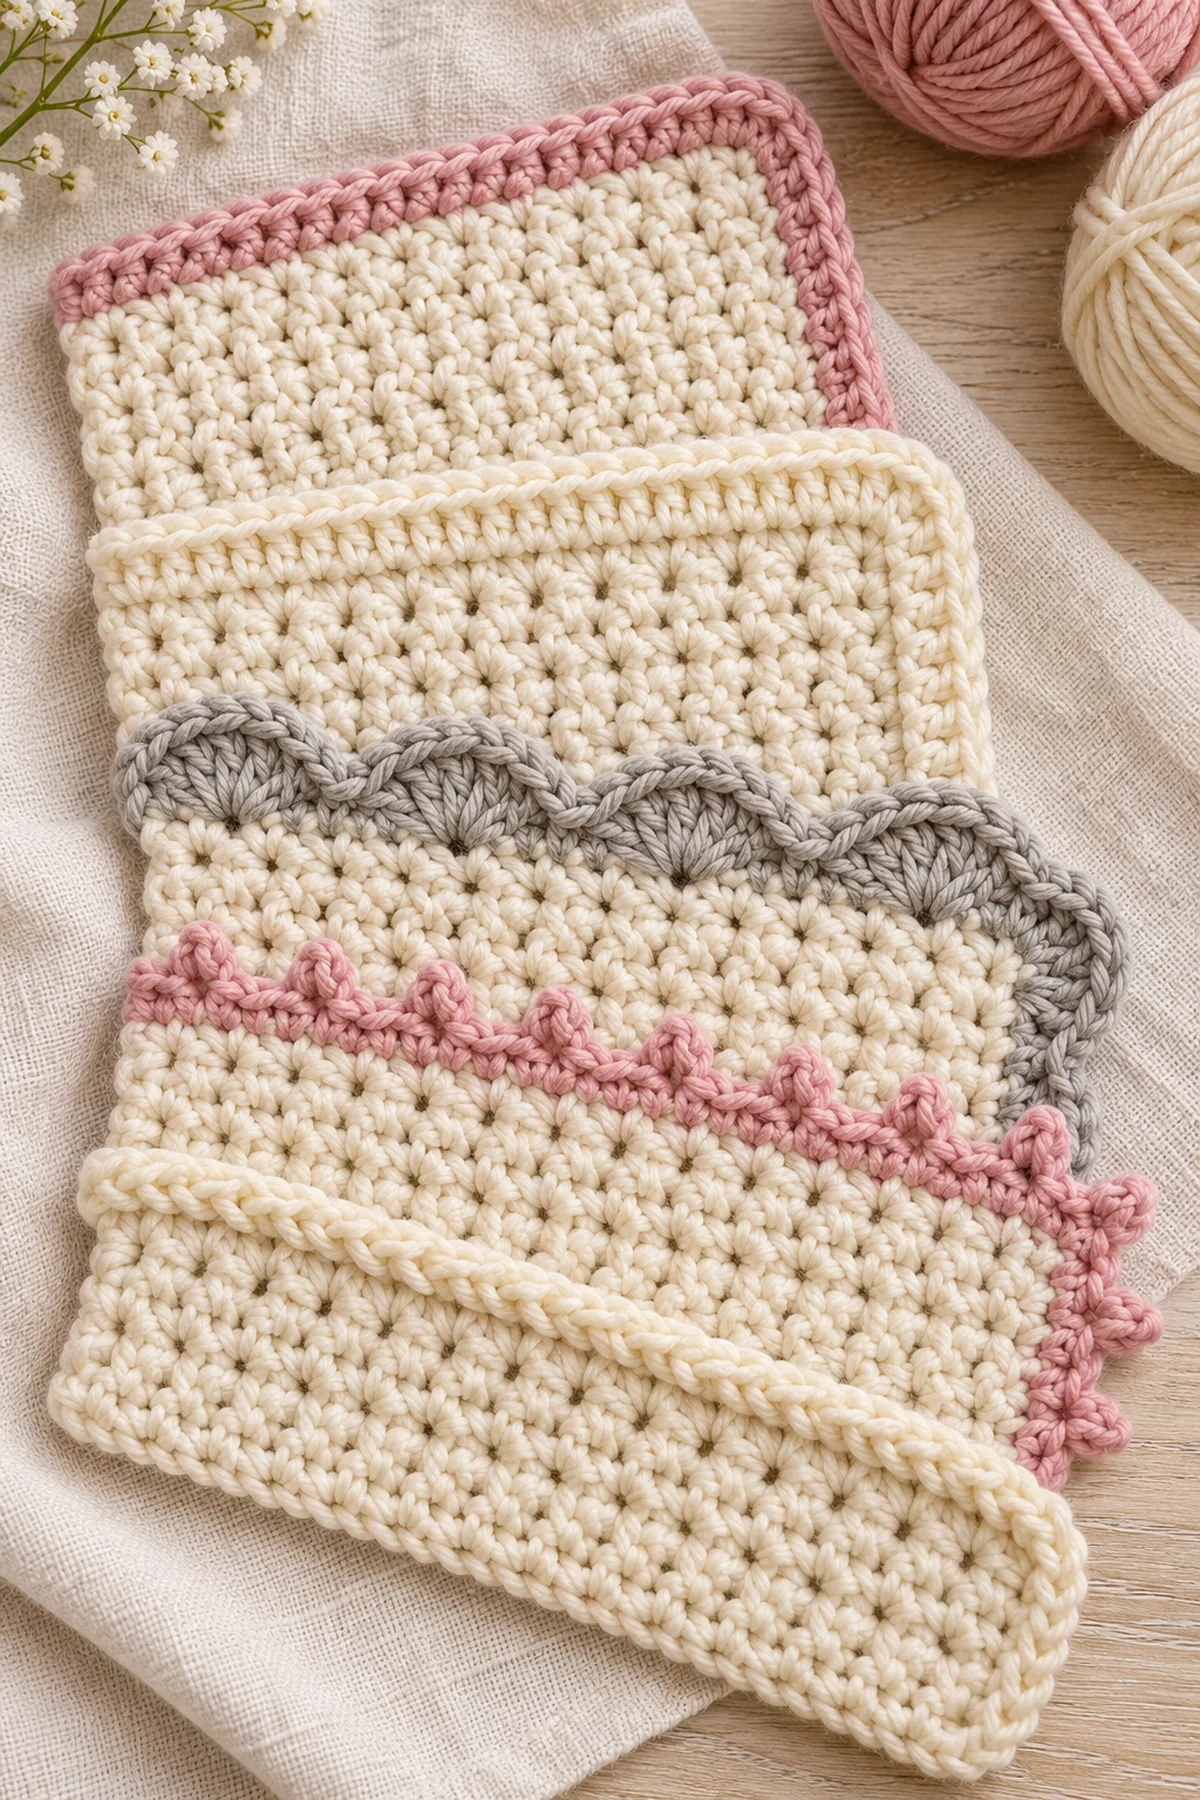
These easy crochet blanket borders for beginners turn one consistent 24-stitch test edge into five polished finishes. The guide compares single crochet, half double crochet, shell stitch, picot and crab stitch with exact spacing, corner rules and troubleshooting.
Work the samples before adding a border to a full blanket. A small swatch shows whether the border lies flat, how much yarn it uses and whether its visual weight suits the fabric. All five demonstrations begin with the same foundation count, so the results can be compared directly.
Pattern Details
- Hook Size: 5 mm; adjust after washing the 24-stitch practice swatch
- Finished Size: Five 8-inch practice swatches, each finished with one distinct border
- Gauge: 12 hdc and 9 rows = 4 inches after washing
- Estimated Time: 45–75 minutes per border sample
- Construction: One shared 24-stitch setup edge tested with five independent border methods
Materials
- About 180 yards worsted-weight yarn total: cream for five swatches plus blush and soft gray for the borders
- 5 mm crochet hook, eight locking markers, tape measure, yarn needle and scissors
- A notebook for recording edge counts and the number of stitches placed into row ends
Gauge, Measurements, and Planning
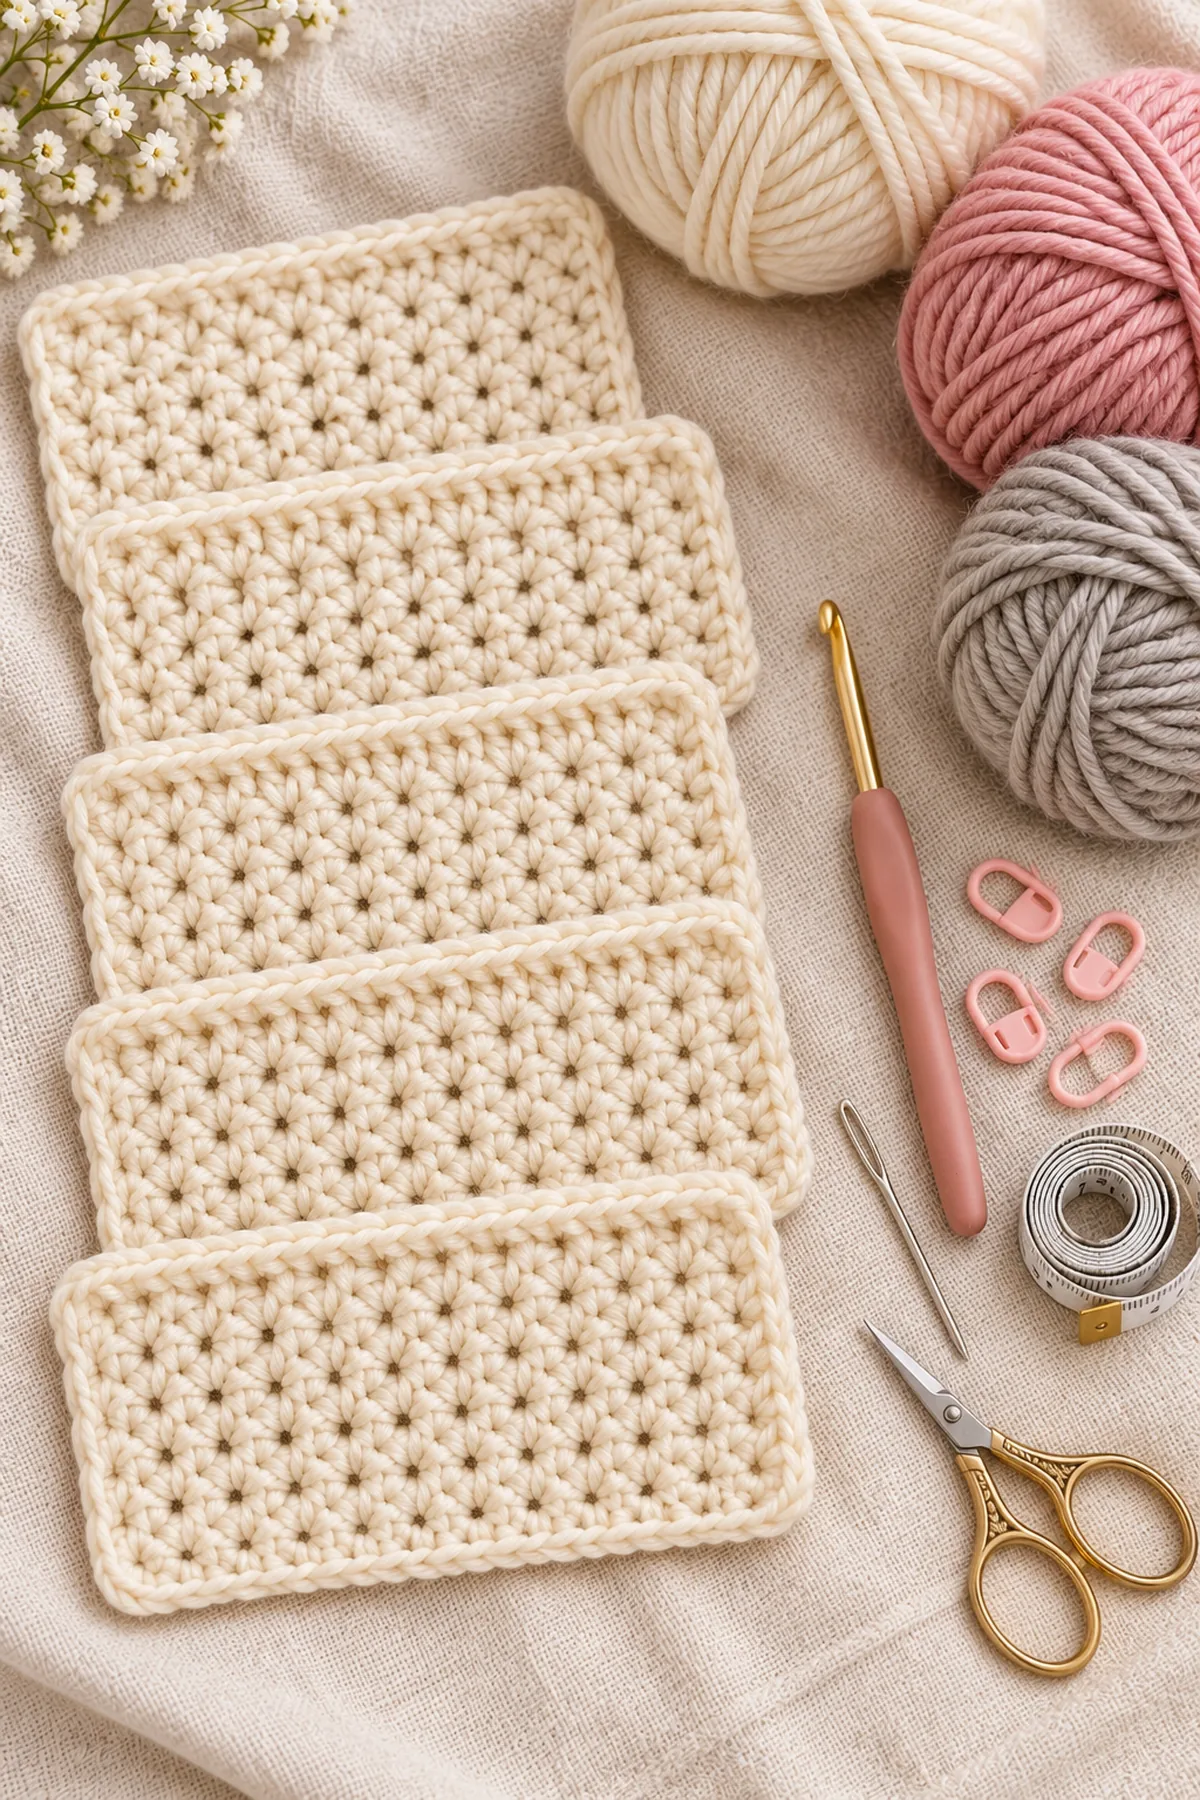
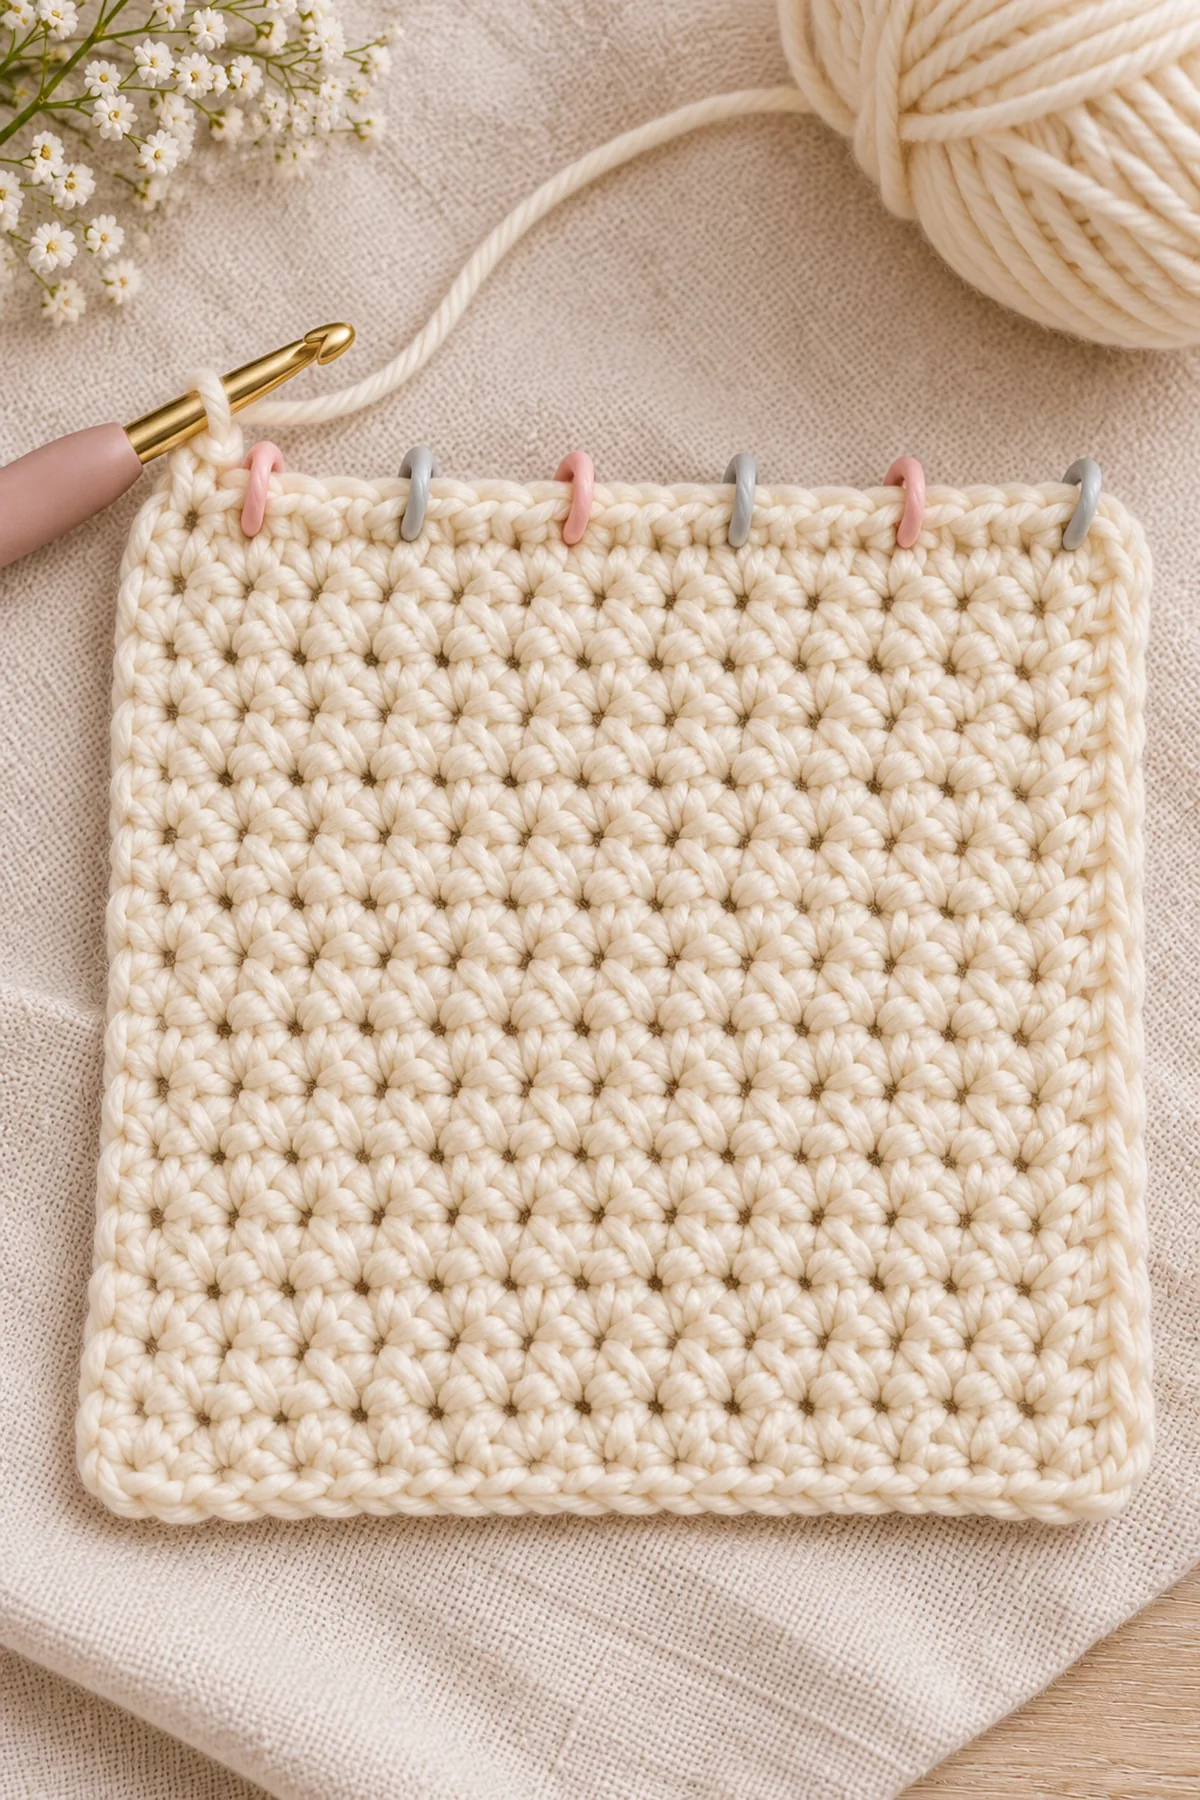
Make five identical swatches: ch 26, hdc in the third chain from the hook and in each remaining chain, then work 17 more rows of 24 hdc. Each washed swatch should measure about 8 inches square. Mark the top edge into six groups of four stitches. For a full blanket, first work one setup round of sc and record the exact count on every side.
Abbreviations and Special Stitches
- ch: chain
- sc: single crochet
- hdc: half double crochet
- dc: double crochet
- tr: treble crochet
- sl st: slip stitch
- st(s): stitch(es)
- rnd: round
Special stitch guidance: Shell: 5 dc in one stitch. Picot: ch 3, sl st in the first chain. Crab stitch: insert the hook into the next stitch to the right, yarn over, draw up a loop, yarn over and pull through both loops. For every sample, the 24-stitch foundation edge is the counted reference; corner chains are excluded from edge counts.
Important Notes
- The photographs are design references only. The written construction and stitch arithmetic below are original BabyYarnie instructions.
- AI-generated production images illustrate the intended result and are not photographs of a physically tested sample. Follow the written counts rather than counting stitches in an image.
- Gauge, yardage and finished measurements are planning targets until a physical sample is made. Wash and block a swatch before committing to a large project.
- Beginning chains and joining slip stitches do not count unless a step explicitly includes them. Mark every corner before continuing.
Complete Instructions: 5 Easy Crochet Blanket Borders
Make the Shared 24-Stitch Practice Edge
- Foundation Row: Ch 25. Sc in the second chain from the hook and in every remaining chain. Turn. (24 sts)
- Setup Row: Ch 1, sc in each stitch across. Turn. Keep one marker in the first and last stitch. (24 sts)
- For a four-sided blanket, use the same spacing rate along row ends and place (sc, ch 2, sc) in each corner. Count each side independently; the ch-2 corner spaces are not side stitches.
Border 1: Single Crochet
Ch 1 and work 1 sc in every one of the 24 setup stitches. For a blanket corner, work (sc, ch 2, sc) in the marked corner space. This compact edge is the easiest option for stabilizing stretch. The practice edge remains 24 counted stitches.
Border 2: Half Double Crochet
Ch 2 without counting it as a stitch. Work 1 hdc in each of the 24 setup stitches. At a blanket corner work (hdc, ch 2, hdc). This border is taller and softer than single crochet, so use relaxed tension and stop if the edge begins to wave.
Border 3: Shell Stitch
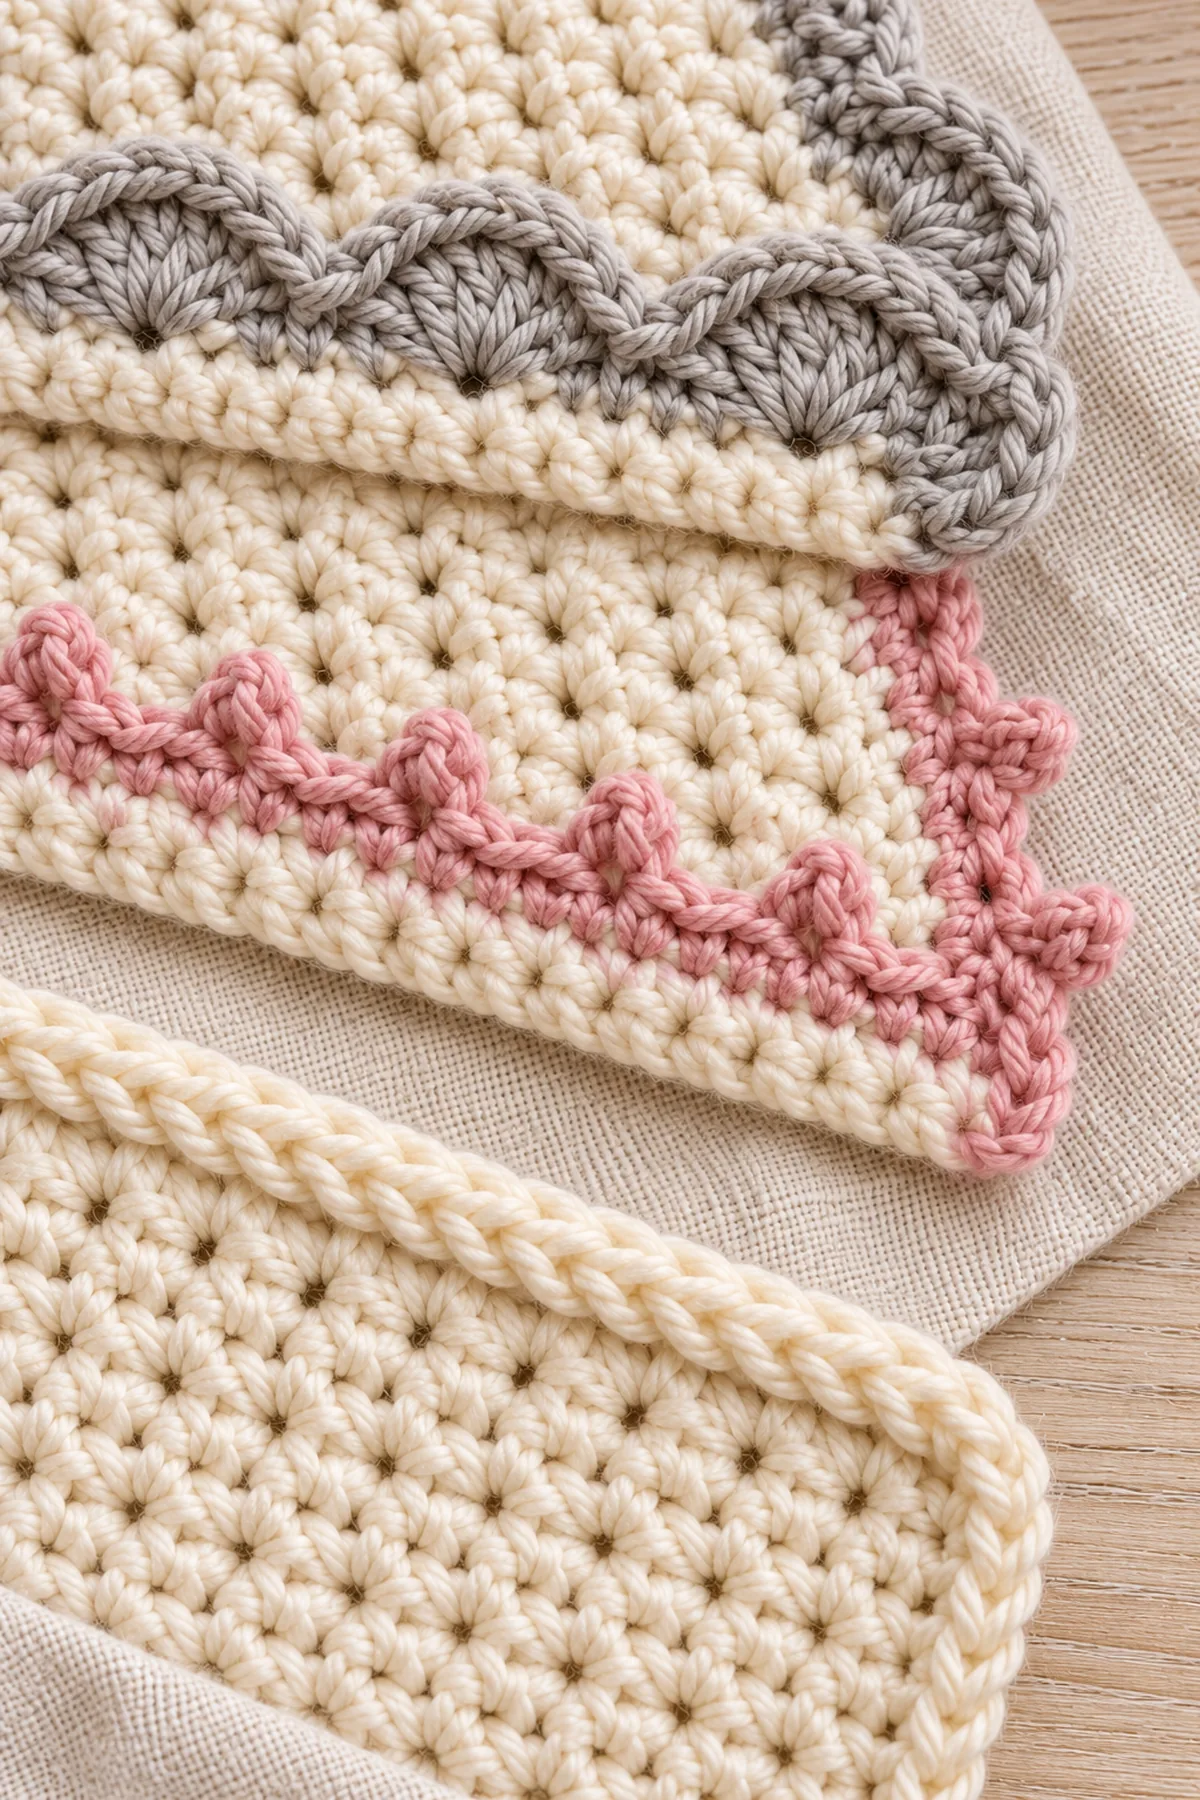
Across 24 setup stitches, repeat [skip 1 stitch, 5 dc in the next stitch, skip 1 stitch, sc in the next stitch] six times. Each repeat consumes four setup stitches and creates one five-dc shell plus one anchoring sc: 6 × 4 = 24 consumed and 6 × 6 = 36 new top stitches. At blanket corners, place one shell in the corner space and keep the anchor spacing symmetrical on both sides.
Border 4: Picot Edge
Work 1 sc in each setup stitch, adding a picot after every fourth sc: [sc in each of the next 4 stitches, ch 3, sl st in the first chain] six times. The base still has 24 counted sc and six decorative picots. At a blanket corner, work (sc, picot, sc) in the corner space.
Border 5: Crab Stitch
Do not turn after the setup round. Ch 1, then work one reverse single crochet into each of the 24 stitches, moving from left to right. Keep each loop the same height. Use three crab stitches around each blanket corner space, then continue along the next side without turning.
How to Keep Every Border Flat
Rippling means the edge contains too many stitches or the working loops are too loose. Cupping means the edge contains too few stitches or the border is being pulled tight. On row ends, begin with roughly three sc for every four hdc rows, then adjust the rate on the practice swatch while preserving equal counts on opposite sides. Never hide an incorrect count by stretching during blocking.
For striped blankets, change to the border color on the final pull-through of the last setup stitch. Carry no float across a corner. Cut and weave the old color through several same-color stitches before starting the decorative round.
Border Comparison
| Border | Look | Best use | Practice count |
|---|---|---|---|
| Single crochet | Clean and compact | Everyday blankets | 24 sc |
| Half double crochet | Soft and rounded | Plush throws | 24 hdc |
| Shell | Scalloped | Decorative blankets | 6 shells + 6 sc |
| Picot | Delicate points | Lightweight gifts | 24 sc + 6 picots |
| Crab stitch | Twisted cord | Modern firm edges | 24 crab sts |
Finishing
- Count the final edge and compare opposite sides.
- Weave each tail under five stitches, reverse through three stitches and trim after a stretch test.
- Wet-block on a flat surface without forcing corners outward.
- Let the swatch dry fully, then photograph and label it for future blanket planning.
Helpful Tips
- Use a contrasting marker in every corner before beginning.
- Test shell and picot spacing on at least 24 stitches.
- For crab stitch, rotate the hook downward rather than pulling the loop high.
- Record the setup-round count because every later repeat depends on it.
Frequently Asked Questions
Which border uses the least yarn?
Single crochet generally uses the least of these five options. Shell stitch uses the most because each shell places five double crochets into one anchor.
Can I add a border to a knitted blanket?
Yes. First make an evenly spaced crochet setup round through the knitted edge, record the count and test a small section before continuing.
Why are my corners curling?
The corner may contain too few stitches or the loops may be tight. Rework the corner formula on a swatch and compare it with the flat fabric before finishing the blanket.
Conclusion
These five samples show how a simple counted setup edge can support finishes ranging from plain and sturdy to decorative and delicate. Keep the foundation count visible, use symmetrical corners and test the border before committing to a full blanket.
BabyYarnie Printable Crochet Pattern Card
BabyYarnie — original crochet tutorials with count checkpoints.
Project: Crochet Blanket Finishing Ideas: 5 Easy Borders Every Beginner Should Try
Skill level: Beginner Hook: 5 mm; adjust after washing the 24-stitch practice swatch Yarn: Worsted weight (category 4)
Finished size: Five 8-inch practice swatches, each finished with one distinct border
Card Materials
- About 180 yards worsted-weight yarn total: cream for five swatches plus blush and soft gray for the borders
- 5 mm crochet hook, eight locking markers, tape measure, yarn needle and scissors
- A notebook for recording edge counts and the number of stitches placed into row ends
Card Instructions
- Make a 24-stitch setup edge and mark both ends.
- Choose single crochet, half double crochet, shell, picot or crab stitch.
- Use the stated repeat and corner formula, then block and inspect.
Finish: Verify the final count, weave every end in two directions, wet-block to measurement and inspect the piece from both sides.