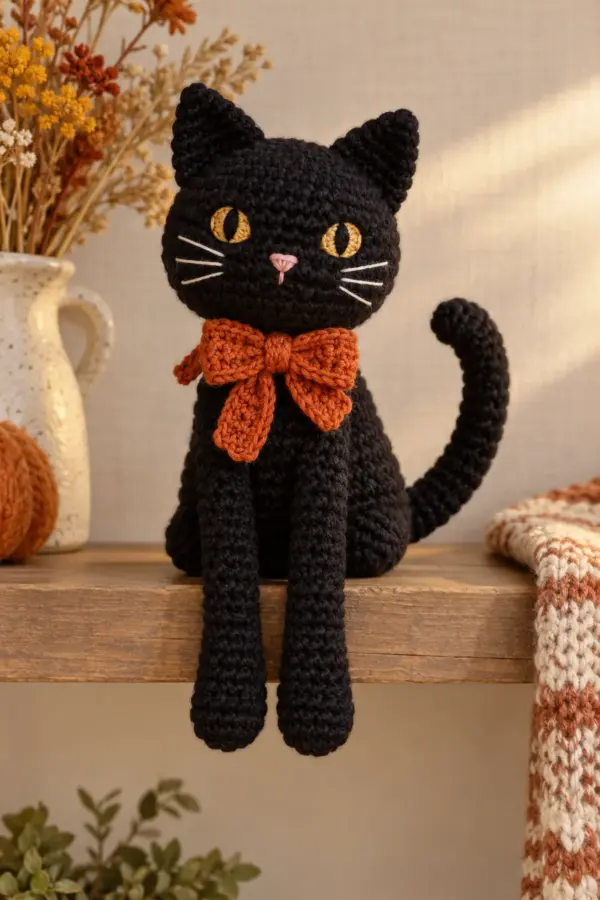
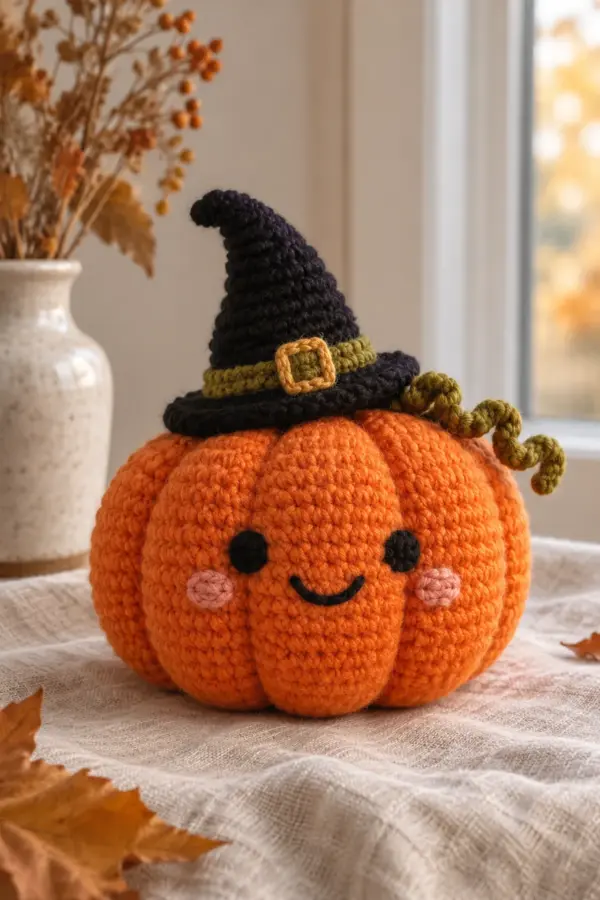
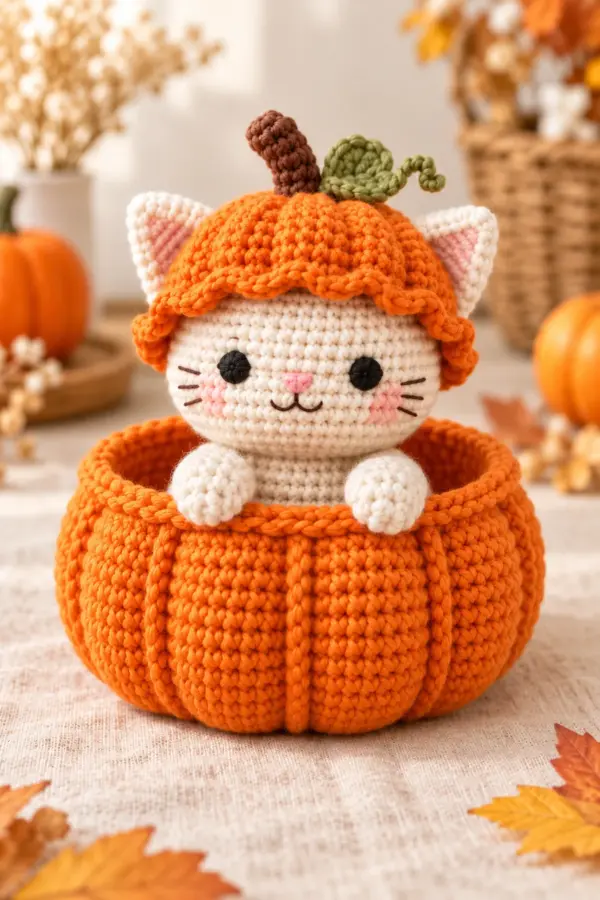
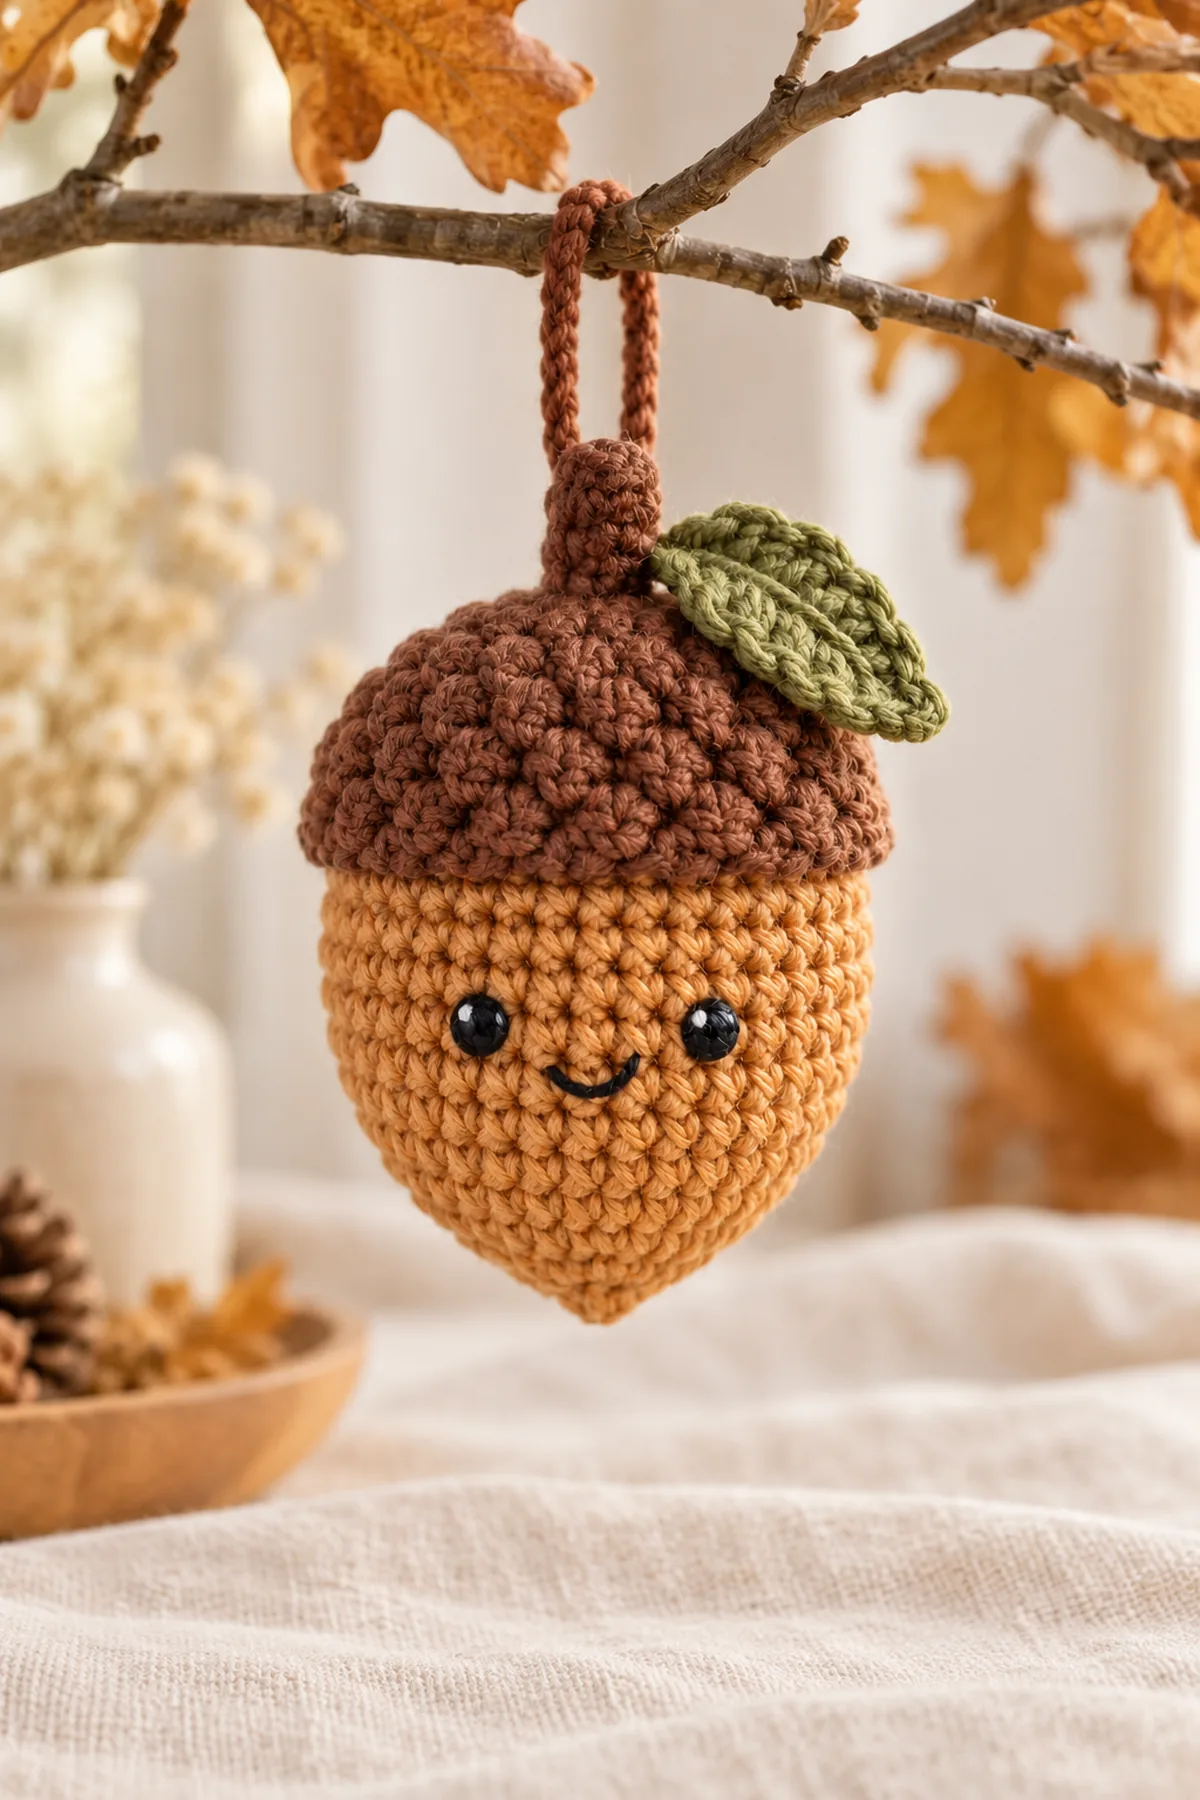
This original BabyYarnie crochet acorn amigurumi tutorial follows the silhouette and palette of the supplied reference as a visual brief. The stitch instructions, component engineering and wording are newly authored. Make every part in the order shown, then perform the fit and seam checks before display or gifting.
The reference is visual inspiration, not a source of usable written instructions. This complete US-terms tutorial gives countable stages for every structural component and explains how the pieces are joined.
Pattern Details
- Hook Size: 3.5 mm starting point; adjust for a dense fabric
- Finished Size: Planning 3.5-4 in tall including stem; ornament body about 2.5 in wide
- Gauge: Target 18 sc and 20 rounds per 4 in; make a swatch
- Estimated Time: 4-6 hours
- Construction: 36-stitch stuffed nut; separate 42-stitch cap, short flat stem, shaped leaf and reinforced hanging loop
- Skill level: Intermediate
Why You’ll Love This Project
A distinctive silhouette makes the finished project recognizable in one glance. Clear component counts make it possible to catch a shaping error before a seam is closed, and the finishing notes cover the details that a photo cannot teach.
Materials
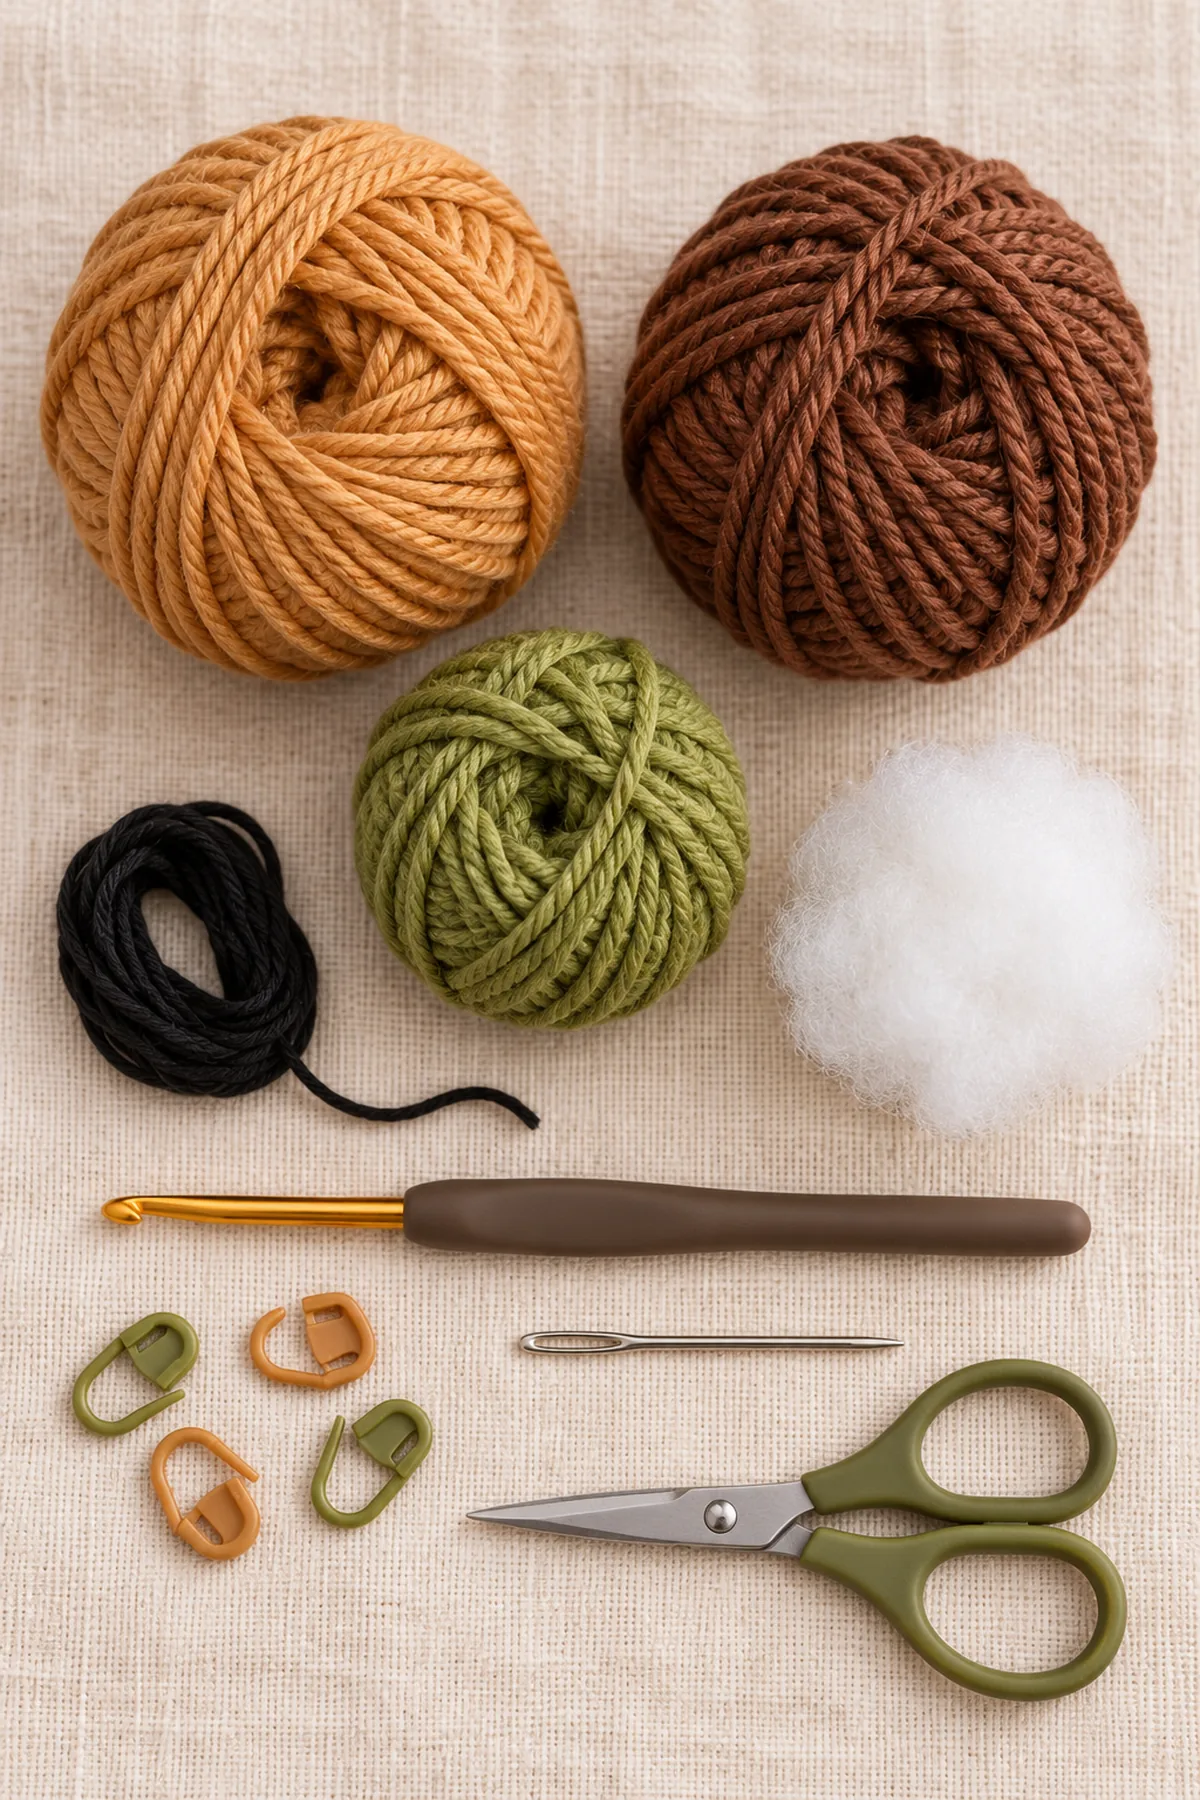
- Planning allowance: 55 yd warm tan, 35 yd dark-brown and 12 yd olive worsted cotton plus swatch allowance
- 3.5 mm hook, washable stuffing, black embroidery yarn, matching smooth sewing yarn
- Blunt needle, markers, scissors, ruler; no plastic eyes or loose hardware
Gauge, Measurements, and Planning
At the target 18-sc gauge, the widest 36-stitch nut circumference is about 8 in. The 42-stitch cap is about 1.3 in wider in circumference and can overlap the upper third without stretching. These are planning estimates; trial-fit before sewing.
Make and wash a gauge swatch before beginning. Measure only after the swatch is completely dry. If the stitch width differs, change hook size rather than pulling the working yarn tighter. Keep a written count at the end of every section so the finished edges remain balanced and the assembly points line up.
Abbreviations and Special Stitches
- ch: chain
- sc: single crochet
- dc: double crochet
- sl st: slip stitch
- st(s): stitch(es)
- inc: two single crochets in one stitch
- dec: single-crochet two stitches together
- BLO: back loop only
Special stitch guidance: Invisible decrease in a spiral: insert through the front loops of the next two stitches, yarn over and pull through both front loops, yarn over and pull through the remaining two loops. For flat rows use a regular sc2tog through both loops. A turning chain and a finishing slip stitch are never counted. Unless a joined round is explicitly stated, work spirals without joining or turning.
Important Notes
- Development disclosure: stitch arithmetic and the written component sequence are checked, but no physically crocheted sample or measured gauge is claimed. Yarn amounts, sizes and times are estimates; swatch and test the fit before gifting.
- AI-generated pictures illustrate the intended appearance; they are not photographs of a tested specimen or stitch charts. Use the written counts as the construction authority.
- The supplied image is a mandatory visual design reference only. This is not the source creator’s pattern; do not copy its text, instructions, layout, logo or image pixels.
- For child-facing gifts, embroider facial details. Do not use plastic safety eyes, loose buttons, wire, glue or detachable ornaments. These items are not certified infant toys or sleep accessories.
- Mark the first counted stitch of each spiral round. For every flat row, ch 1 and turn, then place the first sc in the last stitch of the previous row. Remove temporary markers before use.
Complete Instructions for Crochet Leaf-Cap Acorn Hanging Plush
Crochet and Close the Nut
- Acorn nut Round 1: 6 sc into a magic ring. (6 sts) Tighten the ring, mark the first sc, and work a continuous spiral without joining or turning.
- Round 2: inc in each stitch. (12 sts)
- Round 3: [sc in next 1 stitches, inc in next stitch] 6 times. (18 sts)
- Round 4: [sc in next 2 stitches, inc in next stitch] 6 times. (24 sts)
- Round 5: [sc in next 3 stitches, inc in next stitch] 6 times. (30 sts)
- Round 6: [sc in next 4 stitches, inc in next stitch] 6 times. (36 sts)
- Round 7: Sc in each stitch. (36 sts)
- Round 8: Sc in each stitch. (36 sts)
- Round 9: Sc in each stitch. (36 sts)
- Round 10: Sc in each stitch. (36 sts)
- Round 11: Sc in each stitch. (36 sts)
- Round 12: [sc in next 4 stitches, dec across next 2] 6 times. (30 sts)
- Round 13: [sc in next 3 stitches, dec across next 2] 6 times. (24 sts)
- Round 14: [sc in next 2 stitches, dec across next 2] 6 times. (18 sts)
- Round 15: [sc in next 1 stitches, dec across next 2] 6 times. (12 sts)
- Round 16: dec 6 times. (6 sts)
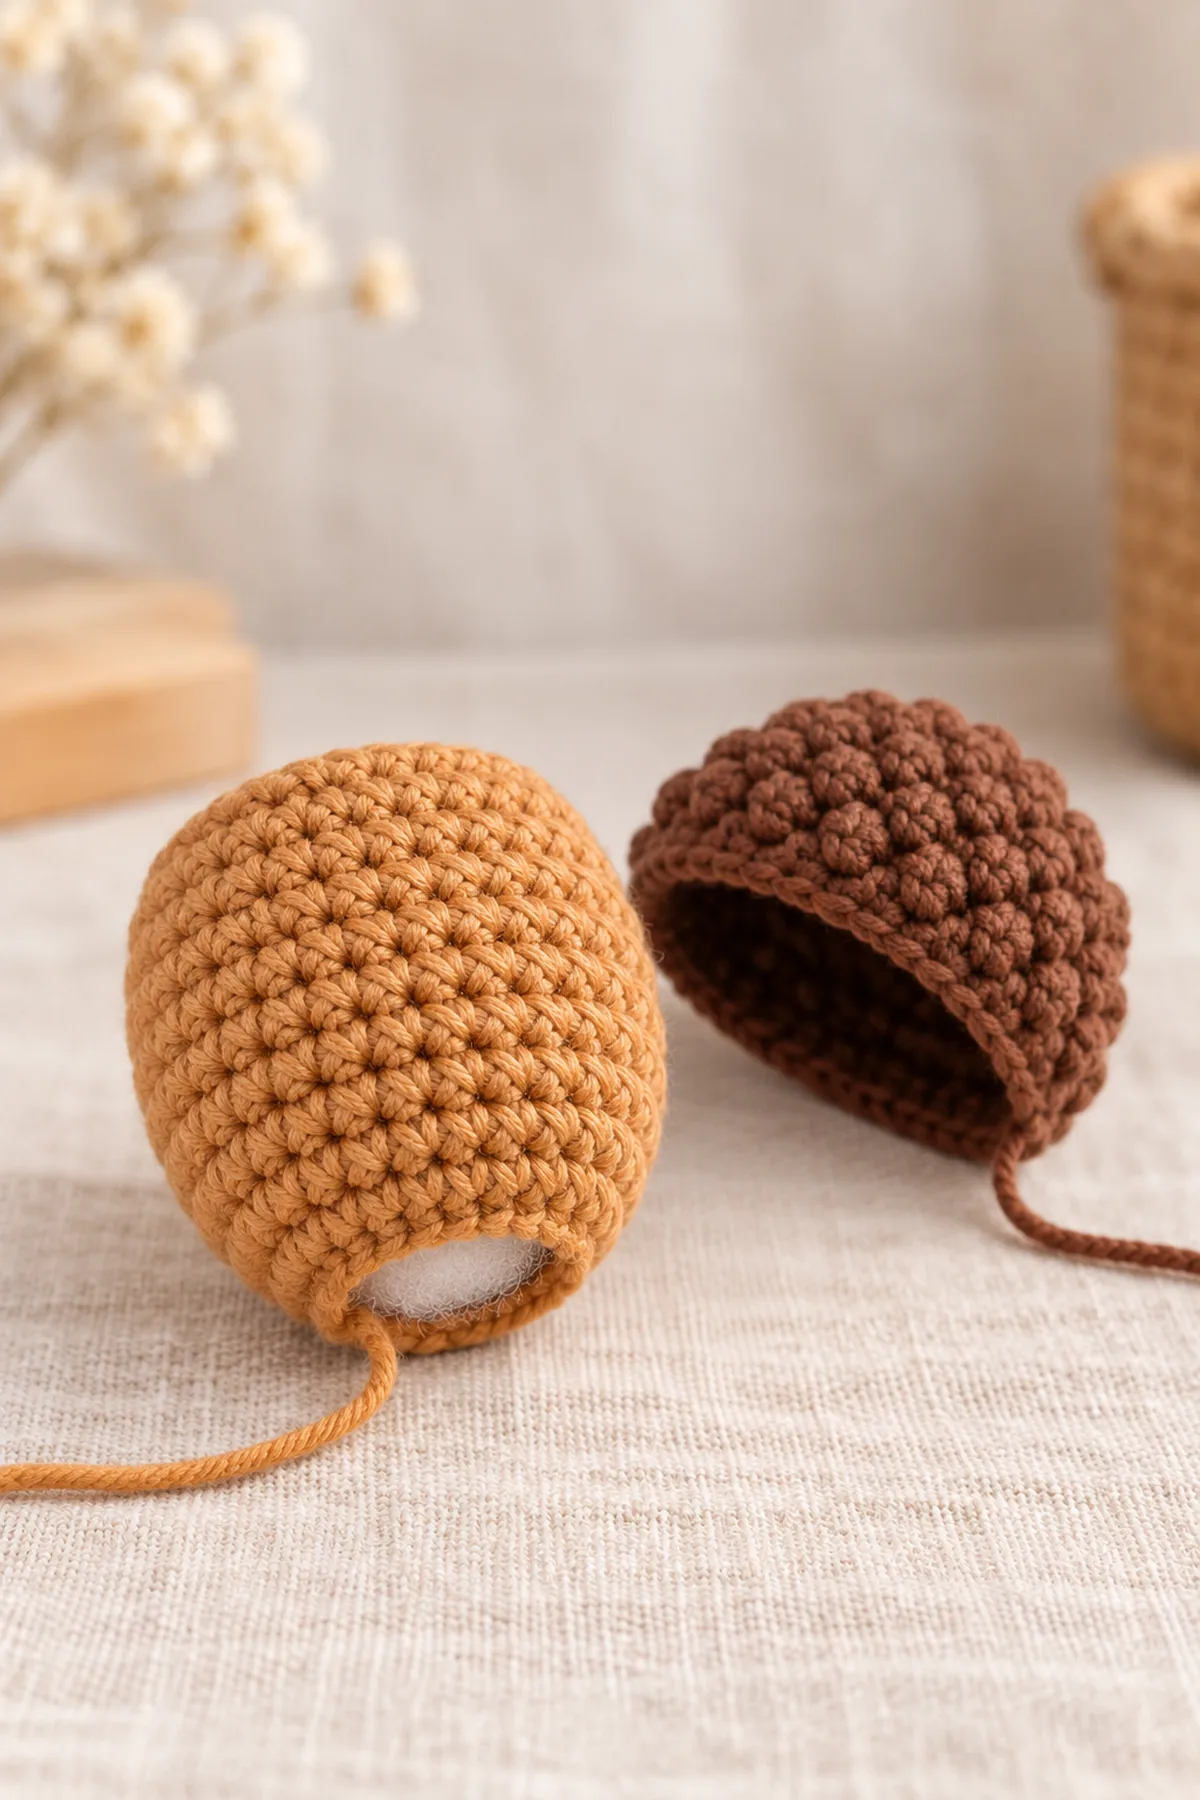
- Work in tan. Embroider two small round black yarn eyes across the front between nut Rounds 7 and 8, six stitches apart, and a tiny smile one round lower. Secure ends on the inside. Stuff gradually before the last two decreases. After the final six stitches, weave the tail through their front loops, draw closed and bury. The starting ring is the top and the closure is the bottom.
Make the Dark Cap and Soft Scalloped Rim
- Acorn cap Round 1: 6 sc into a magic ring. (6 sts) Tighten the ring, mark the first sc, and work a continuous spiral without joining or turning.
- Round 2: inc in each stitch. (12 sts)
- Round 3: [sc in next 1 stitches, inc in next stitch] 6 times. (18 sts)
- Round 4: [sc in next 2 stitches, inc in next stitch] 6 times. (24 sts)
- Round 5: [sc in next 3 stitches, inc in next stitch] 6 times. (30 sts)
- Round 6: [sc in next 4 stitches, inc in next stitch] 6 times. (36 sts)
- Round 7: [sc in next 5 stitches, inc in next stitch] 6 times. (42 sts)
- Rounds 8-9: Sc in each stitch. (42 sts)
- Work in dark brown. Leave the 42-stitch rim open. For a quiet scallop on that rim, repeat seven times: sl st in first rim stitch, skip the next, 3 dc in the next, skip the next, sl st in the next, sc in the next. Each repeat uses exactly six old stitches and makes six new edge stitches (the two skipped stitches make none). This decorative round is not part of the cap count. Fasten off and bury the tail. Place the cap over the nut starting-ring pole and check that the rim sits around nut Round 9 without covering the eyes. Sew a continuous circle through cap Round 8 and nut Round 9; the scallops remain free.
Crochet the Stem, Leaf and Hanging Loop
- Stem Row 1: ch 6; sc in second chain from hook and in each remaining chain. (5 sts) Ch 1 and turn; this chain never counts.
- Row 2: Sc in each stitch. (5 sts)
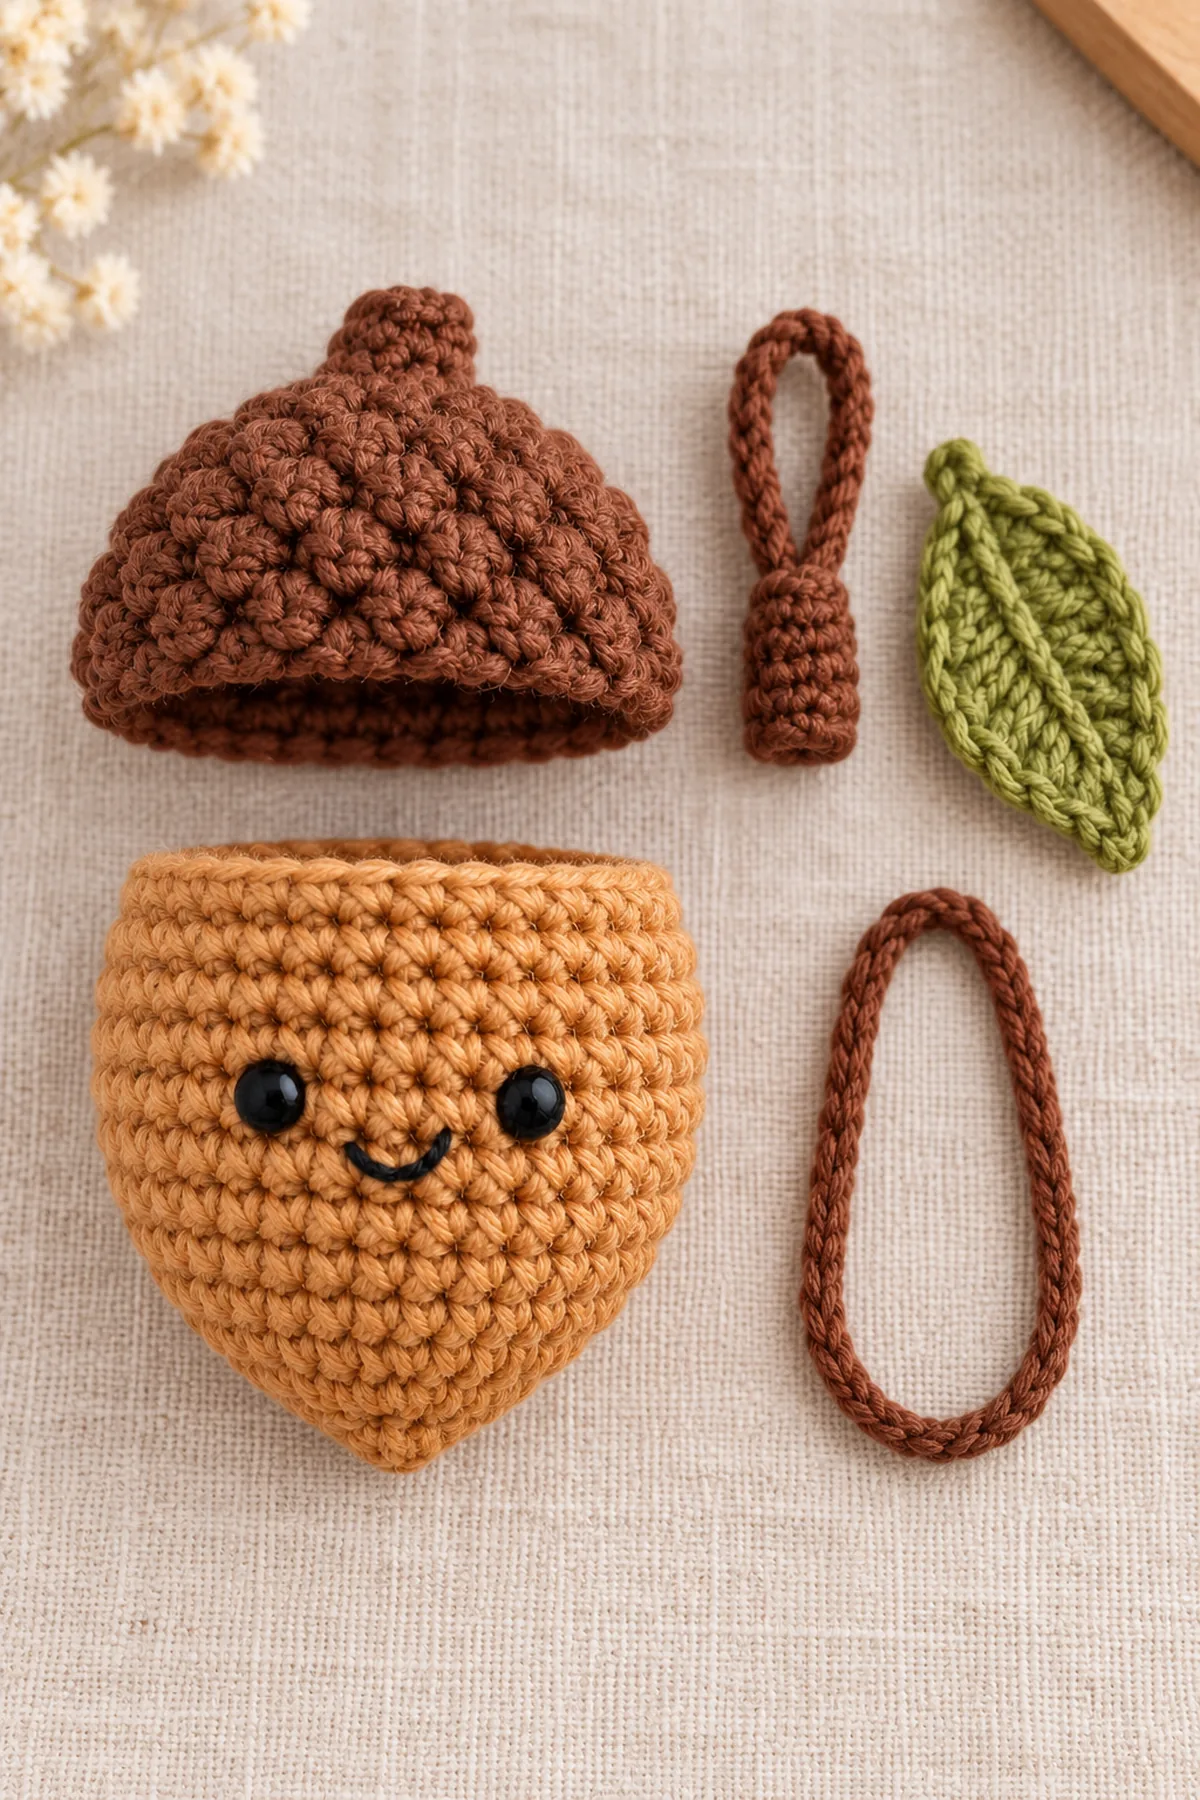
- In dark brown, fold the five-stitch strip lengthwise and sew along its long edge into a short cord. Sew its bottom two row ends to the cap center with two passes. The stem is decorative, not the hanging point.
- Leaf Row 1: ch 4; sc in second chain from hook and in each remaining chain. (3 sts) Ch 1 and turn; this chain never counts.
- Row 2: Sc, inc, sc; ch 1 and turn. (4 sts)
- Row 3: Sc, inc, sc in next 2; ch 1 and turn. (5 sts)
- Rows 4-5: Sc in each stitch. (5 sts)
- Row 6: Sc, sc2tog, sc in next 2; ch 1 and turn. (4 sts)
- Row 7: Sc, sc2tog, sc; fasten off. (3 sts)
- Work leaf in olive. Slip-stitch one clean pass around its perimeter without adding a new structural row. Sew the lower three stitches along the cap at the right of the stem; tack the pointed end once so it cannot lift.
- With dark-brown yarn, ch 24 and sl st into the first chain to make a loop. This chain loop is not a counted crochet round. Fold the loop behind the cap and stitch both ends through cap center and a small area of nut fabric, making two reinforcing passes. Hang briefly over a padded surface to verify the loop carries the entire weight.
Final Ornament Check
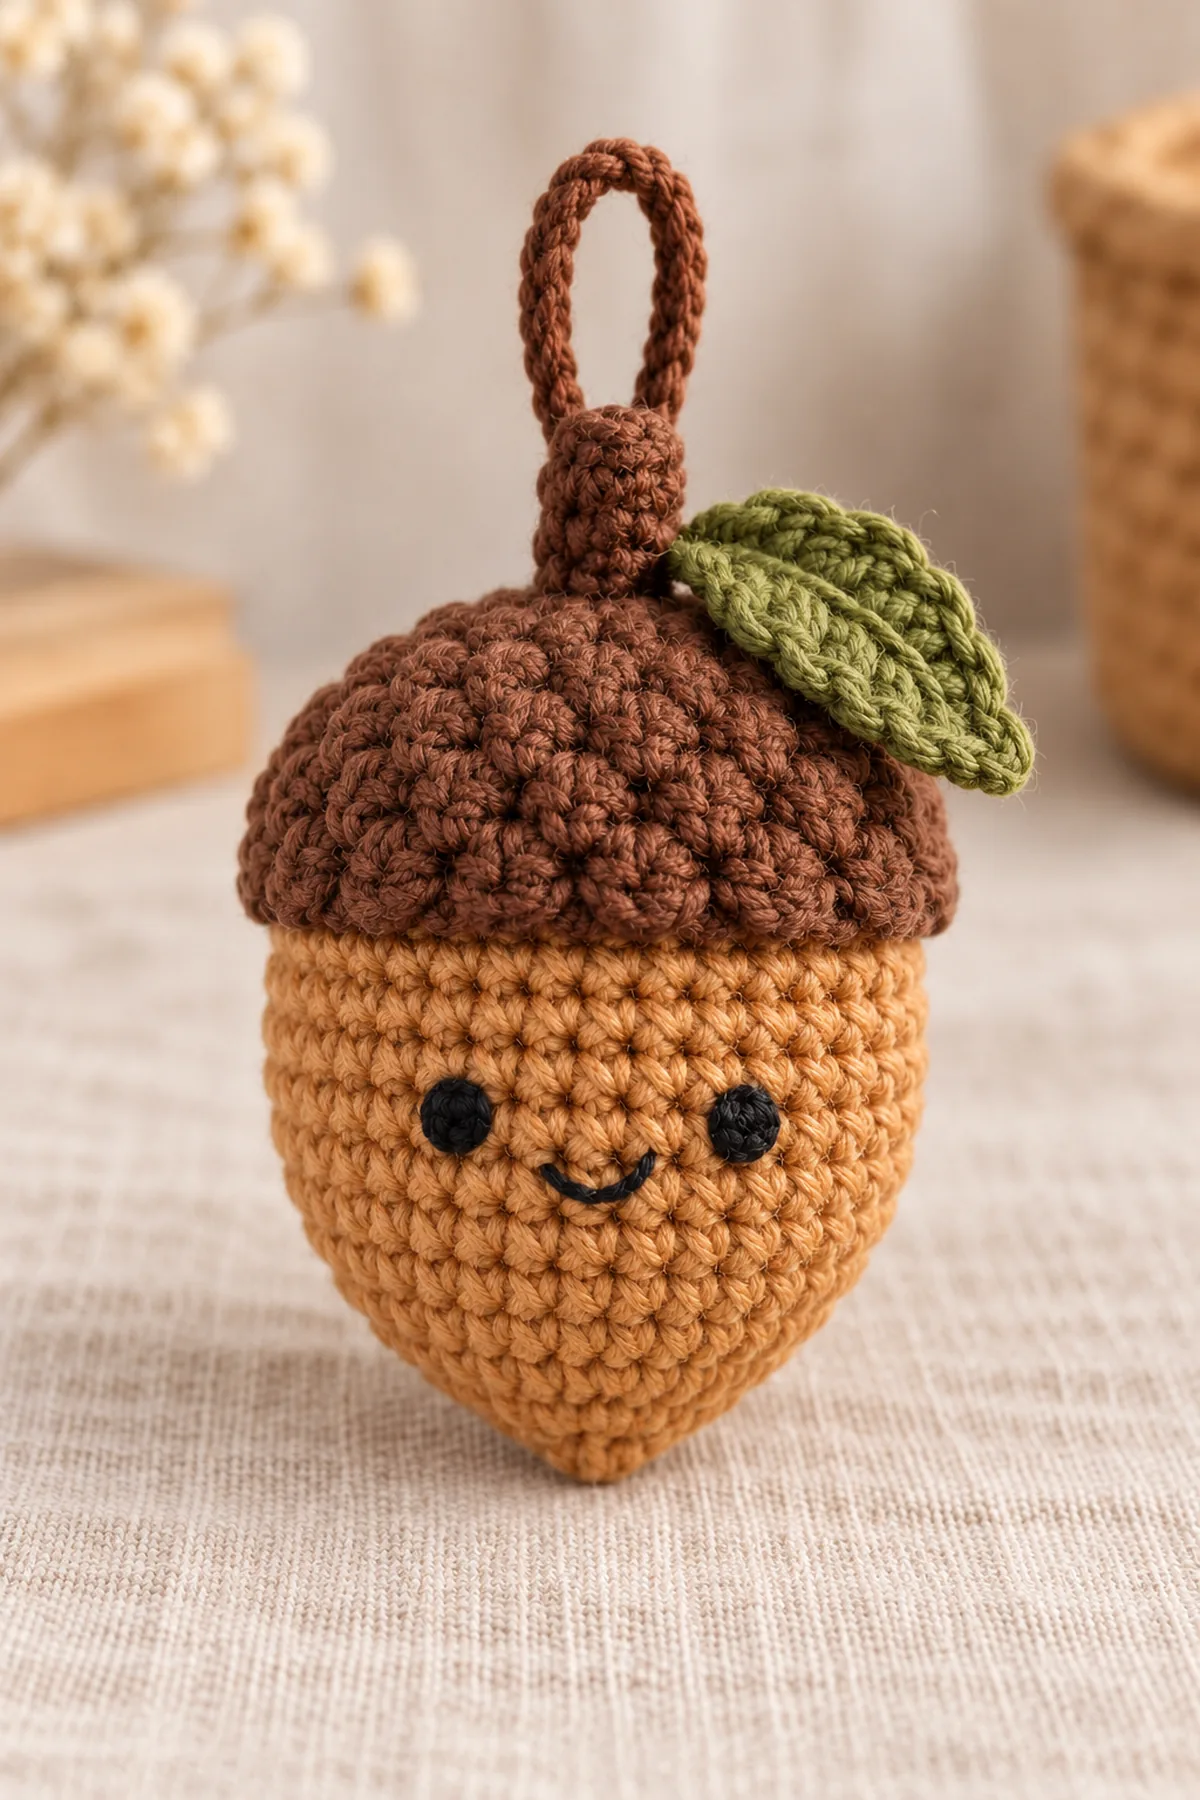
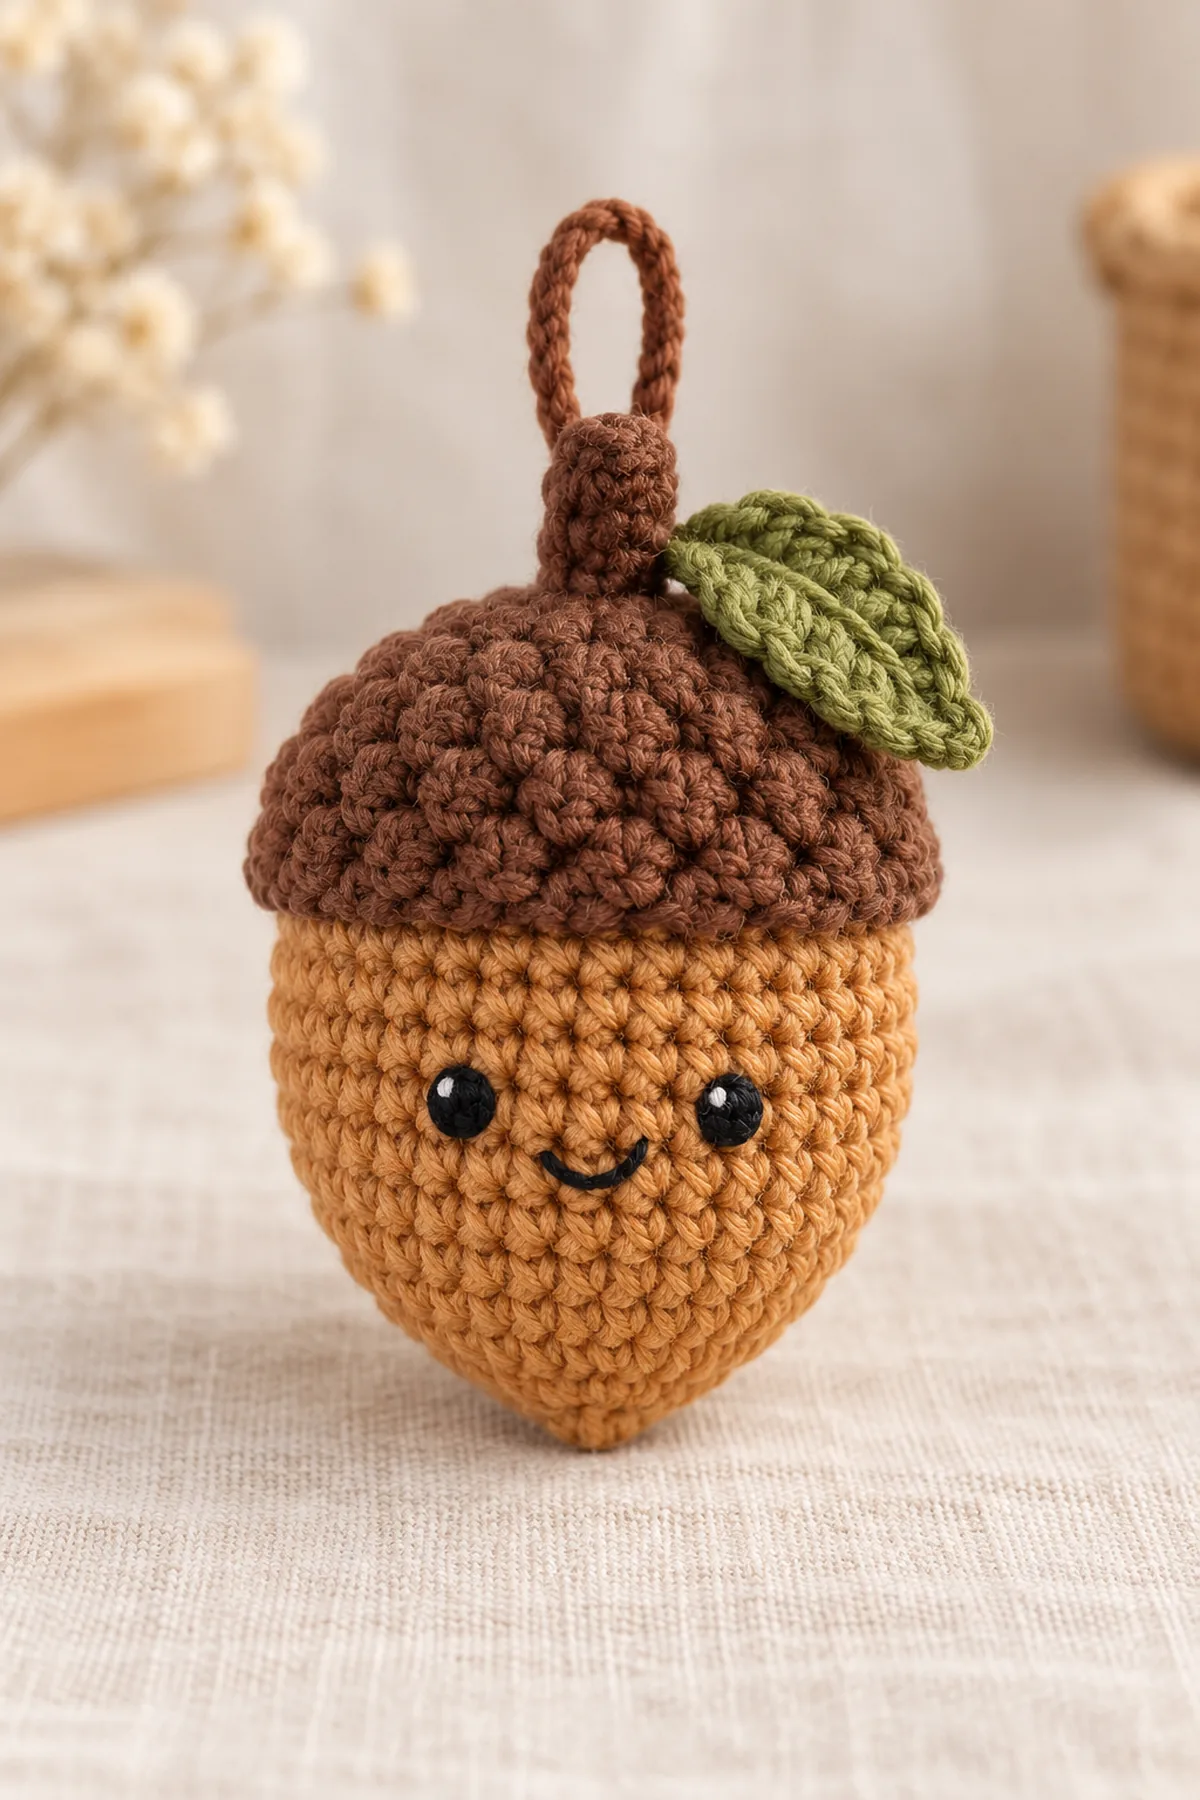
- The cap must remain separate in texture and dark color, the olive leaf must point sideways, and the tan nut face must remain visible.
- Pull-test the cap seam, leaf tacks, stem and loop. Do not place this decor item in an infant sleep area.
Assembly and Shaping
Sew the open cap over the filled tan nut with a full circular hidden seam; add the folded stem and olive leaf above it. Reinforce the independent hanging loop through both cap and nut fabric.
Lay every component on a flat surface before joining. Match the marked centers first, then divide each remaining edge into equal sections. Work through both layers with consistent tension and pause after each section to check that the fabric lies flat. This measured approach prevents twisting and keeps decorative details facing the intended direction.
Finishing
- Before closure, check every part against its stated last-round count and place a small amount of washable filling where directed.
- Sew full contact edges, then make a second reinforcing pass. Secure and bury ends through at least three fabric paths.
- Remove pins and markers. Pull-test all attachments, check for exposed filling, and inspect again after washing according to the yarn label.
For a polished result, weave each tail through several same-color stitches, reverse direction once, and trim only after the fabric has been gently stretched. Block to the listed dimensions without flattening textured stitches. Inspect joins, borders, straps, and decorative pieces before the project is used or gifted.
Helpful Tips
- A marker at each repeat boundary makes increases and decreases easier to count.
- Make paired pieces together and compare before sewing.
- If stuffing shows through, redo the affected section with a smaller hook rather than covering gaps with embroidery.
Good lighting and a contrasting stitch marker make counting much easier. If a section looks uneven, compare the current count with the previous checkpoint before continuing. Fixing one missed stitch early is faster than compensating later, and it preserves the measurements used by the assembly instructions.
Frequently Asked Questions
Is this copied from the reference image?
No. The reference controls the visual brief only. The instructions and counts here are an independent BabyYarnie construction.
Was a physical sample tested?
No physical sample is claimed. Numerical stitch validation does not establish actual fit, fabric drape, yarn quantity or child safety; make a swatch and trial assembly.
Can I use hard safety eyes?
For the safest gift presentation, use securely embroidered eyes and avoid hard or detachable small parts.
Conclusion
Record your actual yarn, hook and finished measurement. Compare the completed silhouette with the design brief, then inspect every seam and embroidered feature before gifting or display.
BabyYarnie Printable Crochet Pattern Card
BabyYarnie — easy-to-follow crochet for everyday makers.
Project: Crochet Leaf-Cap Acorn Hanging Plush
Skill level: Intermediate Hook: 3.5 mm starting point; adjust for a dense fabric Yarn: Worsted cotton
Finished size: Planning 3.5-4 in tall including stem; ornament body about 2.5 in wide
Card Materials
- Planning allowance: 55 yd warm tan, 35 yd dark-brown and 12 yd olive worsted cotton plus swatch allowance
- 3.5 mm hook, washable stuffing, black embroidery yarn, matching smooth sewing yarn
- Blunt needle, markers, scissors, ruler; no plastic eyes or loose hardware
Card Instructions
- Crochet and Close the Nut: Nut grows 6 to36, stays at36 for five rounds, decreases to6 and closes.
- Make the Dark Cap and Soft Scalloped Rim: Cap 6 to42, two 42-sc rounds; seven six-position scallops; full concealed attachment circle.
- Crochet the Stem, Leaf and Hanging Loop: Five-sc folded stem, three-to-five-to-three shaped olive leaf, reinforced 24-chain hanging loop.
- Final Ornament Check: Check all attachments and full hang test.
Finish: Check every count, weave in all ends, block to measurement, and inspect each join.