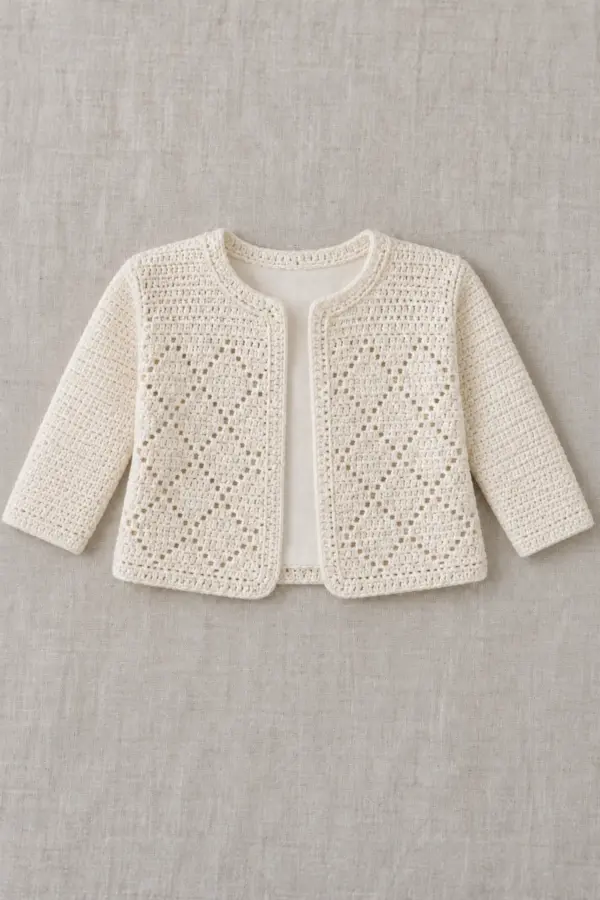
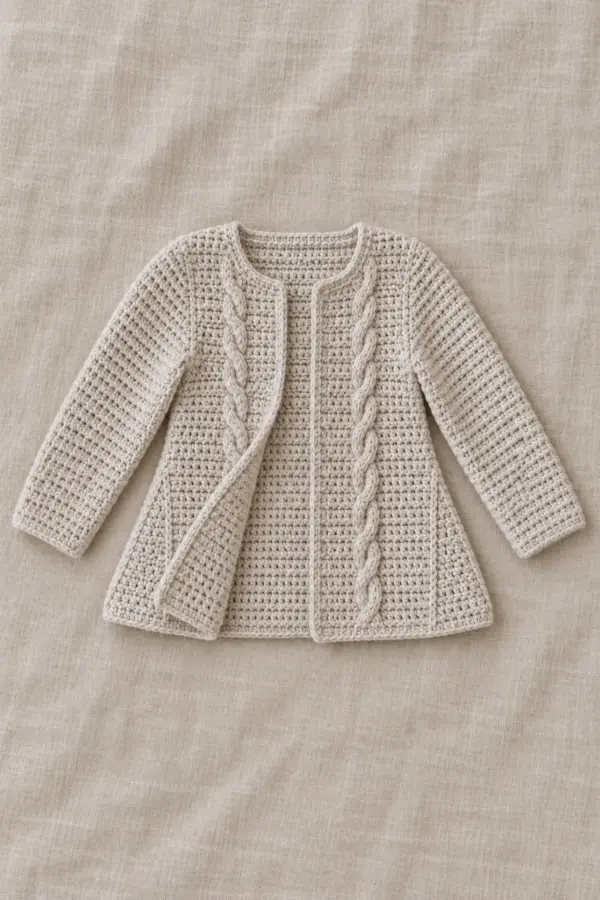
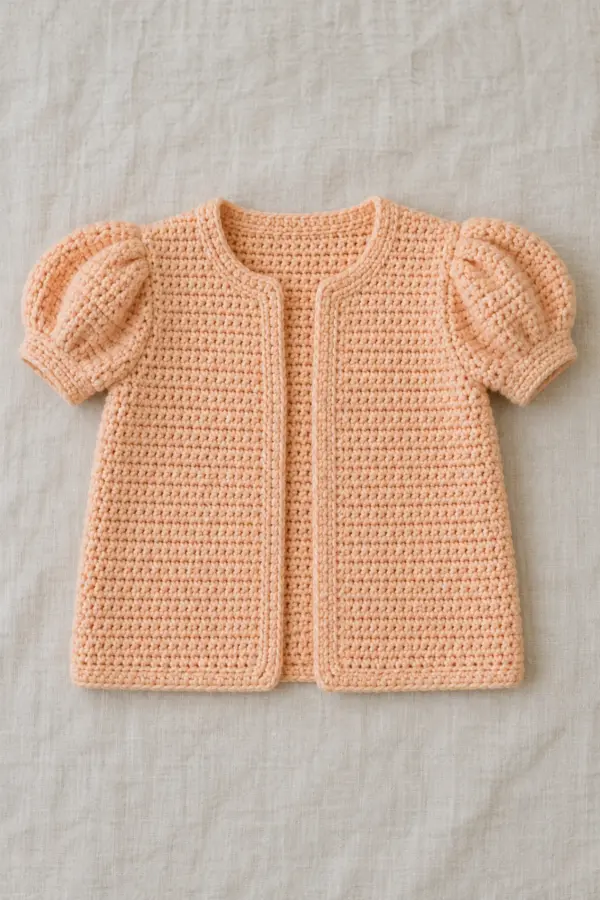
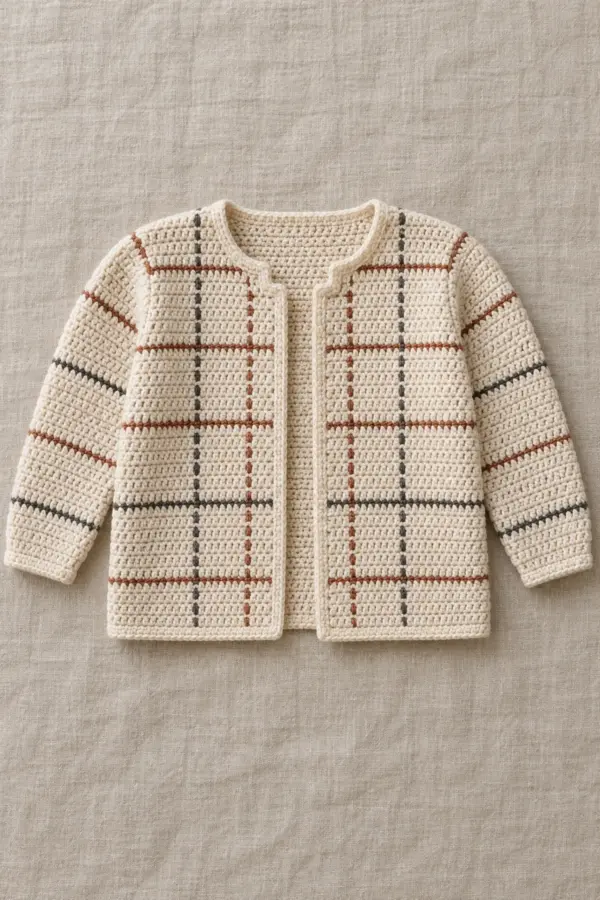
This original crochet short row baby cardigan pattern explains how to make crochet short-row crescent baby cardigan from the first counted stitch through final assembly. The design is a practical free tutorial in US terms, with measurements and stitch checkpoints that you can verify as you work.
This design uses a single sideways single-crochet body strip shaped by fourteen measured short-row wedges, with two counted sleeve slits and picked-up tapered sleeves. Work the named components in their stated direction, verify each count, and baste every shaped join before finishing.
Pattern Details
- Hook Size: 4 mm, adjusted to washed ordinary sc gauge
- Finished Size: 6–12-month planning size:20.4-inch hem/fabric chest target,8.9-inch radial body depth,10.2-inch unedged neck path; sleeves about7.3 inches, upper opening7.1 inches and cuff4.9 inches
- Gauge: 18 sc stitches and22 turned rows =4 inches; swatch a whole short-row unit as well
- Estimated Time: 18–26 hours including swatching
- Construction: Forty stitch positions from hem to neck; fourteen eight-row units with lengths40/40/28/28/34/34/40/40; slit row in Units4 and12; sleeves32→22
- Skill level: Intermediate
Why You’ll Love This Project
The shape comes from counted stitches rather than an unexplained diagram. You can inspect each stage against the measurements, and the finished object has a clear purpose and a distinct silhouette in photographs.
Materials
- Approximately550 yards pale-eucalyptus washable DK including sleeve, edge and wedge swatches; planning estimate
- 4 mm hook, markers in three colors, basting thread, yarn needle, tape and scissors
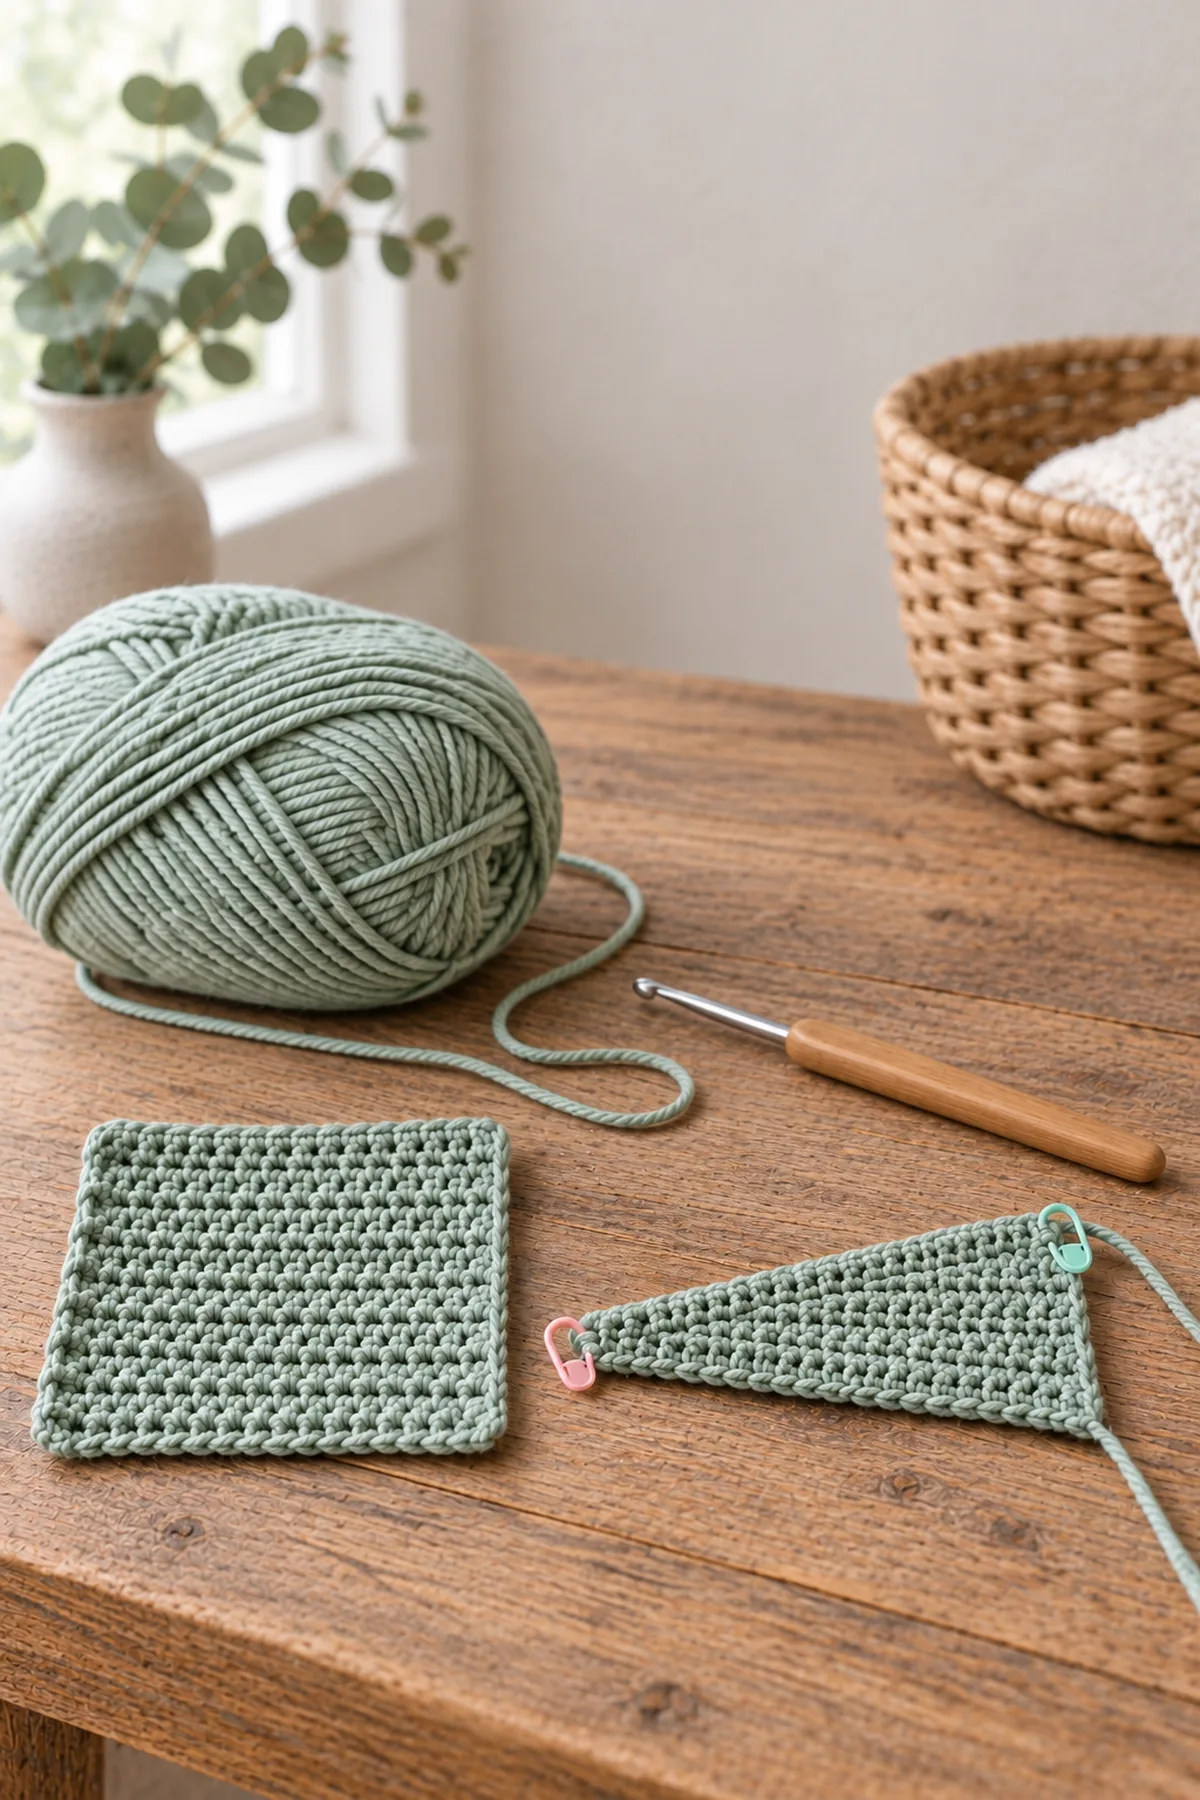
Gauge, Measurements, and Planning
Wash a26-stitch sc swatch at least30 rows high, plus a separate full40-position wedge unit. Ordinary gauge18 stitches and22 rows per4 inches makes the40-position body depth8.9 inches. Every unit contributes eight row-end bars at the hem, six at positions29–34 and four at the neck’s final six positions. Across fourteen units the hem has112 bars, intermediate field84 and neck56. Their relaxed path lengths are20.4,15.3 and10.2 inches respectively. These differences make a shallow crescent while the garment is unfolded; they do not create a ruffled hem. Wrapped and fitted, the lower edge should hang level without forced blocking. The planning age and dimensions require comparison with the wearer and a physical swatch; they are not a validated graded size chart.
Make and wash a gauge swatch before beginning. Measure only after the swatch is completely dry. If the stitch width differs, change hook size rather than pulling the working yarn tighter. Keep a written count at the end of every section so the finished edges remain balanced and the assembly points line up.
Abbreviations and Special Stitches
- ch: chain
- sc: single crochet
- sl st: slip stitch
- st(s): stitch(es)
- rnd: round
- inc: 2 sc in one stitch
- sc2tog: single crochet two stitches together
- hdc: half double crochet
- dc: double crochet
- hdc2tog: half double crochet two together
- dc2tog: double crochet two together
- RS/WS: right side/wrong side
Special stitch guidance: Every row is ordinary both-loop sc with ch1 lifts uncounted. A single-ended short row starts at the HEM, turns at a named position before the NECK, then returns to the hem. Held stitches are preserved; they are not decreases. On an extension row, work the last top at a previous turn together with that turn’s side bar as a single sc through both strands, then continue into the next held stitch. Catching the bar closes the small step without adding a position or counting a second stitch there. Use sc2tog only in the sleeve decrease rounds or explicitly stated edge-pickup distribution, not to erase a body position. Slit chains count as future body positions, while their lifts do not.
Important Notes
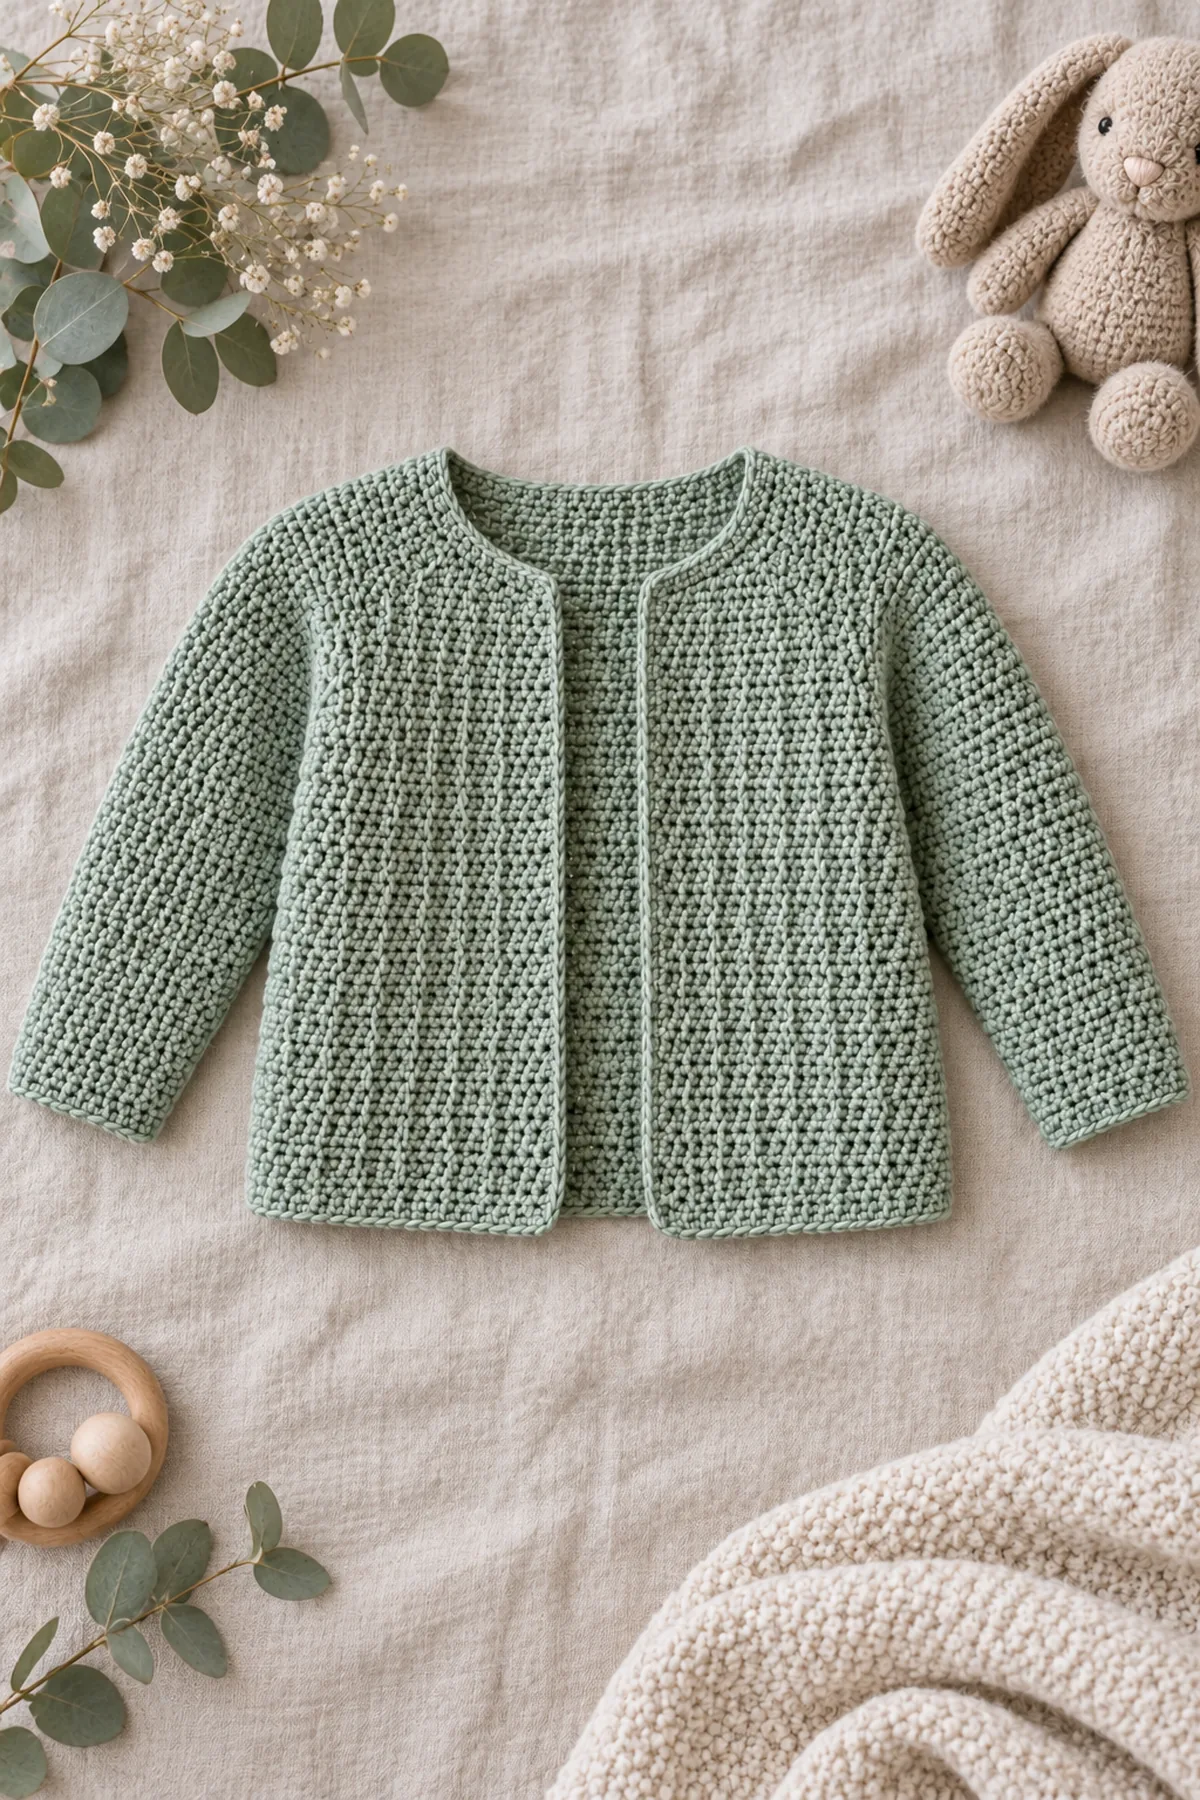
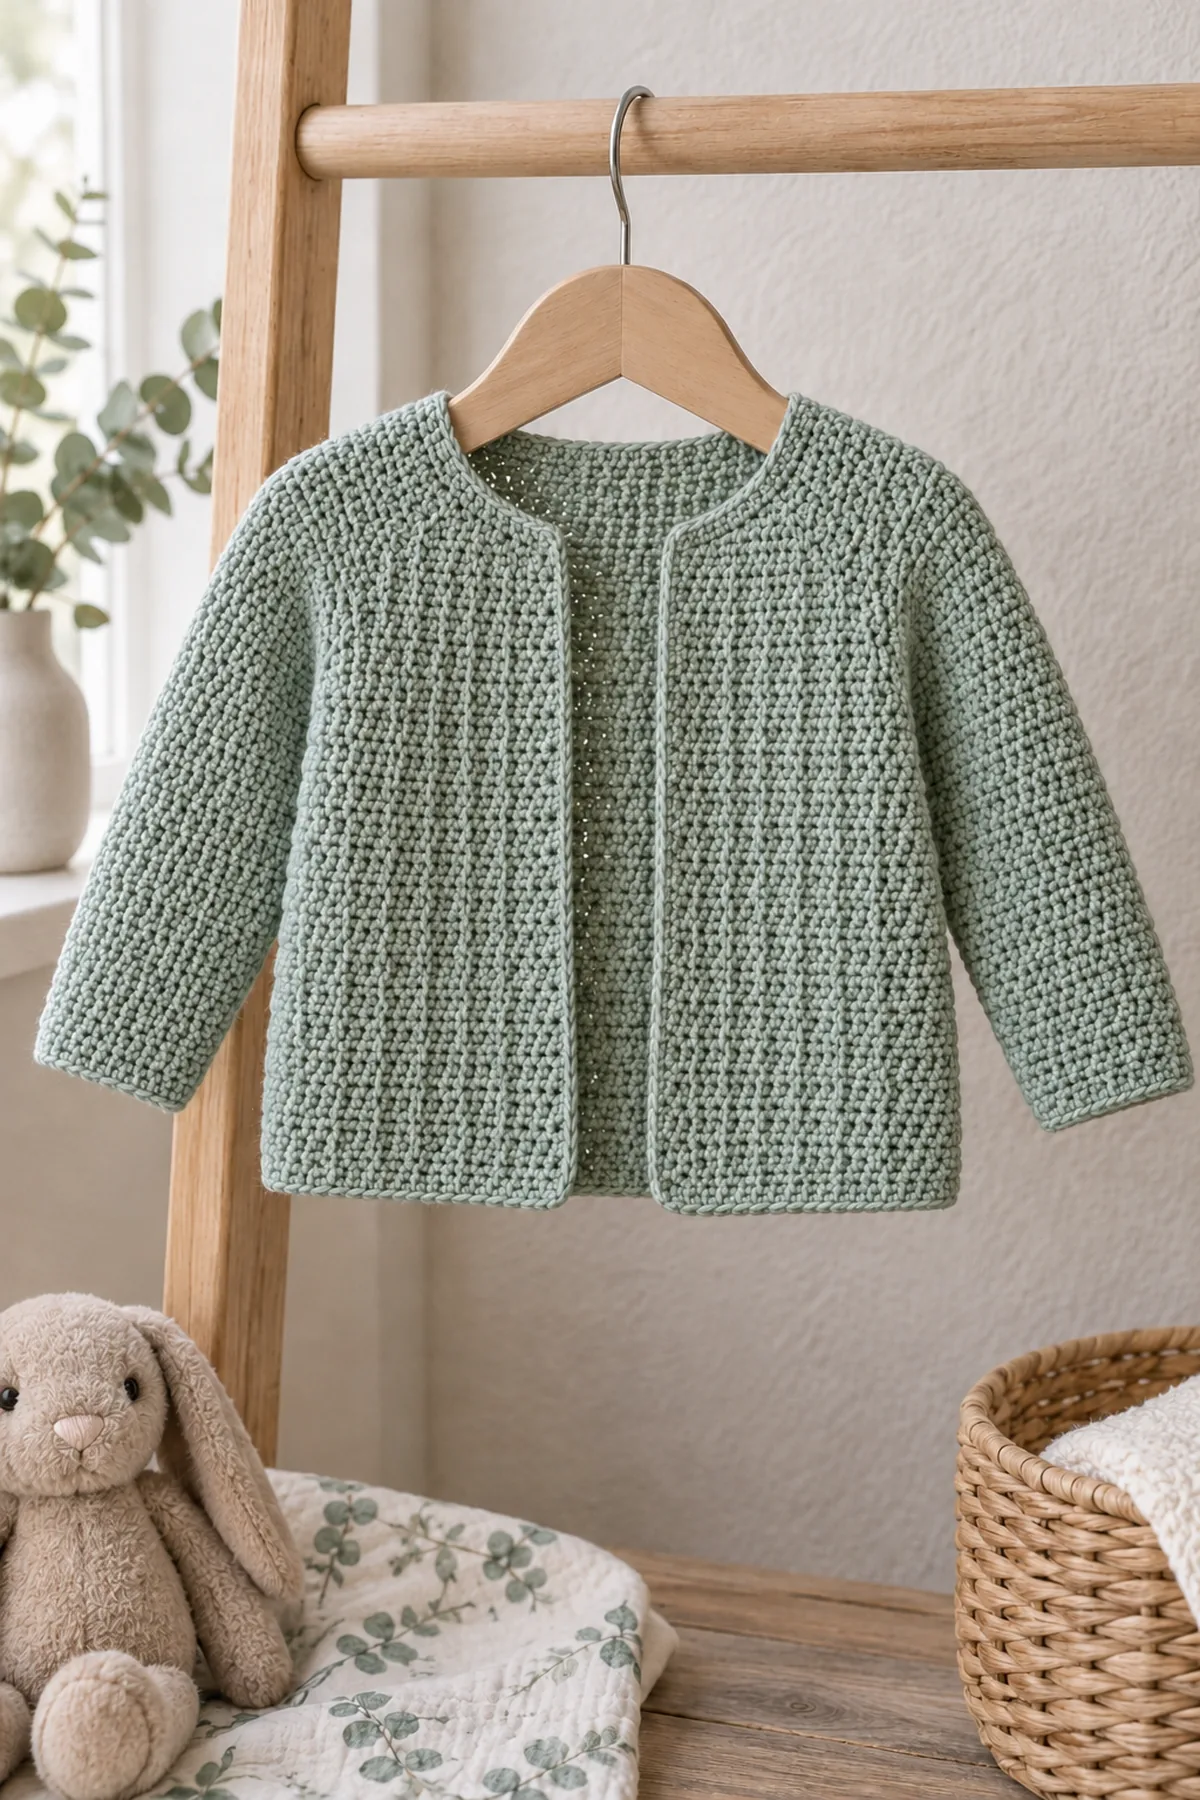
- AI-generated pictures illustrate the intended design; they are not photographs of a physically tested sample. Follow written counts rather than counting stitches in an image.
- The stitch arithmetic has been checked, but gauge, yardage and fit are planning targets until a physical sample is made. Wash a swatch and check measurements before gifting or wearing.
- A beginning ch 1 and a joining sl st never count as a stitch in this pattern. Mark the first counted stitch of each row or round.
- If a row count is wrong, return to that row. Adding an unplanned stitch later changes the shaping and the assembly alignment.
- Age labels are planning guidance only. Compare washed chest, arm openings, sleeve length and neckline to a comfortable garment for the intended child. Use as supervised awake outerwear, never for sleep.
- Arithmetic reference, not a size chart: (28 sts); (34 sts); (40 sts). Counts refer to the component named in the corresponding row.
Complete Instructions for Crochet Short-Row Crescent Baby Cardigan
Mark the Forty-Position Strip and First Wedge
The body grows sideways from one front opening, around the back, to the other front opening. Number physical positions1–40 from HEM to NECK on every hem-starting row, regardless of which way the work is turned.
- Ch41. Unit1 Row1: sc in the second chain and every remaining chain, ending at the neck; turn. (40 sts) Mark physical positions18,28,34 and40. Unit Row2: ch1, sc40 from neck back to hem, turn. No chain lift is a41st position.
- Unit Row3: ch1, sc in positions1–28 only from hem toward neck, leave29–40 unworked, turn. (28 sts) Row4: ch1, return across these28 to the hem, turn. Mark the last top at position28, keeping its short-row-end bar available for the next extension.
- Unit Row5: ch1, sc across the28 most recent tops, catching the preceding turn’s side bar with the position28 top as ONE sc. Then sc in the six held positions29–34 from the last full row, leave35–40 unworked and turn. (34 sts) Row6: ch1, sc34 back to the hem and turn; mark position34’s next extension join.
- Unit Row7: ch1, sc across the34 most recent tops, catching the prior turn bar with the position34 top as ONE sc. Continue across the six held tops35–40, reaching the neck; turn. (40 sts) Row8: ch1, sc40 back to the hem, turn. This completes one unit and restores a full40-position active row.
- The eight row lengths are40,40,28,28,34,34,40,40. Row count restarts1–8 for each unit, but physical positions never renumber. Every unit ends at the hem ready to begin another. The held six or twelve tops are used later, not worked a second time as hidden increases. A tight turn, large hole or extra stitch at either extension must be undone before starting the next unit.
- Unit2 and Unit3 repeat all eight rows, beginning with a new full40-sc Row1 instead of another foundation chain. After Unit3, the first front section has24 hem row-end bars and12 neck bars. Its fabric depth is still40 positions; the curved upper boundary is not a separate collar piece.
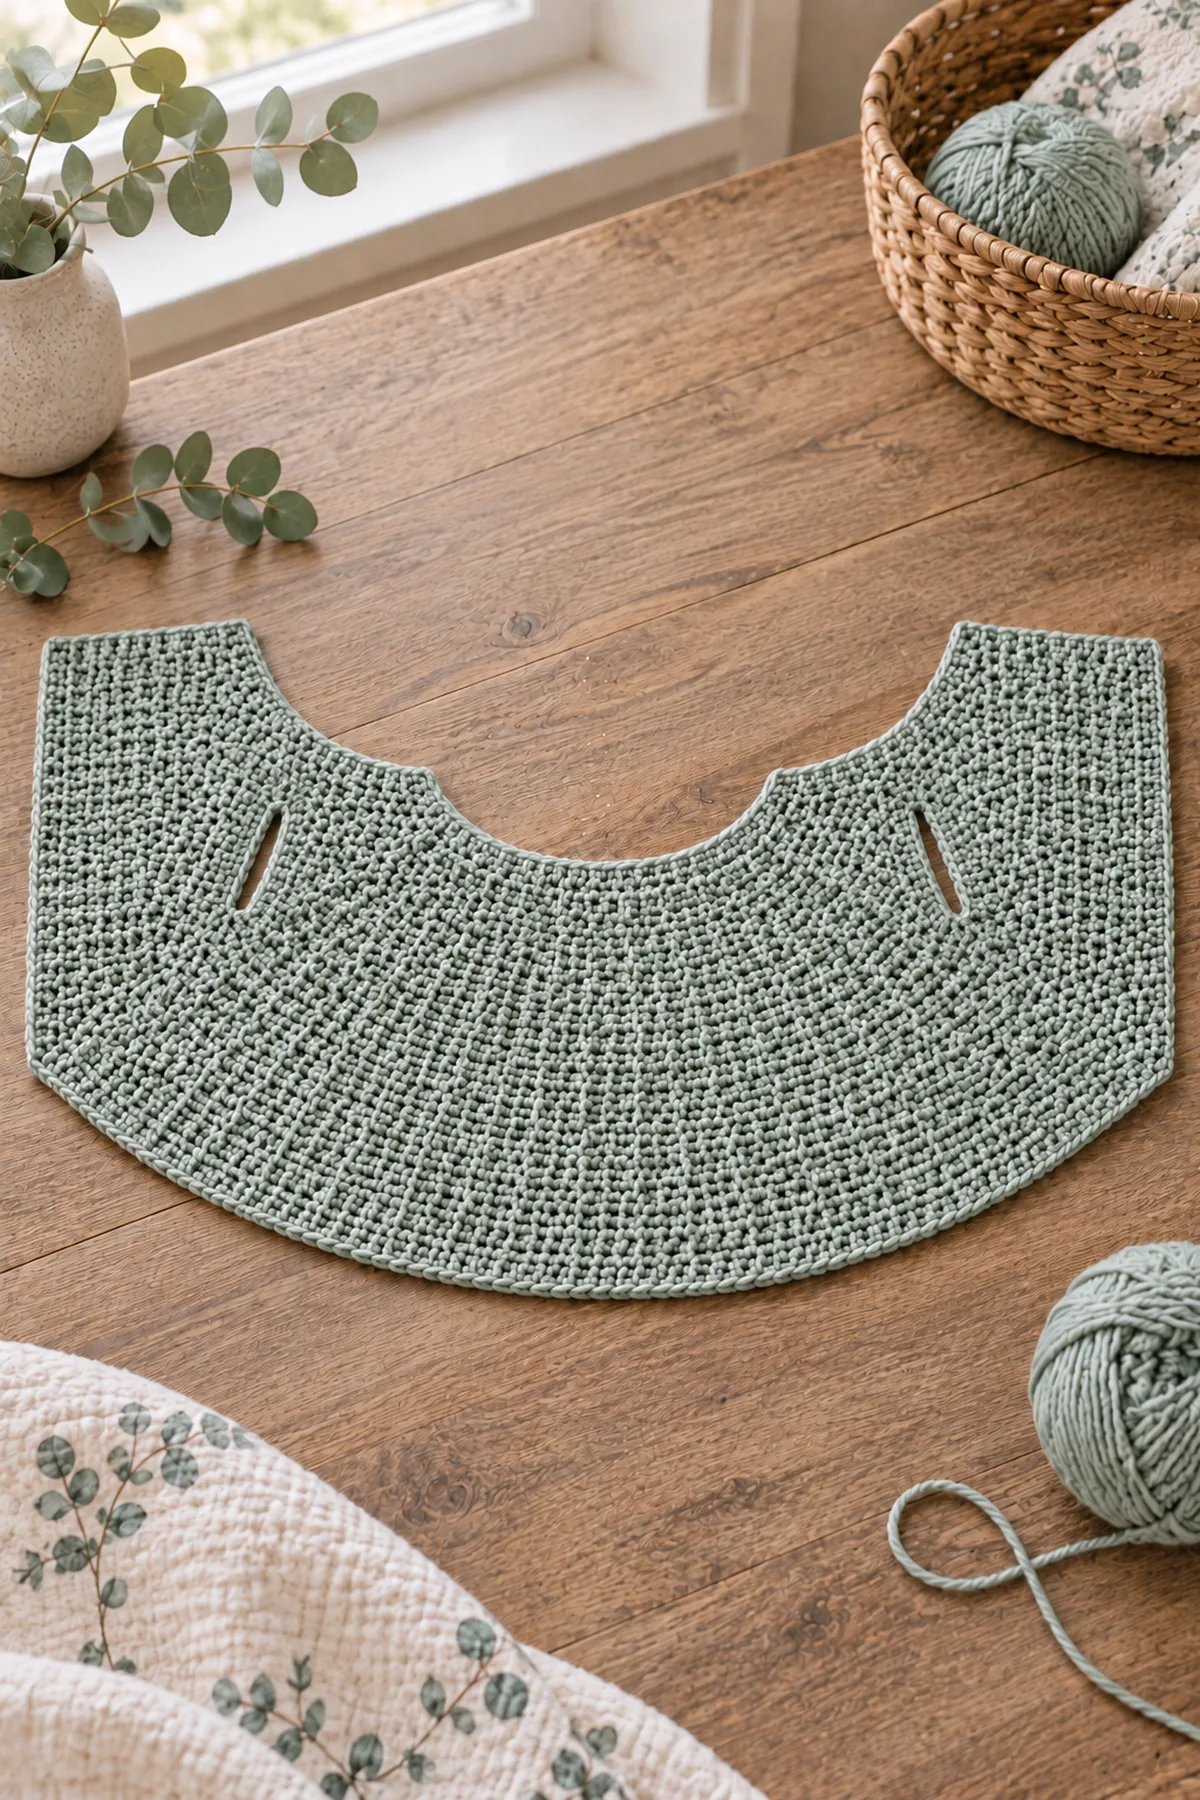
Open Both Sleeve Slits Without Losing Body Counts
The two slit rows replace an interval of sixteen actual stitch positions with sixteen foundation chains. All other wedge rows continue normally. Never cut a sleeve hole after crocheting the strip.
- Unit4 Row1, starting at the hem: sc in positions1–18, ch16, skip the next16 tops at positions19–34, then sc in positions35–40, turn. The row contains18+6=24 actual sc and16 chain positions,40 future positions total. (40 sts) Do not add a chain bridge at the neck or join the front opening.
- Unit4 Row2: from the neck, sc6 in actual tops, sc once in each of the16 bridge chains, then sc18 in the remaining actual tops; turn. Now all40 active positions are sc again. The sixteen skipped tops and the free chain undersides form the two lips of the first sleeve slit. Mark both slit endpoints separately from wedge turn markers.
- Finish Unit4 Rows3–8 at28,28,34,34,40,40 as usual. Work Units5–11 with the normal eight-row unit. Units4–11 supply eight back-section units,64 hem bars and32 neck bars. The bridge does not add extra unit rows, so do not make an additional40-sc row to compensate for it.
- Unit12 Row1 makes the second slit exactly as Unit4 Row1:18 sc, ch16, skip16 and sc6. Row2 converts its chains and retained tops back to40 sc. Complete Rows3–8 normally, then work Units13 and14 as normal full units. The second front again has three units,24 hem bars and12 neck bars.
- After Unit14 Row8 fasten off. Inventory: three front units, eight back units and three front units = fourteen. Total112 hem row-end bars,56 neck bars and two sixteen-position slits. Keep the strip in one piece and the two forty-position front edges separate. There is no shoulder seam joining the front opening shut.
- Lay the crescent strip around a comfortable reference garment, with its shorter neck edge inside and longer hem outside. The six positions above each slit form the shoulder bridge, the sixteen slit positions the arm opening and the lower eighteen the underarm-to-hem field. If that yoke bridge or the curved hang does not fit physically, stop before sleeve pickup; counts alone cannot prove shoulder fit.
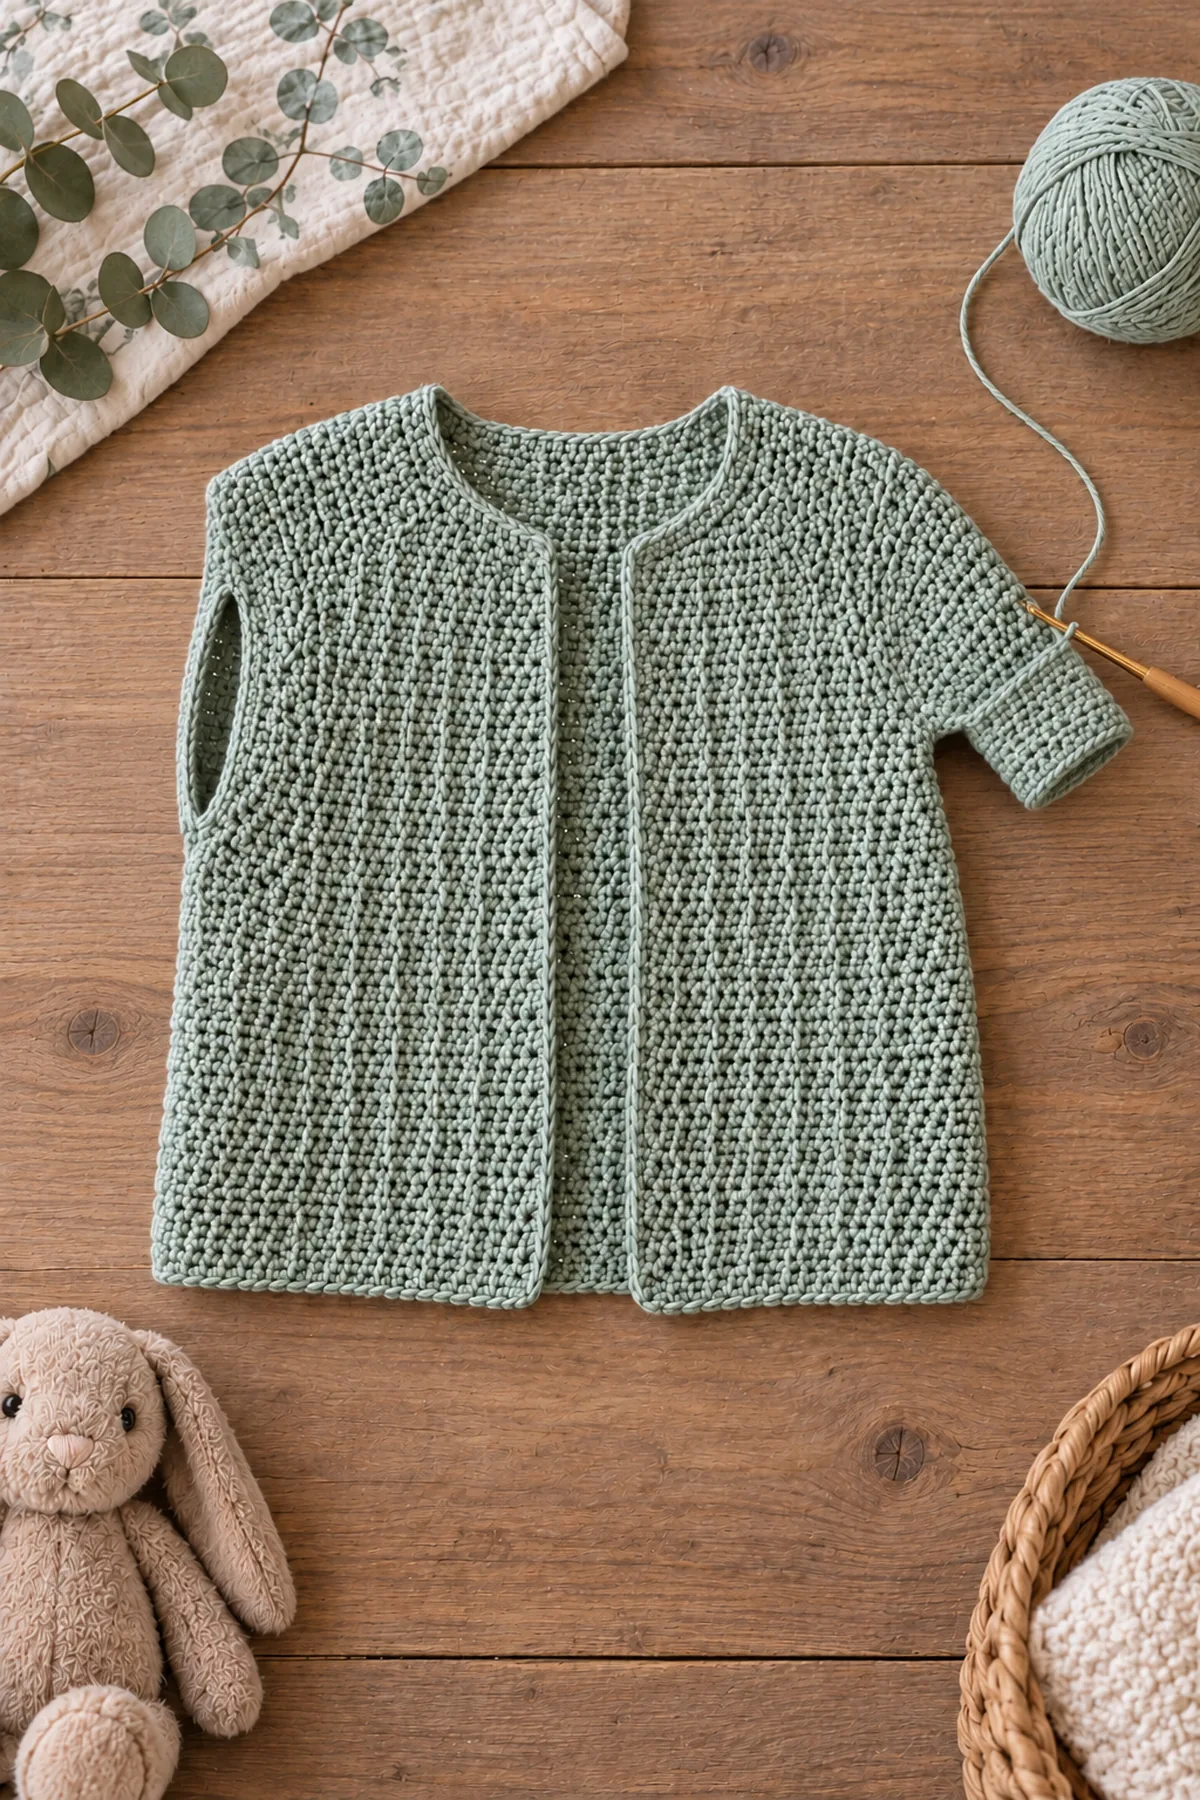
Pick Up and Taper Two Plain Sleeves
Fit the body first. The sleeve is picked up from both counted slit lips, not from a guessed round hole. Do not force a bulky seam or add corner chains to enlarge a tight opening.
- For each slit, with the public body face outward, rejoin at the underarm endpoint. Pick up16 sc in the skipped original tops, then16 in the free undersides of the bridge chains, working around the opening. Join to the first sc, ch1 and turn. (32 sts) The two endpoints are junctions between these lips, not extra33rd and34th bases. Reinforce their internal yarn tails afterward rather than adding stitches.
- Mark the first counted stitch after the join as sleeve position1. Work turned joined sc rounds; the joining slip and ch1 lift never count. Rounds2–6: sc32. Round7: sc2tog over the first two, sc28, sc2tog over the final two, join, ch1 and turn. (30 sts)
- Round13 decreases30 to28 using sc2tog, sc26, sc2tog. Round19 decreases28 to26 using sc2tog, sc24, sc2tog. Round25 decreases26 to24 using sc2tog, sc22, sc2tog. Round31 decreases24 to22 using sc2tog, sc20, sc2tog. All intervening rounds stay at the preceding count.
- Complete Rounds32–40 at22 sc, joining and turning every round. Fasten off after Round40. The40 rounds measure approximately7.3 inches at row gauge; the cuff22 stitches gives4.9 inches of opening. No ribbing, cord, button or detached cuff is added. Work the second sleeve identically and compare relaxed lengths before finishing the body.
- At both slit endpoints, weave the joining tail back and forth inside neighboring stitch backs and the chain-to-stitch junction, then reverse direction. The sleeve must move without pulling the neck bridge inward. A split or finger-catching gap is a structural failure, not a decorative eyelet; repair the affected pickup before use. If the22-stitch wrist is too small for the intended hand, reject this planning size rather than forcing passage.
Reconcile Neck and Hem Pickups and Finish
Stitch and row gauges differ:18 stitches occupy the same4 inches as22 row ends. Accordingly, one pickup per row bar everywhere would stretch the neck and hem. The counted distribution below preserves their planned path lengths.
- For each group of eleven neck row-end bars, work sc3, one sc2tog spanning the next two adjacent bars, sc3, one sc2tog spanning the next two bars, then sc1. This consumes3+2+3+2+1=11 bars and produces3+1+3+1+1=9 sc. Five groups use55 bars and make45 sc; the last single bar adds one. Neck edging has46 sc. (46 sts)
- Continue the open-front facing by working one sc per each of40 positions on the first opening edge and40 on the other, with the46 neck pickups between them. The opening path is40+46+40=126 sc. (126 sts) Ch1, turn and work one more126-sc row. Mark the neck endpoints to avoid counting an opening corner twice; do not bridge between the lower front ends.
- Hem edging uses the same nine-pickups-per-eleven-bars distribution: ten groups cover110 bars and give90 sc; the remaining two bars give two more. Total92 sc. (92 sts) This is the lower path across all three sections, not an extra circular round closing the front. Smooth each two-row opening-band end with two sc, one per row-end bar, outside the92 body-hem count.
- Wash and dry flat following the yarn label. Let the strip retain its shallow crescent shaping; do not pull the56-bar neck to the112-bar hem length or stretch the hem ruler-straight while flat. The straight/level lower silhouette is evaluated with the garment wrapped and worn, not by erasing its necessary curved flat geometry. Compare both front widths and both sleeves after washing.
- Inspect all short-row turns, two bridge undersides, both sleeve pickups and the opening corners. Remove every marker and basting strand. If the neckline crowds the neck, the front edges overlap unexpectedly or the hem flares, stop and revise the physical wedge gauge and fit. Wear only under supervision while awake, remove for sleep, and do not add closure ties to disguise incorrect sizing.
Assembly and Shaping
One40-position strip has fourteen units of40/40/28/28/34/34/40/40 rows. Hem/mid/neck traversal profiles112/84/56 give20.4/15.3/10.2-inch paths at row gauge. Unit4 and12 replace16 held positions with16 chain positions, then restore40 sc. Two slit lips16+16 yield32-sc sleeves, five two-stitch decreases give22. Neck46 pickups, opening126 and hem92 reconcile row/stitch gauge. Physical wedge, shoulder and wrapped-hem fit remain maker checkpoints.
Lay every component on a flat surface before joining. Match the marked centers first, then divide each remaining edge into equal sections. Work through both layers with consistent tension and pause after each section to check that the fabric lies flat. This measured approach prevents twisting and keeps decorative details facing the intended direction.
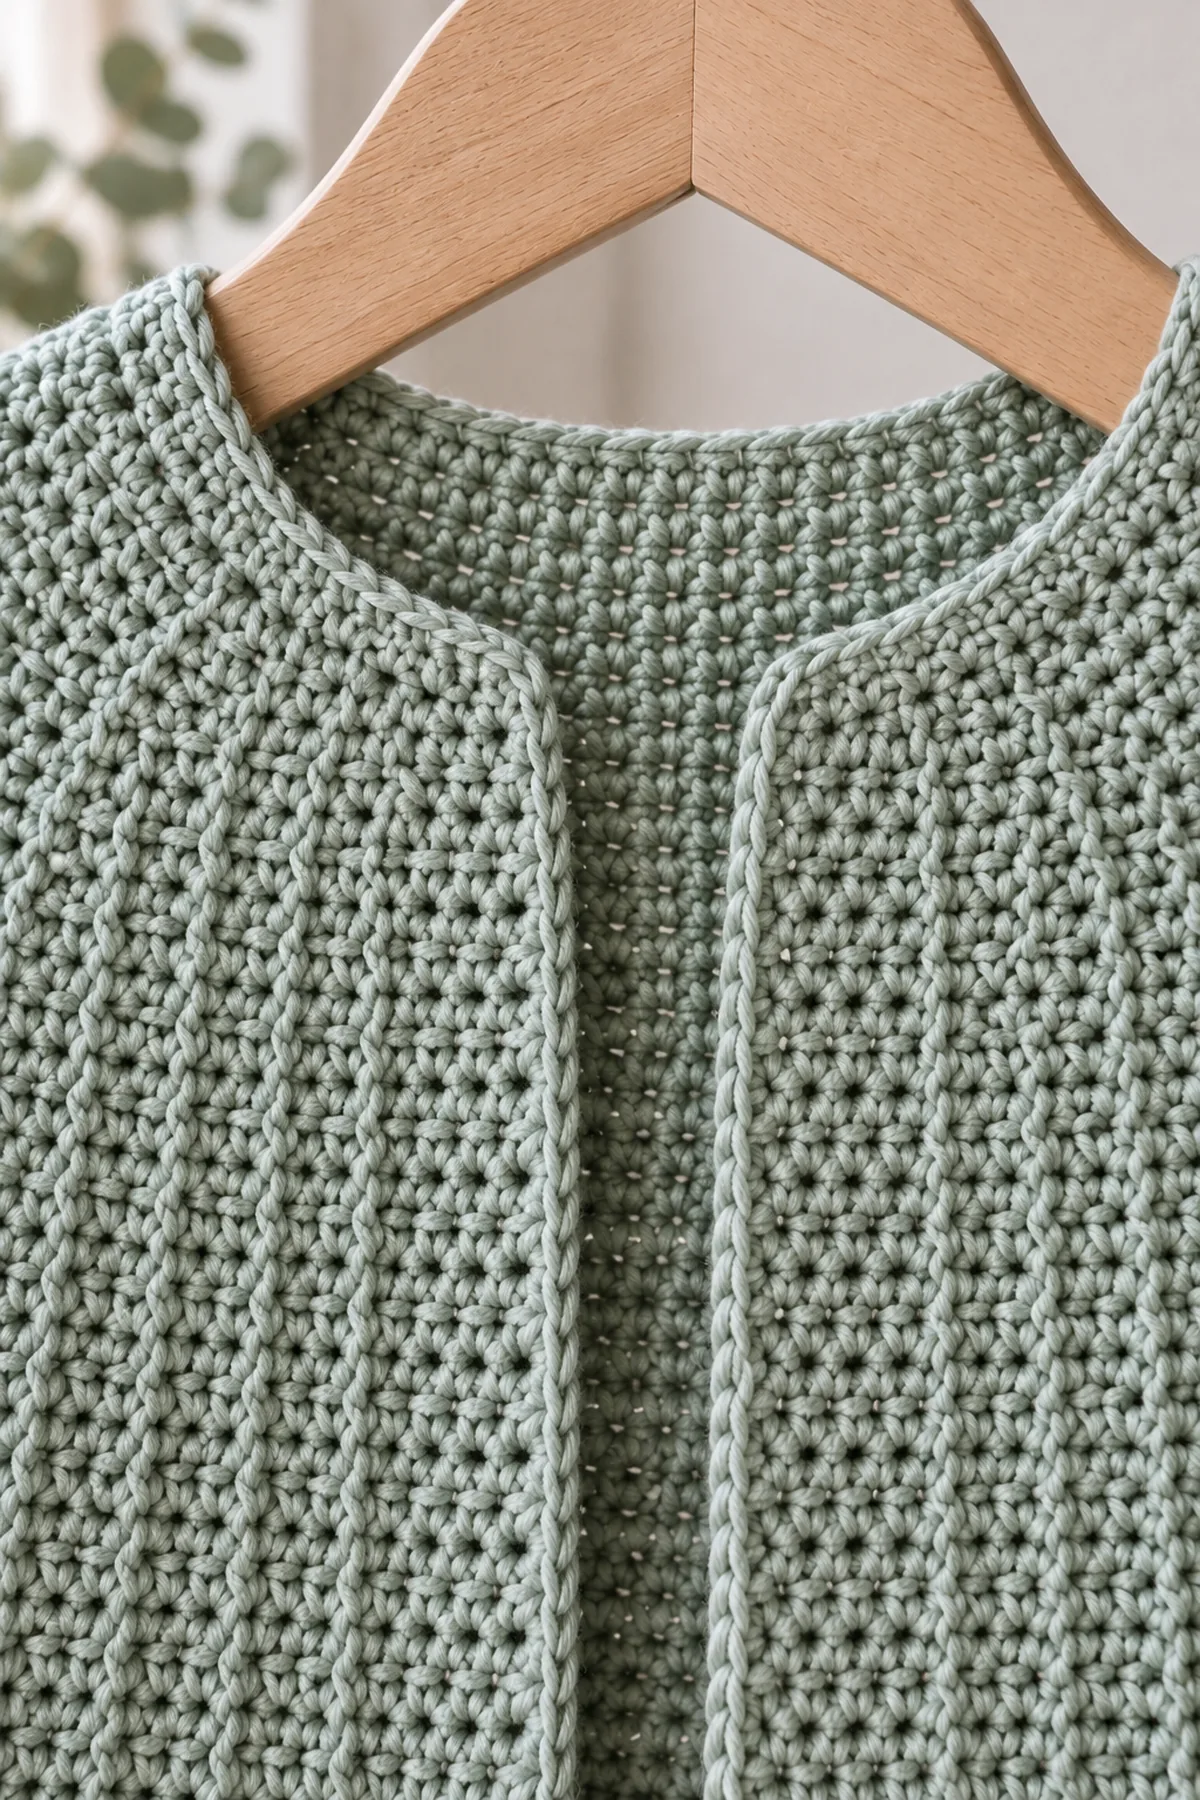
Finishing
- Weave each tail along three different paths on the wrong side; reverse direction before trimming.
- Wash or damp-block according to the yarn label and allow the work to dry at its measured shape.
- Inspect every seam, edge and attachment from both faces before first use, then inspect again after laundering.
For a polished result, weave each tail through several same-color stitches, reverse direction once, and trim only after the fabric has been gently stretched. Block to the listed dimensions without flattening textured stitches. Inspect joins, borders, straps, and decorative pieces before the project is used or gifted.
Helpful Tips
- Use contrasting locking markers at shaping points and record the count after every change row.
- Change hook size when the washed swatch differs from the stated gauge; do not compensate with uneven hand tension.
- Photograph the flat components before joining so it is easy to identify an inverted or twisted piece.
Good lighting and a contrasting stitch marker make counting much easier. If a section looks uneven, compare the current count with the previous checkpoint before continuing. Fixing one missed stitch early is faster than compensating later, and it preserves the measurements used by the assembly instructions.
Frequently Asked Questions
Has this design been physically sample-tested?
No. The arithmetic and assembly plan are checked, but gauge, yarn amount, fit and seam geometry remain planning targets. The AI illustrations are not a stitch-count chart.
How do I select the size?
Use the listed fabric dimensions and a washed swatch, not the age alone. If the swatch or measured garment does not fit these targets, stop before assembly and revise the size with checked counts.
Conclusion
Counted shaping and measured joins make this an independent cardigan construction rather than a renamed raglan recipe. Wash, check fit and inspect every seam before supervised wear. No physically crocheted sample is claimed.
BabyYarnie Printable Crochet Pattern Card
BabyYarnie — easy-to-follow crochet for everyday makers.
Project: Crochet Short-Row Crescent Baby Cardigan
Skill level: Intermediate Hook: 4 mm, adjusted to washed ordinary sc gauge Yarn: Smooth washable DK cotton-wool blend
Finished size: 6–12-month planning size:20.4-inch hem/fabric chest target,8.9-inch radial body depth,10.2-inch unedged neck path; sleeves about7.3 inches, upper opening7.1 inches and cuff4.9 inches
Card Materials
- Approximately550 yards pale-eucalyptus washable DK including sleeve, edge and wedge swatches; planning estimate
- 4 mm hook, markers in three colors, basting thread, yarn needle, tape and scissors
Card Instructions
- Mark the Forty-Position Strip and First Wedge: Ch41. Unit1 Row1: sc in the second chain and every remaining chain, ending at the neck; turn. (40 sts) Mark physical positions18,28,34 and40. Unit Row2: ch1, sc40 from neck back to hem, turn. No chain lift is a41st position. Unit Row3: ch1, sc in positions1–28 only from hem toward neck, leave29–40 unworked, turn. (28 sts) Row4: ch1, return across these28 to the hem, turn. Mark the last top at position28, keeping its short-row-end bar available for the next extension. Unit Row5: ch1, sc across the28 most recent tops, catching the preceding turn’s side bar with the position28 top as ONE sc. Then sc in the six held positions29–34 from the last full row, leave35–40 unworked and turn. (34 sts) Row6: ch1, sc34 back to the hem and turn; mark position34’s next extension join. Unit Row7: ch1, sc across the34 most recent tops, catching the prior turn bar with the position34 top as ONE sc. Continue across the six held tops35–40, reaching the neck; turn. (40 sts) Row8: ch1, sc40 back to the hem, turn. This completes one unit and restores a full40-position active row. The eight row lengths are40,40,28,28,34,34,40,40. Row count restarts1–8 for each unit, but physical positions never renumber. Every unit ends at the hem ready to begin another. The held six or twelve tops are used later, not worked a second time as hidden increases. A tight turn, large hole or extra stitch at either extension must be undone before starting the next unit. Unit2 and Unit3 repeat all eight rows, beginning with a new full40-sc Row1 instead of another foundation chain. After Unit3, the first front section has24 hem row-end bars and12 neck bars. Its fabric depth is still40 positions; the curved upper boundary is not a separate collar piece.
- Open Both Sleeve Slits Without Losing Body Counts: Unit4 Row1, starting at the hem: sc in positions1–18, ch16, skip the next16 tops at positions19–34, then sc in positions35–40, turn. The row contains18+6=24 actual sc and16 chain positions,40 future positions total. (40 sts) Do not add a chain bridge at the neck or join the front opening. Unit4 Row2: from the neck, sc6 in actual tops, sc once in each of the16 bridge chains, then sc18 in the remaining actual tops; turn. Now all40 active positions are sc again. The sixteen skipped tops and the free chain undersides form the two lips of the first sleeve slit. Mark both slit endpoints separately from wedge turn markers. Finish Unit4 Rows3–8 at28,28,34,34,40,40 as usual. Work Units5–11 with the normal eight-row unit. Units4–11 supply eight back-section units,64 hem bars and32 neck bars. The bridge does not add extra unit rows, so do not make an additional40-sc row to compensate for it. Unit12 Row1 makes the second slit exactly as Unit4 Row1:18 sc, ch16, skip16 and sc6. Row2 converts its chains and retained tops back to40 sc. Complete Rows3–8 normally, then work Units13 and14 as normal full units. The second front again has three units,24 hem bars and12 neck bars. After Unit14 Row8 fasten off. Inventory: three front units, eight back units and three front units = fourteen. Total112 hem row-end bars,56 neck bars and two sixteen-position slits. Keep the strip in one piece and the two forty-position front edges separate. There is no shoulder seam joining the front opening shut. Lay the crescent strip around a comfortable reference garment, with its shorter neck edge inside and longer hem outside. The six positions above each slit form the shoulder bridge, the sixteen slit positions the arm opening and the lower eighteen the underarm-to-hem field. If that yoke bridge or the curved hang does not fit physically, stop before sleeve pickup; counts alone cannot prove shoulder fit.
- Pick Up and Taper Two Plain Sleeves: For each slit, with the public body face outward, rejoin at the underarm endpoint. Pick up16 sc in the skipped original tops, then16 in the free undersides of the bridge chains, working around the opening. Join to the first sc, ch1 and turn. (32 sts) The two endpoints are junctions between these lips, not extra33rd and34th bases. Reinforce their internal yarn tails afterward rather than adding stitches. Mark the first counted stitch after the join as sleeve position1. Work turned joined sc rounds; the joining slip and ch1 lift never count. Rounds2–6: sc32. Round7: sc2tog over the first two, sc28, sc2tog over the final two, join, ch1 and turn. (30 sts) Round13 decreases30 to28 using sc2tog, sc26, sc2tog. Round19 decreases28 to26 using sc2tog, sc24, sc2tog. Round25 decreases26 to24 using sc2tog, sc22, sc2tog. Round31 decreases24 to22 using sc2tog, sc20, sc2tog. All intervening rounds stay at the preceding count. Complete Rounds32–40 at22 sc, joining and turning every round. Fasten off after Round40. The40 rounds measure approximately7.3 inches at row gauge; the cuff22 stitches gives4.9 inches of opening. No ribbing, cord, button or detached cuff is added. Work the second sleeve identically and compare relaxed lengths before finishing the body. At both slit endpoints, weave the joining tail back and forth inside neighboring stitch backs and the chain-to-stitch junction, then reverse direction. The sleeve must move without pulling the neck bridge inward. A split or finger-catching gap is a structural failure, not a decorative eyelet; repair the affected pickup before use. If the22-stitch wrist is too small for the intended hand, reject this planning size rather than forcing passage.
- Reconcile Neck and Hem Pickups and Finish: For each group of eleven neck row-end bars, work sc3, one sc2tog spanning the next two adjacent bars, sc3, one sc2tog spanning the next two bars, then sc1. This consumes3+2+3+2+1=11 bars and produces3+1+3+1+1=9 sc. Five groups use55 bars and make45 sc; the last single bar adds one. Neck edging has46 sc. (46 sts) Continue the open-front facing by working one sc per each of40 positions on the first opening edge and40 on the other, with the46 neck pickups between them. The opening path is40+46+40=126 sc. (126 sts) Ch1, turn and work one more126-sc row. Mark the neck endpoints to avoid counting an opening corner twice; do not bridge between the lower front ends. Hem edging uses the same nine-pickups-per-eleven-bars distribution: ten groups cover110 bars and give90 sc; the remaining two bars give two more. Total92 sc. (92 sts) This is the lower path across all three sections, not an extra circular round closing the front. Smooth each two-row opening-band end with two sc, one per row-end bar, outside the92 body-hem count. Wash and dry flat following the yarn label. Let the strip retain its shallow crescent shaping; do not pull the56-bar neck to the112-bar hem length or stretch the hem ruler-straight while flat. The straight/level lower silhouette is evaluated with the garment wrapped and worn, not by erasing its necessary curved flat geometry. Compare both front widths and both sleeves after washing. Inspect all short-row turns, two bridge undersides, both sleeve pickups and the opening corners. Remove every marker and basting strand. If the neckline crowds the neck, the front edges overlap unexpectedly or the hem flares, stop and revise the physical wedge gauge and fit. Wear only under supervision while awake, remove for sleep, and do not add closure ties to disguise incorrect sizing.
Finish: Check every count, weave in all ends, block to measurement, and inspect each join.