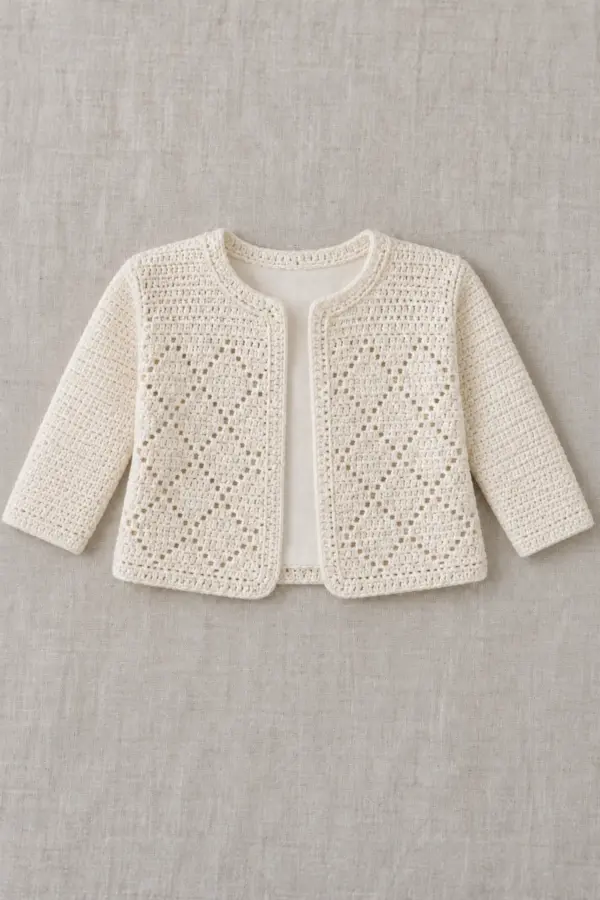
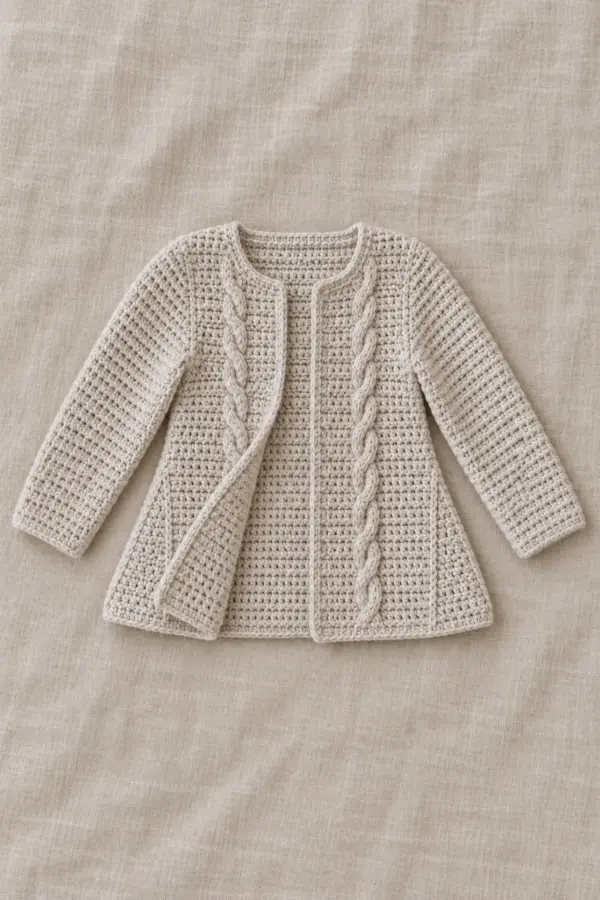
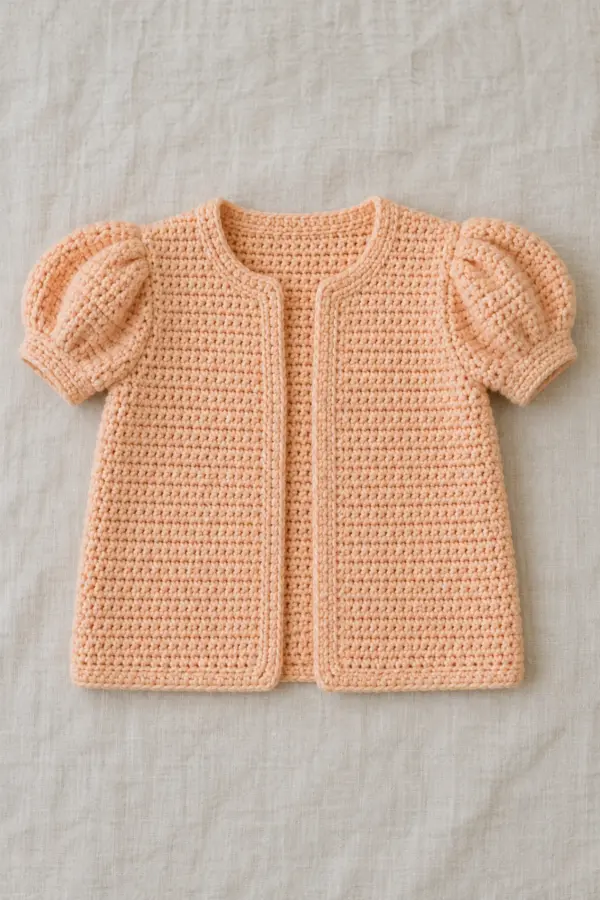
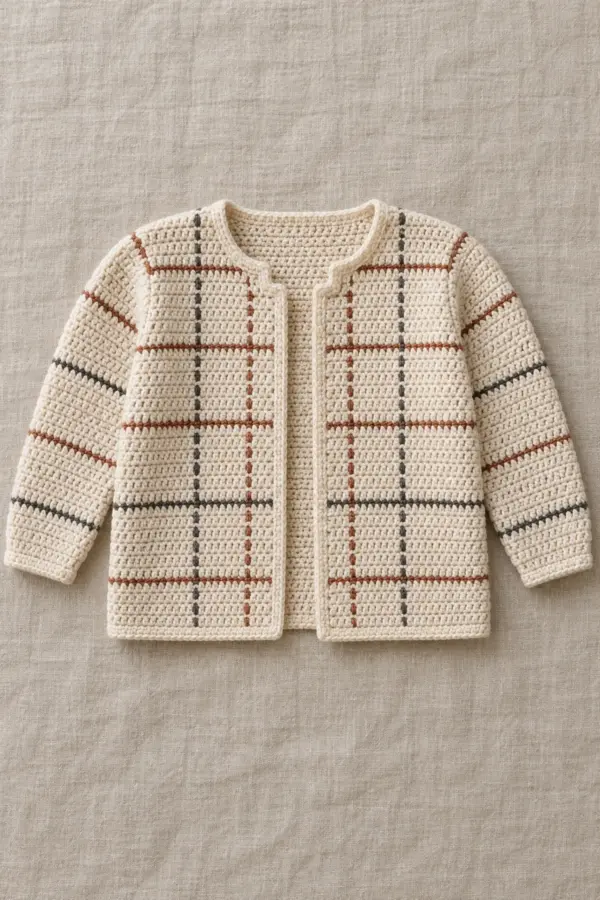
This original crochet petal-edge baby cardigan with one top fastener targets crochet baby cardigan with scalloped edge and is a complete free beginner baby cardigan pattern. The garment is built from the specific pieces described below, with stitch counts and measured checkpoints before each join. The written arithmetic has been checked, but gauge and fit require a washed swatch and a trial fitting over a suitable layer.
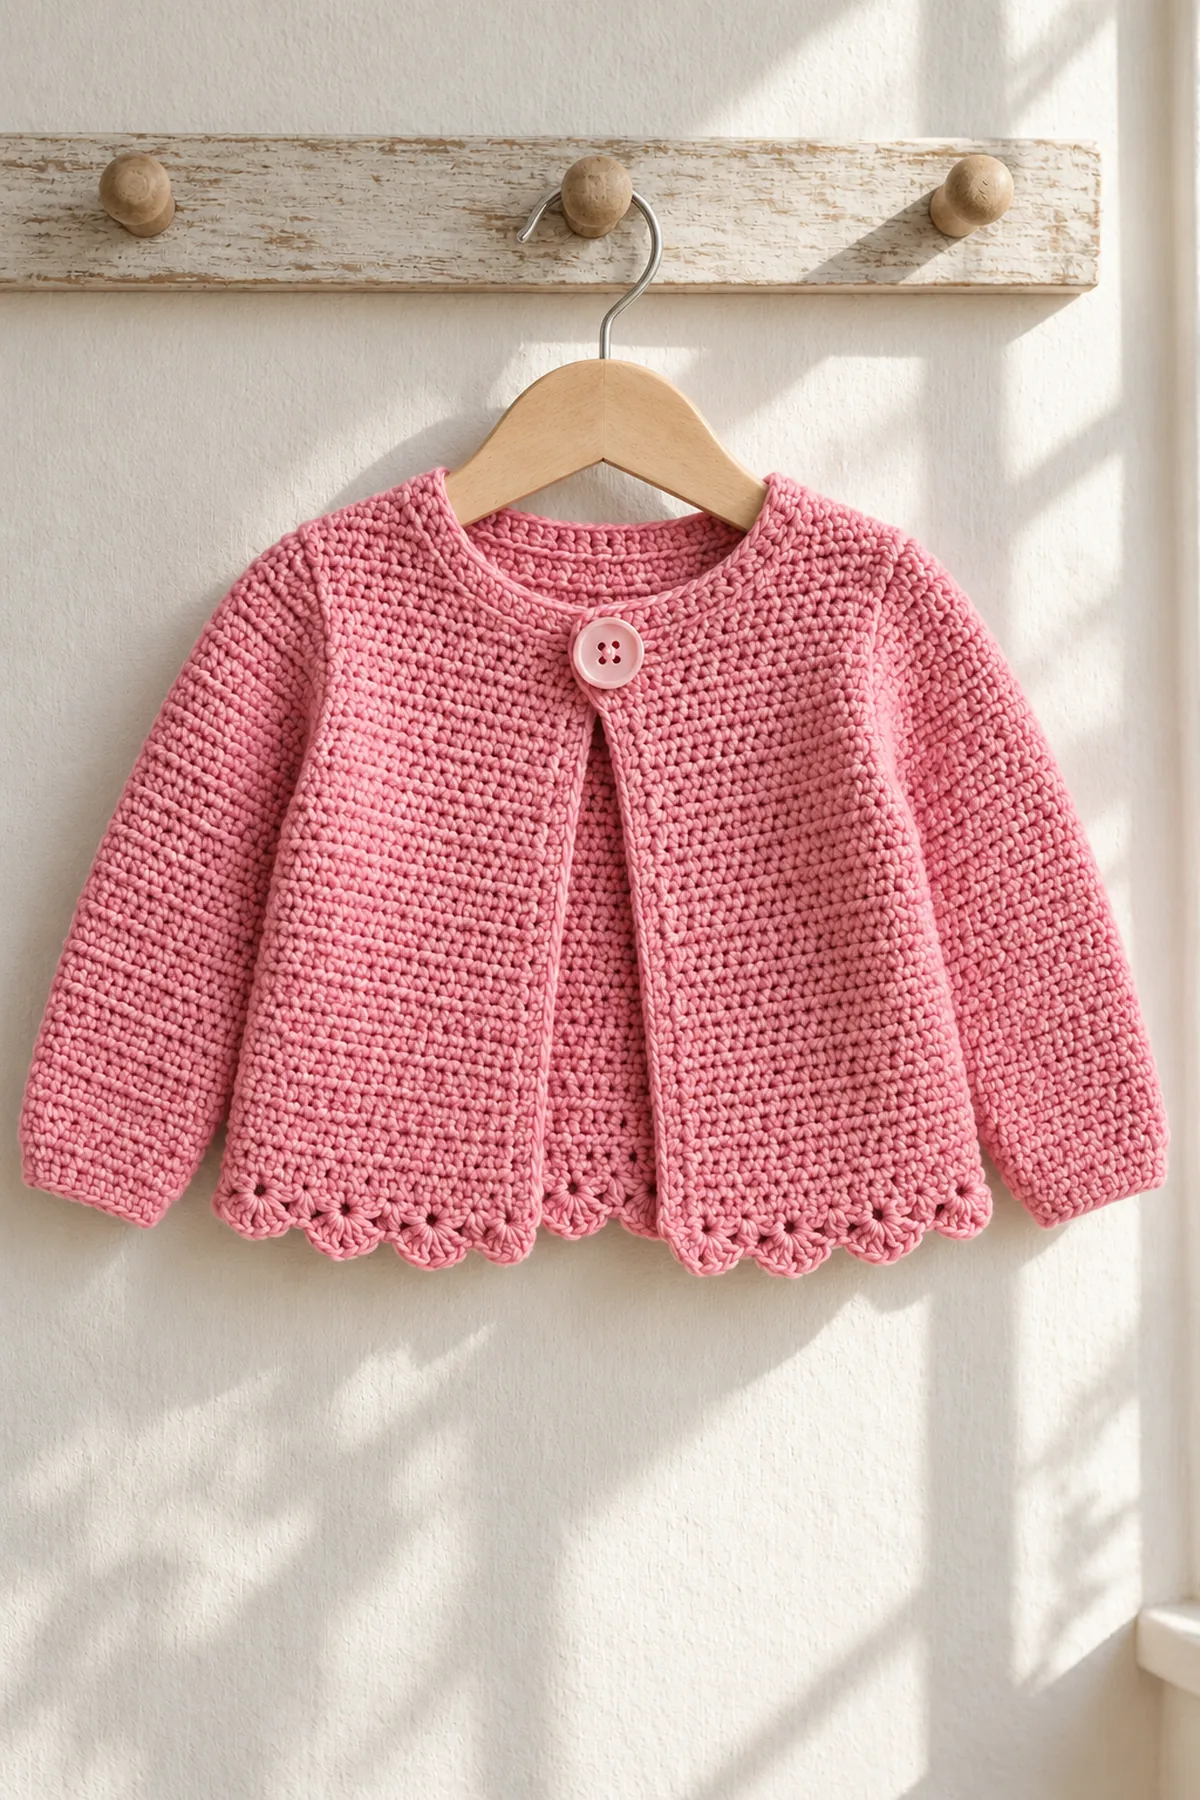
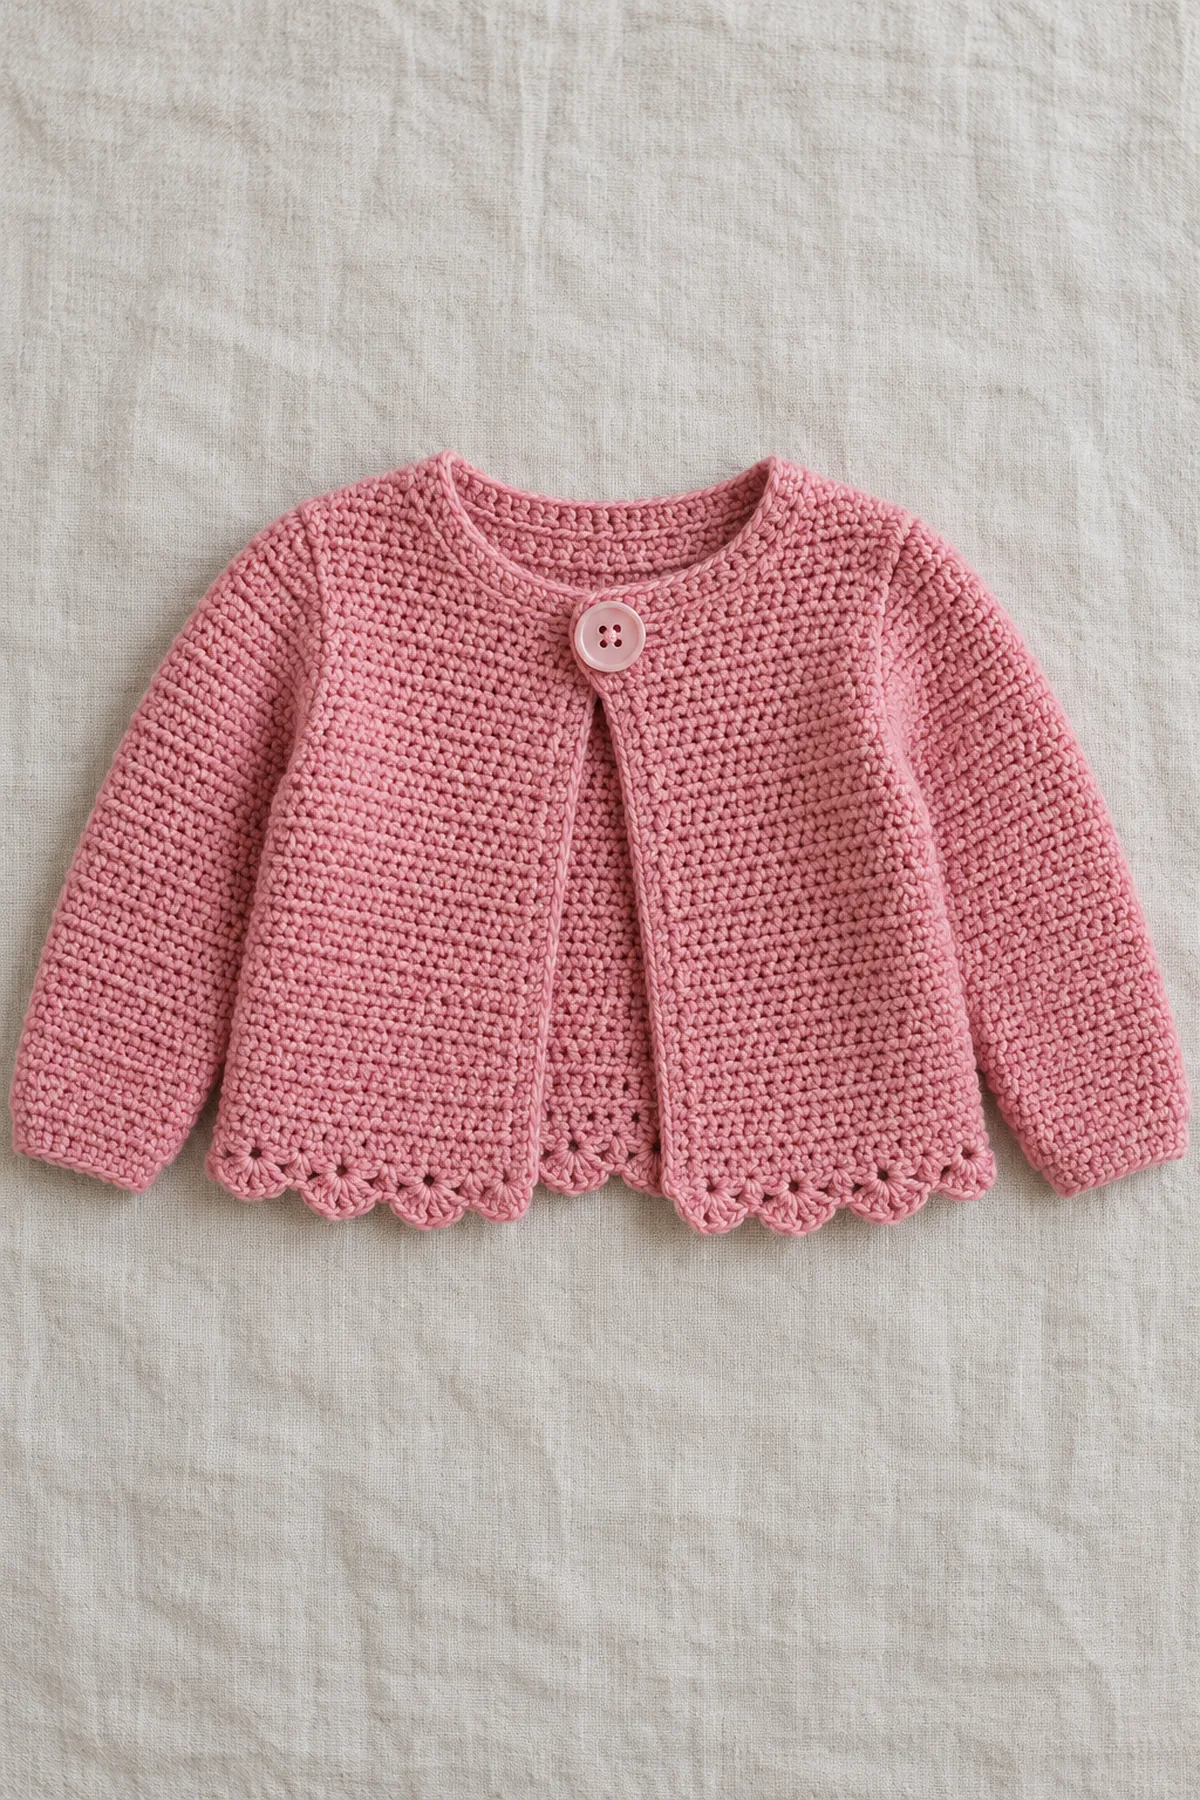
A plain rose-pink seamed cardigan gets a single restrained petal-shell row across its entire lower hem. One oversized top button closes a short reinforced tab just below the neckline; the rest of the front stays open.
Pattern Details
- Hook Size: 4 mm, adjusted to washed sc gauge
- Finished Size: 12–18 months planning target; about 20-inch open chest and 10-inch body length before petal edging
- Gauge: 18 sc and 22 rows = 4 inches after washing
- Estimated Time: 8–10 hours
- Construction: 45-stitch back, two 23-stitch fronts, two tapered sleeves, 15 hem petals and one reinforced top fastener
- Skill level: Easy
Why You’ll Love This Project
Each stitch repeat is short enough to count without a chart. The changing silhouette comes from how the pieces are assembled, and each seam has a named edge and count. The project can be stopped at every stage for a measurement before yarn is cut.
Materials
- Approximately 430 yards washable rose-pink DK yarn
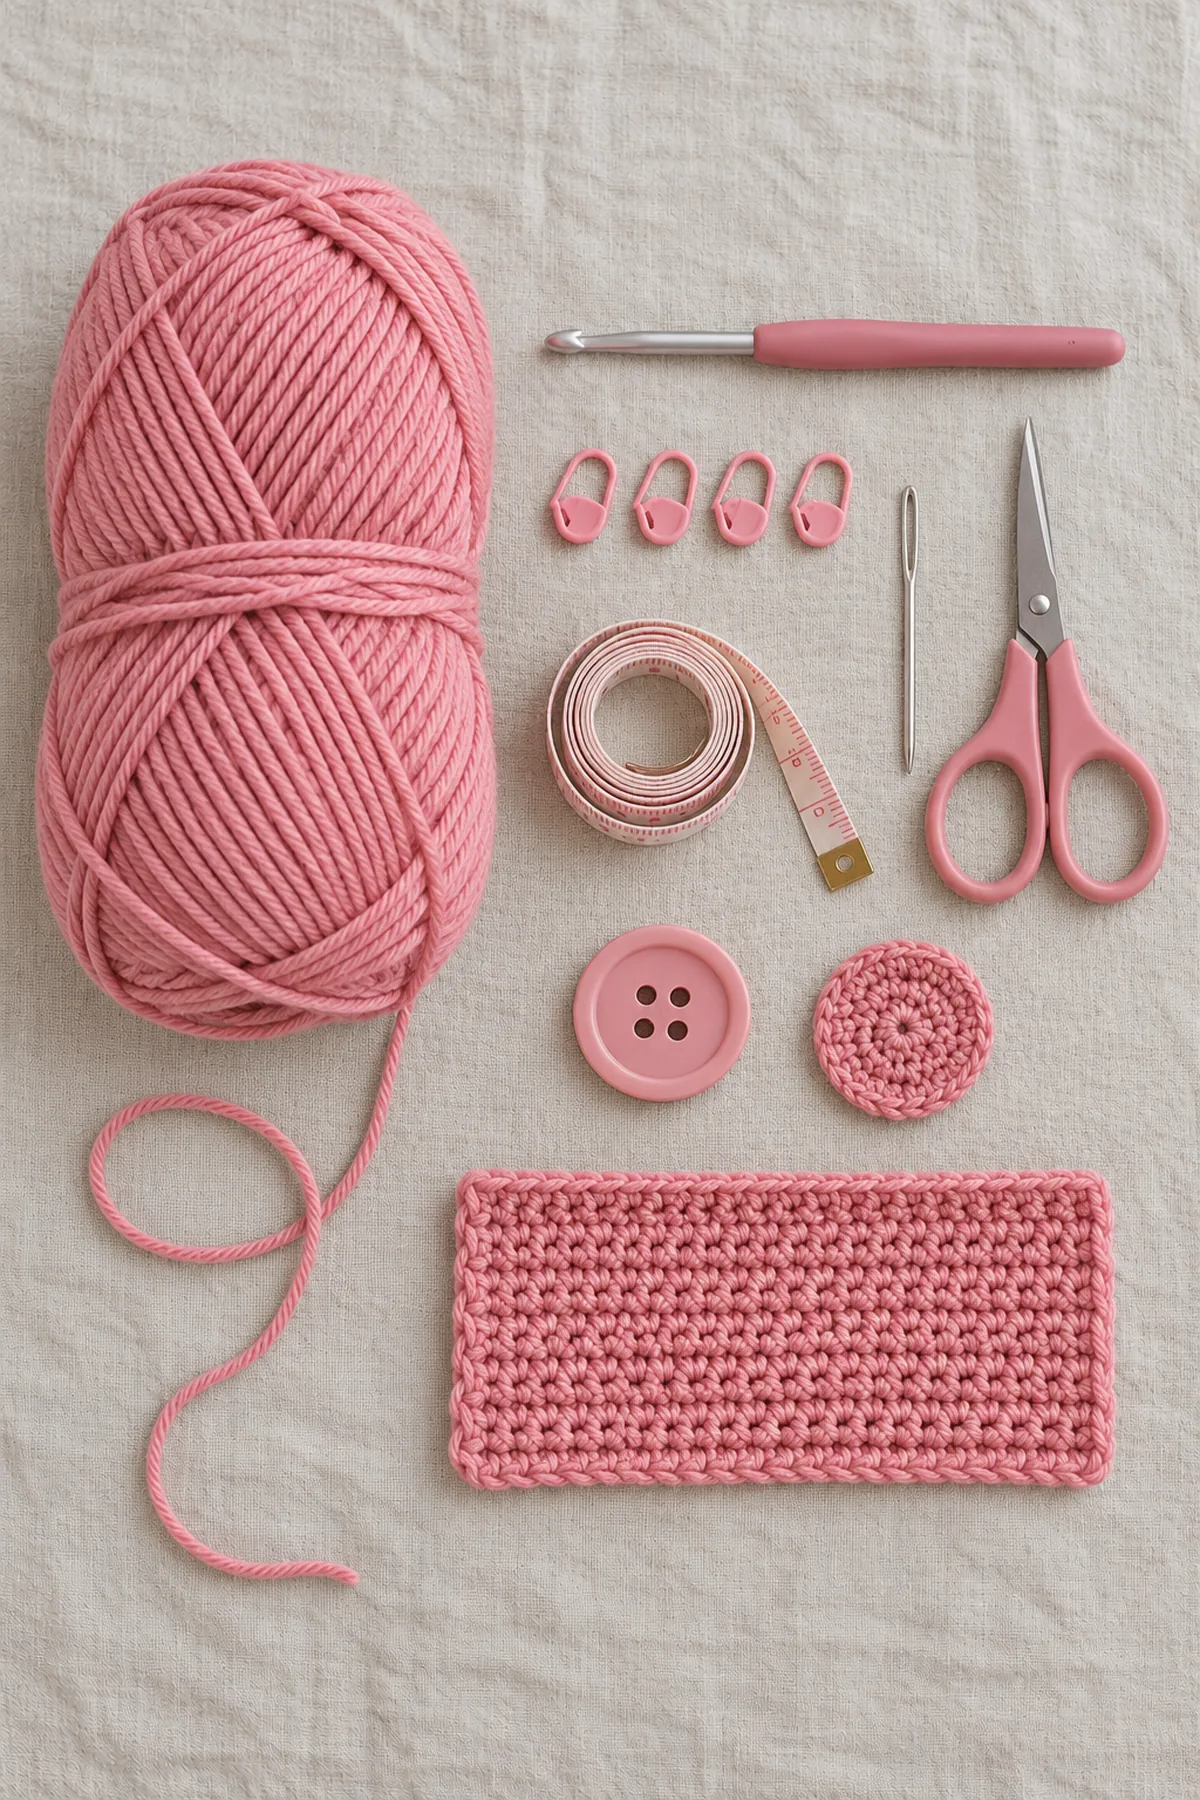
- 4 mm hook, six markers, yarn needle, scissors and measuring tape
- One smooth washable 30 mm four-hole button, strong sewing thread and a 1.5-inch square of dense matching fabric or crochet backing for the inside of the button site
Gauge, Measurements, and Planning
At eighteen sc per four inches, the 45-stitch back is about10 inches wide and each23-stitch front about5.1 inches. The 91 bottom-edge positions give an open circumference near20.2 inches before seams;55 rows at22 per four inches give10 inches before the shell edging. The26-row arm opening is about4.7 inches deep per side and the 42-stitch sleeve upper edge about9.3 inches around. Measure the washed garment over a layer, not the age label alone.
Make and wash a gauge swatch before beginning. Measure only after the swatch is completely dry. If the stitch width differs, change hook size rather than pulling the working yarn tighter. Keep a written count at the end of every section so the finished edges remain balanced and the assembly points line up.
Abbreviations and Special Stitches
- ch: chain
- sc: single crochet
- hdc: half double crochet
- dc: double crochet
- sl st: slip stitch
- BLO: back loop only
- st(s): stitch(es)
- rnd: round
Special stitch guidance: Sc2tog draws up a loop in each of two old stitches and draws through all three loops, reducing two old stitches to one. Petal shell: skip two old hem stitches, work five dc in the next, skip two, sc in the next; this consumes six old positions and produces a shallow scallop. Turning ch1 and ch3 do not count.
Important Notes
- Images are AI-generated illustrations of the intended construction, not photographs of a physically tested sample. Follow the written counts rather than counting image stitches.
- Development note: stitch arithmetic has been checked computationally. This garment has not been physically sample-tested. Sizes, gauge and yardage are planning targets; swatch, measure and trial-fit before gifting.
- Beginning turning chains and joining slip stitches do not count unless specifically stated. Work into the first real stitch and mark it.
- This design alone includes a large, securely sewn top button and a short reinforced buttonhole tab. Hardware can still become a choking hazard: inspect it before every supervised wear and stop using the garment if it shifts or loosens. Never use it for sleep.
- A cardigan is supervised daytime clothing, not sleepwear or a safe-sleep item. Remove it before sleep and check seams, yarn tails and markers each time.
Complete Instructions for Crochet Petal-Edge Baby Cardigan with One Top Fastener
Make the Plain Body
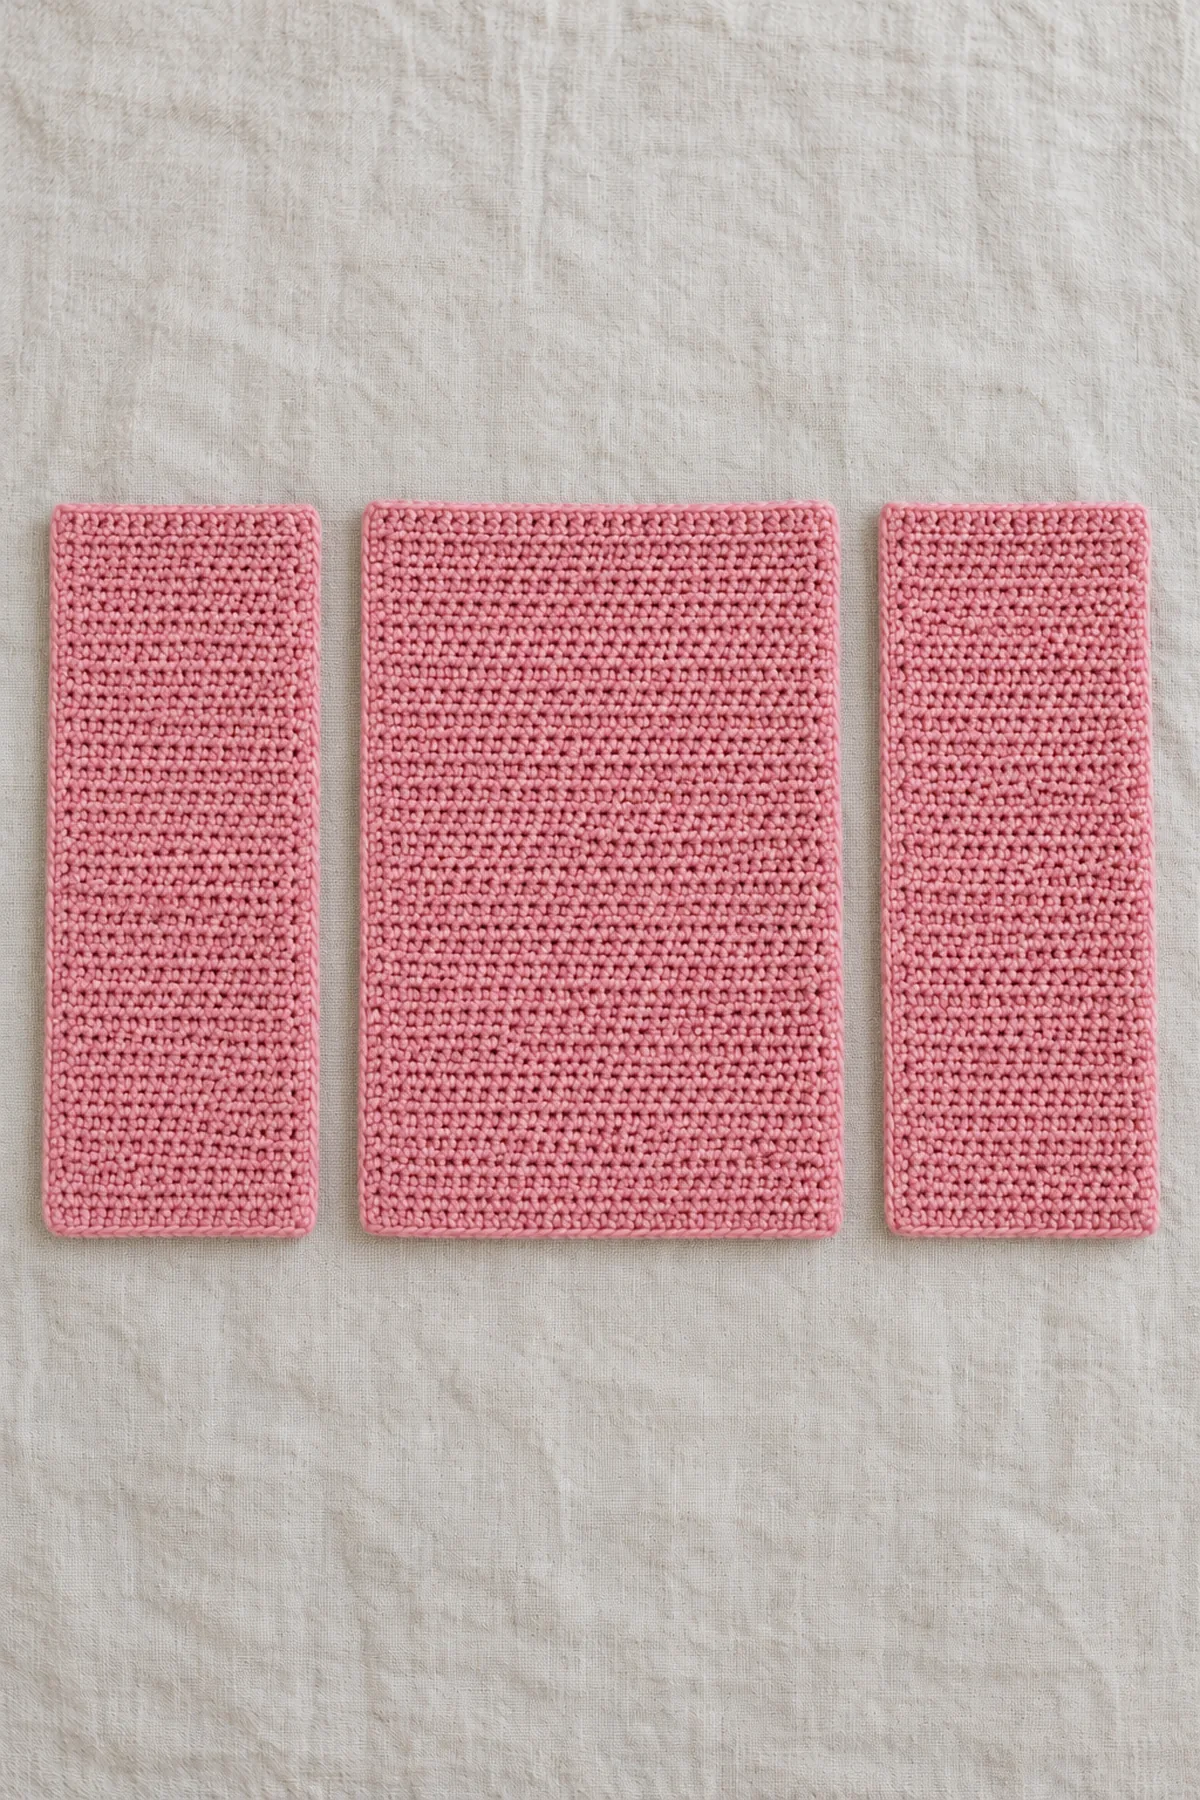
- Back: ch46. Row1: sc in second chain and each remaining chain. (45 sts) Ch1 and turn. Rows2–55: sc in every one of45 stitches, ch1 and turn except after55. (45 sts) Keep both side edges straight.
- Make two fronts. For each ch24 and sc in second chain across. (23 sts) Rows2–55: sc once in each of23 stitches; ch1 and turn except after55. (23 sts) Mark the inner opening edges and outer shoulder edges so the pair can be oriented as mirrors.
- Wash or damp-block the three pieces. Before joining, compare both fronts with the back for identical55-row height. Do not shape armholes by cutting or skipping stitches.
Crochet Two Sleeves
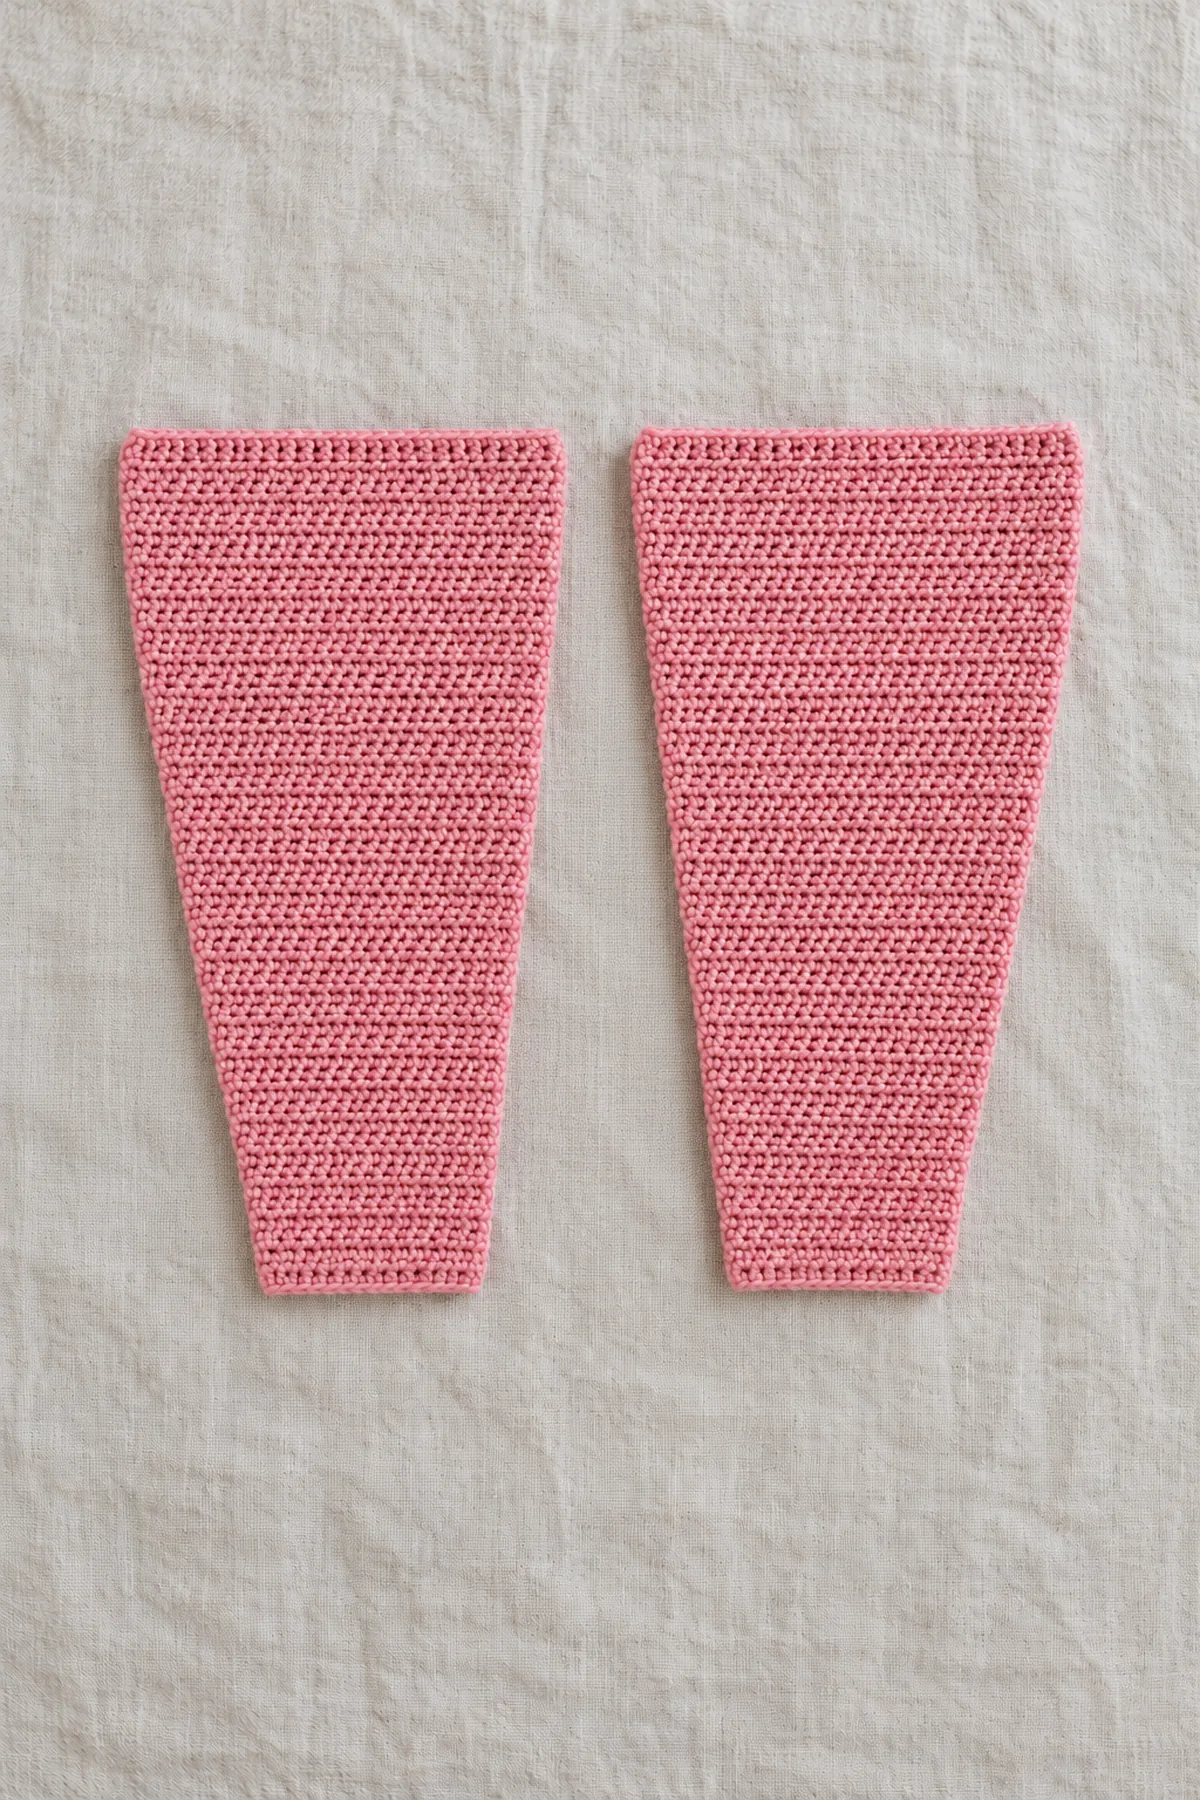
- For each sleeve ch43 and sc in second chain across. (42 sts) Ch1 and turn. Work plain sc on every row not named as a decrease row.
- At Rows7,13,19,25,31 and37 work sc2tog over the first two old stitches, sc in every middle stitch, then sc2tog over the final two. Counts after these rows are40,38,36,34,32 and30. Continue plain sc through Row44 at30 stitches; ch1 and turn except after Row44.
- Make an identical second sleeve. The foundation is the wide upper-arm edge and Row44 the cuff. Compare the washed width of both42-stitch upper edges before assembly.
Sew the Cardigan and Petal Hem
- Sew each front’s fifteen outer top stitches to fifteen outer back top stitches. Leave fifteen central back and eight inner stitches on each front unsewn, for31 open neckline positions. Sew each side from the hem through Row29, leaving Rows30–55 as26-row armholes.
- Center one sleeve’s42-stitch foundation at the shoulder, with its ends at the underarm. Compare the edge with26 front plus26 back row ends and ease evenly without changing either count. Sew it around the opening, close its44-row long seam, and repeat on the other side.
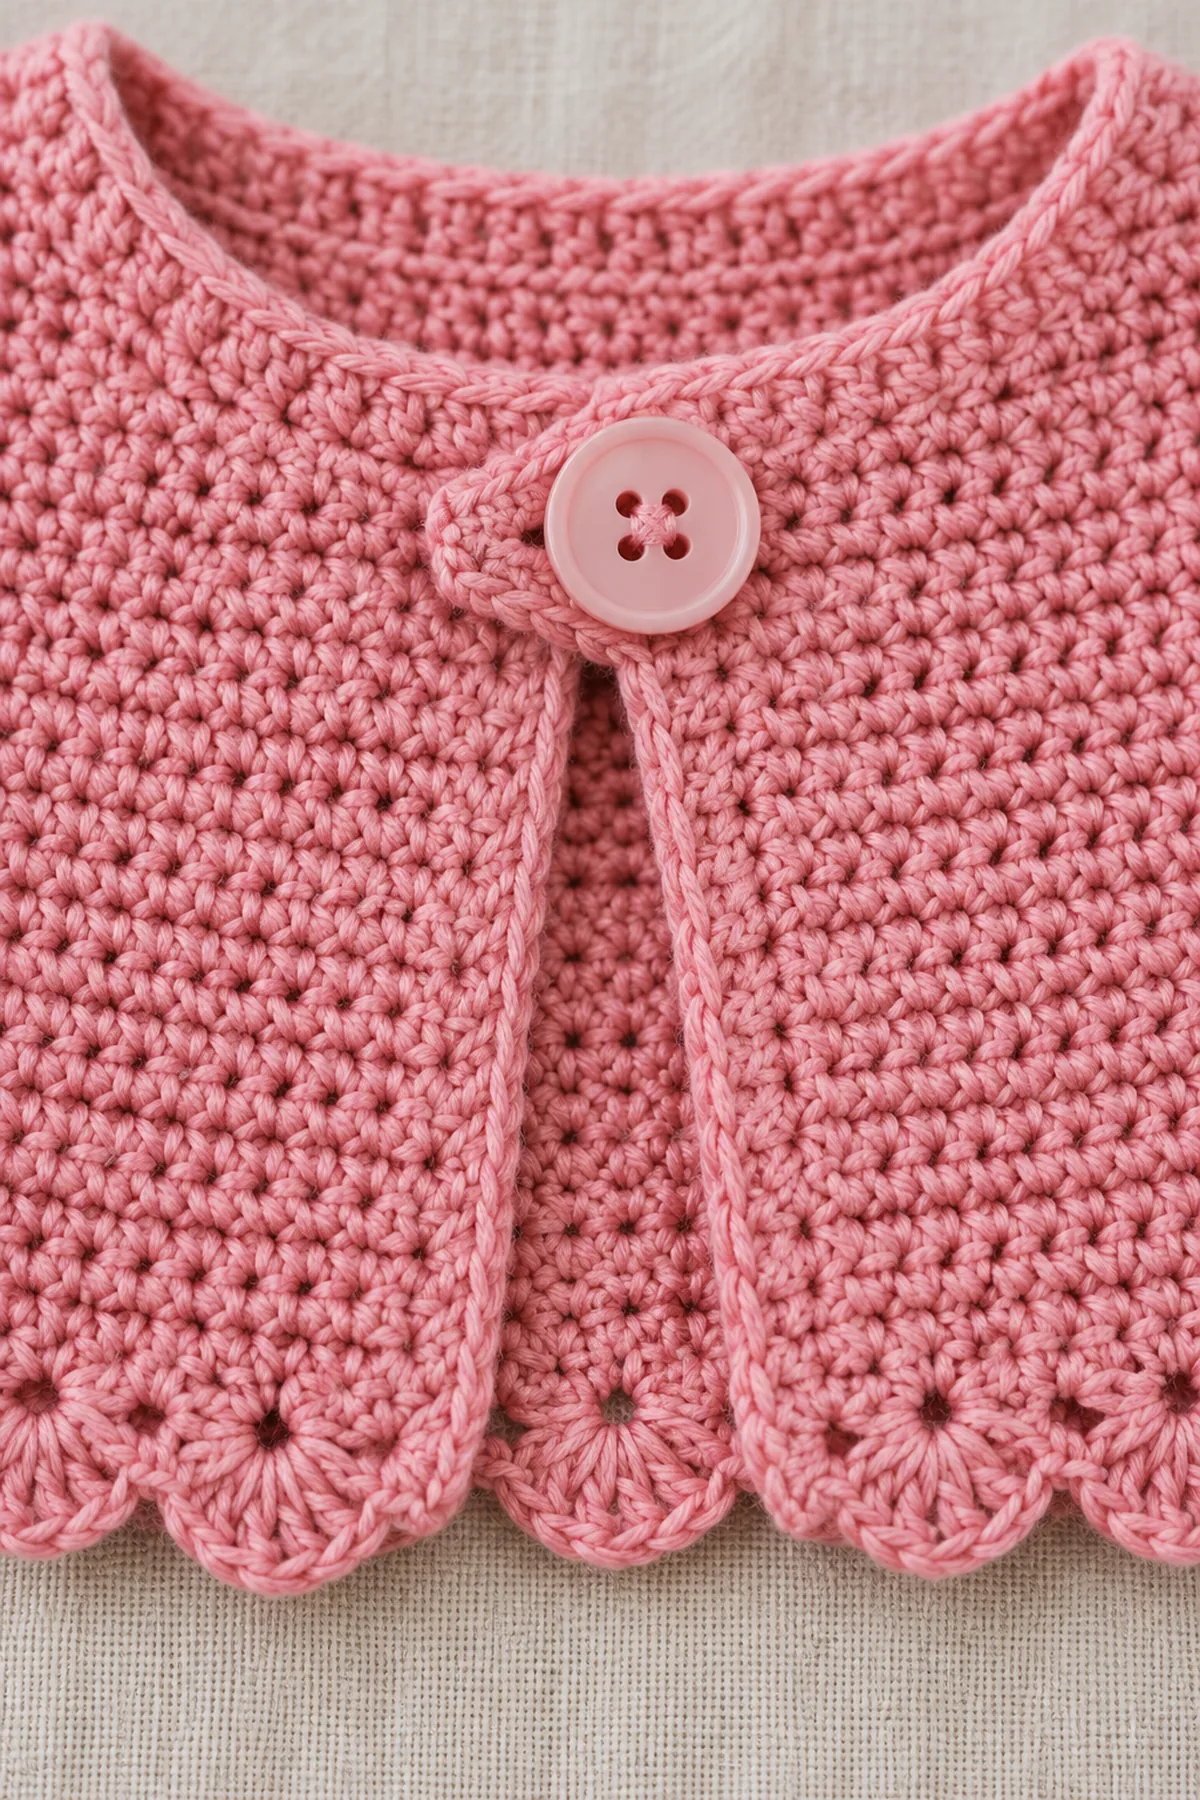
- For the hem, with right side facing begin at one lower front corner. Work sc in each of its23 foundation stitches, each of45 back foundation stitches and each of23 other-front foundation stitches. (91 sc) Ch3 and turn. Petal Row: sc in the first old stitch; repeat [skip next two old stitches, five dc in next old stitch, skip next two, sc in next old stitch] fifteen times. This uses1+15×6=91 old stitches and forms15 shallow petals. Fasten off without adding an extra corner shell.
- Work one firm sc row up each open front edge and around the31 neckline stitches; adjust hook rather than stacking extra rows. The petal hem hangs below the open fronts, and there are no loose motifs.
Add One Secure Top Fastener
- At the right inner front, two rows below the neckline, attach the same yarn through a full edge loop. Ch11; sc in second chain and all remaining chains. (10 sc) Sl st the tab base to the adjacent front-edge row end, ch1 and turn.
- Tab Row2: sc in first two stitches, ch6 and skip next six old stitches, sc in final two. (10 positions counting six chains) Ch1 and turn. Row3: sc once in each of the ten positions, including each individual chain. (10 sc) Sew the tab’s first two row ends to the front edge in several passes. The reinforced short opening must stretch over, but not hang loosely around, the button.
- Put on the garment over a layer and mark where the tab reaches the left upper front without pulling the neck. Place the 30 mm button there, with the dense backing patch inside the panel. Sew through all four buttonholes and the backing at least eight passes with strong thread; knot and bury thread tails between layers. Tug firmly from all directions before use. If the button or tab shifts, remove it and use the cardigan open instead.
- Wash and dry. Inspect the button, backing and tab before every supervised awake wear. Never leave a child with this fastener during sleep or unattended play.
Assembly and Shaping
Join each front’s outer fifteen top stitches to the outer fifteen back stitches. Sew body sides through Row29, leaving26 front and26 back row ends per armhole. Each sleeve begins with42 stitches, which are eased into the washed52-row-end opening. After joining, prepare91 bottom-edge stitches and work fifteen six-position petal shells plus an initial edge sc. Sew one 30 mm button through a backing patch only after checking the short tab’s buttonhole fit.
Lay every component on a flat surface before joining. Match the marked centers first, then divide each remaining edge into equal sections. Work through both layers with consistent tension and pause after each section to check that the fabric lies flat. This measured approach prevents twisting and keeps decorative details facing the intended direction.
Finishing
- Weave every tail through three changing stitch paths on the wrong side. Gently stretch each seam; repair any moving end.
- Wash according to the yarn label, reshape without stretching and dry fully. Check the washed chest, neck, sleeve circumference and overall length.
- Remove all markers. Inspect sleeves, neck, hem, closures if present, and yarn ends; stop using the garment if anything loosens or catches.
- Give the caregiver the fiber, care method, measured size and advice to use the garment only while the baby is supervised and awake.
For a polished result, weave each tail through several same-color stitches, reverse direction once, and trim only after the fabric has been gently stretched. Block to the listed dimensions without flattening textured stitches. Inspect joins, borders, straps, and decorative pieces before the project is used or gifted.
Helpful Tips
- Make a practice swatch in the actual stitch pattern, then wash and dry it before measuring four central inches.
- Label right and wrong sides of panels with removable markers so both fronts are mirror images.
- Count the first and final stitch at every row. Mark the armhole start before sewing side seams.
- If the written count is right but your measurement differs, change hook size and swatch again before making all the pieces.
Good lighting and a contrasting stitch marker make counting much easier. If a section looks uneven, compare the current count with the previous checkpoint before continuing. Fixing one missed stitch early is faster than compensating later, and it preserves the measurements used by the assembly instructions.
Frequently Asked Questions
Is this cardigan physically size tested?
No physical sample test is claimed. The stitch counts were checked computationally. Measure the washed panels and do a supervised fit check over a layer before use.
Can I change yarn?
Use another smooth washable yarn only after a washed swatch matches both stitch and row gauge. Recheck sleeve and neck openings.
Is the button necessary?
The written design has one top button and a reinforced short tab. Use a 30 mm washable button sewn through a backing patch with strong thread. Inspect before every use; omit the fastener and leave the cardigan open if secure attachment cannot be ensured.
Conclusion
Keep the measured dimensions and yarn details with your pattern notes. Check the construction and safety guidance before styling or gifting the finished crochet project.
BabyYarnie Printable Crochet Pattern Card
BabyYarnie — easy-to-follow crochet for everyday makers.
Project: Crochet Petal-Edge Baby Cardigan with One Top Fastener
Skill level: Easy Hook: 4 mm, adjusted to washed sc gauge Yarn: DK
Finished size: 12–18 months planning target; about 20-inch open chest and 10-inch body length before petal edging
Card Materials
- Approximately 430 yards washable rose-pink DK yarn
- 4 mm hook, six markers, yarn needle, scissors and measuring tape
- One smooth washable 30 mm four-hole button, strong sewing thread and a 1.5-inch square of dense matching fabric or crochet backing for the inside of the button site
Card Instructions
- Make the Plain Body: Back45 by55 rows; fronts23 by55 rows, all plain sc.
- Crochet Two Sleeves: Two sleeves taper42 to30 over44 rows.
- Sew the Cardigan and Petal Hem: Shoulders15 each; armholes26+26 row ends; 91 hem positions make15 petal shells.
- Add One Secure Top Fastener: One short reinforced buttonhole tab and one large backed button at the top only.
Finish: Check every count, weave in all ends, block to measurement, and inspect each join.