This original crochet striped keyhole scarf with tapered ends answers the crochet keyhole scarf pattern search with a complete construction rather than a decorative idea alone. The written instructions use US crochet terms and explicitly name shaping, assembly and fit checks. Gauge and measurements are planning targets; make a washed swatch before committing to a size.
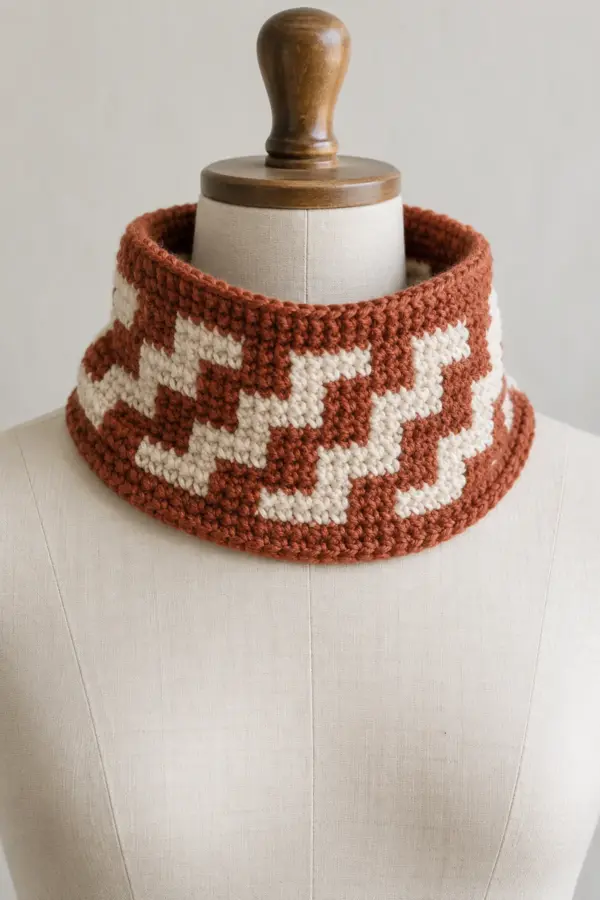
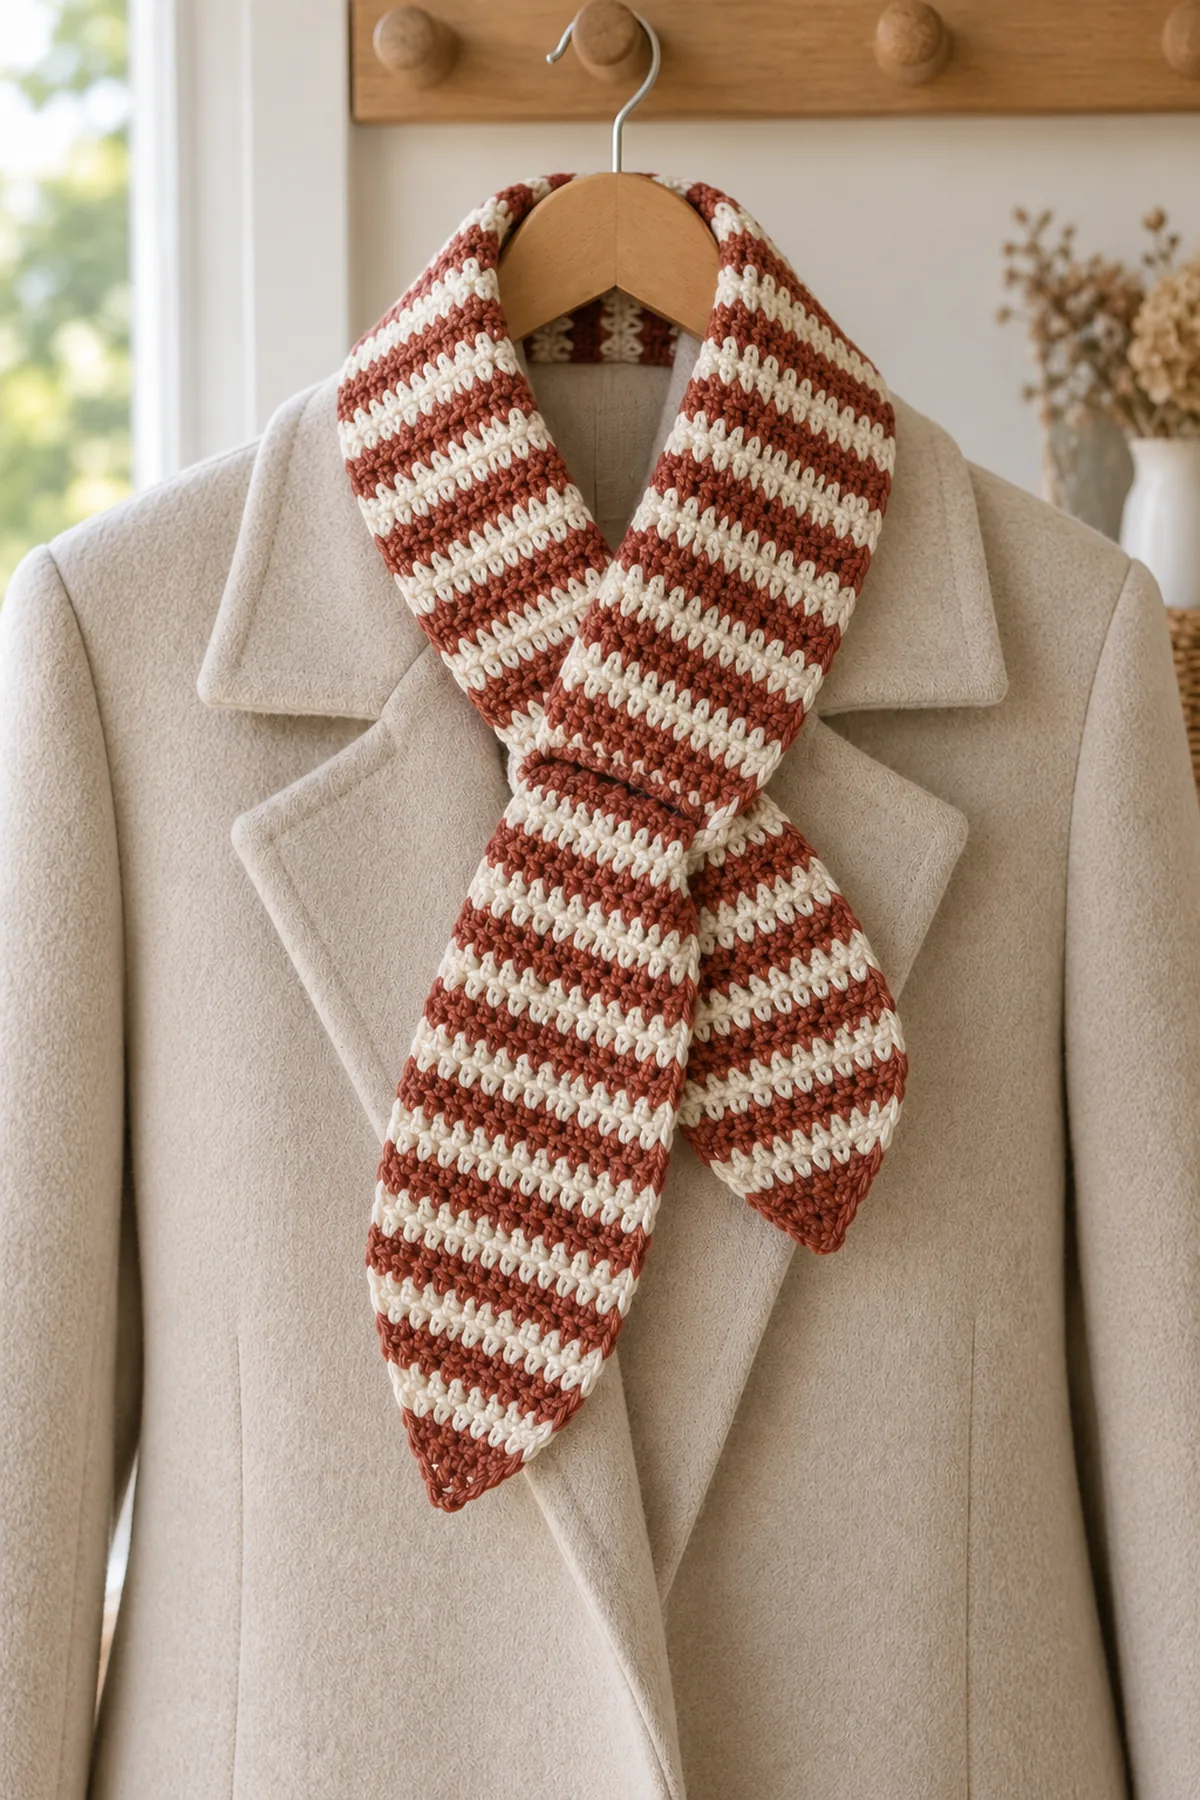
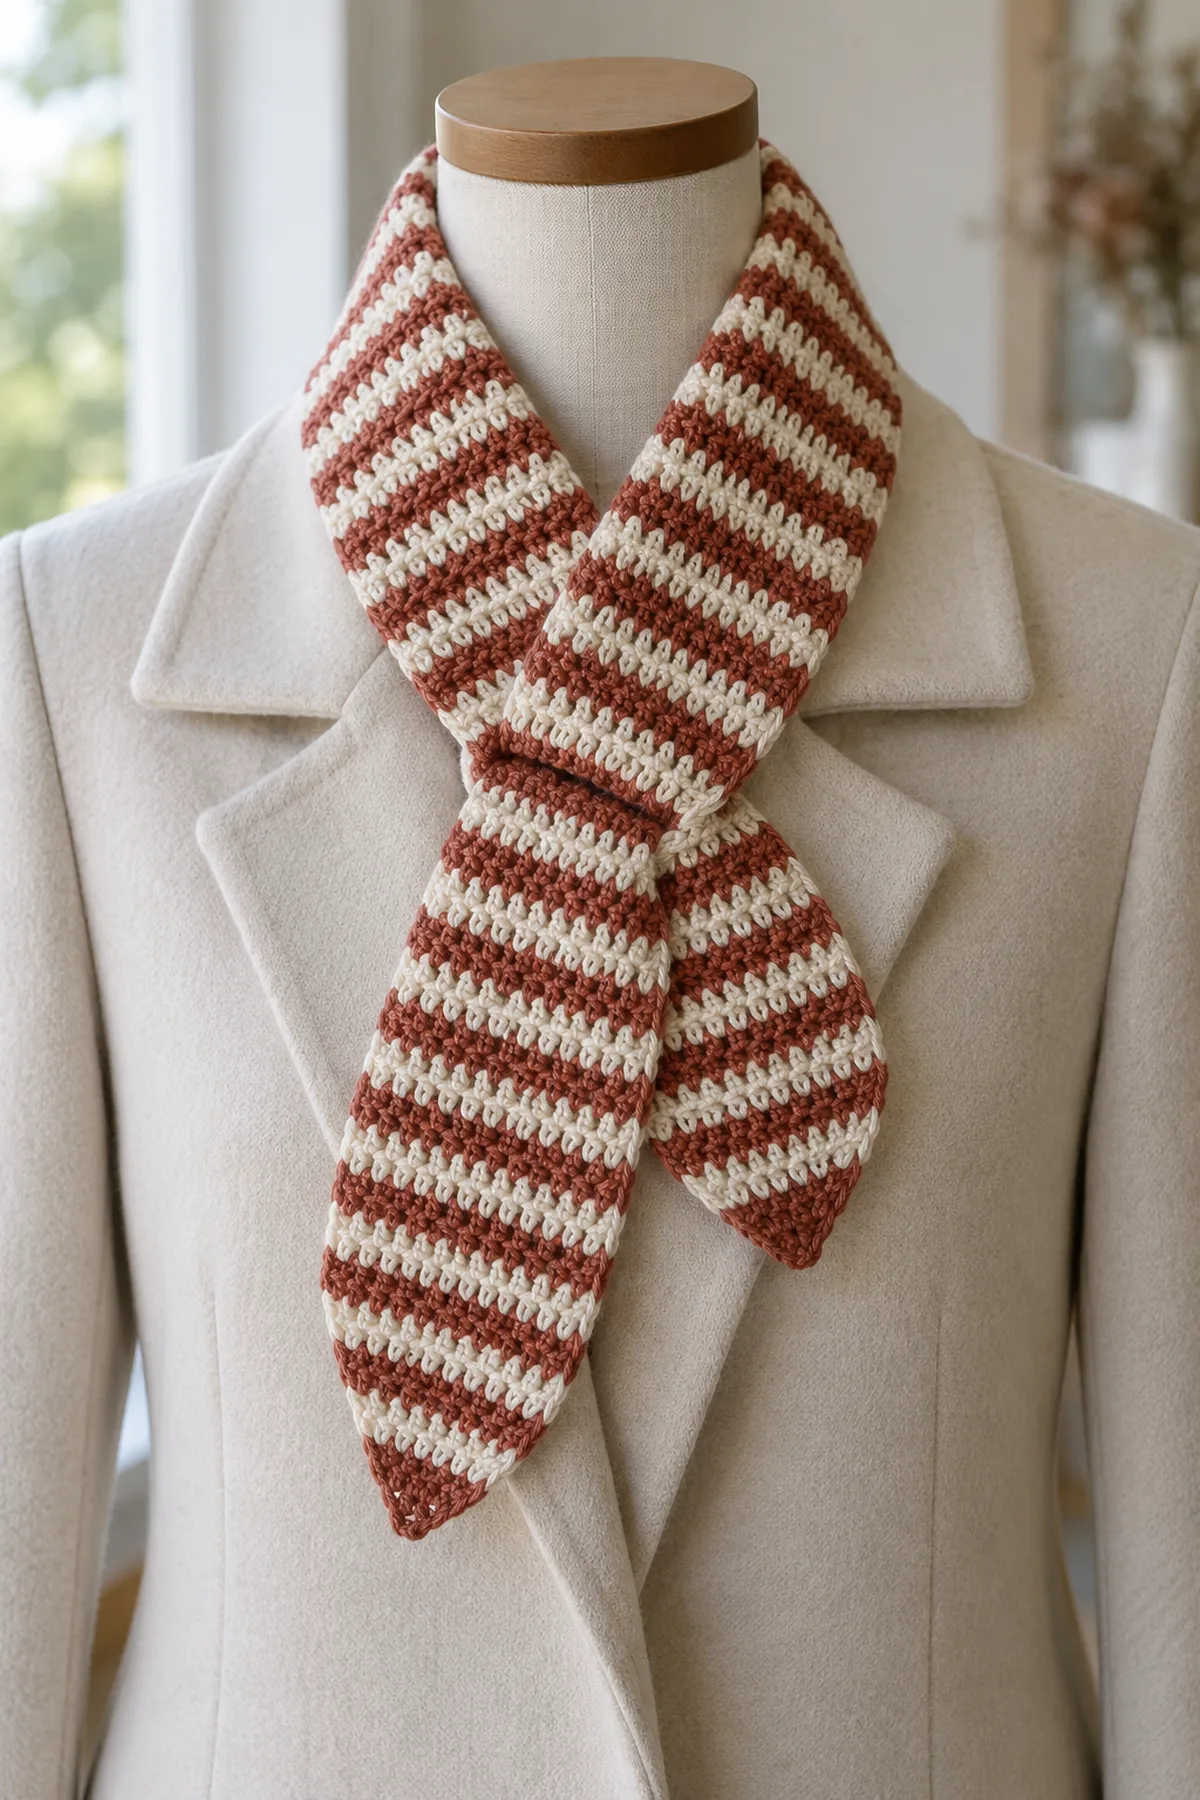
A short cream-and-rust scarf closes by passing one tapered end through a slot worked directly into its fabric. The keyhole is made from two equal strips worked separately and then rejoined, so it runs lengthwise rather than cutting across the scarf. Two-row color stripes stay aligned across both strips.
Pattern Details
- Hook Size: 5 mm, adjust to washed hdc gauge
- Finished Size: About 31 inches long by 5 inches wide, with a 3-inch-long keyhole; adult fitted accessory
- Gauge: Target 16 hdc and 12 rows = 4 inches
- Estimated Time: 5-7 hours
- Construction: Narrow tip, paired increases, striped straight body, two ten-stitch keyhole branches, rejoin, opposite tapered tip
- Skill level: Intermediate
Why You’ll Love This Project
The project has a practical use and a recognizable silhouette. Each component has its own checkpoint so you can compare the count and size before joining. The stitch choices and finishing are intended to give the object a distinctive handmade texture without relying on another pattern or image.
Materials
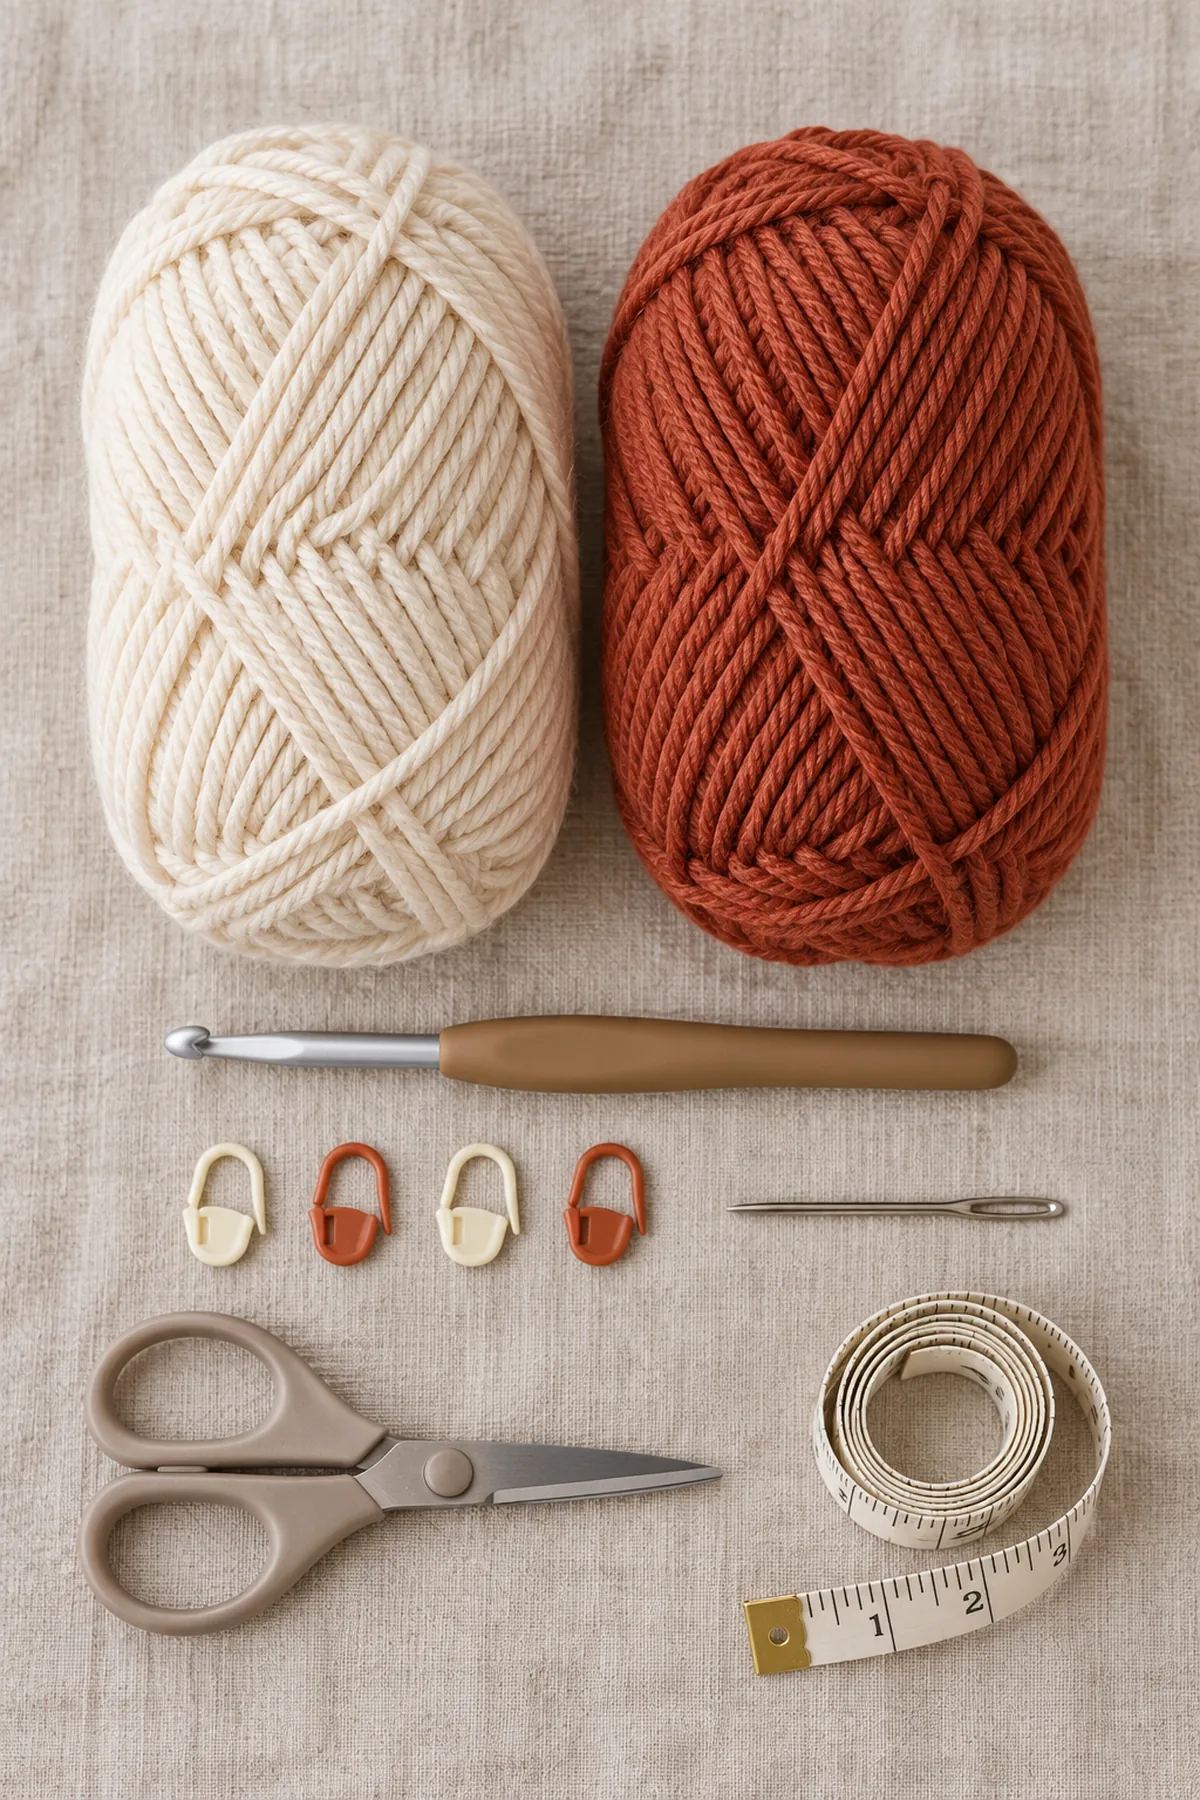
- Approximately 140 yards cream and 140 yards rust soft worsted wool/acrylic blend
- 5 mm hook, four locking markers, yarn needle, scissors and tape
Gauge, Measurements, and Planning
Swatch at least 24 hdc by 18 rows, wash and dry flat, then measure the center. Twenty hdc form a five-inch width and ninety-four rows at three rows per inch form about 31.3 inches before blocking changes. The nine-row keyhole is about three inches long and each ten-stitch branch is 2.5 inches wide. Try the scarf loosely around the intended adult neck before the final taper; it should sit over clothing without pressure. To lengthen, add an even number of twenty-stitch rows between Rows 16 and 66, record the offset and shift all later row numbers, continuing the two-row stripes. Do not reduce the slot length without a pass-through test.
Make and wash a gauge swatch before beginning. Measure only after the swatch is completely dry. If the stitch width differs, change hook size rather than pulling the working yarn tighter. Keep a written count at the end of every section so the finished edges remain balanced and the assembly points line up.
Abbreviations and Special Stitches
- ch: chain
- sc: single crochet
- hdc: half double crochet
- dc: double crochet
- sl st: slip stitch
- st(s): stitch(es)
- rnd: round
- BLO: back loop only
- inc: two stitches in one stitch
- sc2tog: single-crochet two stitches together
- hdc2tog: half-double-crochet two stitches together
Special stitch guidance: Hdc: yarn over, insert hook, pull up loop, yarn over and draw through all three loops. Hdc2tog: yarn over, draw up loop in next stitch, yarn over, draw up loop in following stitch, yarn over and draw through all five loops. Turning ch1 is not counted. Change color on final pull-through of the final hdc before the next-color row.
Important Notes
- Images are AI-generated illustrations of the intended design, not photographs of a physically tested sample. Follow the written stitch counts and construction instructions rather than counting stitches in an image.
- Development note: the written stitch arithmetic has been checked computationally, but this design has not been physically sample-tested. Gauge, yardage, fit and dimensions are planning targets. Make a swatch and a trial fit or assembly before gifting.
- Turning chains and joining slip stitches are not counted unless a step explicitly says otherwise. Mark the first counted stitch of each round or the first and last stitches of a flat row.
- Use the washed gauge to check dimensions at each named checkpoint. If the count is right but the measurement is wrong, change hook or yarn and reswatch rather than adding unplanned stitches.
- Keep all yarn tails on the wrong side and weave them through three different stitch paths before trimming. Do not use glue for structural joints.
Complete Instructions for Crochet Striped Keyhole Scarf with Tapered Ends
Start the Taper and Stripe Sequence
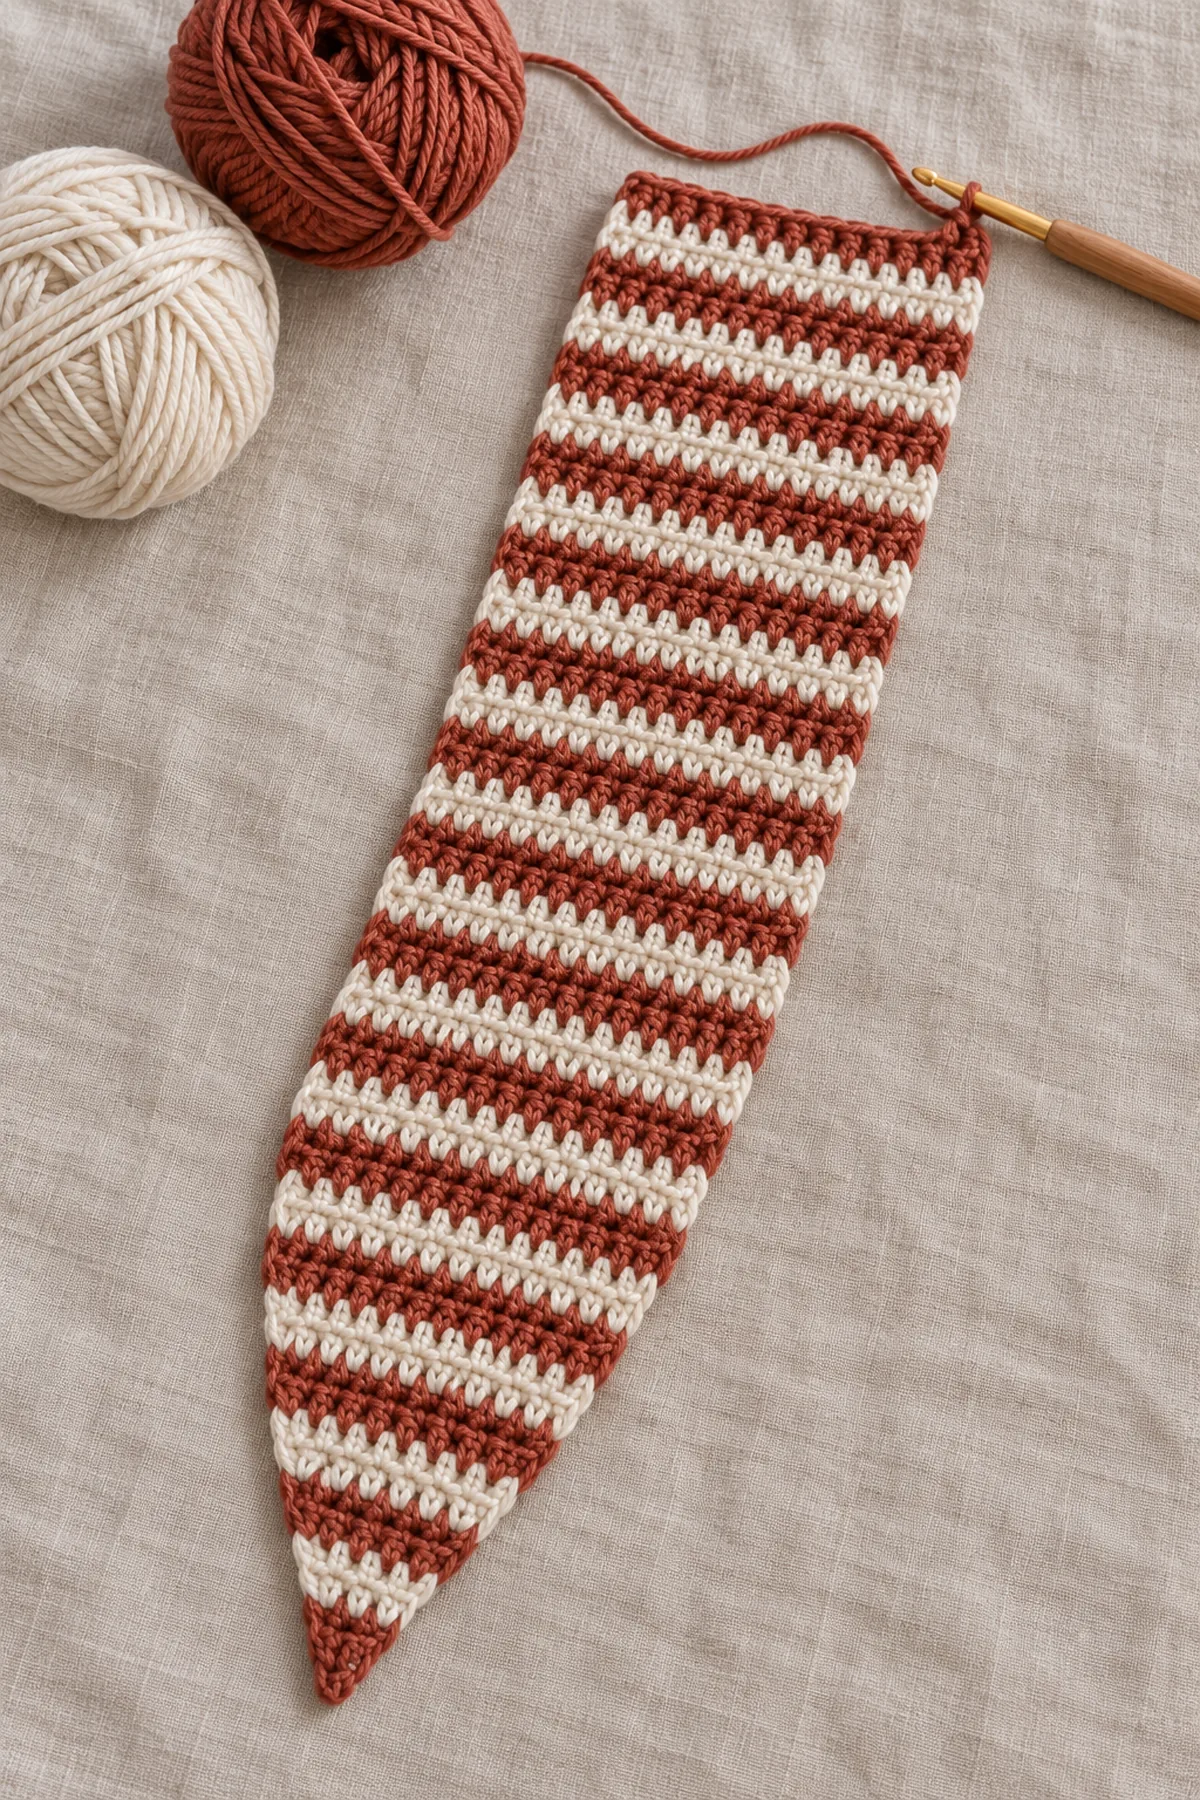
- Use cream for Rows 1-2, rust for Rows 3-4, cream for Rows 5-6 and continue alternating every two rows through the complete scarf. For any global row number, rows with remainder 1 or 2 when divided by four are cream; remainder 3 or 0 are rust. Cut colors at each change leaving six-inch tails rather than carrying an exposed strand along the scarf edge.
- Row 1: ch 9 in cream, hdc in second chain and each remaining chain. (8 sts) Ch 1 and turn. Row 2: 2 hdc in first stitch, hdc in next six, 2 hdc in last. (10 sts) Ch 1 and turn.
- Rows 3-7: work 2 hdc in first stitch, hdc in every middle stitch, 2 hdc in last; ch 1 and turn. Counts are Row 3 (12 sts), Row 4 (14 sts), Row 5 (16 sts), Row 6 (18 sts), Row 7 (20 sts). Move edge markers each row. The short eight-stitch starting edge is intentionally flat, not a pointed triangle.
Work the Main Body
- Rows 8-66: hdc in each of the twenty stitches, ch 1 and turn. (20 sts) Keep the two-row stripe sequence uninterrupted. At every tenth row lay the scarf flat to check width and edge tension. Do not work into the turning chain.
- After Row 66, place a marker between stitches 10 and 11. With the side facing you ready to work Row 67, name its first ten stitches branch A and the remaining ten branch B. Each branch must have the same nine global rows, colors and height; neither crosses the other.
Create and Rejoin the Integral Keyhole
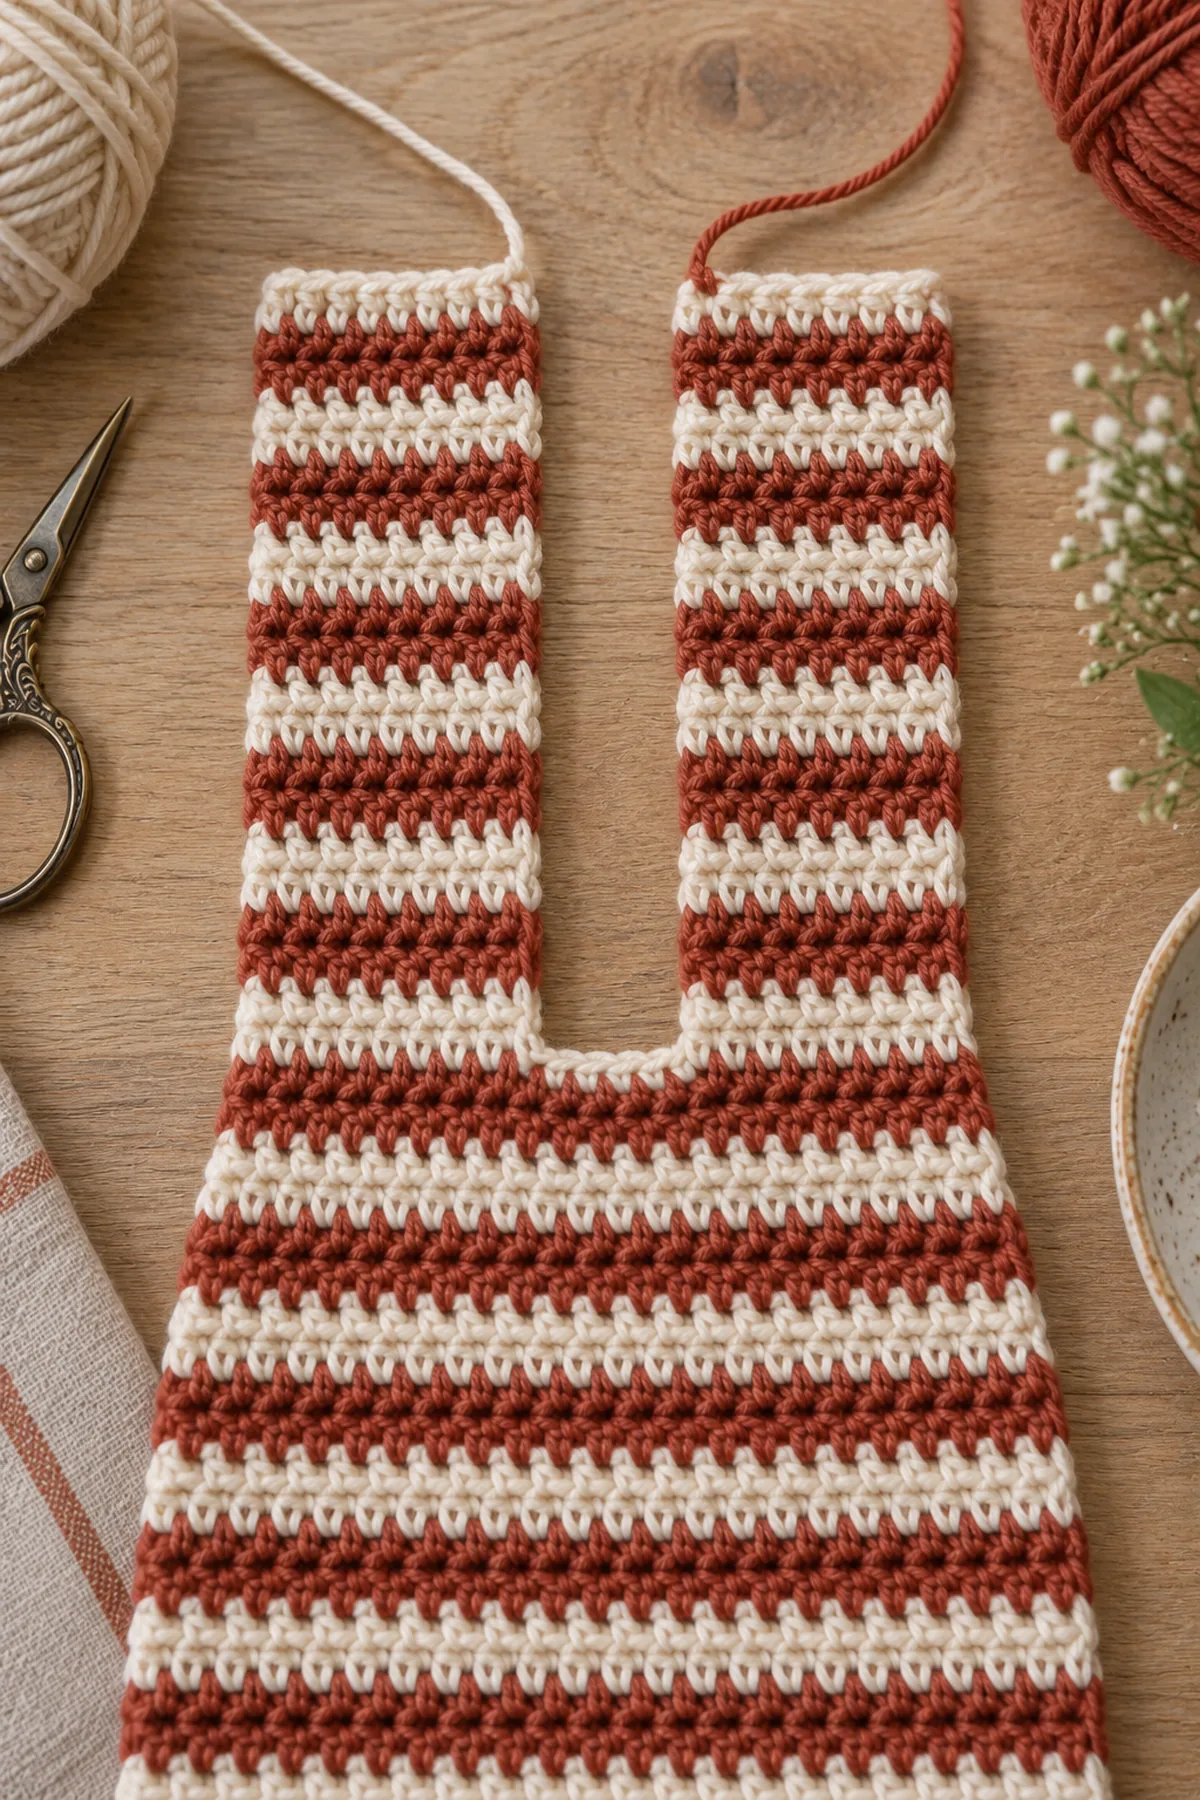
- Branch A Row 67: change to rust for this row and hdc in only the first ten stitches; leave the other ten unworked. (10 sts) Ch 1 and turn this branch. Rows 68-75: hdc across these ten only, turning after each row except75. Follow the global color rule. Fasten off after75 with a six-inch tail.
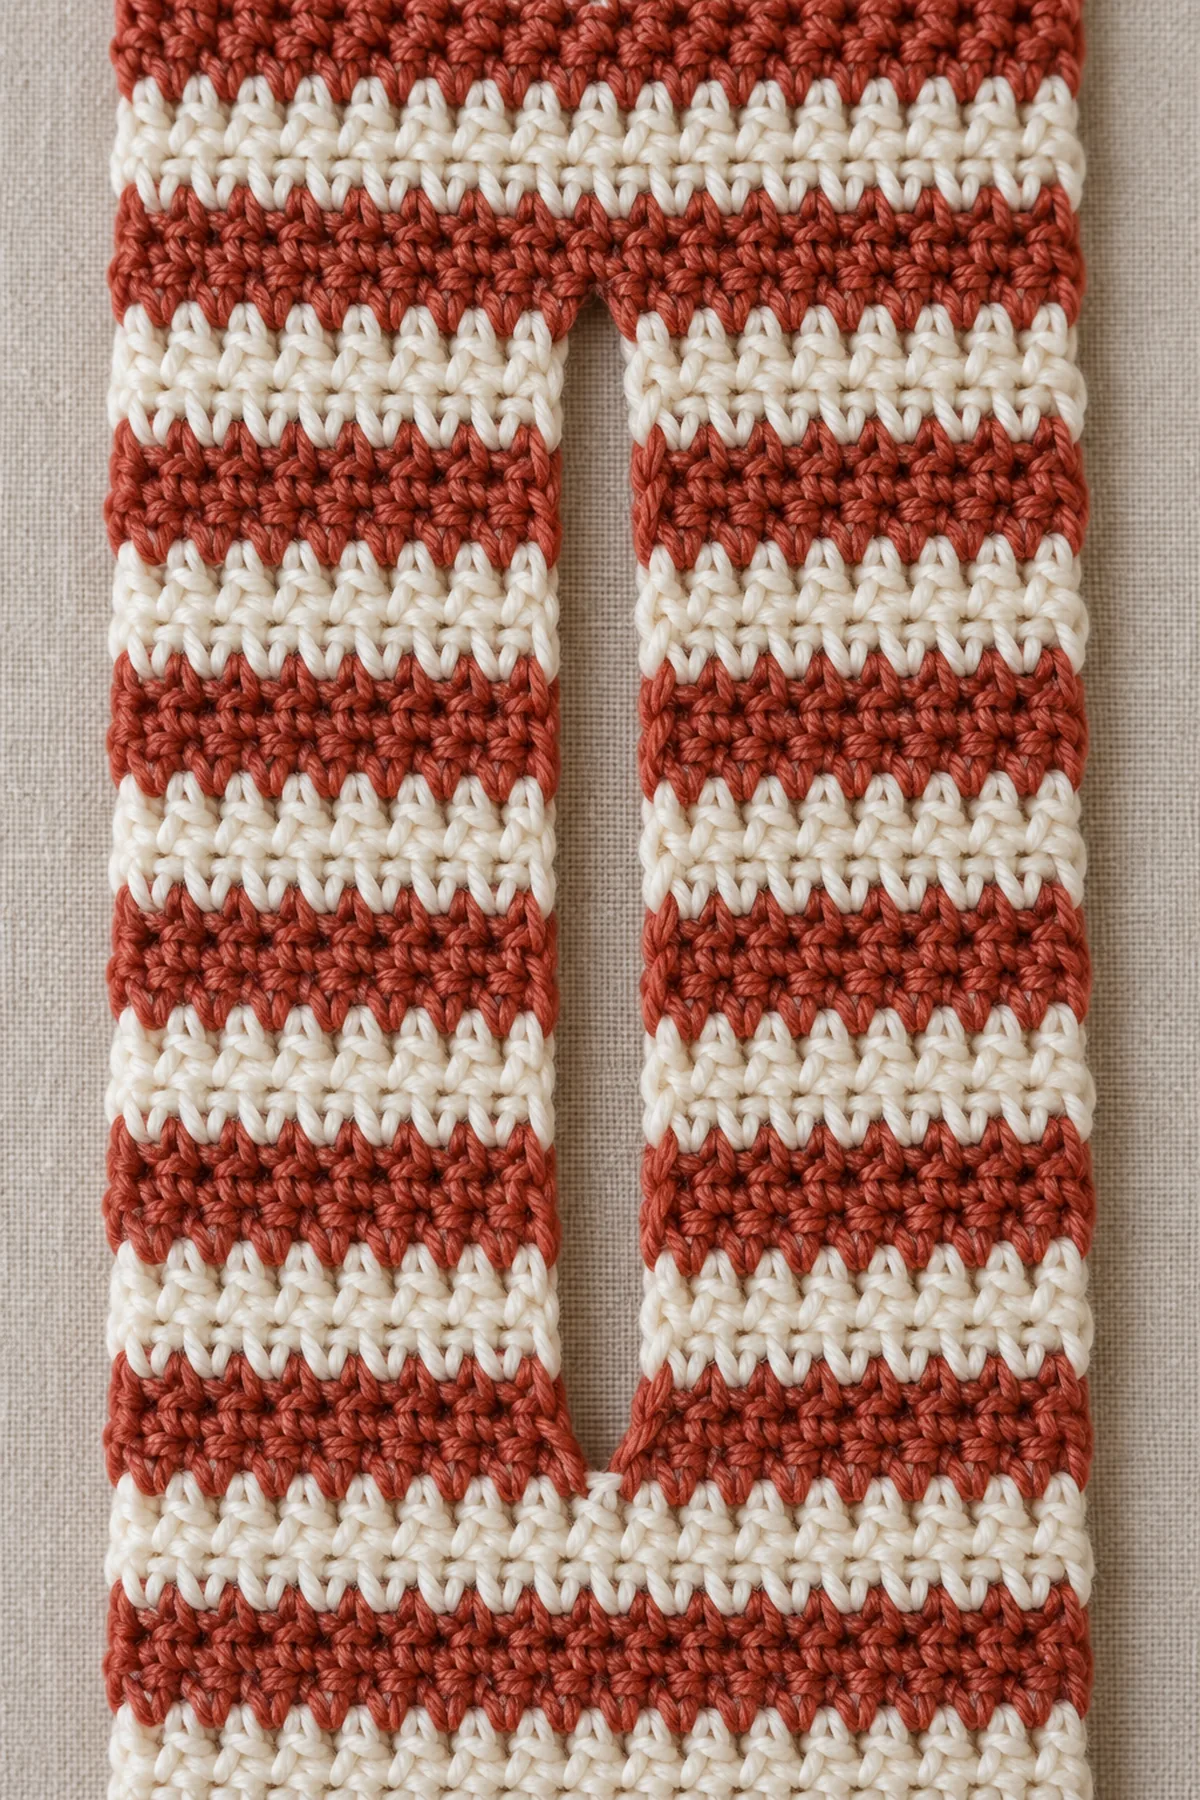
- Return to the waiting ten stitches of Row66. Place the scarf exactly as it was at the start of Row67, with branch A on the first-worked side. Join rust at old stitch11, ch1, hdc in stitches11-20 for branch B Row67. (10 sts) Ch1 and turn. Work Branch B Rows68-75 exactly as for A, ending both on the same global row, in the same rust stripe. Fasten off. The slot is the nine-row gap between them; do not sew its side edges.
- Lay both branches parallel and untwisted. Turn the entire work as if ready for Row76. Join rust at the outer edge of the branch now first in working order. Ch1; hdc across its ten top stitches, then immediately hdc across the ten top stitches of the other branch without making a bridging chain. (20 sts) Ch1 and turn. This single rejoin row closes the top of the slot; the nine-row inner edges remain free.
- Rows77-88: hdc in all twenty stitches, changing colors on the original two-row sequence. (20 sts) Ch1 and turn. Gently pass the starting tapered end through the keyhole. The slot must open without pulling individual stitches out of shape; reshape the nine-row opening and correct any twisted branch before continuing.
Taper the Second End and Check Fit
- Row89: hdc2tog, hdc in next sixteen, hdc2tog. (18 sts) Ch1 and turn. Row90: hdc2tog, hdc in next fourteen, hdc2tog. (16 sts) Ch1 and turn.
- Continue removing one stitch at each edge: Row91 has twelve middle hdc (14 sts); Row92 has ten middle hdc (12 sts); Row93 has eight middle hdc (10 sts); Row94 has six middle hdc (8 sts). Ch1 and turn after each except94. Fasten off. Both ends now terminate in eight-stitch flat tips.
- Weave color tails within their own stripes, reversing direction twice. Leave the slot edges plain so they remain flexible. Damp-block flat without pinning the keyhole wider than the branches naturally allow. Dry fully.
- Wear by placing the scarf around an adult neck and guiding the opposite tip through the slot, adjusting loosely over clothing. Do not cinch it tight. Remove for sleep, exercise machines, cooking flames or activities where a scarf could catch. This is not baby or child neckwear. Wash according to the yarn label and inspect the slot join after washing.
Assembly and Shaping
The scarf is one continuous shaped strip except for the two independently worked keyhole branches. Their inner edges remain unsewn. Rejoining both live upper edges creates one full-width row without chaining across or twisting either branch. No fringe, buttons or separate loops are added.
Lay every component on a flat surface before joining. Match the marked centers first, then divide each remaining edge into equal sections. Work through both layers with consistent tension and pause after each section to check that the fabric lies flat. This measured approach prevents twisting and keeps decorative details facing the intended direction.
Finishing
- Weave each yarn tail through several same-color stitches, reverse direction twice and stretch the fabric gently before trimming.
- Block to the stated shape according to the yarn label and let every component dry fully before final assembly.
- Inspect the first and last row, joins, edges, and any sewn attachment from both sides; repair loose stitches before use.
- Include the fiber content, finished dimensions and care instructions when gifting. Keep yarn projects away from open flames and direct heat.
For a polished result, weave each tail through several same-color stitches, reverse direction once, and trim only after the fabric has been gently stretched. Block to the listed dimensions without flattening textured stitches. Inspect joins, borders, straps, and decorative pieces before the project is used or gifted.
Helpful Tips
- Place removable markers at each shaping repeat and record the count before beginning the next row.
- Use a contrasting cloth behind dark yarn so it is easier to see both loops of every stitch.
- Lay the piece flat and compare opposite sides at each measurement checkpoint rather than pulling one side to match.
- If an edge ripples or cups unexpectedly, stop and check stitch count and washed gauge before adding a border.
Good lighting and a contrasting stitch marker make counting much easier. If a section looks uneven, compare the current count with the previous checkpoint before continuing. Fixing one missed stitch early is faster than compensating later, and it preserves the measurements used by the assembly instructions.
Frequently Asked Questions
Is this pattern physically tested?
No physical sample test is claimed. The stitch counts were checked computationally. Swatch, measure and trial-fit the piece before relying on the suggested dimensions.
Can I substitute another yarn?
Yes, if a washed swatch matches both stitch and row gauge and the resulting fabric has the required structure. Recalculate yardage and recheck every measurement checkpoint.
Can I change the colors?
Yes. Preserve yarn weight and contrast where a shaping or decorative feature must remain visible, and make a new swatch for the substitute yarn.
Conclusion
Keep the measured dimensions and yarn details with your pattern notes. Check the construction and safety guidance before styling or gifting the finished crochet project.
BabyYarnie Printable Crochet Pattern Card
BabyYarnie — easy-to-follow crochet for everyday makers.
Project: Crochet Striped Keyhole Scarf with Tapered Ends
Skill level: Intermediate Hook: 5 mm, adjust to washed hdc gauge Yarn: Worsted
Finished size: About 31 inches long by 5 inches wide, with a 3-inch-long keyhole; adult fitted accessory
Card Materials
- Approximately 140 yards cream and 140 yards rust soft worsted wool/acrylic blend
- 5 mm hook, four locking markers, yarn needle, scissors and tape
Card Instructions
- Start the Taper and Stripe Sequence: Begin with8 and add two per row until20; switch cream/rust every two global rows.
- Work the Main Body: Maintain20 stitches through Row66, then mark two groups of10.
- Create and Rejoin the Integral Keyhole: Two10-stitch branches each work Rows67-75; Row76 rejoins10+10 without a chain.
- Taper the Second End and Check Fit: Six edge-decrease rows return20 to8; leave slot open and wear loosely.
Finish: Check every count, weave in all ends, block to measurement, and inspect each join.