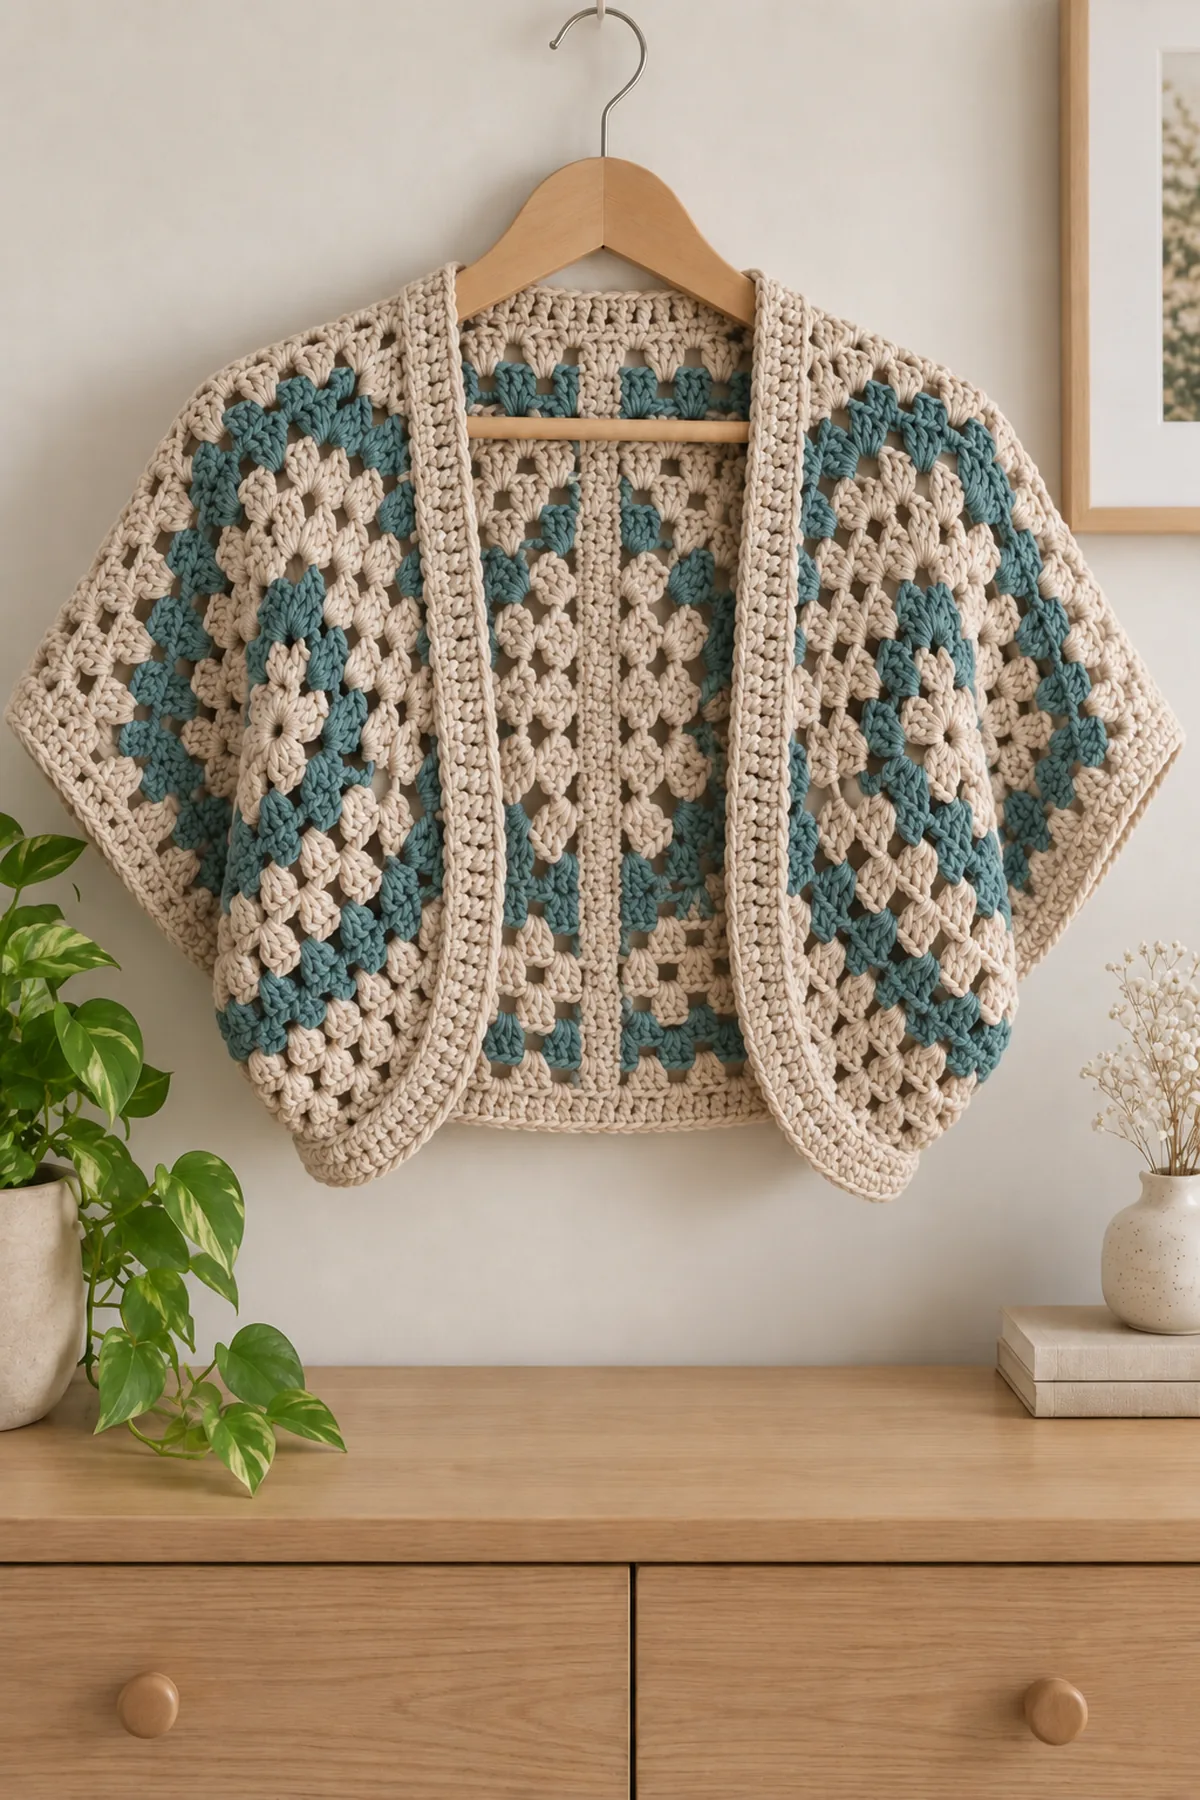
This original crochet two-hexagon adult shrug answers the crochet hexagon shrug pattern search with a complete construction rather than a decorative idea alone. The written instructions use US crochet terms and explicitly name shaping, assembly and fit checks. Gauge and measurements are planning targets; make a washed swatch before committing to a size.
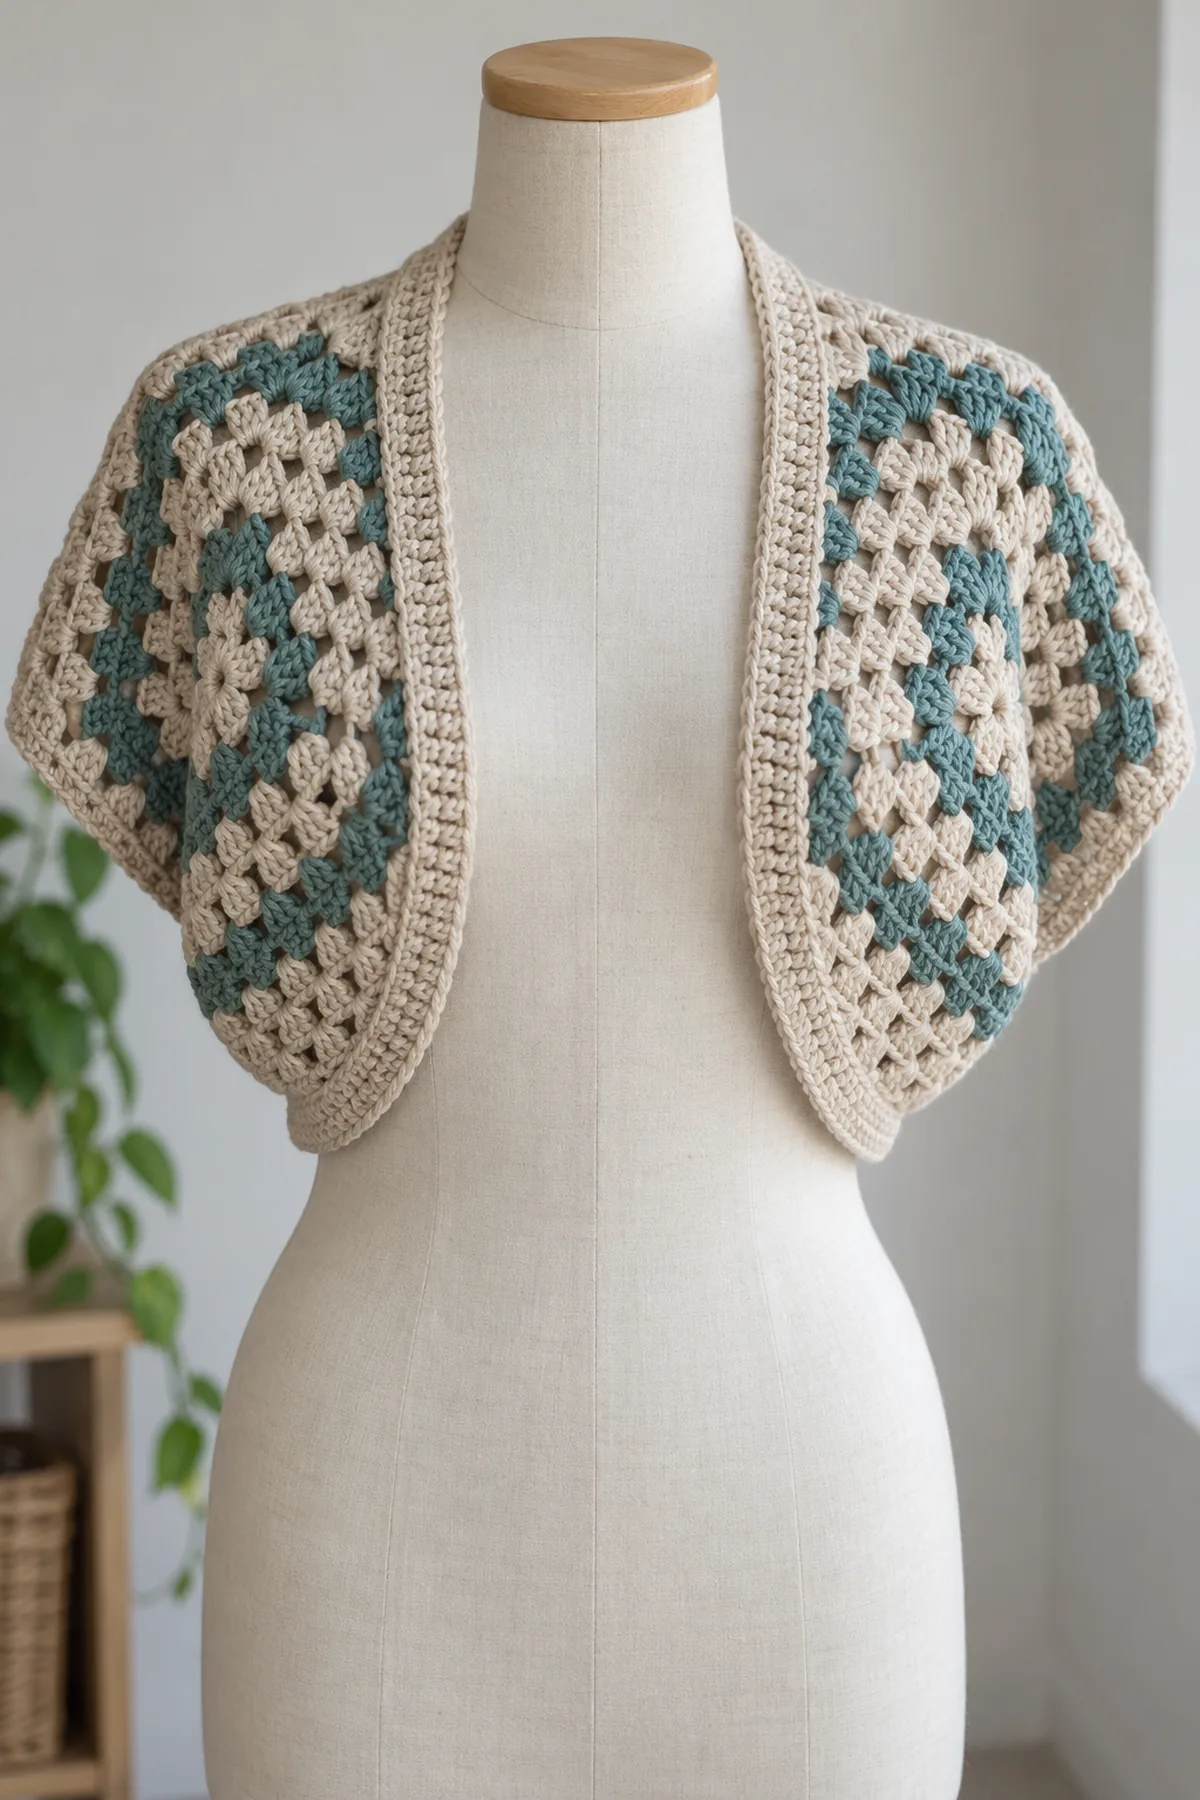
Two cupped granny hexagons fold into the two halves of a short open-front adult shrug. Short upper-arm sleeves are left at the hexagon edge rather than extended to the wrist. Separate back-edge bridge rows adjust width without forcing a larger sleeve, and a narrow sewn-on rib strip finishes the complete body opening.
Pattern Details
- Hook Size: 5 mm for hexagons and bridge;4.5 mm for rib band, adjust to gauge
- Finished Size: Three measured adult fit plans A/B/C: back widths20/23/26 inches, sleeve openings16/18/20 inches; cropped depth determined by folded hexagon and trial fit
- Gauge: Planning target4 granny groups across and7 rounds of radial depth per4 inches; washed sc bridge16 stitches and18 rows per4 inches
- Estimated Time: 18-26 hours
- Construction: Two ruffled hexagons, upper sleeve seams, fitted center-back bridge, open-front rib band
- Skill level: Intermediate
Why You’ll Love This Project
The project has a practical use and a recognizable silhouette. Each component has its own checkpoint so you can compare the count and size before joining. The stitch choices and finishing are intended to give the object a distinctive handmade texture without relying on another pattern or image.
Materials
- Soft worsted yarn: plan850/1050/1250 yards total for A/B/C, approximately three quarters oat and one quarter muted teal; buy matching dye lots with spare yardage for fit changes
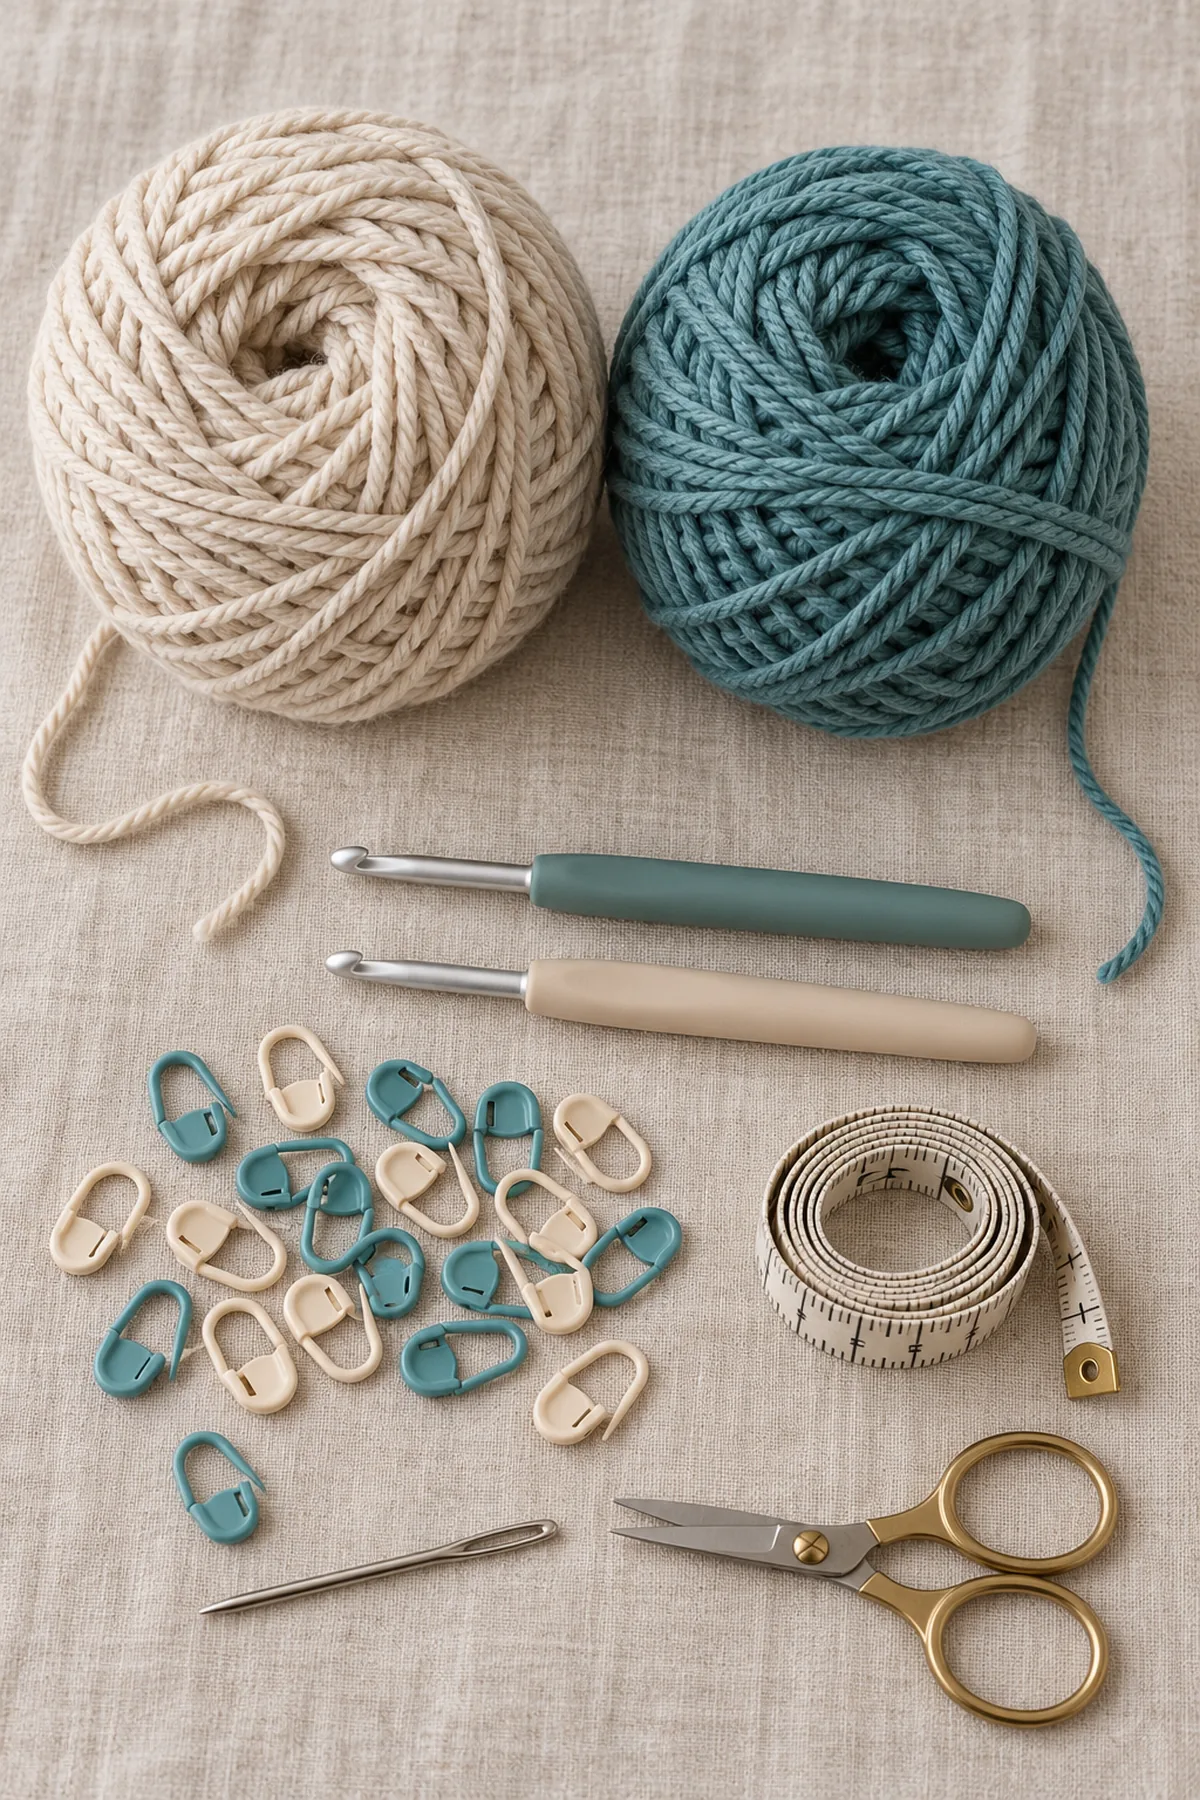
- 5 mm and4.5 mm hooks, many locking markers, tape measure, blunt needle and scissors
Gauge, Measurements, and Planning
The size plans are measured targets, not tested dress-size labels. Choose A/B/C for upper-torso chest roughly34-38/40-44/46-50 inches, then check actual fit: finished sleeve opening must exceed the clothed upper arm by at least3 inches. The back width is measured from underarm to underarm across the laid-flat back. Start fitting after12/14/16 rounds respectively; round count alone does not establish size. Make two identical folded test pieces and measure them before adding bridge rows. If the sleeve is small, add one full round to both pieces and refold; if too large remove one from both. Do not flatten or stretch the ruffles into a flat hexagon. If your measurements fall outside these three plans, fit to actual arm and back measurements with the same rules.
Make and wash a gauge swatch before beginning. Measure only after the swatch is completely dry. If the stitch width differs, change hook size rather than pulling the working yarn tighter. Keep a written count at the end of every section so the finished edges remain balanced and the assembly points line up.
Abbreviations and Special Stitches
- ch: chain
- sc: single crochet
- hdc: half double crochet
- dc: double crochet
- sl st: slip stitch
- st(s): stitch(es)
- rnd: round
- BLO: back loop only
- inc: two stitches in one stitch
- sc2tog: single-crochet two stitches together
- hdc2tog: half-double-crochet two stitches together
Special stitch guidance: A granny group is3dc into one gap, with no chain between ordinary groups. Each corner is(3dc,ch2,3dc) into a marked corner space. Beginning ch2 lifts the hook but does not count as a dc; first real dc is marked. After joining, slip-stitch over the next two dc and into the corner space to begin the next round. These travel stitches are not counted. BLO rib rows use the back loop of each old sc.
Important Notes
- Images are AI-generated illustrations of the intended design, not photographs of a physically tested sample. Follow the written stitch counts and construction instructions rather than counting stitches in an image.
- Development note: the written stitch arithmetic has been checked computationally, but this design has not been physically sample-tested. Gauge, yardage, fit and dimensions are planning targets. Make a swatch and a trial fit or assembly before gifting.
- Turning chains and joining slip stitches are not counted unless a step explicitly says otherwise. Mark the first counted stitch of each round or the first and last stitches of a flat row.
- Use the washed gauge to check dimensions at each named checkpoint. If the count is right but the measurement is wrong, change hook or yarn and reswatch rather than adding unplanned stitches.
- Keep all yarn tails on the wrong side and weave them through three different stitch paths before trimming. Do not use glue for structural joints.
Complete Instructions for Crochet Two-Hexagon Adult Shrug
Work Two Cupped Hexagons
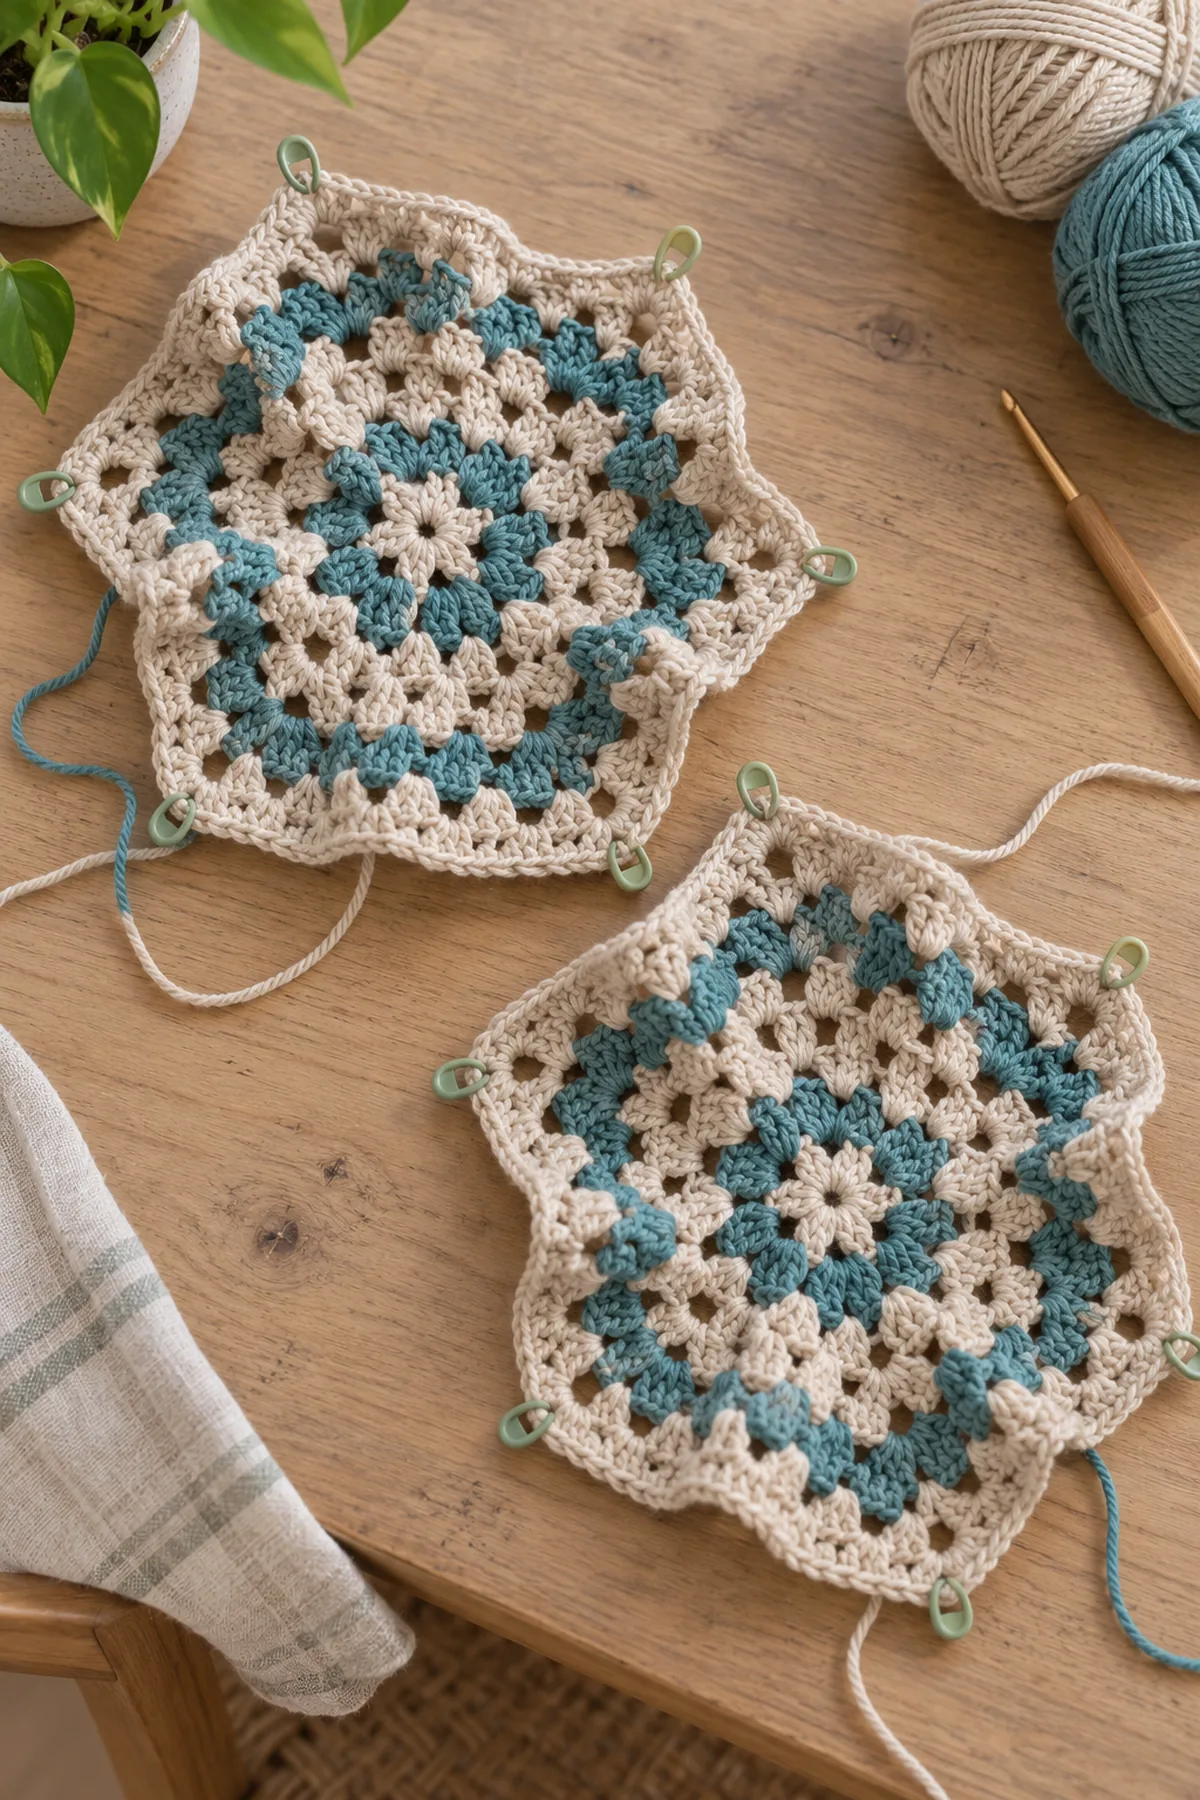
- Use oat for Rounds1-3, teal for4, then repeat three oat rounds and one teal round. Keep the sequence identical on both pieces. Begin a securely closed magic ring. Round1: ch2 (not counted), [3dc,ch2] six times into ring. Join first real dc. There are18dc and six ch2 spaces: (30 sts) when individual chains are included. Mark all six corner spaces. Do not turn.
- Round2: travel by sl st to first marked space. Ch2, then(3dc,ch2,3dc) in that space; work the same corner into each of the other five spaces, skipping the old dc groups. Join first real dc. There are36dc and12 chains: (48 sts). Mark the six new corners. There are now two groups along each side between corner centers.
- Round3 and every later round: travel to a corner, ch2, work(3dc,ch2,3dc) there. Moving toward the next corner, work3dc into each gap between old groups, skipping the tops of all old dc. Work the same corner at each next marked space and the same groups along every side. No chain separates ordinary groups. Join first real dc; do not turn.
- After Round r there are r groups per side,6r groups total,18r dc and12 corner chains. Round3 is(66 sts), Round4(84 sts). Twelve rounds give(228 sts), fourteen(264 sts), sixteen(300 sts). Each new round adds six groups and18dc; corners remain six. Stop first at12/14/16 for fit plan A/B/C, but perform the folding measurement before fastening off. The extra corner fullness is intentional.
- Count checkpoint for Round5: 30 groups, 90dc and12 corner chains, (102 sts).
- Count checkpoint for Round6: 36 groups, 108dc and12 corner chains, (120 sts).
- Count checkpoint for Round7: 42 groups, 126dc and12 corner chains, (138 sts).
- Count checkpoint for Round8: 48 groups, 144dc and12 corner chains, (156 sts).
- Count checkpoint for Round9: 54 groups, 162dc and12 corner chains, (174 sts).
- Count checkpoint for Round10: 60 groups, 180dc and12 corner chains, (192 sts).
- Count checkpoint for Round11: 66 groups, 198dc and12 corner chains, (210 sts).
- Count checkpoint for Round13: 78 groups, 234dc and12 corner chains, (246 sts).
- Count checkpoint for Round15: 90 groups, 270dc and12 corner chains, (282 sts).
Fold and Fit the Two Halves
- Number the corner markers1-6 around the outer edge. With right side outside, bring opposite corners3 and6 together; let the surplus fabric settle into an L rather than forcing it into a flat half-circle. Smooth the folded layers so the center ring sits at the underarm bend. One leg of the L becomes a short sleeve and the other the half-body.
- Identify the open edge along the top of the sleeve and shoulder, the open sleeve-end edge at the outer tip, and the two separate vertical body edges at the inner leg. Mark the body edge nearest the back with a different marker. Baste the top sleeve edge from its outer sleeve corner toward the inner shoulder corner, matching each group and corner space. Do not sew the sleeve-end opening or either vertical body edge.
- Fold and baste the second hexagon as a mirror image. Lay the halves with sleeve ends pointing away from one another and BACK edges facing each other. Slip arms into the loose short sleeves over normal clothing. Check the planned16/18/20-inch opening against the actual upper arm, raise both arms and sit down. No seam should pull into the armpit.
- If the sleeve fit fails, undo the baste and add or remove whole rounds equally on both hexagons, then refold. Record final round number R for both pieces. Keep sleeves short; do not add a wrist-length tube. Measure body depth from shoulder to hem after folding. This is a cropped shrug; the exact depth is a result of the chosen arm fit rather than an independently promised measurement.
Add the Back-Width Bridge
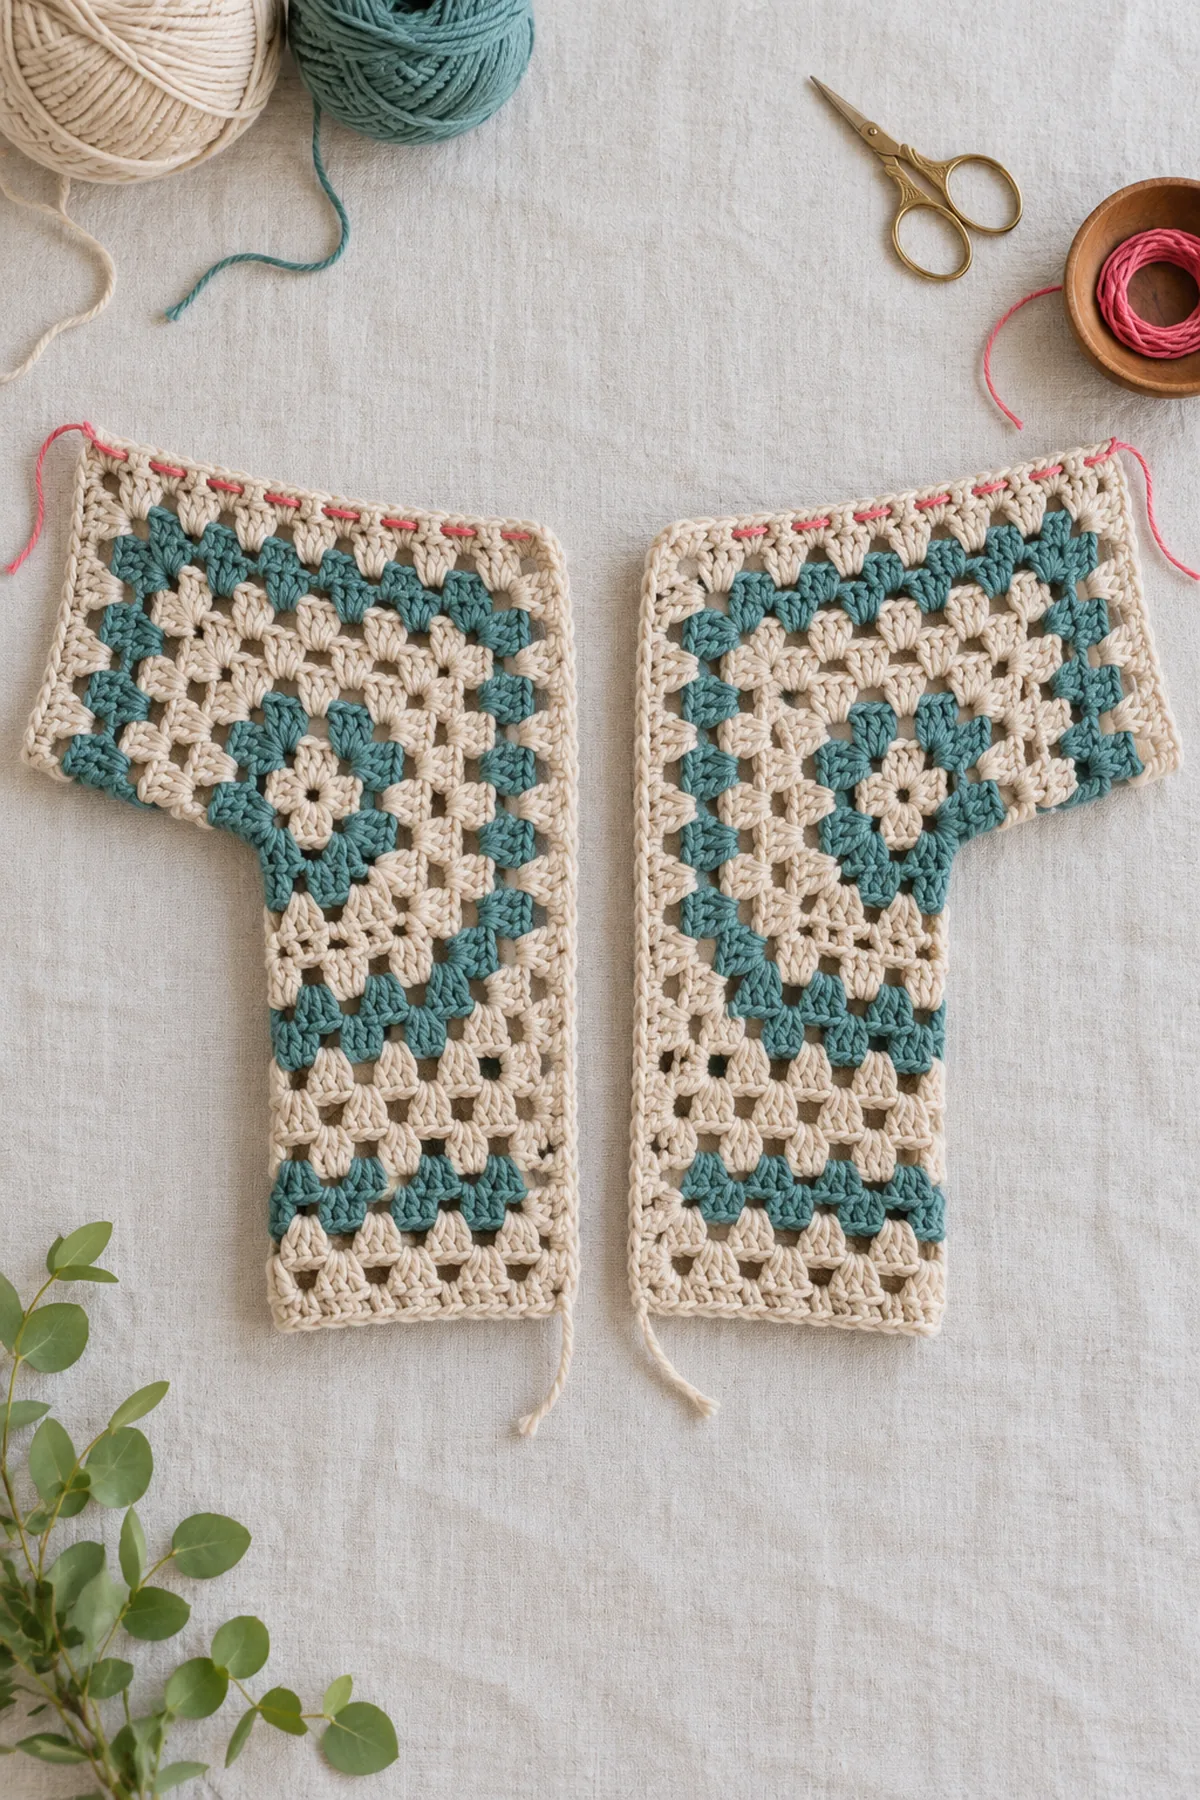
- Lay the fitted halves right side up with backs facing one another. Position them so the intended back width is20/23/26 inches from underarm to underarm. Measure the gap G between the two back edges. If the halves overlap at that target, use the smallest comfortable no-overlap width and recheck fit rather than making negative bridge rows. Record G and keep both edges parallel.
- Along each BACK edge from its neck corner to hem corner, mark the single edge between those corners. With oat and right side facing, join at the neck corner, ch1; work one sc into the starting corner space, one sc in each dc across that edge, then one sc into the ending corner space. Since one side has R groups, there are N=3R+2 sc. For R12/14/16, N is38/44/50. Ch1 and turn. Do not pick up into group gaps or travel slip stitches.
- Work sc in all N stitches for each further bridge row, ch1 and turn. At the target bridge gauge4.5 rows per inch, choose k=max(1,round(G times4.5 divided by2)) total rows on EACH back edge, including the pickup row. For a two-inch gap, k=5 gives about2.2 inches combined. Re-measure the actual relaxed strips; change k equally on both sides until the edges meet at comfortable back width. A trial fit overrides a calculated row count.
- Whipstitch the two final N-stitch bridge rows together with wrong sides inward, matching neck and hem ends. Permanently sew the previously basted upper sleeve edges through matched full edge loops, leaving sleeve openings untouched. Remove baste and markers. Try on again before adding the border; if the back restricts arm movement, open the center seam and add one sc row on each bridge, then reseam.
Make the Continuous Ribbed Body Band
- The body opening now forms a single perimeter: front edge, back neck, opposite front edge, and lower hem including bridge ends. Do not include sleeve openings. Measure this perimeter P on the garment laid without stretching.
- In oat with4.5 mm hook ch7. Row1: sc in second chain and across. (6 sts) Ch1 and turn. Row2 onward: sc BLO in all6. Continue until the relaxed strip reaches P; lay it around the actual perimeter every twenty rows to check. It must reach without stretching the garment or gathering the hem. Record its row count and fasten off with a long tail.
- Sew strip short ends together without twisting. Mark its quarter points and the matching quarter points of the garment perimeter, starting at the lower center back. With wrong sides together, whipstitch one long row-end edge of the ribbing to the opening, matching each quarter evenly. At changes of direction, ease the ribbing around the contour rather than folding a hard tuck. Leave the other long rib edge free.
- Weave tails, wash according to yarn label and dry supported flat. Check band, sleeve clearance and center seam after drying. No buttons or hood are added. The shrug is adult daytime clothing; remove for snag-prone machinery and open-flame work. Construction arithmetic is checked, but fitting and yardage remain planning estimates until the maker completes a physical sample.
Assembly and Shaping
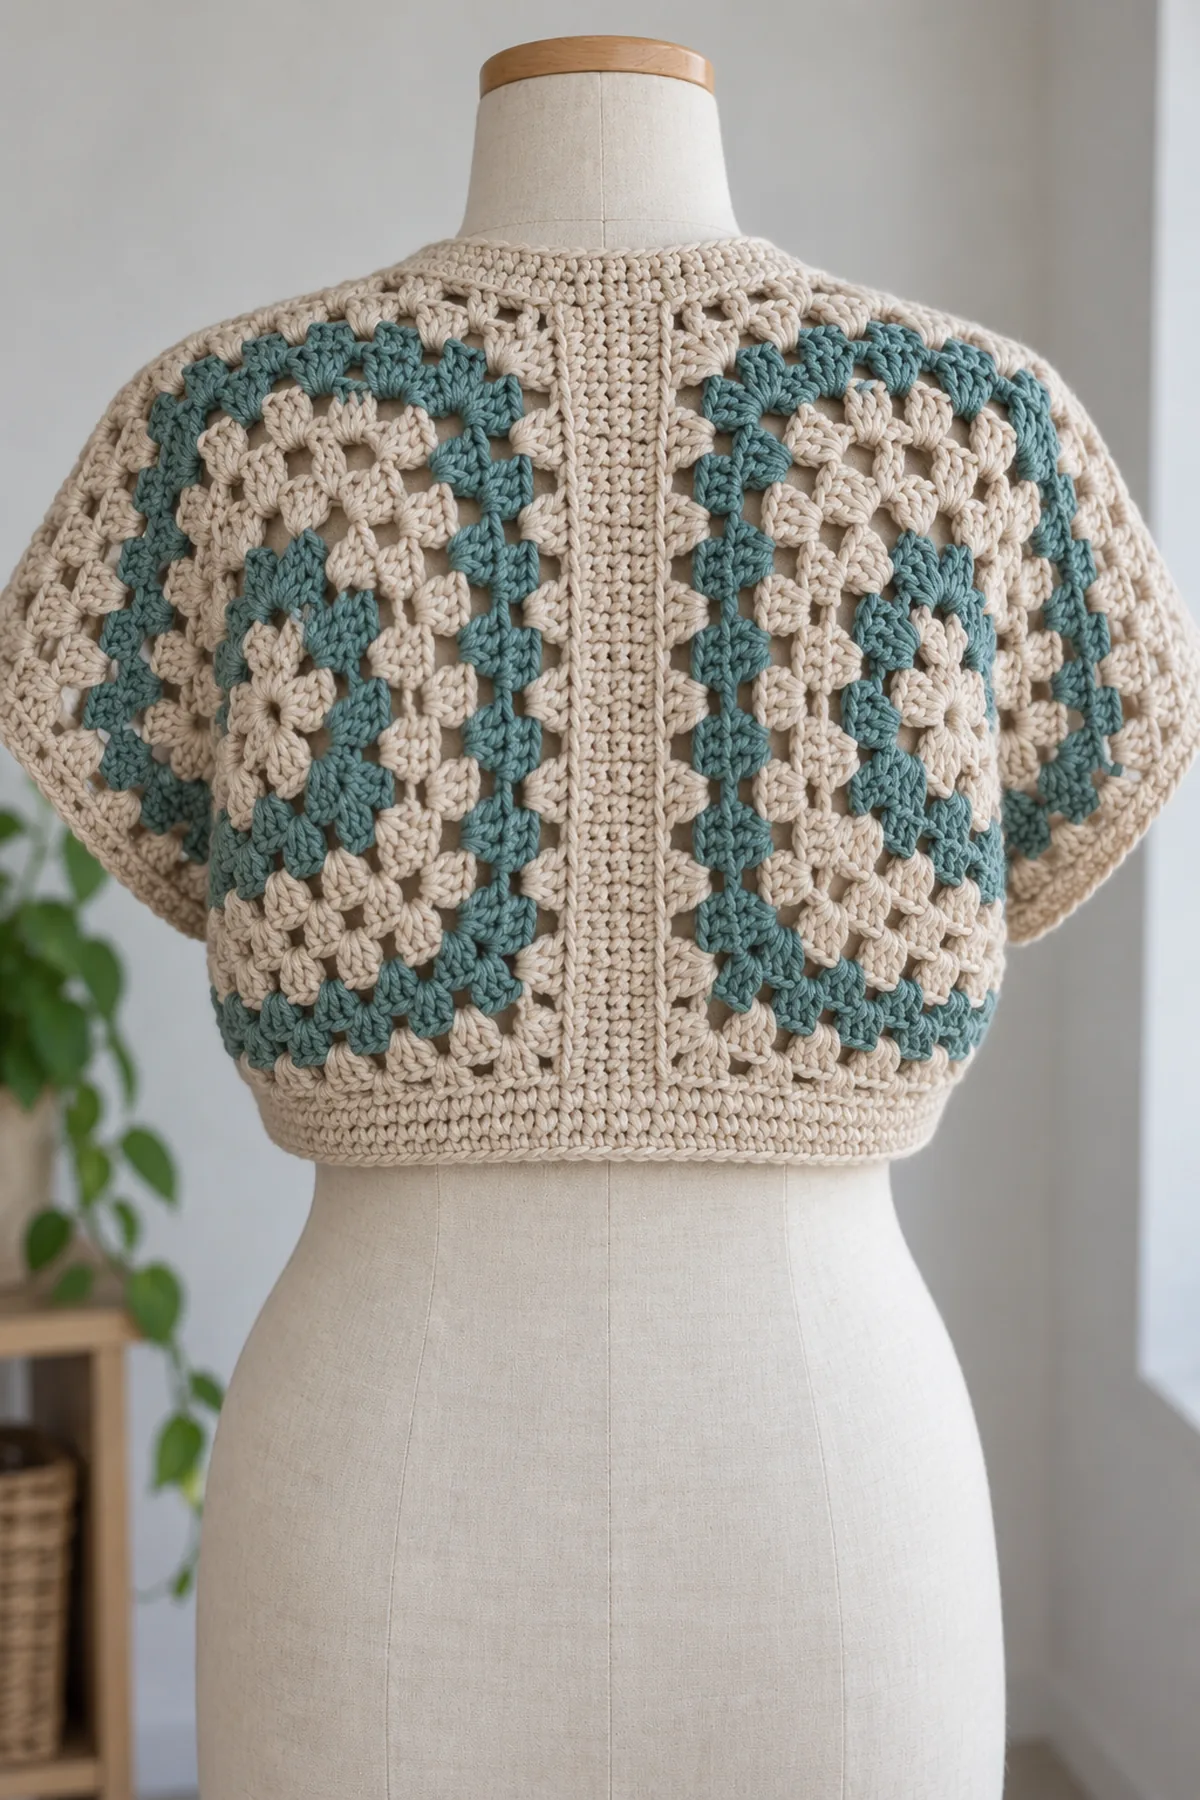
Fold each cupped hexagon into an L-shaped half garment; join only the upper sleeve/shoulder edge. Keep the sleeve end open and keep both front and back vertical body edges unjoined initially. Fit the back gap with sc bridge rows on those back edges, then sew their final rows together. Sew ribbing around the entire connected body opening, never across either armhole.
Lay every component on a flat surface before joining. Match the marked centers first, then divide each remaining edge into equal sections. Work through both layers with consistent tension and pause after each section to check that the fabric lies flat. This measured approach prevents twisting and keeps decorative details facing the intended direction.
Finishing
- Weave each yarn tail through several same-color stitches, reverse direction twice and stretch the fabric gently before trimming.
- Block to the stated shape according to the yarn label and let every component dry fully before final assembly.
- Inspect the first and last row, joins, edges, and any sewn attachment from both sides; repair loose stitches before use.
- Include the fiber content, finished dimensions and care instructions when gifting. Keep yarn projects away from open flames and direct heat.
For a polished result, weave each tail through several same-color stitches, reverse direction once, and trim only after the fabric has been gently stretched. Block to the listed dimensions without flattening textured stitches. Inspect joins, borders, straps, and decorative pieces before the project is used or gifted.
Helpful Tips
- Place removable markers at each shaping repeat and record the count before beginning the next row.
- Use a contrasting cloth behind dark yarn so it is easier to see both loops of every stitch.
- Lay the piece flat and compare opposite sides at each measurement checkpoint rather than pulling one side to match.
- If an edge ripples or cups unexpectedly, stop and check stitch count and washed gauge before adding a border.
Good lighting and a contrasting stitch marker make counting much easier. If a section looks uneven, compare the current count with the previous checkpoint before continuing. Fixing one missed stitch early is faster than compensating later, and it preserves the measurements used by the assembly instructions.
Frequently Asked Questions
Is this pattern physically tested?
No physical sample test is claimed. The stitch counts were checked computationally. Swatch, measure and trial-fit the piece before relying on the suggested dimensions.
Can I substitute another yarn?
Yes, if a washed swatch matches both stitch and row gauge and the resulting fabric has the required structure. Recalculate yardage and recheck every measurement checkpoint.
Can I change the colors?
Yes. Preserve yarn weight and contrast where a shaping or decorative feature must remain visible, and make a new swatch for the substitute yarn.
Conclusion
Keep the measured dimensions and yarn details with your pattern notes. Check the construction and safety guidance before styling or gifting the finished crochet project.
BabyYarnie Printable Crochet Pattern Card
BabyYarnie — easy-to-follow crochet for everyday makers.
Project: Crochet Two-Hexagon Adult Shrug
Skill level: Intermediate Hook: 5 mm for hexagons and bridge;4.5 mm for rib band, adjust to gauge Yarn: Worsted
Finished size: Three measured adult fit plans A/B/C: back widths20/23/26 inches, sleeve openings16/18/20 inches; cropped depth determined by folded hexagon and trial fit
Card Materials
- Soft worsted yarn: plan850/1050/1250 yards total for A/B/C, approximately three quarters oat and one quarter muted teal; buy matching dye lots with spare yardage for fit changes
- 5 mm and4.5 mm hooks, many locking markers, tape measure, blunt needle and scissors
Card Instructions
- Work Two Cupped Hexagons: Six corners; Round r has6r groups,18r dc and12 corner chains. Fit after12/14/16 rounds.
- Fold and Fit the Two Halves: Opposite corners meet to form L halves; baste only top sleeve seam, keep arm openings and body edges free.
- Add the Back-Width Bridge: Each back pickup has3R+2 sc. Add equal bridge rows to fill measured gap, then join final rows neck to hem.
- Make the Continuous Ribbed Body Band: Six-stitch BLO band measured to the complete body opening, seamed into a loop and sewn around front, neck and hem.
Finish: Check every count, weave in all ends, block to measurement, and inspect each join.