Images are AI-generated illustrations of the intended design, not photographs of a physically tested sample. Follow the written stitch counts and construction instructions rather than counting stitches in an image.
This original crochet scalloped mesh hair snood answers the crochet hair snood pattern search with a complete construction rather than a decorative idea alone. The written instructions use US crochet terms and explicitly name shaping, assembly and fit checks. Gauge and measurements are planning targets; make a washed swatch before committing to a size.
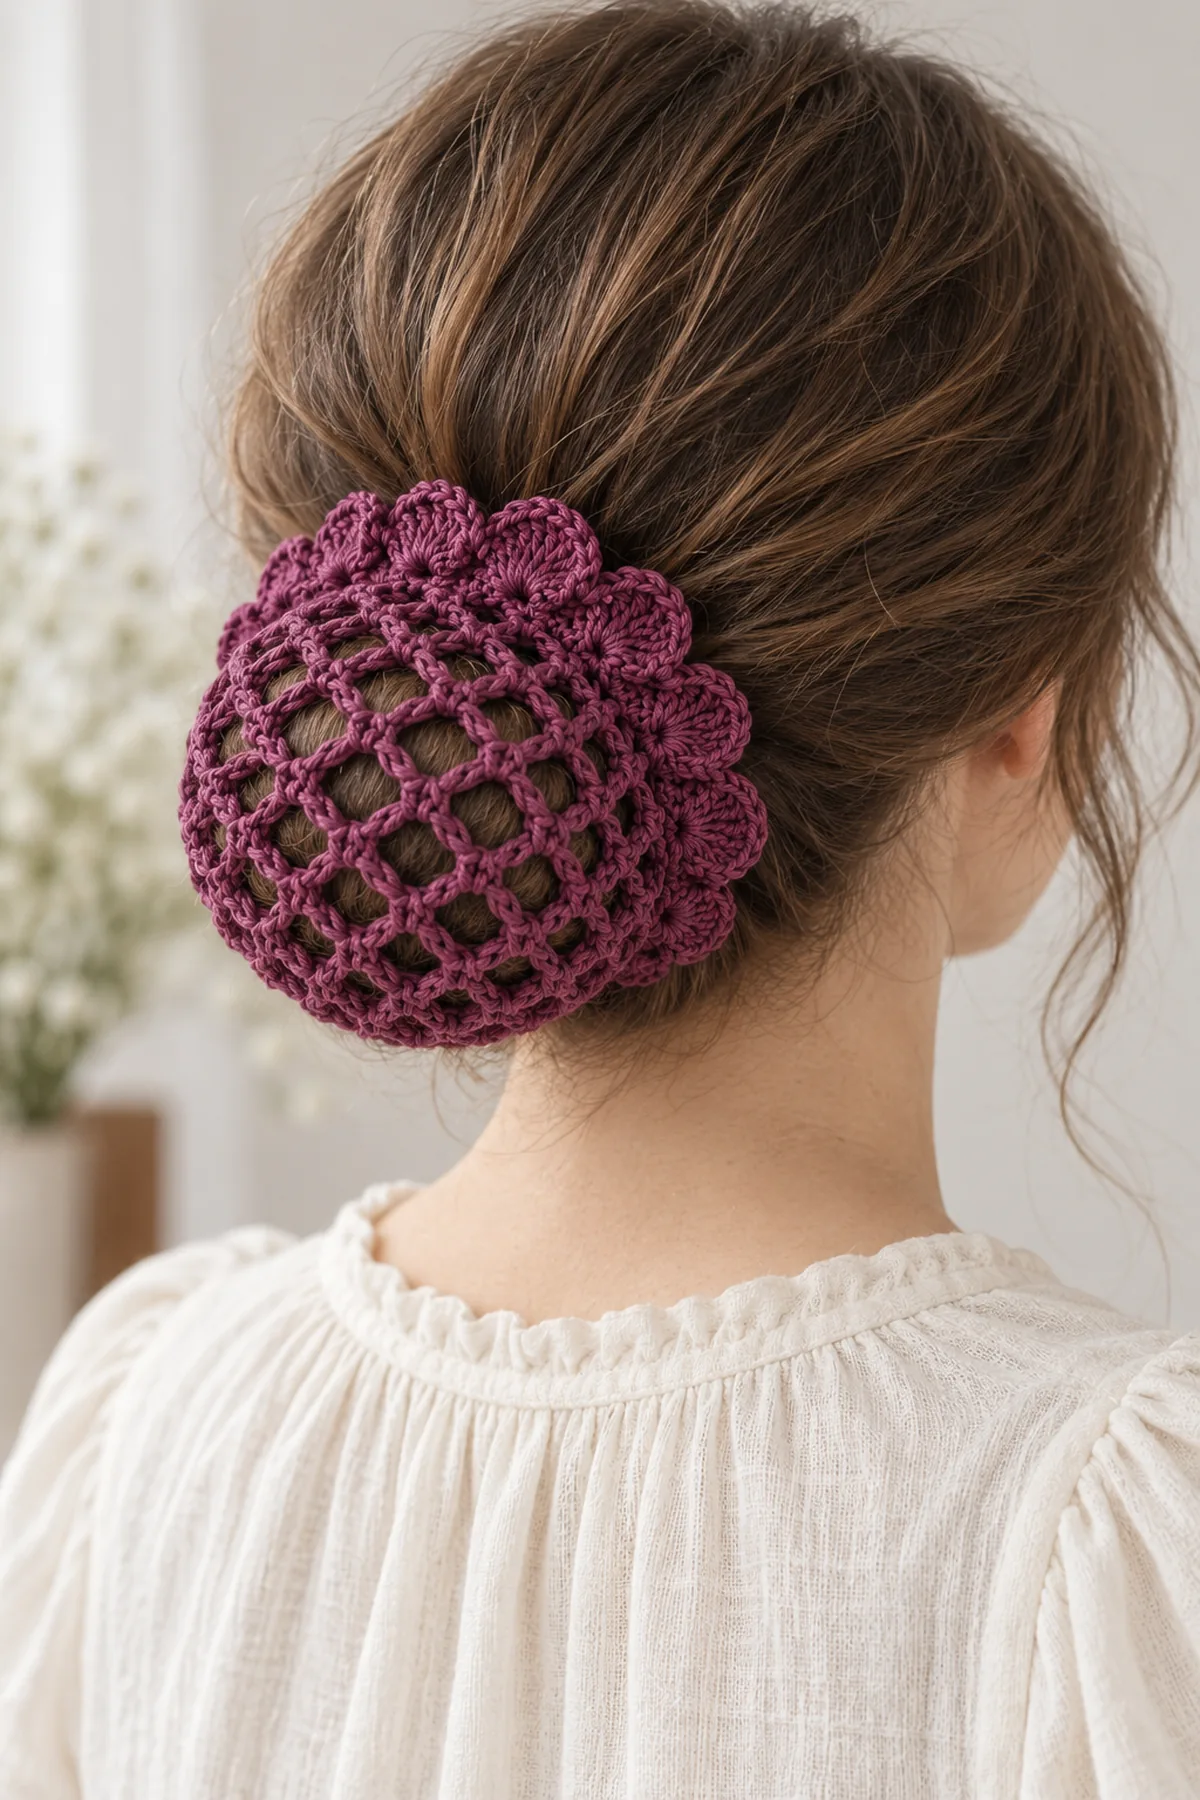
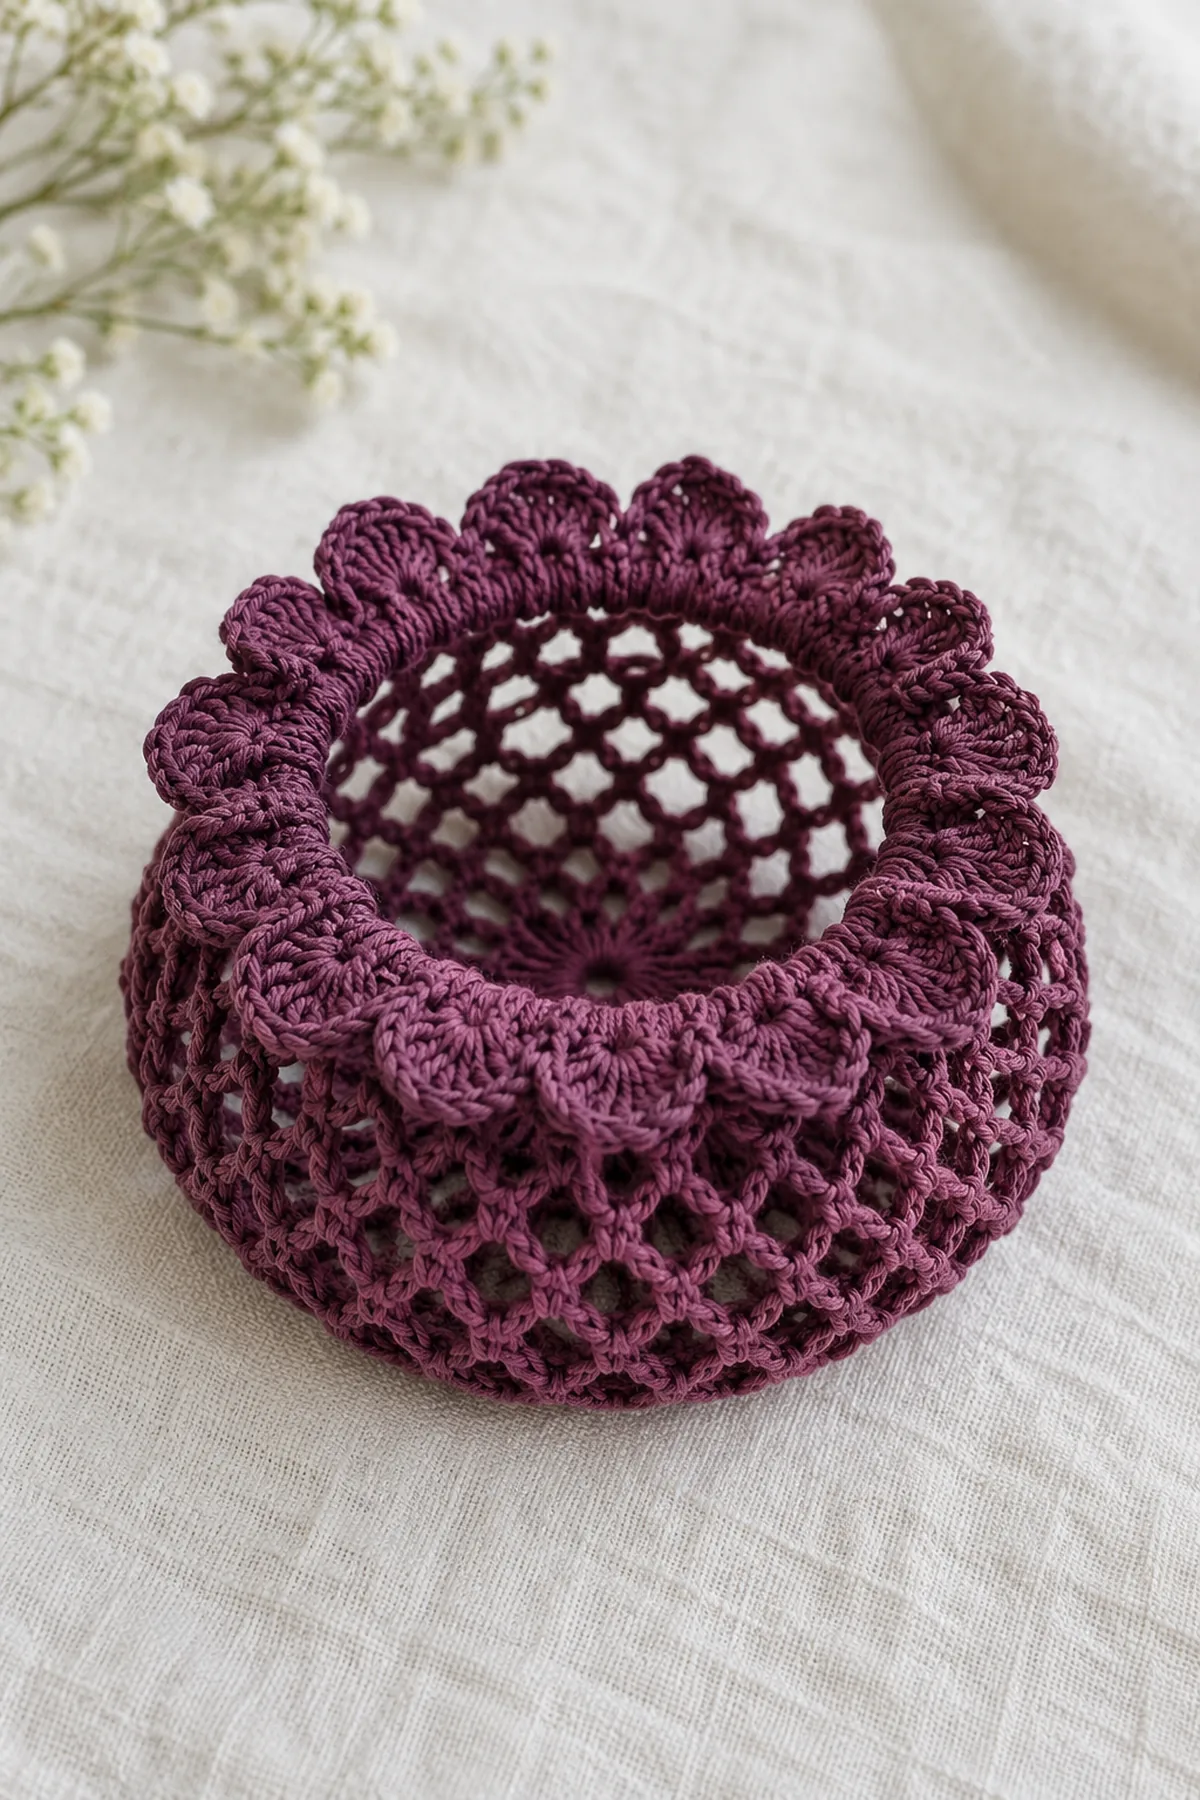
This adult low-bun snood is a soft round mesh pouch with a small elastic opening, not a hat worn around the forehead. Chain arches expand from a small center, continue into a shallow pouch and gather into a scalloped rim. Plum cotton keeps the open structure clearly visible against the hair.
Pattern Details
- Hook Size: 3.5 mm, adjusted after a mesh and solid-edge swatch
- Finished Size: Approximately 7-9 inches across the uncontracted pouch; elastic opening fitted to the wearer, about 8-10 inches relaxed circumference
- Gauge: Target 22 sc = 4 inches at rim; mesh target five ch-4 arches = about 4 inches gently opened, not pulled taut
- Estimated Time: 3-5 hours
- Construction: Radially expanded chain arches, straight mesh depth, seventy-two-stitch rim, enclosed sewn elastic and eighteen small fans
- Skill level: Intermediate
Why You’ll Love This Project
The project has a practical use and a recognizable silhouette. Each component has its own checkpoint so you can compare the count and size before joining. The stitch choices and finishing are intended to give the object a distinctive handmade texture without relying on another pattern or image.
Materials
- Approximately 130 yards smooth plum DK cotton or cotton blend
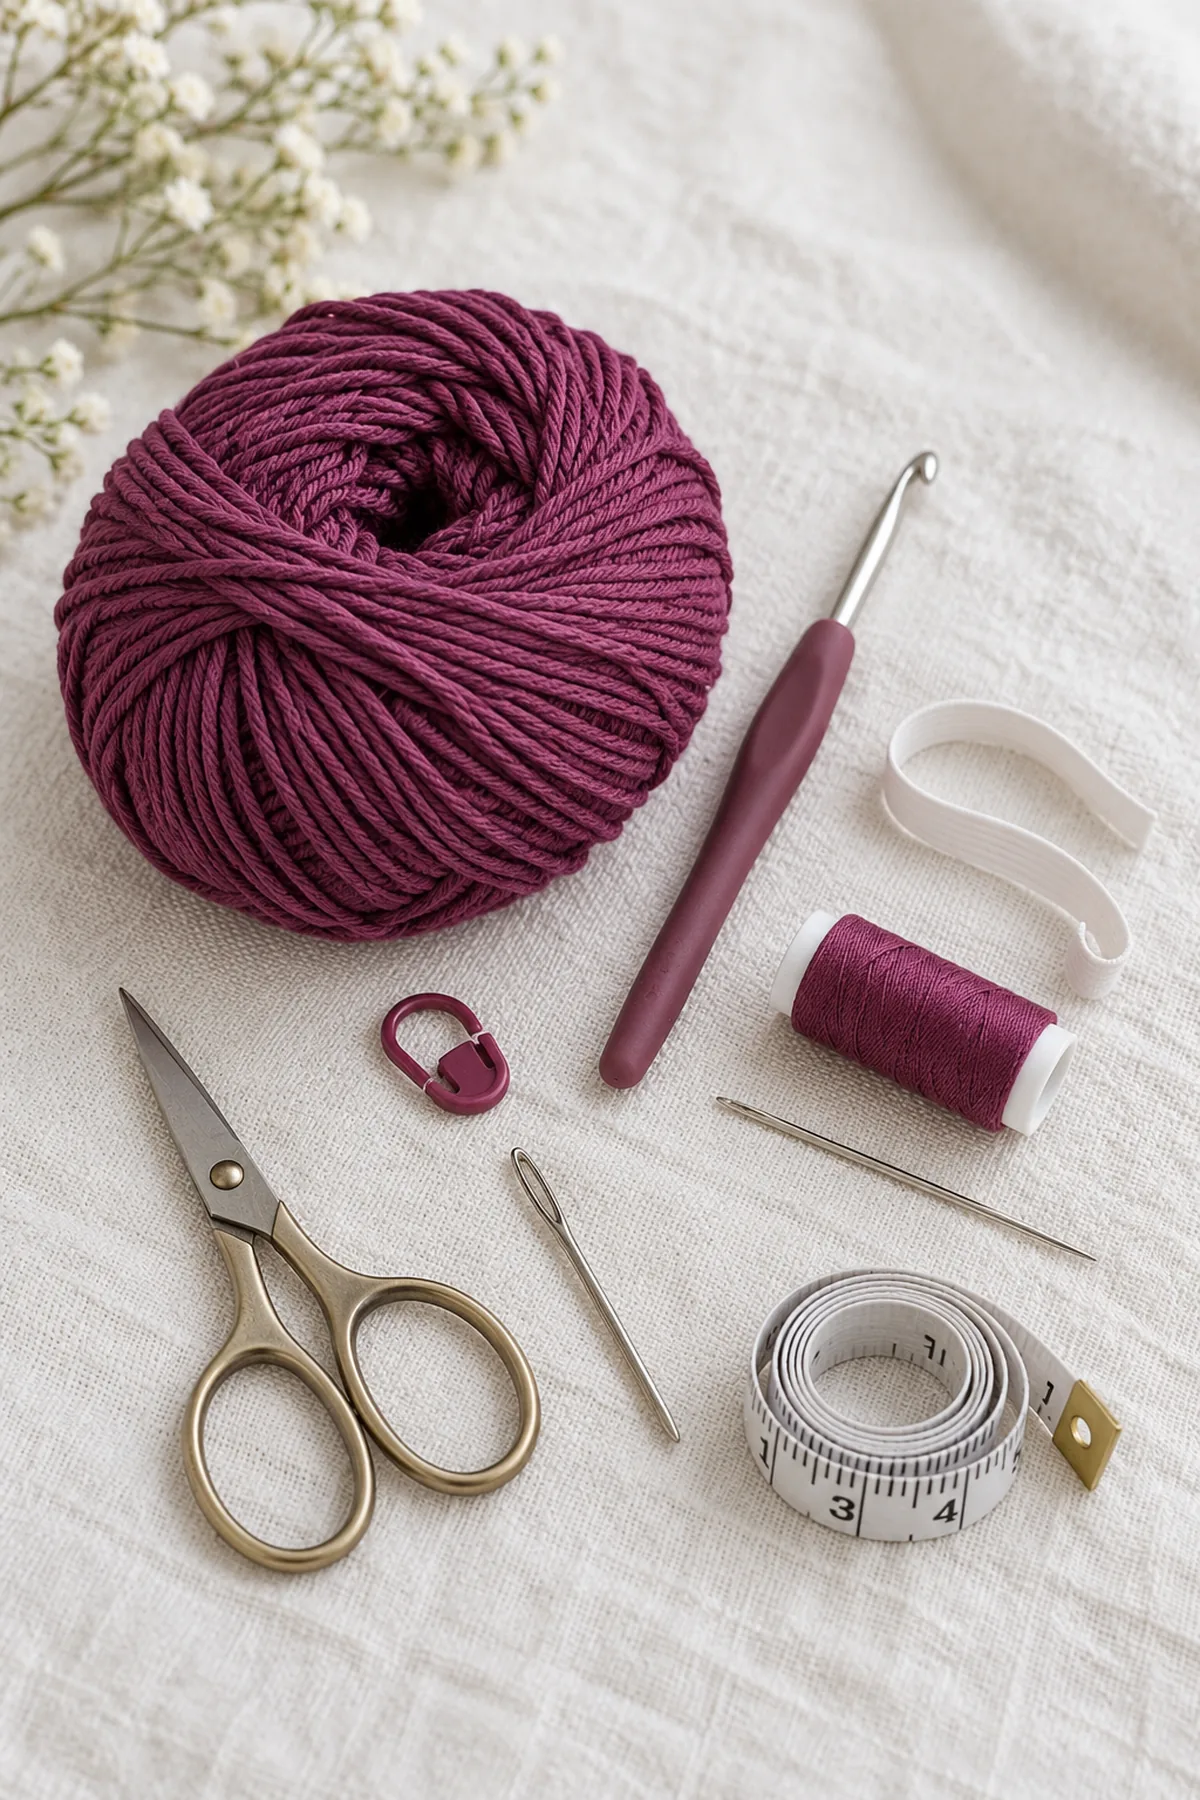
- 3.5 mm crochet hook, locking marker, tapestry needle, scissors and tape measure
- Approximately 9-11 inches of narrow 1/4-inch soft elastic to fit the individual bun, plus matching sewing thread and needle
Gauge, Measurements, and Planning
Make and measure a short sc swatch and a small ch-4 mesh sample. A seventy-two-sc mouth at 22 sc per four inches opens to about thirteen inches around before gathering. It must pass comfortably over the bun. Fit the elastic loop to hold that bun gently rather than to grip the head. Cut it only after testing the length, and ensure it can stretch to the full crochet mouth without damage. All dimensions are planning estimates; hair volume and yarn elasticity materially change the fit.
Make and wash a gauge swatch before beginning. Measure only after the swatch is completely dry. If the stitch width differs, change hook size rather than pulling the working yarn tighter. Keep a written count at the end of every section so the finished edges remain balanced and the assembly points line up.
Abbreviations and Special Stitches
- ch: chain
- sc: single crochet
- hdc: half double crochet
- dc: double crochet
- sl st: slip stitch
- st(s): stitch(es)
- rnd: round
- BLO: back loop only
- inc: two stitches in one stitch
- sc2tog: single-crochet two stitches together
- hdc2tog: half-double-crochet two stitches together
Special stitch guidance: An arch consists of a stated chain length followed by an sc anchor. Work later anchors into the open space beneath an old arch, not into its individual chains. One-arch unit: [sc, ch 3] into an old arch; two-arch unit: [sc, ch 3, sc, ch 3] into the same old arch. The last chain of a round spans to the first sc when joined. A starting ch 1 never counts. Keep a marker in the first sc and do not turn any rounds.
Important Notes
- Development note: the written stitch arithmetic has been checked computationally, but this design has not been physically sample-tested. Gauge, yardage, fit and dimensions are planning targets. Make a swatch and a trial fit or assembly before gifting.
- Turning chains and joining slip stitches are not counted unless a step explicitly says otherwise. Mark the first counted stitch of each round or the first and last stitches of a flat row.
- Use the washed gauge to check dimensions at each named checkpoint. If the count is right but the measurement is wrong, change hook or yarn and reswatch rather than adding unplanned stitches.
- Keep all yarn tails on the wrong side and weave them through three different stitch paths before trimming. Do not use glue for structural joints.
Complete Instructions for Crochet Scalloped Mesh Hair Snood
Start the Center and First Arches
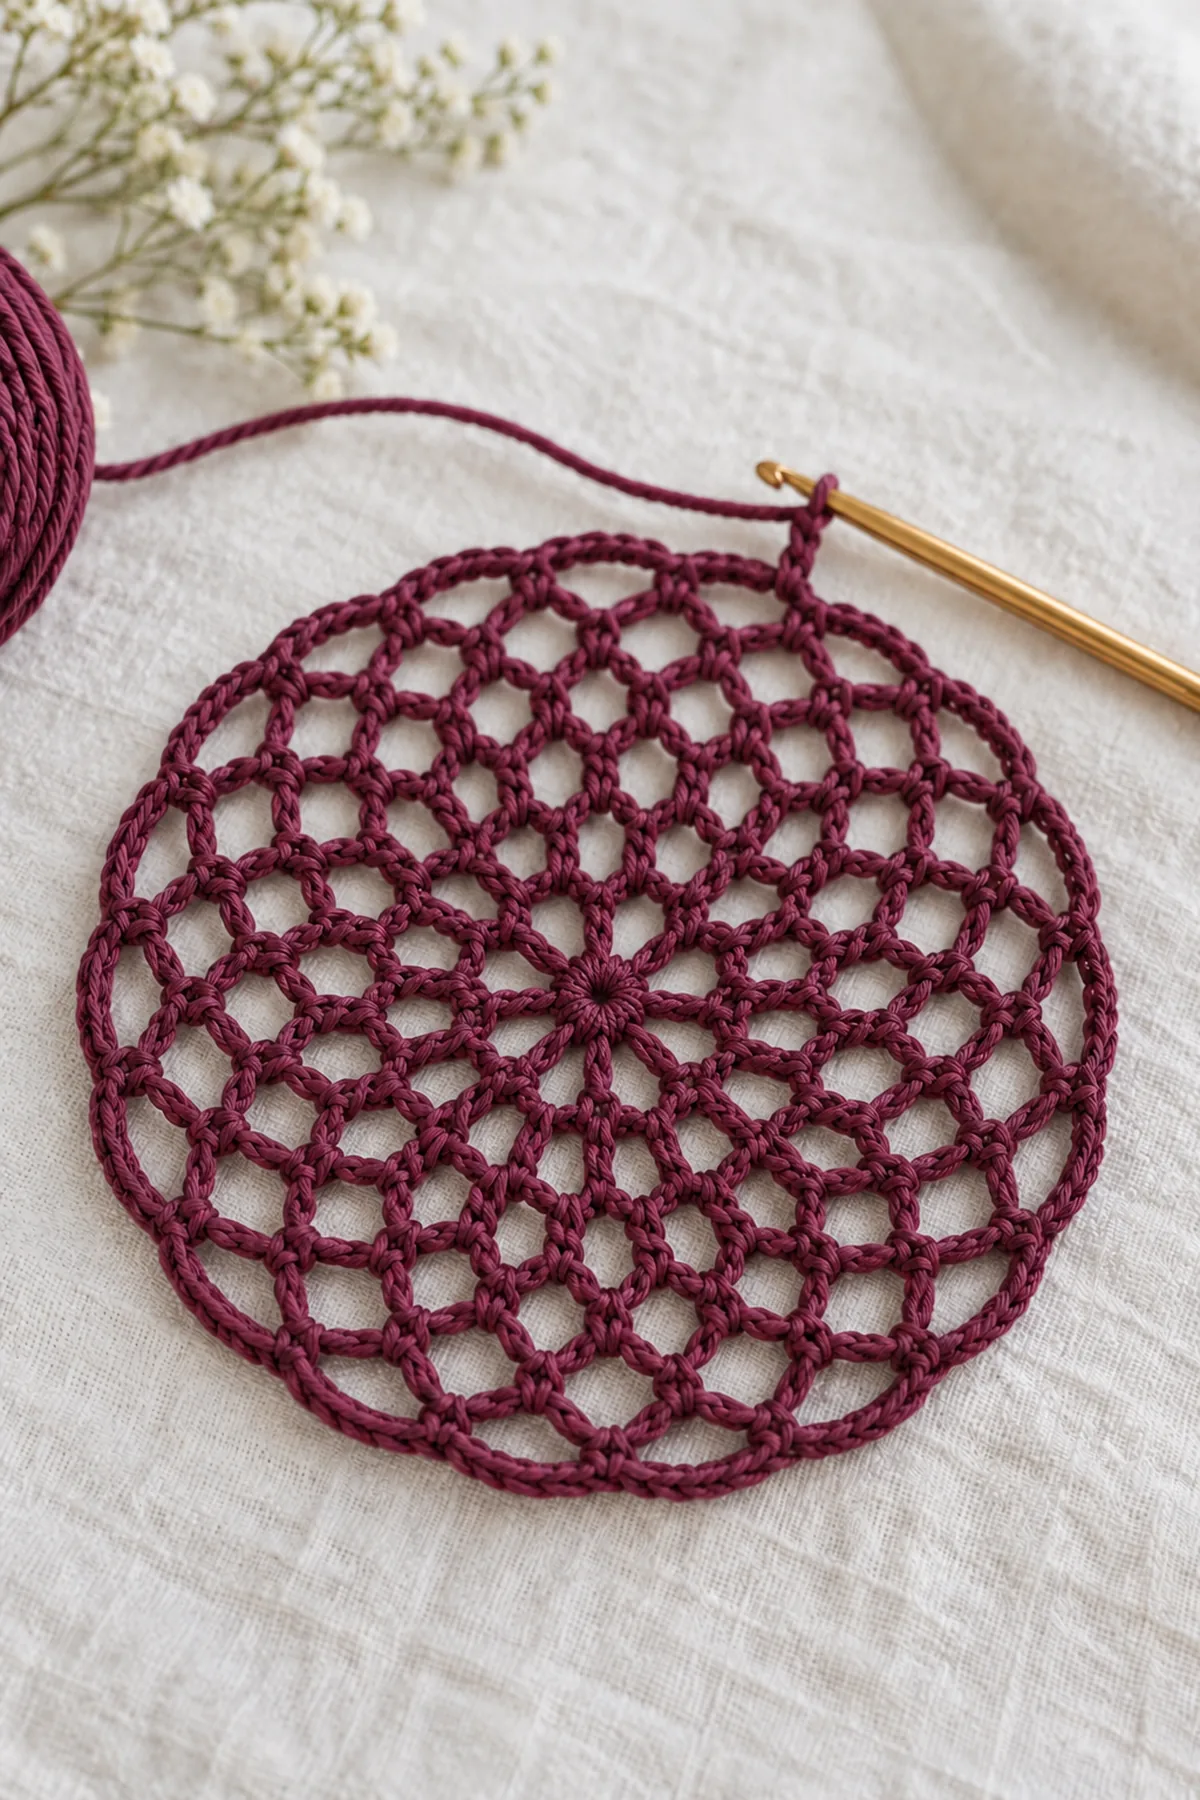
- Round 1: make a magic ring, ch 1 and work 8 sc into it. (8 sts) Pull the center closed, mark first sc and join it with a slip stitch. Do not turn. Leave an eight-inch center tail to secure later.
- Round 2: ch 1, [sc in next old sc, ch 3] eight times, starting in the stitch at the join. Join first sc after the final ch 3. There are eight sc anchors and eight ch-3 arches; the sc-anchor count is (8 sts). Do not count the chains as sc anchors.
- Round 3: slip stitch into the first ch-3 arch, ch 1; [sc, ch 3, sc, ch 3] in each of the eight old arches. Join first sc. This creates sixteen new arches and sixteen sc anchors. (16 sts) Both anchors of each pair go into the same old arch, with an open chain arch between them.
Expand and Deepen the Mesh Pouch
- Round 4: slip stitch into first arch, ch 1; [work one-arch unit in next old arch, then two-arch unit in following old arch] eight times. Join first sc. Sixteen old arches become twenty-four new arches and twenty-four anchors. (24 sts)
- Round 5: slip stitch into first arch, ch 1; [one-arch unit in next old arch, two-arch unit in following old arch] twelve times. Join first sc. Twenty-four old arches become thirty-six new arches and thirty-six anchors. (36 sts)
- Round 6: slip stitch into first arch, ch 1; [sc in next arch, ch 4] thirty-six times. Join first sc. There are thirty-six ch-4 arches and thirty-six anchors. (36 sts) The longer arches give flexible depth without adding more sections.
- Rounds 7-12: slip stitch into first arch, ch 1; [sc in next arch, ch 4] thirty-six times, join first sc and do not turn. (36 sts) Move the first-anchor marker each round. Spread the pouch gently to check that no arch was skipped and no accidental extra unit was made at the join.
- Try the unfinished pouch over the intended bun without a tight elastic. It should hold the hair volume without stretching individual holes into long strands. If depth is insufficient, add complete thirty-six-arch rounds, recording the new final mesh round. If it is too deep, remove one or two complete straight mesh rounds, not either expansion round.
Fit the Elastic and Solid Rim
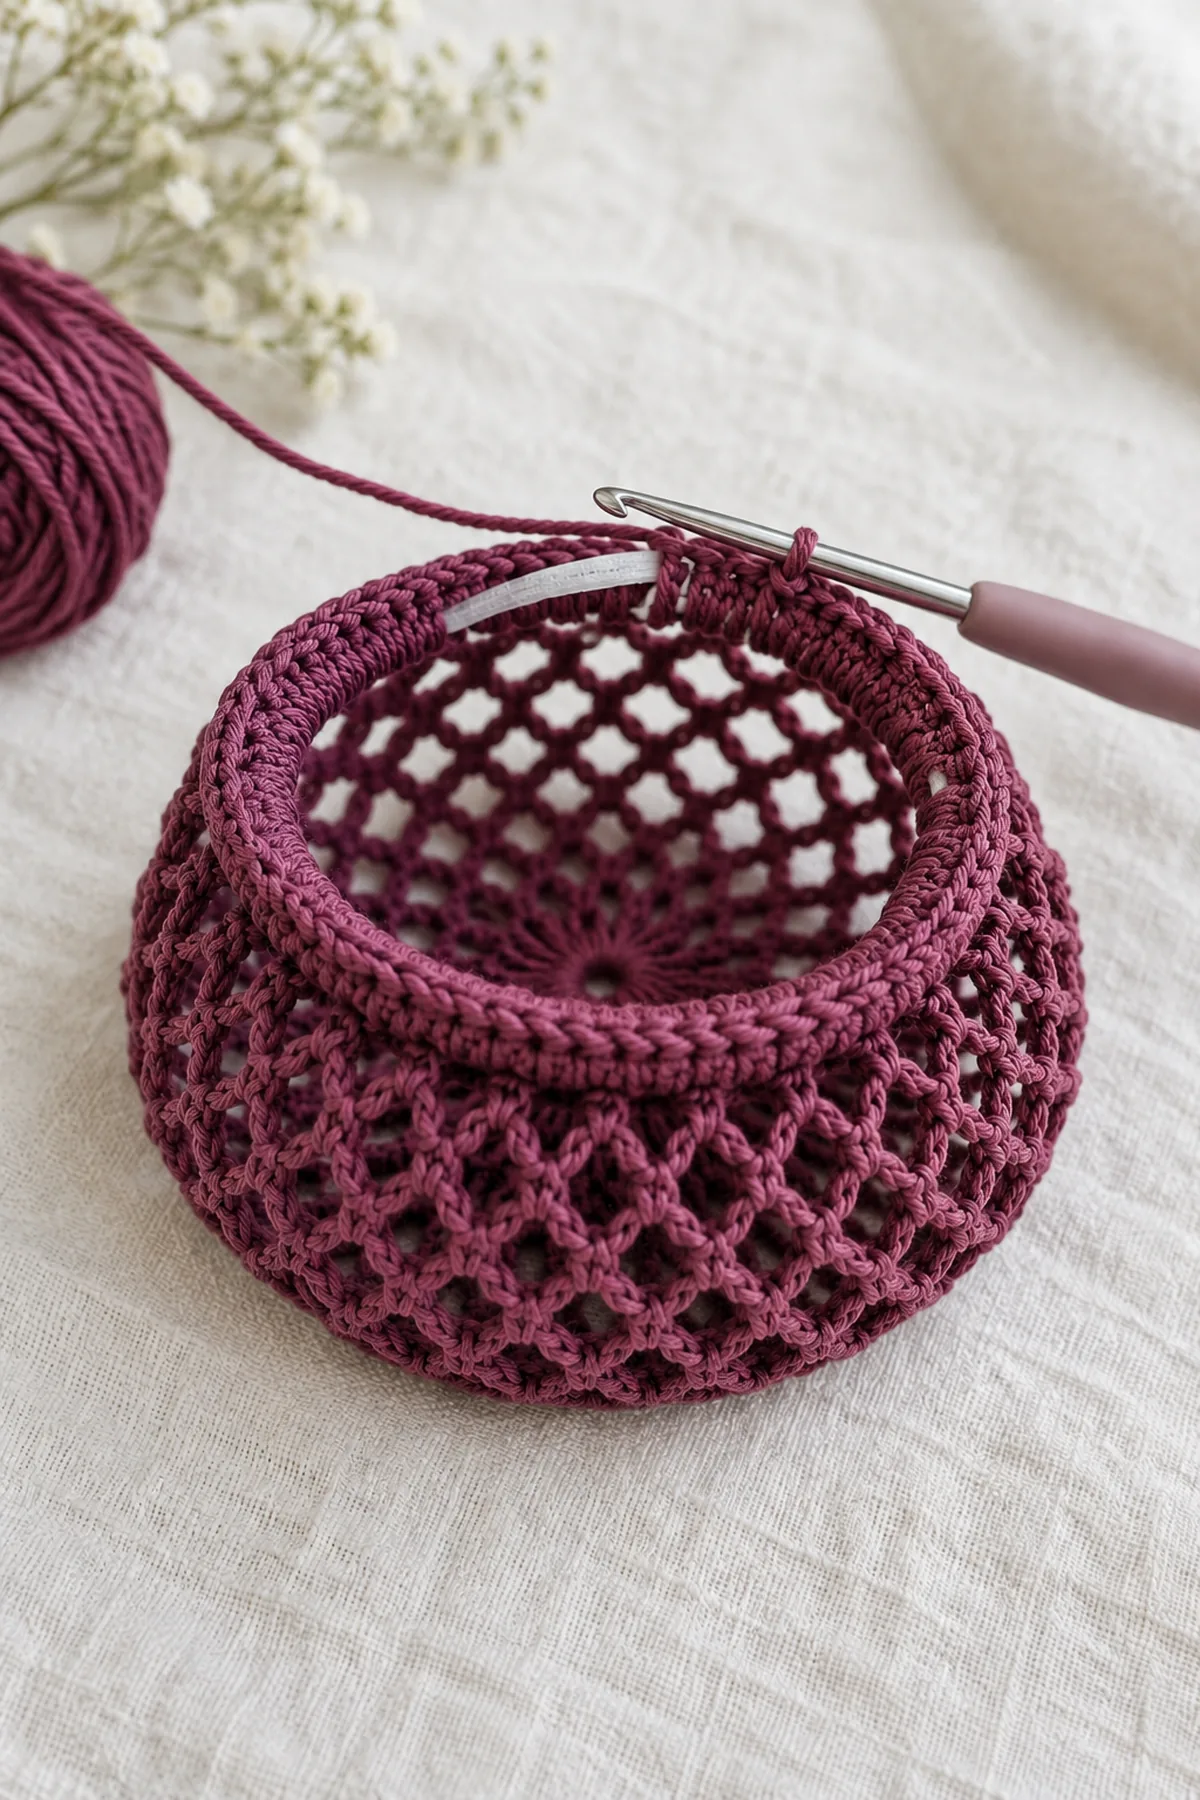
- Rim Round 13, or the round after your final adjusted mesh round: slip stitch into first arch, ch 1; work 2 sc in each of the thirty-six arches, ignoring the old sc anchors. Join first sc. (72 sts) Mark the beginning. Lay the mouth in a circle without pulling it tight.
- Fit a piece of 1/4-inch elastic around the adult bun where the mouth will sit. It should hold gently without pinching or pulling hair; an eight- to ten-inch finished loop is only a starting estimate. Add one inch for an overlap, cut, overlap the ends by one inch and sew them together with several small lines of backstitch. Keep the joined elastic smooth with no hard knot. Stretch it gently to confirm that its seam holds and that the loop passes over the bun.
- Round 14: place the sewn elastic loop against the wrong side of the rim. Ch 1 and sc in each of the seventy-two rim stitches, taking the hook around the elastic as well as through the old crochet stitch so each new sc encloses it. (72 sts) Join first sc. Do not pierce the elastic with the hook. Stretch and distribute the elastic gradually while working; the crochet gathers when it relaxes.
- Before edging, try the snood over the bun. The elastic mouth must remain comfortable, with no scalp pressure or pulling. If too tight or loose, undo only this enclosing round, resew the elastic at a better length and rework all seventy-two sc. A snug visual appearance is not a reason to tolerate discomfort.
Add Eighteen Scallops and Finish
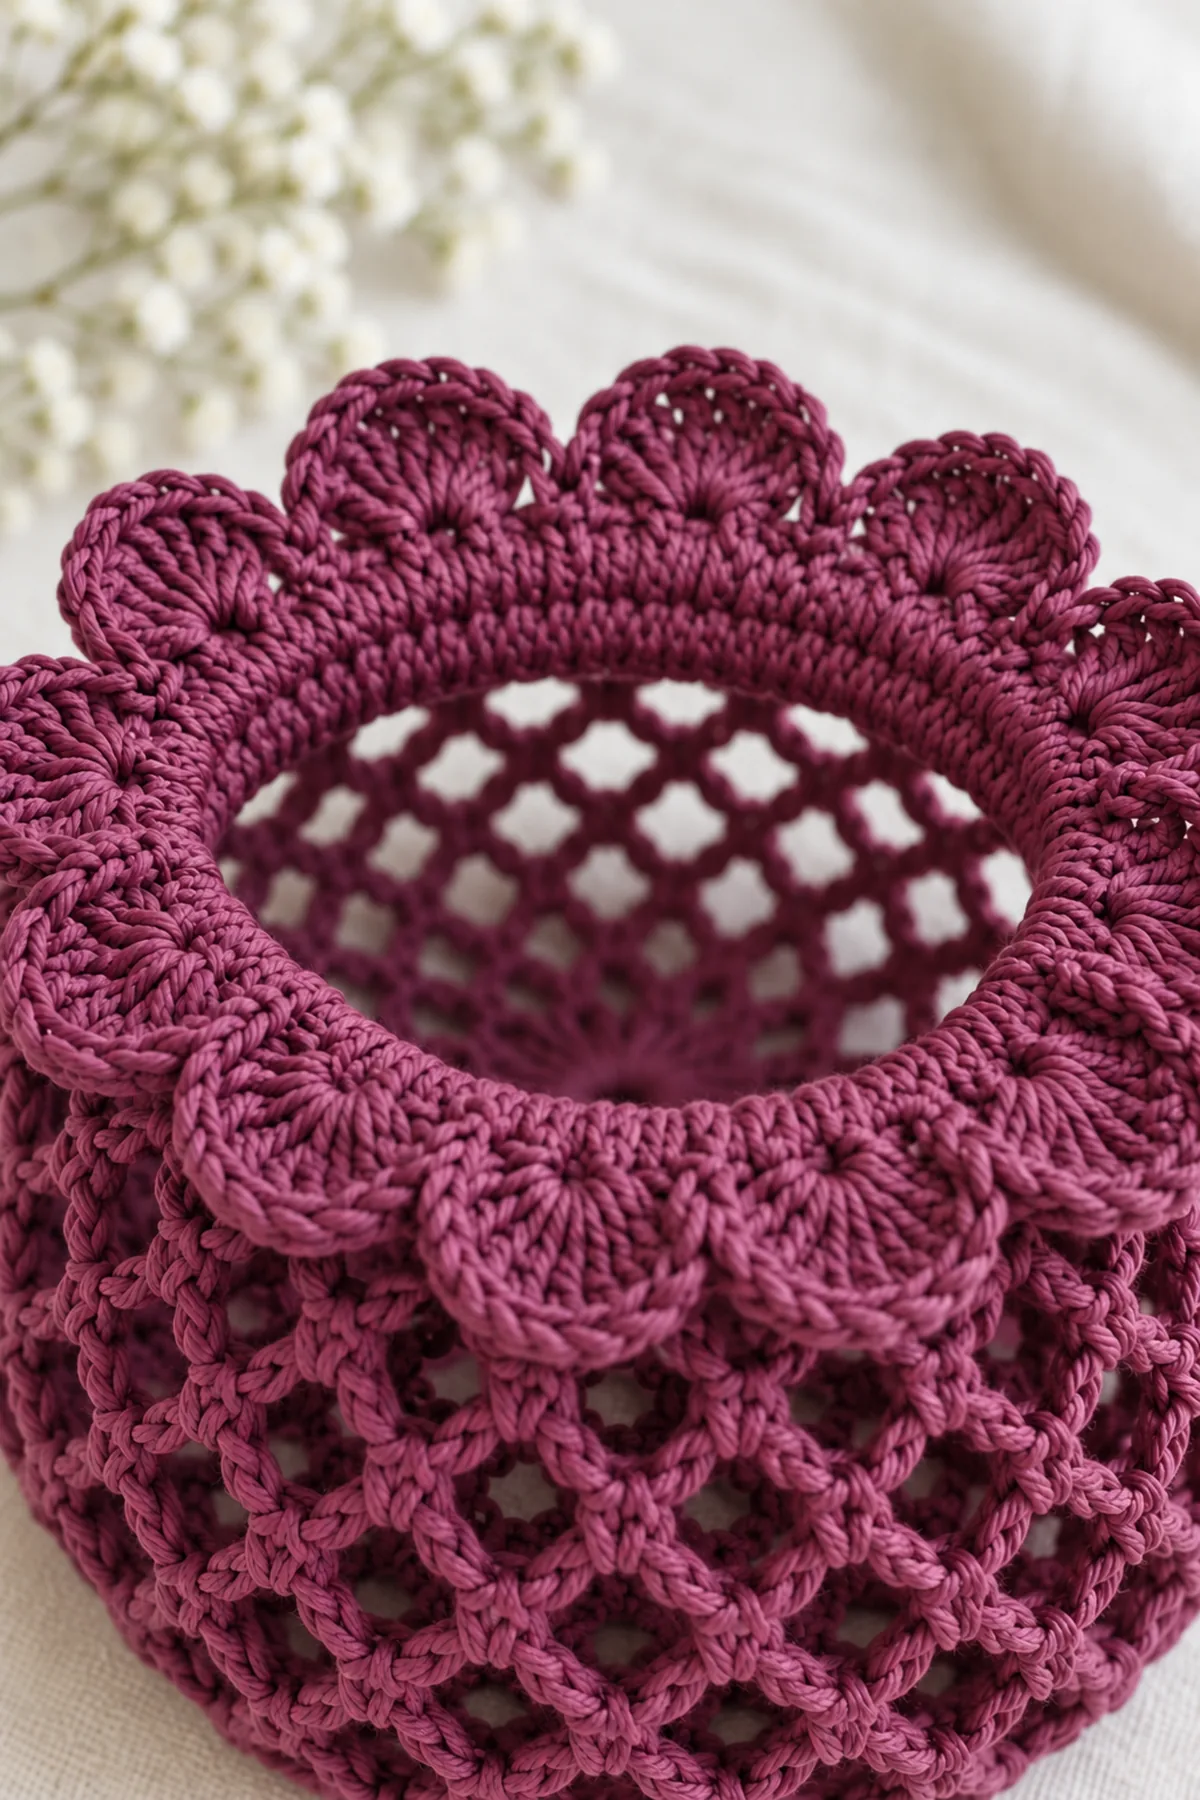
- Round 15: from the join, [skip the next unused old stitch, work 5 dc in the following old stitch, skip the next old stitch, sl st in the following old stitch] eighteen times. Treat stitch 1 at the join as the first skipped stitch, then stitches 2, 3 and 4 complete the first repeat. The final slip stitch lands in old stitch 72. Each repeat uses four old stitches and makes one five-dc fan and one anchoring slip stitch.
- There are eighteen scallops, ninety dc and eighteen slip-stitch anchors, or (108 sts) if both stitch types are counted for the audit. No later round is worked into this mixed edge. Do not mistake the five dc of a fan for five old stitches used; all five share a single base.
- Fasten off and weave the edge tail through the solid rim in three directions. Thread the center tail around the magic-ring opening twice, pull gently closed and weave it through nearby sc anchors; do not tie off onto one thin chain arch. Distribute the gathers evenly around the elastic.
- For wearing, place hair in a low bun first, tuck it inside the mesh pouch and ease the elastic opening around the bun base. Stop if it pulls. Remove before sleeping, exercise equipment or any activity where the mesh could snag. Hand wash gently according to yarn and elastic care guidance, avoid high heat, reshape and dry fully. Inspect the sewn elastic overlap and mesh arches before reuse.
Assembly and Shaping
Make the mesh from the center outward. Convert the last thirty-six arches into seventy-two rim sc, then crochet one sc over a separately fitted and securely sewn elastic loop in each rim stitch. Add eighteen fans to the crocheted edge without piercing elastic. Tuck the hair into the pouch and place the gathered opening around the low bun.
Lay every component on a flat surface before joining. Match the marked centers first, then divide each remaining edge into equal sections. Work through both layers with consistent tension and pause after each section to check that the fabric lies flat. This measured approach prevents twisting and keeps decorative details facing the intended direction.
Finishing
- Weave each yarn tail through several same-color stitches, reverse direction twice and stretch the fabric gently before trimming.
- Block to the stated shape according to the yarn label and let every component dry fully before final assembly.
- Inspect the first and last row, joins, edges, and any sewn attachment from both sides; repair loose stitches before use.
- Include the fiber content, finished dimensions and care instructions when gifting. Keep yarn projects away from open flames and direct heat.
For a polished result, weave each tail through several same-color stitches, reverse direction once, and trim only after the fabric has been gently stretched. Block to the listed dimensions without flattening textured stitches. Inspect joins, borders, straps, and decorative pieces before the project is used or gifted.
Helpful Tips
- Place removable markers at each shaping repeat and record the count before beginning the next row.
- Use a contrasting cloth behind dark yarn so it is easier to see both loops of every stitch.
- Lay the piece flat and compare opposite sides at each measurement checkpoint rather than pulling one side to match.
- If an edge ripples or cups unexpectedly, stop and check stitch count and washed gauge before adding a border.
Good lighting and a contrasting stitch marker make counting much easier. If a section looks uneven, compare the current count with the previous checkpoint before continuing. Fixing one missed stitch early is faster than compensating later, and it preserves the measurements used by the assembly instructions.
Frequently Asked Questions
Does the elastic go around my forehead?
No. This is a low-bun pouch; its small opening sits around the bun. It is not a head-sized cap.
Can I make the pouch deeper?
Yes. Add complete thirty-six-arch rounds before the rim. Keep all thirty-six arches and the seventy-two-stitch rim unchanged.
Is it suitable for children or sleeping?
The pattern is an adult daytime hair accessory. Remove it before sleep or activities where open mesh could catch, and keep loose elastic and yarn away from children.
Conclusion
Keep the measured dimensions and yarn details with your pattern notes. Check the construction and safety guidance before styling or gifting the finished crochet project.
BabyYarnie Printable Crochet Pattern Card
BabyYarnie — easy-to-follow crochet for everyday makers.
Project: Crochet Scalloped Mesh Hair Snood
Skill level: Intermediate Hook: 3.5 mm, adjusted after a mesh and solid-edge swatch Yarn: DK
Finished size: Approximately 7-9 inches across the uncontracted pouch; elastic opening fitted to the wearer, about 8-10 inches relaxed circumference
Card Materials
- Approximately 130 yards smooth plum DK cotton or cotton blend
- 3.5 mm crochet hook, locking marker, tapestry needle, scissors and tape measure
- Approximately 9-11 inches of narrow 1/4-inch soft elastic to fit the individual bun, plus matching sewing thread and needle
Card Instructions
- Start the Center and First Arches: Start with eight anchors and expand the eight first-round arches to sixteen.
- Expand and Deepen the Mesh Pouch: The mesh expands 16 to24 to36 arches, then continues at thirty-six for a flexible rounded pouch.
- Fit the Elastic and Solid Rim: Thirty-six arches receive two sc each; a second seventy-two-sc round encloses a measured elastic loop.
- Add Eighteen Scallops and Finish: Eighteen four-position repeats consume the entire seventy-two-stitch rim; the elastic stays enclosed below the fans.
Finish: Check every count, weave in all ends, block to measurement, and inspect each join.