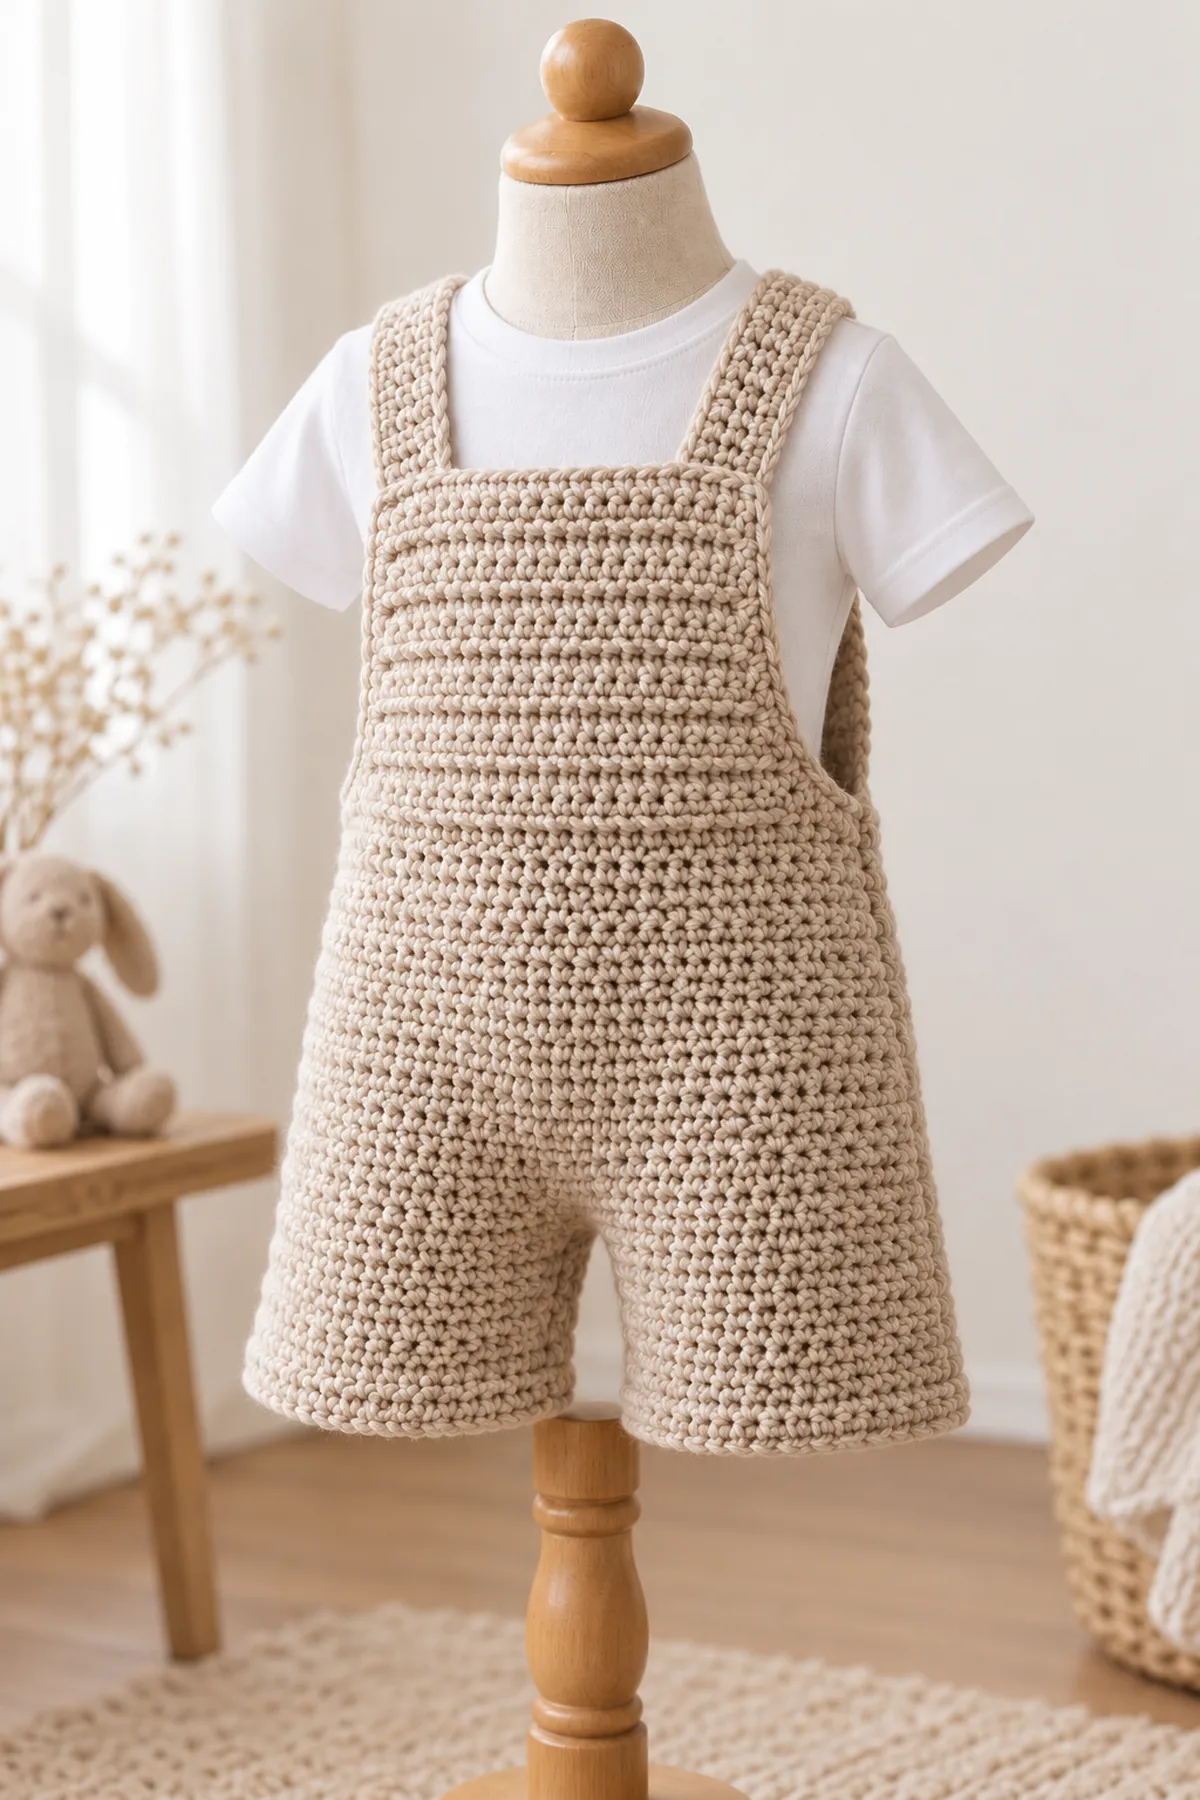
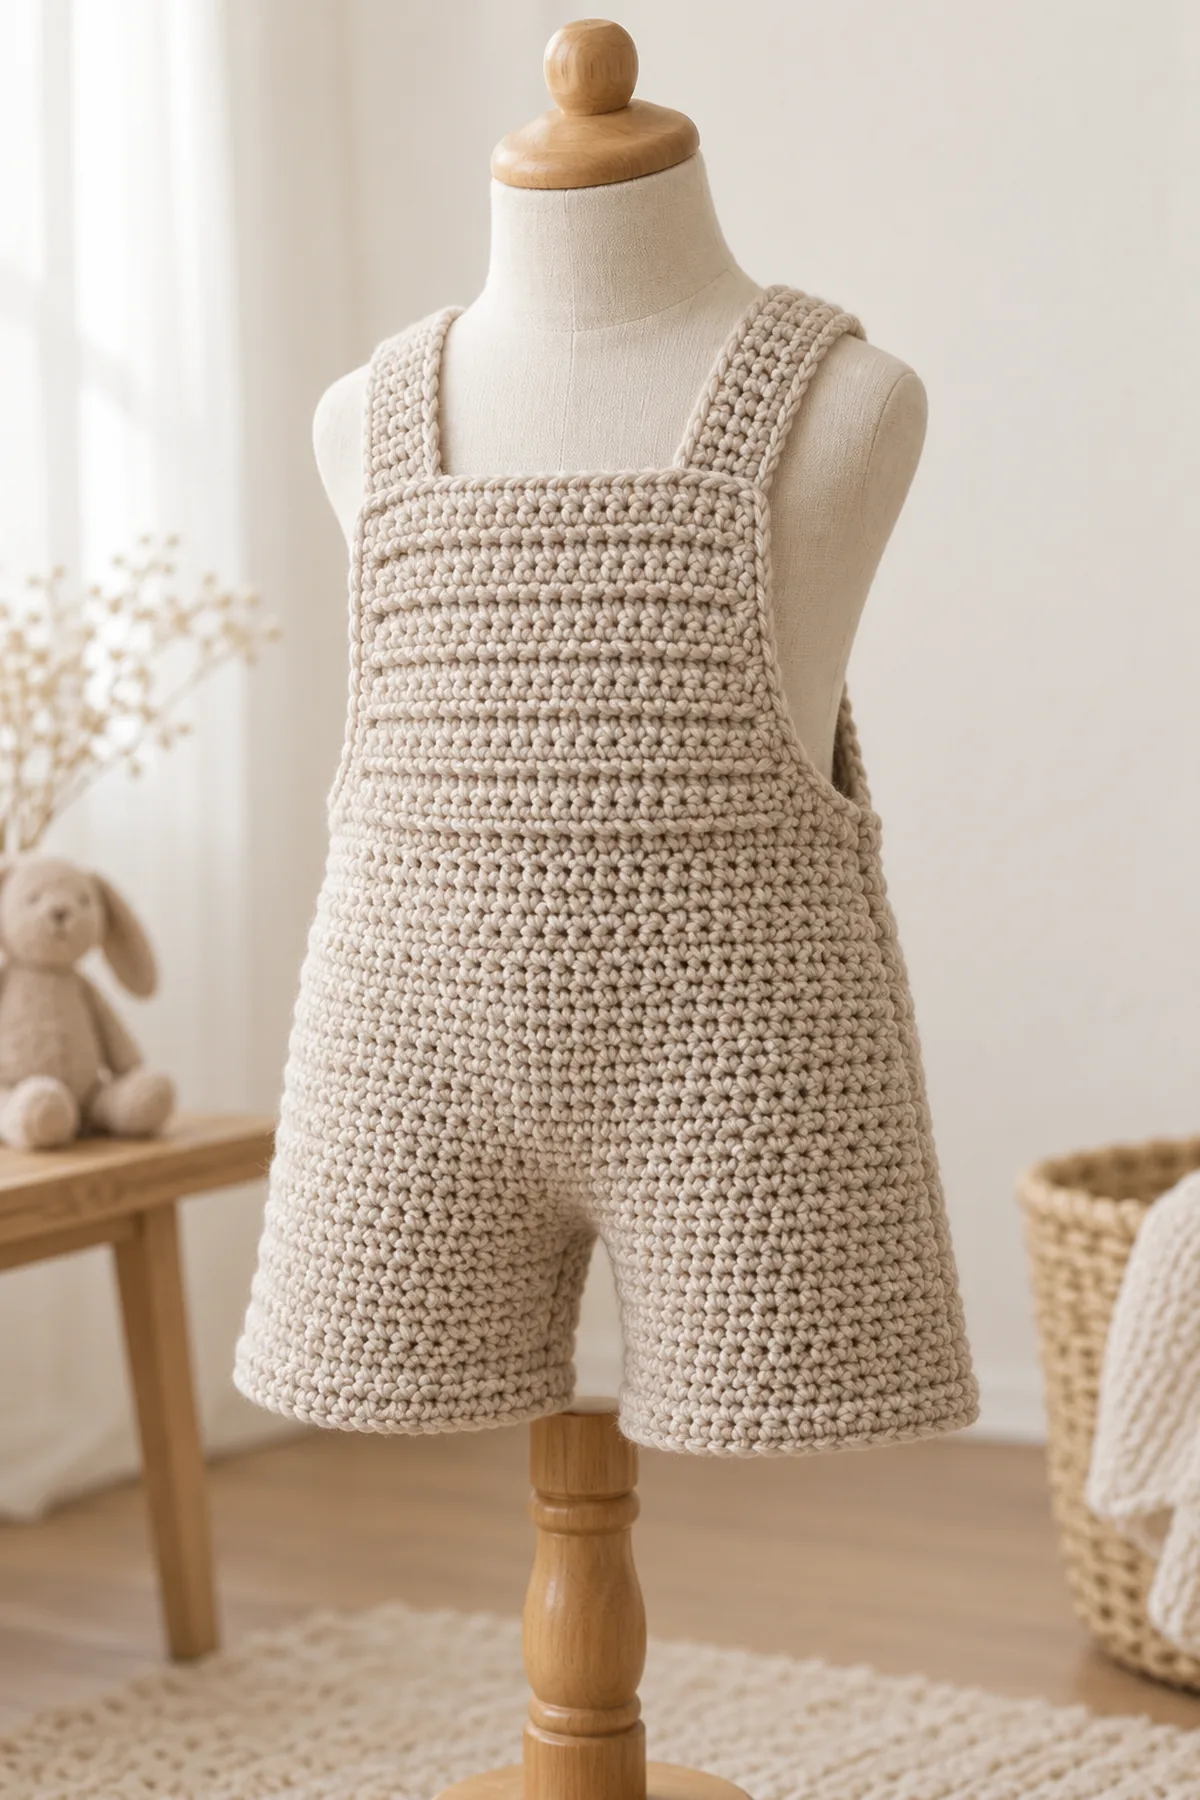
This original crochet baby short overalls follows its own distinct construction. Cotton short overalls with two separately shaped legs joined at the crotch, a wide ribbed front bib and broad straps securely sewn at the back; size 6–18 months. The construction is described below in US crochet terms with counts at each transition. Swatch, measure, and inspect the completed garment before anyone wears it.
Crochet two short leg tubes separately. Join them with two four-chain crotch bridges into one body, then raise a wide ribbed front bib from the center-front waist. Two broad flat straps cross at the back and are sewn permanently to the rear waist. There are no snaps, buttons or removable parts.
Pattern Details
- Hook Size: 4 mm starting point; choose by washed gauge
- Finished Size: 6 (12, 18) months; leg circumference about 9 (10, 11) inches; body around 20 (22, 24) inches
- Gauge: 16 sc and 20 sc rounds/rows = 4 inches, washed
- Estimated Time: 10–15 hours
- Construction: Two 36 (40, 44)-stitch leg tubes, two 4-chain joins, 80 (88, 96)-stitch body, 28 (32, 36)-stitch ribbed bib and fixed straps
- Skill level: Intermediate
Why You’ll Love This Project
This design uses its own geometry instead of repackaging a cardigan recipe. Distinct construction stages let you pause for a fit check, and the visible shaping makes a useful progress photograph. Keep notes about your washed gauge and adjustments.
Materials
- Planning allowance: 540 (640, 750) yards washable oat DK cotton blend plus swatch allowance
- 4 mm hook, eight markers, scrap yarn, tape measure, yarn needle and scissors
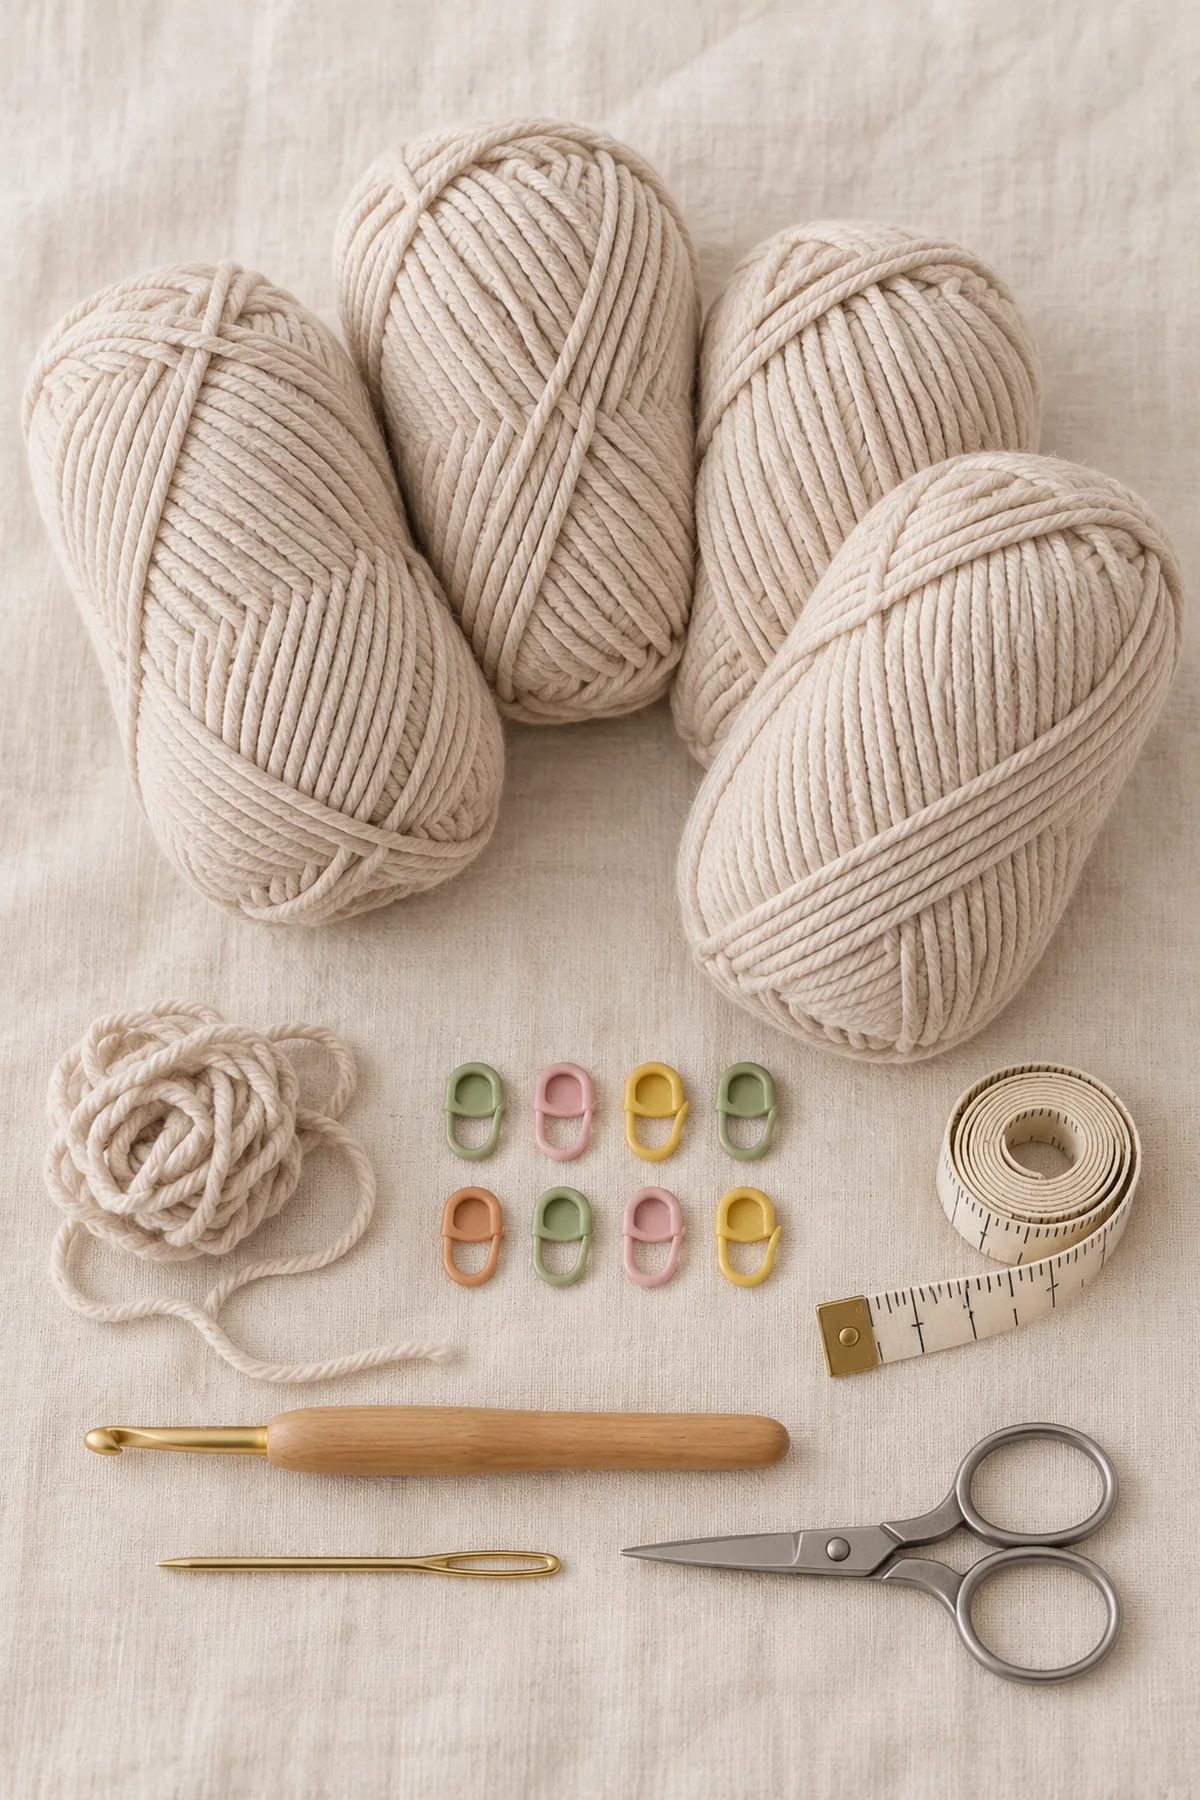
Gauge, Measurements, and Planning
Make a washed sc swatch at least 24 stitches by 25 rows. At four stitches per inch the short leg openings measure 9 (10, 11) inches and the joined body measures 20 (22, 24) inches. Each leg receives eight rows, about 1.6 inches at five rows per inch; the body takes 28 (31, 34) rows or about 5.6 (6.2, 6.8) inches. The bib adds 20 (22, 24) rows or 4 (4.4, 4.8) inches. Compare rise and diaper ease with a well-fitting garment before fixing straps.
Make and wash a gauge swatch before beginning. Measure only after the swatch is completely dry. If the stitch width differs, change hook size rather than pulling the working yarn tighter. Keep a written count at the end of every section so the finished edges remain balanced and the assembly points line up.
Abbreviations and Special Stitches
- ch: chain
- sc: single crochet
- hdc: half double crochet
- dc: double crochet
- sl st: slip stitch
- st(s): stitch(es)
- rnd: round
- BLO: back loop only
- inc: two stitches in one old stitch
- sc2tog: single crochet two stitches together
- RS: right side
- WS: wrong side
Special stitch guidance: Work sc in continuous rounds for each leg and the joined body, moving the first-stitch marker; do not join or turn. A join bridge consists of four new chain positions worked as stitches in the next round. For the bib, sc BLO means insert beneath the back loop only; ch 1 and turn between flat rows, and do not count that chain.
Important Notes
- Development note: written stitch arithmetic is computationally checked, but no physically crocheted sample or wear test is claimed. Gauge, yardage and finished measurements are planning targets; swatch and fit-check before use.
- Beginning chains and joining slip stitches do not count unless a step says otherwise. Mark the first counted stitch and record counts at every shaping checkpoint.
- Use soft washable yarn; avoid plastic eyes, beads, loose buttons, long cords and detachable trims on young-child projects.
- AI-generated images are design illustrations, not stitch charts or proof of a physically tested sample. Follow the written construction and measured gauge.
- Garments are for supervised wear, not sleepwear. Remove for sleep and inspect every seam before gifting.
Complete Instructions for Crochet Baby Ribbed-Bib Short Overalls
Crochet Two Matching Short Legs
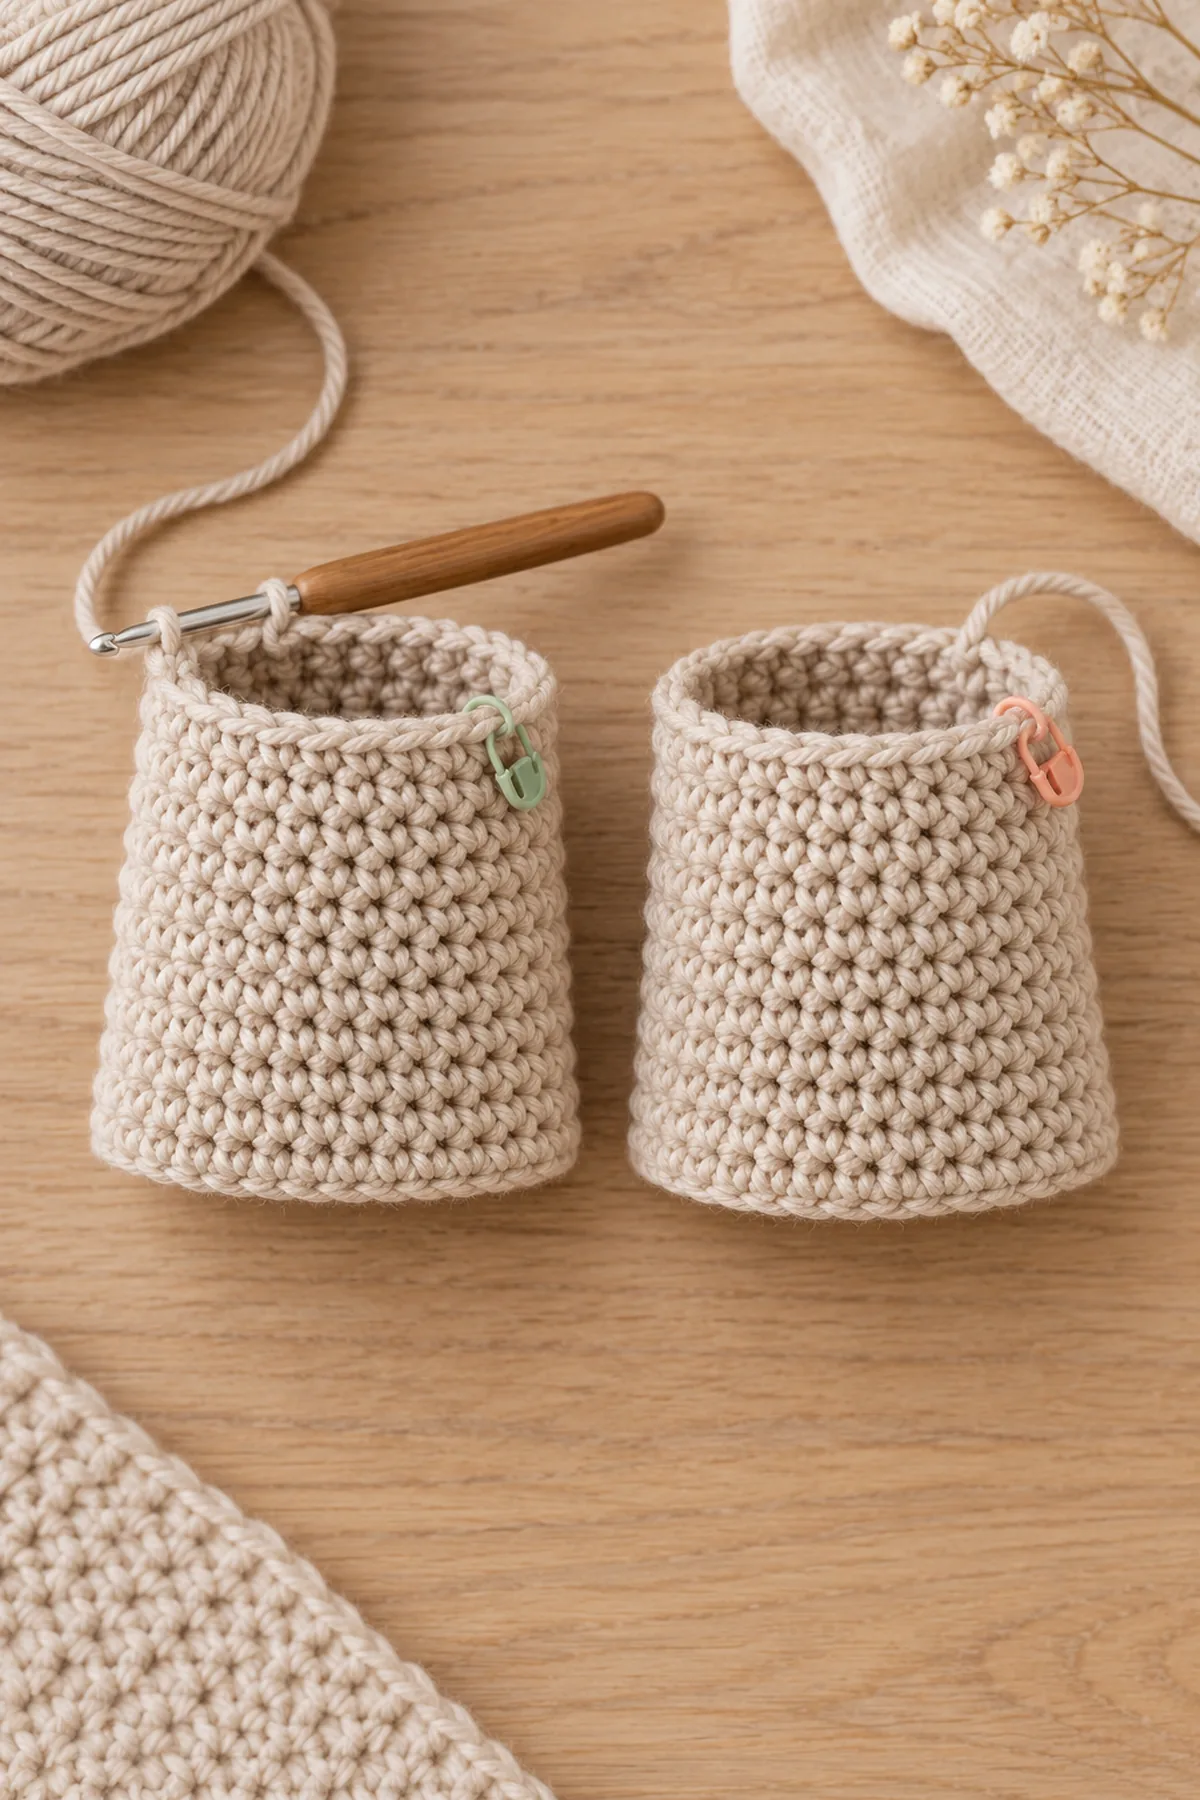
- For Leg A, ch 36 (40, 44); check for twist and sl st into first chain. Round 1: ch 1, sc in every chain, mark first stitch and continue in a spiral. (36, 40, 44 sts)
- Rounds 2–8: sc once in each stitch and move marker at every round. (36, 40, 44 sts) Fasten off Leg A with a long tail and keep its start marker visible.
- Repeat all eight rounds for Leg B, but leave the working yarn attached. The legs must have identical stitch counts and equal dry height before joining. Recount their openings; a one-stitch difference twists the crotch seam.
- Set both tubes with their round-start jogs facing inward, right sides out. Mark the point directly opposite each jog; those are the outer-leg midpoints. Use the same front/back orientation on both tubes.
- The smallest-size audit begins with (36 sts) in each independent leg tube. The larger sizes have the distinct counts stated above.
Join at the Crotch and Raise the Body
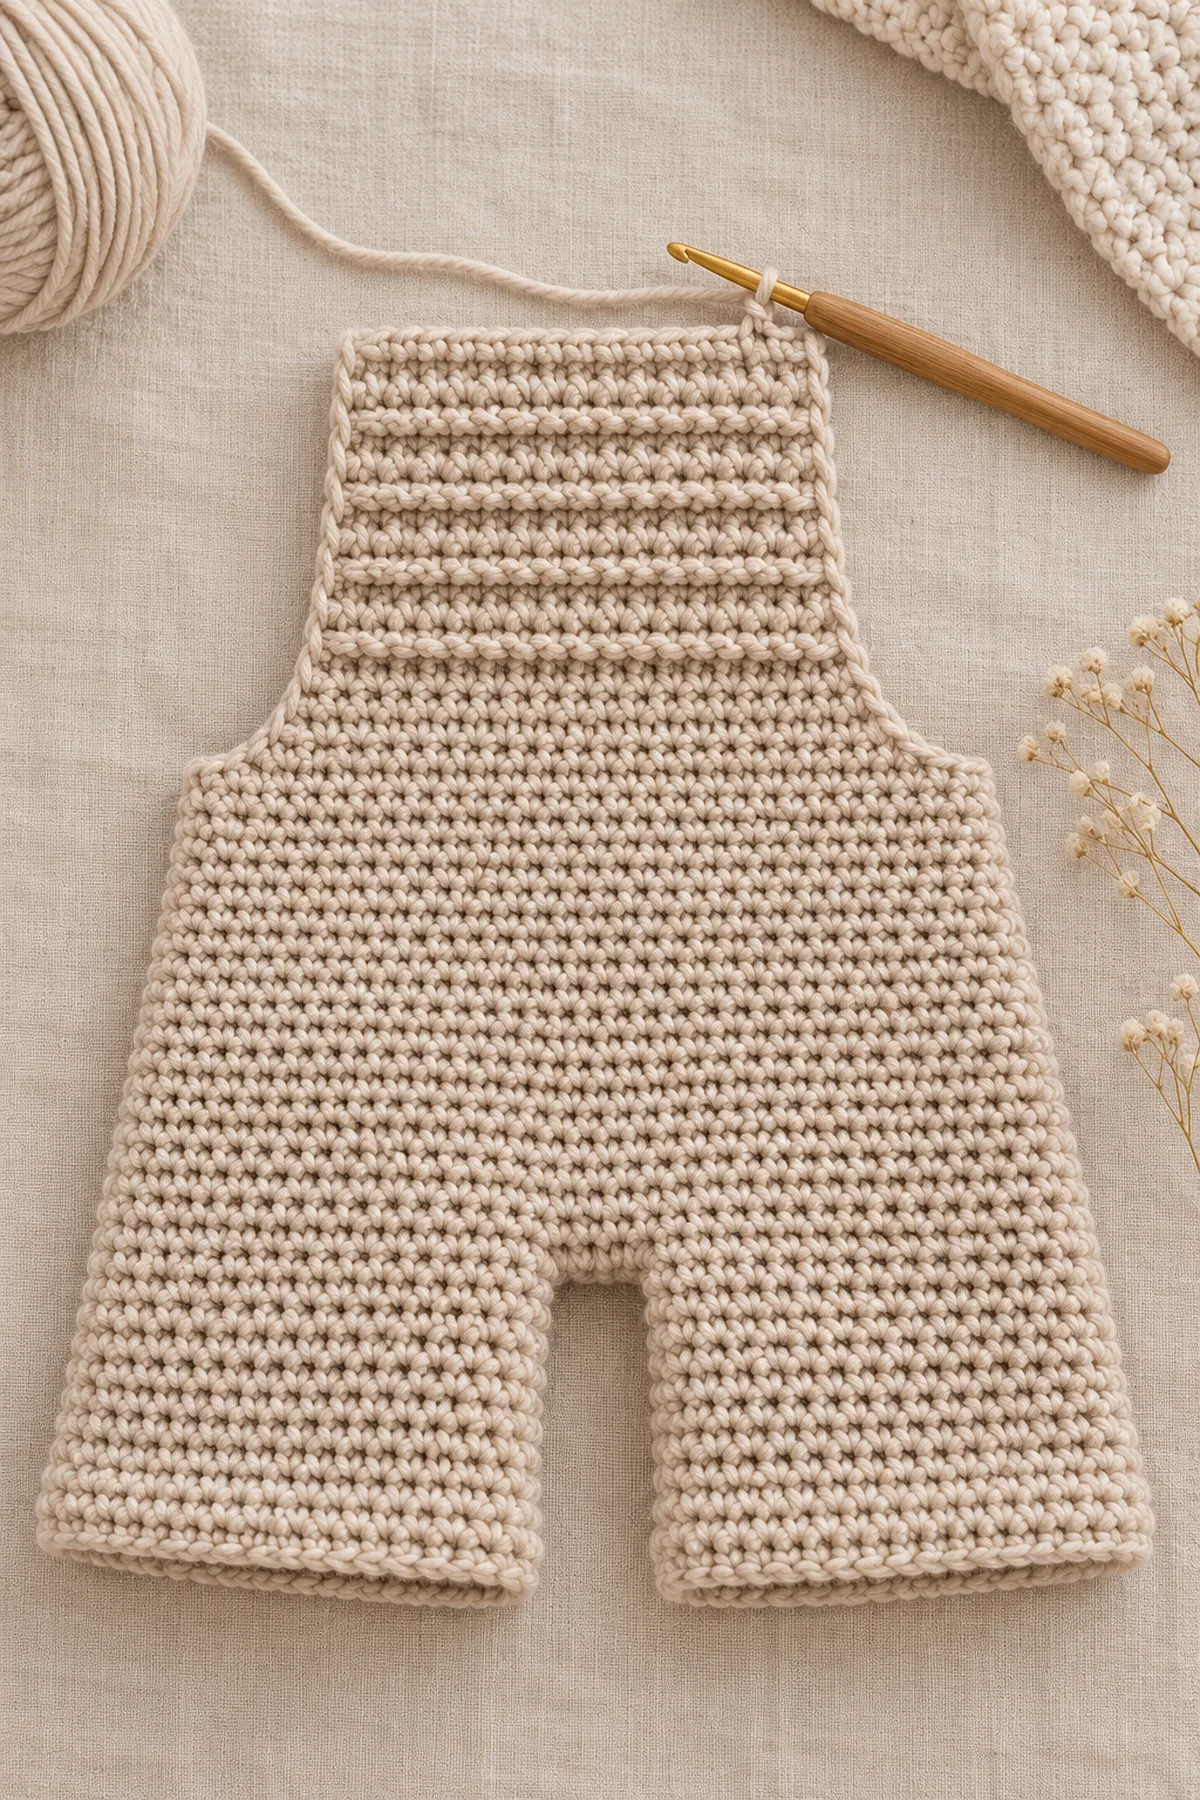
- Starting at Leg B inner-front marker, sc around its 36 (40, 44) old stitches once, ch 4 for the front bridge, sc around all 36 (40, 44) Leg A stitches, then ch 4 for the back bridge. Join with a slip stitch to the first sc only for this transition. (80, 88, 96 sts including eight chains)
- Body Round 2: work one sc in each old leg stitch and one sc in each of the eight individual bridge chains. (80, 88, 96 sts) Mark the first sc and continue in unjoined spiral rounds from here.
- Body Rounds 3–28 (31, 34): sc once in every stitch. (80, 88, 96 sts) Move the marker after each round; lay the bridge area flat after Rounds 2 and 5 so the four-chain gaps do not become holes.
- At the top, make one final slip stitch to level the spiral, without adding a counted stitch. Fasten off. Wash and dry, then compare waist, rise and leg openings with a reference garment including diaper ease. Do not block a too-small crotch seam by stretching it.
- Use the Leg A tail to sew the small space beneath both four-chain bridges closed with several short horizontal passes. Catch only the crotch edges, not the leg openings; inspect the inside for a smooth seam.
- For the smallest size, the two legs and eight new chains create (80 sts) at the joined body. The second leg was made separately; never treat it as an increase from one leg alone.
Work the Ribbed Front Bib
- Mark center front on the body waist opposite the rear join line. Select 28 (32, 36) consecutive top-edge sc centered on that mark. Join oat yarn to the first selected stitch, leaving the rest of the waist unworked.
- Bib Row 1: ch 1, sc through both loops of each selected stitch, ch 1 and turn. (28, 32, 36 sts)
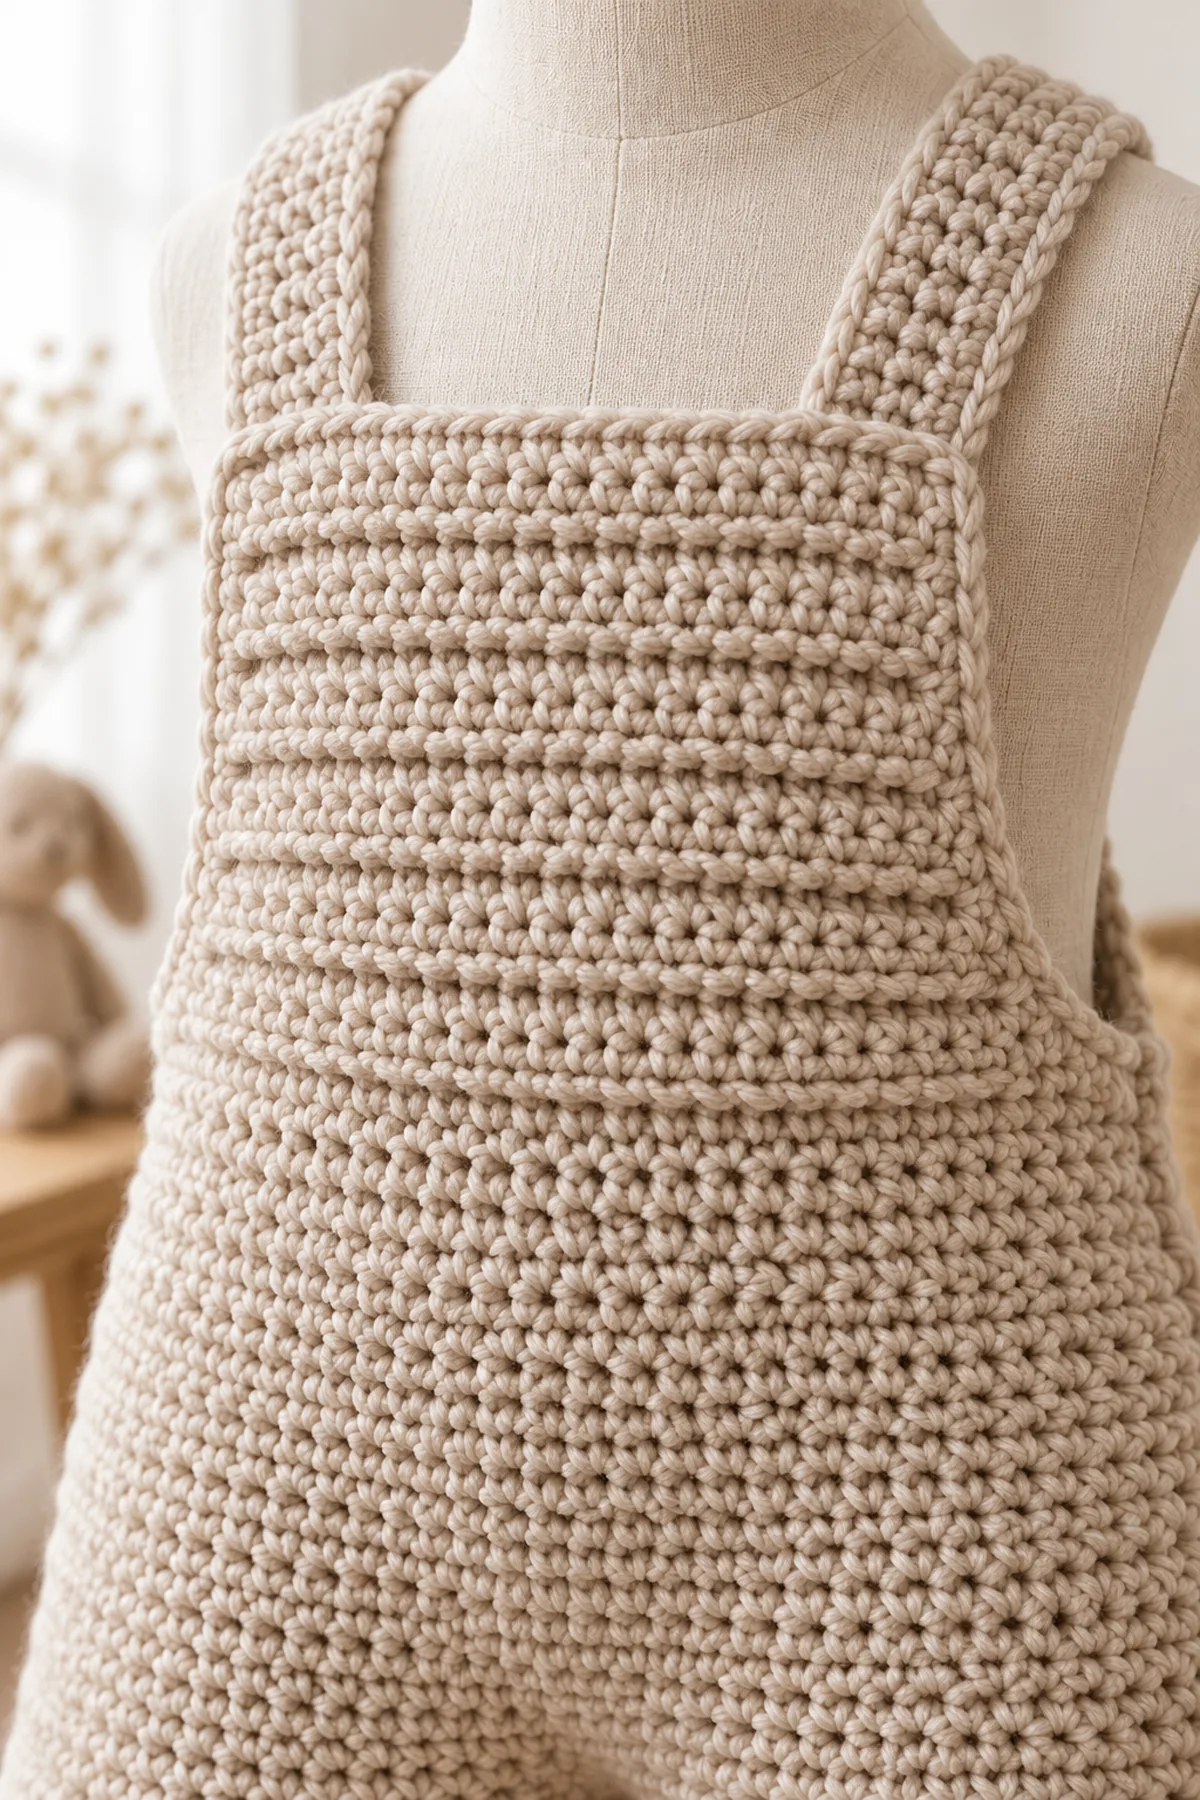
- Bib Rows 2–20 (22, 24): sc BLO in every stitch, ch 1 and turn after each row except the last. (28, 32, 36 sts) The horizontal ridges make the ribbed texture; keep both vertical sides straight.
- Check bib height against the reference garment and make sure its top does not press against the neck. Remove or add complete same-count rows for a measured fit, recording the final row count for the pattern card.
- Mark six top-edge stitches at each outer corner for straps; the center 16 (20, 24) top stitches stay open. There is no separate detachable bib panel or hidden fastening.
Make and Secure the Cross-Back Straps
- On the left marked six-stitch bib corner, join yarn. Strap Row 1: ch 1, sc across six stitches, ch 1 and turn. (6 sts) Rows 2–48 (52, 56): sc in each of six stitches, turning with an uncounted ch 1. (6 sts) Leave a long sewing tail.
- Repeat from the right outer six stitches so the second strap matches exactly. On a dress form, cross left to right rear and right to left rear, placing ends symmetrically around center back. Use removable markers for a temporary fit check.
- Adjust both straps by the same number of complete six-sc rows if shoulders lift or loops gape. Once fit is checked, sew every one of the six strap-end stitches through six separate rear-waist stitches; repeat the seam for reinforcement, then bury tails twice in different directions.
- Check that the overalls can be put on and taken off gently without forcing the child’s head or arms. The crotch is fixed, so diaper changes require removing the garment. Do not add snaps or loose buttons as an untested modification.
- Inspect both leg openings and the crotch inside seam for pressure points. Use only for supervised daytime wear, never for sleep; wash and dry according to the yarn label and inspect joins again before reuse.
Assembly and Shaping
Lay each leg with its beginning-round jog on the inner side. At the crotch join, four chains span the front between legs and four span the back. Cross the two straps behind the bib, measure over a reference garment and sew six-position ends firmly to the rear waist without detachable hardware.
Lay every component on a flat surface before joining. Match the marked centers first, then divide each remaining edge into equal sections. Work through both layers with consistent tension and pause after each section to check that the fabric lies flat. This measured approach prevents twisting and keeps decorative details facing the intended direction.
Finishing
- Fasten off with a 6-inch tail; weave through three separate groups of stitches, changing direction twice.
- Damp-block gently according to the fiber label, check the intended shape, and dry fully before assembly or use.
- Inspect both sides, all joins, and every decorative attachment; resecure a loose stitch before gifting.
- Include the fiber content and washing instructions with the finished item. Keep the item away from candles and other heat sources.
For a polished result, weave each tail through several same-color stitches, reverse direction once, and trim only after the fabric has been gently stretched. Block to the listed dimensions without flattening textured stitches. Inspect joins, borders, straps, and decorative pieces before the project is used or gifted.
Helpful Tips
- Wash and dry a generous swatch before selecting a hook; compare stitches and rows per inch separately.
- Use removable markers at structural joins and count the first and last stitch of every row.
- Check fit on a garment of known size or a dress form, not directly with pins on a child.
- If the fabric cups, flares unexpectedly or binds, fix the stitch count or gauge rather than hiding it in a seam.
Good lighting and a contrasting stitch marker make counting much easier. If a section looks uneven, compare the current count with the previous checkpoint before continuing. Fixing one missed stitch early is faster than compensating later, and it preserves the measurements used by the assembly instructions.
Frequently Asked Questions
Is this pattern physically tested?
No physical sample test is claimed. The written arithmetic has been audited; make a washed swatch and complete the stated fit checks before gifting.
Can I use another yarn?
Only after matching the washed stitch and row gauge and checking the fabric’s softness and recovery. Yardage changes with fiber and tension.
Is this safe for infant sleep?
No crocheted garment here is presented as sleepwear. Use only with supervision, omit loose embellishments and follow current safe-sleep guidance.
Conclusion
Compare the finished piece with the stated measurements and the wearer’s actual dimensions. Record any hook or row changes for a matching second project. Repair a loose seam before gifting.
BabyYarnie Printable Crochet Pattern Card
BabyYarnie — easy-to-follow crochet for everyday makers.
Project: Crochet Baby Ribbed-Bib Short Overalls
Skill level: Intermediate Hook: 4 mm starting point; choose by washed gauge Yarn: DK cotton blend
Finished size: 6 (12, 18) months; leg circumference about 9 (10, 11) inches; body around 20 (22, 24) inches
Card Materials
- Planning allowance: 540 (640, 750) yards washable oat DK cotton blend plus swatch allowance
- 4 mm hook, eight markers, scrap yarn, tape measure, yarn needle and scissors
Card Instructions
- Crochet Two Matching Short Legs: Two equal eight-round tubes, 36 (40, 44) stitches each.
- Join at the Crotch and Raise the Body: Two legs plus two four-chain bridges form 80 (88, 96); body stays at that count.
- Work the Ribbed Front Bib: Centered ribbed bib: 28 (32, 36) sc wide by 20 (22, 24) rows.
- Make and Secure the Cross-Back Straps: Two six-stitch broad straps cross and attach permanently to opposite rear waist positions.
Finish: Check every count, weave in all ends, block to measurement, and inspect each join.