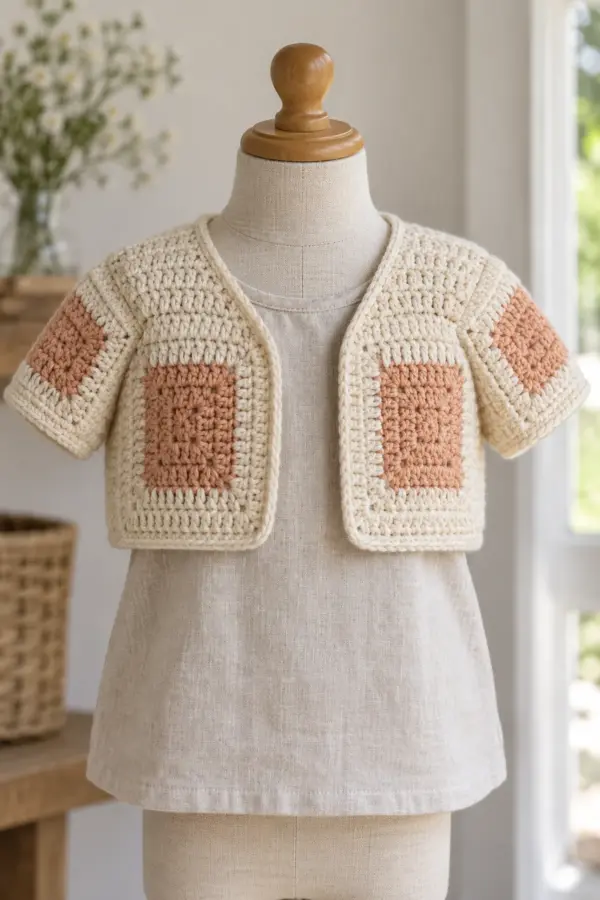
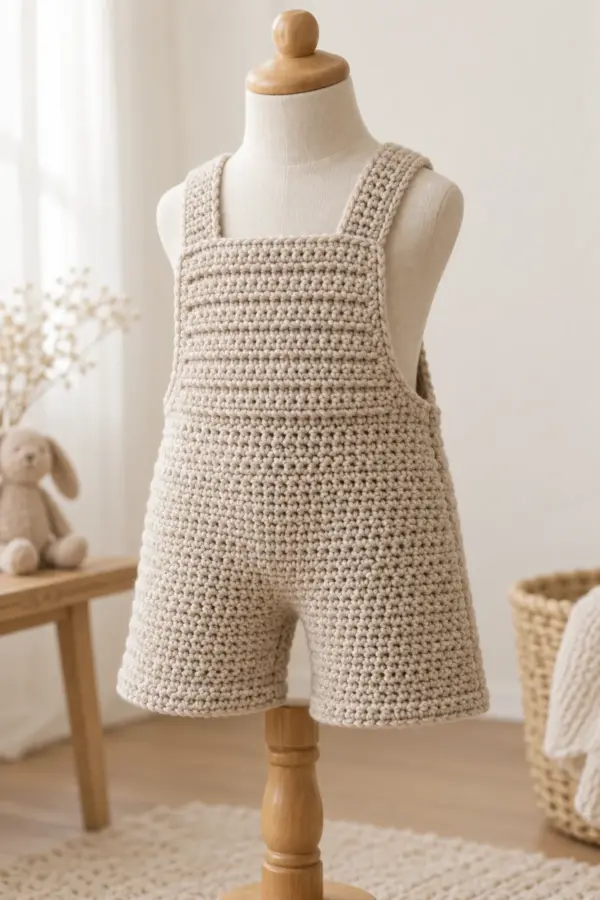
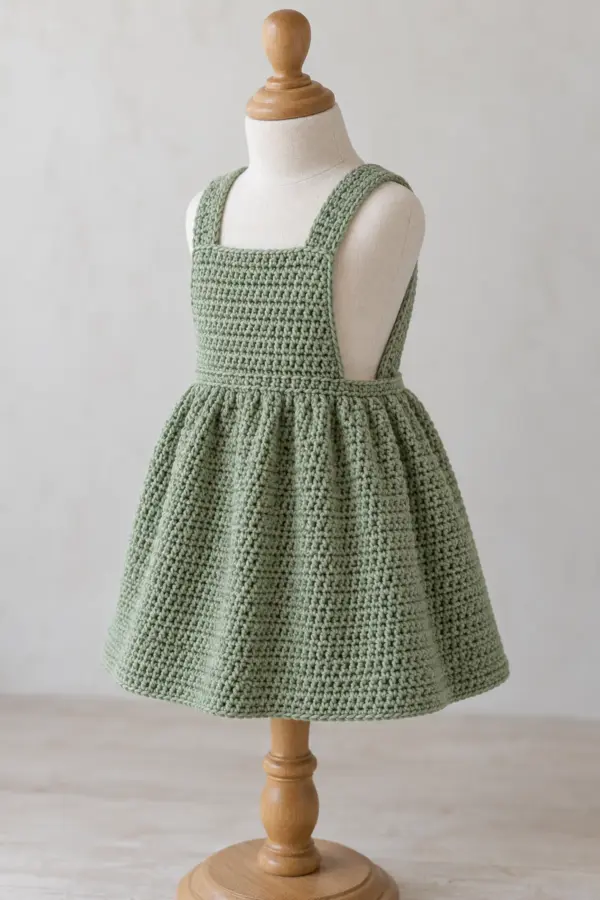
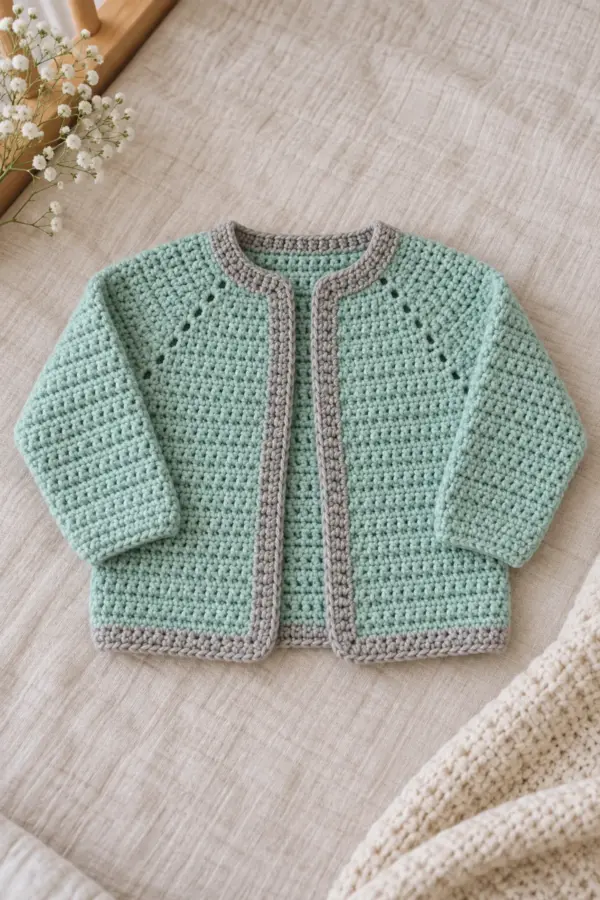
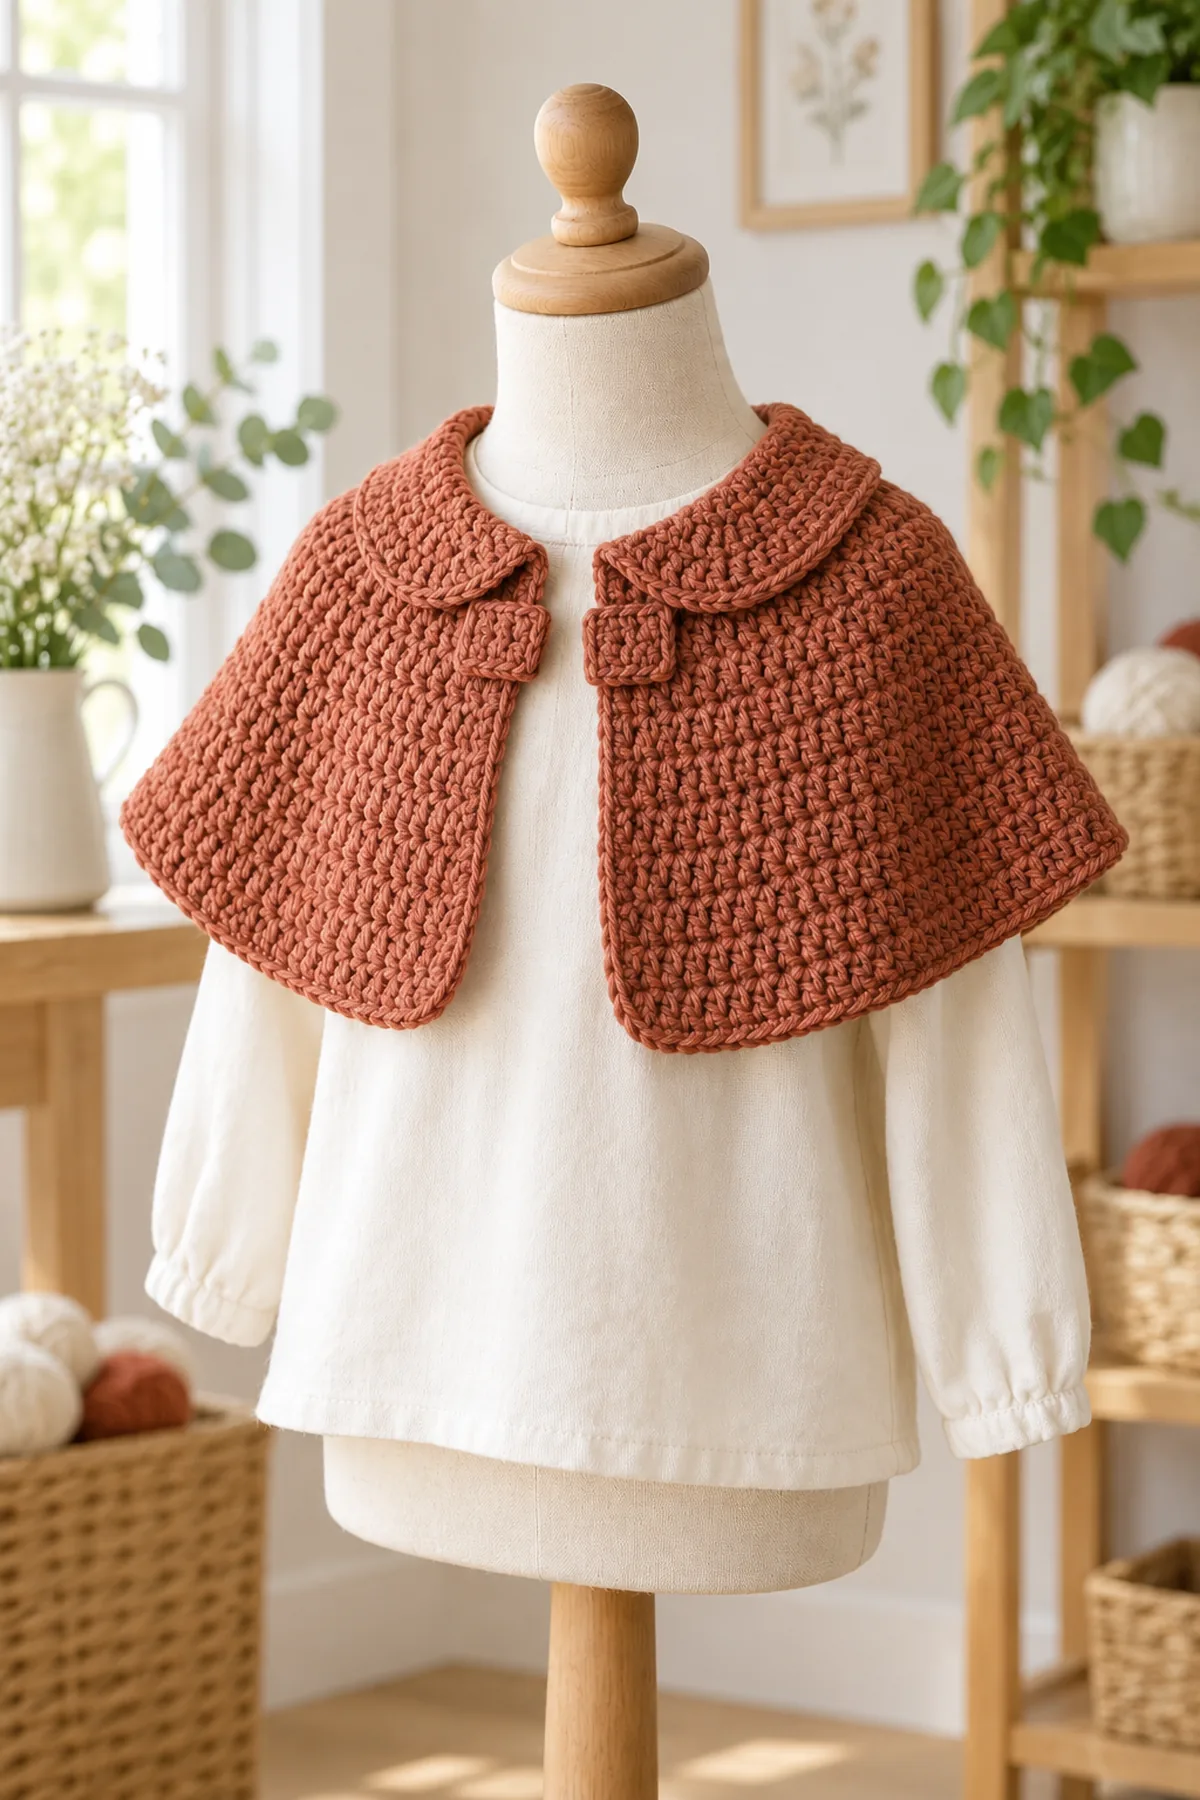
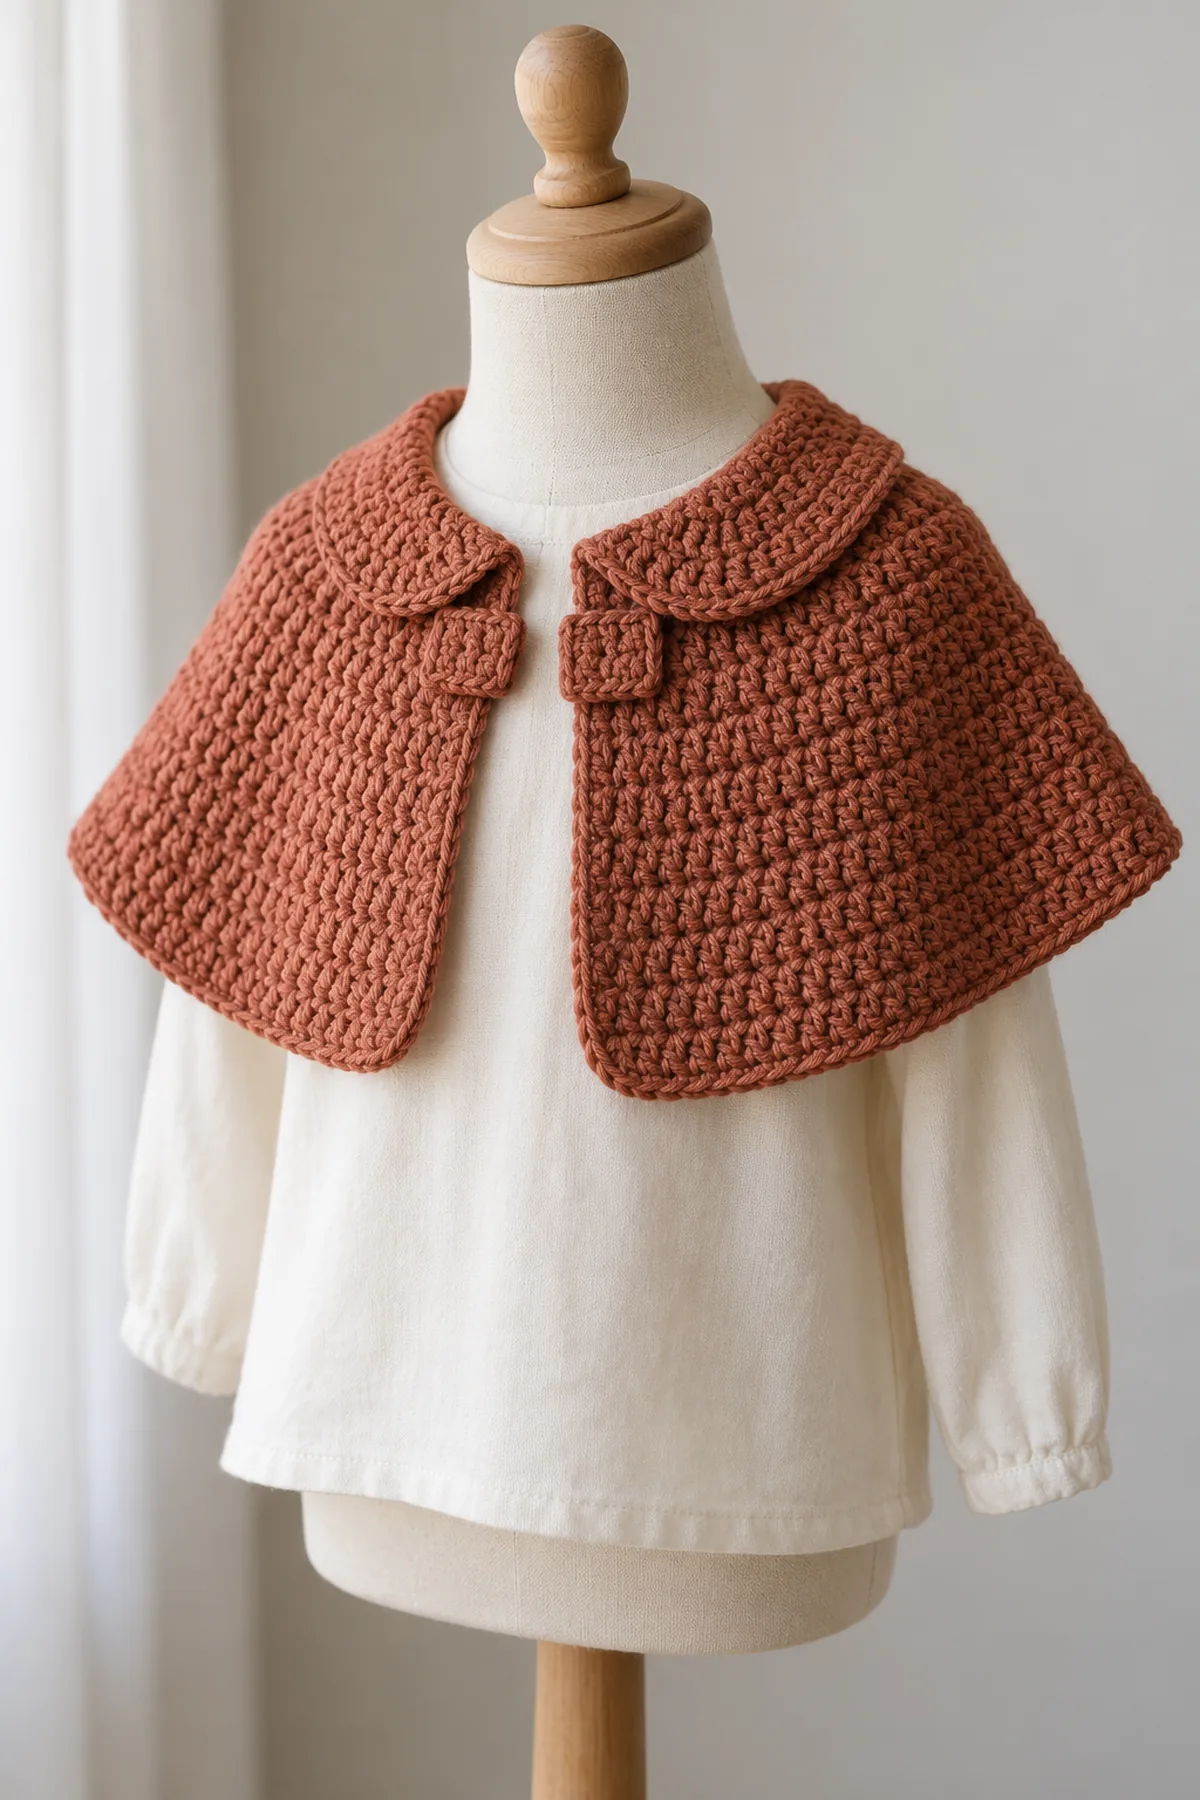
This original crochet toddler capelet follows its own distinct construction. A short open-front capelet for ages 2–4 with a circular yoke, evenly spaced shoulder increases, broad rounded collar, and short integrated front ties; no armholes or hood. The construction is described below in US crochet terms with counts at each transition. Swatch, measure, and inspect the completed garment before anyone wears it.
An open flat neckline widens through six measured rows with twelve increases each, then falls in straight rows over the shoulders. A low rounded inner collar and two short flat front tabs finish this toddler capelet. It has no hood, armholes, long neck cord or fastener.
Pattern Details
- Hook Size: 4 mm starting point; adjust to washed gauge
- Finished Size: Toddler 2–3 (3–4) years; inner band 12 (14.4) inches plus 2-inch open front gap; shoulder length about 5.5 inches
- Gauge: 20 sc and 20 hdc stitches = 4 inches; 20 hdc rows = 4 inches, washed
- Estimated Time: 5–8 hours
- Construction: Open 60 (72)-stitch neck; six twelve-increase rows to 132 (144); 21 even rows; flat neckline collar and two short tabs
- Skill level: Intermediate
Why You’ll Love This Project
This design uses its own geometry instead of repackaging a cardigan recipe. Distinct construction stages let you pause for a fit check, and the visible shaping makes a useful progress photograph. Keep notes about your washed gauge and adjustments.
Materials
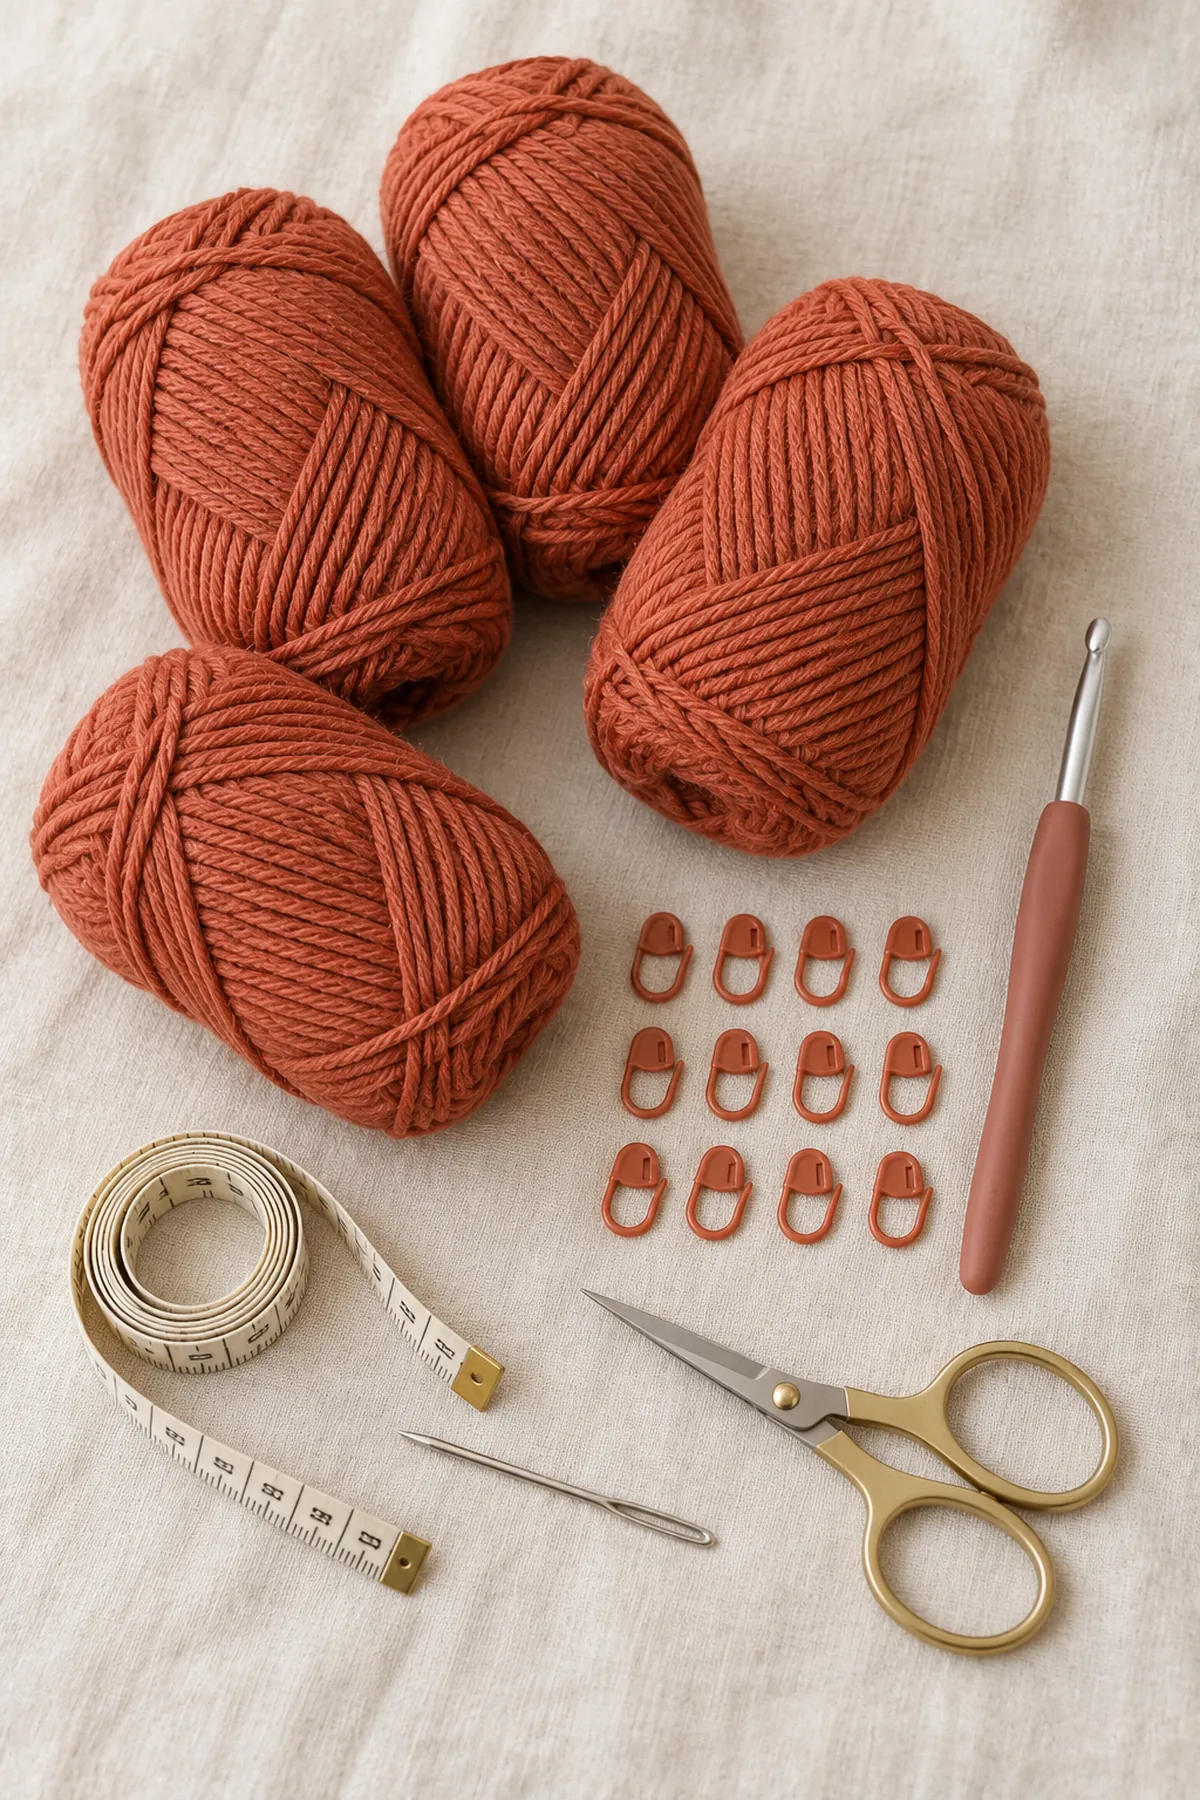
- Planning allowance 420 (480) yards soft washable DK cotton blend plus swatch allowance
- 4 mm hook, twelve locking markers, tape measure, yarn needle and scissors
Gauge, Measurements, and Planning
Swatch at least 24 stitches and 24 rows, wash, dry and measure the center. At five stitches per inch the 60-stitch neckline measures 12 inches and the 72-stitch neckline 14.4 inches; add the approximately two-inch open front gap when assessing the fit over a shirt. The six expanded rows end at 132 (144) stitches, approximately 26.4 (28.8) inches along the lower edge before even rows. Twenty-seven hdc rows at five rows per inch give about 5.4 inches of shoulder coverage. These are planning measurements, not a physical toddler fit test.
Make and wash a gauge swatch before beginning. Measure only after the swatch is completely dry. If the stitch width differs, change hook size rather than pulling the working yarn tighter. Keep a written count at the end of every section so the finished edges remain balanced and the assembly points line up.
Abbreviations and Special Stitches
- ch: chain
- sc: single crochet
- hdc: half double crochet
- dc: double crochet
- sl st: slip stitch
- st(s): stitch(es)
- rnd: round
- BLO: back loop only
- inc: two stitches in one old stitch
- sc2tog: single crochet two stitches together
- RS: right side
- WS: wrong side
Special stitch guidance: Work turned hdc rows. Each marked segment ends in an hdc increase: hdc in all preceding stitches of that segment, then 2 hdc in its last old stitch. Beginning ch 2 never counts. For the soft collar, sc evenly into the original neckline foundation; keep the neckline flat, not cinched. A short tab is three sc wide and worked back and forth with uncounted ch-1 turns.
Important Notes
- Development note: written stitch arithmetic is computationally checked, but no physically crocheted sample or wear test is claimed. Gauge, yardage and finished measurements are planning targets; swatch and fit-check before use.
- Beginning chains and joining slip stitches do not count unless a step says otherwise. Mark the first counted stitch and record counts at every shaping checkpoint.
- Use soft washable yarn; avoid plastic eyes, beads, loose buttons, long cords and detachable trims on young-child projects.
- AI-generated images are design illustrations, not stitch charts or proof of a physically tested sample. Follow the written construction and measured gauge.
- Garments are for supervised wear, not sleepwear. Remove for sleep and inspect every seam before gifting.
Complete Instructions for Crochet Toddler Rounded-Collar Capelet
Build the Open Curved Yoke
- Ch 62 (74). Row 1: hdc in third chain from hook and every remaining chain. Ch 2, turn. (60, 72 sts) Mark twelve equal segments of five (six) old stitches, beginning at one front edge.
- Row 2: in each segment hdc in the first four (five) stitches, then 2 hdc in its final stitch. Ch 2, turn. (72, 84 sts)
- Row 3: in each of twelve segments hdc in the first five (six), then 2 hdc in the final old stitch. Ch 2, turn. (84, 96 sts)
- Row 4: repeat with six (seven) plain hdc followed by an increase in the last old stitch of each segment. Ch 2, turn. (96, 108 sts)
- Keep both front edges distinct. Never join this work into a circle; the open front is what lets the capelet go on without pulling it over a toddler’s head.
- The smaller-size audit of the foundation and first three increase rows is (60 sts), (72 sts), (84 sts), then (96 sts). These are checkpoints, not extra rows.
Complete the Shoulder Expansion
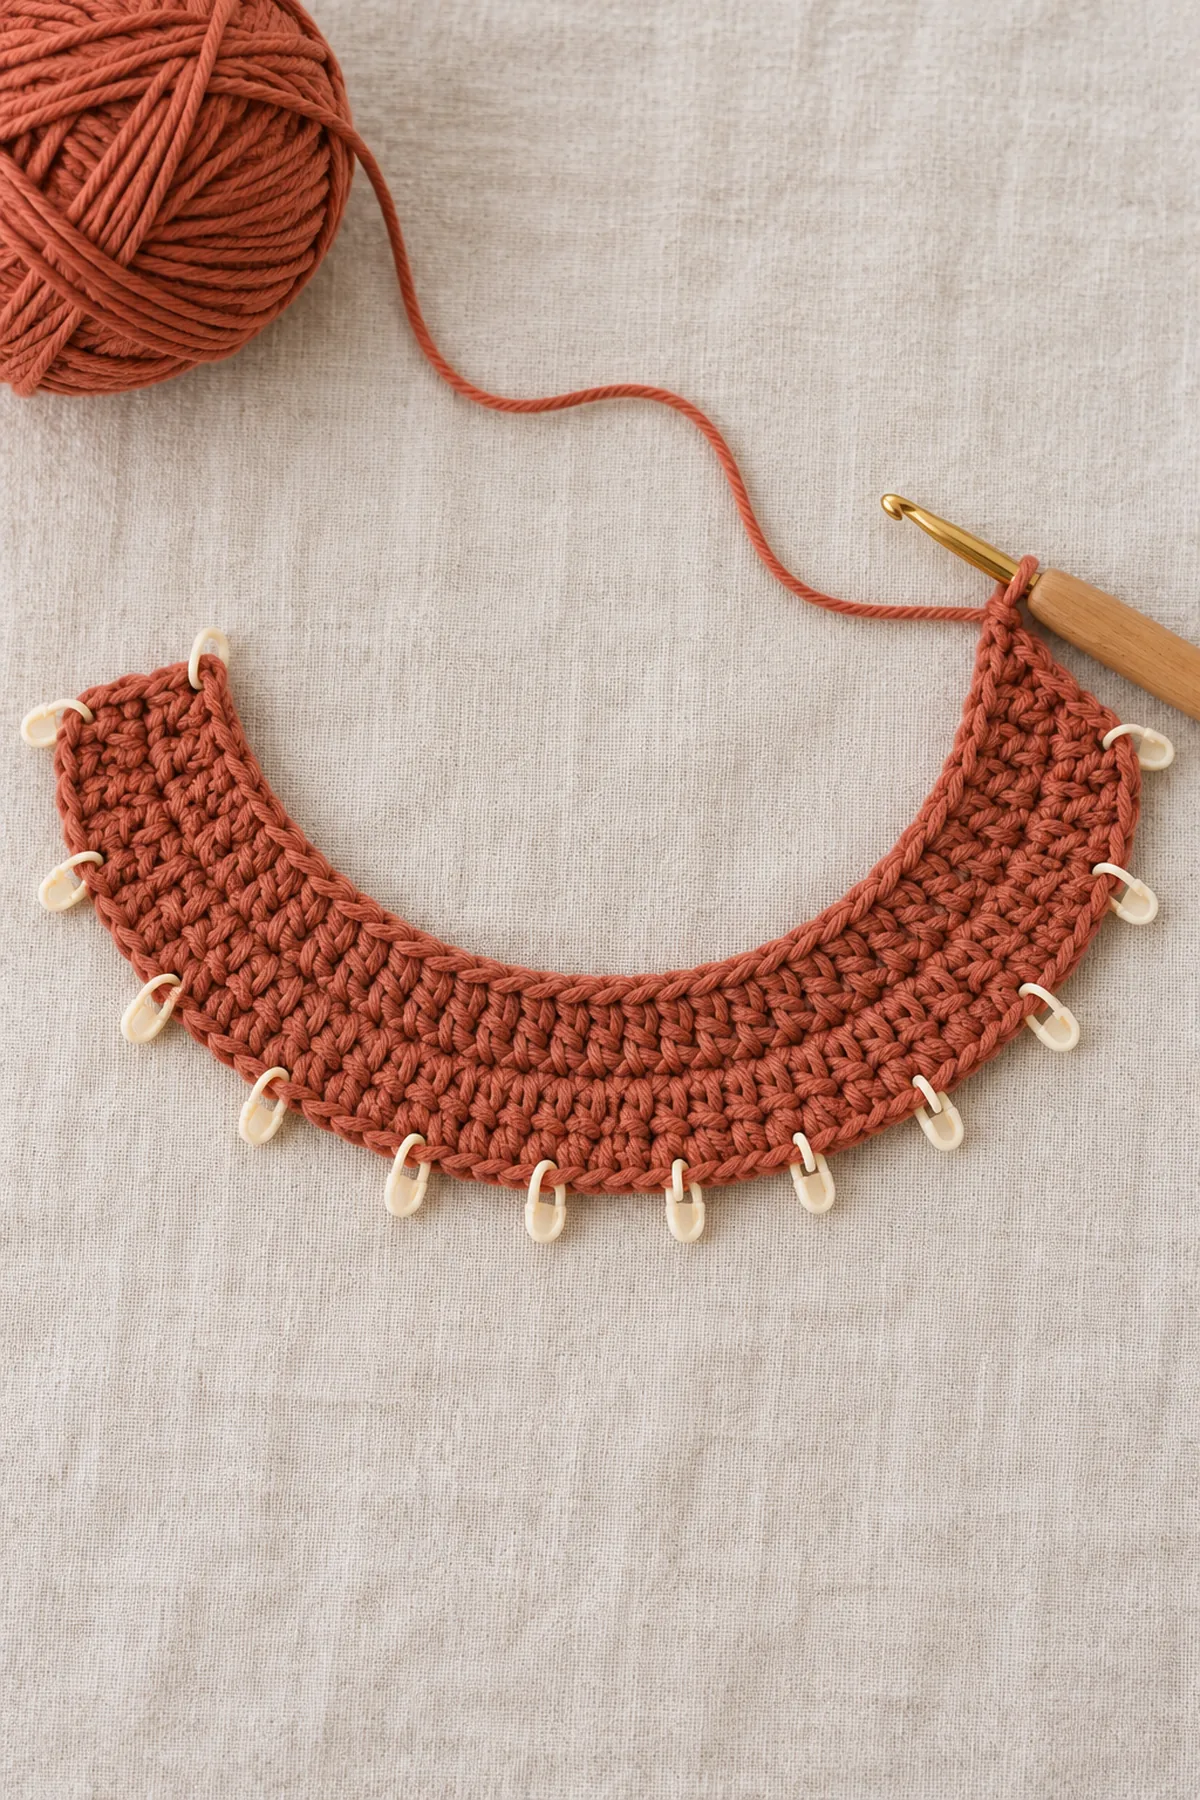
- Row 5: across twelve segments work seven (eight) plain hdc and 2 hdc in the last stitch of each. Ch 2, turn. (108, 120 sts)
- Row 6: across twelve segments work eight (nine) plain hdc then the marked increase. Ch 2, turn. (120, 132 sts)
- Row 7: across twelve segments work nine (ten) plain hdc then the marked increase. Ch 2, turn. (132, 144 sts)
- Lay the yoke flat in a broad crescent. The inner foundation edge must not ripple from being stretched and the outer edge must not cup inward. If it does, recount the twelve repeats before adding length.
- Rows 8–27: hdc once in every stitch, ch 2 and turn after each row except Row 27. (132, 144 sts) Keep both front edges straight and compare depth at the center back and each front. Fasten off after a final count.
- For the smaller size, the final three increase checkpoints are (108 sts), (120 sts) and (132 sts). Count these before starting the even rows; do not add a seventh increase row.
Add a Rounded Neckline Collar
- With the RS facing, join yarn at the lower end of one front edge. Work sc up that front edge at a rate of one stitch in each hdc row end; use exactly 27 stitches. At the neckline, sc once in each of the original 60 (72) foundation bases, then sc in the 27 row ends down the other front edge. (114, 126 sts) Do not pull the neckline tight.
- Collar Row 2: ch 1, turn; sc in all 114 (126) edging stitches. (114, 126 sts) Collar Row 3: ch 1, turn; sc in all stitches again. (114, 126 sts) The low three-row border rounds the corners without making a tall standing collar.
- Inspect the neckline on a known-size toddler garment. The two open front ends should remain apart approximately two inches; adjust the foundation count in multiples of twelve for a different size, then repeat the same six expansion rows.
- If the opening buckles, remake the border at a looser gauge. Do not add a constricting neck strap, long chain or hidden button to force a smaller opening.
Make Two Short Front Tabs and Check Wear
- For each tab, ch 4. Row 1: sc in second chain and next two chains. (3 sts) Rows 2–12: ch 1, turn and sc in all three stitches. (3 sts) Fasten off with a 12-inch sewing tail.
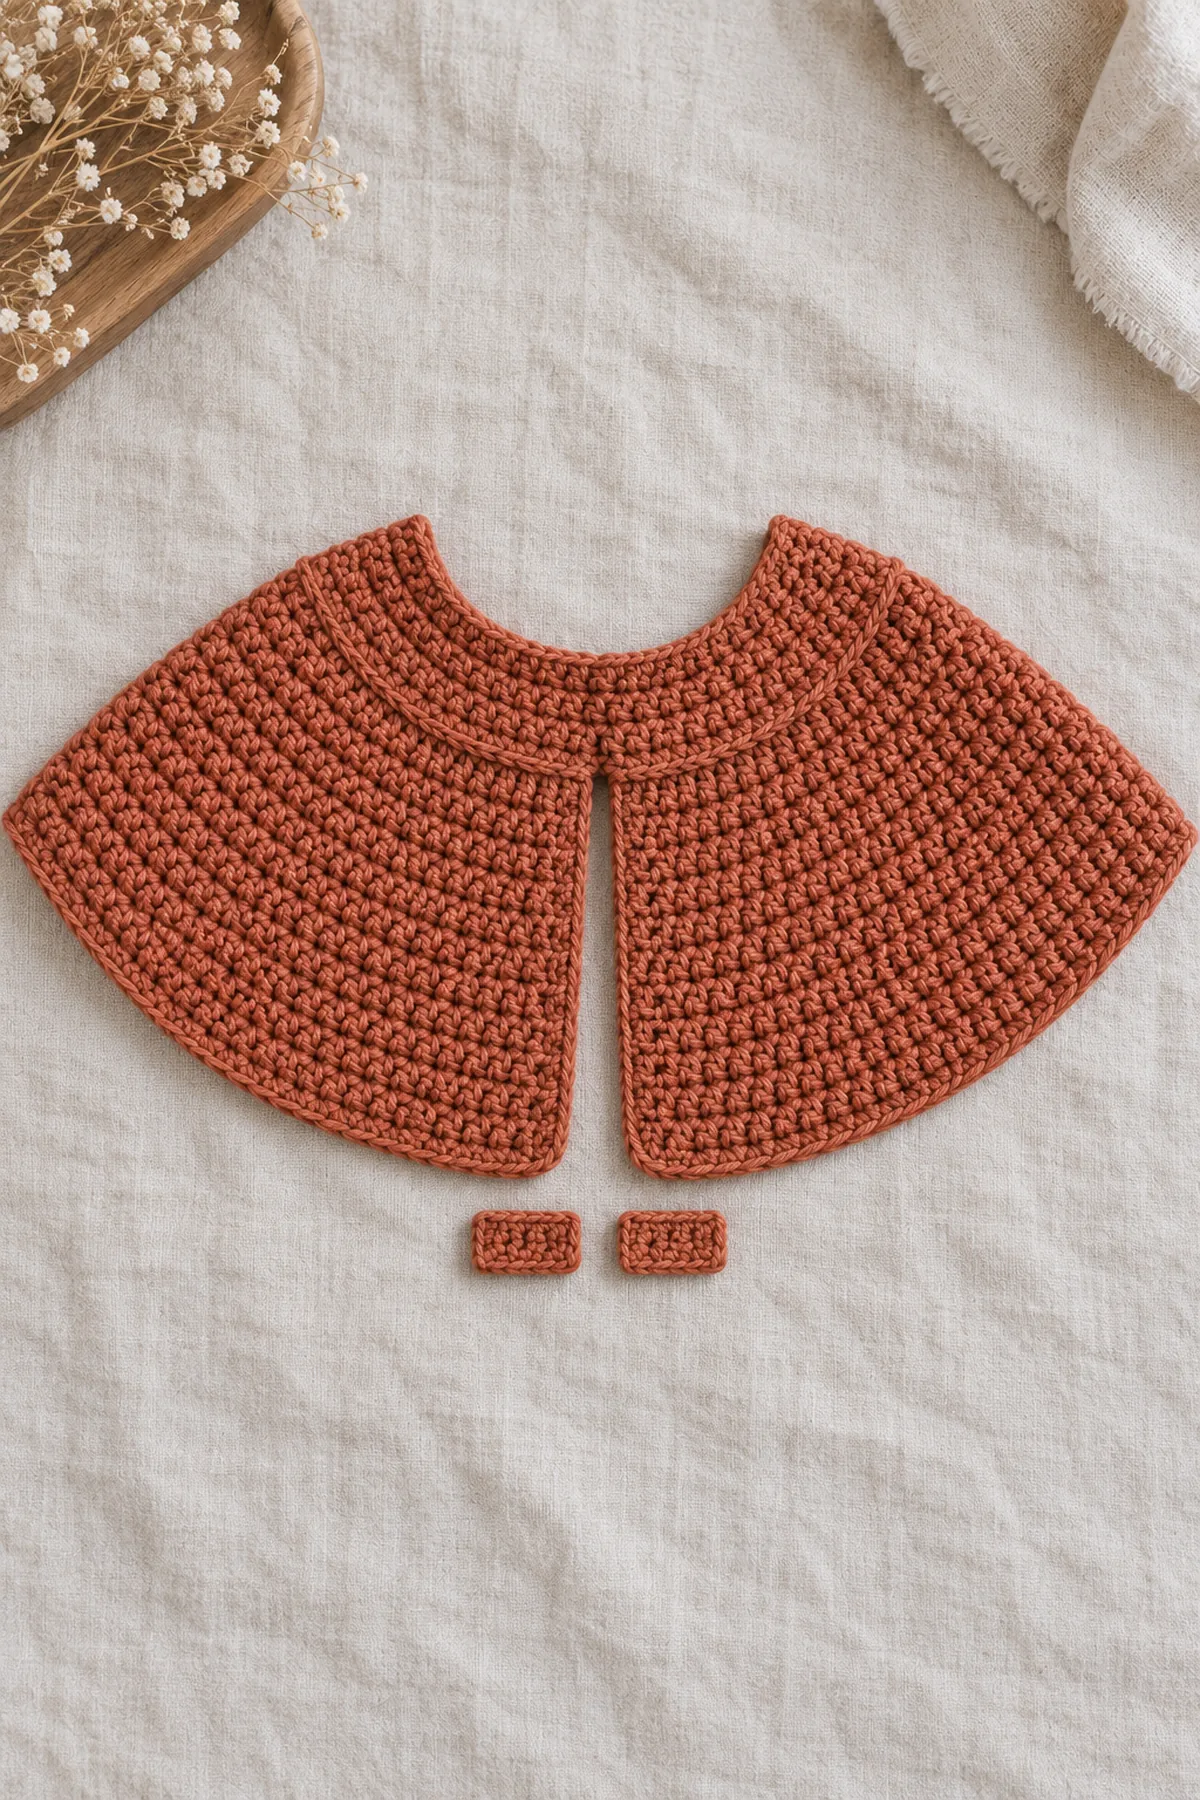
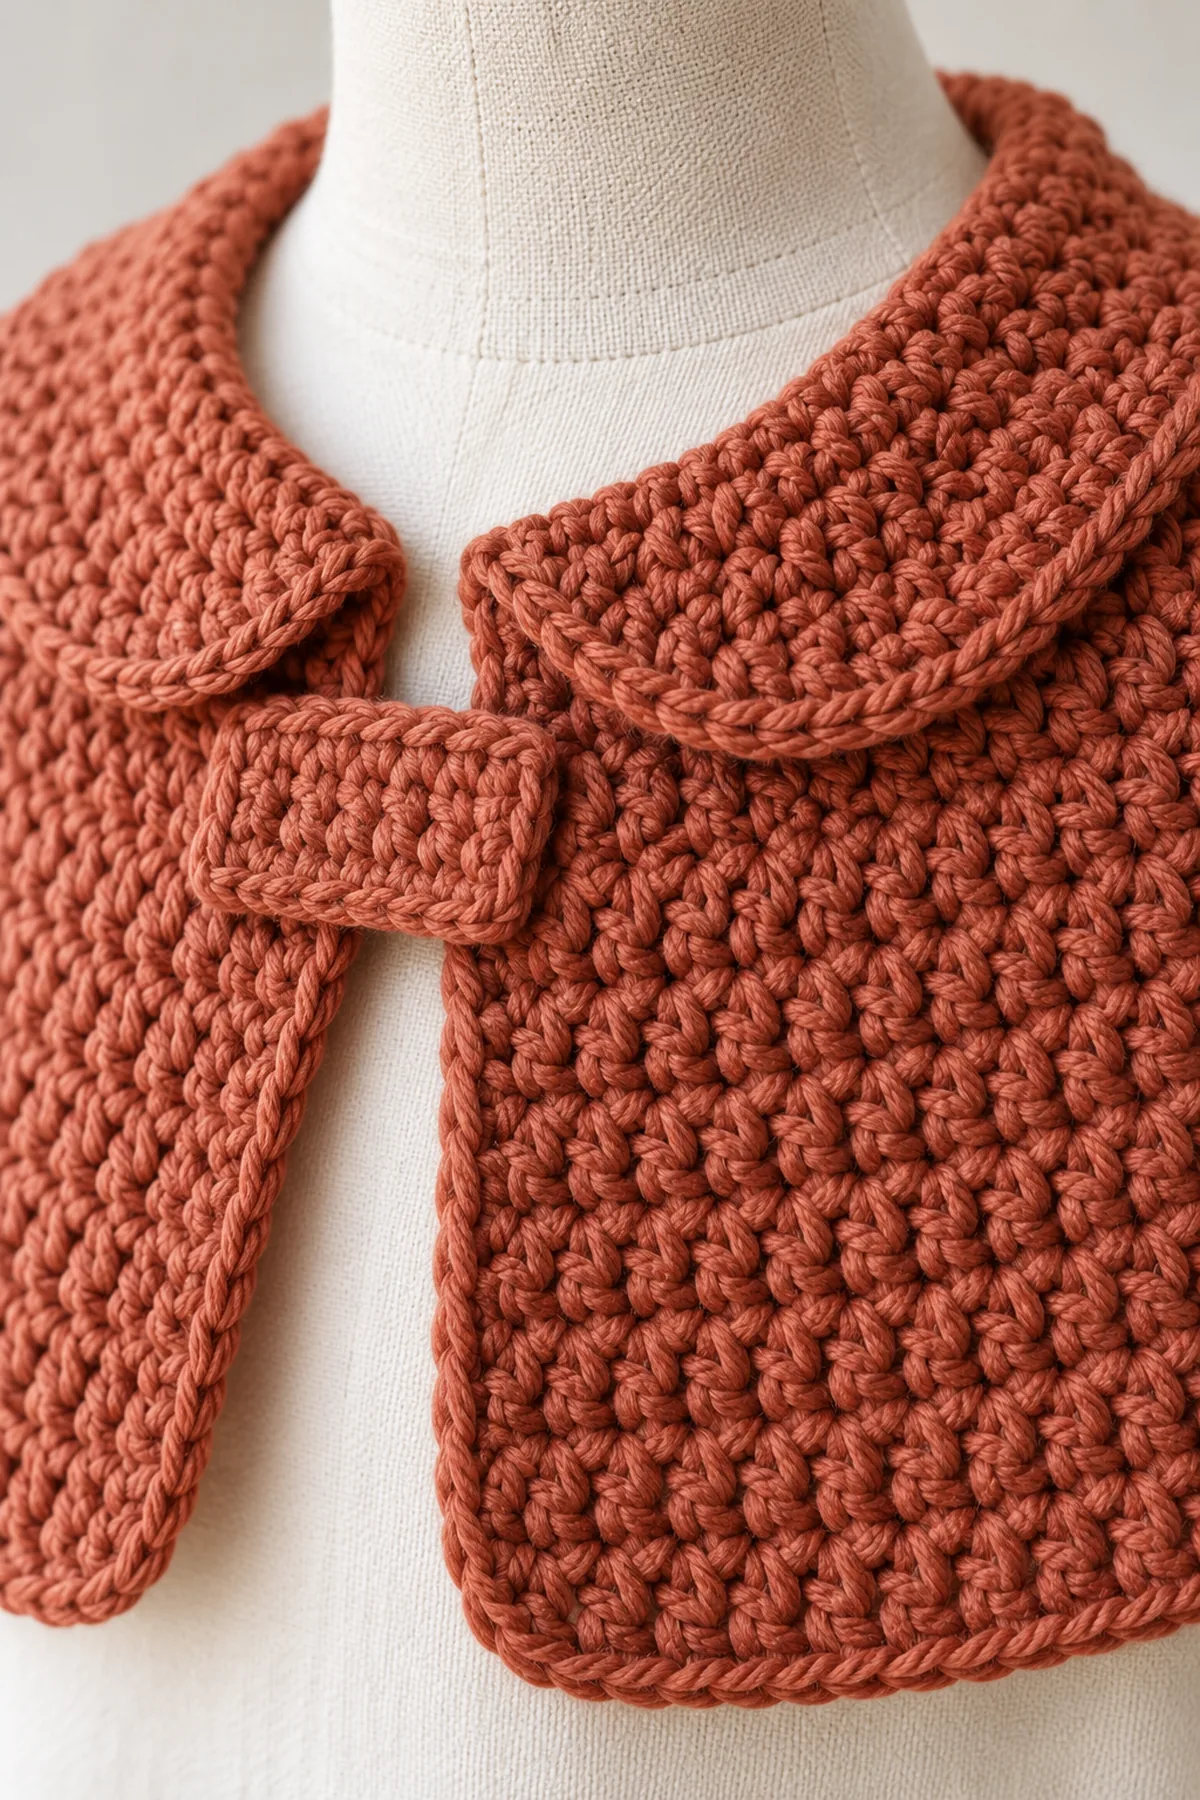
- Place one tab at each upper front corner where the original neckline meets the edging. Sew the final two tab rows to the wrong side through all three stitch columns twice. Both tabs are decorative short flats; they are not long enough to knot beneath the chin.
- Block the capelet as an open crescent. Measure from shoulder line to the hem at both sides. If one side is longer, check the row ends and border rather than stretching the shorter side into position.
- Use as supervised outerwear over a plain shirt. Confirm unrestricted head and arm movement, with no fabric across the mouth or nose. Remove for sleep, car-seat restraint adjustments, vigorous play or any setting in which it might catch.
- Weave tails twice in opposite directions, inspect the tab seams, and dry completely after laundering. The two sizes are written from gauge targets; adjust only after comparing the piece with the intended child’s existing clothing.
Assembly and Shaping
Work the rounded collar into the foundation edge from one open front end to the other. Sew one short flat tab to each front corner of the original neckline, or continue it directly from three corner stitches; tabs must remain short and cannot be tied around the throat.
Lay every component on a flat surface before joining. Match the marked centers first, then divide each remaining edge into equal sections. Work through both layers with consistent tension and pause after each section to check that the fabric lies flat. This measured approach prevents twisting and keeps decorative details facing the intended direction.
Finishing
- Fasten off with a 6-inch tail; weave through three separate groups of stitches, changing direction twice.
- Damp-block gently according to the fiber label, check the intended shape, and dry fully before assembly or use.
- Inspect both sides, all joins, and every decorative attachment; resecure a loose stitch before gifting.
- Include the fiber content and washing instructions with the finished item. Keep the item away from candles and other heat sources.
For a polished result, weave each tail through several same-color stitches, reverse direction once, and trim only after the fabric has been gently stretched. Block to the listed dimensions without flattening textured stitches. Inspect joins, borders, straps, and decorative pieces before the project is used or gifted.
Helpful Tips
- Wash and dry a generous swatch before selecting a hook; compare stitches and rows per inch separately.
- Use removable markers at structural joins and count the first and last stitch of every row.
- Check fit on a garment of known size or a dress form, not directly with pins on a child.
- If the fabric cups, flares unexpectedly or binds, fix the stitch count or gauge rather than hiding it in a seam.
Good lighting and a contrasting stitch marker make counting much easier. If a section looks uneven, compare the current count with the previous checkpoint before continuing. Fixing one missed stitch early is faster than compensating later, and it preserves the measurements used by the assembly instructions.
Frequently Asked Questions
Is this pattern physically tested?
No physical sample test is claimed. The written arithmetic has been audited; make a washed swatch and complete the stated fit checks before gifting.
Can I use another yarn?
Only after matching the washed stitch and row gauge and checking the fabric’s softness and recovery. Yardage changes with fiber and tension.
Is this safe for infant sleep?
No crocheted garment here is presented as sleepwear. Use only with supervision, omit loose embellishments and follow current safe-sleep guidance.
Conclusion
Compare the finished piece with the stated measurements and the wearer’s actual dimensions. Record any hook or row changes for a matching second project. Repair a loose seam before gifting.
BabyYarnie Printable Crochet Pattern Card
BabyYarnie — easy-to-follow crochet for everyday makers.
Project: Crochet Toddler Rounded-Collar Capelet
Skill level: Intermediate Hook: 4 mm starting point; adjust to washed gauge Yarn: DK cotton blend
Finished size: Toddler 2–3 (3–4) years; inner band 12 (14.4) inches plus 2-inch open front gap; shoulder length about 5.5 inches
Card Materials
- Planning allowance 420 (480) yards soft washable DK cotton blend plus swatch allowance
- 4 mm hook, twelve locking markers, tape measure, yarn needle and scissors
Card Instructions
- Build the Open Curved Yoke: Twelve marked increases in each row widen 60 (72) to 96 (108) in three rows.
- Complete the Shoulder Expansion: Six increase rows finish at 132 (144); twenty even rows extend the shoulder cape.
- Add a Rounded Neckline Collar: One counted sc perimeter row and two same-count rows make a soft low collar.
- Make Two Short Front Tabs and Check Wear: Two three-sc by twelve-row short tabs; open front remains unfastened.
Finish: Check every count, weave in all ends, block to measurement, and inspect each join.