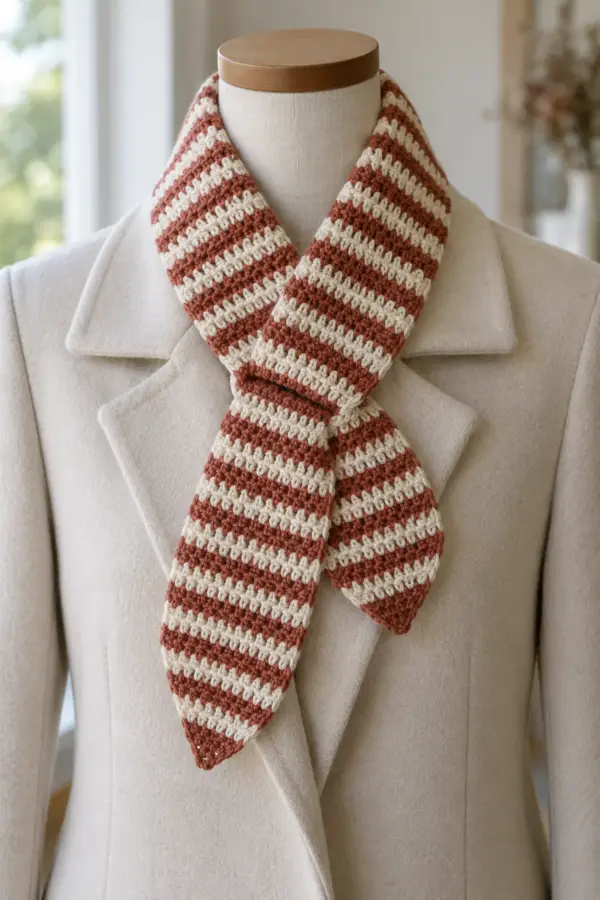
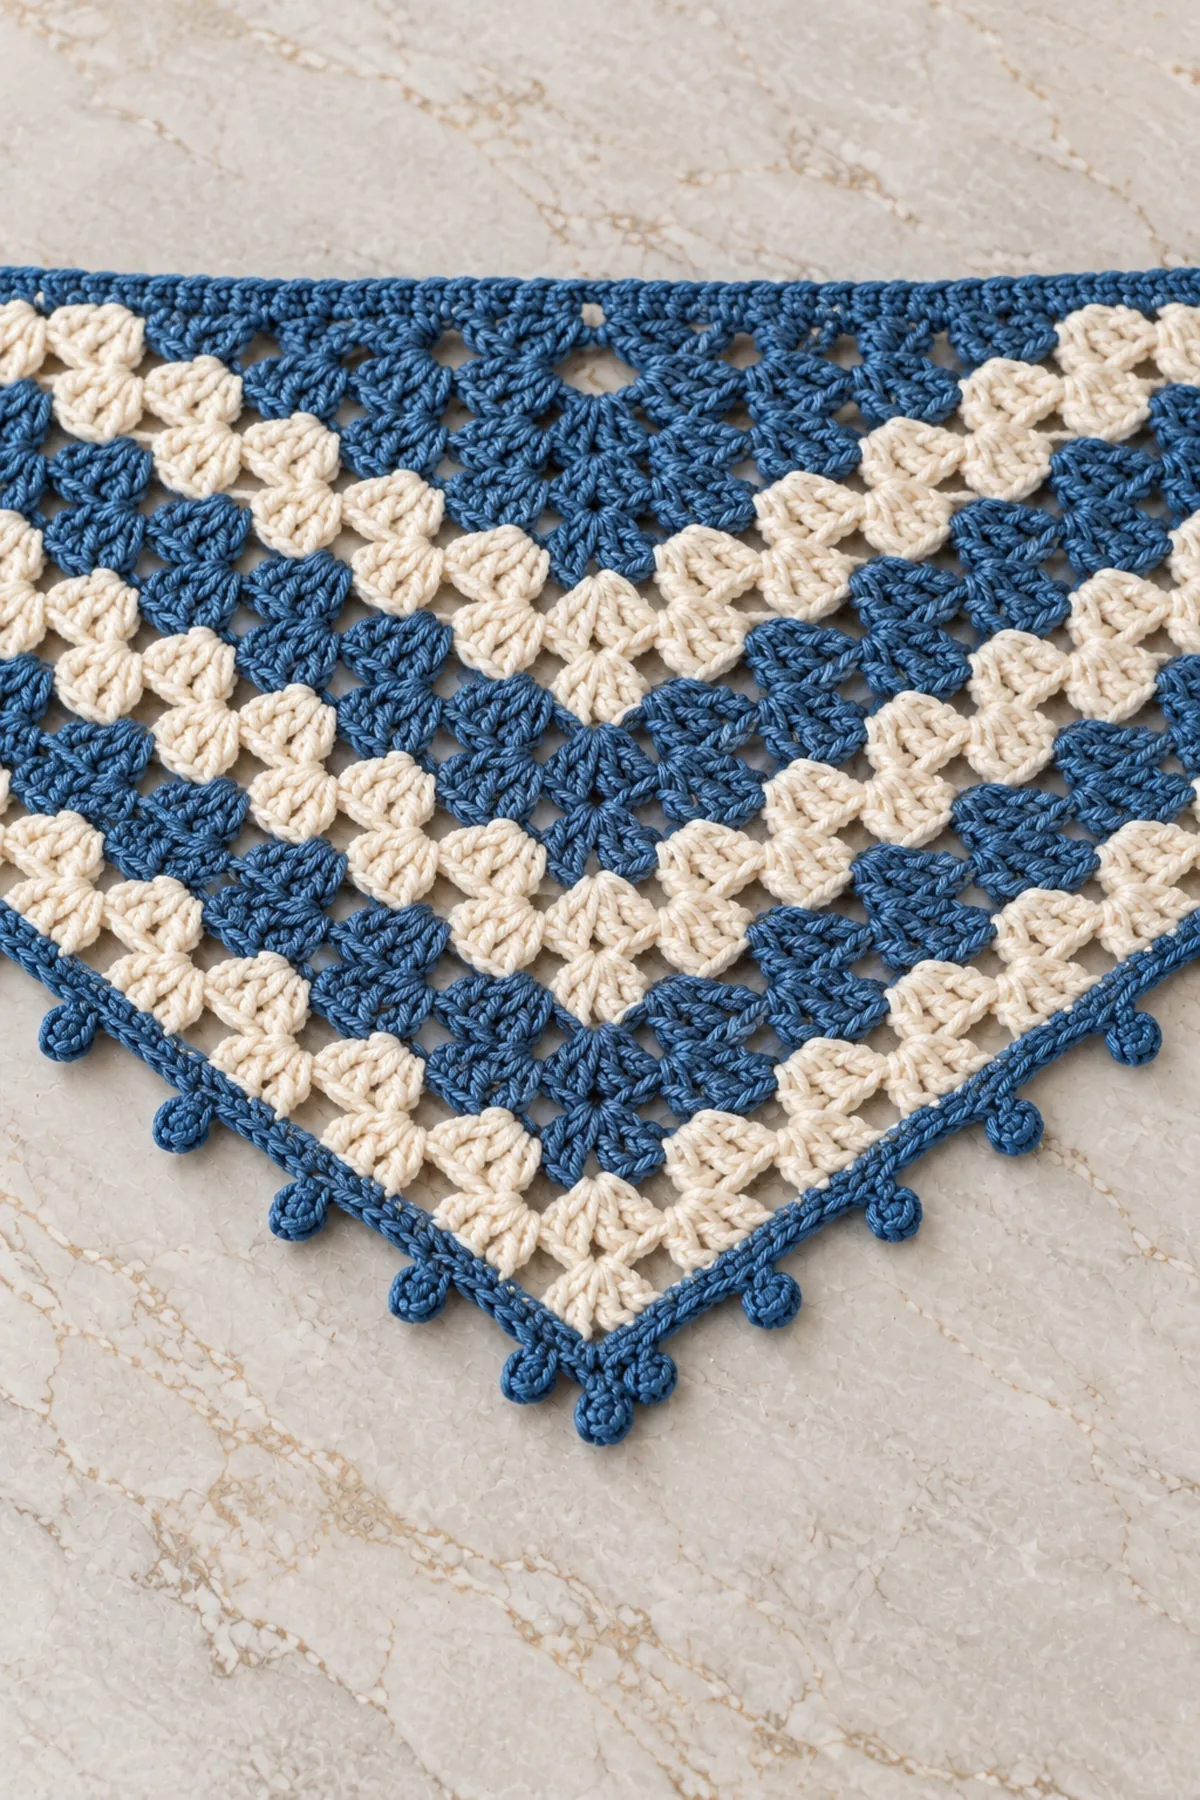
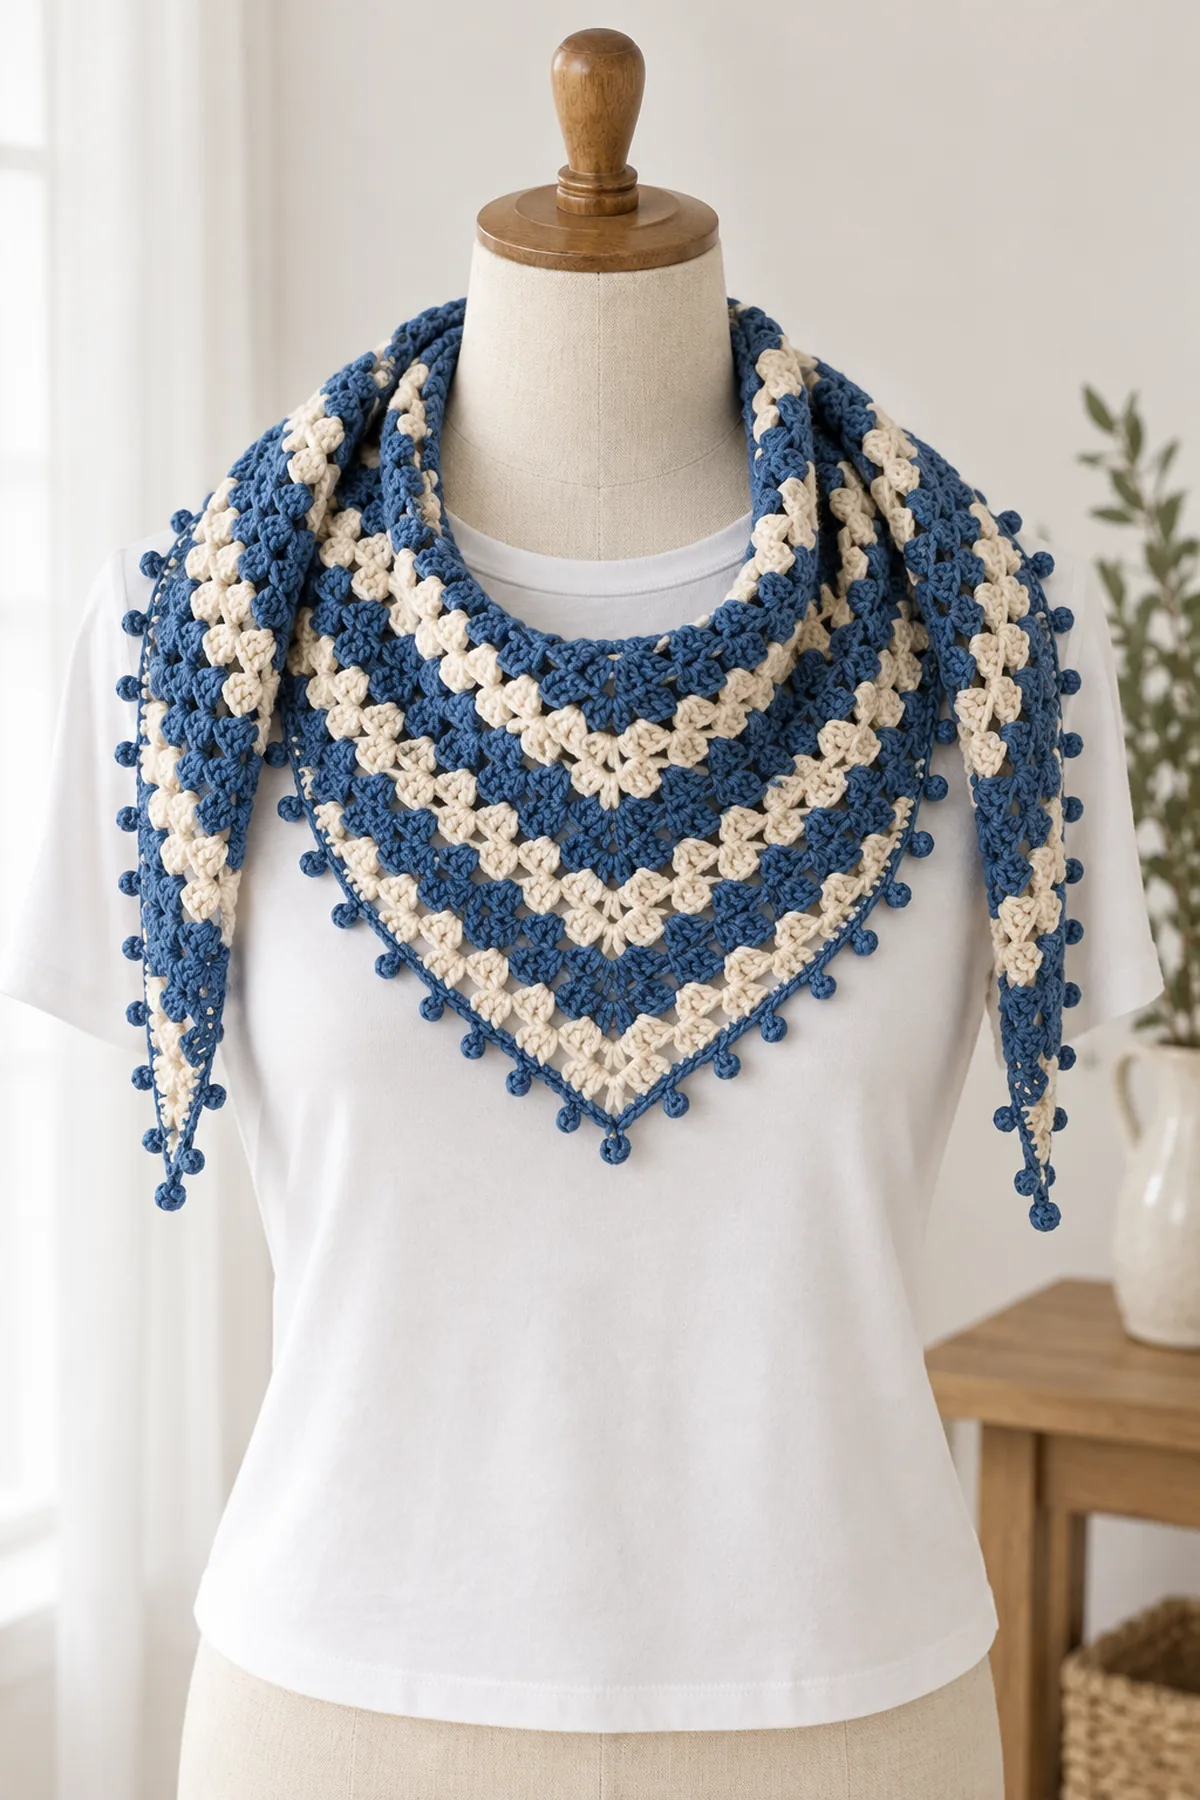
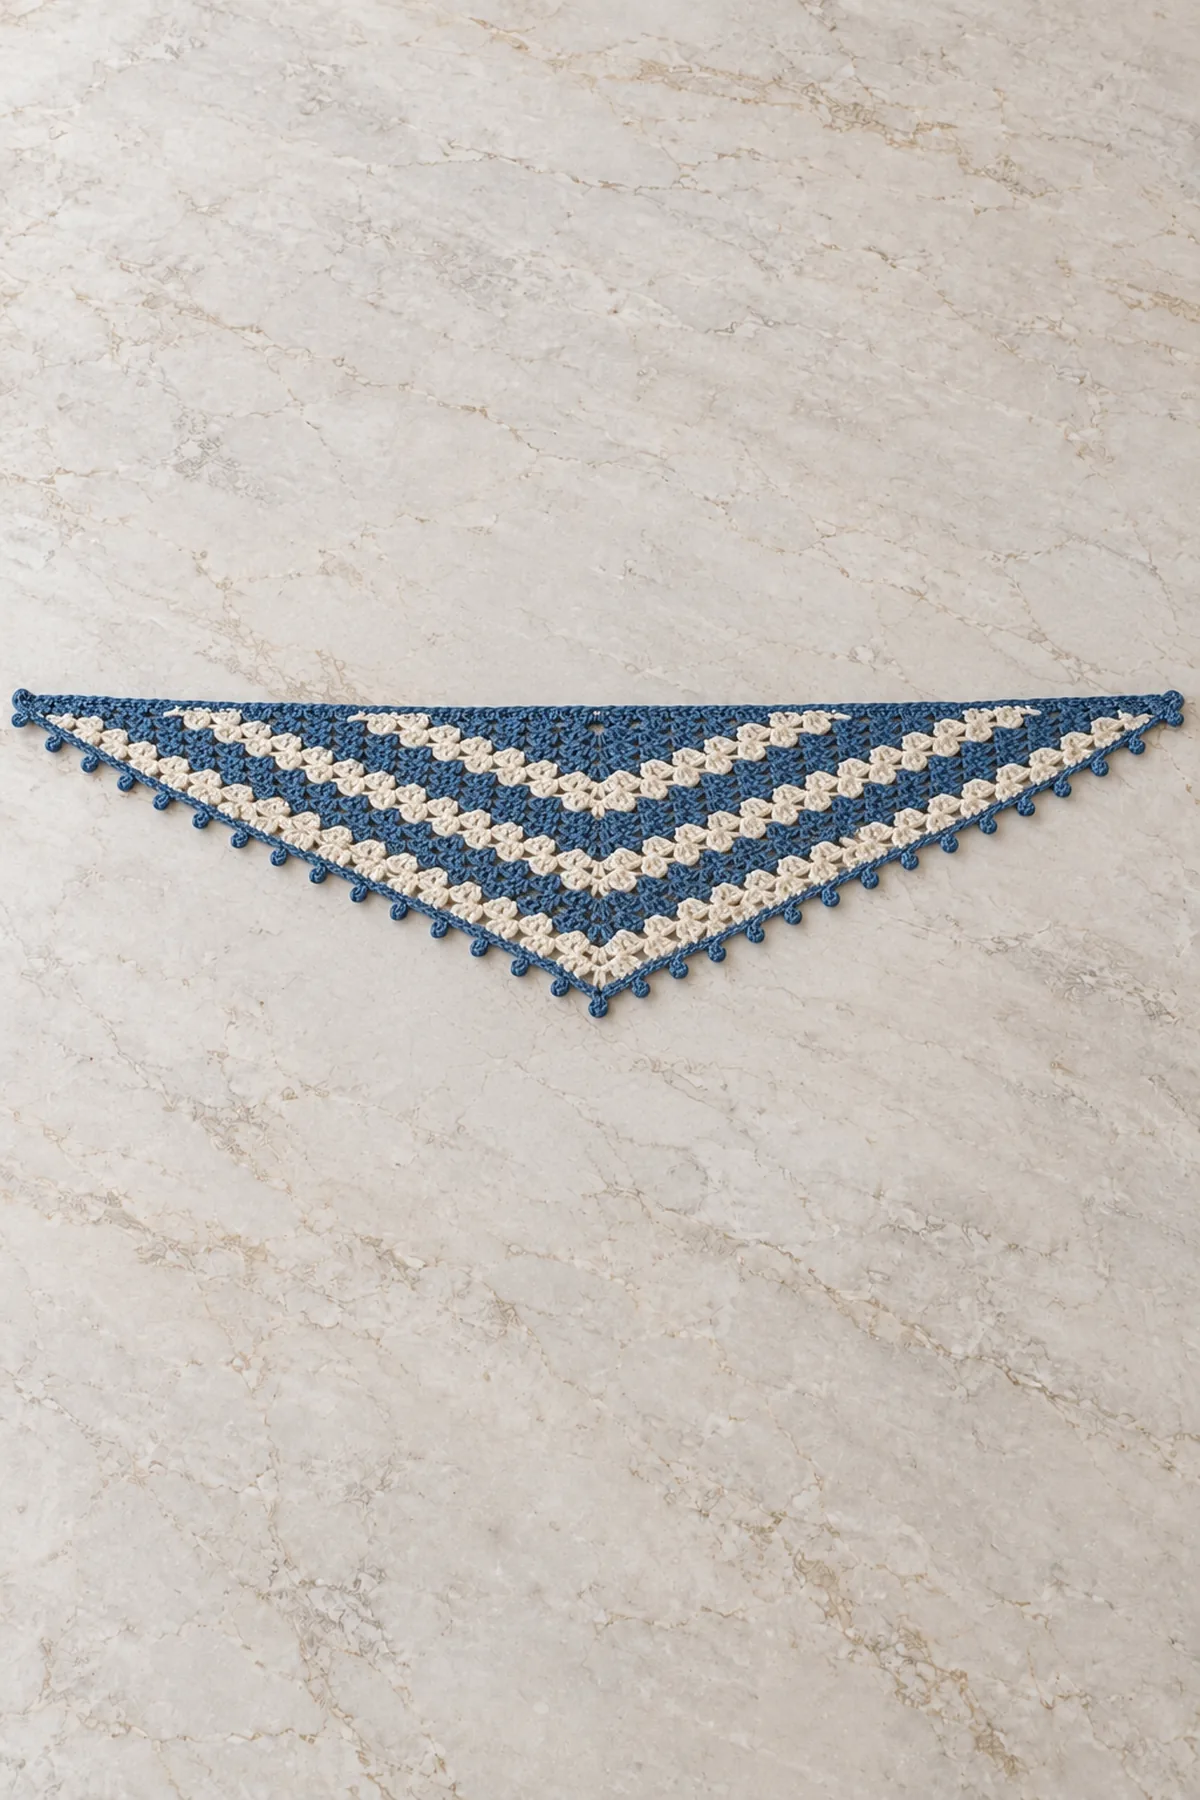
Denim and cream stripes trace a shallow triangle that can sit at the front of an adult coat. This crochet triangle scarf starts at the center of its upper edge and grows in granny groups. Alternating ordinary and expanded edge rows give it longer wings than a standard granny triangle, while tiny denim picots finish the two lower edges.
Work a six-dc first row around a center ring, separated into two three-dc groups by a ch-2 point. Every later row grows at the point and at both outer ends. Even rows use two edge groups at each end; odd rows use one. Stop at 24 rows for the middle size, then add a narrow border.
Pattern Details
- Hook Size: 4 mm, adjusted to gauge
- Finished Size: Middle planning target approximately 52-inch wingspan by 12-inch center depth before the narrow border; measure your own fabric
- Gauge: Target five granny groups with their following ch-1 spaces = 4 inches along an angled edge; eight rows = 4 inches at center
- Estimated Time: 6-9 hours
- Construction: Top-center granny triangle with alternating single/double edge groups and a ch-2 center
- Skill level: Intermediate
Why You’ll Love This Project
The open groups make the stripe direction visible without a heavy fabric. Two-row color bands reduce the number of color decisions, and the wider edge rows create a long, shallow neck-scarf shape rather than a large square shawl. The edging is worked on, with no tassels or attached decorations.
Materials
- Planning allowance for 24 rows: 230 yards denim and 210 yards cream matching DK yarn
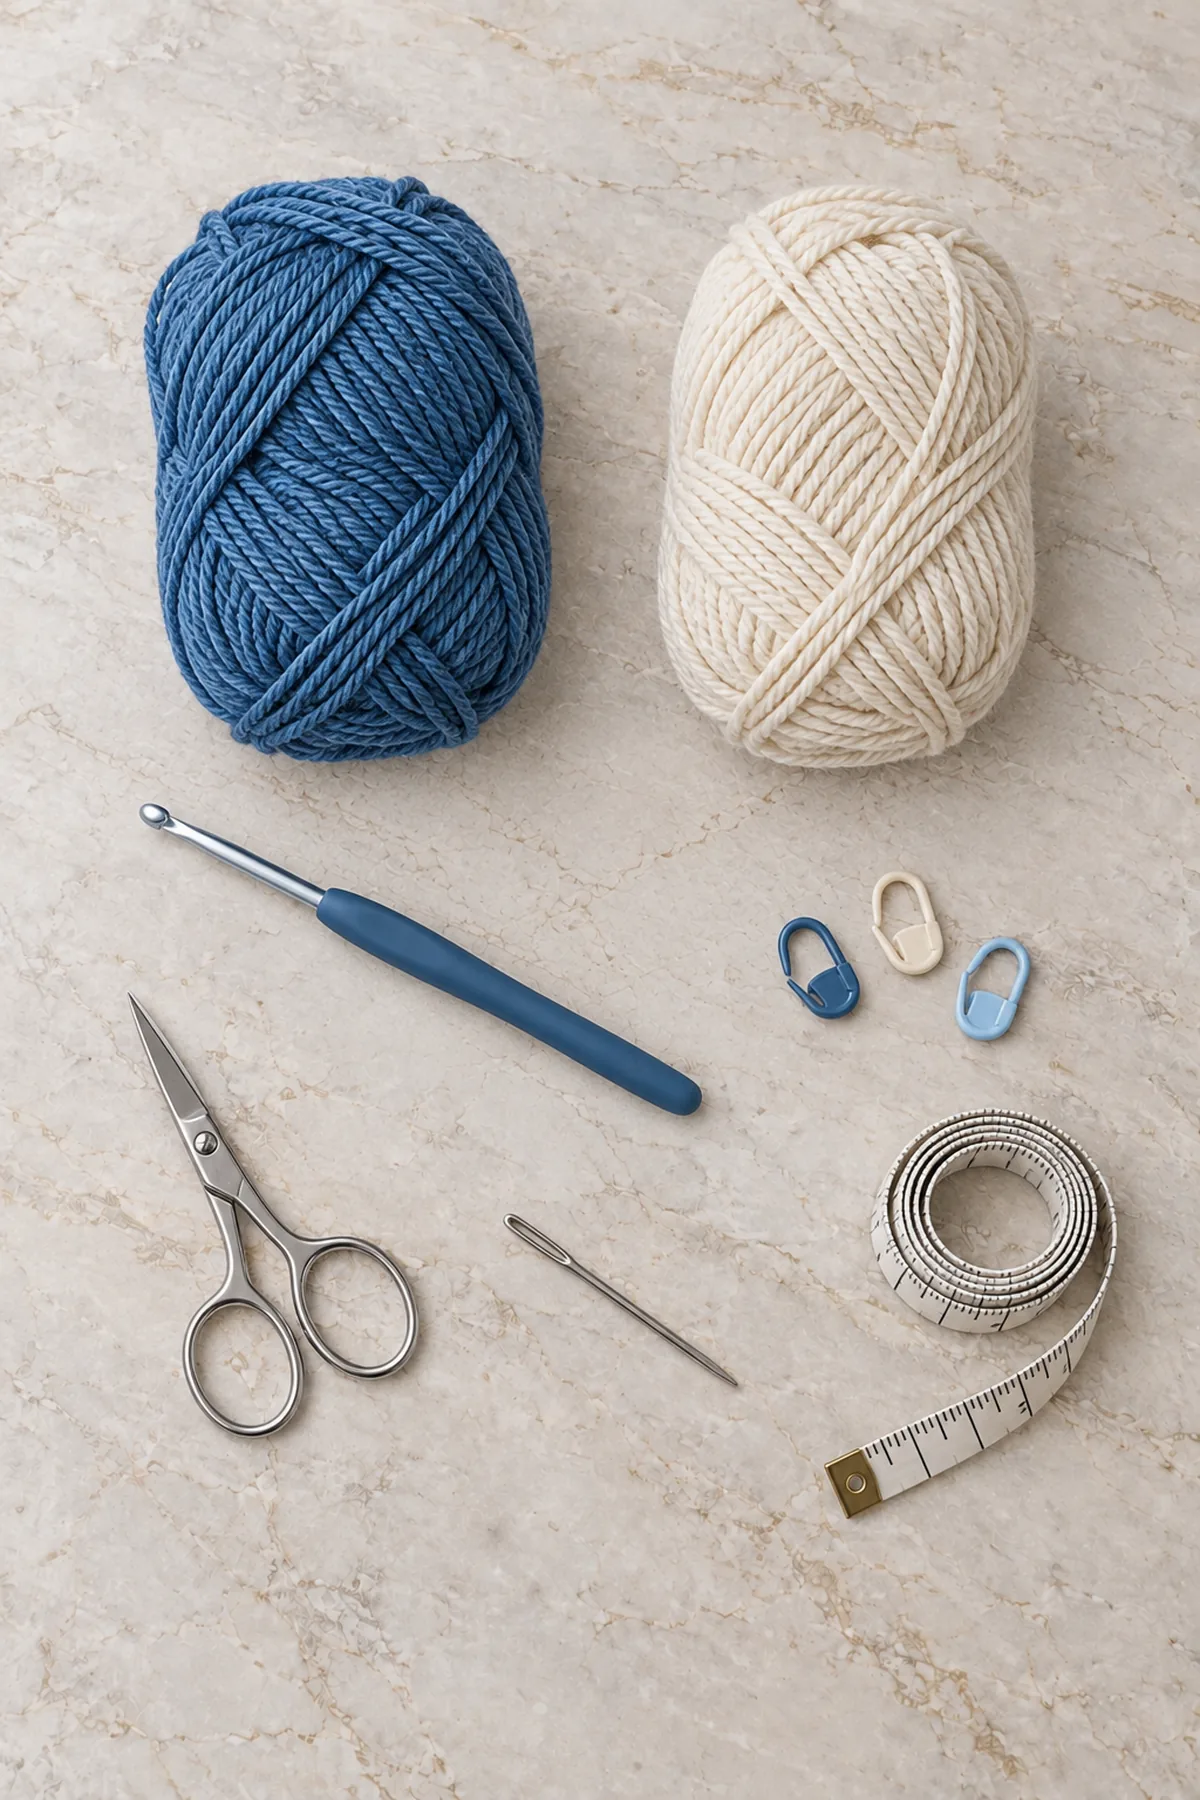
- 4 mm hook; three markers; tapestry needle; scissors; tape measure
Gauge, Measurements, and Planning
A granny group here means three separate dc into one space, not a dc3tog cluster. Swatch through at least Row 8 and block lightly. Measure the center depth and both wings without pulling the top edge tight. Planning size options: 20 rows, 60 groups, about 44 by 10 inches, allow 180 yards denim and 170 cream; 24 rows, 72 groups, about 52 by 12 inches, allow 230 denim and 210 cream; 28 rows, 84 groups, about 60 by 14 inches, allow 300 denim and 280 cream. These are gauge-based planning targets, not physically verified dimensions. Stop at a multiple of four rows to finish a cream band; adjust size by complete four-row stripe repeats.
Make and wash a gauge swatch before beginning. Measure only after the swatch is completely dry. If the stitch width differs, change hook size rather than pulling the working yarn tighter. Keep a written count at the end of every section so the finished edges remain balanced and the assembly points line up.
Abbreviations and Special Stitches
- ch: chain
- sc: single crochet
- hdc: half double crochet
- dc: double crochet
- sl st: slip stitch
- st(s): stitch(es)
- rnd: round
- BLO: back loop only
- inc: 2 stitches in one stitch
- sc2tog: single crochet two stitches together
- sp: space
- RS: right side
- WS: wrong side
- dc3tog: double crochet three together
- sc3tog: single crochet three together
Special stitch guidance: G = 3 dc worked separately into the same stitch or space. Ch 3 at the start counts as the first dc of the first G: add only 2 dc in that same first stitch. Ordinary separation between groups is ch 1; the center point alone is ch 2. On even rows make G, ch 1, G in each outermost stitch. On odd rows make only one G at each end. A picot is ch 3, sl st in the first of those three chains; it adds decoration but no base stitches.
Important Notes
- Pattern development note: stitch arithmetic and written construction have been reviewed computationally; this design has not been physically sample-tested. Gauge, yardage and finished measurements are planning targets, not a tested guarantee. Swatch and check fit before making a gift.
- Use US crochet terms. The stitch and turning-chain conventions in the instructions for this project take precedence over generic conventions.
- Turn after every flat row unless the instructions explicitly say otherwise. Mark both end stitches and count before beginning the next row.
- Change color on the final yarn-over of the preceding stitch, leaving 6-inch tails. Weave ends into their own color on the wrong side.
- Images are AI-generated design illustrations, not stitch charts or photographs of a physically tested sample. Follow the written stitch counts and measurements.
- These are adult accessories. Remove scarves for sleeping, machinery, vigorous activity or any situation in which fabric could catch; do not adapt the long wraps for babies.
Complete Instructions for Crochet Granny Stripe Triangle Scarf
Start at the Upper Center
- With denim, make a magic ring. Row 1: ch 3 (counts as first dc), 2 dc in ring, ch 2, 3 dc in ring. Close the ring enough to hold the groups without bunching. Turn. (6 sts), all counted stitches are dc including the turning chain; the center ch 2 is not included.
- Place a marker in the first counted dc, the center ch-2 space and the last dc. There are two granny groups and no ordinary ch-1 spaces yet.
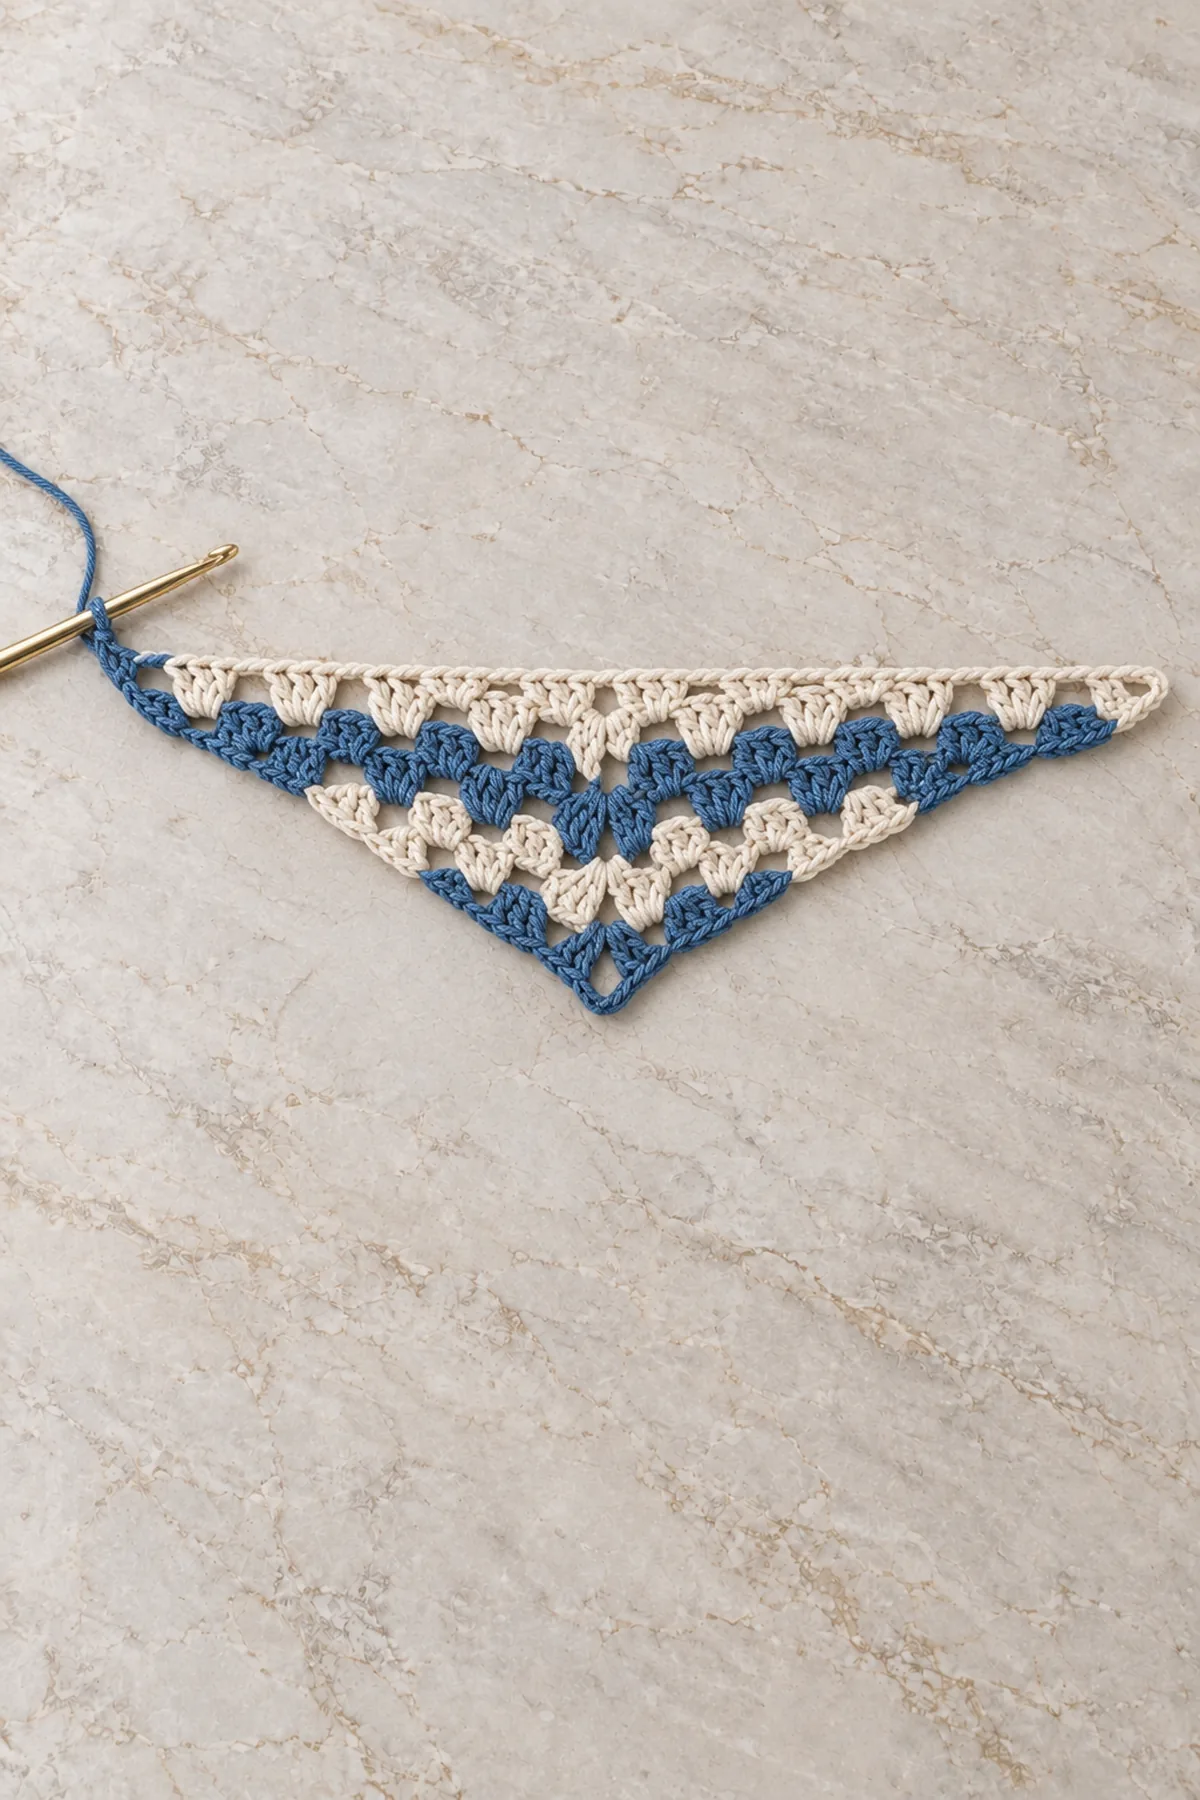
- Row 2, expanded edge row: ch 3, 2 dc in first dc, ch 1, 3 dc in that SAME first dc; ch 1; in center ch-2 space work [3 dc, ch 2, 3 dc]; ch 1; in last dc (top of previous ch 3) work [3 dc, ch 1, 3 dc]. Turn. (18 sts): six G, four ordinary ch-1 spaces and one center ch-2 space.
Alternate Edge Rows and Denim/Cream Bands
- Odd rows from Row 3: ch 3 and 2 dc in first dc; ch 1. Work [G in next ordinary ch-1 space, ch 1] until the center. Work [G, ch 2, G] in center. Ch 1; work [G in next ordinary ch-1 space, ch 1] along the second wing. G in last dc (top of the old turning ch 3). Turn. This row adds two groups total.
- Even rows from Row 4: ch 3 and 2 dc in first dc, ch 1, G in the SAME first dc, ch 1. Work [G in next ordinary ch-1 space, ch 1] to center. Work [G, ch 2, G] in center. Ch 1; work [G in next ordinary ch-1 space, ch 1] along second wing. In last dc work [G, ch 1, G]. Turn. This row adds four groups total.
- No stitches are worked into other old dc tops: the groups between the edges are worked only into spaces. There is one ch 1 between adjacent G except at the central ch-2 point. Each row has equal groups on both wings.
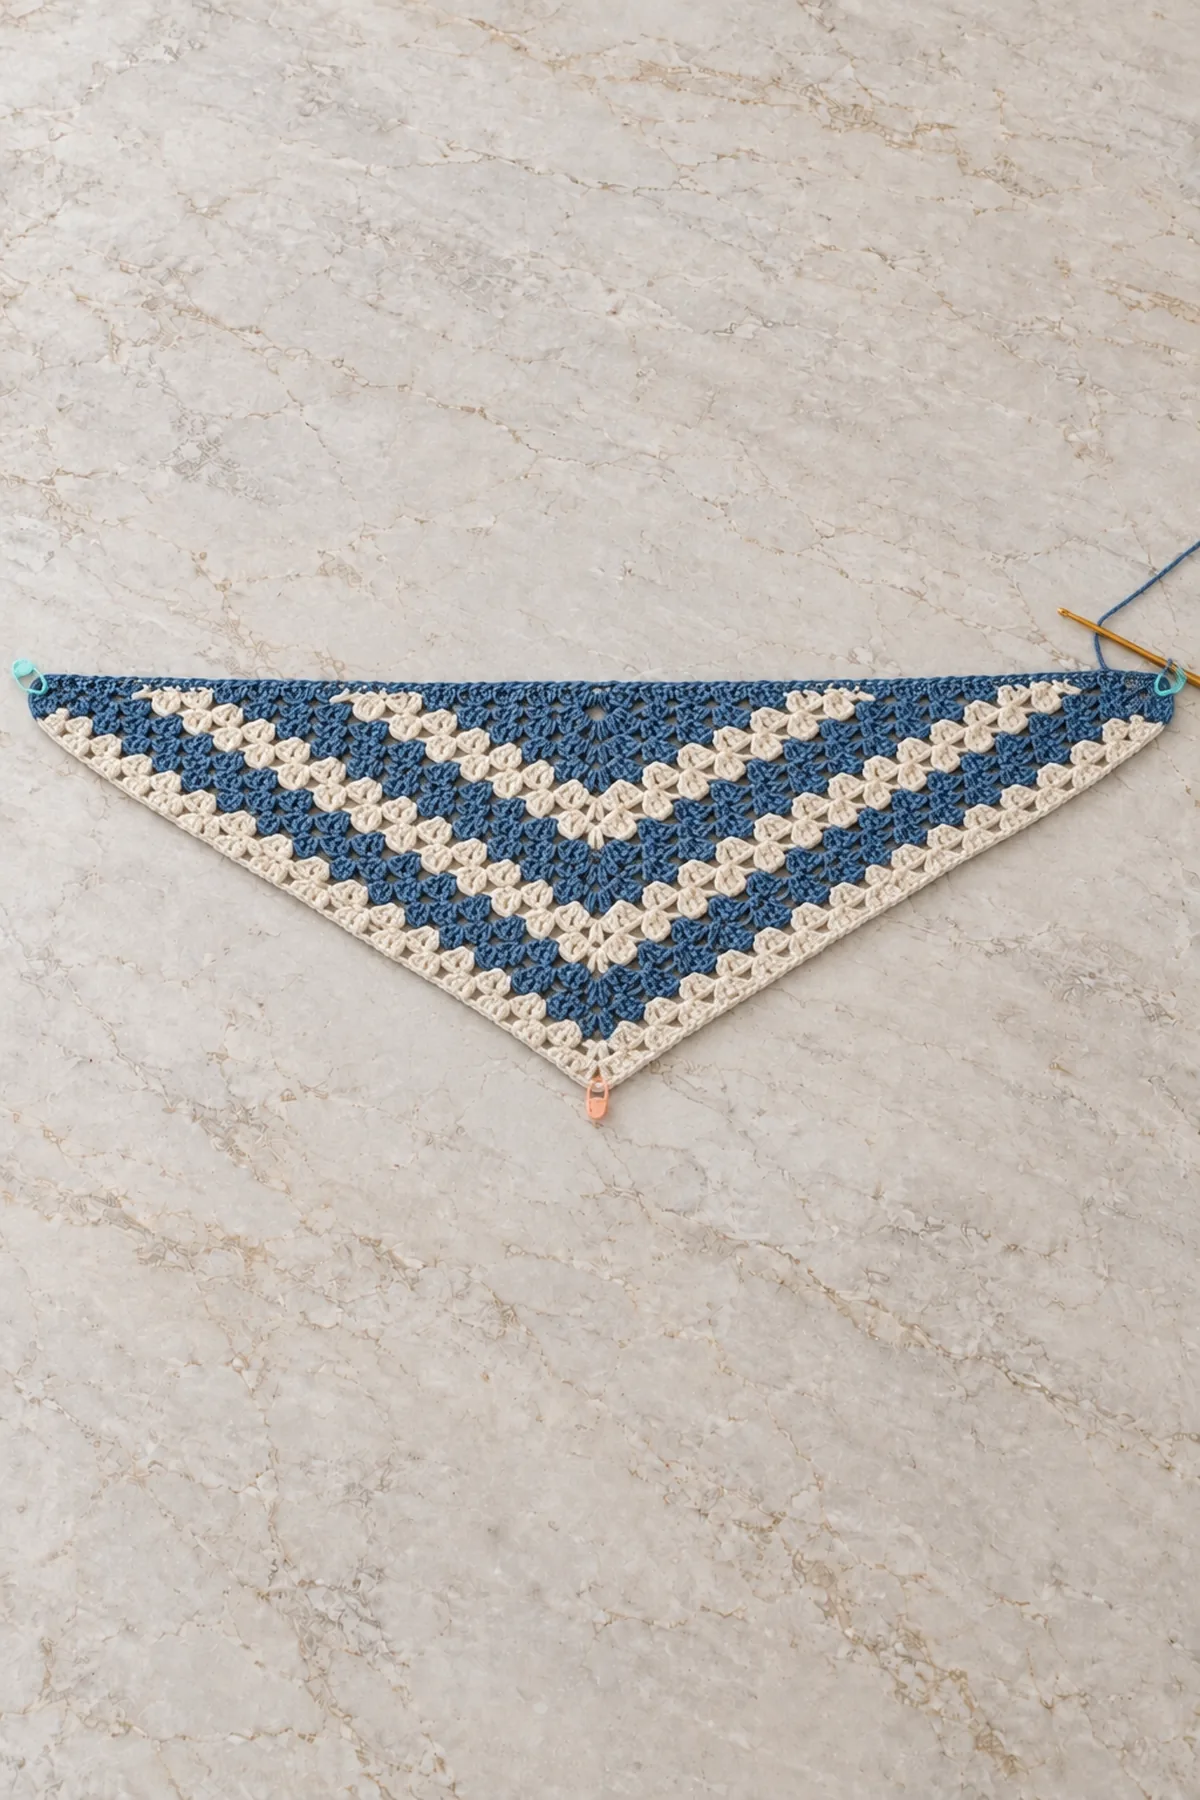
- Use denim for Rows 1-2, cream for Rows 3-4, and repeat those two-row bands. Change on the final yarn-over of the last dc before a new band; cut and weave each old color. Stop after Row 20, 24 or 28. The count table is also a written construction check; dc counts exclude all joining chains and spaces.
-
Row Color Granny groups Dc count, including turning ch 3 1 Denim 2 (6 sts) 2 Denim 6 (18 sts) 3 Cream 8 (24 sts) 4 Cream 12 (36 sts) 5 Denim 14 (42 sts) 6 Denim 18 (54 sts) 7 Cream 20 (60 sts) 8 Cream 24 (72 sts) 9 Denim 26 (78 sts) 10 Denim 30 (90 sts) 11 Cream 32 (96 sts) 12 Cream 36 (108 sts) 13 Denim 38 (114 sts) 14 Denim 42 (126 sts) 15 Cream 44 (132 sts) 16 Cream 48 (144 sts) 17 Denim 50 (150 sts) 18 Denim 54 (162 sts) 19 Cream 56 (168 sts) 20 Cream 60 (180 sts) 21 Denim 62 (186 sts) 22 Denim 66 (198 sts) 23 Cream 68 (204 sts) 24 Cream 72 (216 sts) 25 Denim 74 (222 sts) 26 Denim 78 (234 sts) 27 Cream 80 (240 sts) 28 Cream 84 (252 sts)
Add the Narrow Picot Edge
- Attach denim at one outer corner of the last row, RS facing. Ch 1 (does not count). Across every three-dc group work sc in first dc, sc in second dc, make one picot, sc in third dc. Work one sc into each ordinary ch-1 space.
- At the marked center ch-2 space work sc, sc with a picot, sc; continue across the second wing in the same way. Fasten off at the other outer corner. For 20 (24, 28) rows there are 60 (72, 84) groups, 58 (70, 82) ordinary ch-1 spaces and one center space. Border base sc total = 180+58+3 = 241 (289, 337). Picots = 61 (73, 85); picot chains/slip stitches do not increase the base count.
- For a clean upper neckline, attach denim at one upper outer corner. Work two sc around each dc row-end down to the starting ring, two sc in the ring, then two sc around each row-end out to the other upper corner. Do not work into the already edged last-row dc tops. This separate plain edge has 82 (98, 114) sc. Fasten off.
- Wash and block gently with the straight neck edge level, matched wings and the point centered. If the upper edge pulls tight, loosen that edge or use a larger hook for it; do not force the whole triangle to a nominal measurement.
Assembly and Shaping
No seaming is required. The initial ring lies at the middle of the straight upper neckline, not at the bottom point. Mark this top midpoint and the lower ch-2 point while blocking. Ease both wings into matching lengths and leave the open spaces airy. Wear the point down with the wings draped loosely, never tightly tied.
Use the project-specific finishing above. Do not join a scarf that is meant to stay open; only the infinity-loop and sleeve-wrap designs have the explicitly described seams.
Finishing
- Fasten off with a 6-inch tail; weave through three separate groups of stitches, changing direction twice.
- Damp-block gently according to the fiber label, check the intended shape, and dry fully before assembly or use.
- Inspect both sides, all joins, and every decorative attachment; resecure a loose stitch before gifting.
- Include the fiber content and washing instructions with the finished item. Keep the item away from candles and other heat sources.
For a polished result, weave each tail through several same-color stitches, reverse direction once, and trim only after the fabric has been gently stretched. Block to the listed dimensions without flattening textured stitches. Inspect joins, borders, straps, and decorative pieces before the project is used or gifted.
Helpful Tips
- Wash and dry the swatch before measuring; fiber and tension affect the drape.
- Use removable markers at both ends and a row tally for each color block.
- Check the shape on a flat surface after every color change rather than pulling an uneven edge into place.
- Keep the yarn label and your actual measurements with the finished project.
Good lighting and a contrasting stitch marker make counting much easier. If a section looks uneven, compare the current count with the previous checkpoint before continuing. Fixing one missed stitch early is faster than compensating later, and it preserves the measurements used by the assembly instructions.
Frequently Asked Questions
Can I change the colors?
Yes. Keep the yarn weight and fiber behavior consistent and use enough contrast for the decorative detail. Make a washed swatch with every major yarn substitution.
Is this pattern physically tested?
No physical sample test is claimed. The stitch counts are computationally checked and the written construction is reviewed. Make a gauge swatch, use the measurement checkpoints, and test fit or assembly before gifting.
Why does this use two kinds of edge row?
The double-group even rows add four groups while ordinary odd rows add two. That expands the wings faster than a conventional two-groups-per-row triangle. Keep both edge treatments symmetrical.
Conclusion
Keep the completed measurements and your yarn details with your pattern notes. The finished piece should match the described construction before it is styled or gifted. If a checkpoint does not match, correct the underlying count or gauge instead of concealing the difference during finishing.
BabyYarnie Printable Crochet Pattern Card
BabyYarnie — easy-to-follow crochet for everyday makers.
Project: Crochet Granny Stripe Triangle Scarf
Skill level: Intermediate Hook: 4 mm, adjusted to gauge Yarn: DK
Finished size: Middle planning target approximately 52-inch wingspan by 12-inch center depth before the narrow border; measure your own fabric
Card Materials
- Planning allowance for 24 rows: 230 yards denim and 210 yards cream matching DK yarn
- 4 mm hook; three markers; tapestry needle; scissors; tape measure
Card Instructions
- Start at the Upper Center: Row 1 has two groups; Row 2 has six groups, with double groups at both outer ends.
- Alternate Edge Rows and Denim/Cream Bands: Odd rows add two groups; even rows add four. Alternate two denim and two cream rows; middle size ends at Row 24 with 72 groups.
- Add the Narrow Picot Edge: Picots on the two lower edges; plain sc around the upper row-end neckline. Block gently with matched wings.
Finish: Check every count, weave in all ends, block to measurement, and inspect each join.