This original BabyYarnie no-sew crochet pumpkin garland cozy fall decor crochet tutorial is designed independently as a practical crochet baby project with explicit stitch counts, measured checkpoints, and clear finishing. The instructions use US terms and keep every construction decision visible so the finished piece can be checked before use or gifting.
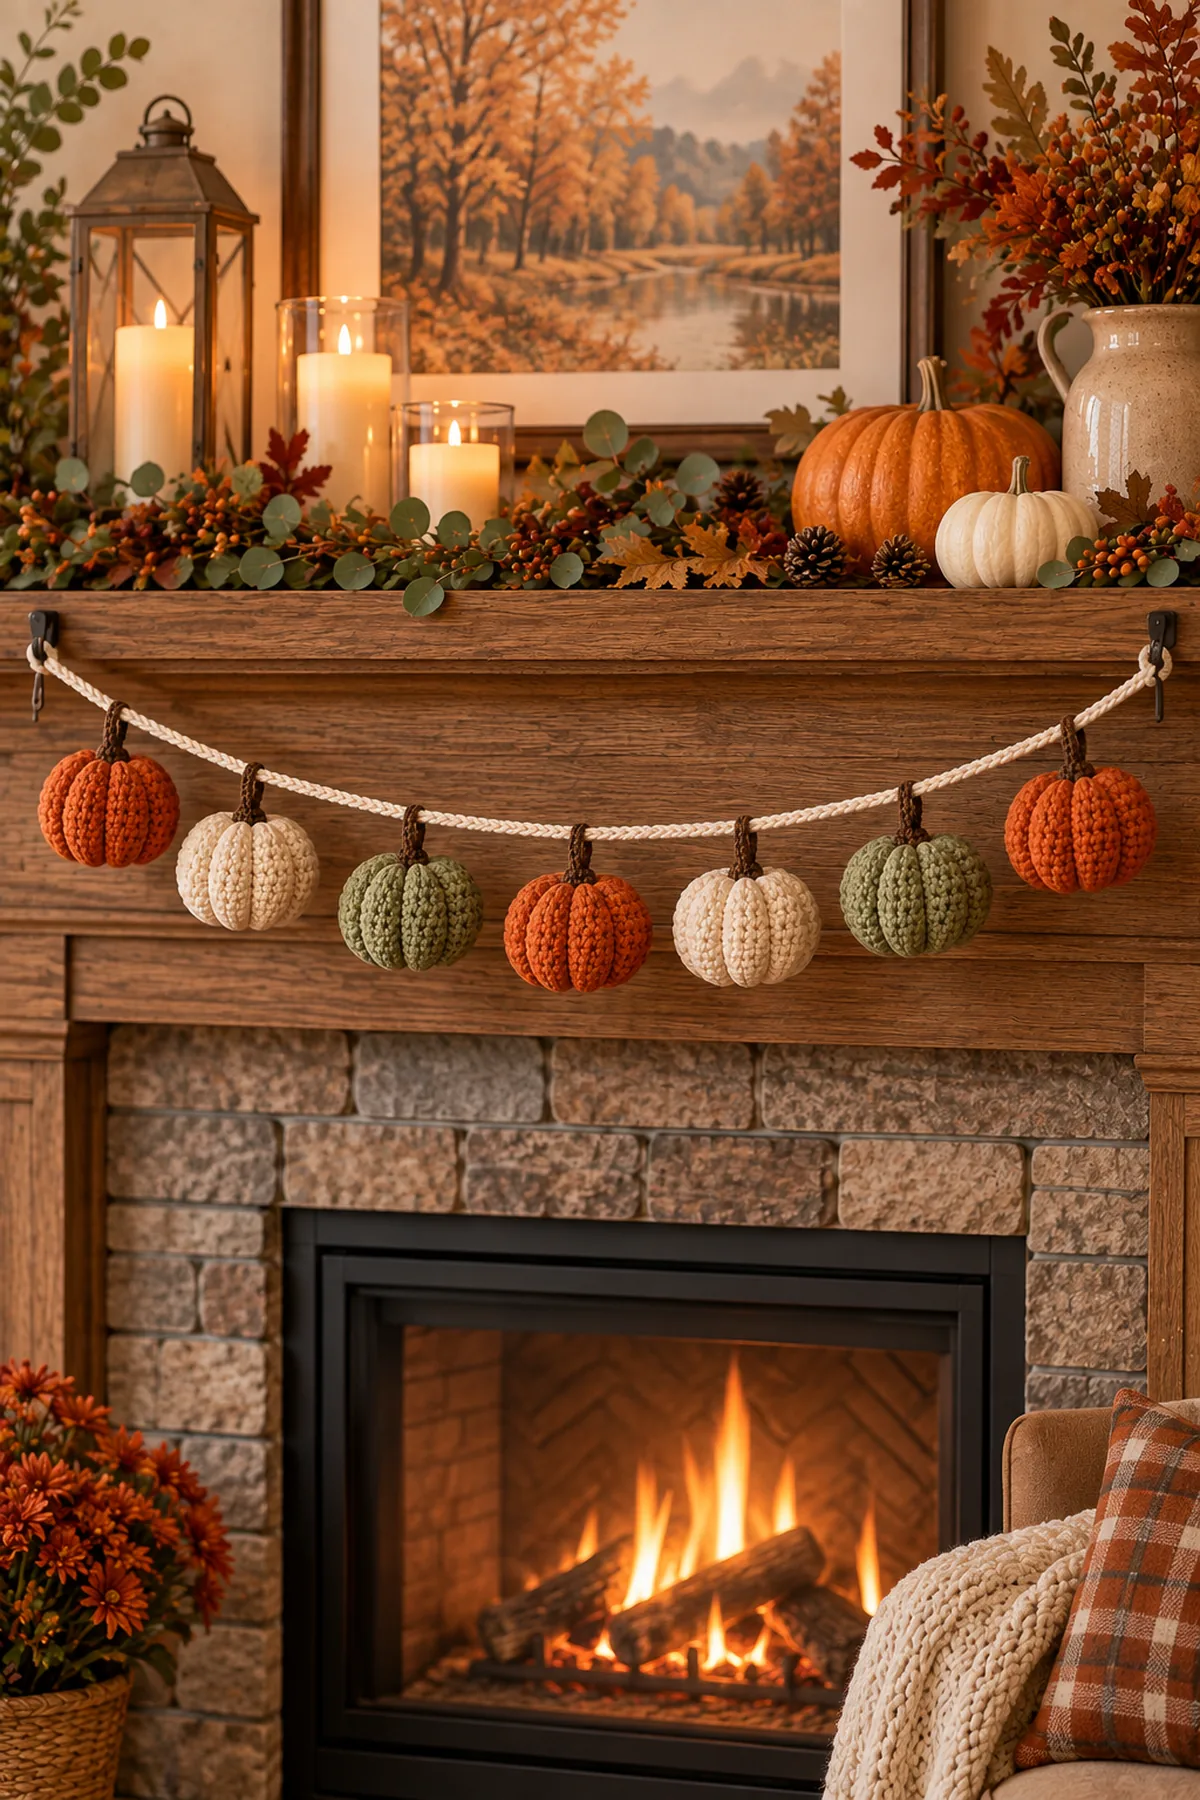
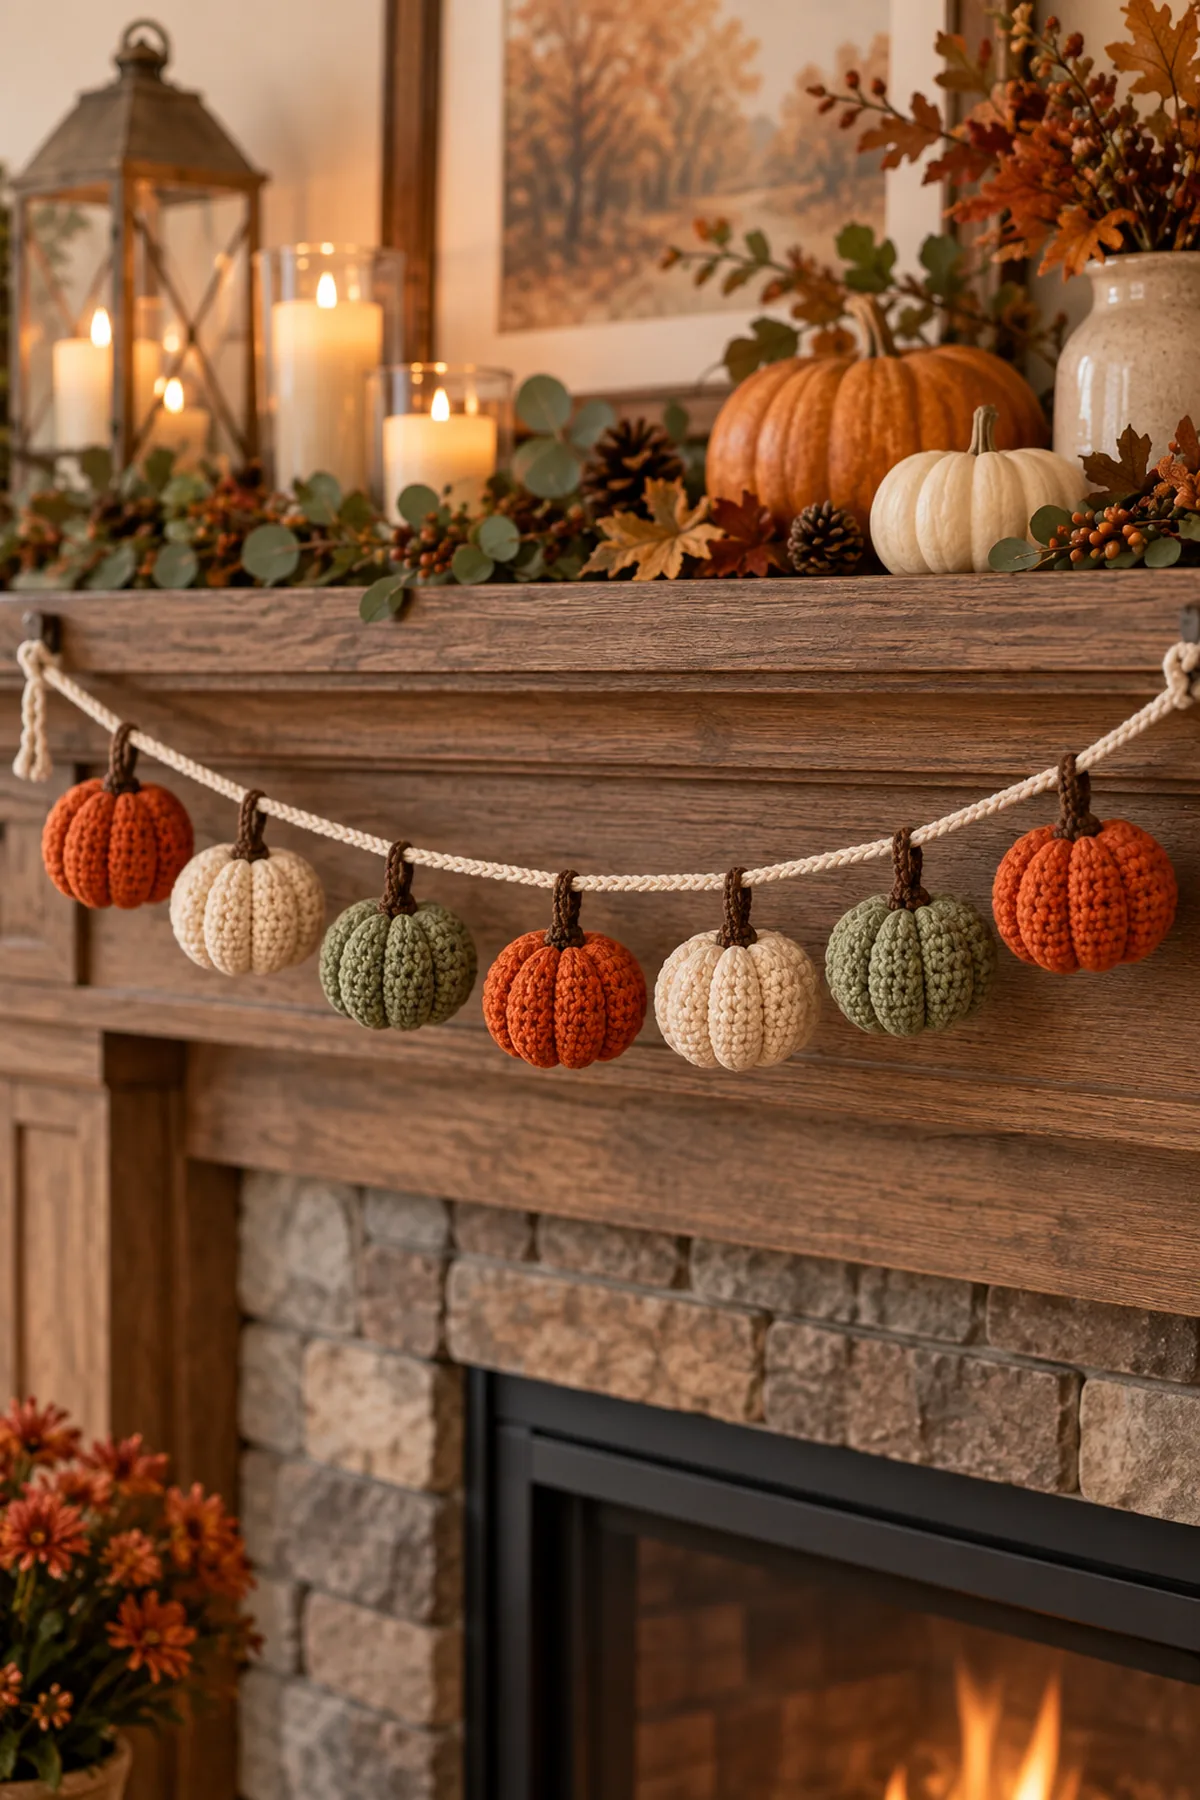
Every pumpkin is made as one continuous piece: the stem, hanging loop, ribbed body, and closing round are crocheted without separate appliques or sewn seams. The seven closed pumpkins clip onto a measured doubled cord with hook-worked slip stitches, creating a distinct all-pumpkin garland rather than the mixed ghost garland.
Pattern Details
- Hook Size: 4 mm
- Finished Size: Approximately 66-inch hanging span; seven pumpkins approximately 3 inches wide × 3.5 inches tall
- Gauge: 16 sc and 18 rounds = 4 inches in firm single crochet
- Terminology: US
- Estimated Time: 7–9 hours
- Construction: Seven one-piece 24-stitch stuffed pumpkins with integrated stems and hanging loops, joined by slip stitch to one 78-inch doubled cord with 6-inch end loops.
- Skill level: Easy
Why You’ll Love This Project
The construction is repetitive enough for a relaxed crochet session while the measured checkpoints help prevent size drift. A washable, smooth yarn keeps the stitches easy to inspect and gives the finished baby project a soft, tidy appearance.
Materials
- Approximately 150 yards burnt-orange worsted-weight cotton yarn
- Approximately 100 yards warm-cream worsted-weight cotton yarn
- Approximately 100 yards muted-sage worsted-weight cotton yarn
- Approximately 45 yards brown worsted-weight cotton yarn
- Approximately 120 yards cream worsted-weight cotton yarn for the cord
- 4 mm crochet hook
- Washable polyester stuffing
- Ten locking stitch markers
- Tape measure and scissors
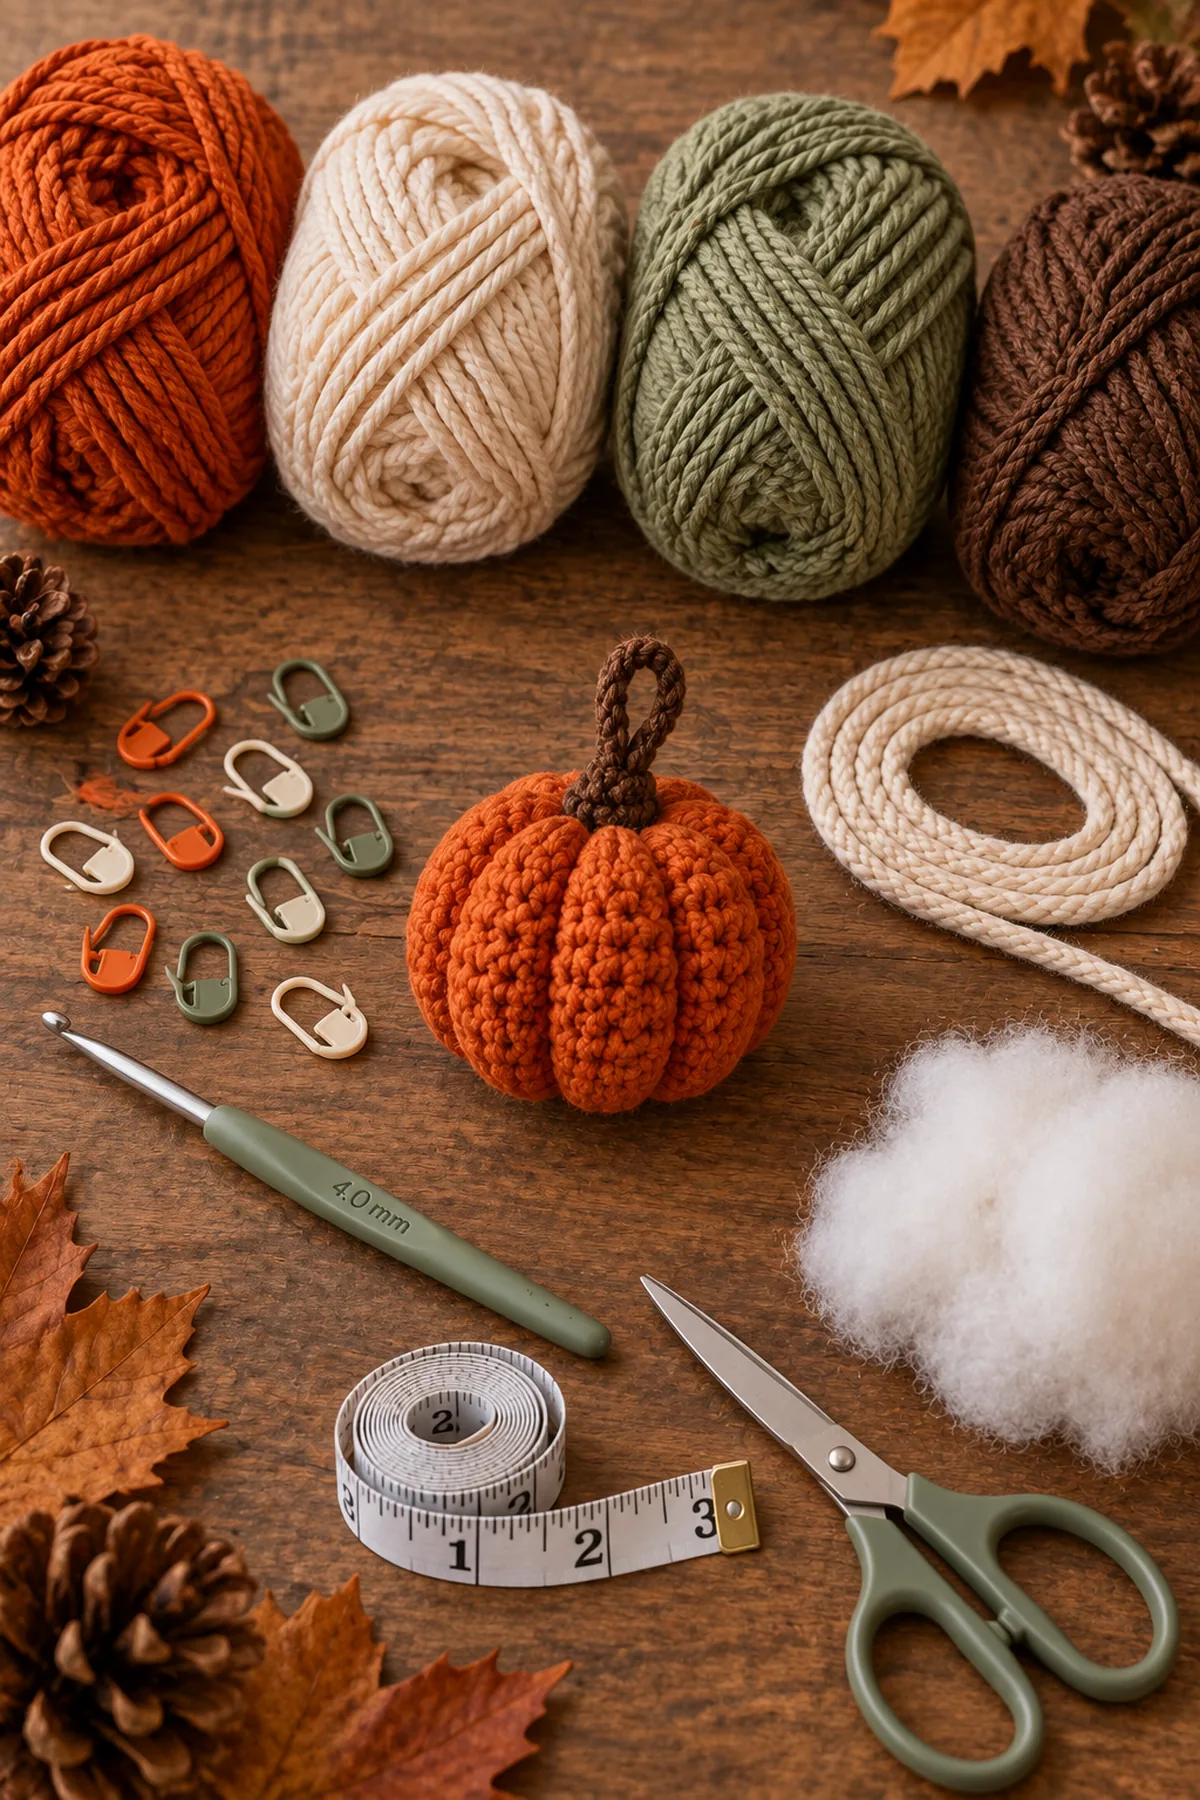
Gauge, Measurements, and Planning
A completed 24-stitch body round should measure about 6 inches around. Keep every pumpkin between 2.75 and 3.25 inches wide and measure the cord only after it has relaxed flat.
Make and wash a gauge swatch before beginning. Measure only after the swatch is completely dry. If the stitch width differs, change hook size rather than pulling the working yarn tighter. Keep a written count at the end of every section so the finished edges remain balanced and the assembly points line up.
Abbreviations and Special Stitches
- ch: chain
- sc: single crochet
- sl st: slip stitch
- st(s): stitch(es)
- rnd: round
- inc: work 2 sc in one stitch
- dec: single crochet two together
- FPsc: front-post single crochet around the marked stitch below
Special stitch guidance: Relief rib column: work one FPsc around the marked stitch directly below, then continue in the next unworked top loops. Hook-only closure: cut a long tail, pull it through the six remaining loops with the crochet hook, tighten, and work the tail back through several stitches with the hook.
Important Notes
- Decorative hanging item only. Install securely and completely out of reach of babies and young children; never place inside or directly over a crib, bed, changing surface, or play area.
- No sewing needle, beads, buttons, bells, wire, glue, or detachable embellishments are used.
- Keep the six rib markers vertically aligned on every pumpkin.
- Stuff each pumpkin before the final two decrease rounds.
- Pull-test both end loops, all seven pumpkin loops, and every slip-stitch attachment before display.
Complete Instructions for No-Sew Crochet Pumpkin Garland Cozy Fall Decor Crochet Tutorial
Crochet Seven One-Piece Pumpkins
Make three burnt-orange, two warm-cream, and two muted-sage pumpkins. Begin at the integrated brown stem and continue without fastening off between stem and body.
- Stem Rnd 1: With brown, make 6 sc in a magic ring. (6 sts)
- Stem Rnds 2–4: Sc in every stitch. (6 sts)
- Integrated hanging loop: Ch 10, sl st to the stem base, then sl st along the chain back to the working loop. Change to pumpkin color without cutting brown.
- Body Rnd 1: Working around the stem base with pumpkin color, inc in every stitch. (12 sts)
- Body Rnd 2: Repeat [sc, inc] 6 times. (18 sts)
- Body Rnd 3: Repeat [sc in next 2 stitches, inc] 6 times. (24 sts) Place six rib markers every fourth stitch.
- Body Rnds 4–10: Repeat [sc in next 3 stitches, FPsc around the marked stitch below] 6 times, moving each marker into the new relief stitch. (24 sts)
- Body Rnd 11: Repeat [sc in next 2 stitches, dec] 6 times. (18 sts)
- Body Rnd 12: Repeat [sc, dec] 6 times. (12 sts) Stuff firmly.
- Body Rnd 13: Dec 6 times. Cut a long tail and use the hook-only closure to tighten and bury it. (6 sts)
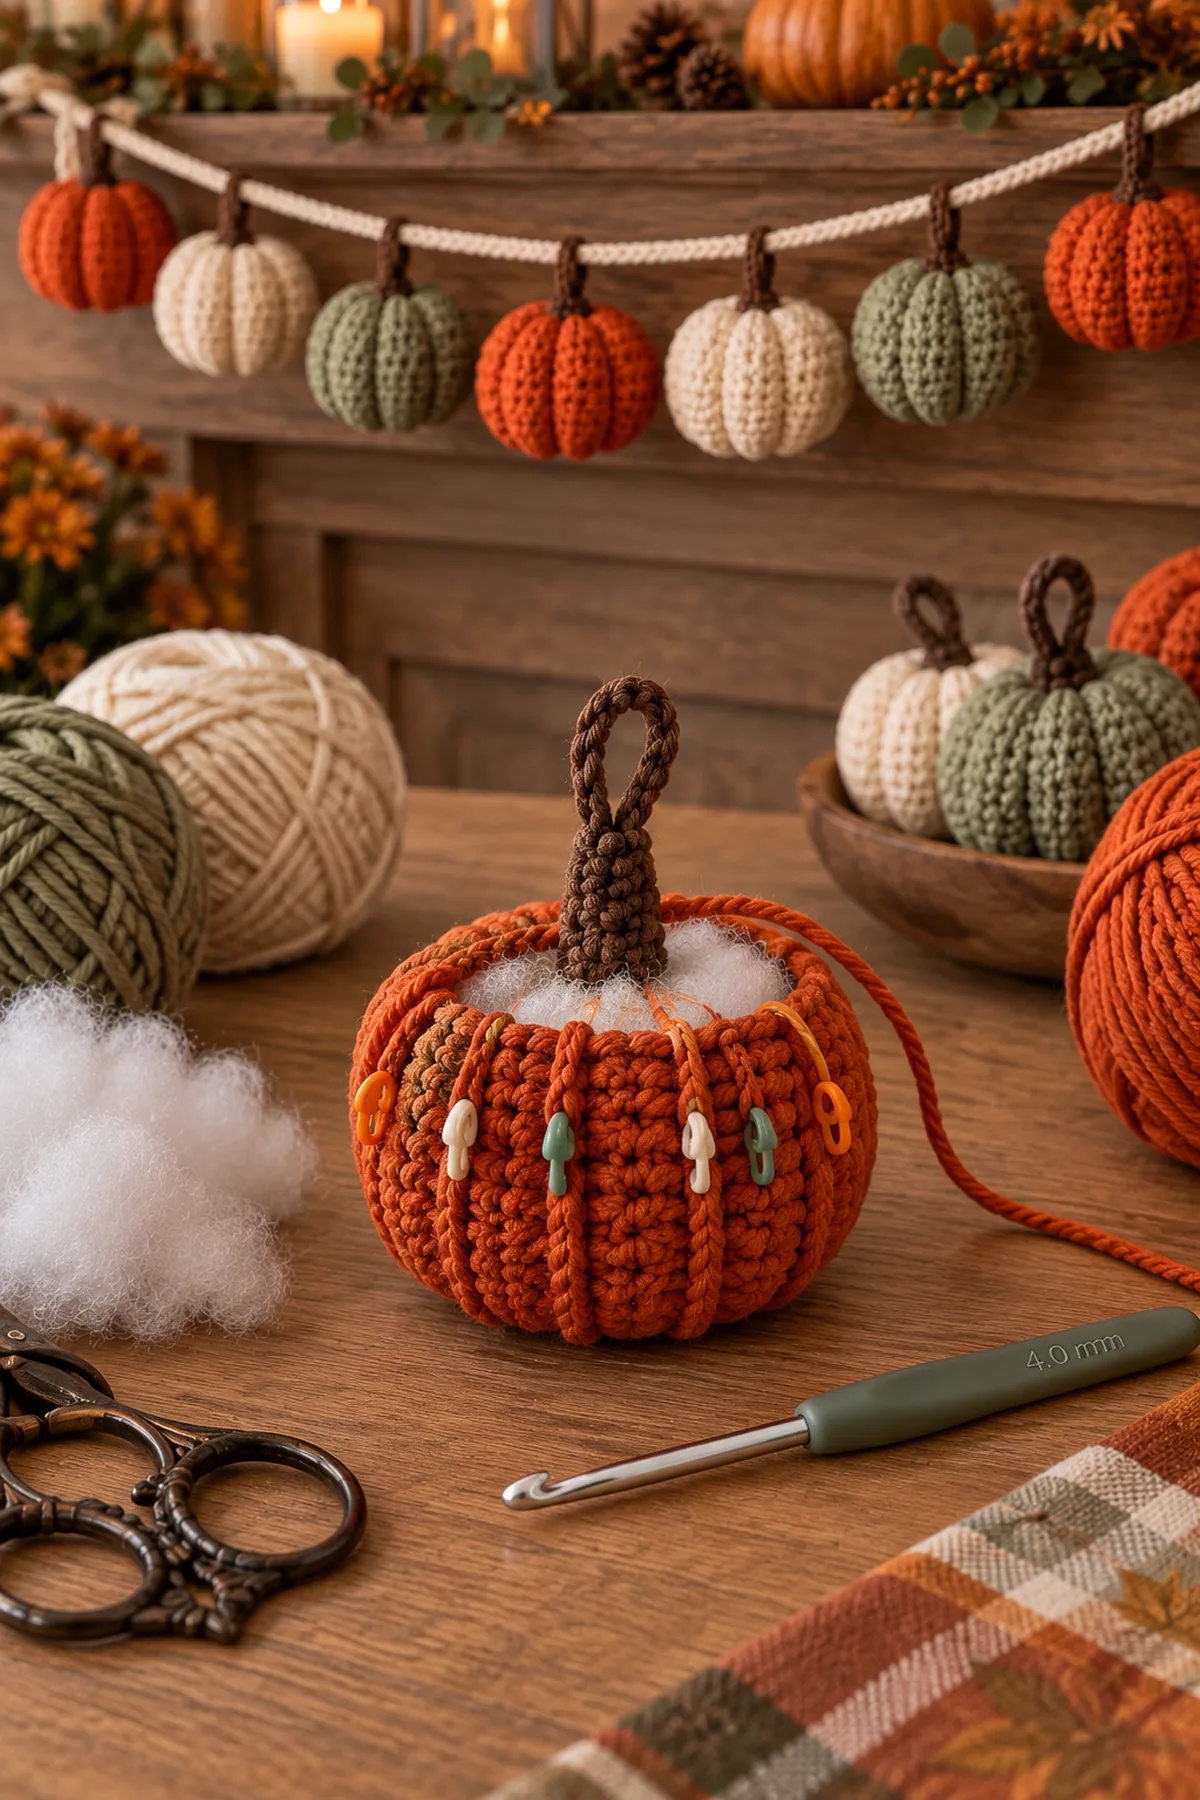
Make the Doubled Garland Cord
The return row turns a simple chain into a firm cord without sewing.
- With cream, chain until the relaxed chain measures 78 inches.
- Beginning in the second chain, sl st in every chain back to the start to create a doubled cord.
- At each end, chain 12, join to the cord with a slip stitch, and slip stitch back around the loop to form a closed 6-inch hanging loop.
- Lay the cord flat and mark seven attachment positions across the 66-inch hanging span, spacing the centers 10 inches apart with approximately 3 inches clear at each end.
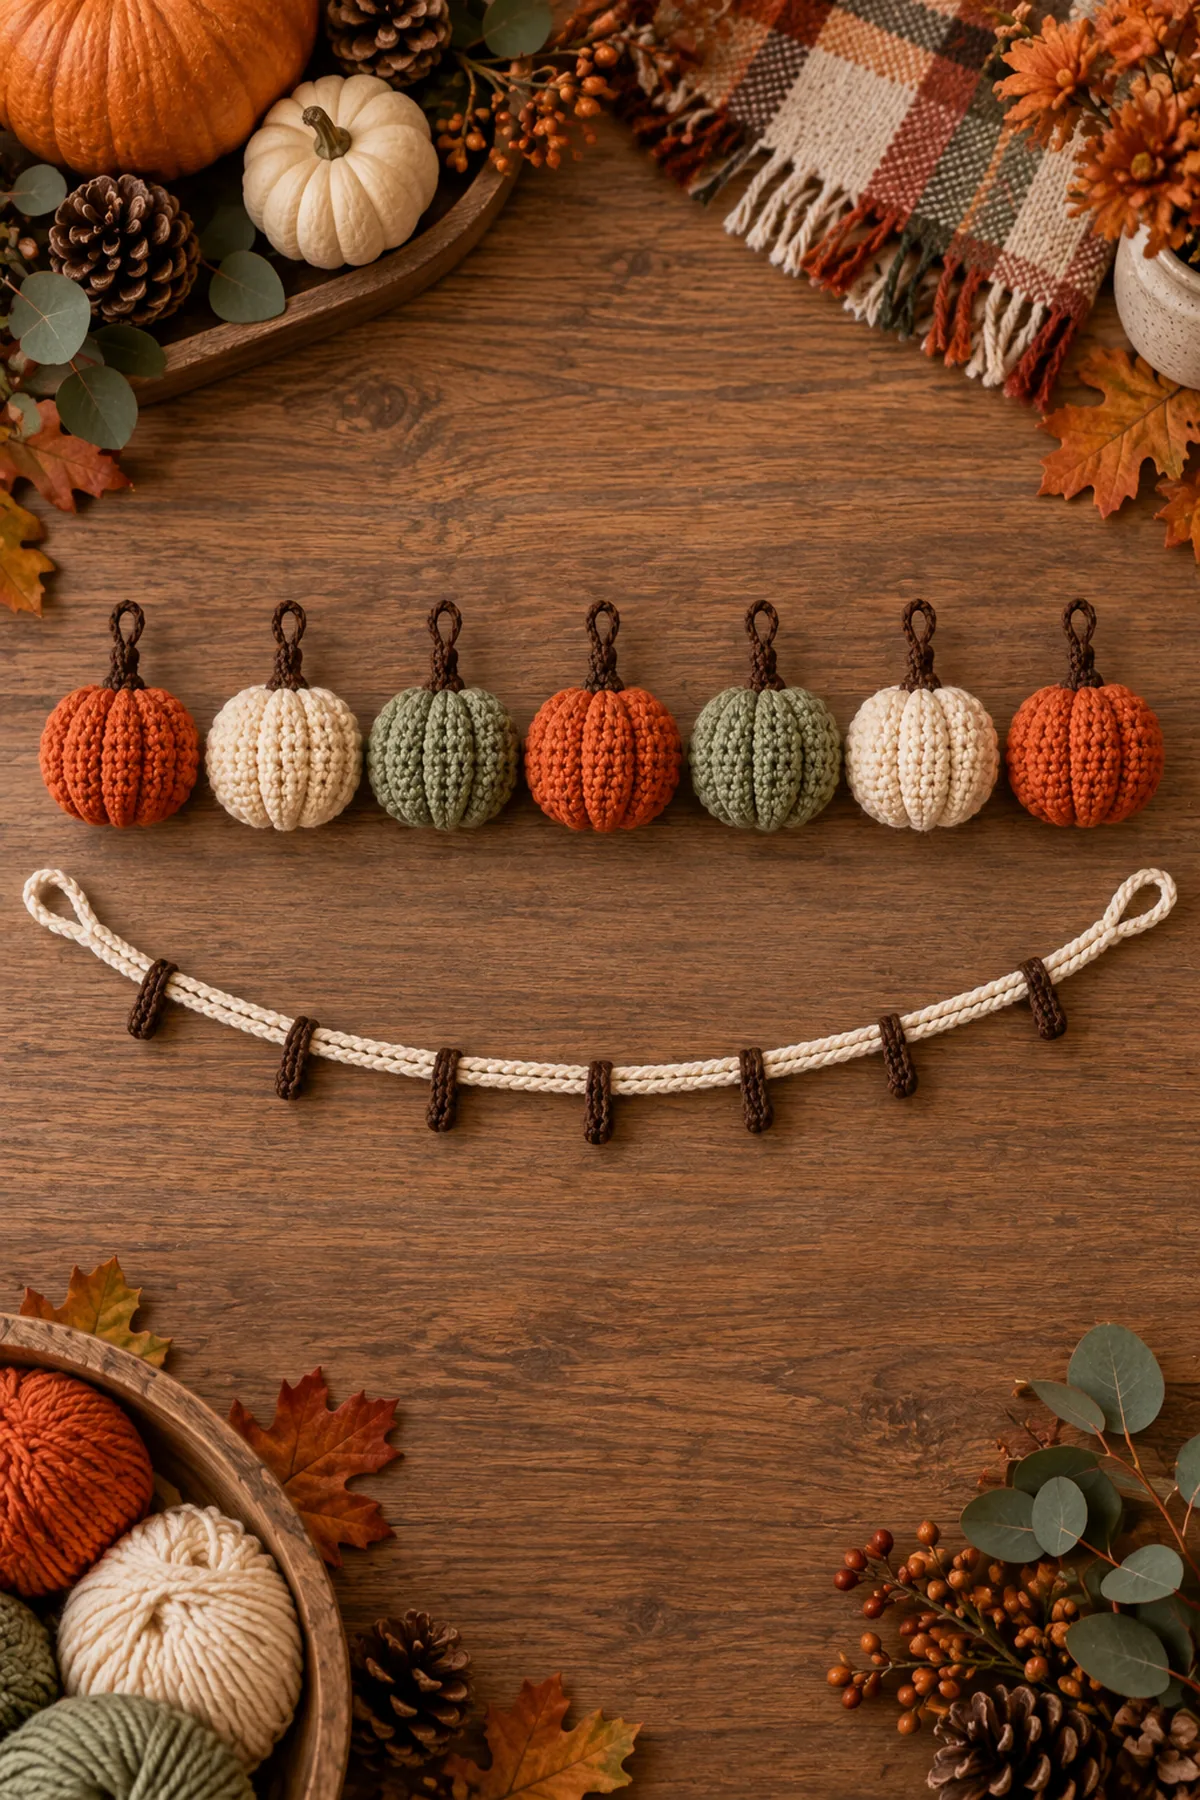
Attach Every Pumpkin Without Sewing
Use the integrated pumpkin loops and the working hook only.
- Arrange the colors in this order: orange, cream, sage, orange, sage, cream, orange.
- At the first marker, insert the hook through the doubled cord and the pumpkin’s integrated hanging loop, draw up cream yarn, and work 4 tight slip stitches around both layers.
- Fasten the attachment tail with two hook-worked locking slip stitches, then use the hook to pull both ends through at least six cord stitches.
- Repeat at all seven marked positions, checking that every stem faces upward and every pumpkin hangs at the same height.
Block, Test, and Safely Display
Finish the garland flat before installing it.
- Roll each pumpkin gently between both hands to distribute stuffing and sharpen the six relief ribs.
- Measure the completed decorated span and adjust only by sliding an attachment before its ends are fully buried.
- Pull firmly on both end loops and every pumpkin attachment; rework any loose slip stitch.
- Install on two wall-rated closed hooks, keep the cord taut, and display only where children cannot reach it.
Assembly and Shaping
Seven integrated pumpkin hanging loops are secured directly to the doubled cord with four hook-worked slip stitches at each measured point. No separate stem, leaf, applique, or sewn join is used.
Lay every component on a flat surface before joining. Match the marked centers first, then divide each remaining edge into equal sections. Work through both layers with consistent tension and pause after each section to check that the fabric lies flat. This measured approach prevents twisting and keeps decorative details facing the intended direction.
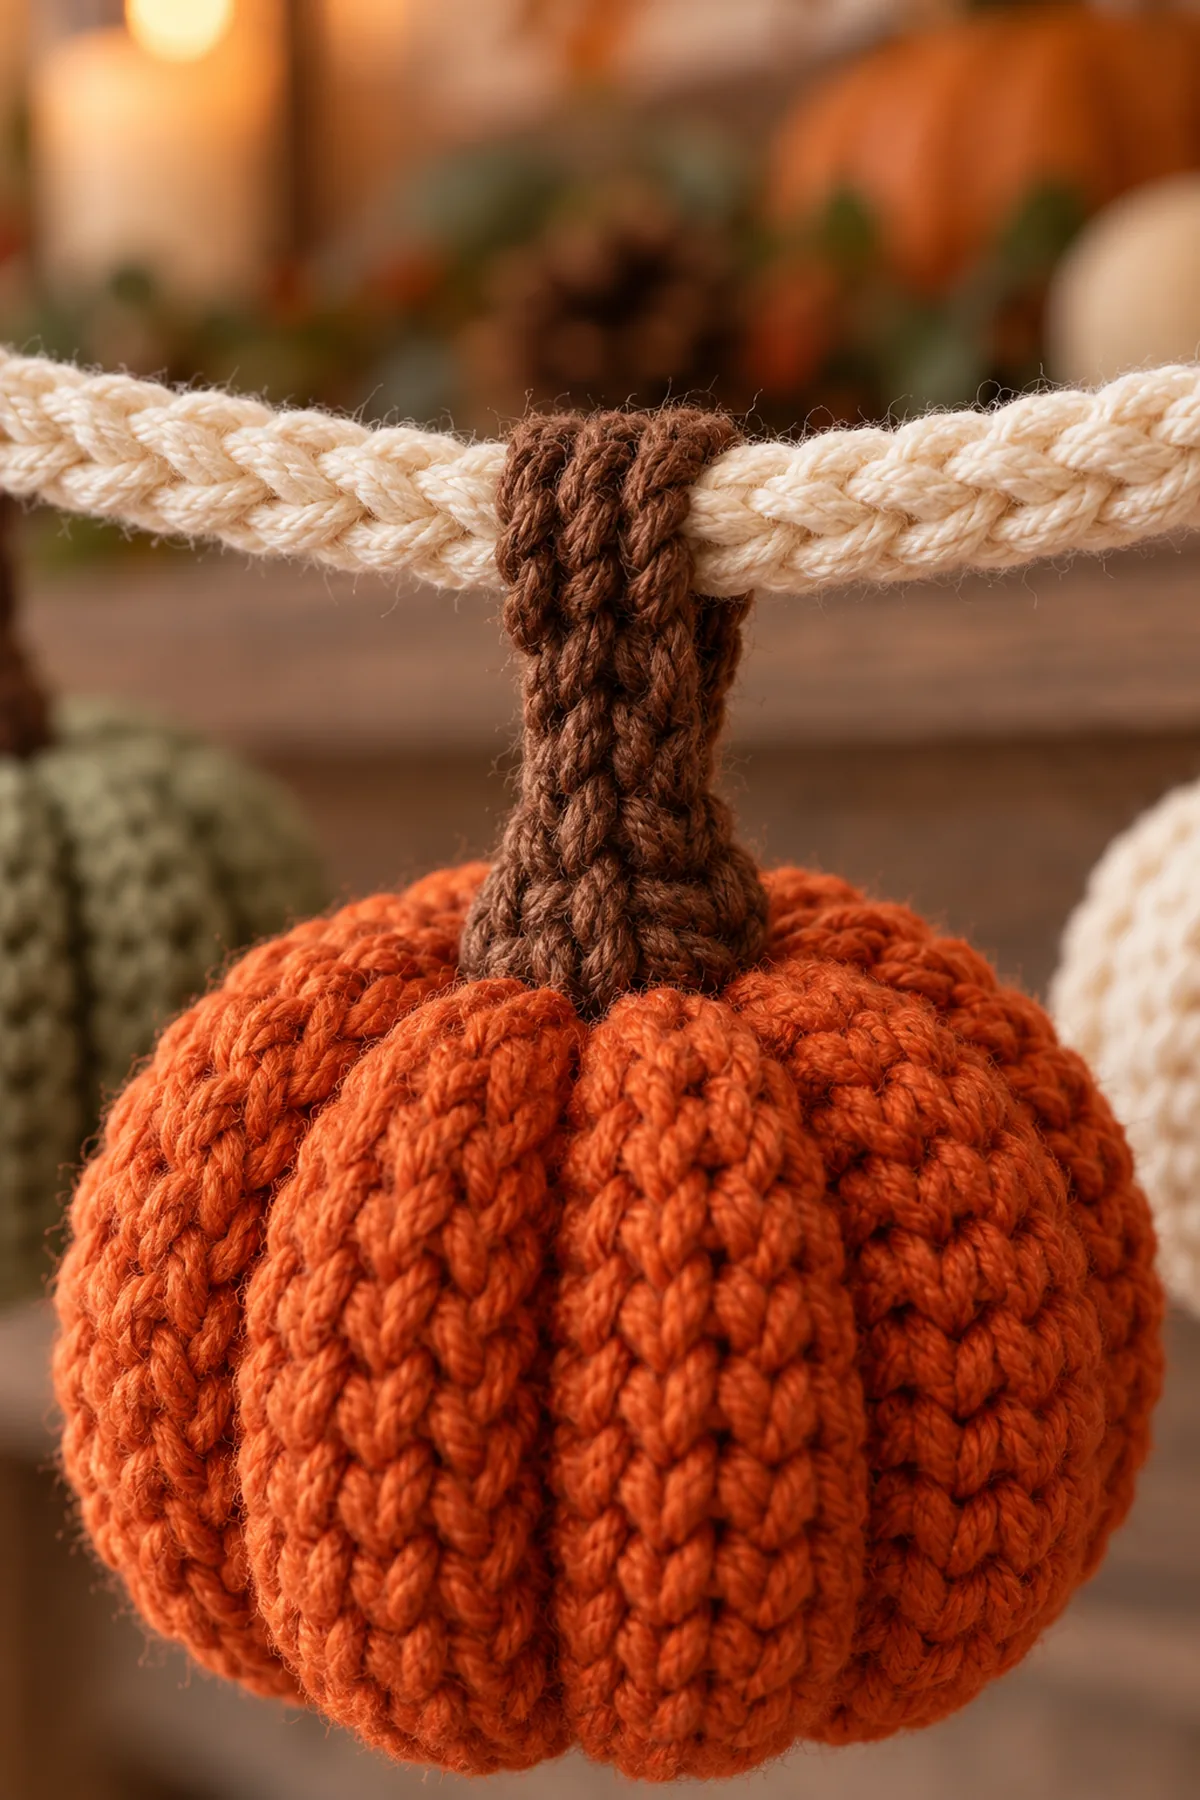
Finishing
- Use the crochet hook to pull every tail through at least six same-color stitches.
- Check that no stuffing shows through the closed bases.
- Steam lightly without touching the yarn if needed.
- Inspect both end loops and all seven attachments before every seasonal display.
For a polished result, weave each tail through several same-color stitches, reverse direction once, and trim only after the fabric has been gently stretched. Block to the listed dimensions without flattening textured stitches. Inspect joins, borders, straps, and decorative pieces before the project is used or gifted.
Helpful Tips
- Work all stems first while the brown yarn is available.
- Move the six rib markers on every round so the relief columns stay vertical.
- Use identical stuffing weights for an even hanging line.
- Mark the cord on a flat measured surface before attaching the first pumpkin.
Good lighting and a contrasting stitch marker make counting much easier. If a section looks uneven, compare the current count with the previous checkpoint before continuing. Fixing one missed stitch early is faster than compensating later, and it preserves the measurements used by the assembly instructions.
Frequently Asked Questions
Is the garland truly no-sew?
Yes. Each pumpkin is continuous, its hanger is integrated, the base closes with the crochet hook, and every motif attaches to the cord with slip stitches.
Can this hang above a crib?
No. This is decorative hanging decor and must remain completely out of reach and never inside or directly over a crib or other child space.
Can I change the number of pumpkins?
Yes. Keep at least 8–10 inches between centers and recalculate the marked display span before attaching them.
Conclusion
The completed no-sew pumpkin garland balances seven softly ribbed one-piece pumpkins across a measured cream cord. Integrated stems, hanging loops, hook-only closures, and slip-stitch attachments keep the entire construction needle-free and easy to inspect.
BabyYarnie Printable Crochet Pattern Card
BabyYarnie — easy-to-follow baby crochet for everyday makers.
Project: No-Sew Crochet Pumpkin Garland Cozy Fall Decor Crochet Tutorial
Skill level: Easy Hook: 4 mm Yarn: Worsted
Finished size: Approximately 66-inch hanging span; seven pumpkins approximately 3 inches wide × 3.5 inches tall
Card Materials
- Approximately 150 yards burnt-orange worsted-weight cotton yarn
- Approximately 100 yards warm-cream worsted-weight cotton yarn
- Approximately 100 yards muted-sage worsted-weight cotton yarn
- Approximately 45 yards brown worsted-weight cotton yarn
- Approximately 120 yards cream worsted-weight cotton yarn for the cord
- 4 mm crochet hook
- Washable polyester stuffing
- Ten locking stitch markers
- Tape measure and scissors
Card Instructions
- Crochet Seven One-Piece Pumpkins: Work seven continuous pumpkins from six-stitch brown stems through 24-stitch relief-rib bodies, then stuff, decrease, and close with the hook.
- Make the Doubled Garland Cord: Make a 78-inch slip-stitched cord with two reinforced 6-inch end loops and seven marked attachment points.
- Attach Every Pumpkin Without Sewing: Attach the seven integrated hanging loops directly to the marked doubled cord with four locking slip stitches each; no sewing needle is needed.
- Block, Test, and Safely Display: Shape the seven pumpkins, confirm the 66-inch span, pull-test all nine load points, and install beyond children’s reach.
Finish: Check every count, weave in all ends, block to measurement, and inspect each join.