This original BabyYarnie easy crochet foldover baby slippers is designed independently as a practical crochet baby project with explicit stitch counts, measured checkpoints, and clear finishing. The instructions use US terms and keep every construction decision visible so the finished piece can be checked before use or gifting.
Each slipper begins around both sides of a short foundation chain. Even end increases form the sole, counted decreases shape the toe while the heel stays full, and a flexible ribbed cuff folds outward without buttons, ties, or hard trim.
Why You’ll Love This Project
The construction is repetitive enough for a relaxed crochet session while the measured checkpoints help prevent size drift. A washable, smooth yarn keeps the stitches easy to inspect and gives the finished baby project a soft, tidy appearance.
Materials
- Approximately 120 yards soft washable DK yarn in cream
- Approximately 25 yards soft washable DK yarn in sage
- 3.5 mm crochet hook
- Four locking stitch markers
- Tape measure
- Yarn needle
- Scissors
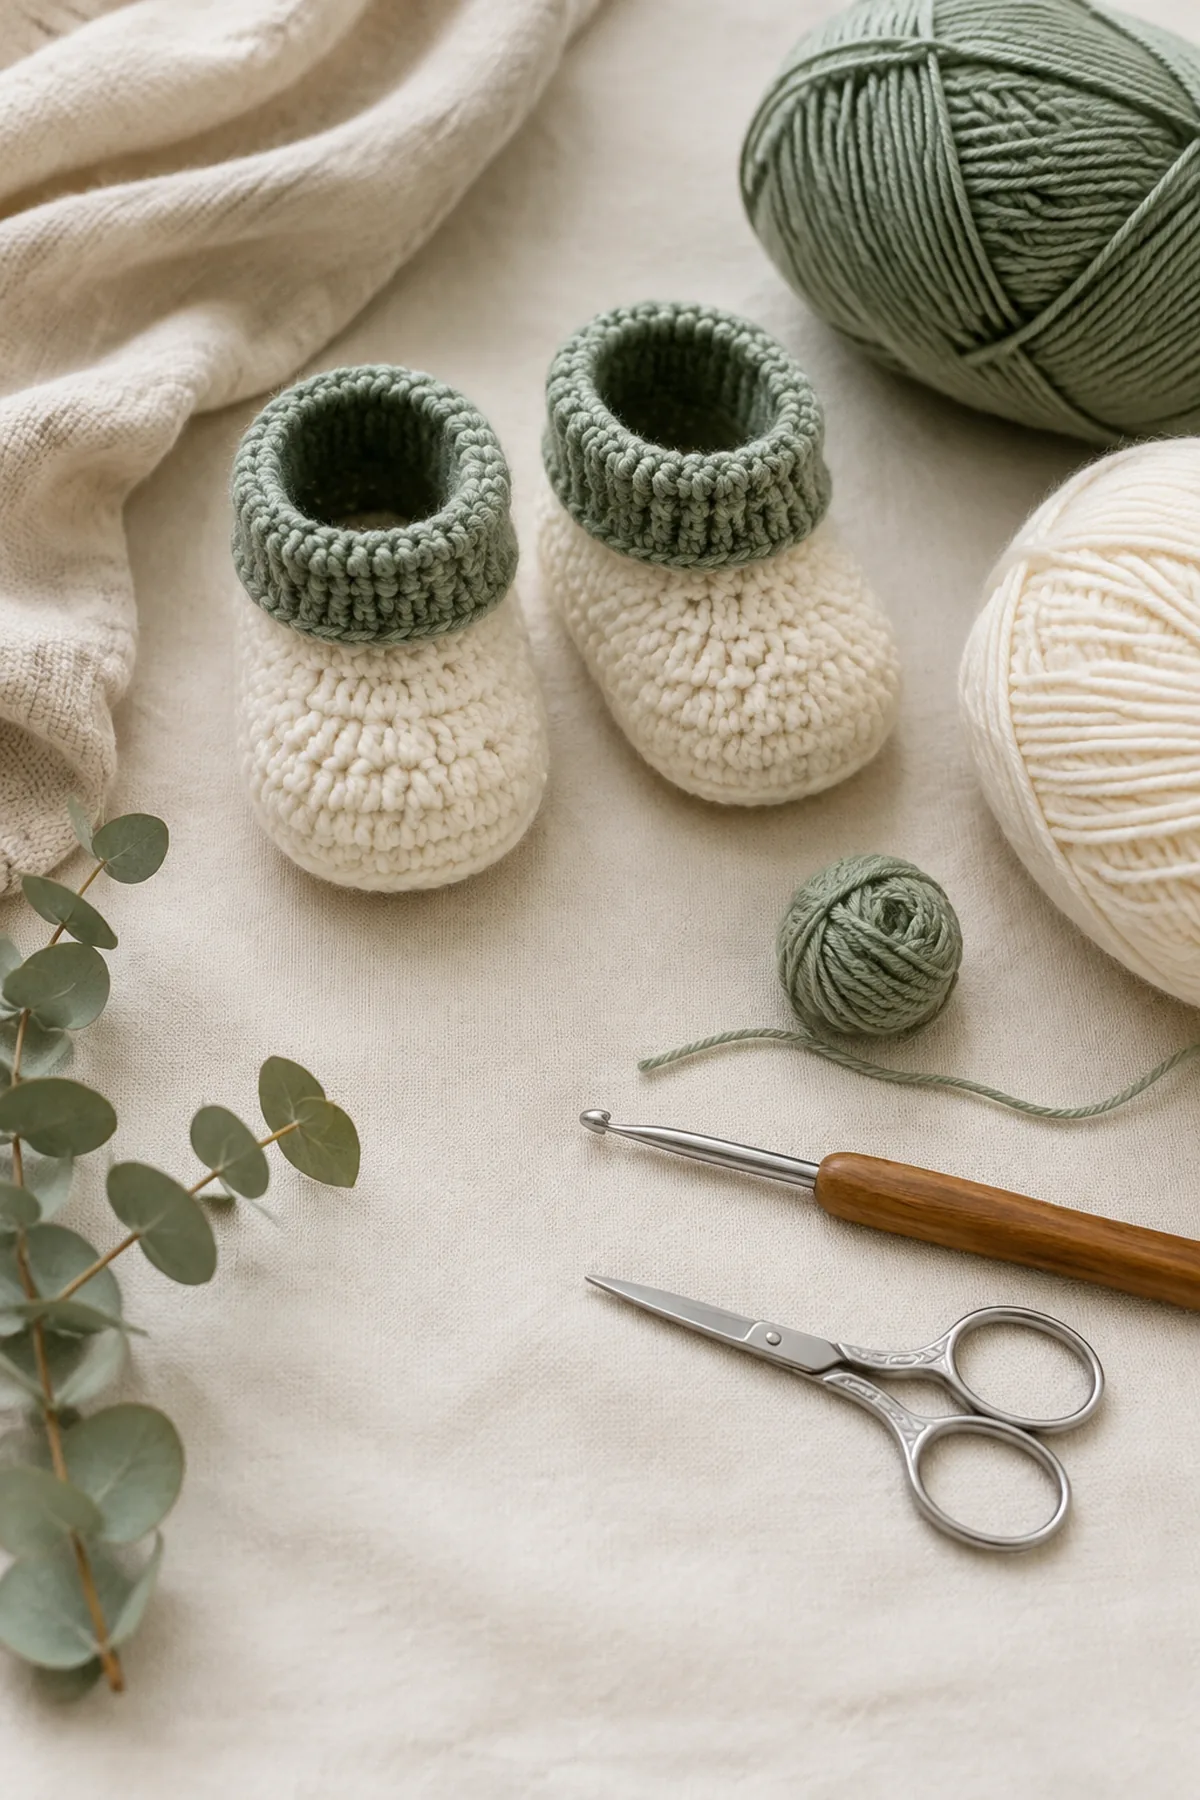
Gauge, Measurements, and Planning
Measure the first washed sole before beginning the upper. It should be about 3.5 inches long and 1.75 inches wide; change hook size before making the second slipper if either measurement differs.
Make and wash a gauge swatch before beginning. Measure only after the swatch is completely dry. If the stitch width differs, change hook size rather than pulling the working yarn tighter. Keep a written count at the end of every section so the finished edges remain balanced and the assembly points line up.
Abbreviations and Special Stitches
- ch: chain
- sc: single crochet
- hdc: half double crochet
- sl st: slip stitch
- st(s): stitch(es)
- rnd: round
Special stitch guidance: For an invisible finish, complete the final yarn-over with the new color, keep both strands secure on the wrong side, and never carry long loose floats in a baby item.
Important Notes
- Use smooth, washable yarn that is appropriate for sensitive skin and check the care label before gifting.
- Beginning chains do not count as stitches unless a step explicitly says that they do.
- Count every row or round and move the first-stitch marker before continuing.
- Avoid loose buttons, beads, long ties, or unsecured embellishments on items intended for babies.
- Crocheted items are not a substitute for current safe-sleep guidance; supervise use whenever the project type requires it.
Complete Instructions for Easy Crochet Foldover Baby Slippers
Crochet the Sole and Heel
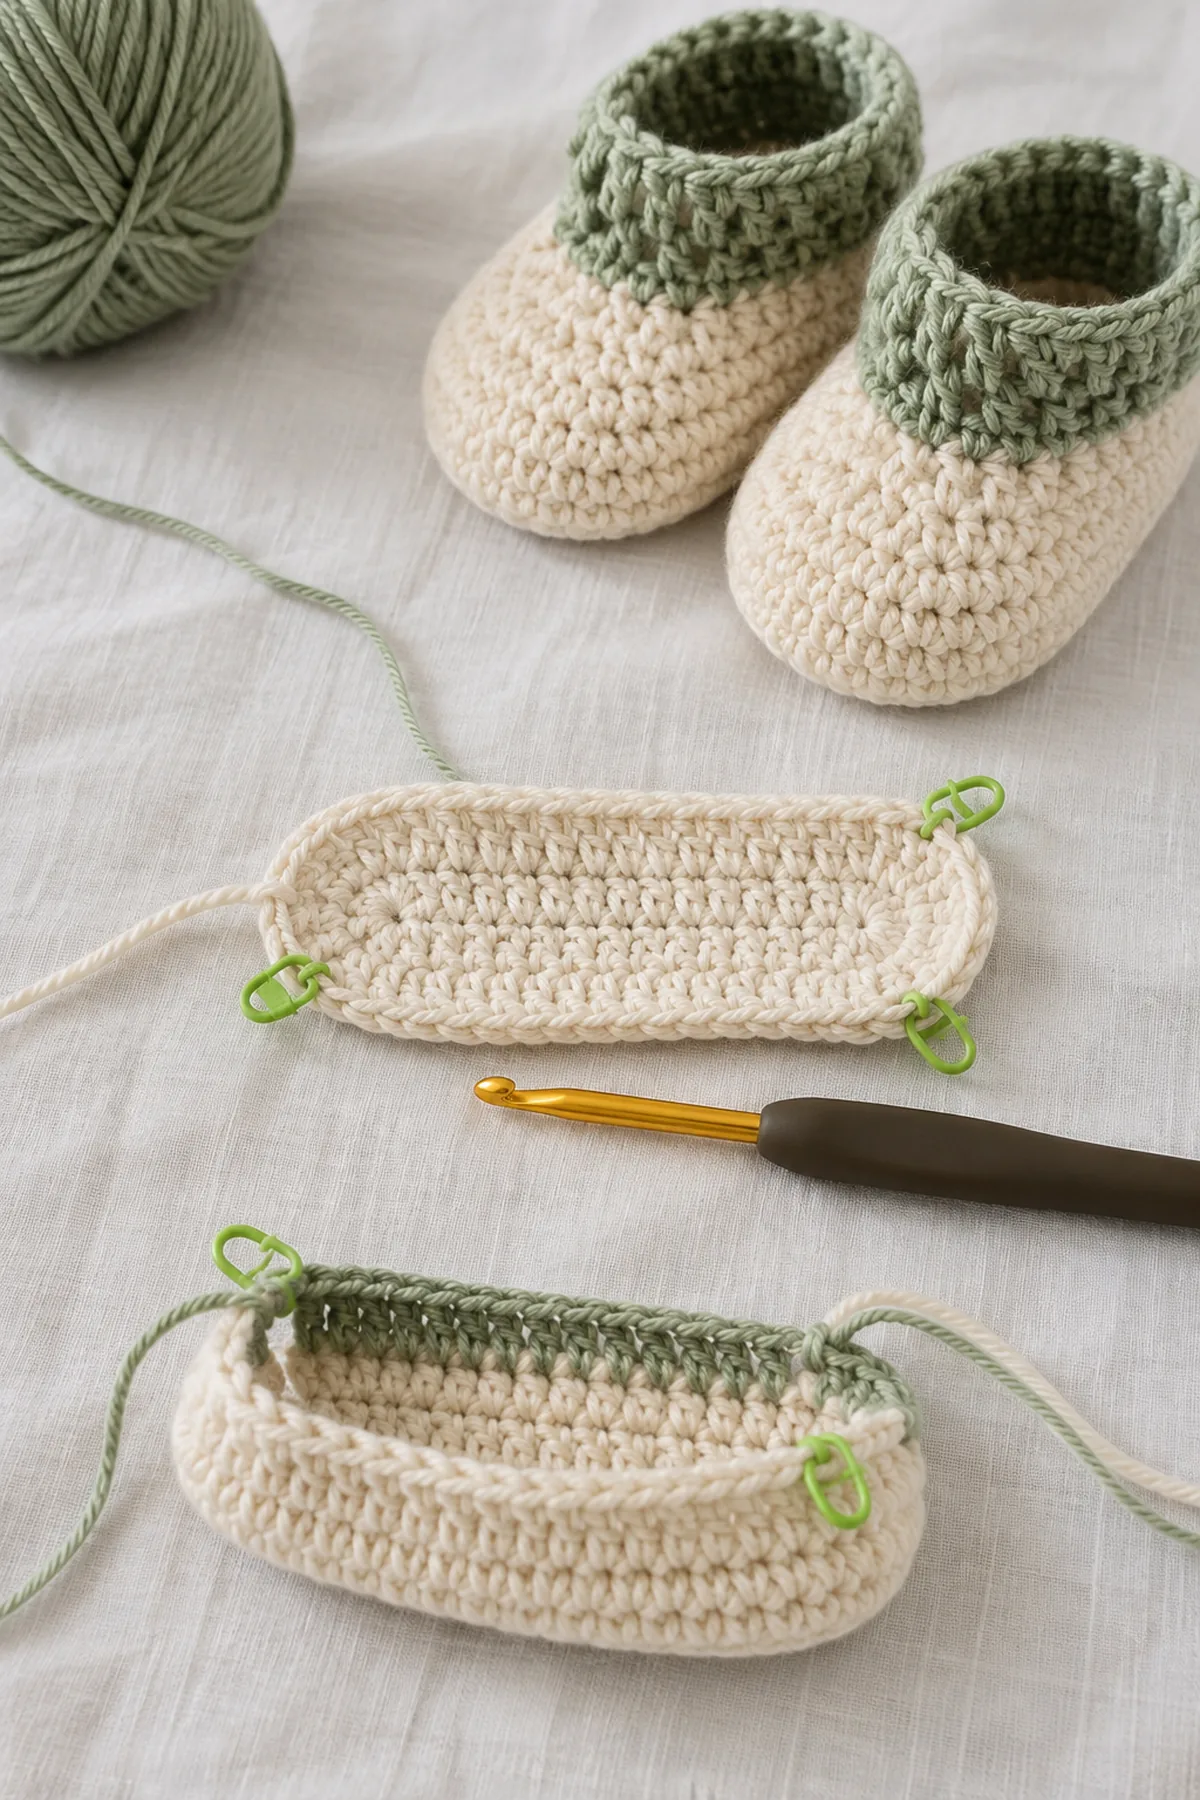
Work around both sides of the chain and mark the first stitch plus both rounded ends.
- Sole Rnd 1: Ch 11. Beginning in the second chain, work 8 sc on each straight side and distribute 5 sc at each rounded end. Join without turning. (26 sts)
- Sole Rnd 2: Sc across both straight sides and increase evenly around both ends. (34 sts)
- Upper Rnd 3: Sc through the back loop of every stitch to turn the sole edge upward. Keep the rear 10 stitches unshaped to establish the heel. (34 sts)
Shape the Toe and Foldover Cuff
Center four marked decrease pairs across the front only.
- Toe Rnd 4: Sc around, working four sc2tog decreases across the marked toe and one sc in every heel stitch. (30 sts)
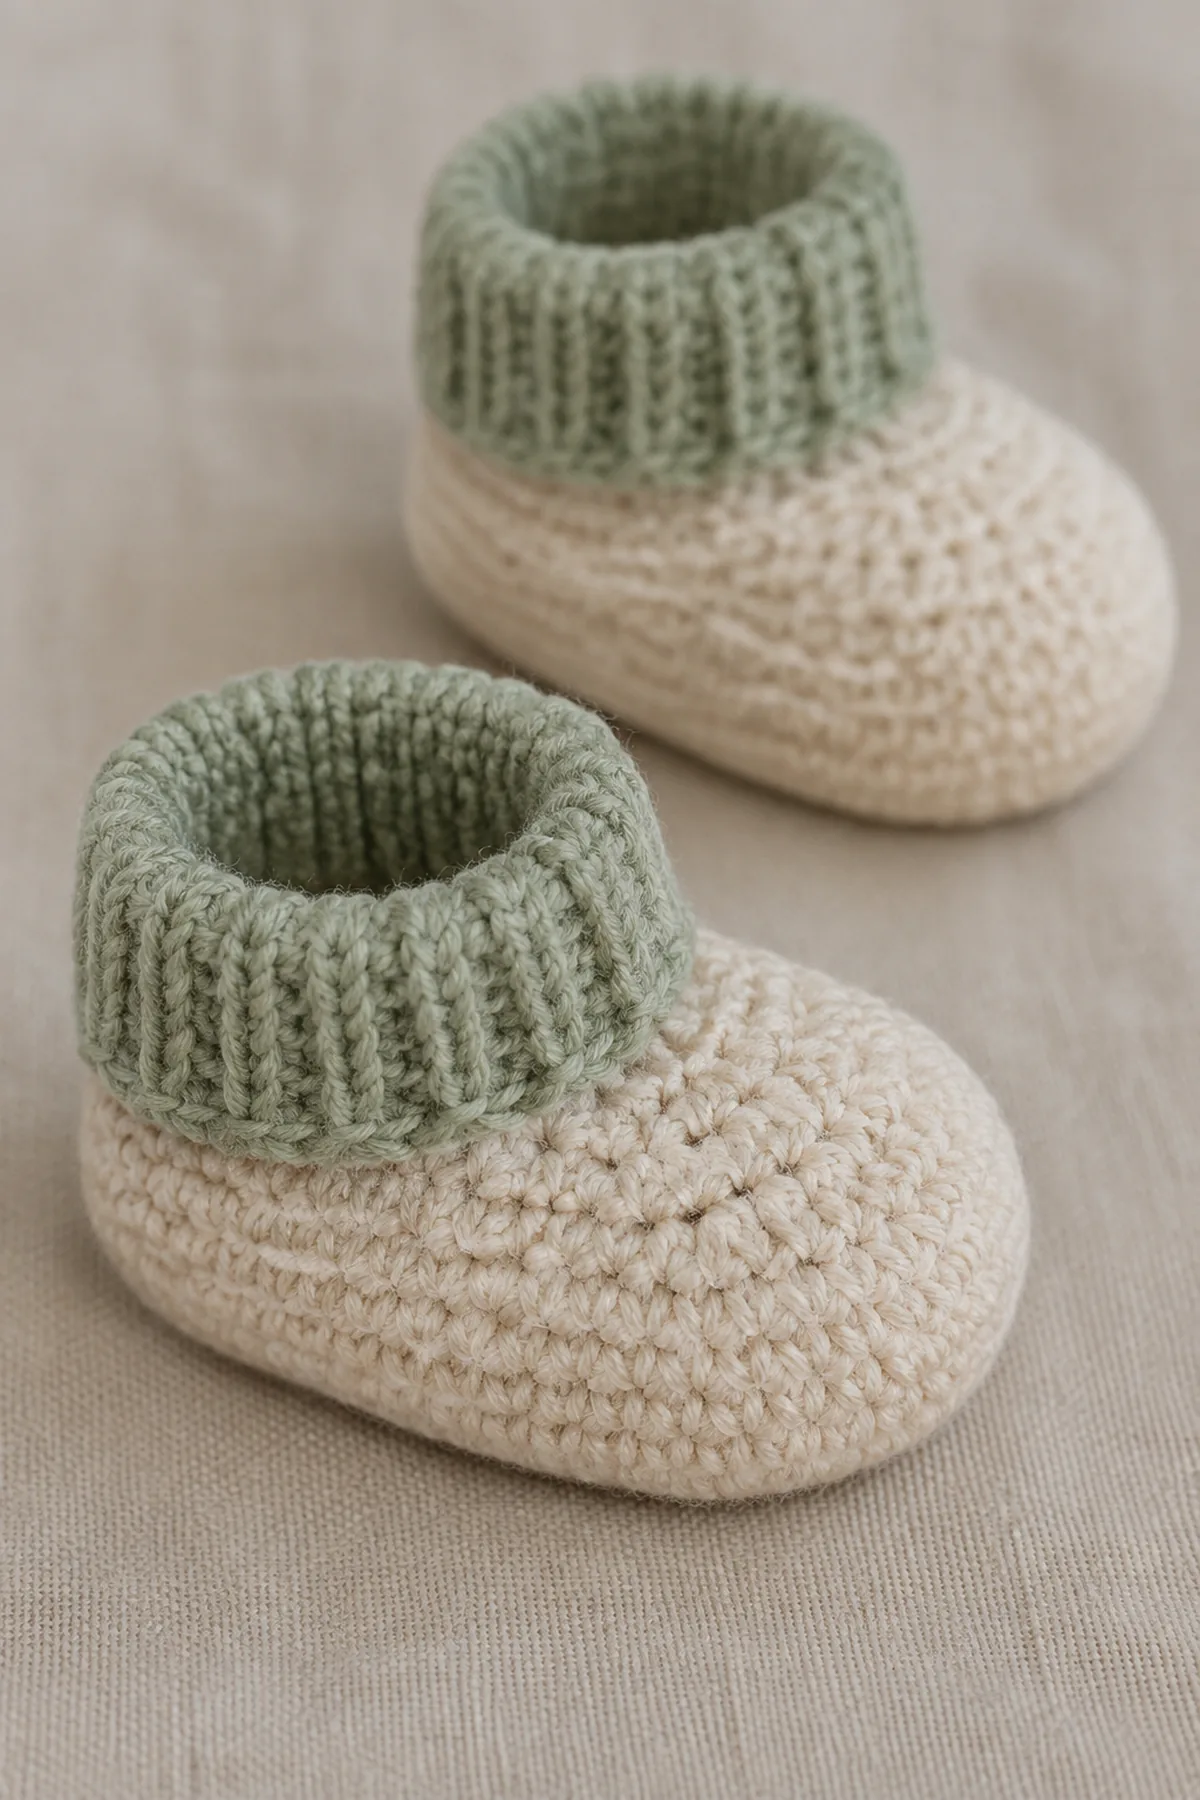
- Cuff Rnds 5–12: Work 30 sc per round, alternating front-loop and back-loop stitches for flexible ribbing.
- Fold the final four cuff rounds outward, fasten off, and make the second slipper identically. Compare sole length, width, heel depth, toe shaping, and cuff height before weaving in tails.
Assembly and Shaping
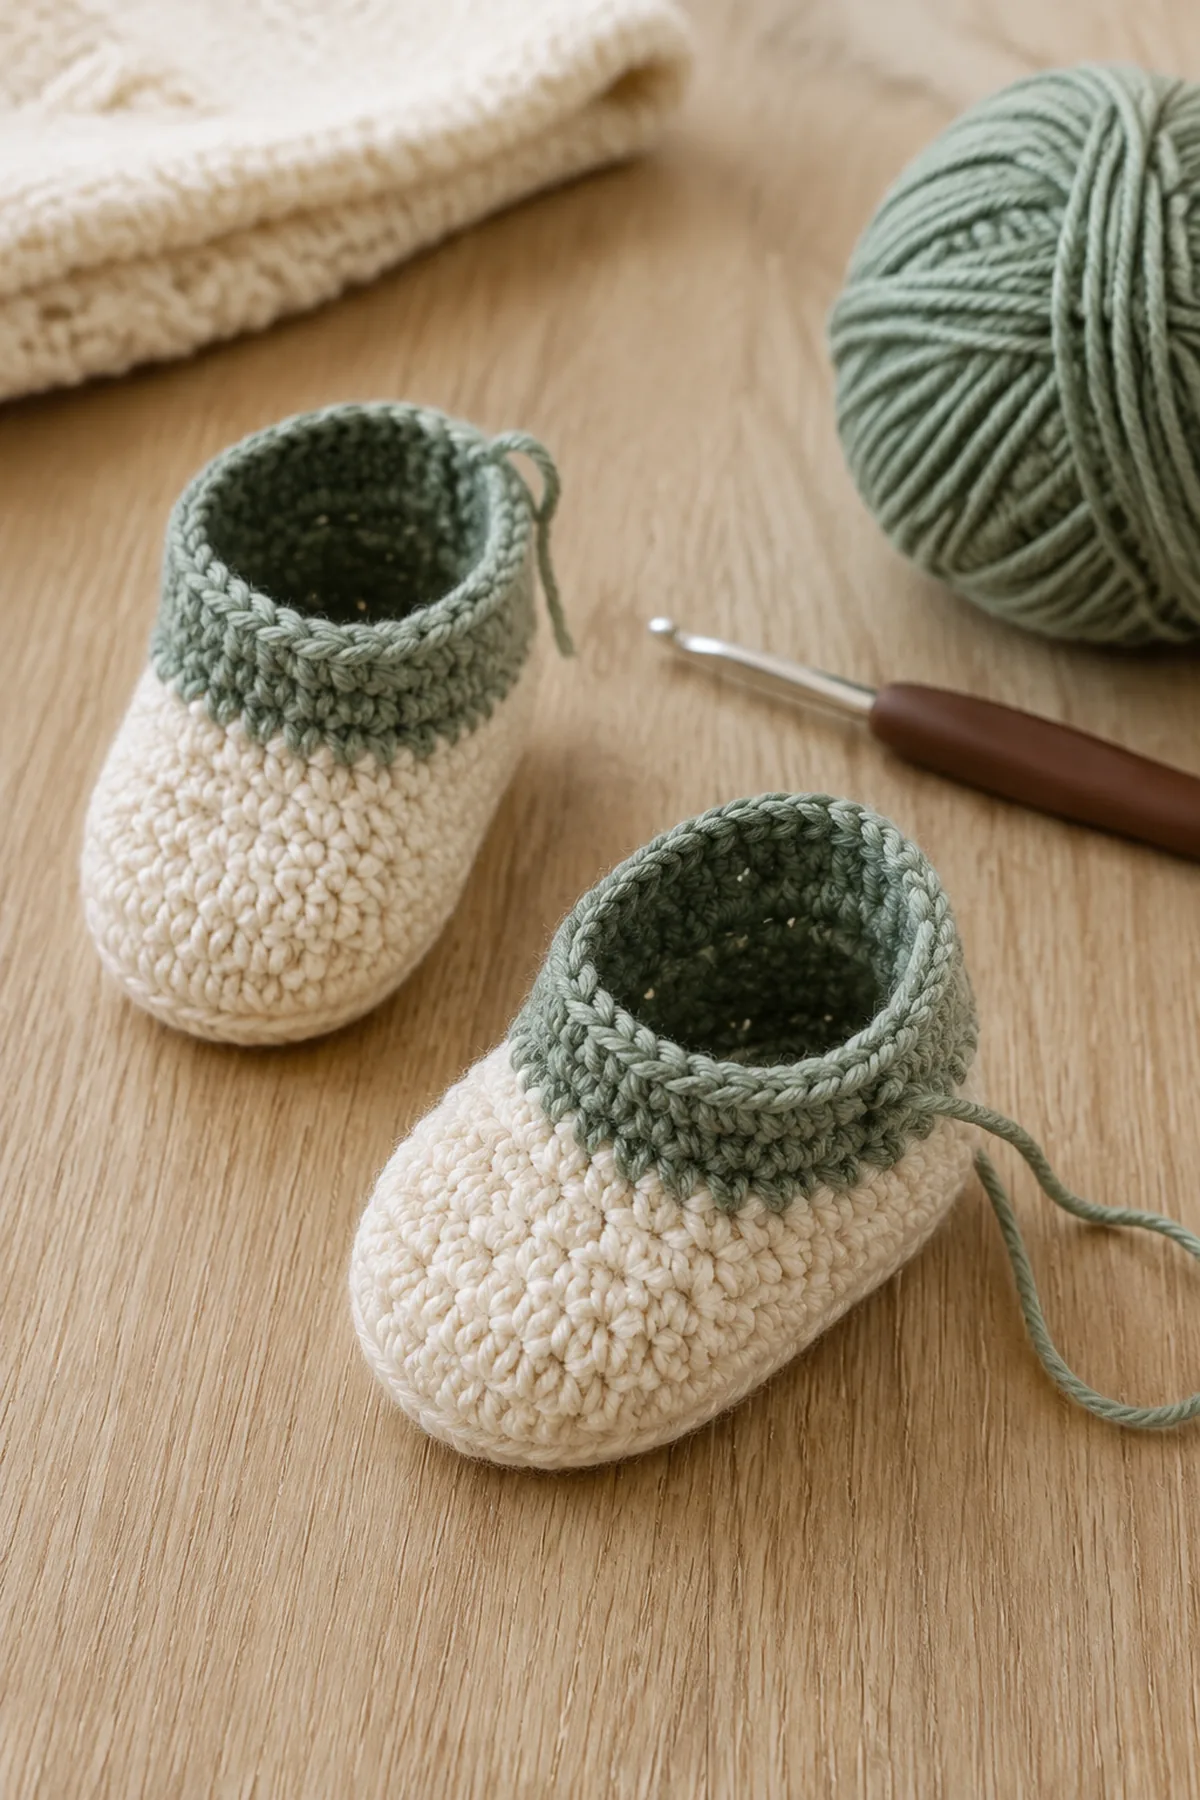
The slippers are seamless. Place them sole to sole and confirm matching toe markers, heel depth, ankle opening, cuff height, and finished measurements. Secure every tail and omit cords or loose trim.
Lay every component on a flat surface before joining. Match the marked centers first, then divide each remaining edge into equal sections. Work through both layers with consistent tension and pause after each section to check that the fabric lies flat. This measured approach prevents twisting and keeps decorative details facing the intended direction.
Finishing
- Weave every yarn tail through several same-color stitches, reverse direction once, and trim only after a gentle stretch test.
- Wash or damp-block according to the yarn label, shape to the listed measurements, and allow the piece to dry completely.
- Inspect seams, edges, attachments, and surface details from both sides; repair any loose area before use or gifting.
- Attach a care note with the fiber content, washing method, finished measurements, and supervision guidance.
For a polished result, weave each tail through several same-color stitches, reverse direction once, and trim only after the fabric has been gently stretched. Block to the listed dimensions without flattening textured stitches. Inspect joins, borders, straps, and decorative pieces before the project is used or gifted.
Helpful Tips
- Make and wash a gauge swatch because baby sizing changes quickly when yarn relaxes.
- Use locking markers at shaping points and record the count after each completed section.
- Choose high-contrast marker colors so no marker is accidentally left in the finished project.
- When substituting yarn, match the washed gauge and fabric feel rather than relying on the weight label alone.
Good lighting and a contrasting stitch marker make counting much easier. If a section looks uneven, compare the current count with the previous checkpoint before continuing. Fixing one missed stitch early is faster than compensating later, and it preserves the measurements used by the assembly instructions.
Frequently Asked Questions
Which yarn is best for a baby crochet project?
Choose a smooth, washable yarn with a soft hand and a clear care label. Avoid fibers that shed heavily or create a scratchy fabric.
Can I change the finished size?
Yes, but make a washed swatch first and change repeat counts symmetrically. Record the new measurements and recheck every shaping or assembly point.
How do I make the finish safer for gifting?
Secure every tail and seam, omit loose decorations and long cords, and include care and supervision information appropriate to the finished item.
Conclusion
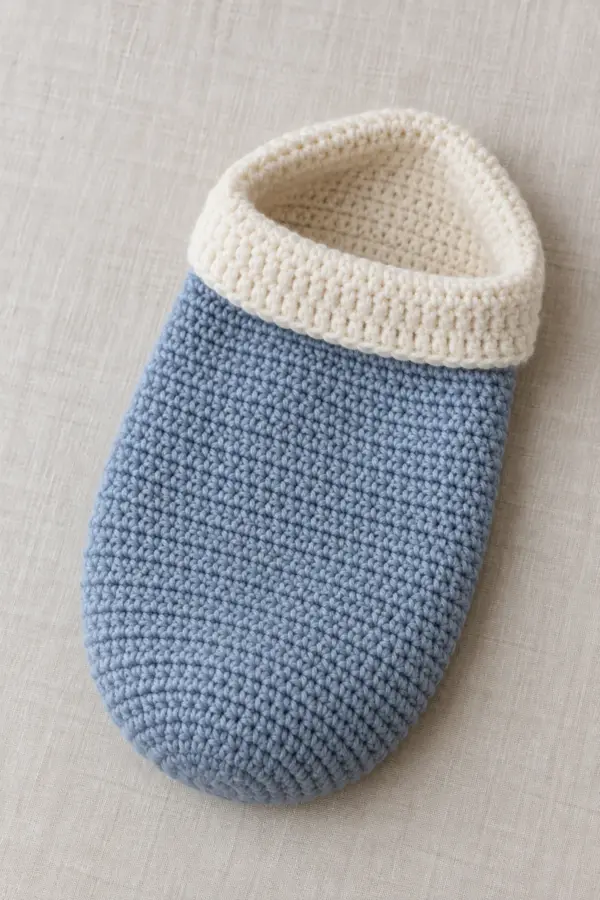
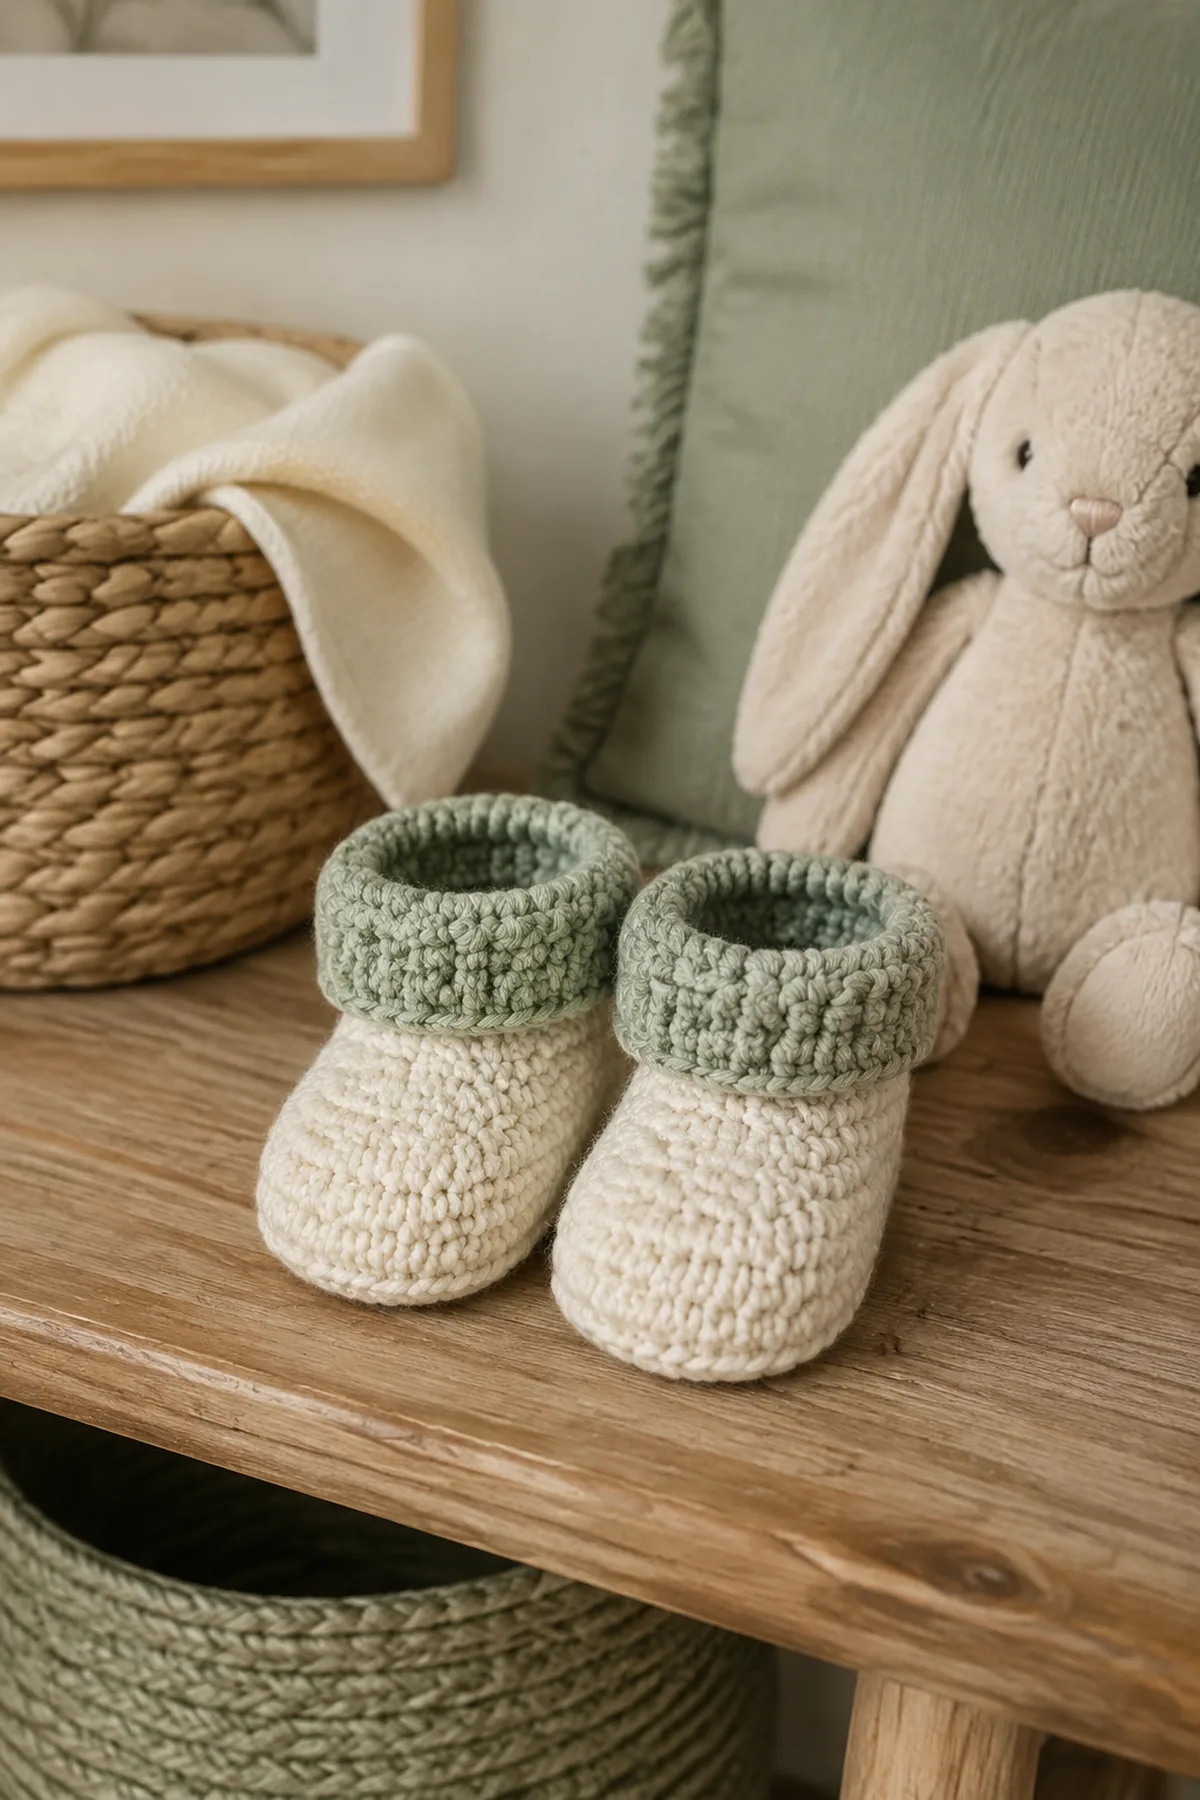
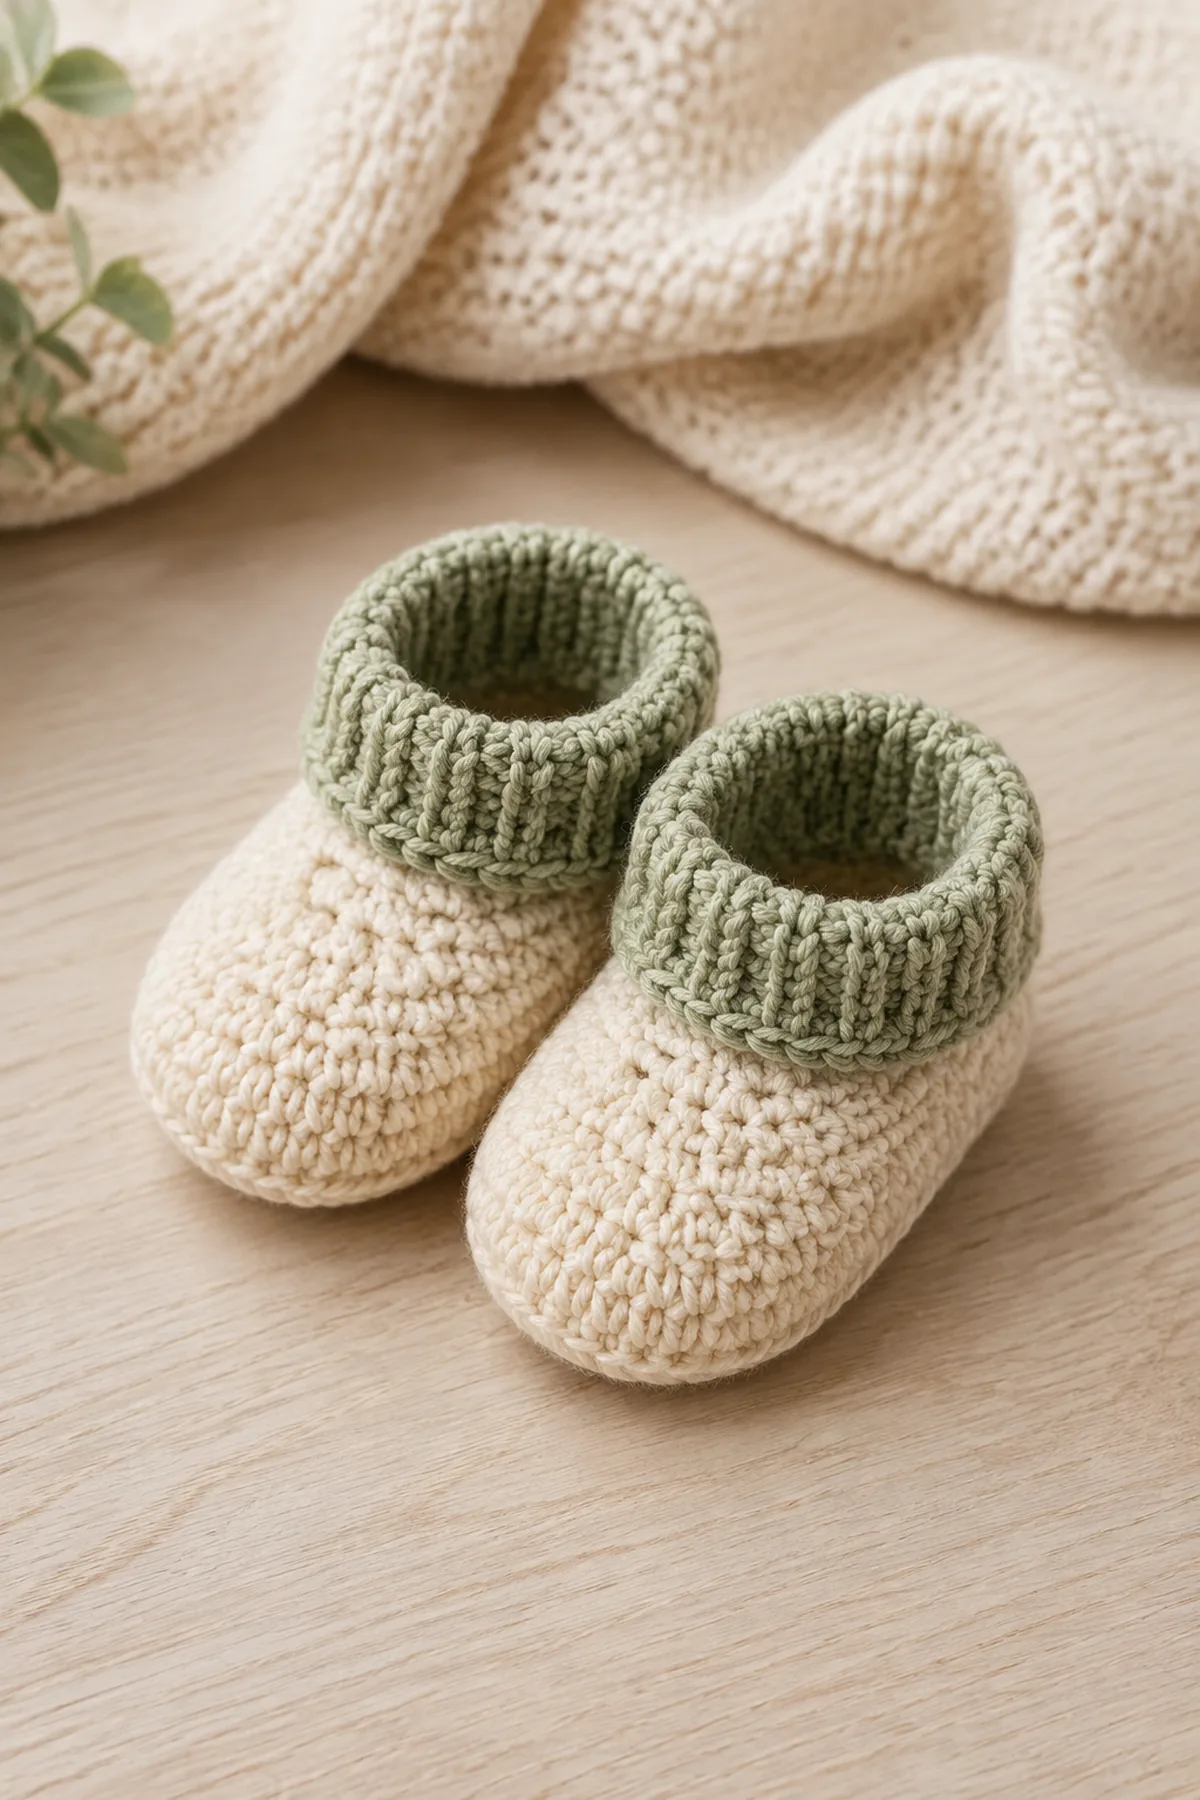
The finished foldover baby slippers form a balanced pair with measured oval soles, smoothly shaped toes, full heels, and flexible cuffs. Final side-by-side measurement keeps both slippers comfortable and consistent.
BabyYarnie Printable Crochet Pattern Card
BabyYarnie — easy-to-follow baby crochet for everyday makers.
Project: Easy Crochet Foldover Baby Slippers
Skill level: Intermediate Hook: 3.5 mm Yarn: DK
Finished size: Newborn sole approximately 3.5 inches long and 1.75 inches wide
Card Materials
- Approximately 120 yards soft washable DK yarn in cream
- Approximately 25 yards soft washable DK yarn in sage
- 3.5 mm crochet hook
- Four locking stitch markers
- Tape measure
- Yarn needle
- Scissors
Card Instructions
- Crochet the Sole and Heel: Build a 26-stitch oval, increase to 34 stitches, and turn the edge upward while keeping the heel full.
- Shape the Toe and Foldover Cuff: Decrease the toe from 34 to 30 stitches, preserve the heel, and work eight matching foldover cuff rounds.
Finish: Check every count, weave in all ends, block to measurement, and inspect each join.