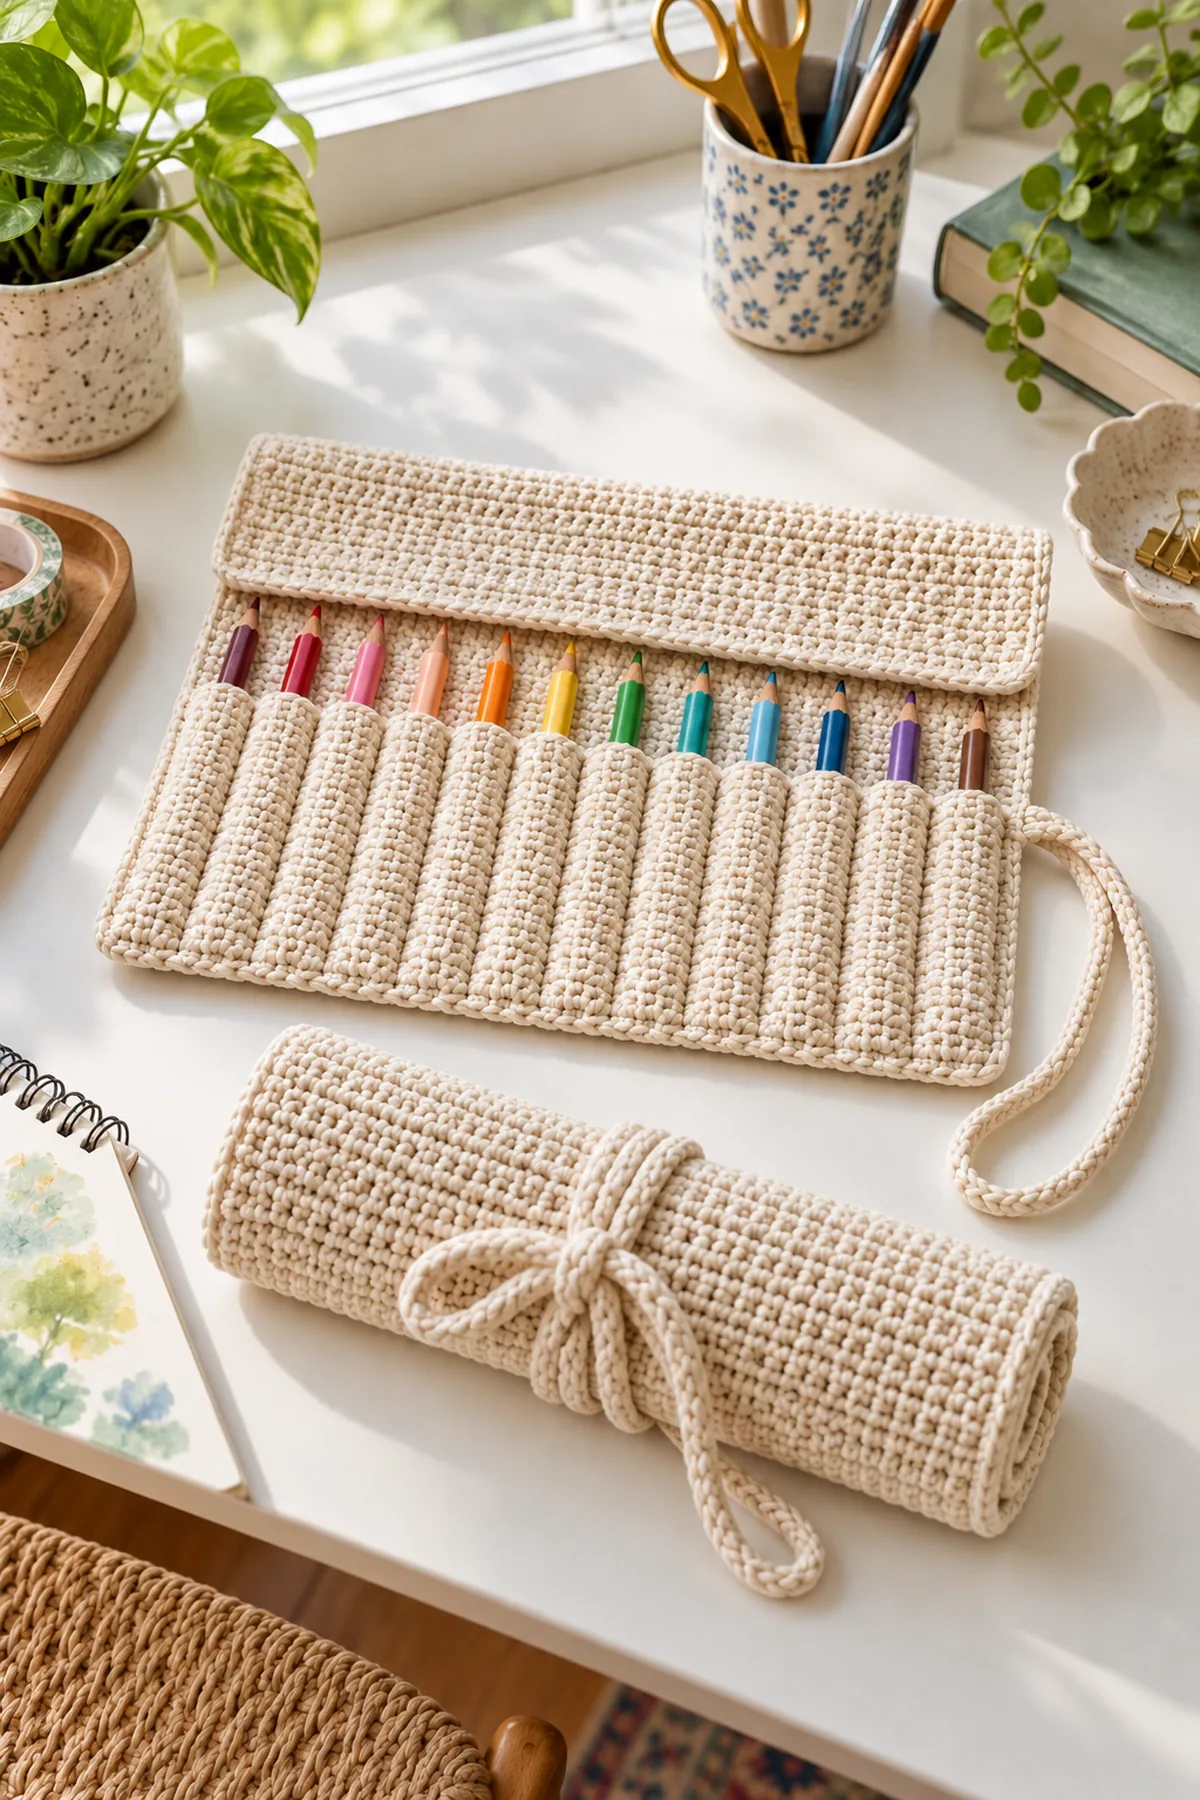
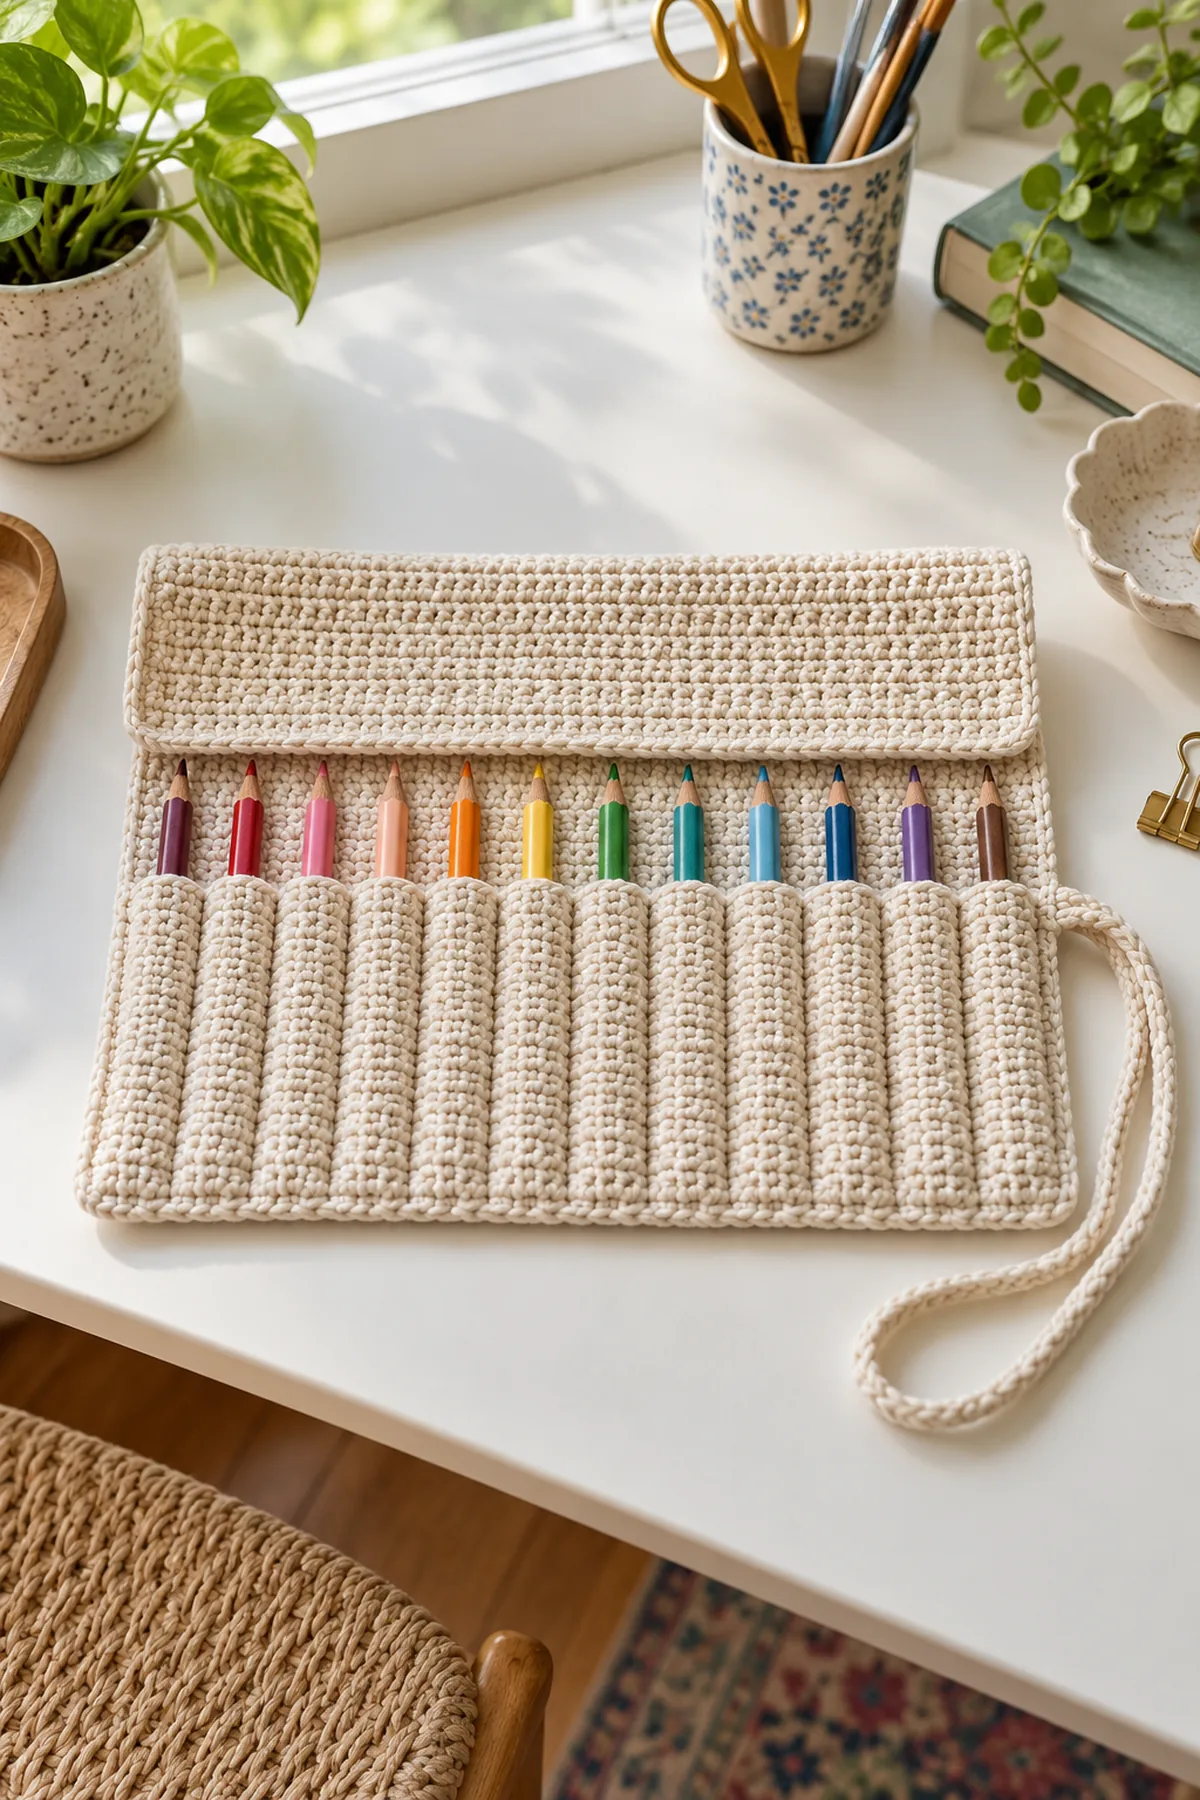
This original crochet pencil roll pattern makes a washable organizer for twelve standard pencils. A firm rectangular backing supports twelve separate narrow sleeves, while an unpocketed top section folds over the pencil points before the case is rolled and tied. The instructions use US terms, counted rows, and a fit checkpoint so you can adjust for your own pencil barrels.
Pattern Details
- Skill level: Confident beginner
- Hook: 4 mm, adjusted to gauge
- Yarn: Worsted-weight cotton
- Gauge: 16 sc and 18 rows = 4 inches after washing
- Open size: About 19.5 by 9.8 inches; sleeves about 8 inches deep
- Construction: 78-stitch-wide backing and pocket panel, twelve individual sleeves, eight-row cover flap, one long tie
Because pencil brands vary, measurements are estimates until you test the fabric with the pencils you plan to store. Use smooth, washable cotton and keep the roll closed when carrying sharpened pencils.
Why You’ll Love This Project
The design keeps each pencil in its own lane instead of letting a bundle slide around inside one pouch. The narrow crochet dividers are stitched through both layers, so the sleeves stay separated. A built-in top flap folds over pencil points, and a long tie holds the roll together without a button, snap, or loose accessory. Make it in a favorite solid shade or use a different color for every pocket divider.
Materials
- About 300 yards worsted-weight cotton yarn; reserve extra if your washed swatch is larger than gauge.
- 4 mm crochet hook, or the size that gives a firm fabric at gauge.
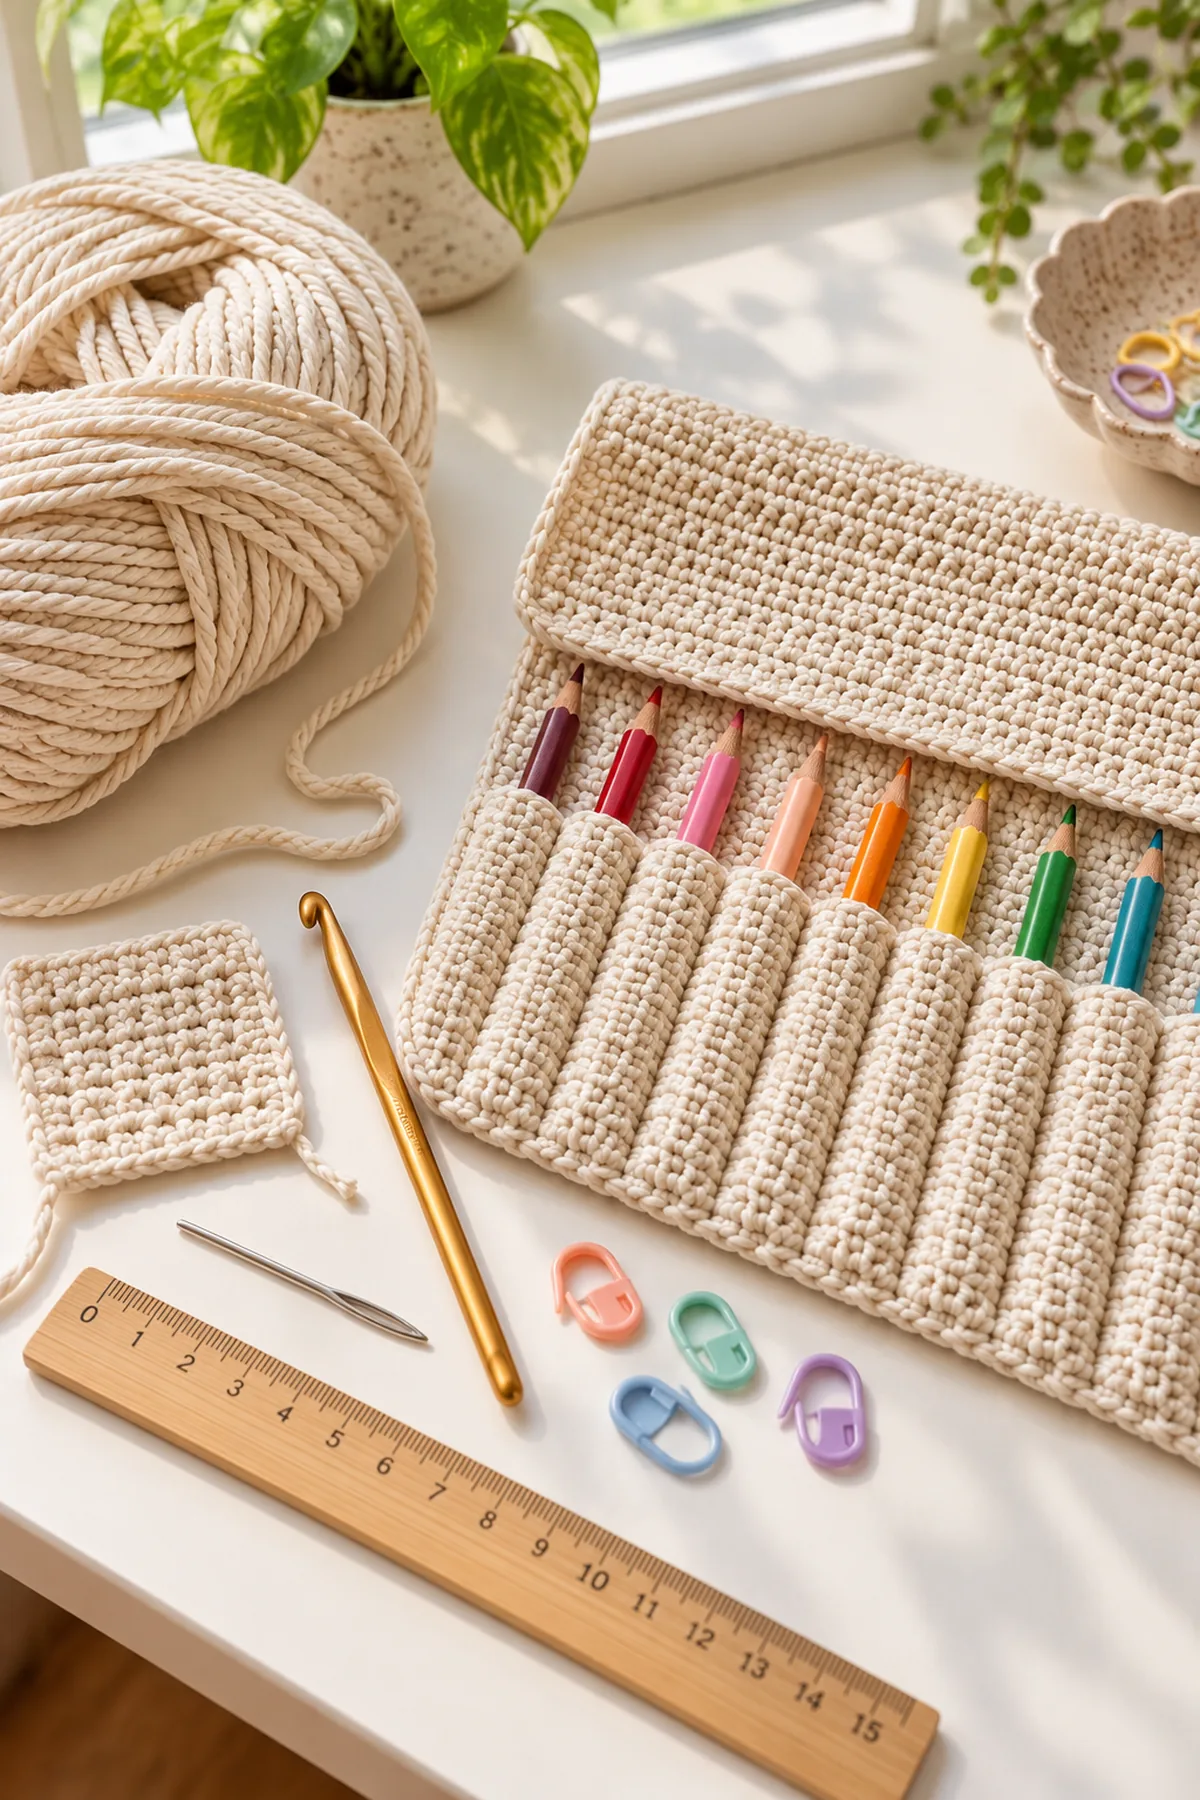
- Tapestry needle, 12 locking stitch markers, scissors, and a ruler or tape measure.
- Twelve standard pencils for fitting. Try the widest pencil you intend to carry before finishing all twelve sleeves.
Gauge, Measurements, and Planning
Work a washed single-crochet swatch of at least 20 stitches by 22 rows. The target after washing and drying flat is 16 stitches and 18 rows per 4 inches. At this gauge, 78 stitches measure about 19.5 inches, 44 rows measure about 9.8 inches, 36 rows measure 8 inches, and 8 rows measure about 1.8 inches. Change hook size to correct gauge; do not stretch the finished panel to force the measurements.
The pocket layout is counted across 78 stitches: 3 margin stitches, then twelve repeats of 2 sleeve stitches plus 4 divider stitches, followed by 3 margin stitches. Check the first sleeve by pinning and stitching just one test divider pair, then insert a pencil. The two-stitch crochet face combines with the backing to create a narrow tube. If your pencil is unusually thick, widen the face to 3 stitches and reduce each attached divider zone to 3 stitches; the total remains 3 + 12(3 + 3) + 3 = 78.
Abbreviations and Notes
- ch: chain
- sc: single crochet
- sl st: slip stitch
- st(s): stitch(es)
- BLO: back loop only
- Turning chains do not count. Turn after every flat row.
- Mark the first and last stitch and count the full 78 stitches at every row end.
- Computational stitch-count review was completed; the design has not been physically sample-tested. Treat gauge, yardage, and fit as planning estimates and make a test sleeve.
- This is a craft-storage accessory, not a toy. Store sharp pencils closed and out of reach of young children; do not leave the long tie around a child.
Instructions: Crochet Pencil Roll Organizer
Make the Backing and Fold-Over Flap
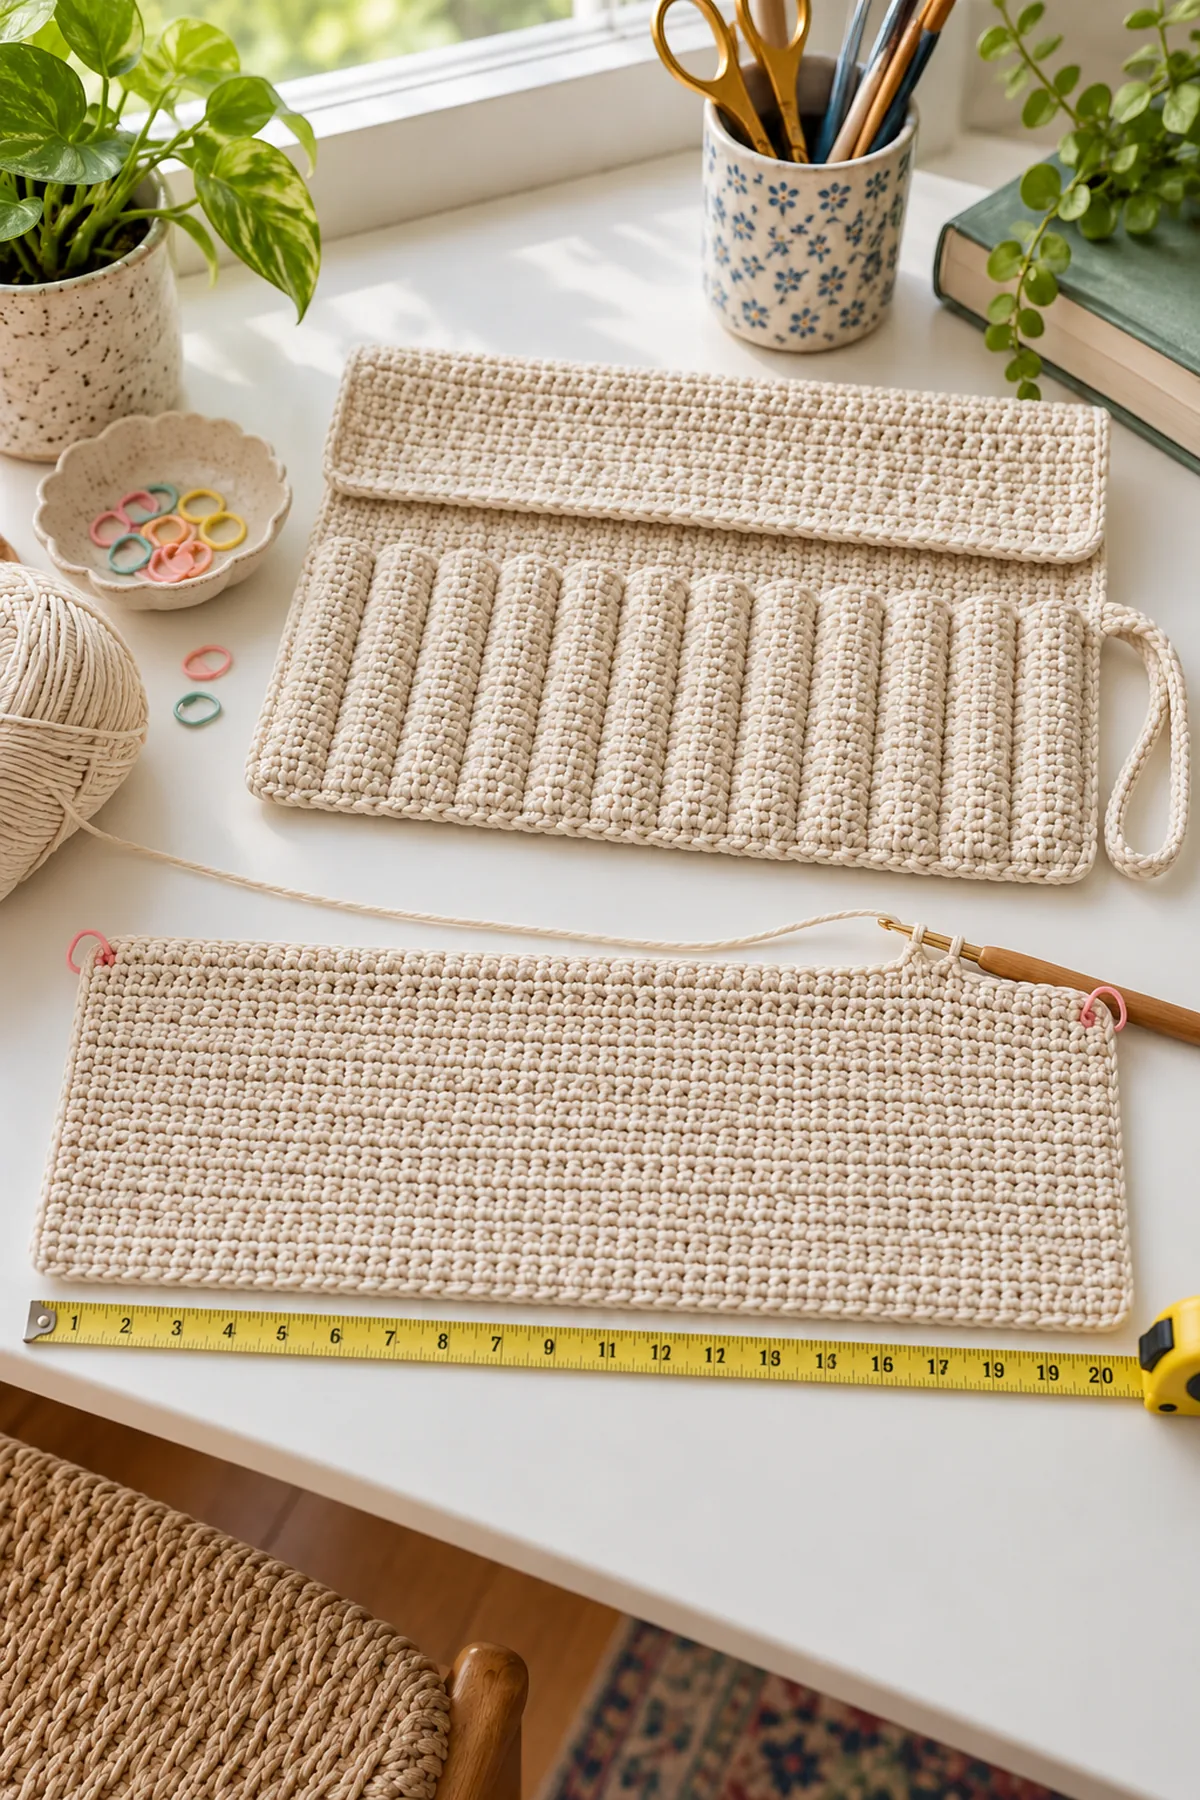
- With the 4 mm hook, ch 79. Row 1: sc in the second ch from the hook and in each remaining chain across. (78 sts)
- Ch 1, turn. Rows 2–44: sc in each stitch across, ch 1 and turn after each row. Each row is (78 sts). Place a marker after Row 36; the first 36 rows are the sleeve area and Rows 37–44 form the unpocketed protective flap.
- At the end of Row 44, fasten off. The backing should measure about 19.5 inches wide by 9.8 inches tall. Wash and dry flat before measuring if you have not already washed your gauge swatch.
Make the Pocket Panel and Mark Twelve Sleeves
- With the same yarn and hook, ch 79. Pocket Row 1: sc in the second ch from the hook and across. (78 sts)
- Ch 1, turn. Pocket Rows 2–36: sc in each stitch across, ch 1 and turn after each row. Each row is (78 sts). Fasten off after Row 36. The panel should be about 19.5 inches wide and 8 inches tall.
- Lay the panel on the backing with both right sides facing up. Align the panel’s lower edge with the backing’s lower edge, and align both side edges. Pin the layers together without stretching. The panel top aligns with backing Row 36, leaving backing Rows 37–44 free as the flap.
- Starting from the left side, leave 3 stitches as a side margin. Mark the first sleeve between columns 4 and 5; leave four divider stitches before the next 2-stitch sleeve. Repeat this 6-stitch pitch twelve times. Finish with 3 margin stitches. Check the arithmetic: 3 + 12 times 6 + 3 = 78 stitches.
- Before sewing all channels, tack the first sleeve edges through the pocket panel and backing at its two boundaries. Insert the thickest intended pencil. The sleeve should hold the pencil without stretching the fabric hard. If needed, adjust all twelve sleeves as described in the gauge section, keeping the 78-stitch total.
Sew the Perimeter and Divider Lines
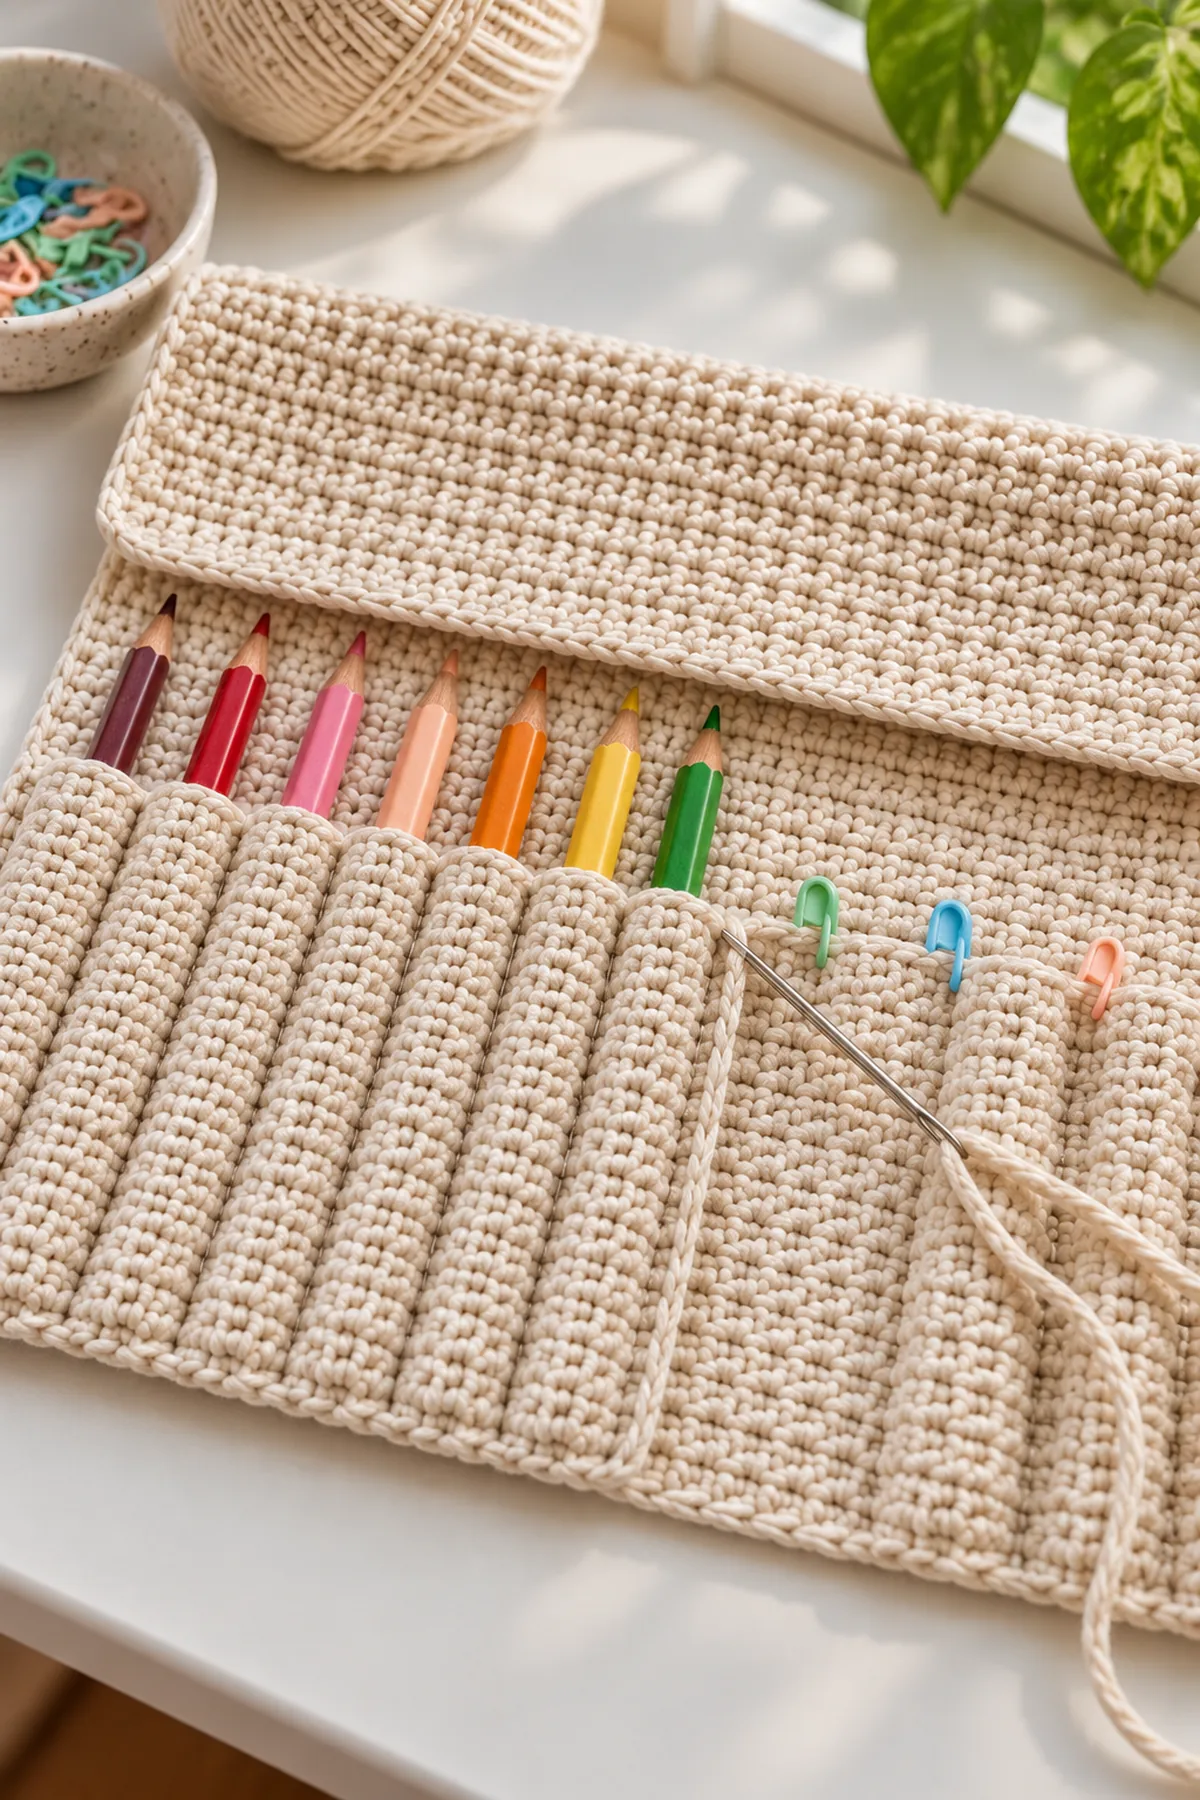
- With matching yarn and a tapestry needle, sew the pocket panel’s lower edge to the backing’s lower edge, catching each row-end bar once. Sew both side edges of the pocket panel to the backing from the lower edge through Pocket Row 36. Leave the top edge open; the open row is where pencils enter.
- For the standard two-stitch sleeve layout, sew a vertical divider through both layers at the column boundaries after stitches 3, 5, 9, 11, 15, 17, and so on, ending after stitches 69 and 71. These 24 vertical seams follow the left and right edges of each two-stitch sleeve; the four-stitch spaces between sleeves are also secured flat to the backing. Each seam runs from the lower edge to the pocket-panel top and does not enter the free flap.
- Weave each divider seam twice through its edge loops at the top opening and bottom edge. Test-fit all twelve pencils, one per sleeve. They should slide in and out without forcing the crochet or pulling the divider seams.
Make the Integrated Roll-Up Tie
- Ch 105. Starting in the second chain from the hook, sl st in each chain across. (104 sts) The tie should measure about 26 inches; add or remove chains only in pairs if your chain gauge differs.
- Fold the backing loosely in thirds to locate its middle. Sew one short end of the tie firmly to the wrong side of the backing at the center of its left edge, just below the pocket-panel top. Use several passes through the same stitches and weave the tail back through the tie base.
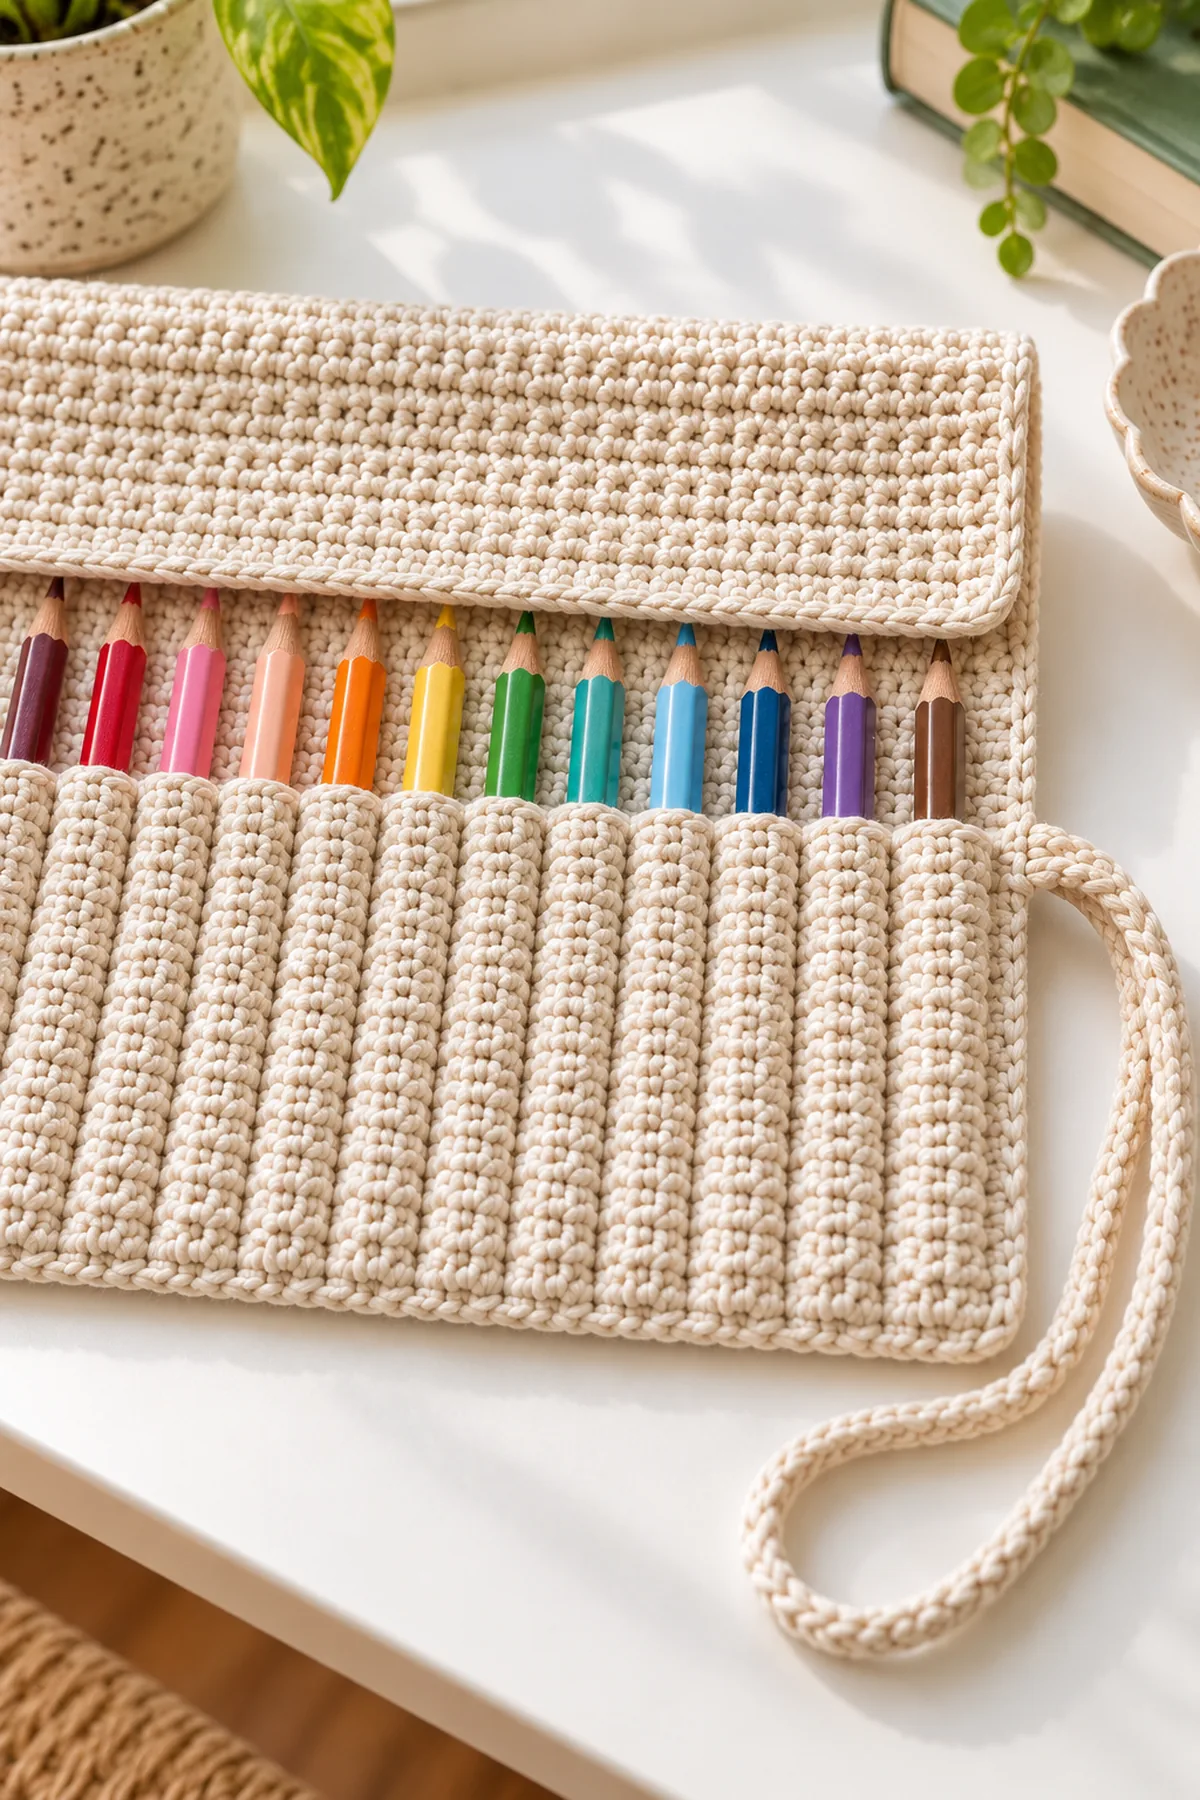
- Fold the 8-row flap down over the exposed pencil tips. Starting at the opposite edge, roll the organizer evenly toward the tie attachment. Wrap the tie around the closed roll and make a bow. If your pencil set makes a larger roll, lengthen the chain in measured increments before attaching it.
Assembly and Shaping
Lay the organizer flat with the pocket mouths at the top of the 36-row sleeve section and the 8-row flap extending beyond them. Confirm that the flap folds over the pencil points before rolling. Roll from the edge opposite the tie so the tie stays on the outside. If the roll spirals or the pencils lean, unroll it, redistribute the pencils, and roll again with even tension. The tie should hold the bundle without compressing pencil barrels.
Finishing
- Weave every yarn end through several same-color stitches on the wrong side, changing direction twice before trimming.
- Check that each of the twelve pockets has an open top, a closed lower edge, and two secure dividers.
- Wash according to the cotton yarn label and dry flat. Reshape the flap while damp; do not stretch the pocket openings.
- Insert and remove each pencil once. Repair any loose seam before carrying the roll. Store it closed, with pencil points covered by the flap.
Helpful Tips
- Count the 78 stitches before every turn; the side margins should each remain 3 stitches wide.
- Use a ruler to mark the 6-stitch sleeve spacing before sewing; do not estimate divider positions by eye.
- If carrying colored pencils with wider barrels, test one pocket first and use the alternate 3-stitch sleeve plus 3-stitch divider layout.
- For a shorter pencil set, keep the same width and reduce the sleeve rows; add at least 1 inch of free flap beyond the pencil tips.
- Wash the roll empty and dry it flat so pencil residue does not transfer to other laundry.
Frequently Asked Questions
Will this fit colored pencils?
It can, but colored pencils vary in barrel diameter. Fit the widest pencil before sewing all dividers. If the two-stitch sleeve feels too tight, use the alternate three-stitch sleeve layout and three-stitch divider zones.
Does the pattern include a separate pencil pouch?
No. It is a flat organizer that rolls around the pencils, with individual stitched sleeves and an integrated tie rather than a separate zippered pouch.
Can I make fewer than twelve pockets?
Yes. Keep the 3-stitch side margins and repeat the six-stitch layout for the number of pencils you want. Recalculate the total panel width as 6 stitches per pocket plus 6 margin stitches, then make both backing and pocket panel the same width.
Is this physically sample-tested?
No physical sample test is claimed. The stitch arithmetic was checked computationally, but gauge, fit, dimensions, and yardage remain estimates until you make and test a sample.
Conclusion
This twelve-pocket crochet pencil roll keeps pencils separated, covers their points with a fold-over flap, and secures the bundle with a simple crocheted tie. Make one test sleeve with your own pencils before finishing the channel seams, then adjust the stitch spacing while preserving the counted panel width.
Printable Crochet Pattern Card
Project: Crochet Pencil Roll Organizer with Twelve Individual Pockets
Skill: Confident beginner. Hook: 4 mm. Yarn: Worsted cotton.
Gauge: 16 sc × 18 rows = 4 inches. Open size: about 19.5 × 9.8 inches.
Card Materials
- About 300 yards worsted cotton
- 4 mm hook, tapestry needle, markers, scissors, ruler
- Twelve pencils for fit testing
Card Instructions
- Make a 78-stitch-wide backing for 44 rows; Rows 37–44 are the flap.
- Make a matching 78-stitch pocket panel for 36 rows.
- Sew the panel base, sides, and 24 divider lines to form twelve sleeves.
- Make a 104-stitch chain tie, attach, test-fit, and roll.
Fit one sleeve before completing all seams; weave ends and store closed.