This original BabyYarnie crochet fall leaves pattern | easy autumn leaf tutorial for decor is designed independently as a practical crochet baby project with explicit stitch counts, measured checkpoints, and clear finishing. The instructions use US terms and keep every construction decision visible so the finished piece can be checked before use or gifting.
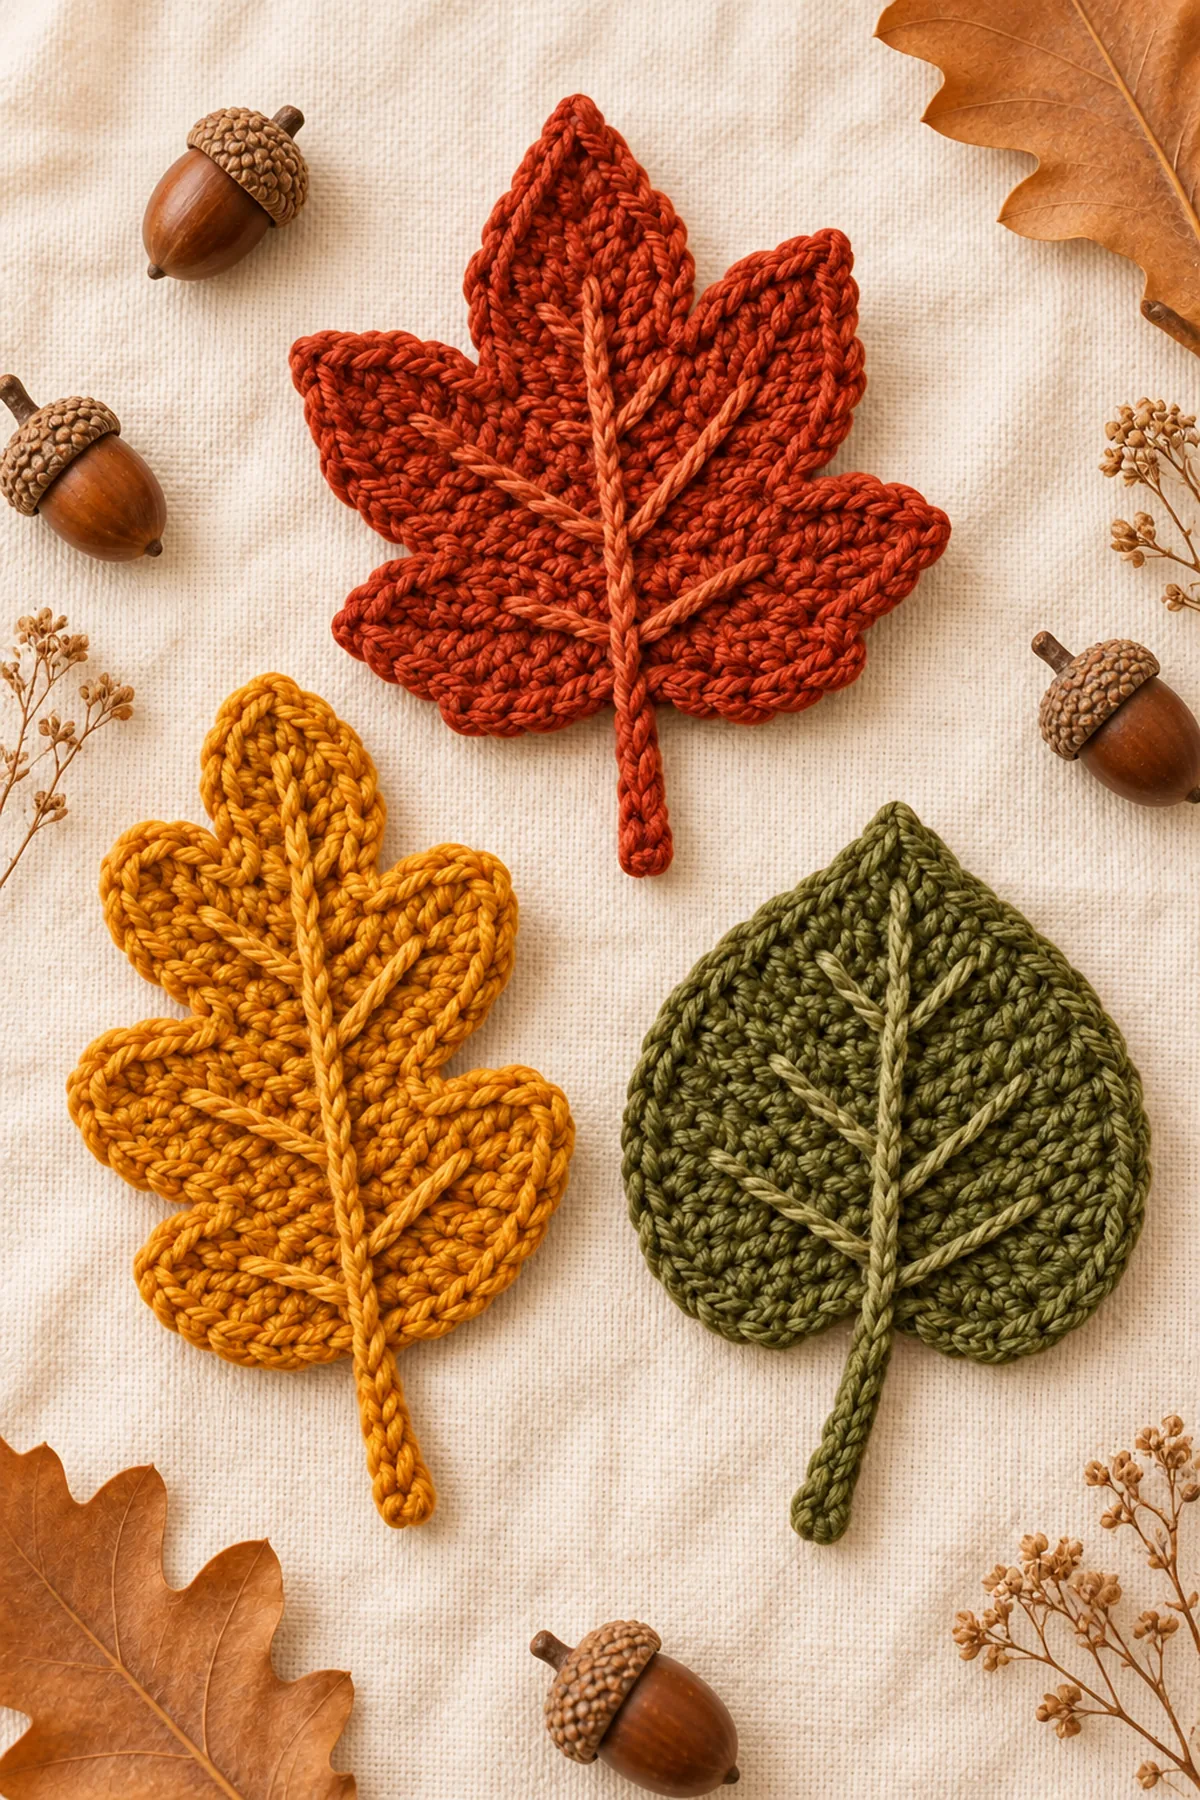
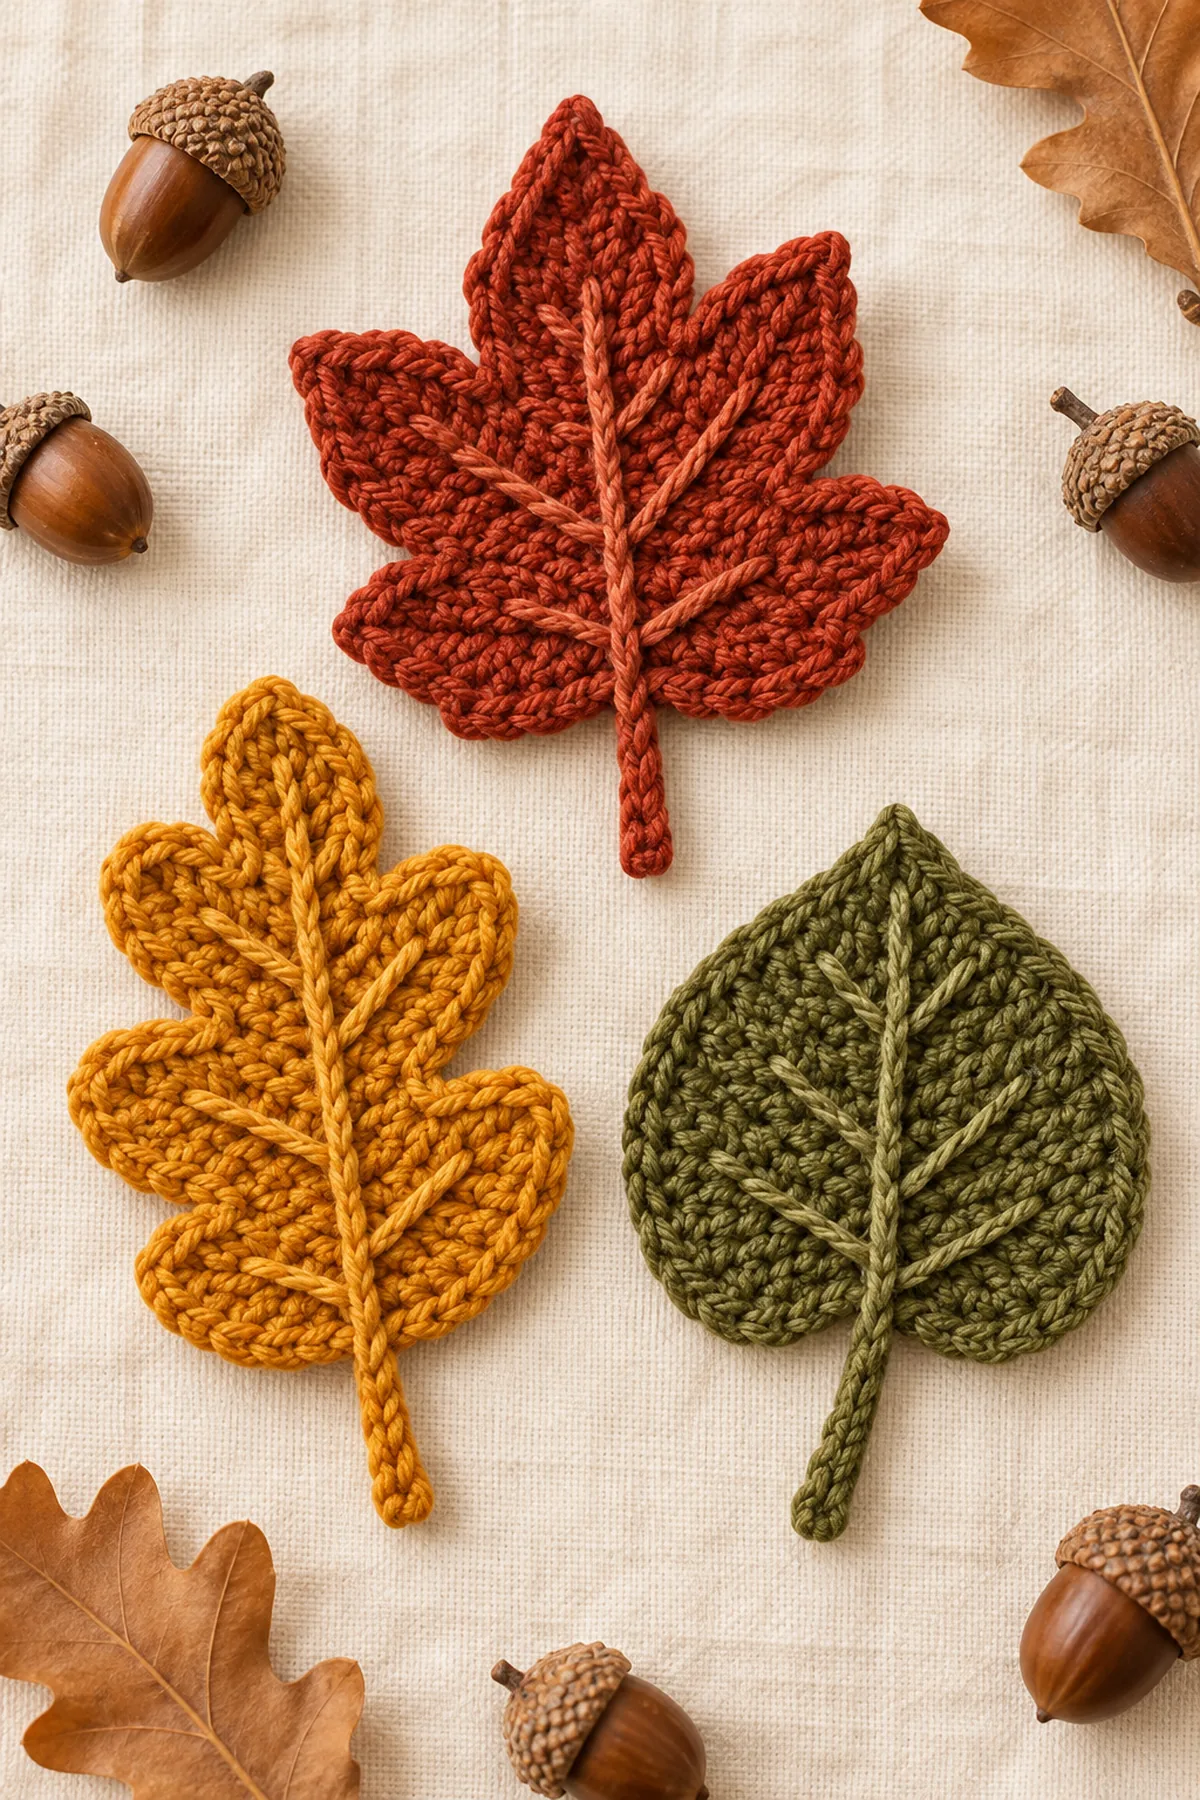
This tutorial teaches three individual decorative leaf constructions rather than a repeated garland unit. Counted rows create three distinct silhouettes, and contrast surface stitches emphasize the center veins after blocking.
Pattern Details
- Hook Size: 4 mm
- Finished Size: Maple 5 inches, oak 6 inches, aspen 4.5 inches including stems
- Gauge: 16 sc and 18 rows = 4 inches after blocking
- Terminology: US
- Estimated Time: 3–4 hours for all three
- Construction: One five-lobed maple leaf, one elongated lobed oak leaf, and one heart-shaped aspen leaf, each worked flat with a stem and surface vein.
- Skill level: Easy
Why You’ll Love This Project
The construction is repetitive enough for a relaxed crochet session while the measured checkpoints help prevent size drift. A washable, smooth yarn keeps the stitches easy to inspect and gives the finished baby project a soft, tidy appearance.
Materials
- Approximately 55 yards rust worsted-weight cotton yarn
- Approximately 55 yards mustard worsted-weight cotton yarn
- Approximately 45 yards olive worsted-weight cotton yarn
- 4 mm crochet hook
- Six locking stitch markers
- Blocking mat and rustproof pins
- Yarn needle and scissors
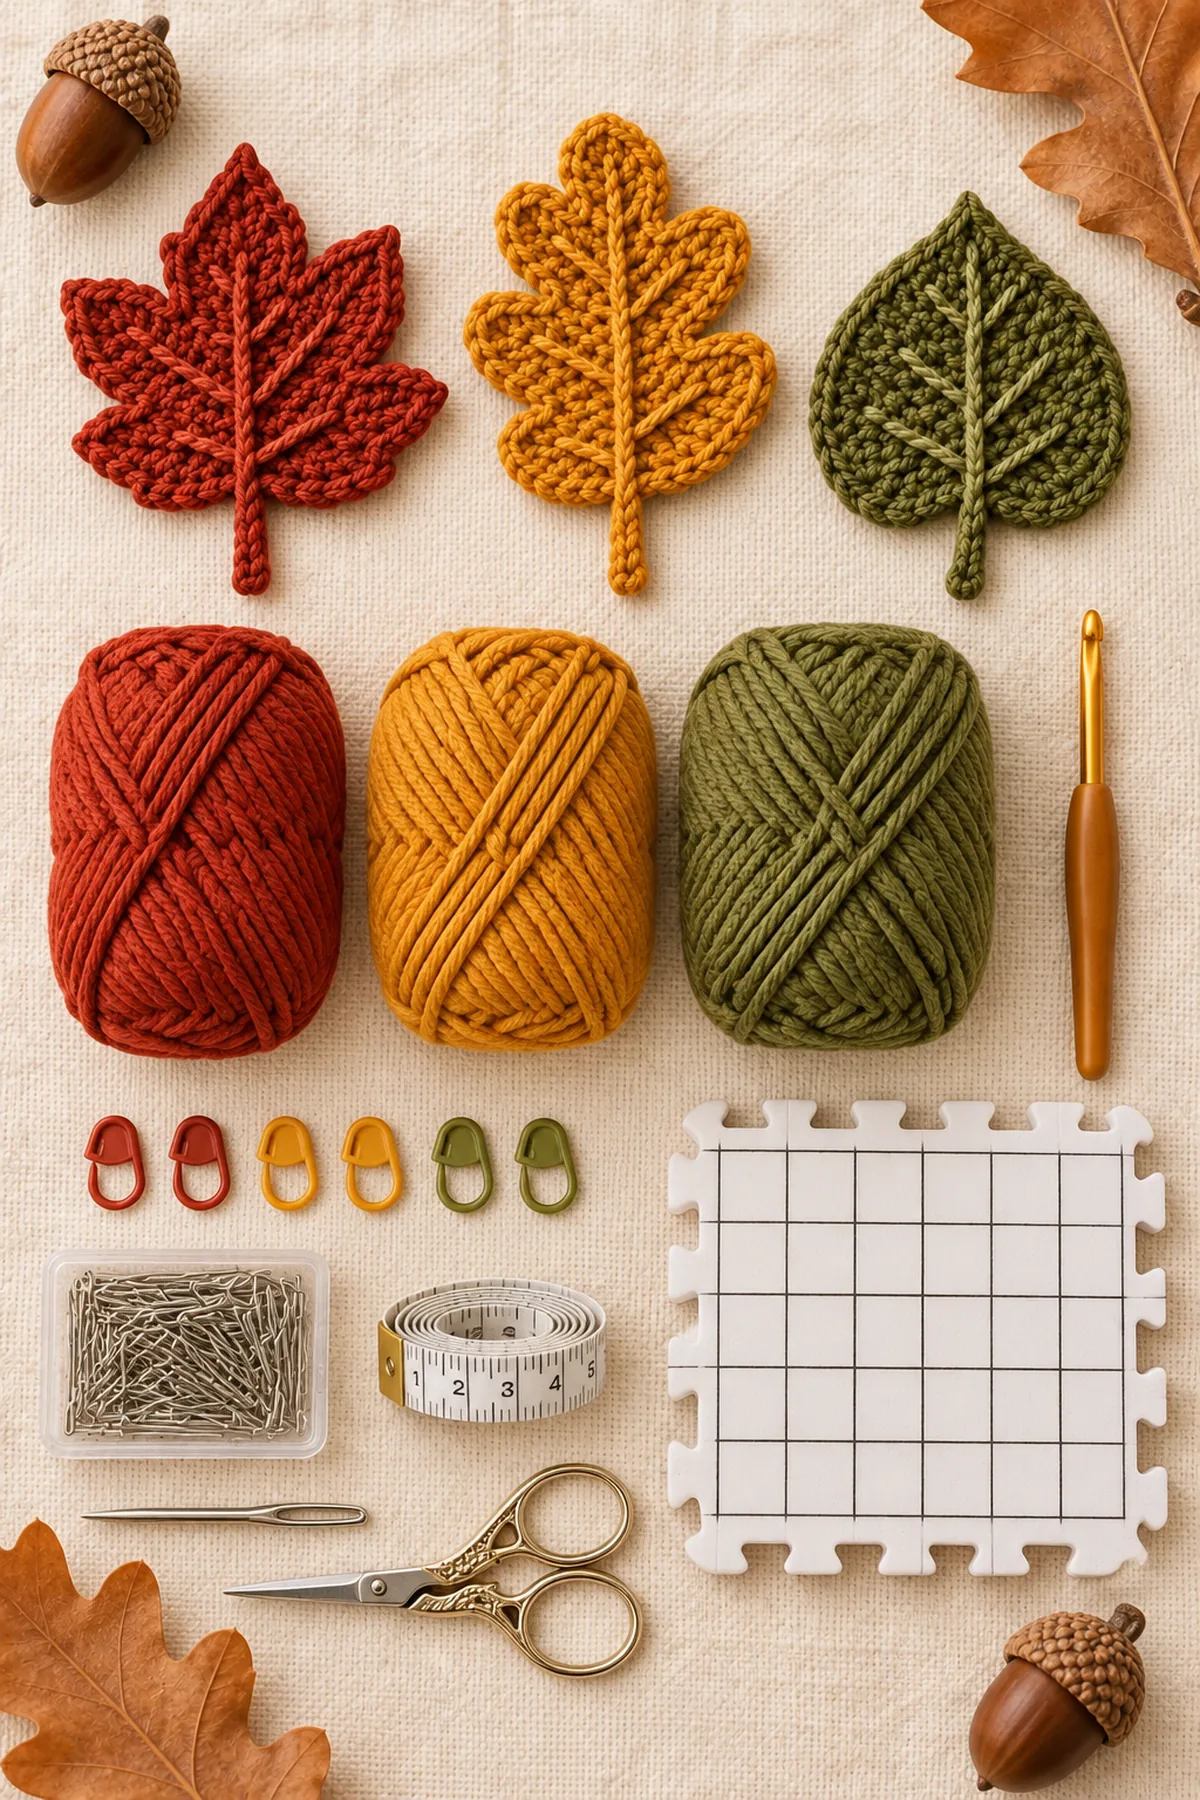
Gauge, Measurements, and Planning
A 16-stitch single-crochet swatch should measure 4 inches after wet blocking. Leaf dimensions depend on relaxed edge shaping, so block every motif before comparison.
Make and wash a gauge swatch before beginning. Measure only after the swatch is completely dry. If the stitch width differs, change hook size rather than pulling the working yarn tighter. Keep a written count at the end of every section so the finished edges remain balanced and the assembly points line up.
Abbreviations and Special Stitches
- ch: chain
- sc: single crochet
- hdc: half double crochet
- dc: double crochet
- tr: treble crochet
- sl st: slip stitch
- st(s): stitch(es)
- row: row
Special stitch guidance: Surface vein: with the right side facing, join yarn at the stem base and work relaxed surface slip stitches along the center line to the leaf tip without pulling the fabric.
Important Notes
- These are flat seasonal decorations, not teethers or baby toys.
- Do not add wire, beads, bells, buttons, or glue.
- Beginning chains do not count as stitches.
- Block every leaf completely dry before adding the surface vein.
- Display small motifs out of reach of babies and young children.
Complete Instructions for Crochet Fall Leaves Pattern | Easy Autumn Leaf Tutorial for Decor
Crochet the Five-Lobed Maple Leaf
Work in rust from a center stem chain.
- Ch 13. Beginning in the second chain, work sl st, sc, hdc, dc, tr, dc, hdc, sc, then leave four chains for the stem.
- Return to the marked center and crochet five tapered lobes around the upper eight stitches: one short side lobe, one medium lobe, one tall center lobe, then mirror the medium and short lobes.
- Edge the complete leaf with relaxed sc, work sl st down the four-chain stem, and fasten off.
- Wet-block to approximately 5 inches from stem end to center-lobe tip.
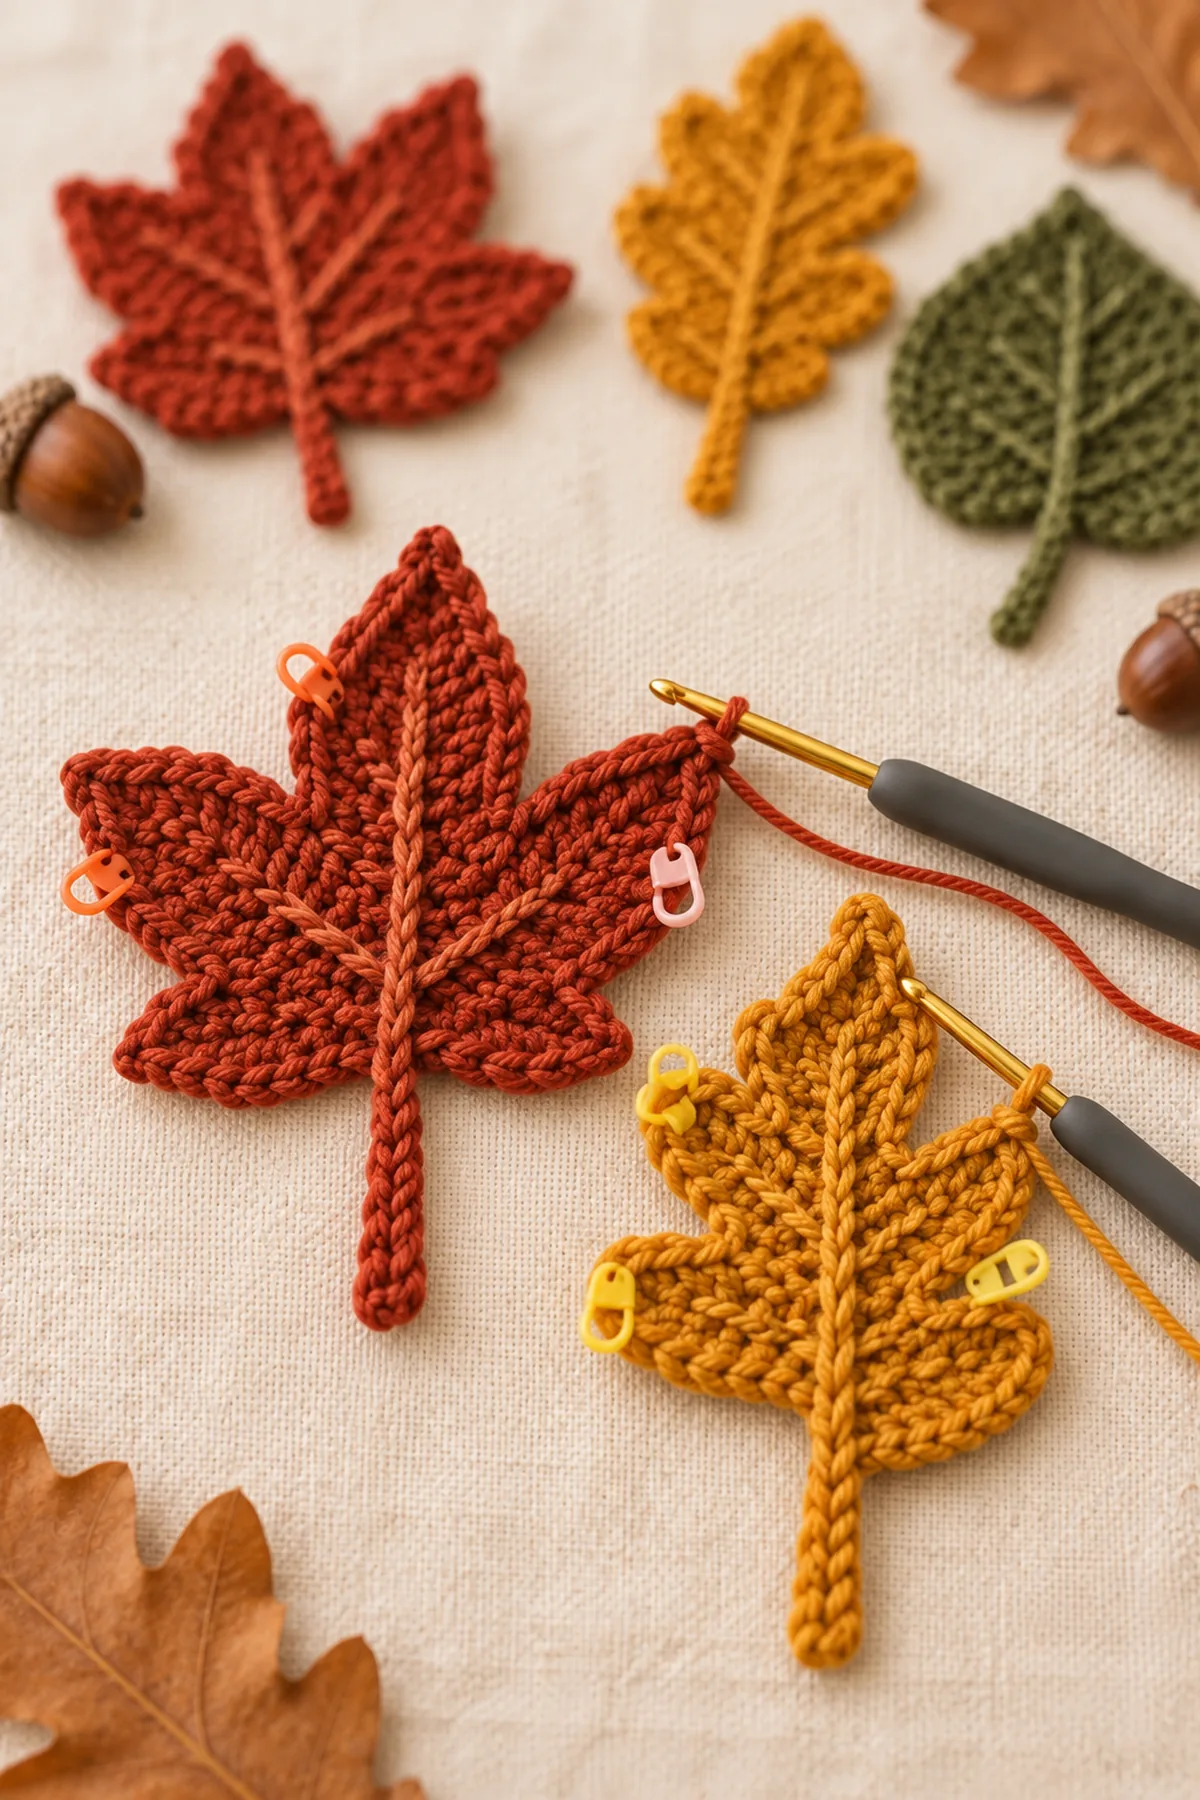
Crochet the Long Oak Leaf
Work paired side lobes along a mustard center chain.
- Oak Row 1: Ch 17. Beginning in the second chain, sc across 12 chains and leave four chains for the stem. Turn. (12 sts)
- Oak Row 2: Work across all 12 blade stitches, alternating short sc/hdc groups with taller dc/tr groups to begin three rounded lobes. (12 sts)
- Across three more shaping rows, refine the three lobe pairs and pointed tip without changing the 12-stitch blade count.
- Mirror the shaping along the opposite edge, sc evenly around, sl st down the stem, and block to approximately 6 inches long.
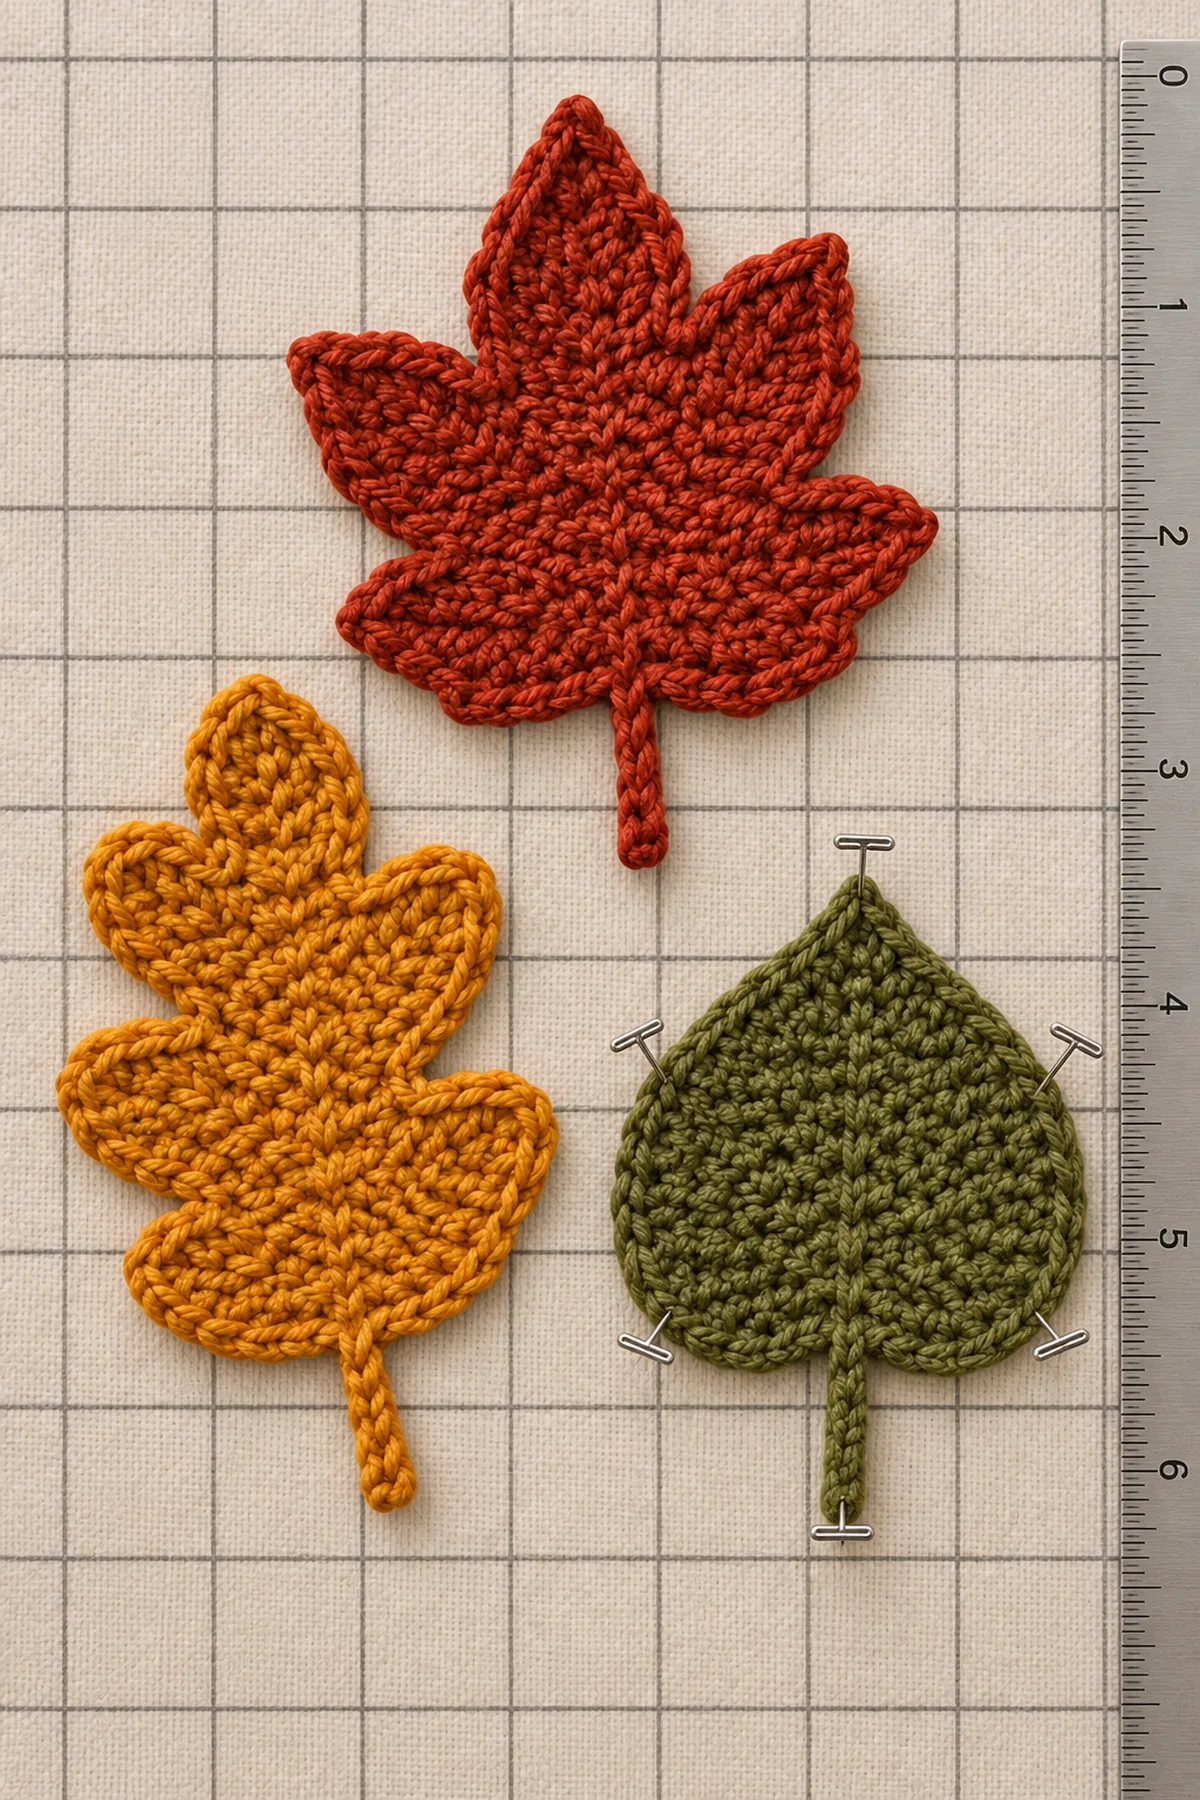
Crochet the Heart-Shaped Aspen Leaf
Use olive and work symmetrically from the lower point.
- Ch 3. In turned rows, increase one stitch at both edges until the row has 13 stitches.
- Work 3 rows even. Then decrease one stitch at each edge for two rows, divide the remaining stitches evenly, and shape two rounded upper lobes separately.
- Join olive at the lower point, ch 6 for the stem, and sl st back along five chains.
- Sc around the complete heart-shaped edge and block to approximately 4.5 inches including the stem.
Add Veins and Finish All Three Leaves
Work the raised lines only after blocking.
- Use matching yarn to surface-slip-stitch from each stem base to the leaf tip.
- Add short diagonal branch veins toward every maple and oak lobe and two branches across the aspen leaf.
- Keep every surface stitch relaxed so the motifs stay flat.
- Weave tails on the wrong side, re-block lightly, dry completely, and display out of children’s reach.
Assembly and Shaping
No motifs are joined. Each leaf is finished independently with its own stem, raised vein, blocking measurements, and hidden tails.
Lay every component on a flat surface before joining. Match the marked centers first, then divide each remaining edge into equal sections. Work through both layers with consistent tension and pause after each section to check that the fabric lies flat. This measured approach prevents twisting and keeps decorative details facing the intended direction.
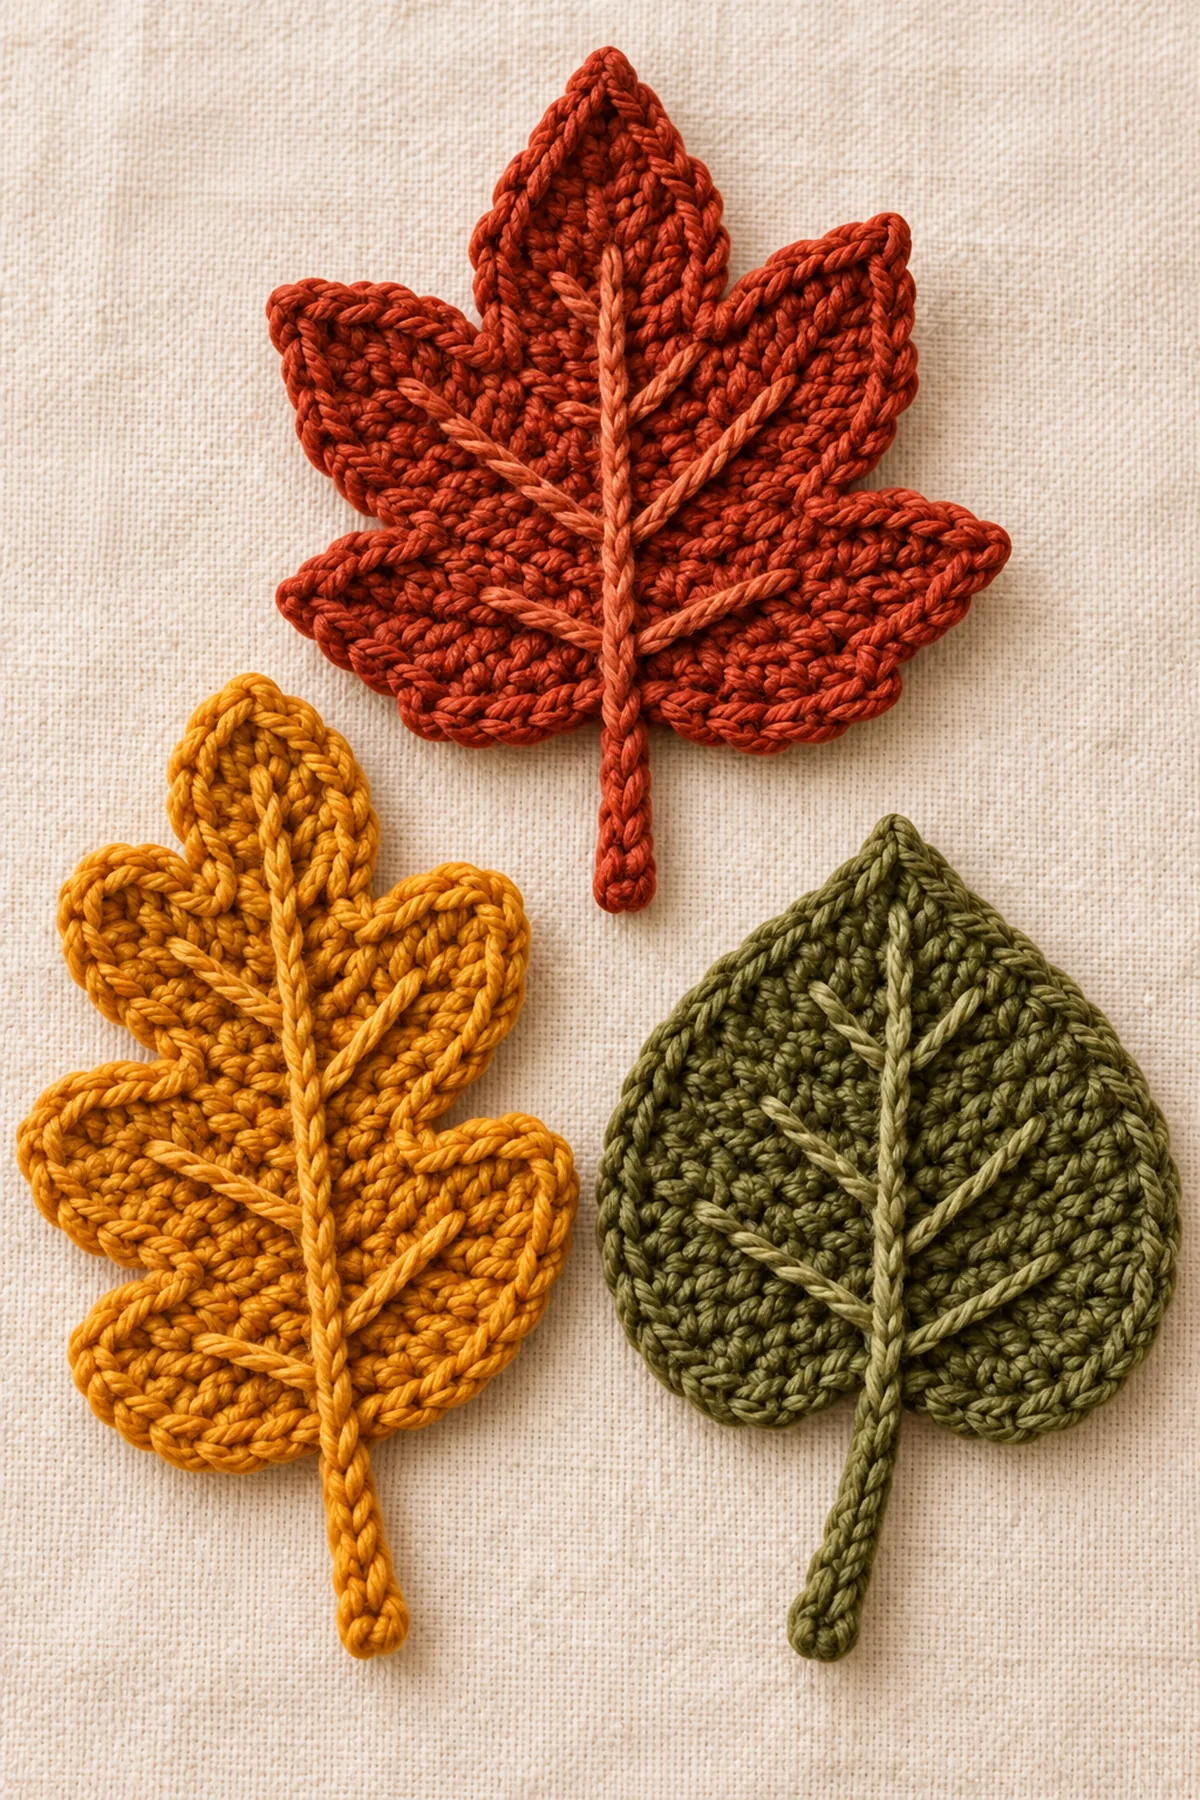
Finishing
- Wet-block each shape separately.
- Add veins after the first blocking.
- Weave tails on the back.
- Store flat between seasons.
For a polished result, weave each tail through several same-color stitches, reverse direction once, and trim only after the fabric has been gently stretched. Block to the listed dimensions without flattening textured stitches. Inspect joins, borders, straps, and decorative pieces before the project is used or gifted.
Helpful Tips
- Use cotton for crisp points.
- Mirror side shaping carefully.
- Pin every lobe while damp.
- Keep surface stitches loose.
Good lighting and a contrasting stitch marker make counting much easier. If a section looks uneven, compare the current count with the previous checkpoint before continuing. Fixing one missed stitch early is faster than compensating later, and it preserves the measurements used by the assembly instructions.
Frequently Asked Questions
Are all three leaves the same shape?
No. The pattern includes distinct maple, oak, and heart-shaped aspen constructions.
Can I use these on a garland?
Yes, but this tutorial finishes individual motifs; the separate leaf-garland article provides measured cord and assembly instructions.
Do the leaves need blocking?
Yes. Wet blocking defines the lobes and keeps the surface veins from distorting the motifs.
Conclusion
The finished set provides three clearly different autumn leaf silhouettes in rust, mustard, and olive. Counted shaping, surface veins, and careful blocking make the motifs useful for flat seasonal decor.
BabyYarnie Printable Crochet Pattern Card
BabyYarnie — easy-to-follow baby crochet for everyday makers.
Project: Crochet Fall Leaves Pattern | Easy Autumn Leaf Tutorial for Decor
Skill level: Easy Hook: 4 mm Yarn: Worsted
Finished size: Maple 5 inches, oak 6 inches, aspen 4.5 inches including stems
Card Materials
- Approximately 55 yards rust worsted-weight cotton yarn
- Approximately 55 yards mustard worsted-weight cotton yarn
- Approximately 45 yards olive worsted-weight cotton yarn
- 4 mm crochet hook
- Six locking stitch markers
- Blocking mat and rustproof pins
- Yarn needle and scissors
Card Instructions
- Crochet the Five-Lobed Maple Leaf: Build a rust maple leaf around a 13-chain center with five mirrored lobes, an edged outline, and four-chain stem.
- Crochet the Long Oak Leaf: Shape a mustard oak leaf around a 17-chain center with three mirrored lobe pairs, pointed tip, and four-chain stem.
- Crochet the Heart-Shaped Aspen Leaf: Increase an olive heart-shaped leaf to 13 stitches, shape two upper lobes, and add a six-chain stem and full edging.
- Add Veins and Finish All Three Leaves: Surface-slip-stitch a relaxed center vein and branches on each blocked leaf, weave tails, and re-block flat.
Finish: Check every count, weave in all ends, block to measurement, and inspect each join.