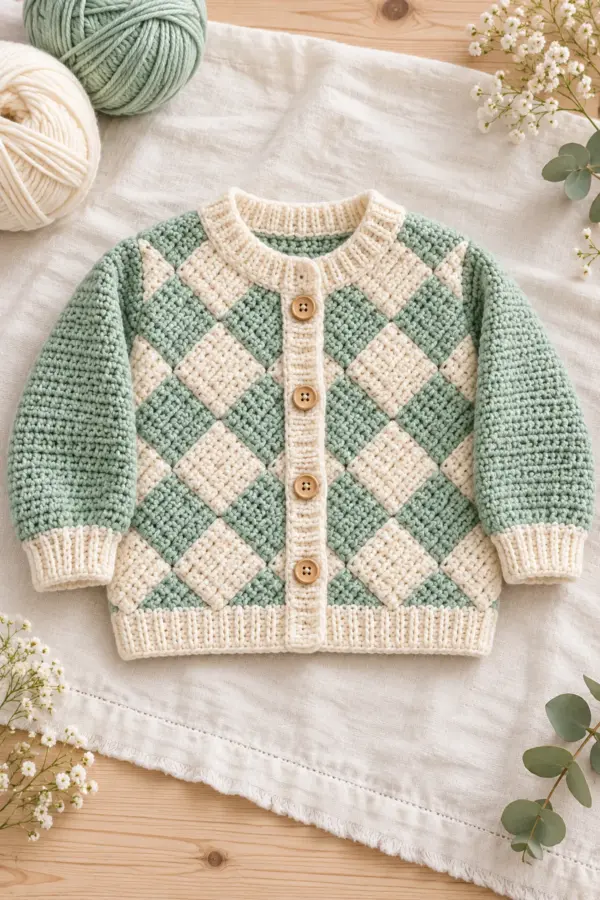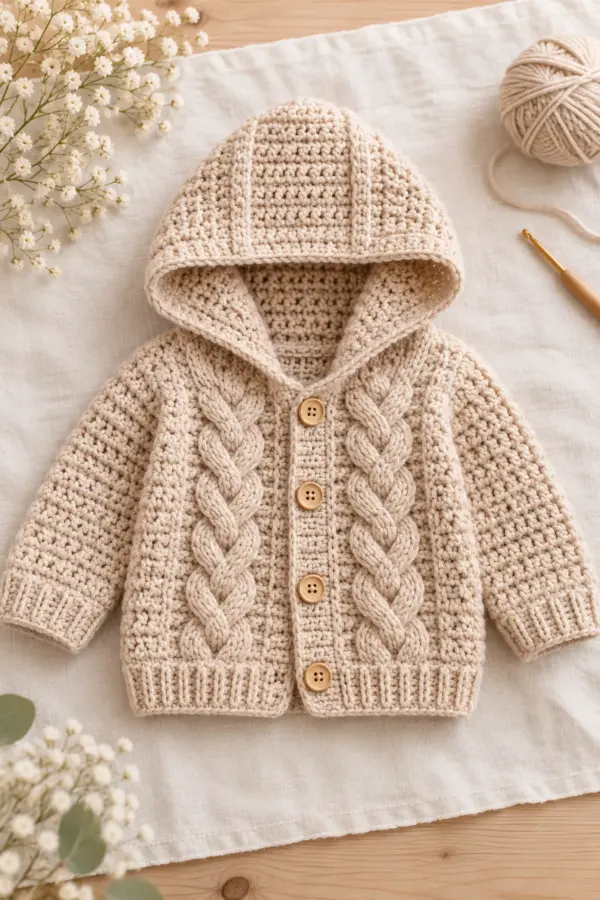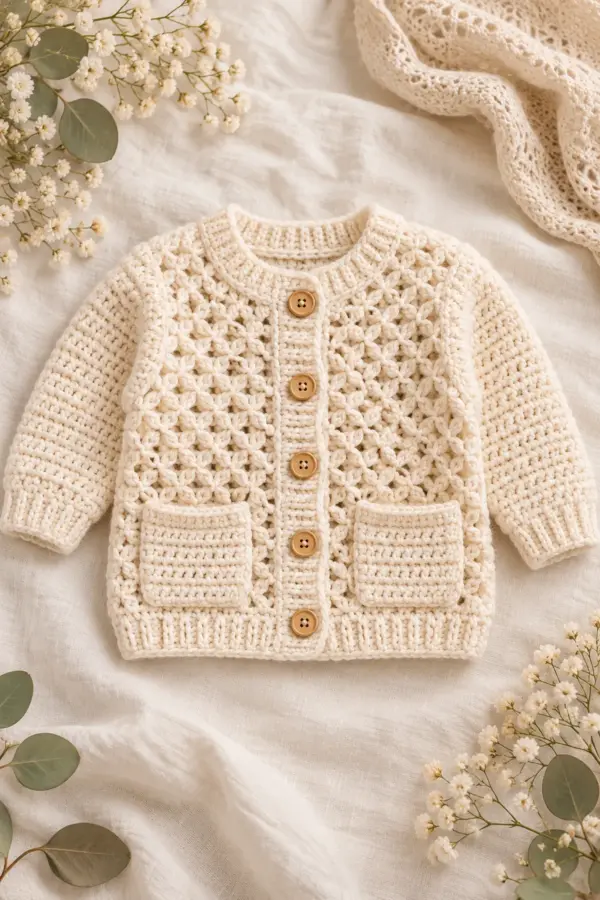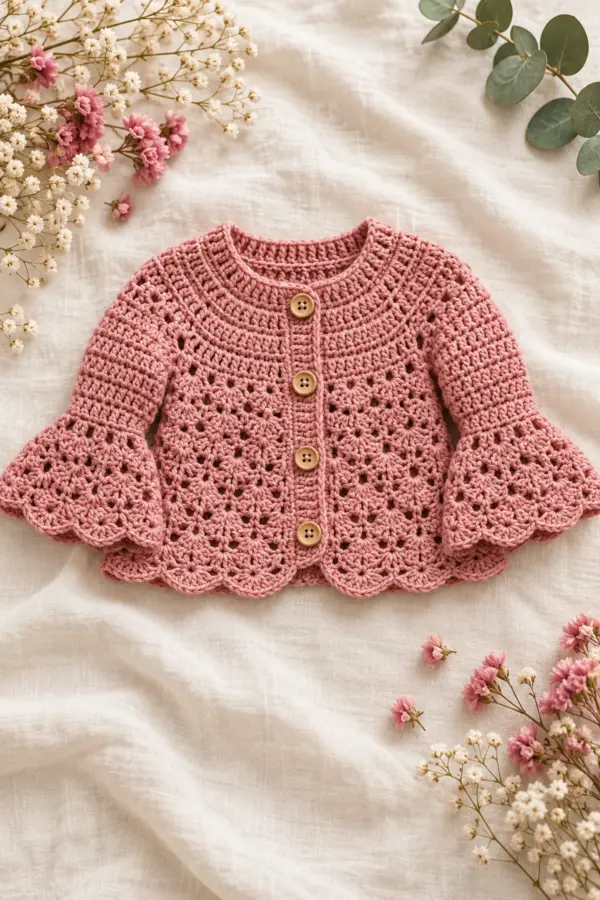
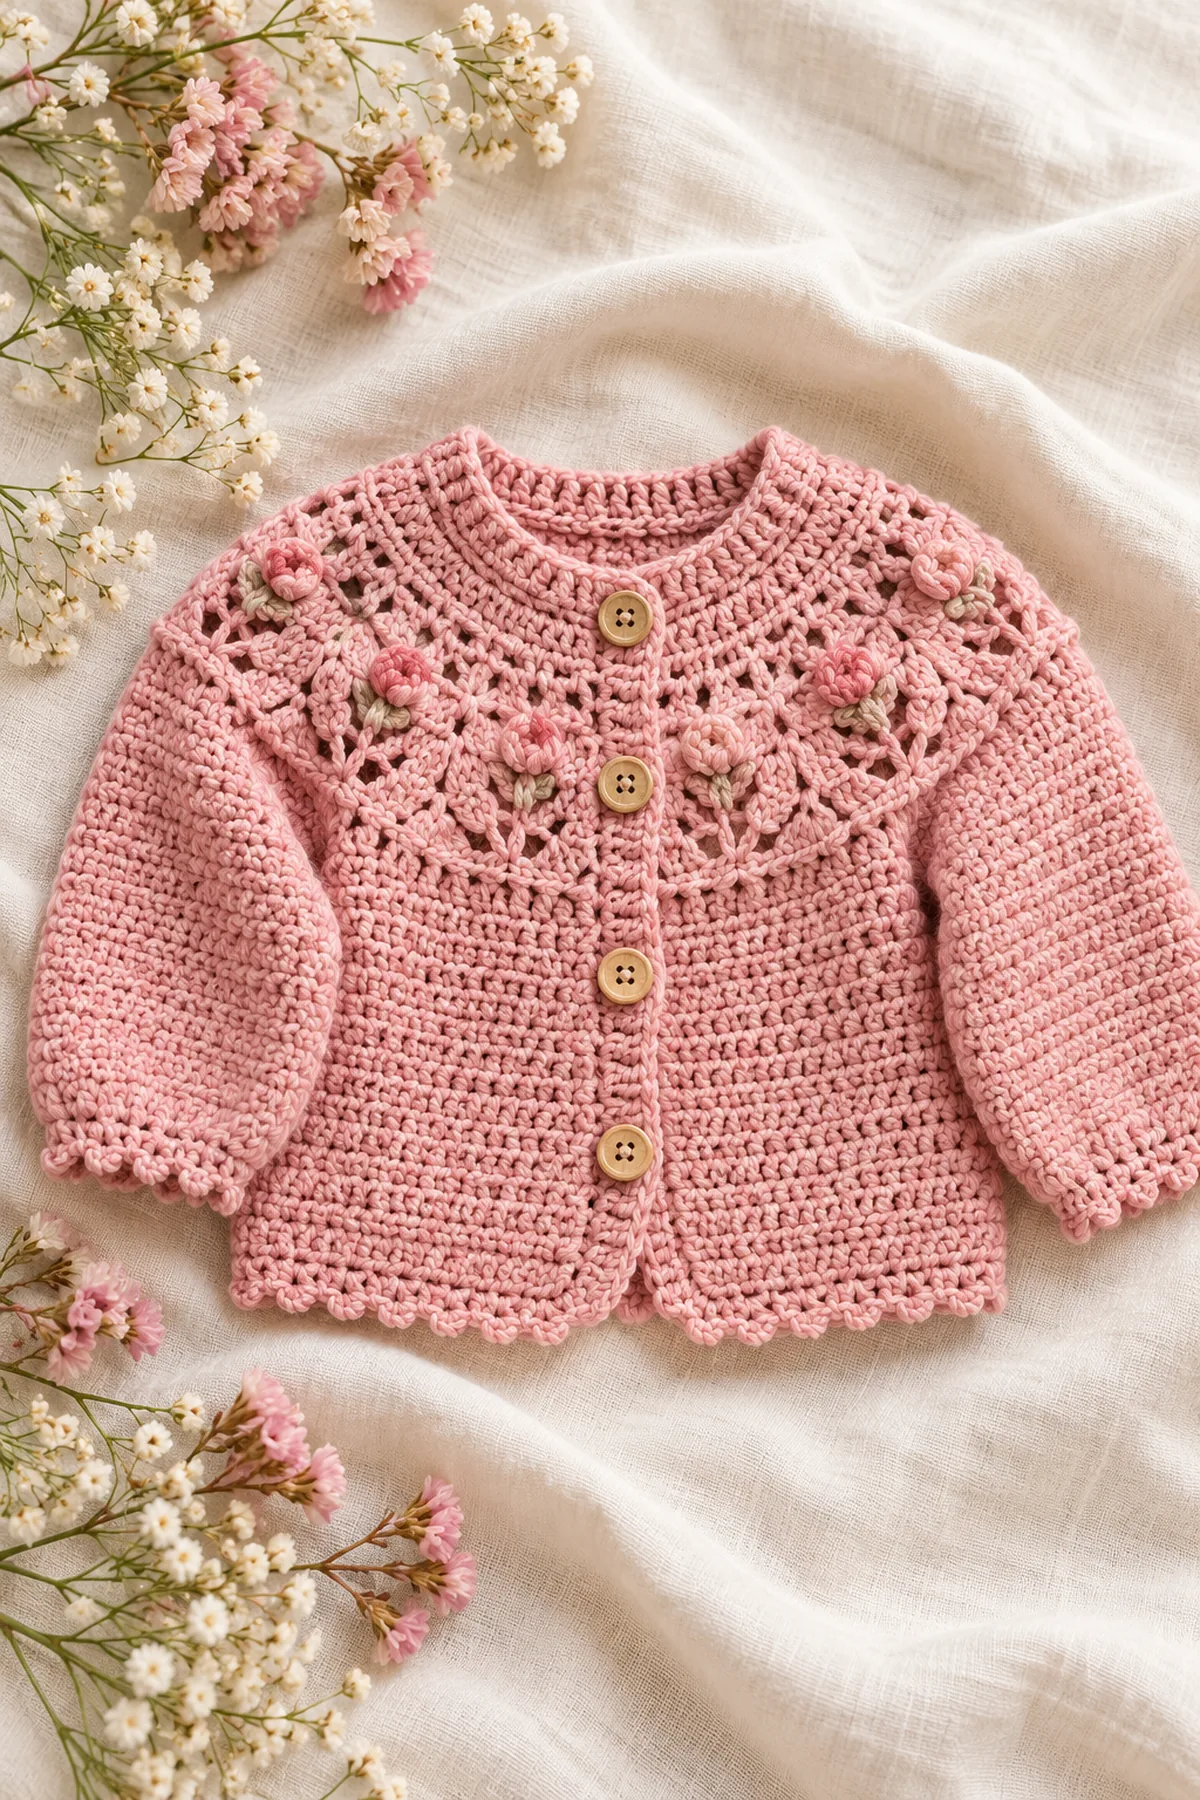
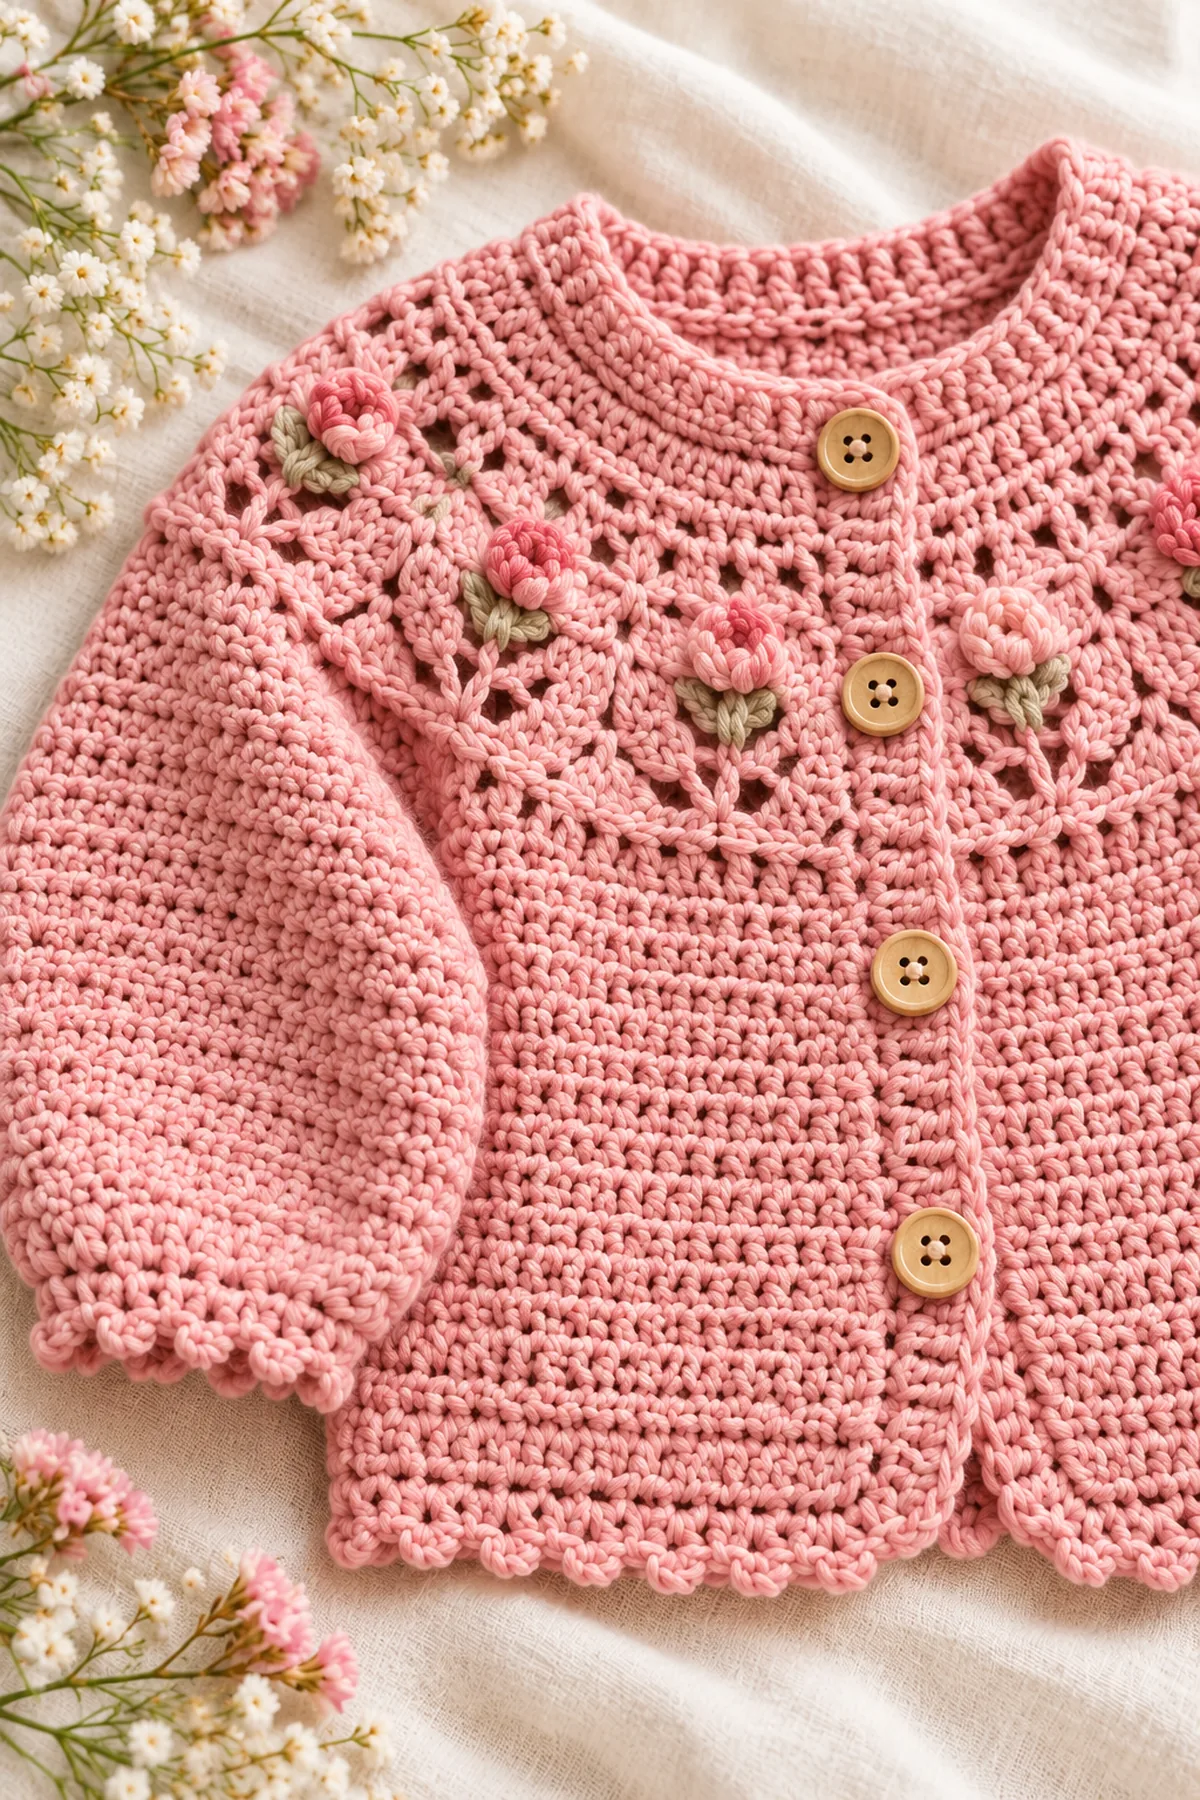
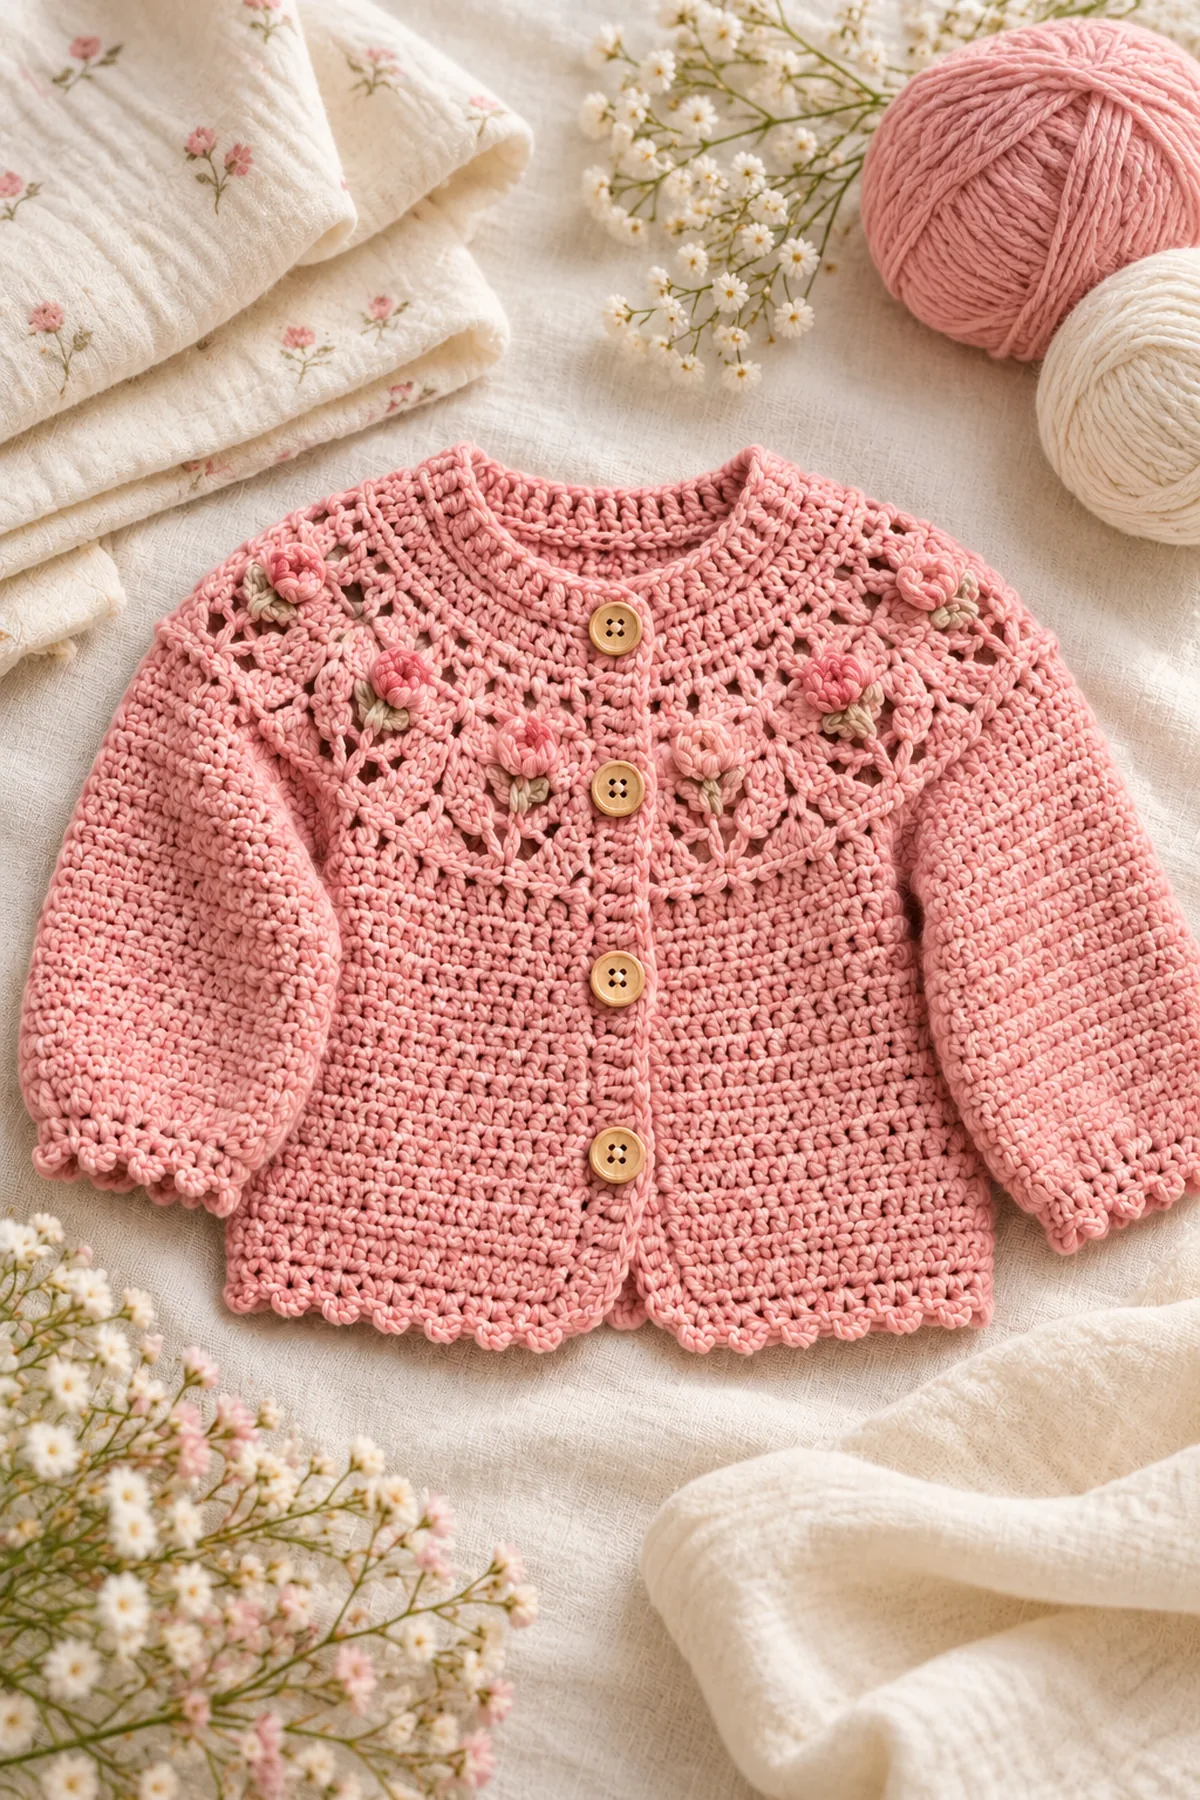
This original BabyYarnie crochet lace yoke baby cardigan pattern uses the supplied collage only as a visual mood reference. A blush cardigan worked top-down from a radial eyelet yoke, with tiny rosebud bobbles between increase fans, plain sleeves and a picot hem. The written construction, stitch counts and shaping are independently developed and numerically reviewed.
This free tutorial is written as an original measured construction rather than a color-only variation. Read the complete pattern before beginning, make a washed gauge swatch, and record the selected size and every adjustment. The stitch audit checks the written arithmetic, but it does not claim a physical sample or fit test.
Development disclosure: The supplied collage is a mandatory visual mood reference only. This independently written tutorial has a numerical stitch audit, but no physical sample test is claimed. AI-generated illustrations are not photographs of a tested sample.
Pattern Details
- Hook Size: 4.0 mm
- Finished Size: 6–12 months; 20 in chest, 11 in length
- Gauge: 18 hdc and 13 rows = 4 in after washing
- Terminology: US
- Construction: Top-down circular yoke, split sleeves, worked-flat body and picot hem
- Yarn Weight: DK (category 3)
- Yarn Amount: 470 yd blush, 40 yd cream
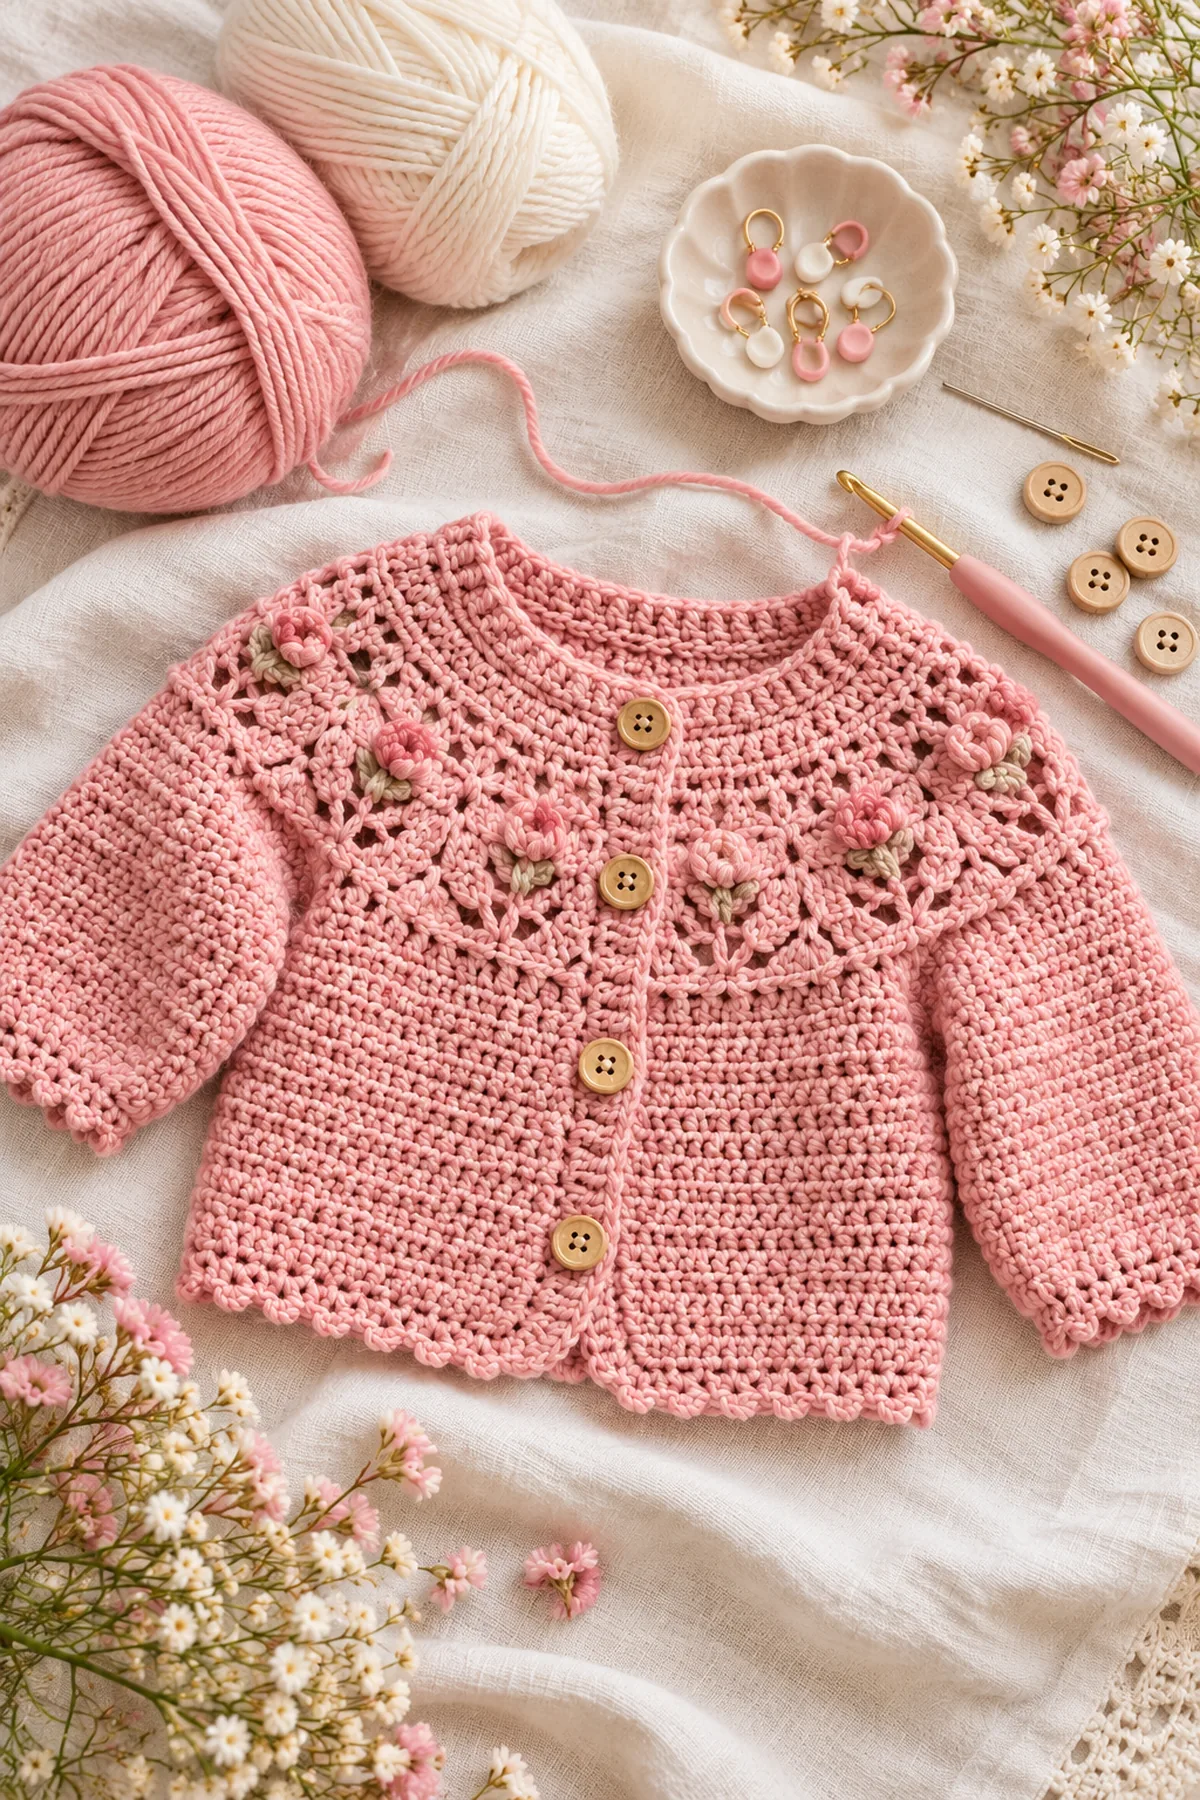
Materials
- DK baby yarn in blush and cream
- 4.0 mm hook; 3.5 mm for bands
- Six markers, yarn needle, scissors and tape
- Four 14 mm buttons or crochet ties
Abbreviations and Special Stitches
- ch: chain
- sc: single crochet
- hdc: half double crochet
- dc: double crochet
- sl st: slip stitch
- st(s): stitch(es)
- inc: increase
- dec: decrease
- BLO: back loop only
Rosebud bobble: yarn over, insert and draw up a loop three times in one stitch, yarn over and pull through all seven loops; close with ch 1.
Gauge, Sizing and Planning
Wash and dry a generous swatch in the same yarn, hook and colorwork method planned for the project. Measure only the relaxed center. If the stitch gauge is too tight, move up a hook; if it is too loose, move down. Recheck row gauge because length and shaping depend on it. Parenthetical counts follow the listed size order throughout. Place removable markers at all shaping points and recount before moving to the next section.
Instructions
Crochet the Radial Yoke
- With blush ch 55. Row 1: hdc in third chain and across: 53 sts. Place six markers after stitches 8, 16, 24, 29, 37 and 45.
- Row 2: hdc to each marker and work 2 hdc in the marked stitch; hdc elsewhere: 59 sts. Row 3 even: 59 sts. Continue alternating six-increase and even rows through Row 10: 83 sts.
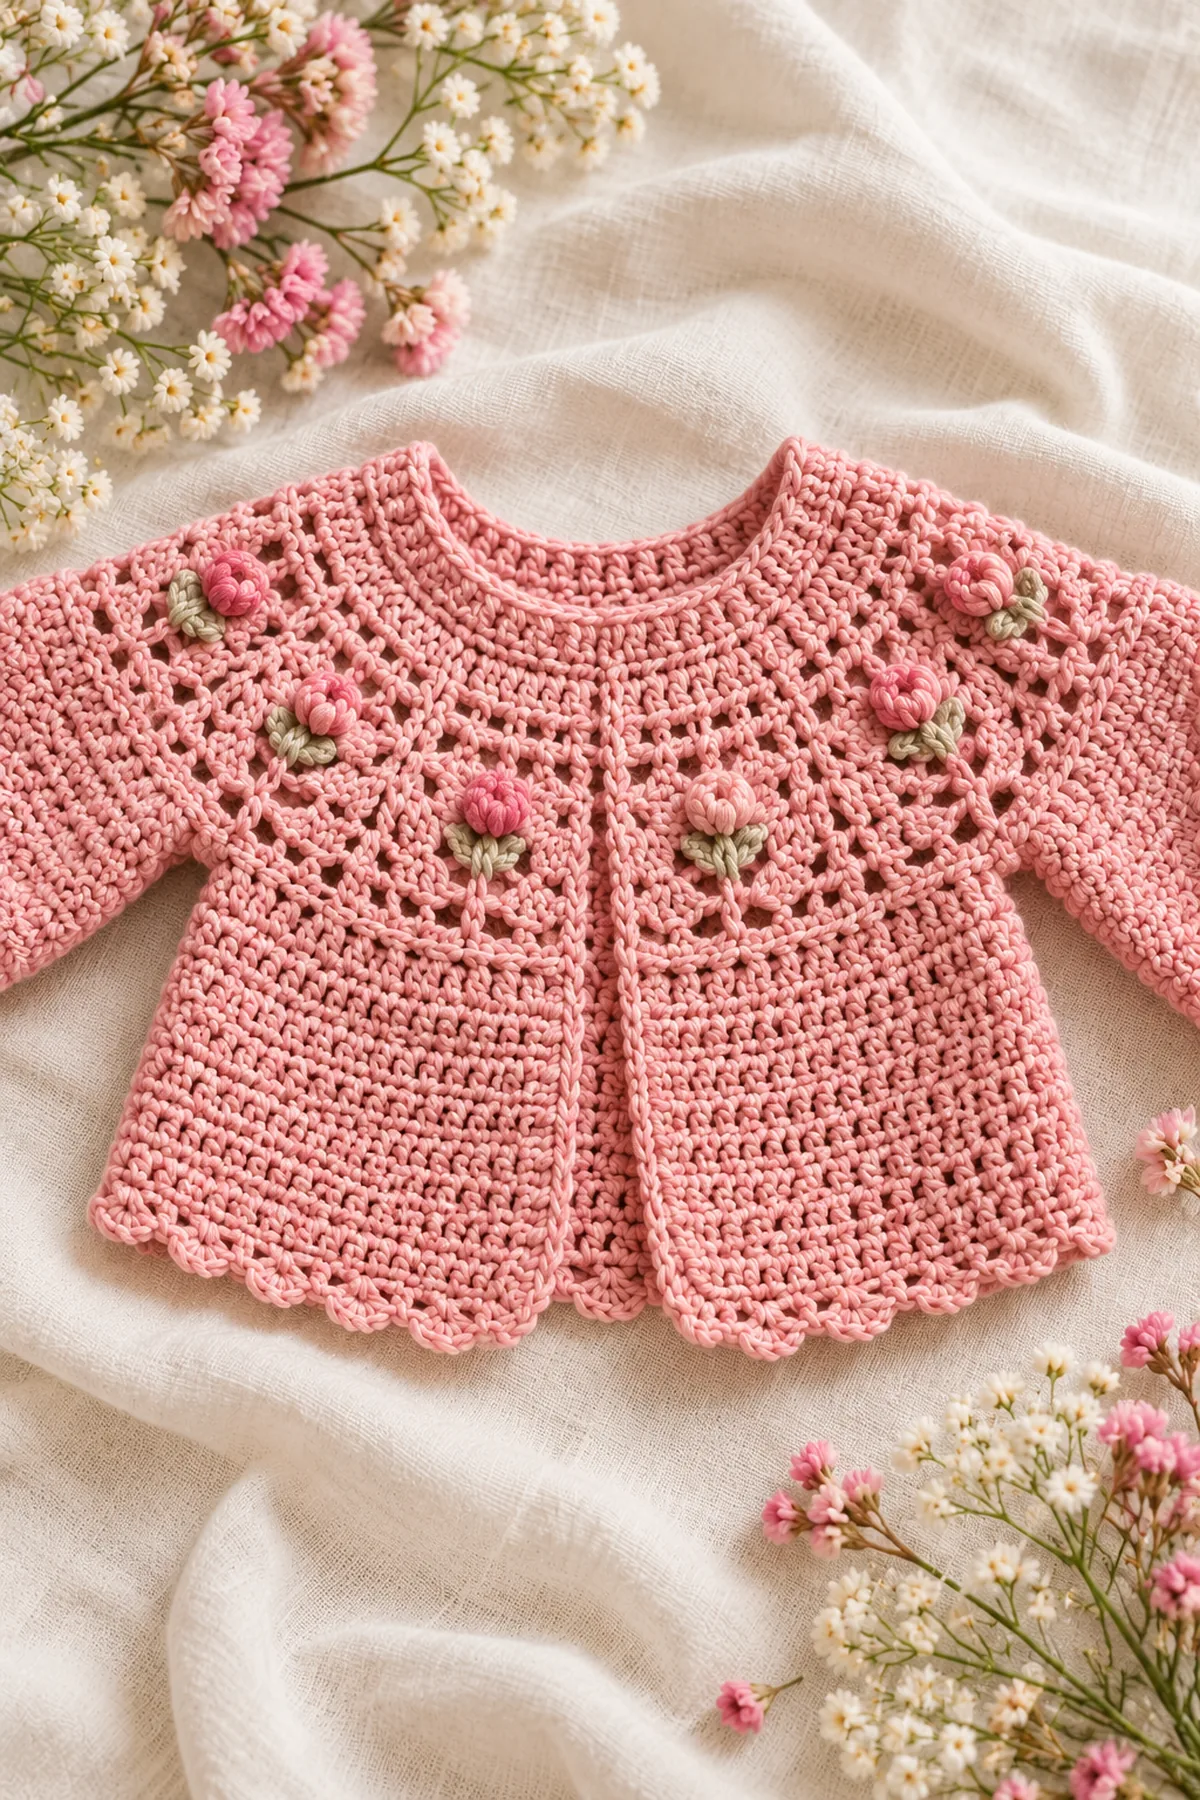
- Rows 11–14 form the lace band. On each right-side row work [dc, ch 1, dc] at every marker and a rosebud bobble halfway between markers; work hdc into stitches and chain spaces on wrong-side rows. The final yoke has 95 counted positions.
- Row 15 divide: hdc 15 first front, hold 18 sleeve stitches, ch 4, hdc 29 back, hold 18, ch 4, hdc 15 second front: 67 body positions.
Body and Sleeves
- Work 24 hdc rows over 67 body positions, turning with ch 2 that does not count. On every sixth row add one rosebud bobble to each front, keeping them mirrored.
- Hem: work one sc row, then repeat [sc 2, ch 3, sl st in first chain, sc 2] across for a small picot edge. Adjust only the final spacing, not the body count.
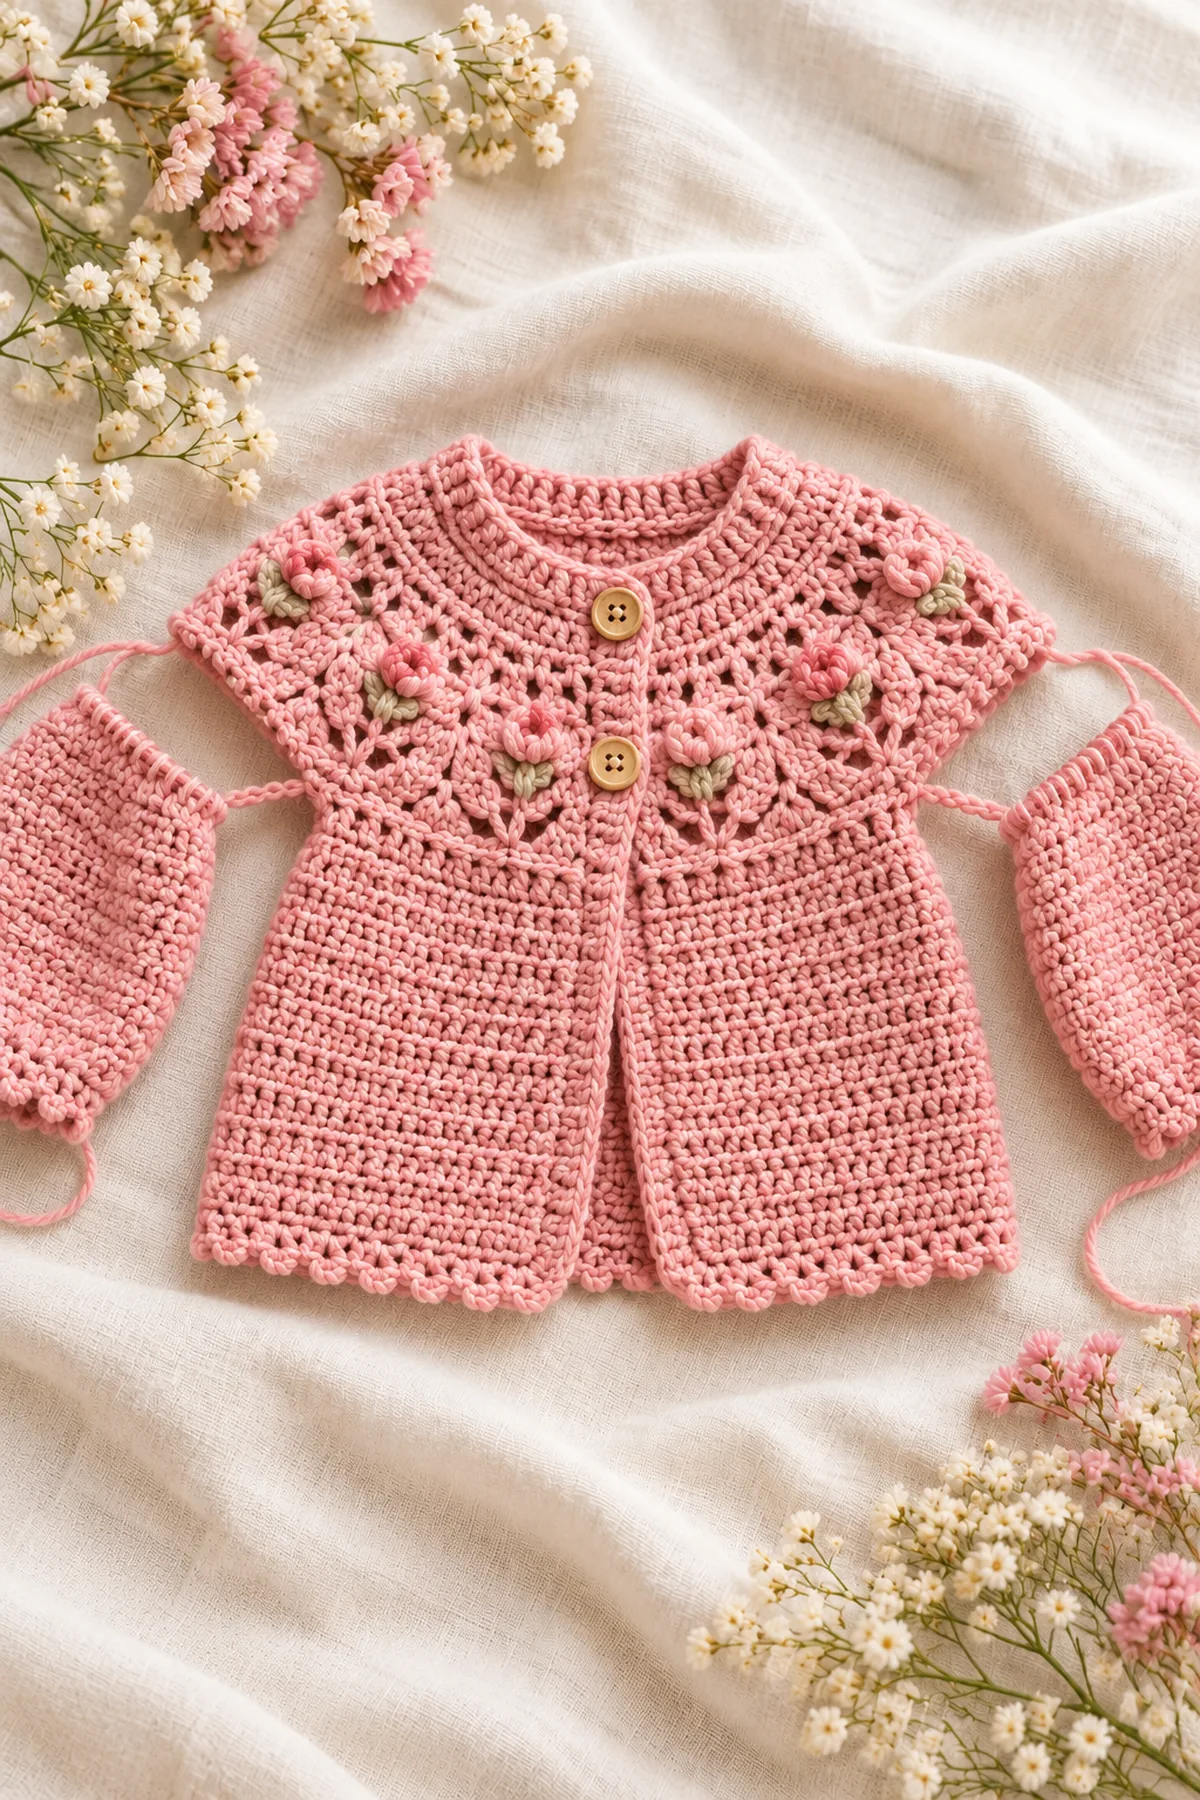
- For each sleeve return 18 held stitches, work 4 hdc across the bridge and one hdc in each corner gap: 24 sts. Work 18 joined rounds, decreasing two stitches on Rounds 6, 12 and 18: 24→22→20→18.
- Finish each cuff with five BLO-sc rounds over 18 stitches. Make the second sleeve before weaving ends and compare lengths.
Bands and Finishing
- With the smaller hook work sc evenly up the right front, around the neck and down the left front. Add four BLO-sc rows, forming four ch-2 buttonholes on Row 3.
- Sew buttons opposite with doubled yarn, or replace them with four pairs of 4-inch crochet ties. Reinforce each attachment point.
- Wet-block flat, keeping the yoke round and the picots open. Confirm a 20-inch chest and equal sleeves before use.
Finishing
- Secure underarms, shoulder areas and bands with hidden duplicate passes.
- Wash and dry flat, then compare chest, body length and sleeve length with the finished-size plan.
- Inspect buttons or ties before every supervised wear and remove the garment for sleep.
Tips
- Make and wash a generous gauge swatch.
- Move shaping markers every row and recount before continuing.
- Work both sleeves before weaving ends so they can be compared.
- Choose crochet ties for a small-parts-free closure.
Frequently Asked Questions
Can I resize this cardigan?
Use the washed stitch and row gauge to recalculate the yoke or panels; changing only hook size can distort proportions.
Can I use another yarn?
Yes, if the washed gauge and drape match and the fiber is soft, washable and suitable for baby clothing.
Are buttons required?
No. Replace them with securely anchored crochet ties and inspect all closures before use.
Conclusion
The finished project combines measured shaping, readable colorwork and practical finishing in one complete original crochet construction. Compare the finished measurements with the plan, confirm that every seam and carried strand is secure, and follow the yarn label for washing and storage.
Audited stitch-count references: (53 sts), (59 sts), (65 sts).
Printable Pattern Card
Yoke begins 53 and gains six on increase rows. Final yoke 95; divide 15 front +18 sleeve +29 back +18 sleeve +15 front, add two 4-chain bridges for 67 body positions.