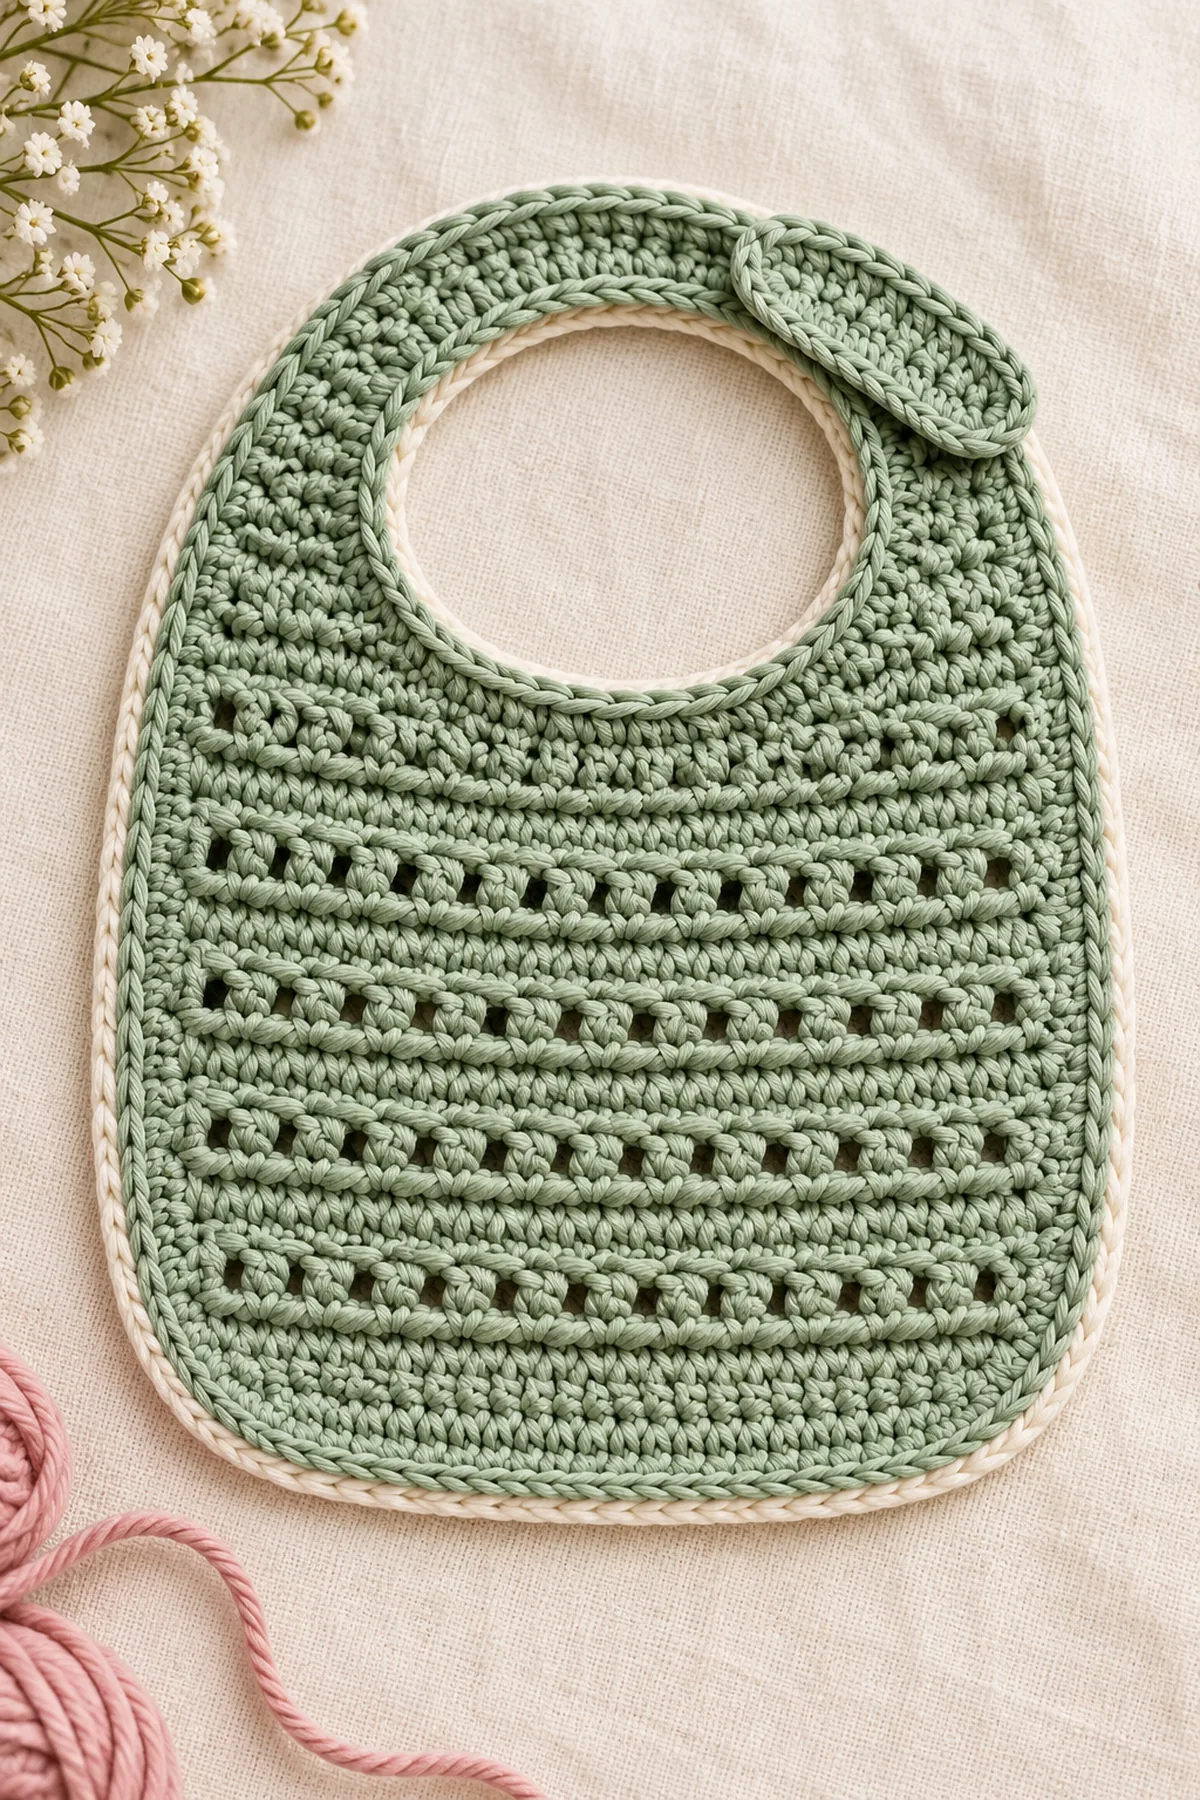
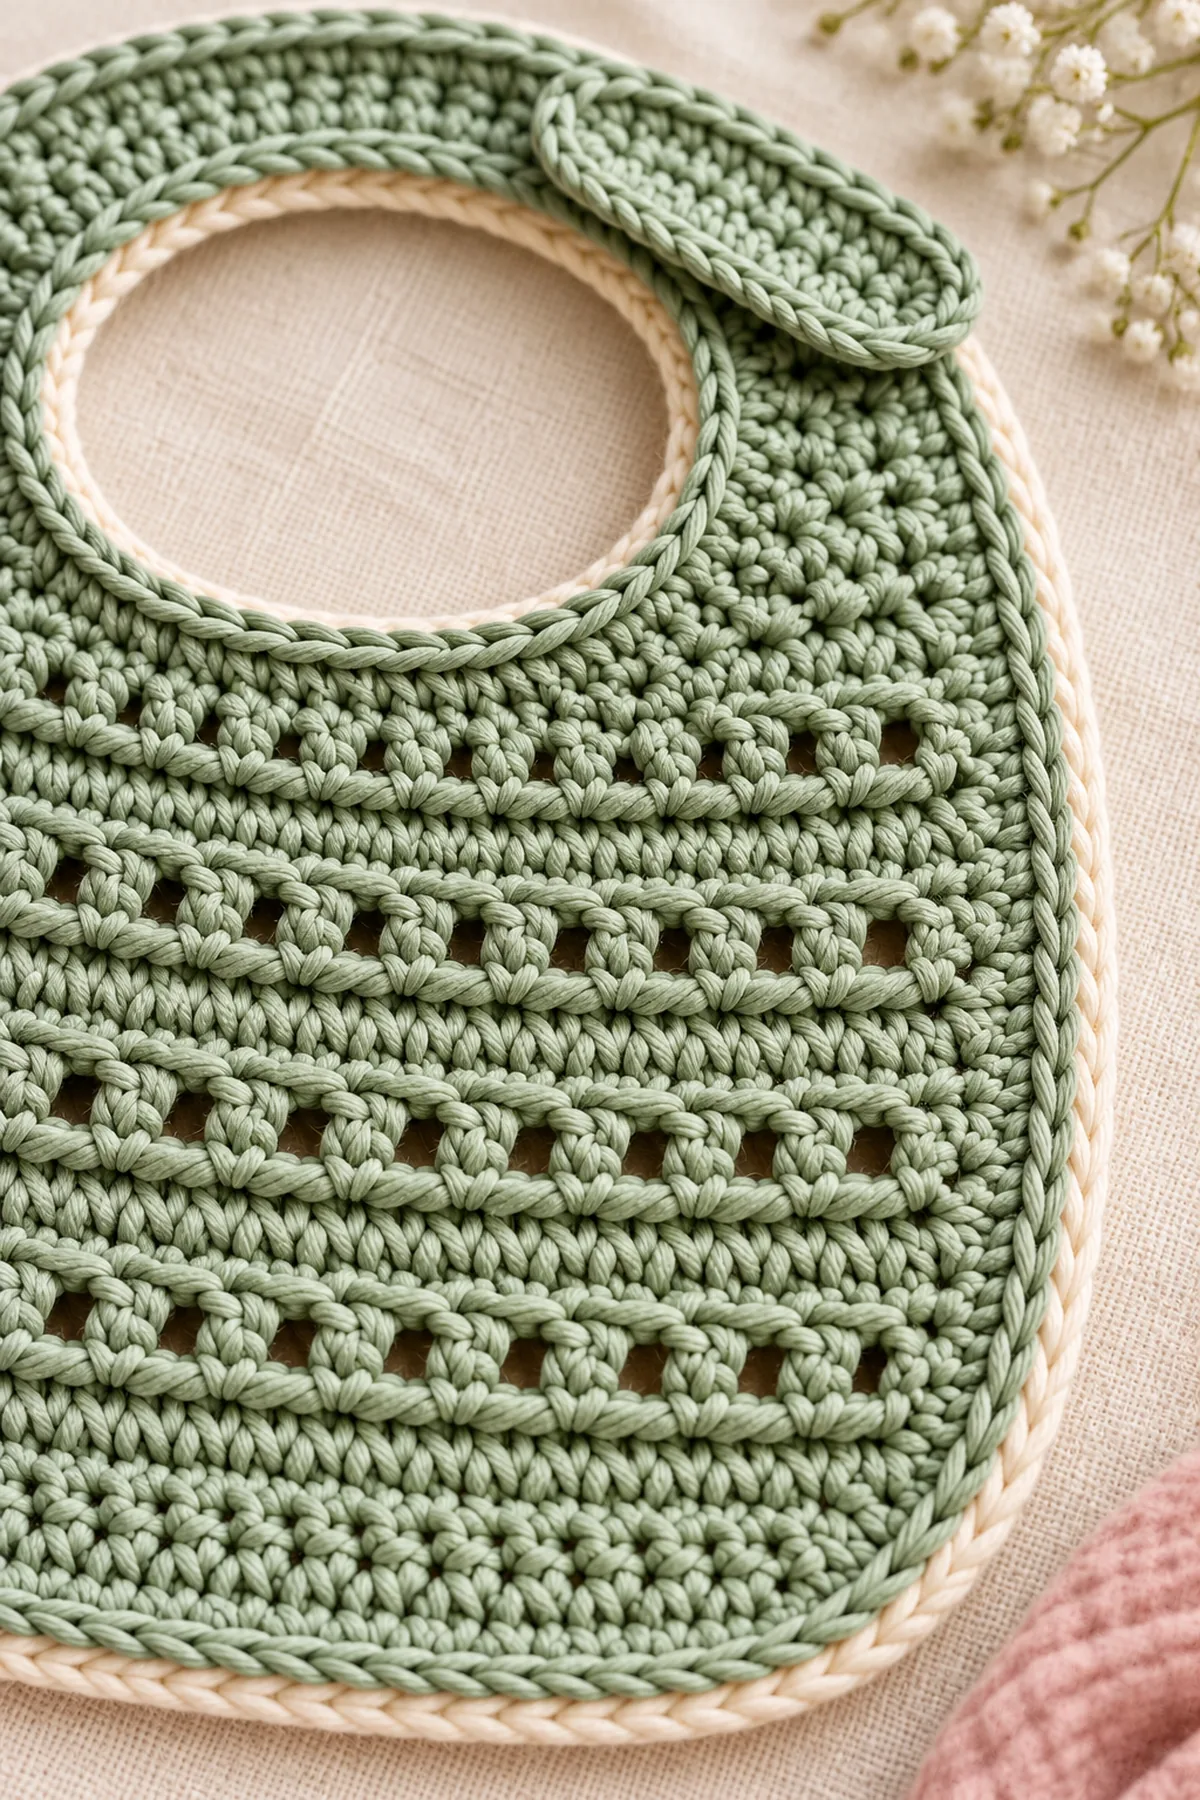
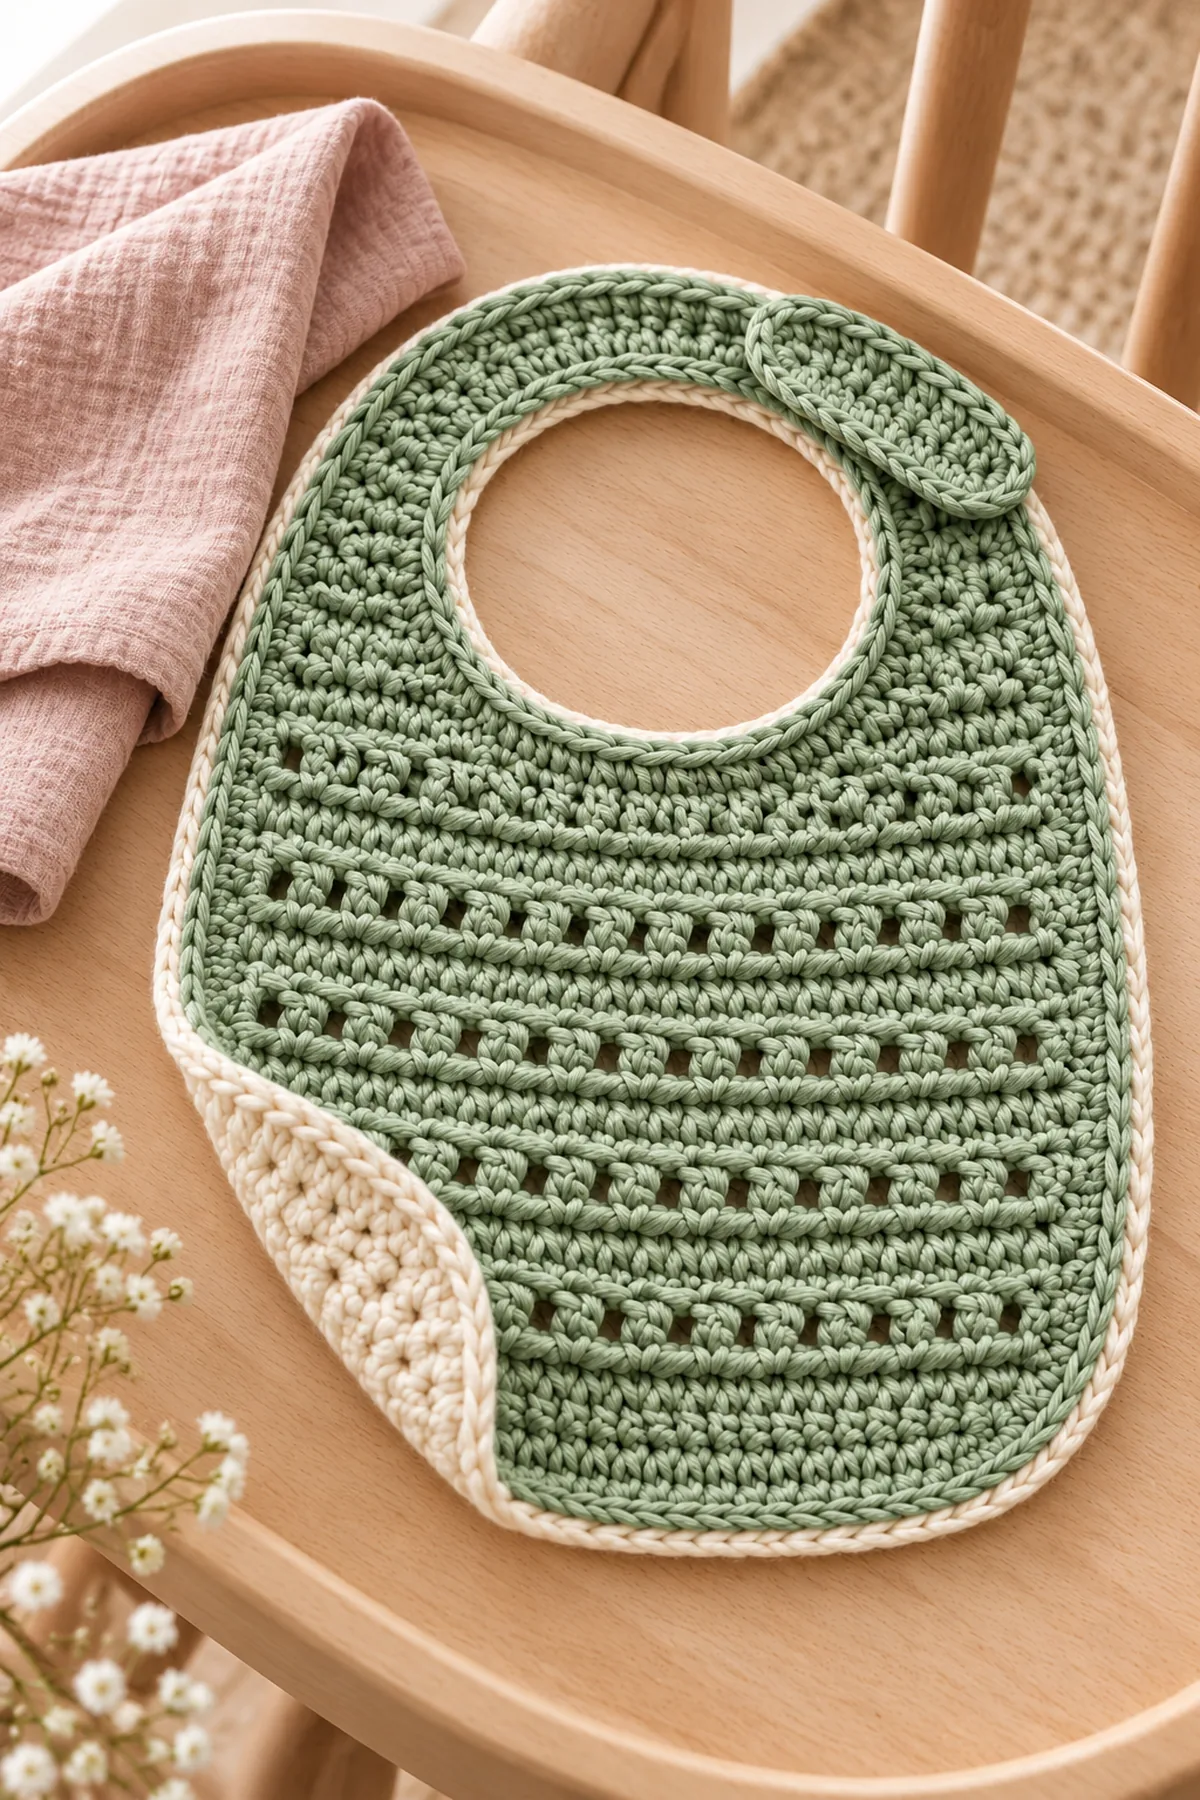
This original BabyYarnie crochet baby bib free pattern turns the supplied photograph into an independently written crochet construction. An absorbent reversible cotton bib with a shaped oval body, alternating solid and eyelet bands, a smooth back layer and a crocheted side tie-tab closure. Distinct from the site's existing simple and scalloped bibs. The photograph guides color, proportion and styling only; it is not a source of written instructions or stitch counts.
This free tutorial is written as an original measured construction rather than a color-only variation. Read the complete pattern before beginning, make a washed gauge swatch, and record the selected size and every adjustment. The stitch audit checks the written arithmetic, but it does not claim a physical sample or fit test.
Development disclosure: The supplied photograph is a mandatory visual design reference only. This independently written BabyYarnie tutorial has a numerical stitch audit, but no physical sample test is claimed. The AI-generated design illustrations are not photographs of a tested sample; follow the written counts and swatch before use.
Pattern Details
- Hook Size: 4.0 mm
- Finished Size: Body 7 in wide by 8 in long; adjustable 0–24 months
- Gauge: 16 hdc and 12 rows = 4 in
- Terminology: US
- Construction: Two shaped flat panels joined around the edge with a side tie tab
- Yarn Weight: Worsted cotton (category 4)
- Yarn Amount: 95 yd front color and 75 yd cream backing
Materials
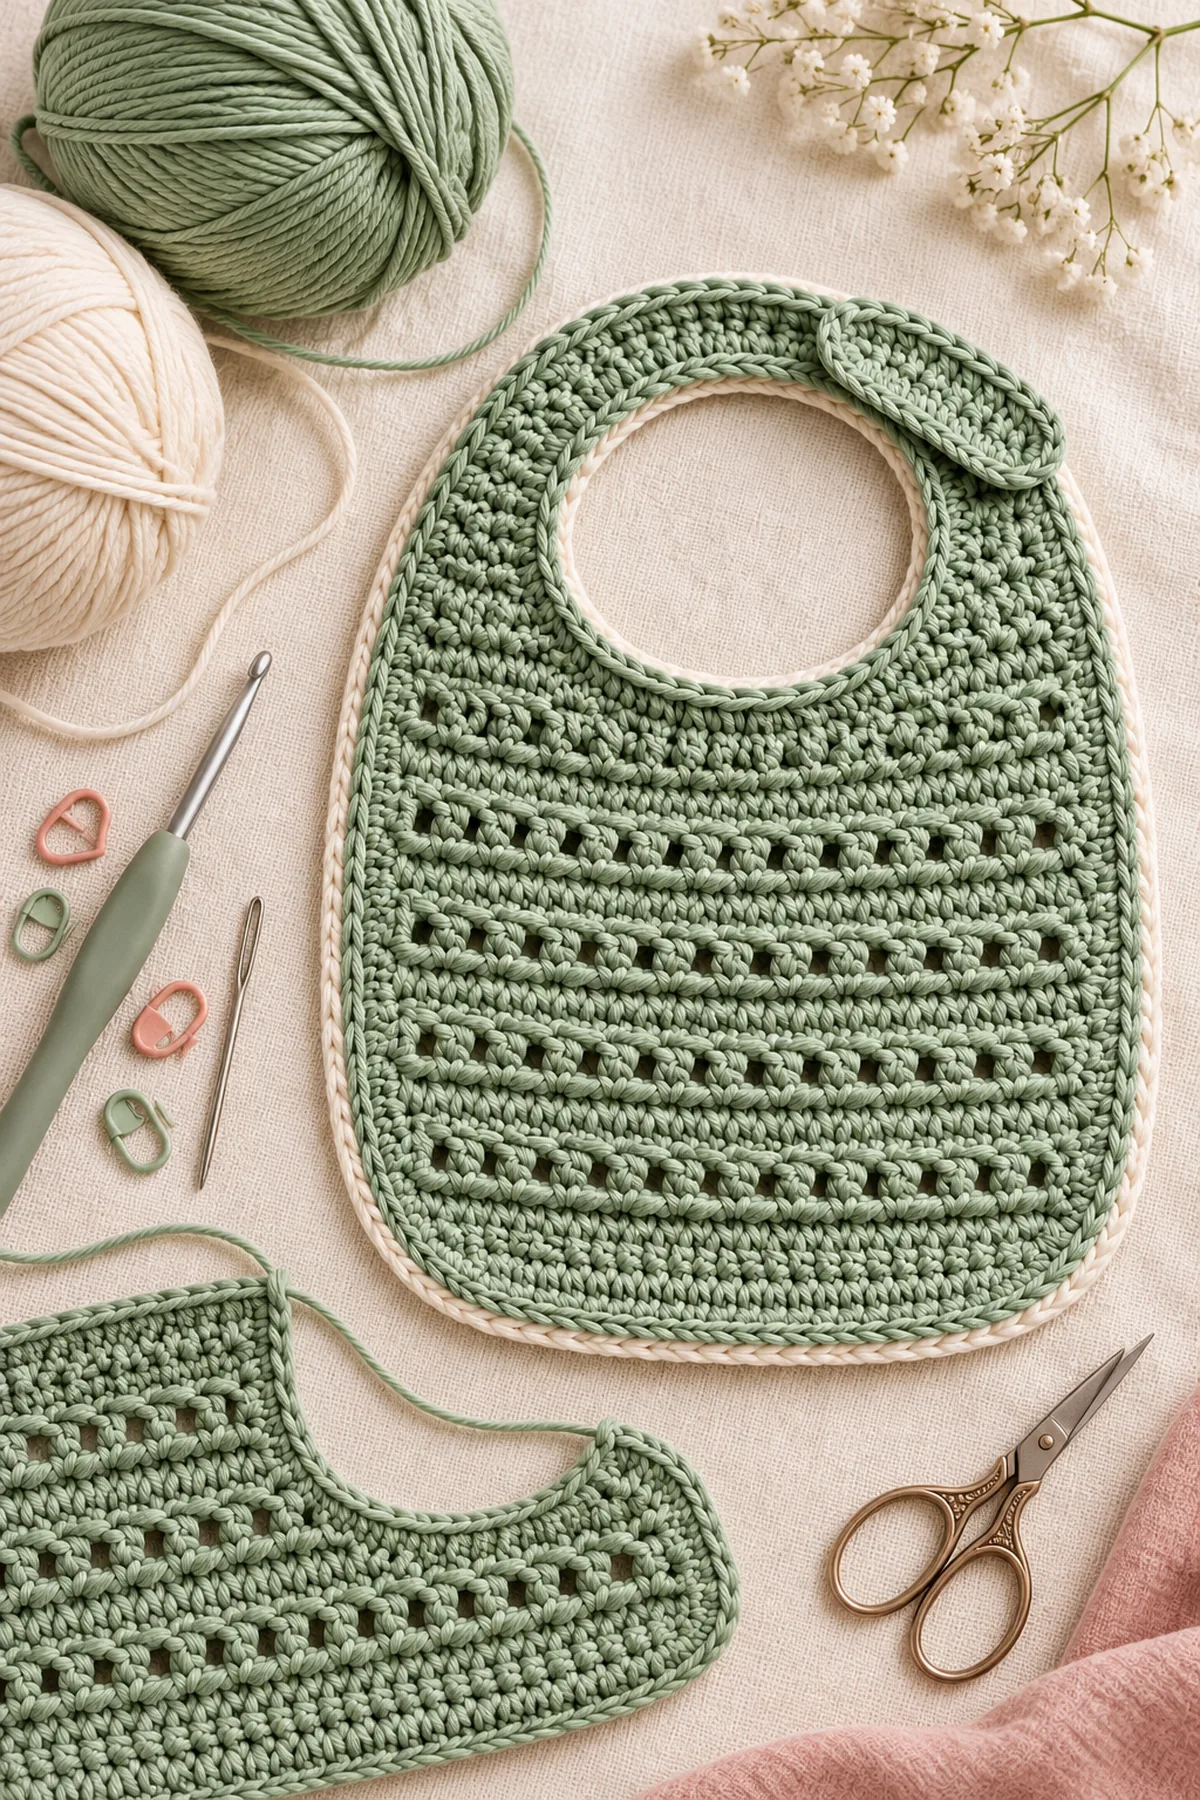
- Machine-washable 100% cotton in sage, rose or cream plus cream backing
- 4.0 mm hook, locking markers, blunt needle and scissors
- Optional flat washable button only for supervised use; crochet tie closure is the default
Abbreviations and Special Stitches
- ch: chain
- sc: single crochet
- hdc: half double crochet
- dc: double crochet
- sl st: slip stitch
- st(s): stitch(es)
- inc: 2 stitches in one stitch
- dec: single crochet two together
- BLO: back loop only
Eyelet row: hdc in first 2 stitches, then repeat [ch 1, skip 1, hdc in next 2] across, keeping the edge increases outside the repeat. On the next row work into both stitches and chain spaces.
Gauge, Sizing and Planning
Wash and dry a generous swatch in the same yarn, hook and colorwork method planned for the project. Measure only the relaxed center. If the stitch gauge is too tight, move up a hook; if it is too loose, move down. Recheck row gauge because length and shaping depend on it. Parenthetical counts follow the listed size order throughout. Place removable markers at all shaping points and recount before moving to the next section.
Instructions
Shape the Eyelet Front
- Ch 33. Row 1: hdc in the third chain and across; ch 2 and turn: 31 sts. The turning chain does not count.
- Row 2: 2 hdc in first stitch, hdc across, 2 hdc in last: 33 sts. Row 3 even: 33. Repeat an increase row and an even row three more times to reach 39 stitches on Row 8.
- Rows 9–24: maintain 39 positions. Work the eyelet repeat on Rows 10, 14, 18 and 22; on all other rows work hdc across, treating each chain-1 space as one position.
- Rows 25–32 shape the shoulders: decrease one stitch at both ends of every row, giving 37, 35, 33, 31, 29, 27, 25 and 23 sts.
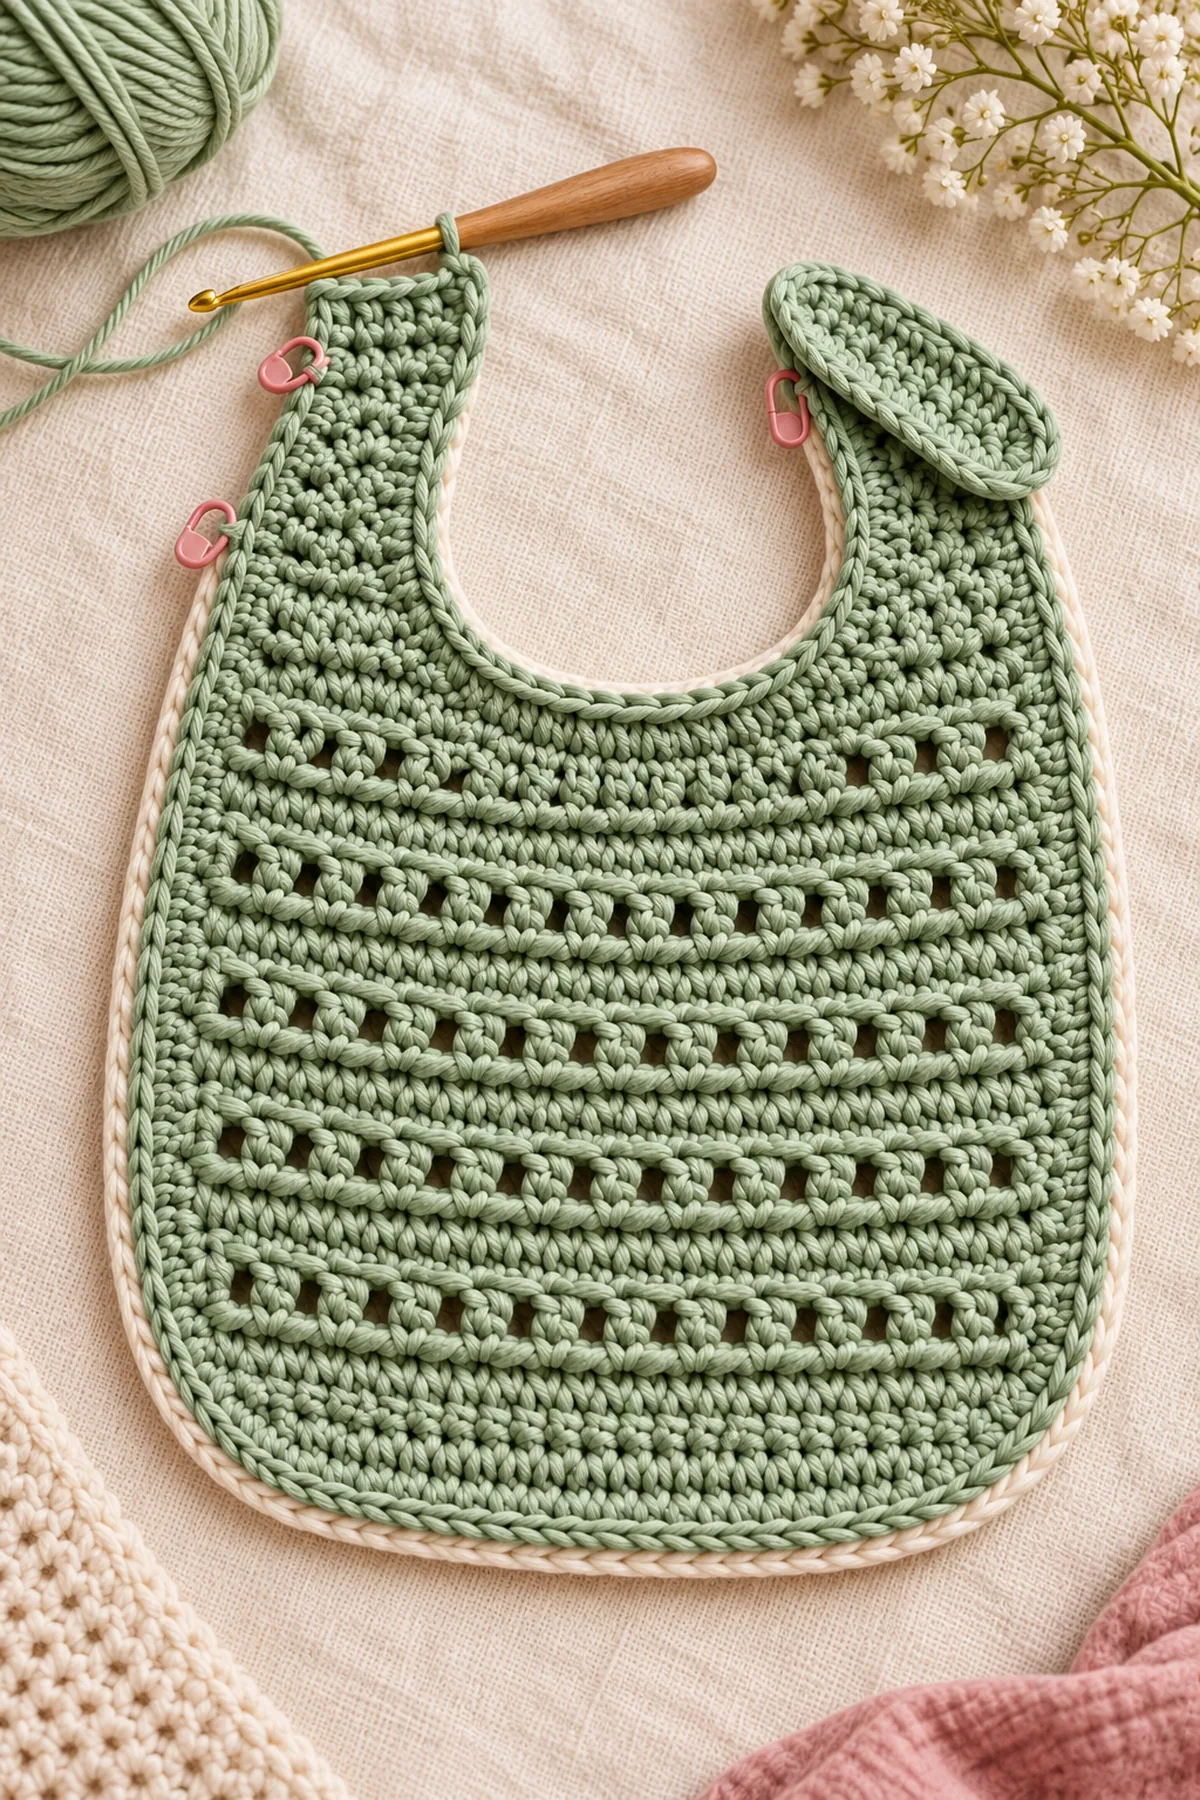
- Row 33: hdc 7, fasten off; skip 9 center neck stitches, join yarn and hdc the final 7 stitches. Work each 7-stitch strap for 10 more rows. Extend the left strap by 12 rows to form the side tie tab.
Make the Smooth Back
- In cream, repeat Rows 1–33 with solid hdc only; preserve the same counts and neck split.
- Work both back straps for 10 rows, but do not extend either one. Lay front and back wrong sides together and confirm every edge and neck curve matches.
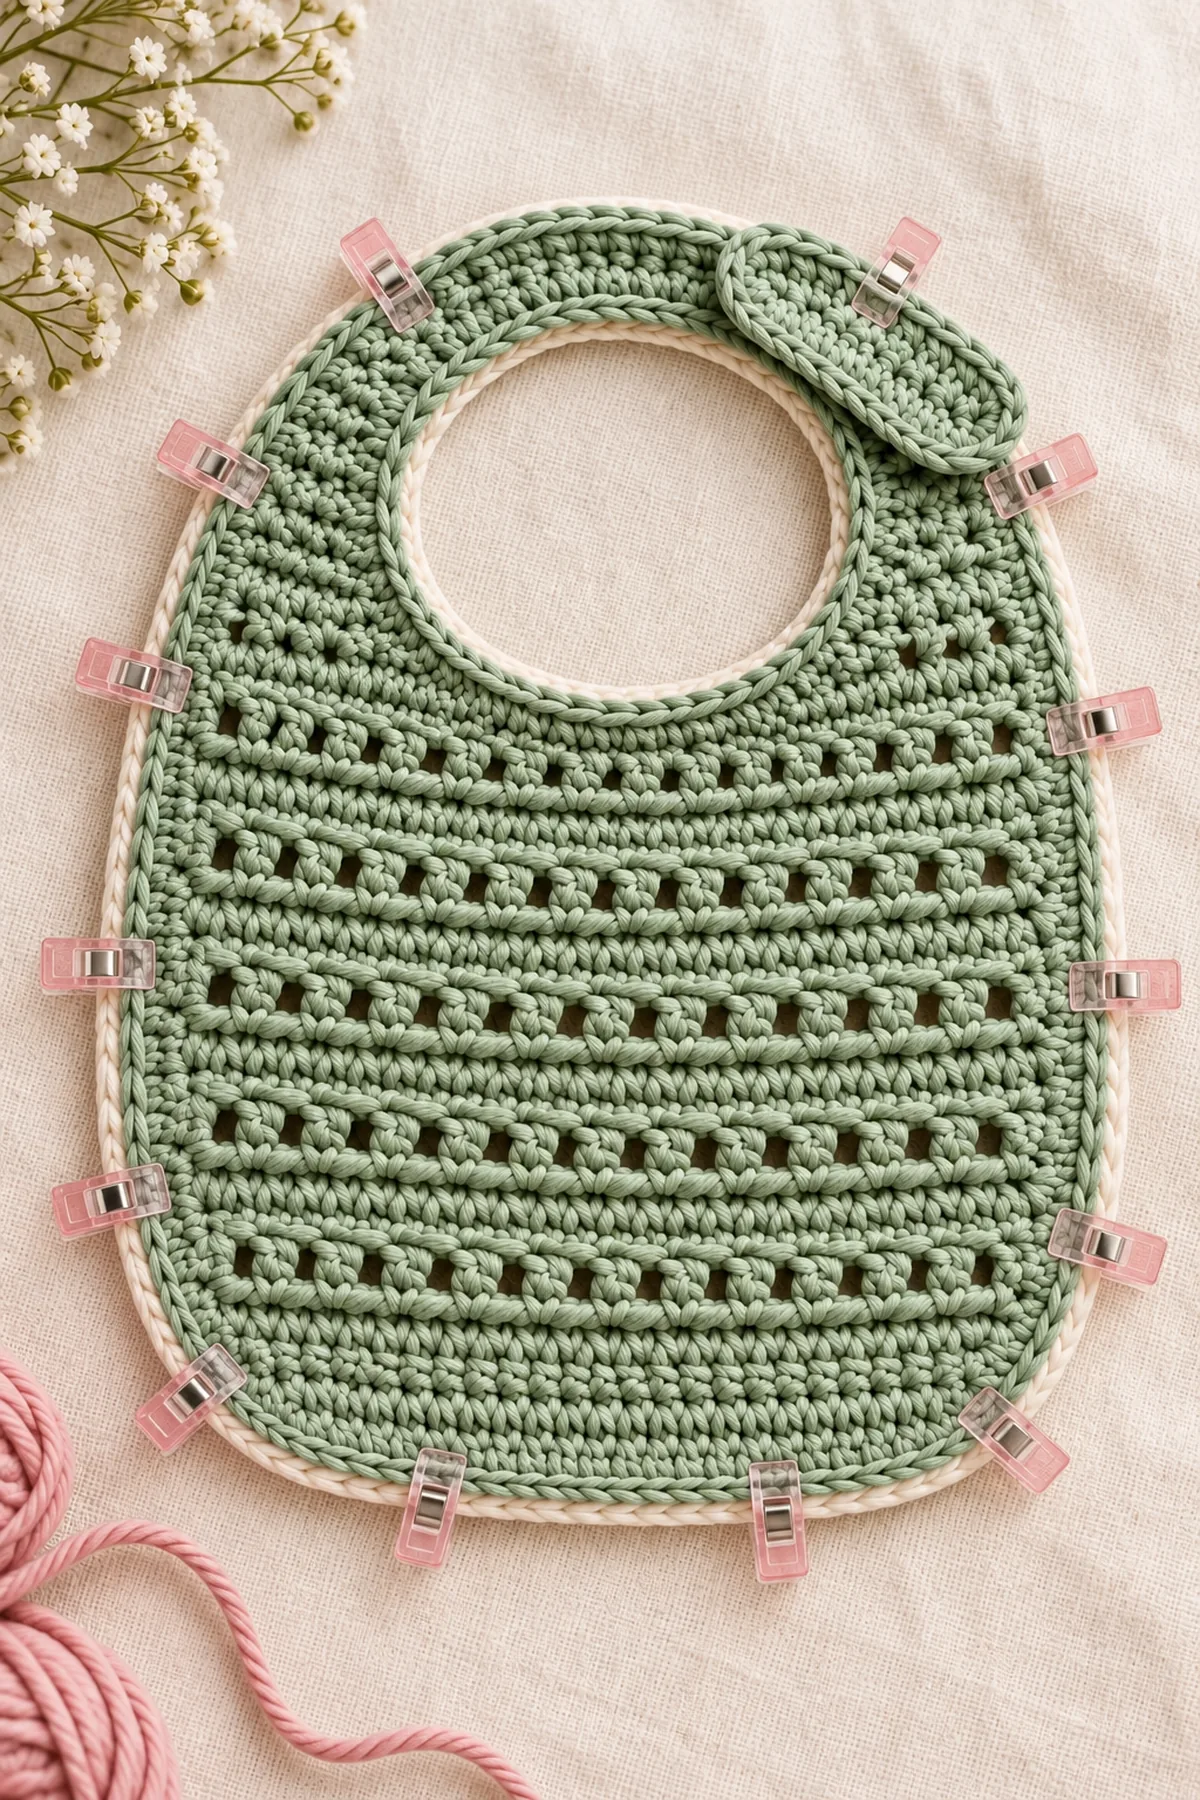
- Pin at the lower center, both widest points, both neck corners and strap ends. If one layer is longer, remake the mismatched rows rather than easing excess into the seam.
- With cream, sc through both layers around the body and neck, placing 2 sc in each outside corner and sc2tog at each inside neck corner. Leave the extended front tab unjoined.
Finish the Adjustable Side Tie
- At the end of the long front tab, ch 18, sl st back through all chains and into the tab edge to create a soft tie loop.
- At the opposite back strap, join cream, ch 14, sl st back through all chains and secure. Knot the two crochet cords together at the side of the neck during supervised wear.
- Optional button closure: replace the short cord with one flat 18 mm button sewn through a reinforced square with doubled yarn. Make a chain loop on the long tab and inspect before every use.
- Wash and dry the bib before use to evaluate shrinkage and absorbency. Remove immediately after feeding; the bib is not sleepwear or a teething toy.
Finishing
- Weave cotton tails through three directions between the layers.
- Machine wash in a small laundry bag if the yarn label permits and dry completely.
- Inspect closure, neck edge and join after each wash; retire the bib if yarn loosens.
Tips
- Count chain spaces as one position on the following row.
- Use the same hook and tension for both layers.
- Place the tie knot at the side, never behind the neck.
- Make color-coded versions without changing the construction.
Frequently Asked Questions
Why is this different from a simple bib?
It has a shaped two-layer reversible construction, four eyelet bands and a side tie tab.
Can I use acrylic?
Cotton is preferred for absorbency, heat tolerance and washing; always follow the yarn label.
Is the button required?
No. The crochet tie closure is the default small-parts-free option.
Conclusion
The finished project combines measured shaping, readable colorwork and practical finishing in one complete original crochet construction. Compare the finished measurements with the plan, confirm that every seam and carried strand is secure, and follow the yarn label for washing and storage.
Audited stitch-count references: (31 sts), (33 sts), (35 sts), (37 sts), (39 sts).
Printable Pattern Card
Front and back each begin at31, increase by2 on Rows 2,4,6,8 to39, stay at39 through Row24, then decrease by2 for eight rows to23. Split 7 shoulder +9 neck +7 shoulder.