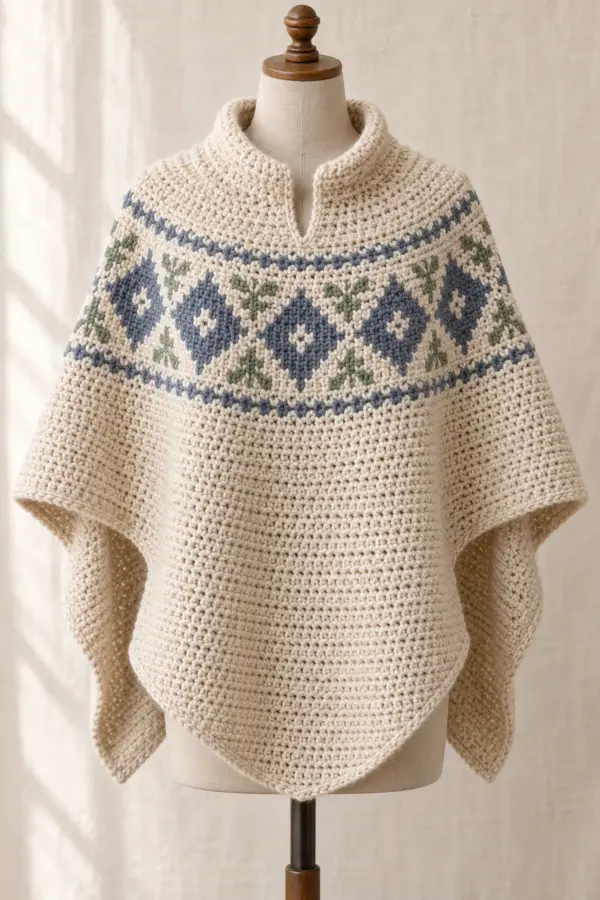
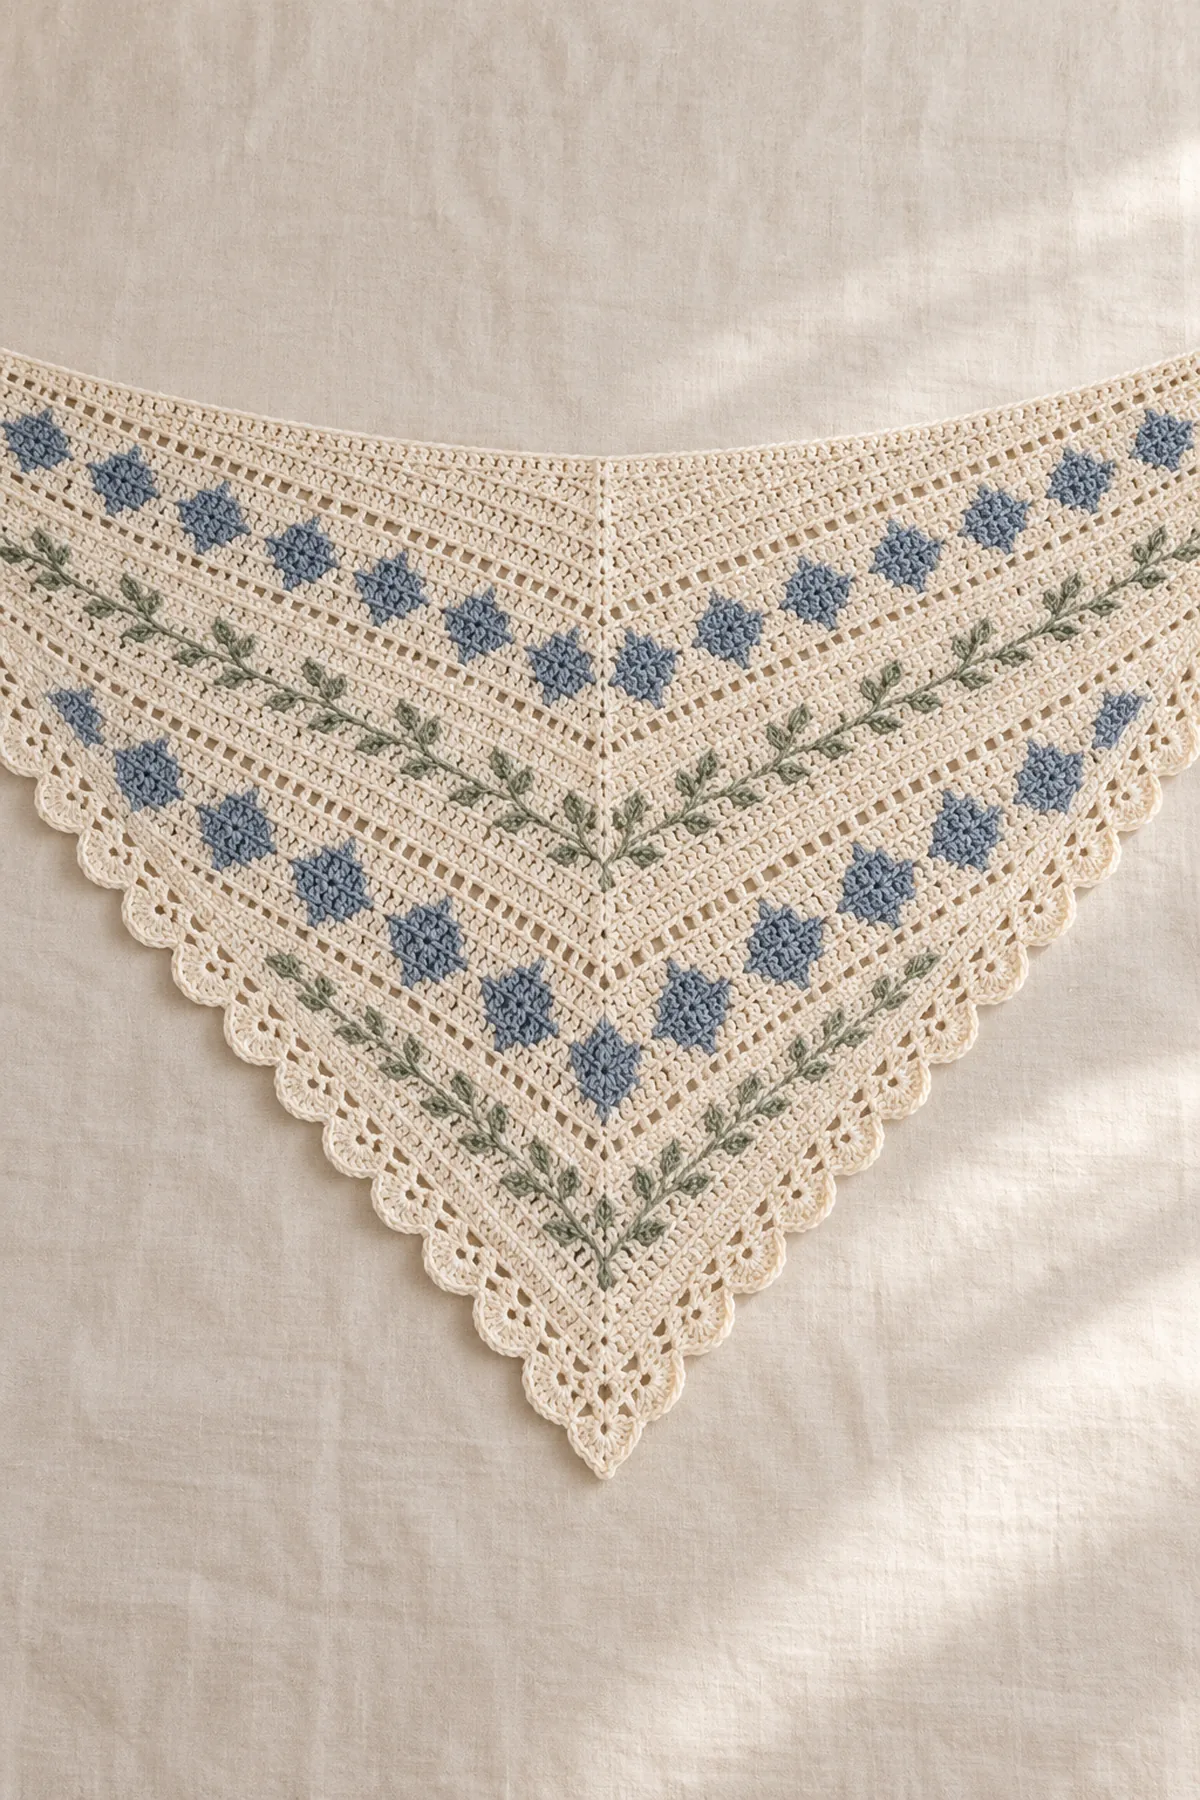
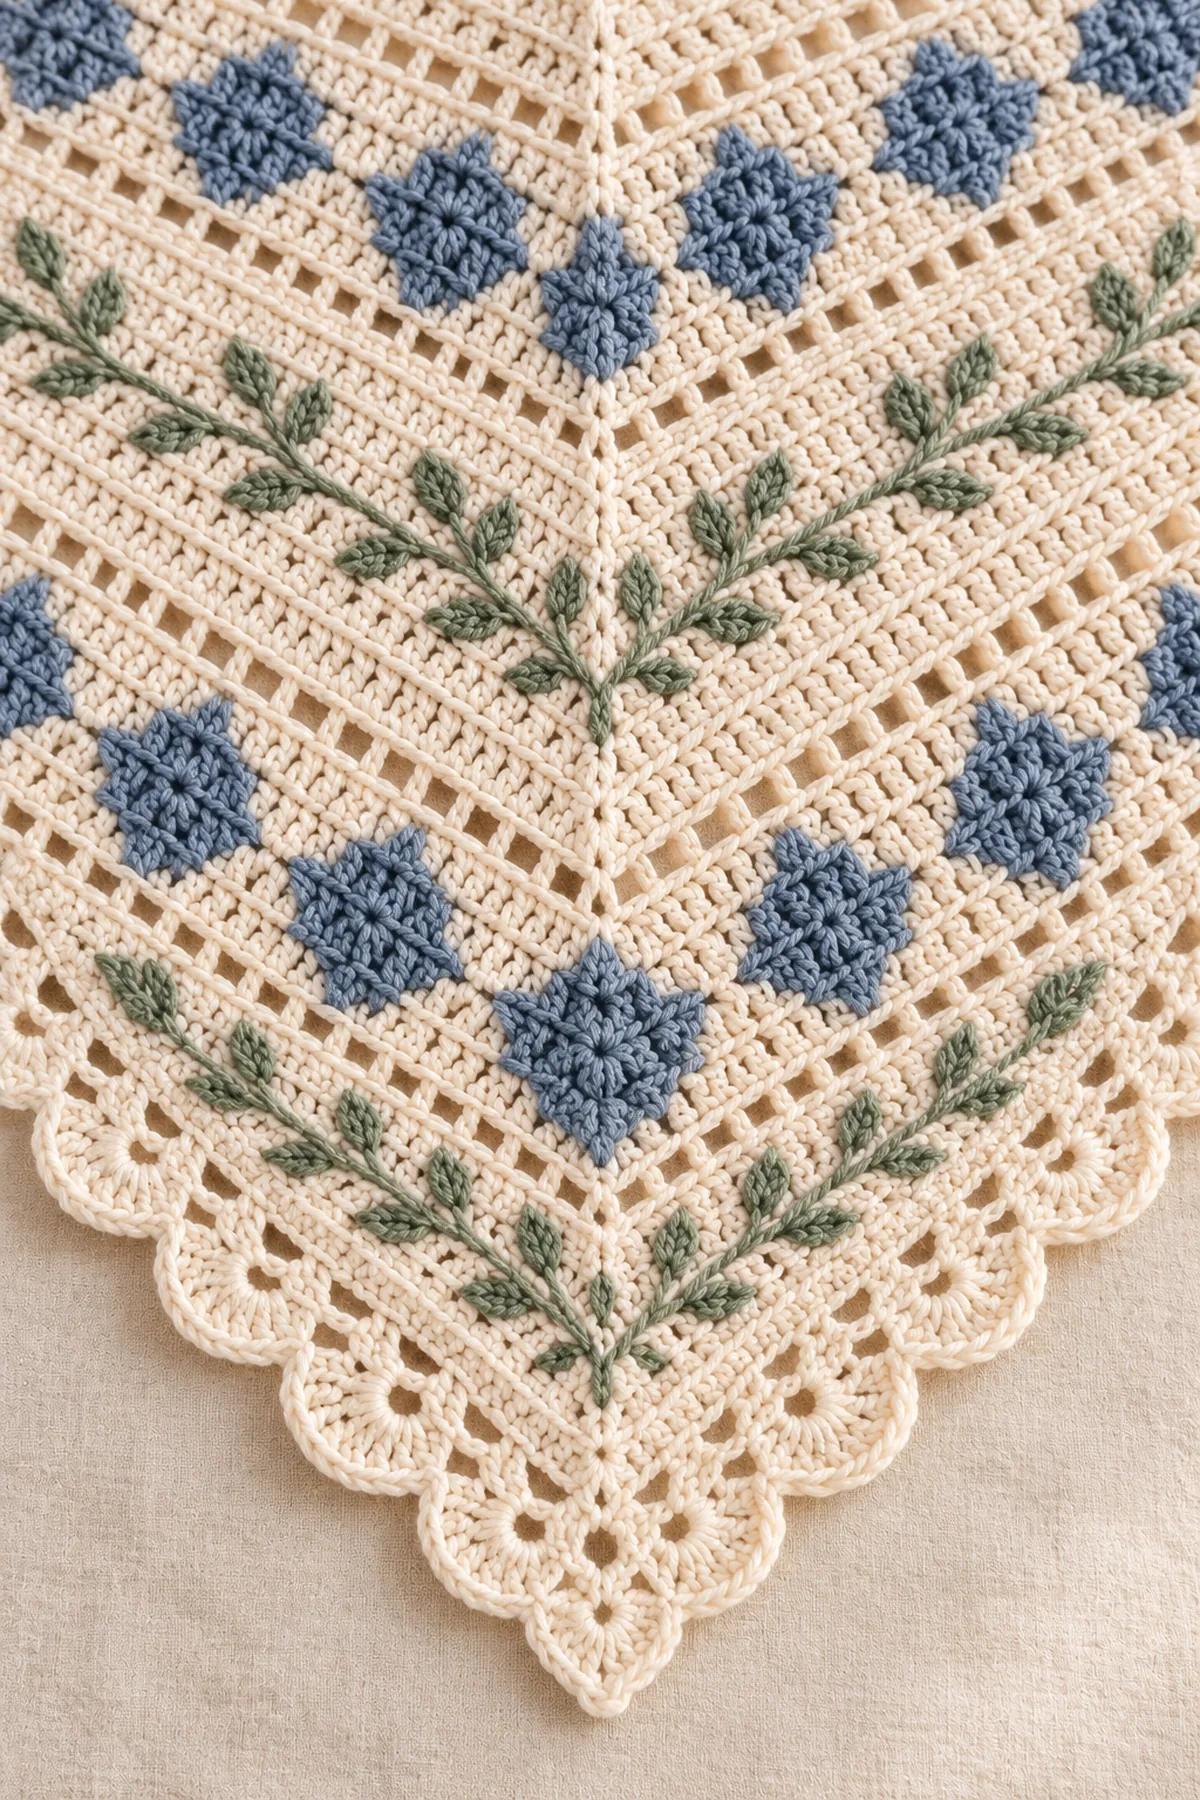
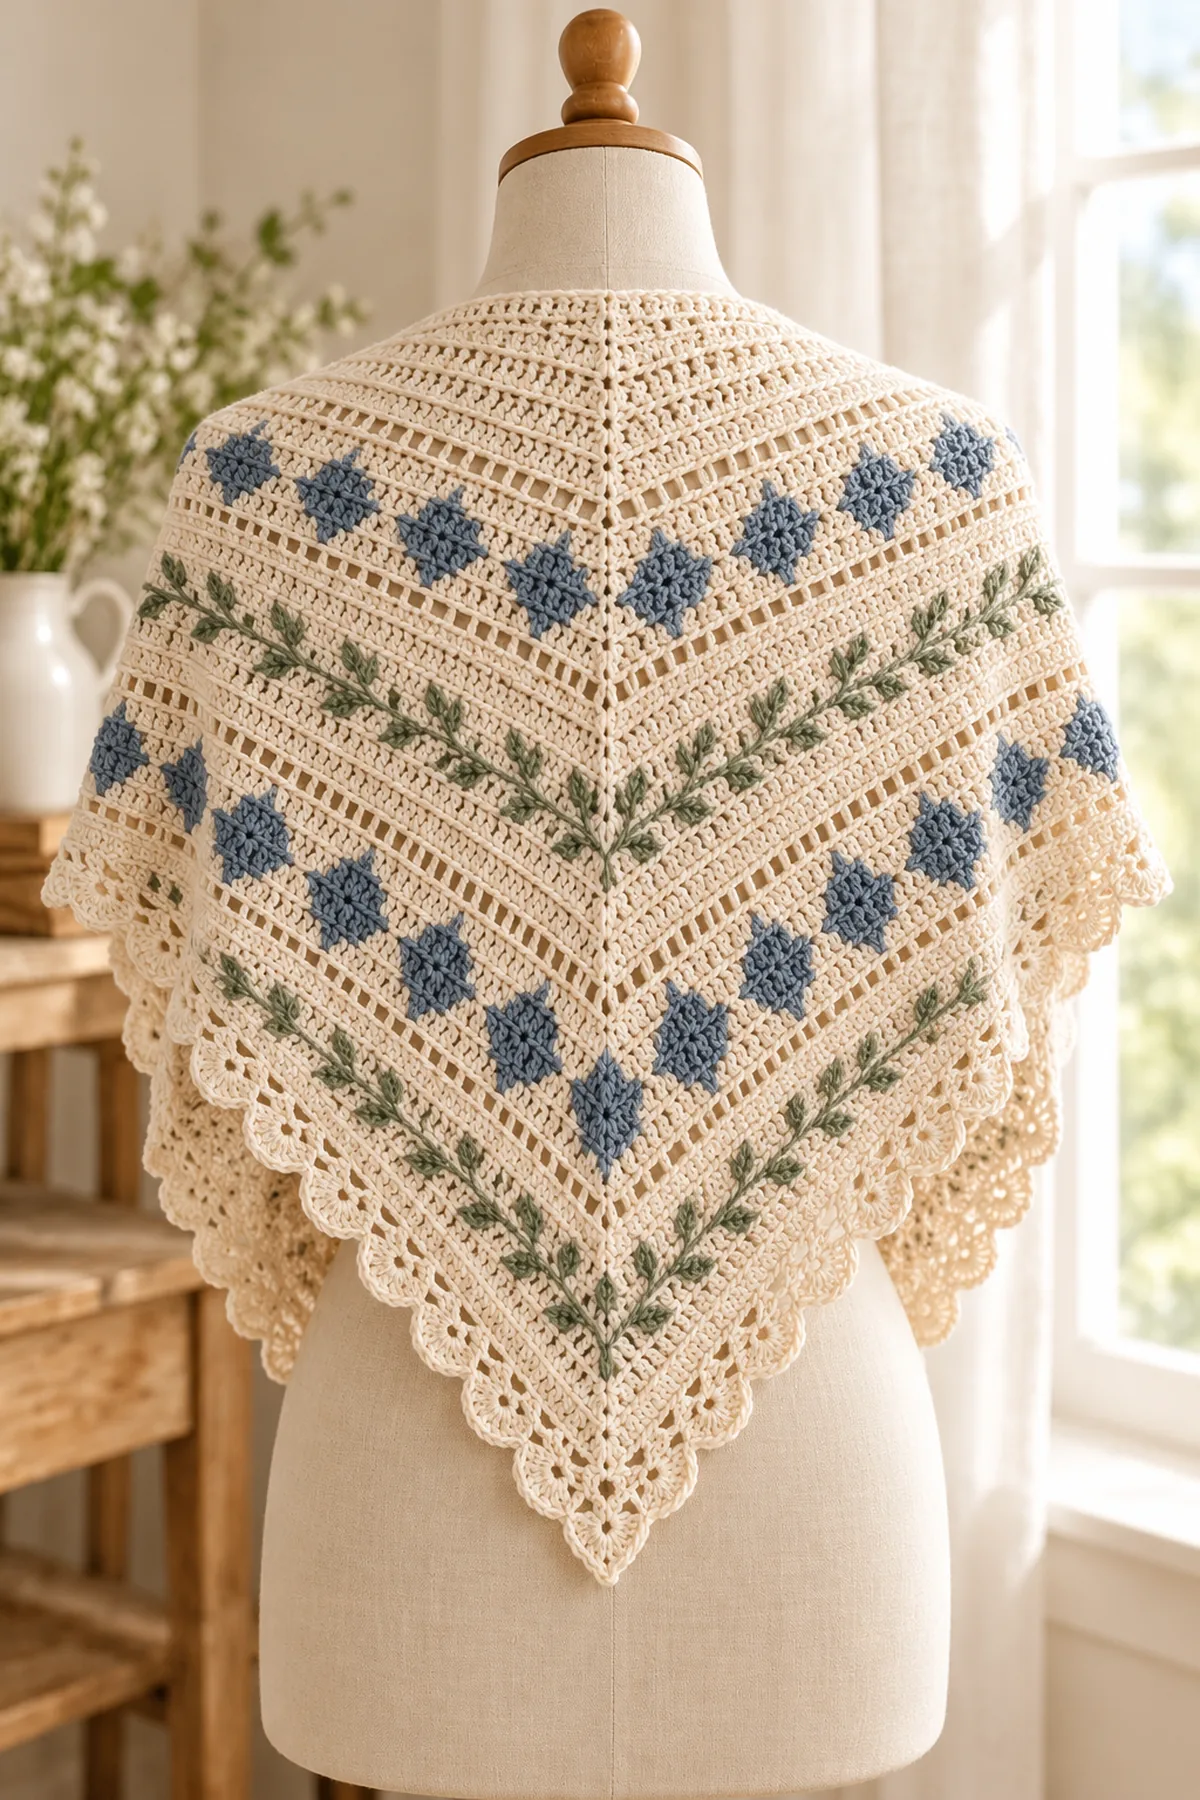
This crochet triangle shawl pattern begins at the center of the top edge and grows by two half-double crochets on every row. A solid cream field keeps the fabric wearable, while three spaced bands of slate-blue diamonds and sage sprigs create an original Nordic rhythm. The final odd stitch count supports a balanced scalloped border, and the written formula lets you change the size without losing symmetry.
This free tutorial is written as an original measured construction rather than a color-only variation. Read the complete pattern before beginning, make a washed gauge swatch, and record the selected size and every adjustment. The stitch audit checks the written arithmetic, but it does not claim a physical sample or fit test.
Pattern Details
- Hook Size: 4.0 mm
- Finished Size: About 66 in wingspan and 32 in depth after blocking
- Gauge: 18 hdc and 14 rows = 4 in
- Terminology: US
- Construction: Center-out turned triangle with edge increases and applied scallop row
- Yarn Weight: DK weight (category 3)
- Yarn Amount: 1,150 yd cream, 120 yd slate blue, 100 yd sage
Materials
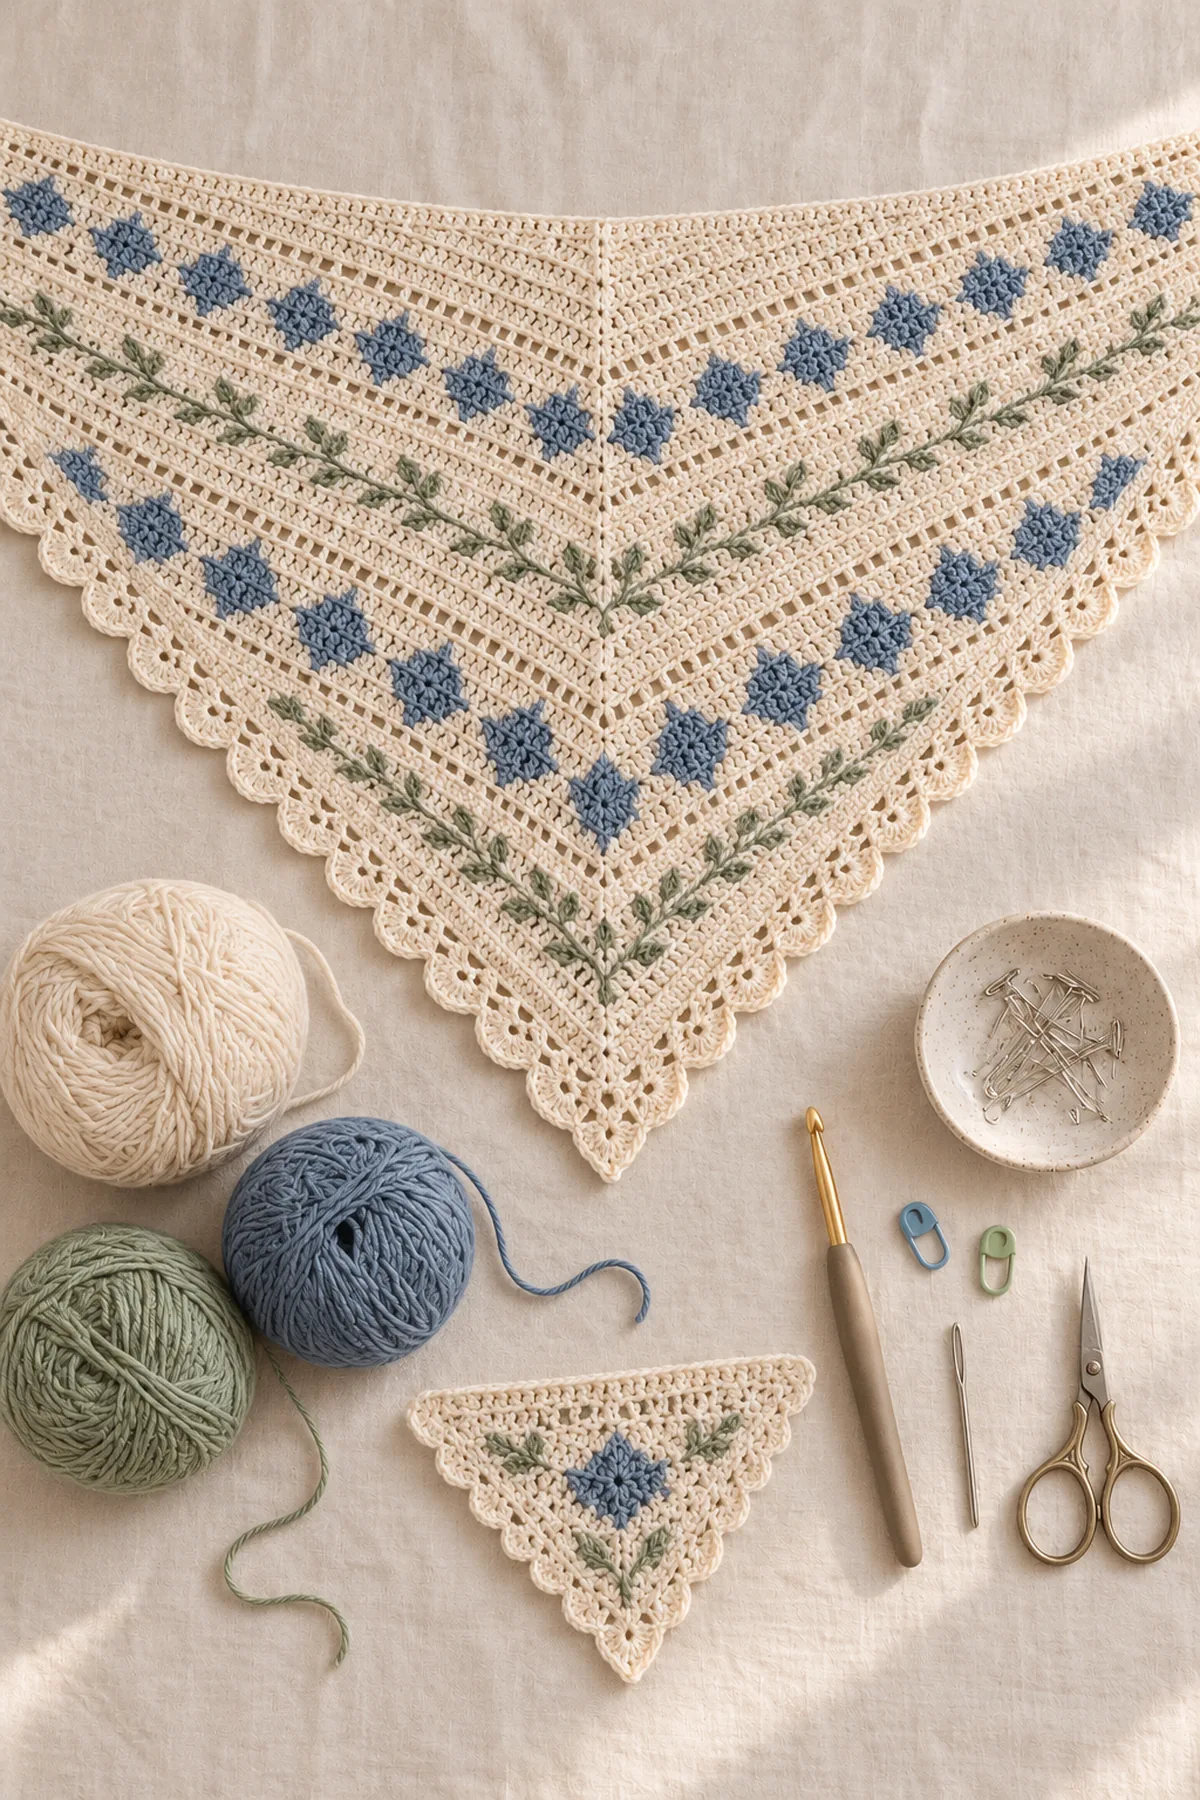
- DK yarn in cream, slate blue and sage
- 4.0 mm hook
- Two edge markers, yarn needle, scissors, blocking mats and rustproof pins
Abbreviations and Special Stitches
- MR: magic ring
- ch: chain
- hdc: half double crochet
- dc: double crochet
- sc: single crochet
- sl st: slip stitch
- st(s): stitch(es)
Edge increase row: work 2 hdc in the first stitch, one hdc in each interior stitch, and 2 hdc in the last stitch. Every row gains exactly two stitches.
Gauge, Sizing and Planning
Wash and dry a generous swatch in the same yarn, hook and colorwork method planned for the project. Measure only the relaxed center. If the stitch gauge is too tight, move up a hook; if it is too loose, move down. Recheck row gauge because length and shaping depend on it. Parenthetical counts follow the listed size order throughout. Place removable markers at all shaping points and recount before moving to the next section.
Instructions
Start the Center-Out Triangle
- With cream, make a magic ring. Row 1: ch 1, work 3 hdc in the ring, tighten and turn: 3 sts.
- Row 2: ch 1, 2 hdc in the first stitch, hdc in the next stitch, 2 hdc in the last stitch, turn: 5 sts.
- Row 3: repeat the edge-increase rule over all stitches: 7 sts. Row 4: repeat: 9 sts. Continue in this manner; Row n contains 2n+1 stitches.
- Work through Row 24 in cream. Row 24 has 49 sts. Keep a marker in the first and last stitch and recount every fourth row.
Add Three Original Motif Bands
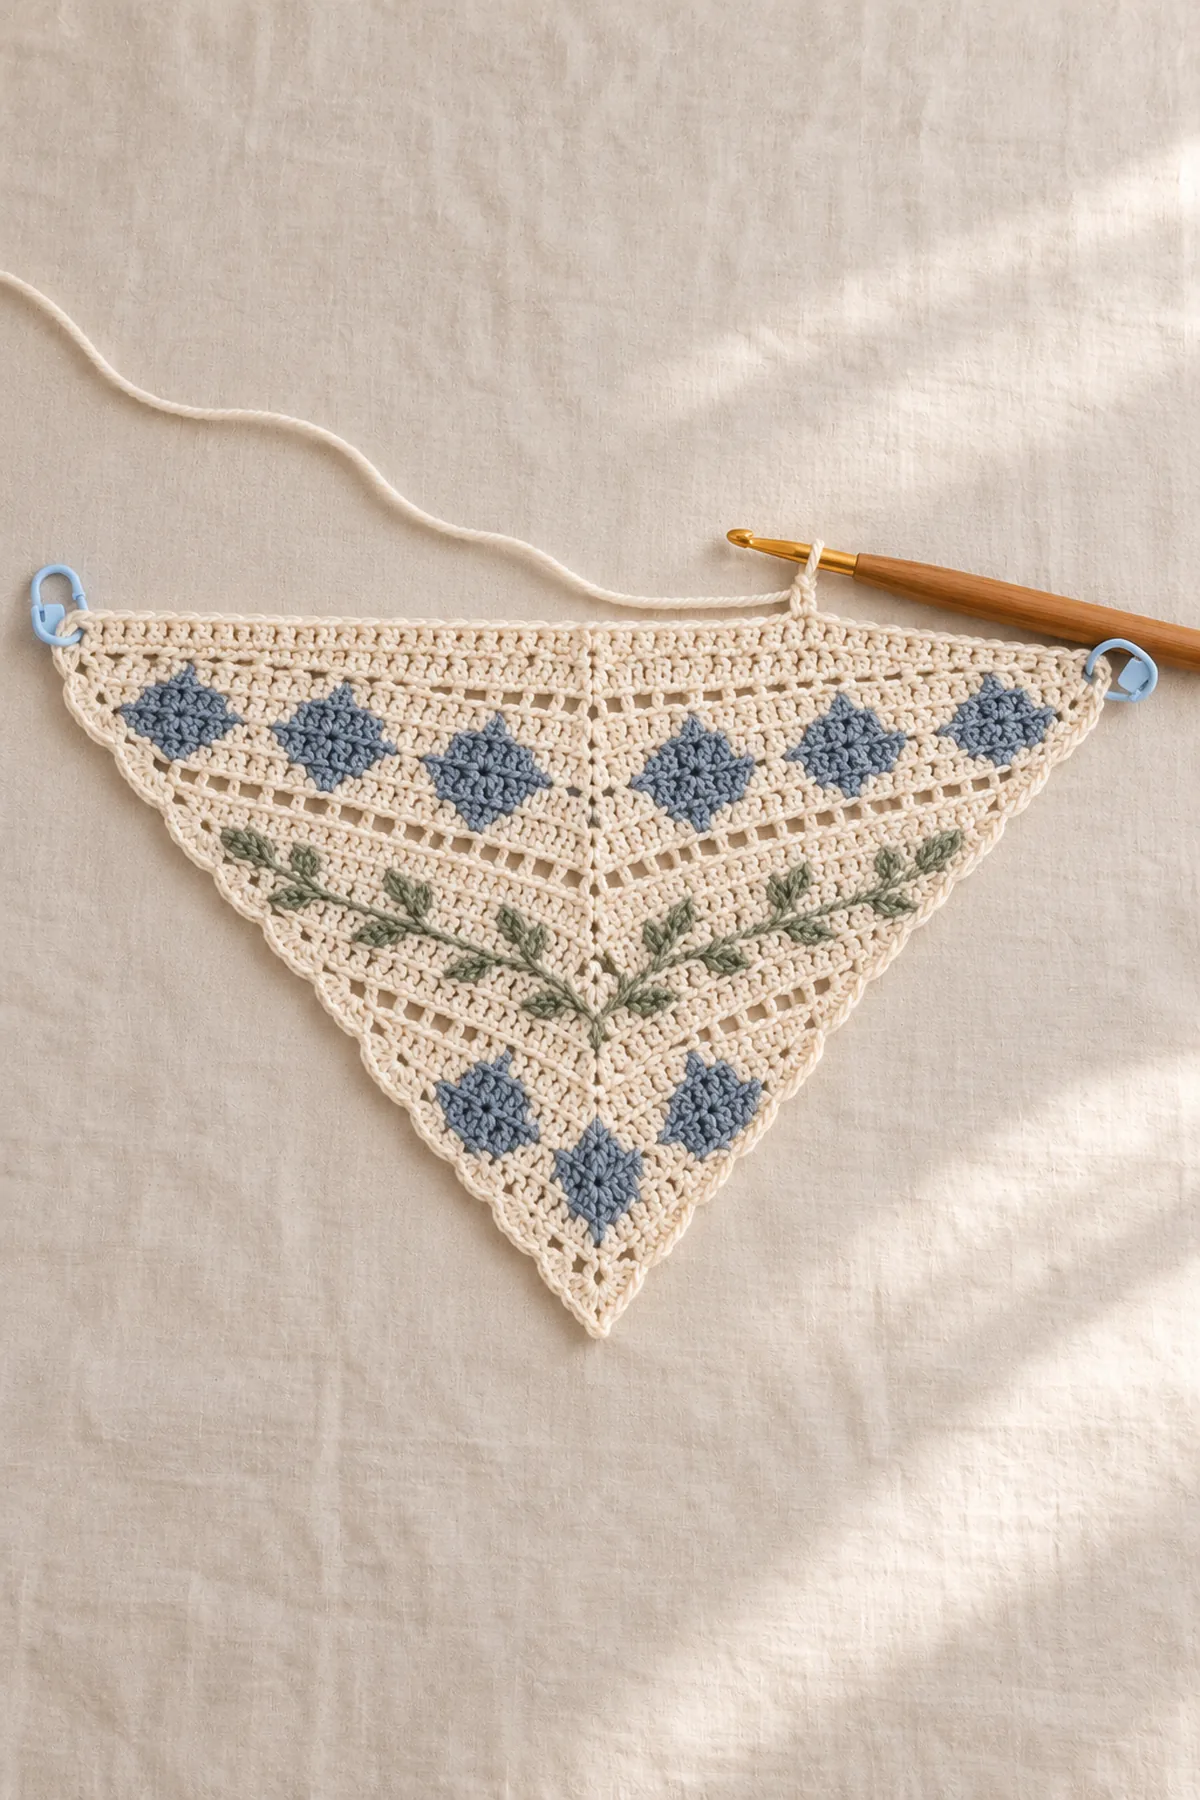
- Band 1 covers Rows 25–32, Band 2 Rows 41–48 and Band 3 Rows 57–64. Continue the same two edge increases on every band row, so the row-count formula never changes.
- Within each band, repeat an 8-stitch unit between the two edge stitches: two cream, two slate blue, two cream, two sage. Shift the colored pair one stitch toward the center for two rows, hold for two rows, then mirror outward for four rows to form diamonds and sprigs.
- Any partial repeat near an edge stays cream. Change color on the final yarn-over, catch floats every four stitches and never carry a strand across more than eight positions.
- After Band 3, cut contrast yarn and continue cream through Row 72. Row 72 contains 145 sts. Measure from top center to point; add two-row pairs for extra depth if desired.
Work the Scalloped Border
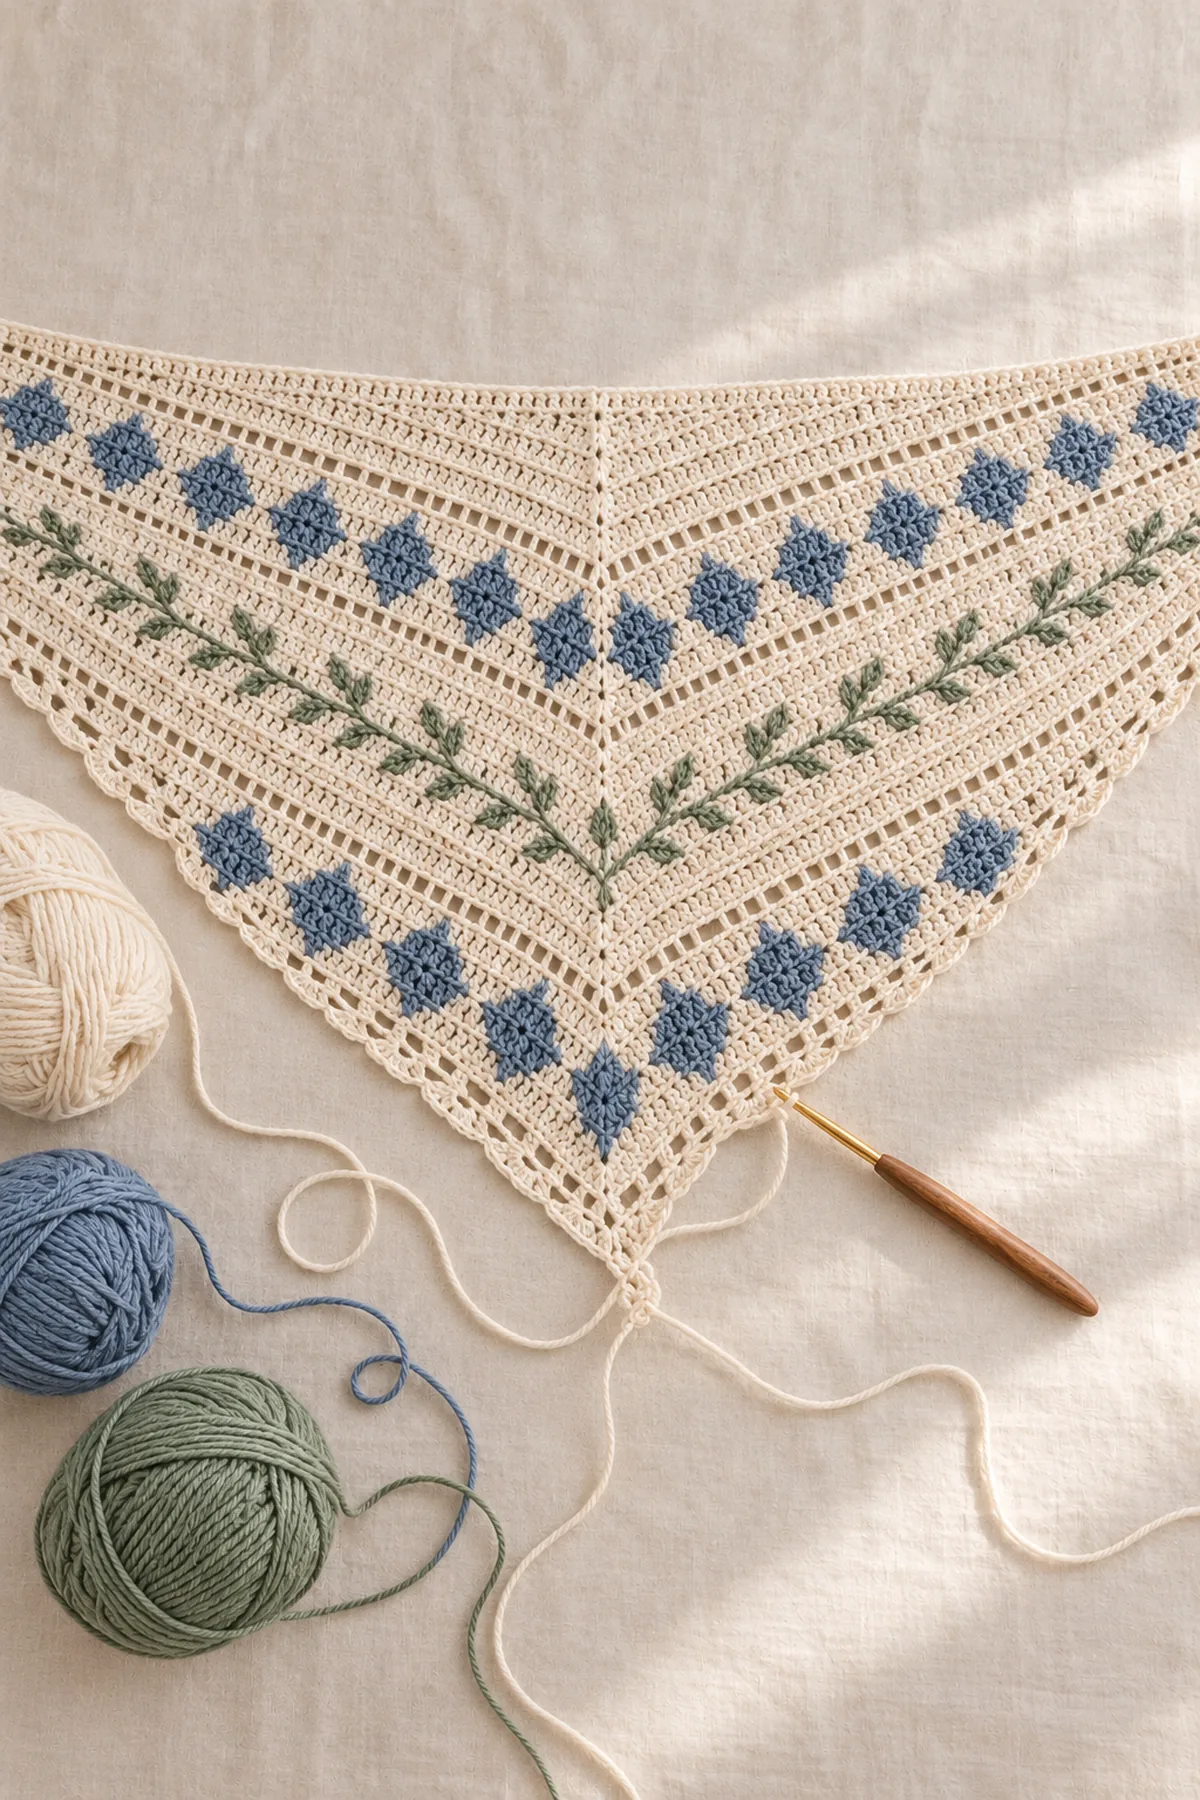
- Row 73: ch 1, 2 hdc in the first stitch, hdc across, 2 hdc in the last stitch, turn: 147 sts.
- Border Row: ch 1, sc in the first stitch; skip 2 stitches, work 7 dc in the next stitch, skip 2 stitches, sc in the next stitch. Repeat this six-stitch scallop unit 24 times, using 144 stitches, then sc in each of the final 3 stitches.
- Do not add a scallop along the top wingspan edge. Fasten off after the lower border and preserve the smooth neck edge.
- If extra size rows were added, stop on a count where (final stitch count minus 3) is divisible by 6 before working the border.
Finishing
- Soak briefly in cool water, press out moisture in a towel and pin the triangle to 66 by 32 inches.
- Shape every scallop with equal width and keep the top edge straight.
- Weave ends after the shawl is dry, splitting strands under matching-color stitches.
Tips
- Use separate bobbins for short motif sections.
- Write the row formula 2n+1 beside the pattern and verify the count often.
- Always make both edge increases even on colorwork rows.
- For a tidy wrong side, catch floats loosely and never knot a color change.
Frequently Asked Questions
How can I enlarge the shawl?
Add two-row pairs before Row 73, maintaining two edge increases per row. Adjust the final count so the border repeat divides correctly.
Can I use worsted yarn?
Yes, but the shawl will be larger and heavier. Swatch, choose a suitable hook and plan extra yarn.
Is the wrong side identical?
No. It is tidy and wearable, but carried strands remain faintly visible on the wrong side.
Conclusion
The finished project combines measured shaping, readable colorwork and practical finishing in one complete original crochet construction. Compare the finished measurements with the plan, confirm that every seam and carried strand is secure, and follow the yarn label for washing and storage.
Stitch-count audit references: (3 sts), (5 sts), (7 sts), (9 sts), (11 sts).
Printable Pattern Card
Begin with 3 hdc in a magic ring. Every row adds two stitches, so Row n has 2n+1. Row 72 = 145; Row 73 = 147. Work 24 six-stitch scallop repeats plus 3 finishing stitches.