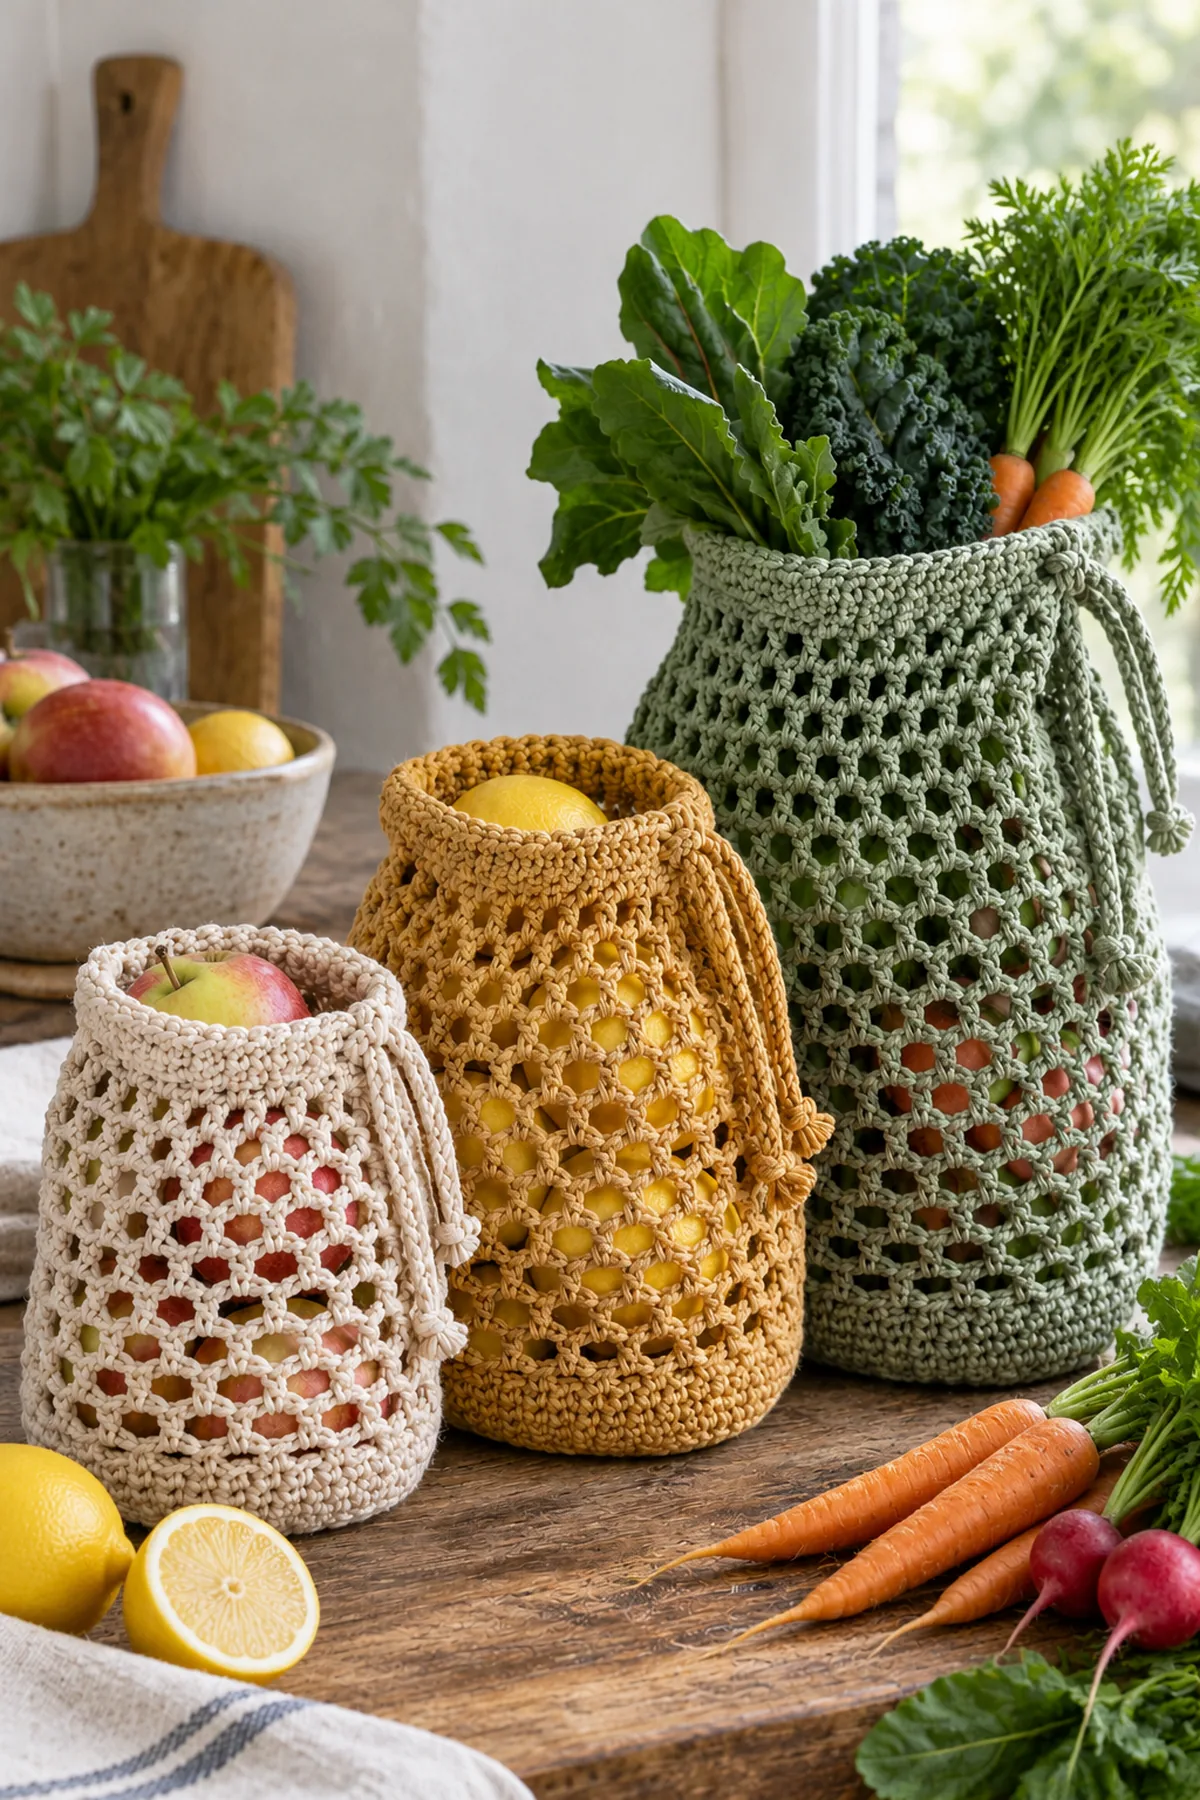
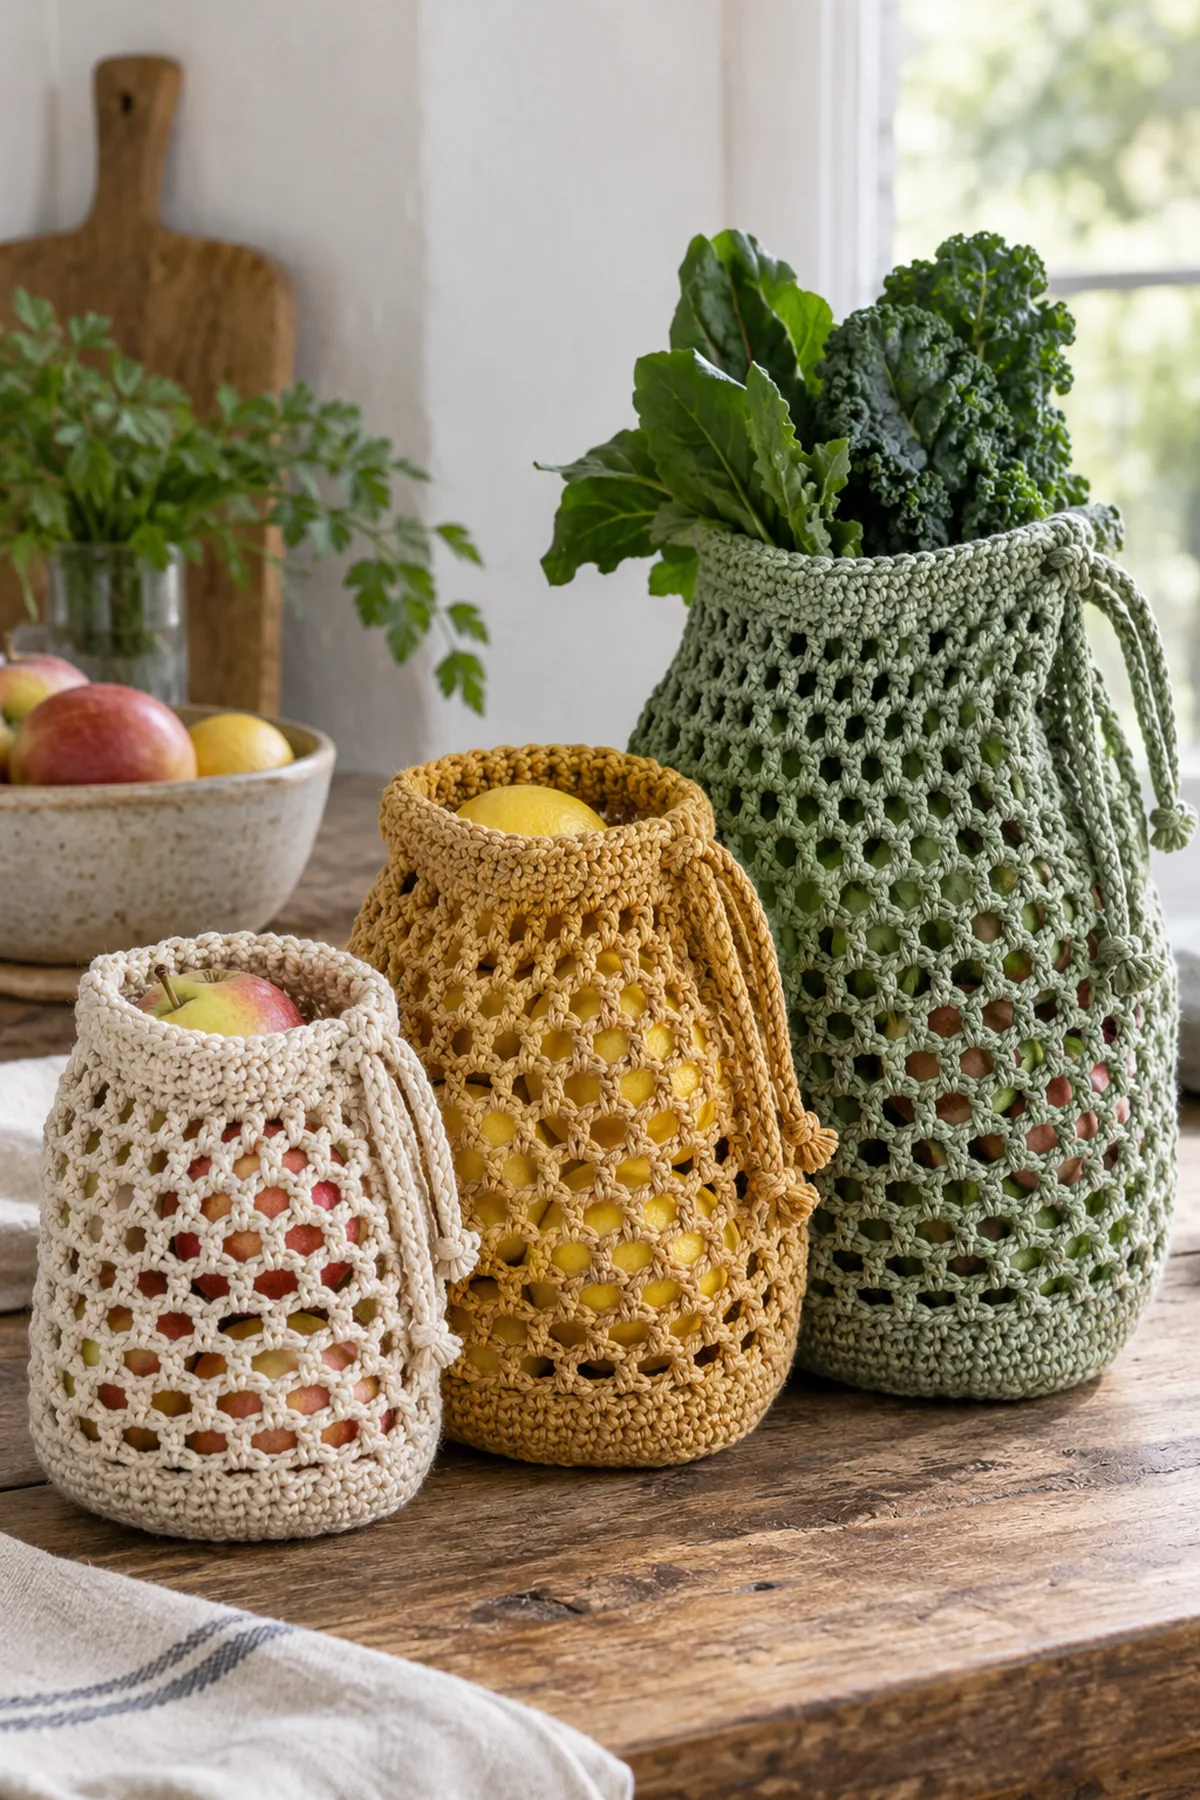
This original crochet produce bag pattern explains how to make crochet reusable mesh produce bag set from the first counted stitch through final assembly. The design is a practical free tutorial in US terms, with measurements and stitch checkpoints that you can verify as you work.
Use the same construction three times at 40, 56 and 72 base stitches. Oval increases stay at four end corners, mesh units repeat 10, 14 or 18 times around, and a six-round solid top folds into a channel for a slip-stitched yarn cord. Bags are individual produce sacks, not a handled market tote.
Pattern Details
- Hook Size: 3.5 mm for a firm sport-cotton base and flexible but secure mesh
- Finished Size: Small about 7 × 8 inches; medium about 9 × 10 inches; large about 11 × 12 inches laid flat; capacity depends on produce shape and swatch stretch
- Gauge: 16 sc and 18 solid rounds = 4 inches after washing; one mesh round about half an inch tall when relaxed
- Estimated Time: 2–3 hours small, 3–4 hours medium, 4–5 hours large
- Construction: Oval bases to 40/56/72 stitches; 10/14/18 four-position mesh units for 14/18/22 rounds; six-round folded top tunnels and 80/104/128-chain drawstrings
- Skill level: Confident Beginner
Why You’ll Love This Project
The shape comes from counted stitches rather than an unexplained diagram. You can inspect each stage against the measurements, and the finished object has a clear purpose and a distinct silhouette in photographs.
Materials
- About 90/125/165 yards washable sport-weight 100% cotton for small/medium/large sacks, plus about 15/20/25 yards per drawstring and swatch allowance
- 3.5 mm hook, four markers, blunt yarn needle, tape measure and scissors
- Dry rounded produce for gradual load checks; do not test with loose wet produce or small items that can pass the mesh
Gauge, Measurements, and Planning
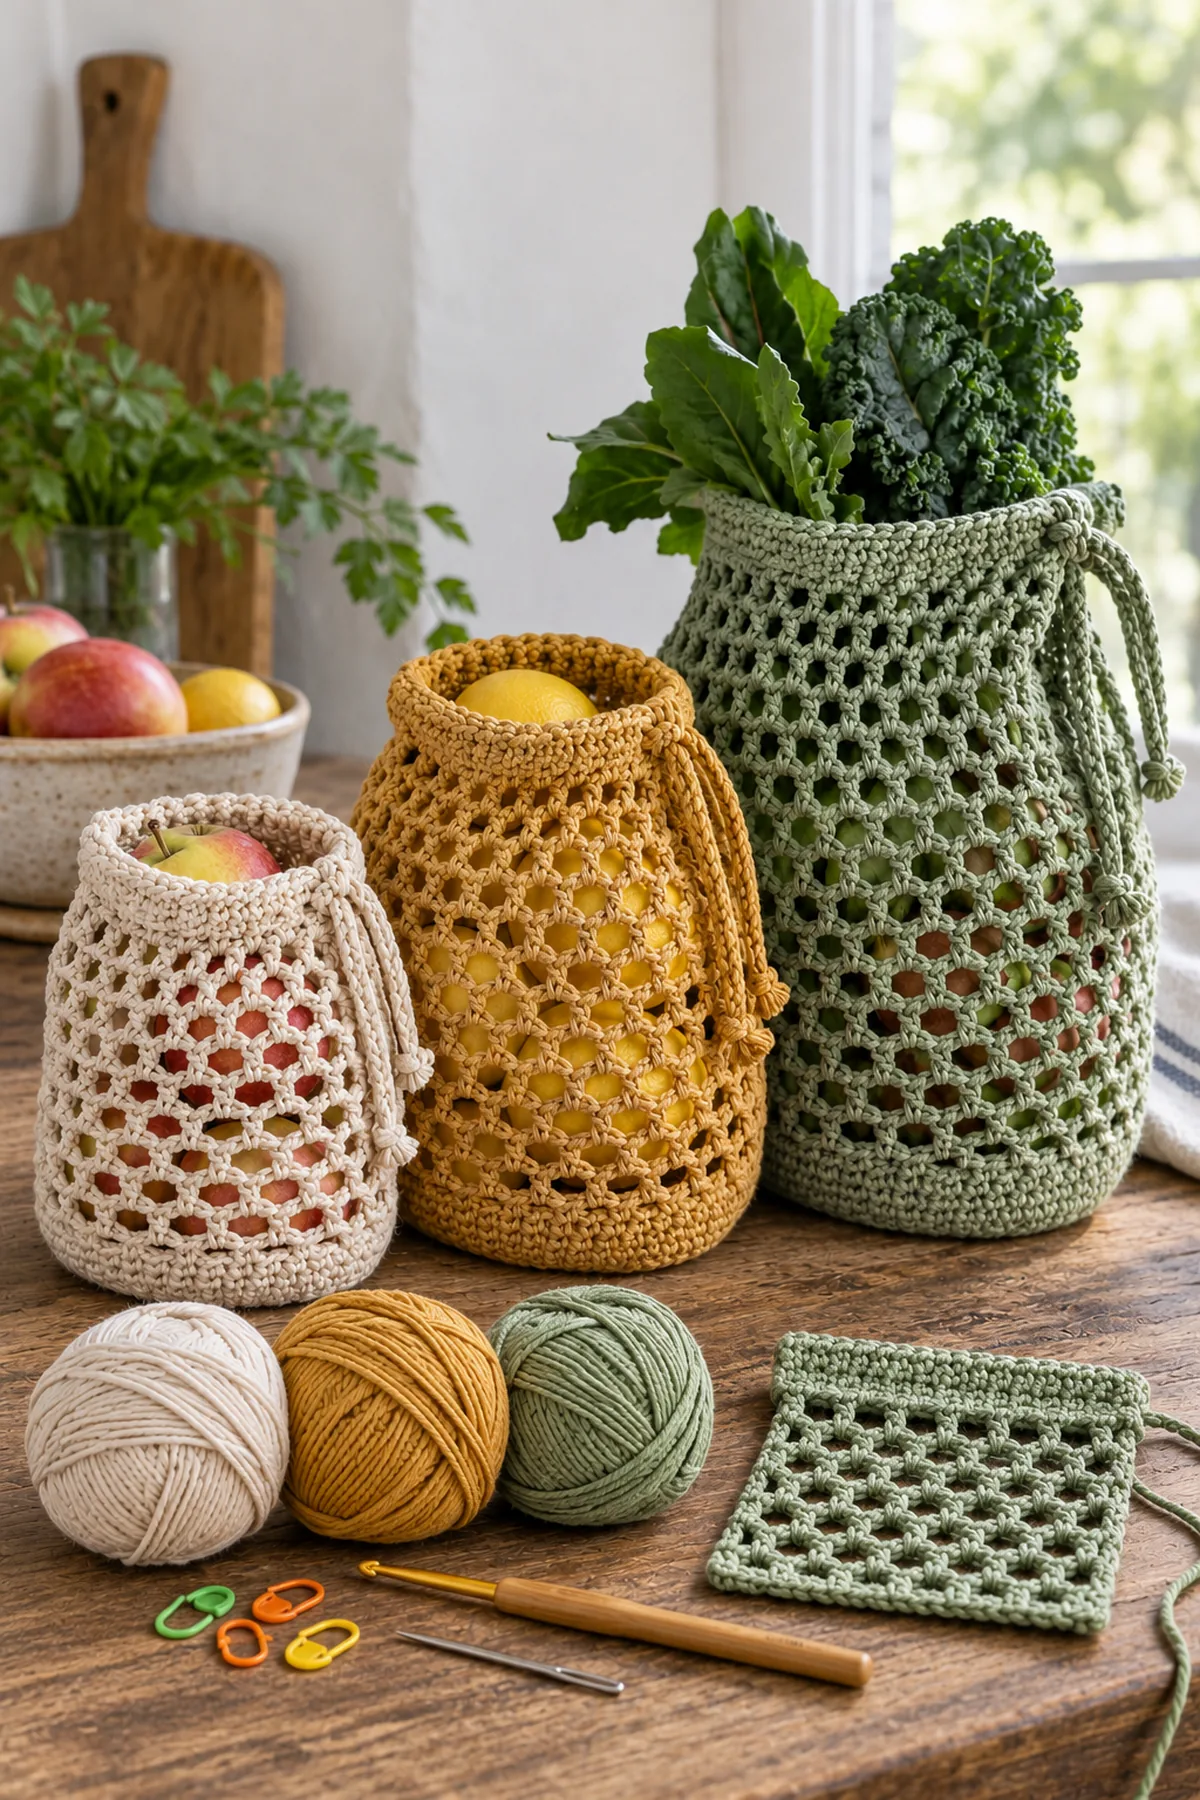
Wash a firm 20-stitch by 22-round sc swatch. Measure its center 16 stitches and 18 rounds as four inches, then hang a separate ten-cell mesh sample briefly to see its loaded stretch. The stated laid-flat dimensions are targets, not guaranteed volumes. Small mesh openings are intentionally airy; use a separate washable cloth liner if grapes, berries or similarly small items could fall through. The cotton should be fully dry before storage.
Make and wash a gauge swatch before beginning. Measure only after the swatch is completely dry. If the stitch width differs, change hook size rather than pulling the working yarn tighter. Keep a written count at the end of every section so the finished edges remain balanced and the assembly points line up.
Abbreviations and Special Stitches
- ch: chain
- sc: single crochet
- sl st: slip stitch
- st(s): stitch(es)
- rnd: round
- inc: 2 sc in one stitch
- sc2tog: single crochet two stitches together
Special stitch guidance: An oval round has four marked end-corner positions; on each increase round work 2 sc in each corner and one sc in each other stitch, adding four total. A mesh unit is [sc in one solid stitch, ch 3, skip three stitches] on its first round. Later work sc into the next chain-3 space and ch 3; each unit keeps one anchor and one three-chain opening. Do not count the joining slip stitch as a mesh unit. The folded channel is stitched through its first and last solid rounds but leaves a four-stitch threading gap.
Important Notes
- AI-generated pictures illustrate the intended design; they are not photographs of a physically tested sample. Follow written counts rather than counting stitches in an image.
- The stitch arithmetic has been checked, but gauge, yardage and fit are planning targets until a physical sample is made. Wash a swatch and check measurements before gifting or wearing.
- A beginning ch 1 and a joining sl st never count as a stitch in this pattern. Mark the first counted stitch of each row or round.
- If a row count is wrong, return to that row. Adding an unplanned stitch later changes the shaping and the assembly alignment.
Complete Instructions for Crochet Reusable Mesh Produce Bag Set
Crochet Three Closed Oval Bases
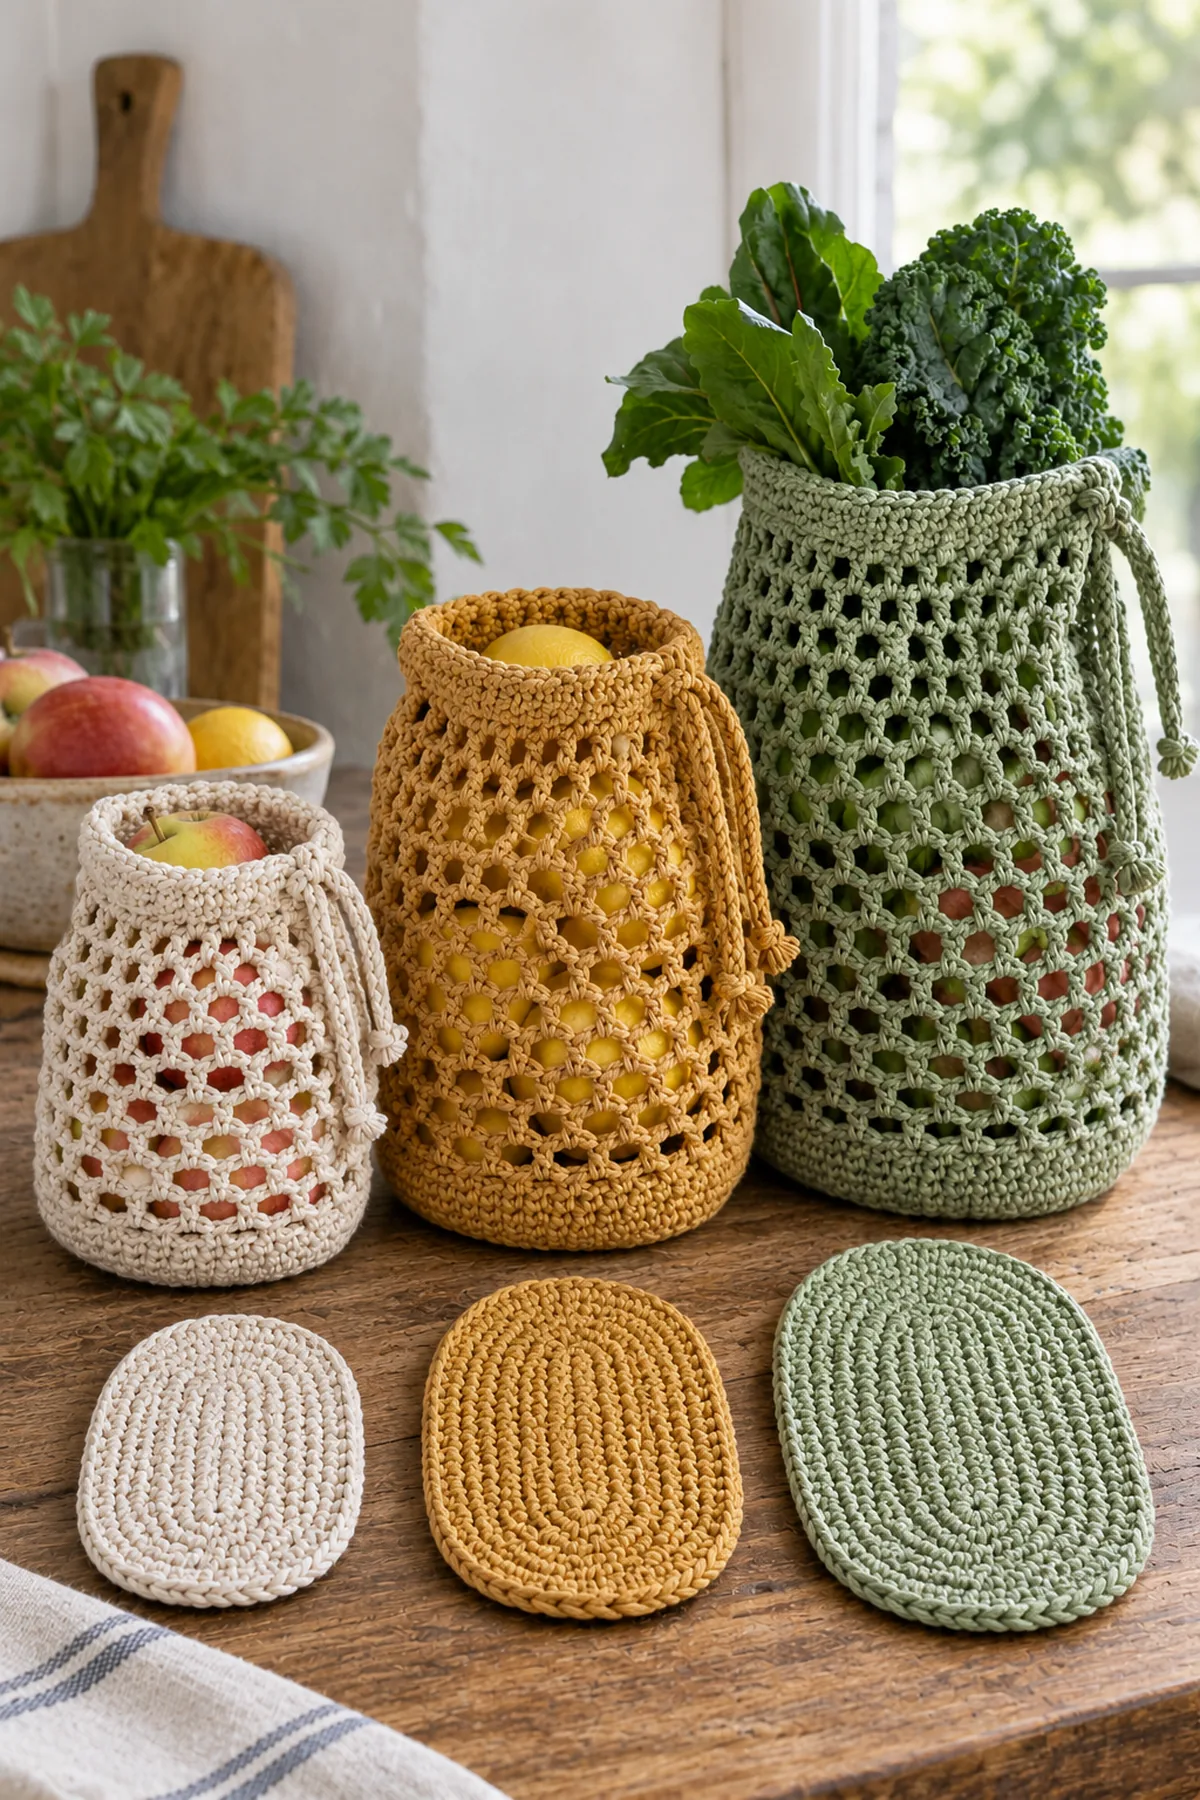
Numbers are small (medium, large). Mark the four corner stitches at the rounded ends. Work each oval as a continuous spiral; never leave an open foundation seam.
- Base Round 1: Ch 12 (16, 20). Sc in the second chain and next 9 (13, 17) chains, work 3 sc in the last chain; turn the foundation to work its underside, sc in the next 9 (13, 17) chain backs, then 2 sc in the first chain. The chain-end groups provide four corner stitches. (24/32/40 sts) Small-size audit: (24 sts).
- Base Round 2: Sc in each stitch except work one extra sc in each of the four marked rounded-end corners. Move markers to the corresponding new outer corner stitches. (28/36/44 sts)
- Repeat the same four-corner increase rule for three (five, seven) additional rounds. Small finishes after Round 5 at 40 stitches; medium after Round 7 at 56; large after Round 9 at 72. Intermediate counts are small 24, 28, 32, 36, 40; medium 32, 36, 40, 44, 48, 52, 56; large 40, 44, 48, 52, 56, 60, 64, 68, 72. Small-size audit after Rounds 2–5: (28 sts), (32 sts), (36 sts), (40 sts). A count outside the sequence means a corner was skipped or doubled.
- Work one even sc round at 40 (56, 72) stitches to turn the wall upward. The base must lie flat, with its original chain fully enclosed and no gap large enough for produce to escape.
Build Counted Open Mesh in Three Capacities
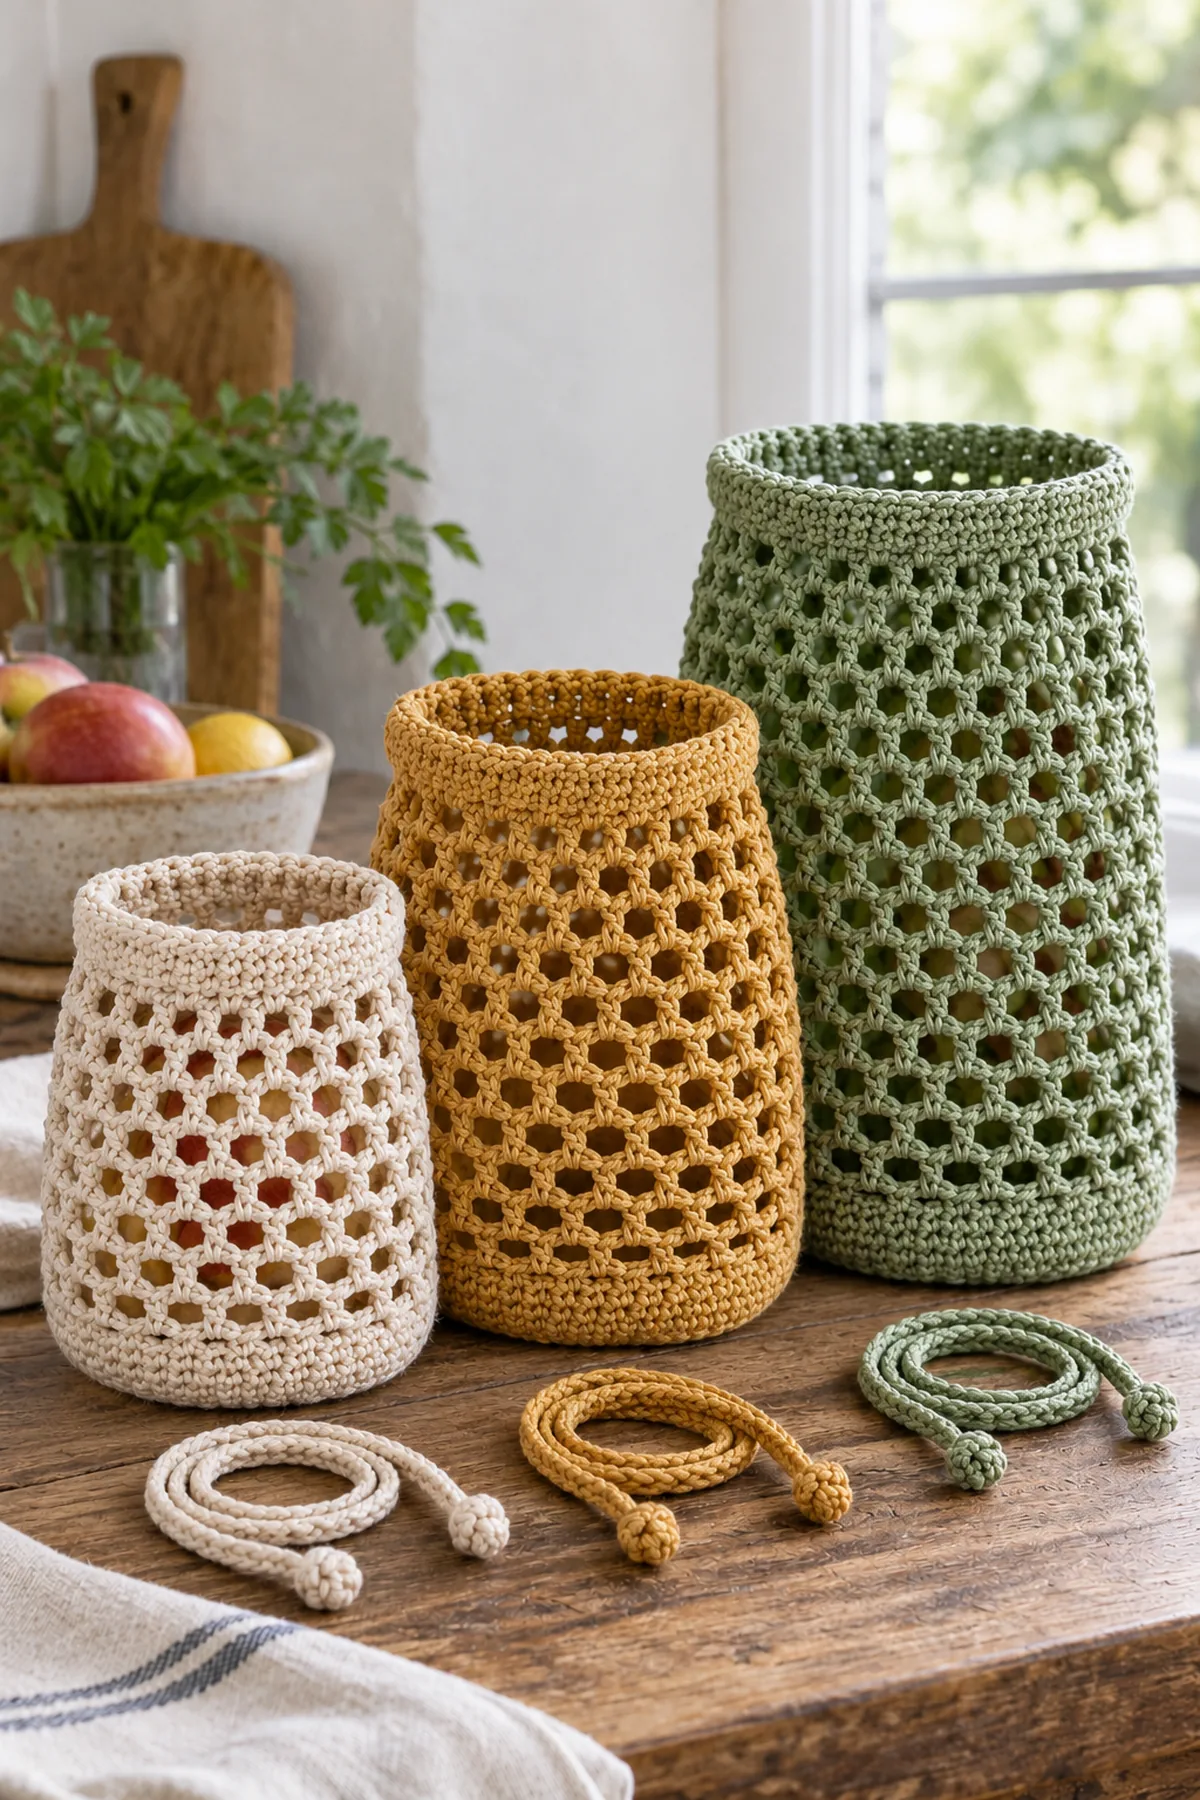
All three base counts divide by four. Work 10, 14 or 18 identical units per mesh round. Use a contrasting marker at the first anchor so the ch-3 spaces are not miscounted as individual sc.
- Mesh Round 1: Repeat [sc in next solid stitch, ch 3, skip next three solid stitches] 10 (14, 18) times. Join with a slip stitch to the first sc without counting that join. This creates 10 (14, 18) sc anchors and 10 (14, 18) chain-3 spaces; its virtual perimeter remains 40 (56, 72) positions.
- Mesh Rounds 2–14 (18, 22): Slip stitch into the first chain-3 space, sc into that space and ch 3; repeat [sc into next chain-3 space, ch 3] for the remaining 9 (13, 17) spaces. Join to the first sc. Keep exactly 10 (14, 18) evenly spaced mesh openings in every round. Do not work three sc into a chain space or the sack will taper incorrectly.
- After the final mesh round, convert back to a solid 40 (56, 72)-stitch rim: sc into every anchor and work 3 sc into each ch-3 space. The arithmetic is 10 × (1+3) = 40, 14 × 4 = 56 or 18 × 4 = 72. Place four quadrant markers and check that the rim is neither cupped nor flared.
- For a practical capacity check, put one or two dry smooth produce items in the unfinished sack, support its base with a hand, and look for overstretched mesh. The finished bags are for lightweight produce, not heavy groceries or a child’s carry sack.
Fold a Yarn-Only Channel and Thread Drawstrings
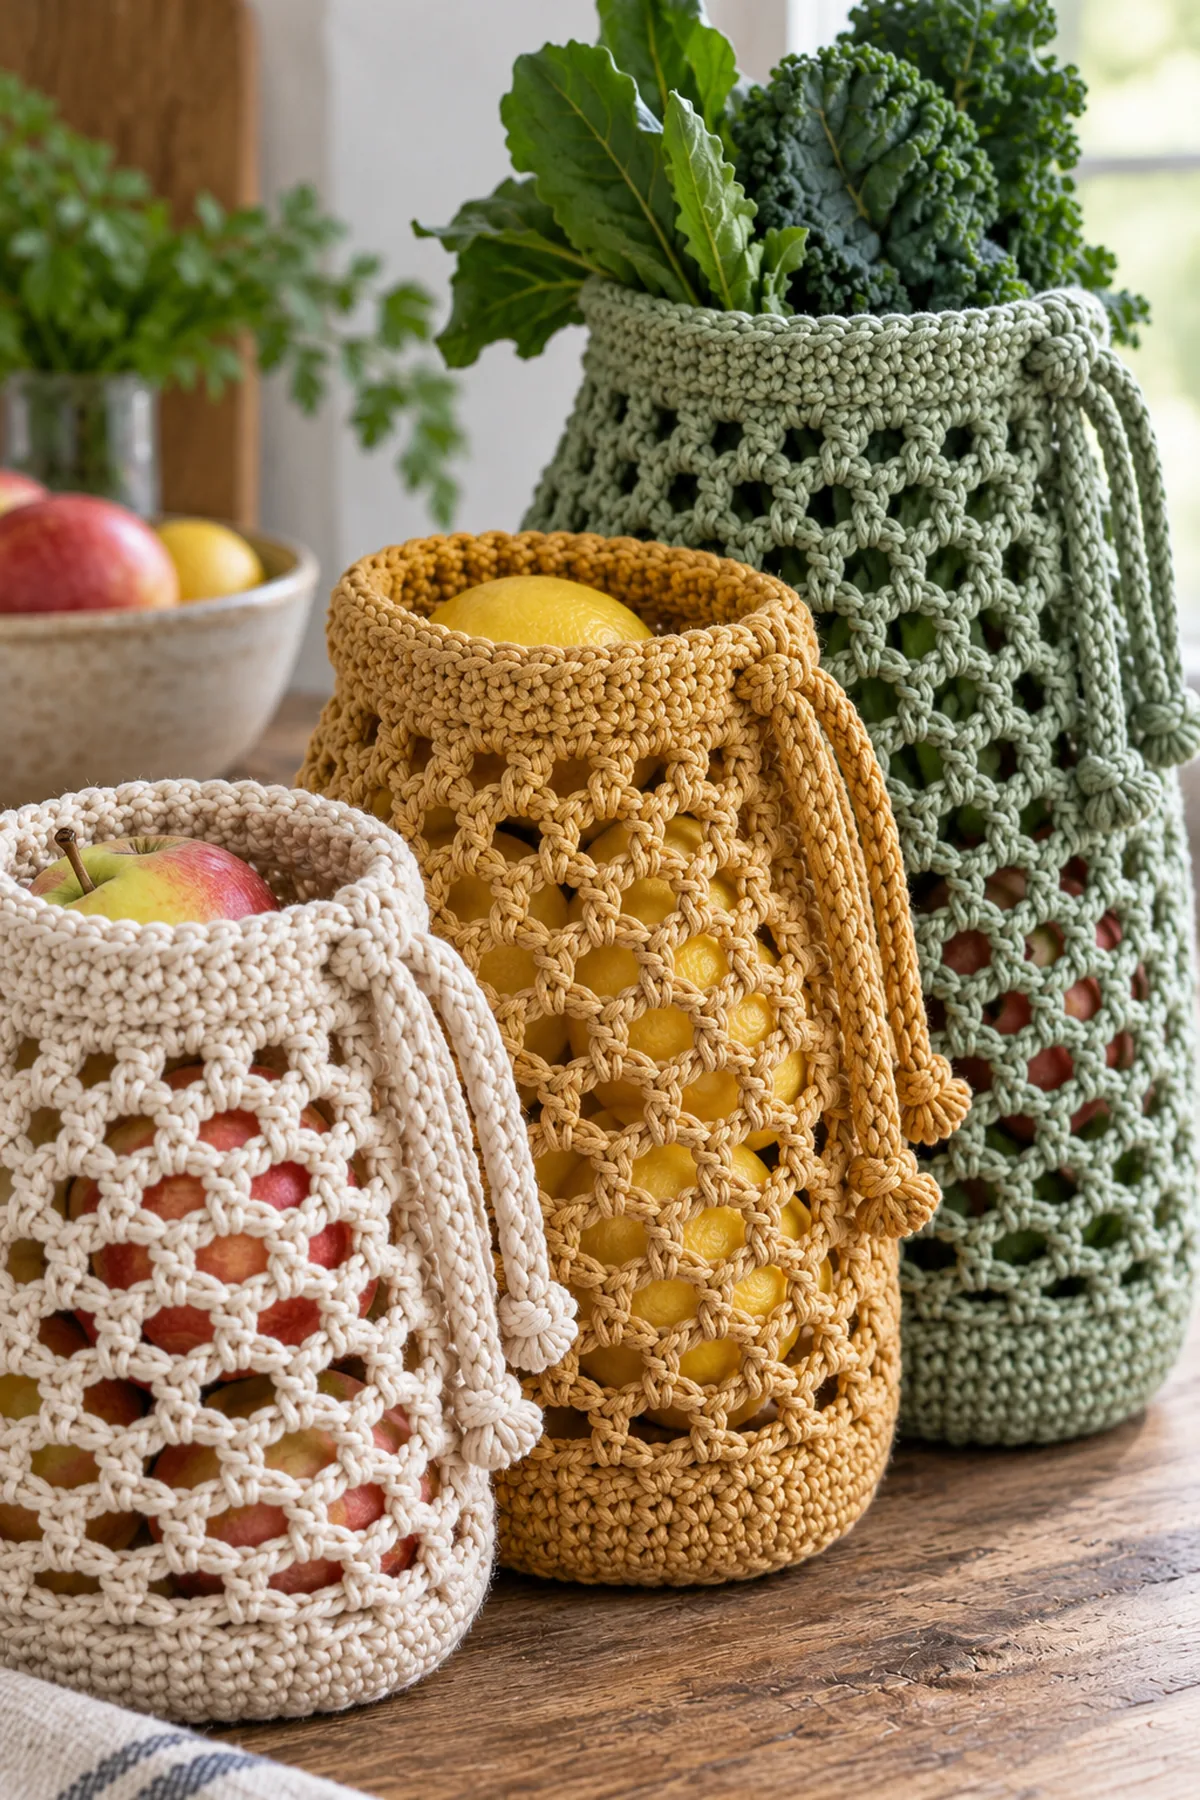
The channel is folded, not a row of exposed eyelets. A small four-stitch gap remains for the yarn cord; no plastic toggle or shoulder strap is added.
- Work six solid sc rounds on the 40 (56, 72)-stitch rim, joining each round and excluding joins from the count. Mark Round 1 of this six-round section with a contrasting thread. After Round 6, fold Rounds 4–6 inside along the line between Rounds 3 and 4.
- With the wrong side facing, slip stitch the current upper edge to the marked first solid round, matching one position to one position, but leave the first four positions unjoined as a small access gap. That makes 36 (52, 68) matched join positions plus a four-position entry. Keep the hook only through both fabric layers at the paired positions, not across the tunnel interior.
- Drawstring: Ch 80 (104, 128), slip stitch back through the second chain and each remaining chain to make one flexible cord. These are planning lengths of about 20 (26, 32) inches; verify a relaxed cord can circle the actual tunnel and still leave 4-inch ends. Thread it through the gap with a blunt needle, pass all the way around once and tie the two ends in a removable bow. Secure each cord end with several reversed stitches so no loose knot can detach.
- Wash the bag and cord according to the cotton label, dry fully and recheck the channel seam. Load-test each sack gradually with dry rounded produce while holding it close to a counter; stop if the mesh gaps widen, the base deforms or the cord snags. Carry by gathering the top fabric in a hand, not by swinging the cord.
Assembly and Shaping
The three oval bases terminate at 40/56/72 stitches, each divisible into 10/14/18 four-position mesh cells. After 14/18/22 mesh rounds, each anchor plus its three-chain space becomes four solid rim stitches. A six-round top section folds inward with a four-position access gap. Every cord is yarn only and removable for washing.
Lay every component on a flat surface before joining. Match the marked centers first, then divide each remaining edge into equal sections. Work through both layers with consistent tension and pause after each section to check that the fabric lies flat. This measured approach prevents twisting and keeps decorative details facing the intended direction.
Finishing
- Weave each tail along three different paths on the wrong side; reverse direction before trimming.
- Wash or damp-block according to the yarn label and allow the work to dry at its measured shape.
- Inspect every seam, edge and attachment from both faces before first use, then inspect again after laundering.
For a polished result, weave each tail through several same-color stitches, reverse direction once, and trim only after the fabric has been gently stretched. Block to the listed dimensions without flattening textured stitches. Inspect joins, borders, straps, and decorative pieces before the project is used or gifted.
Helpful Tips
- Use contrasting locking markers at shaping points and record the count after every change row.
- Change hook size when the washed swatch differs from the stated gauge; do not compensate with uneven hand tension.
- Photograph the flat components before joining so it is easy to identify an inverted or twisted piece.
Good lighting and a contrasting stitch marker make counting much easier. If a section looks uneven, compare the current count with the previous checkpoint before continuing. Fixing one missed stitch early is faster than compensating later, and it preserves the measurements used by the assembly instructions.
Frequently Asked Questions
Can I use these for berries or grapes?
Not without a separate washable cloth liner. The open chain-3 mesh can release small produce, and cotton mesh stretches under load.
Can these replace a heavy grocery tote?
No. The three sacks are lightweight produce organizers, not load-rated shoulder bags. Test gradually with the items you intend to carry and stop if the base, channel or mesh distorts.
Conclusion
The three sacks share one auditable base-to-mesh-to-channel construction while their separate stitch counts and heights create useful graduated capacities. The closed oval bases and folded yarn channels keep the design free of plastic hardware.
BabyYarnie Printable Crochet Pattern Card
BabyYarnie — easy-to-follow crochet for everyday makers.
Project: Crochet Reusable Mesh Produce Bag Set
Skill level: Confident Beginner Hook: 3.5 mm for a firm sport-cotton base and flexible but secure mesh Yarn: Sport-weight washable 100% cotton
Finished size: Small about 7 × 8 inches; medium about 9 × 10 inches; large about 11 × 12 inches laid flat; capacity depends on produce shape and swatch stretch
Card Materials
- About 90/125/165 yards washable sport-weight 100% cotton for small/medium/large sacks, plus about 15/20/25 yards per drawstring and swatch allowance
- 3.5 mm hook, four markers, blunt yarn needle, tape measure and scissors
- Dry rounded produce for gradual load checks; do not test with loose wet produce or small items that can pass the mesh
Card Instructions
- Crochet Three Closed Oval Bases: Ch 12/16/20 for closed oval starts of 24/32/40 sc, add four marked end increases per round to 40/56/72, then work one even turn-up round.
- Build Counted Open Mesh in Three Capacities: Work 10/14/18 chain-3 mesh units for 14/18/22 rounds, then replace each unit with four sc to recover 40/56/72 rim stitches.
- Fold a Yarn-Only Channel and Thread Drawstrings: Work six solid rim rounds, fold three inside, join all but four positions to make a tunnel, and thread a 80/104/128-chain slip-stitched cotton cord.
Finish: Check every count, weave in all ends, block to measurement, and inspect each join.