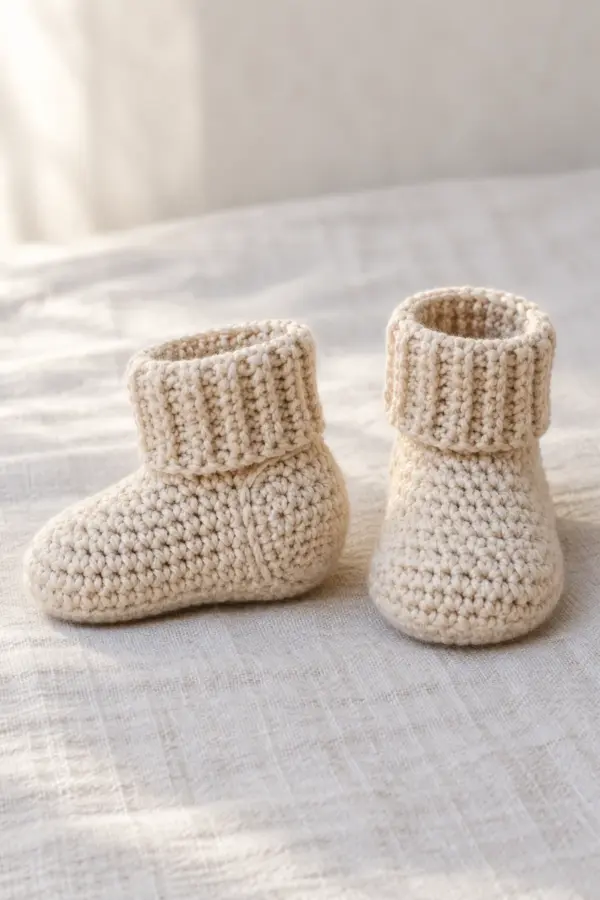
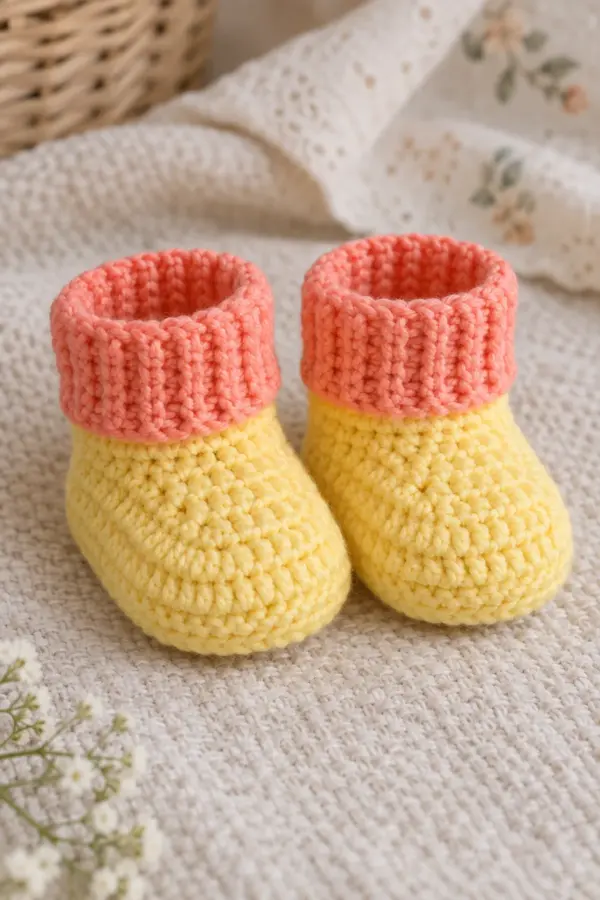
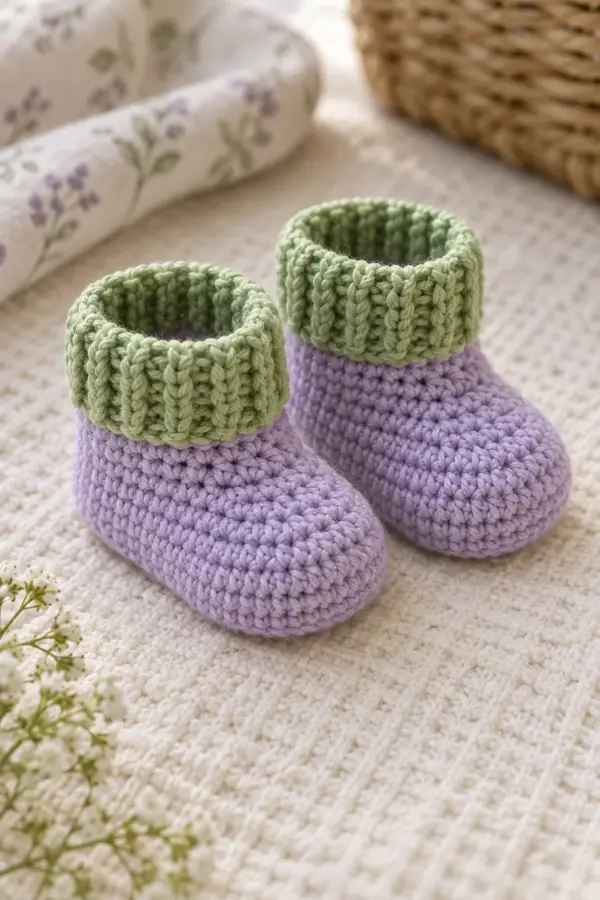
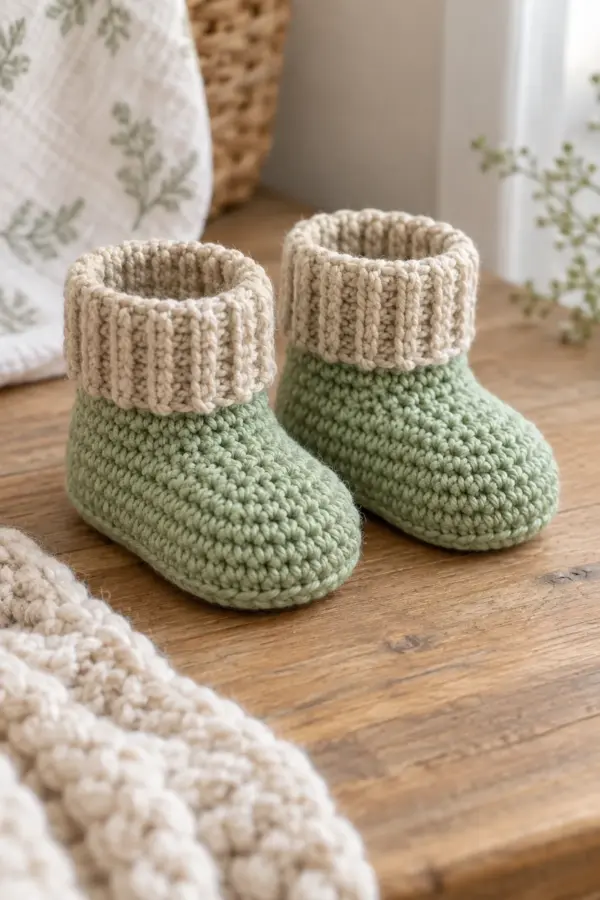
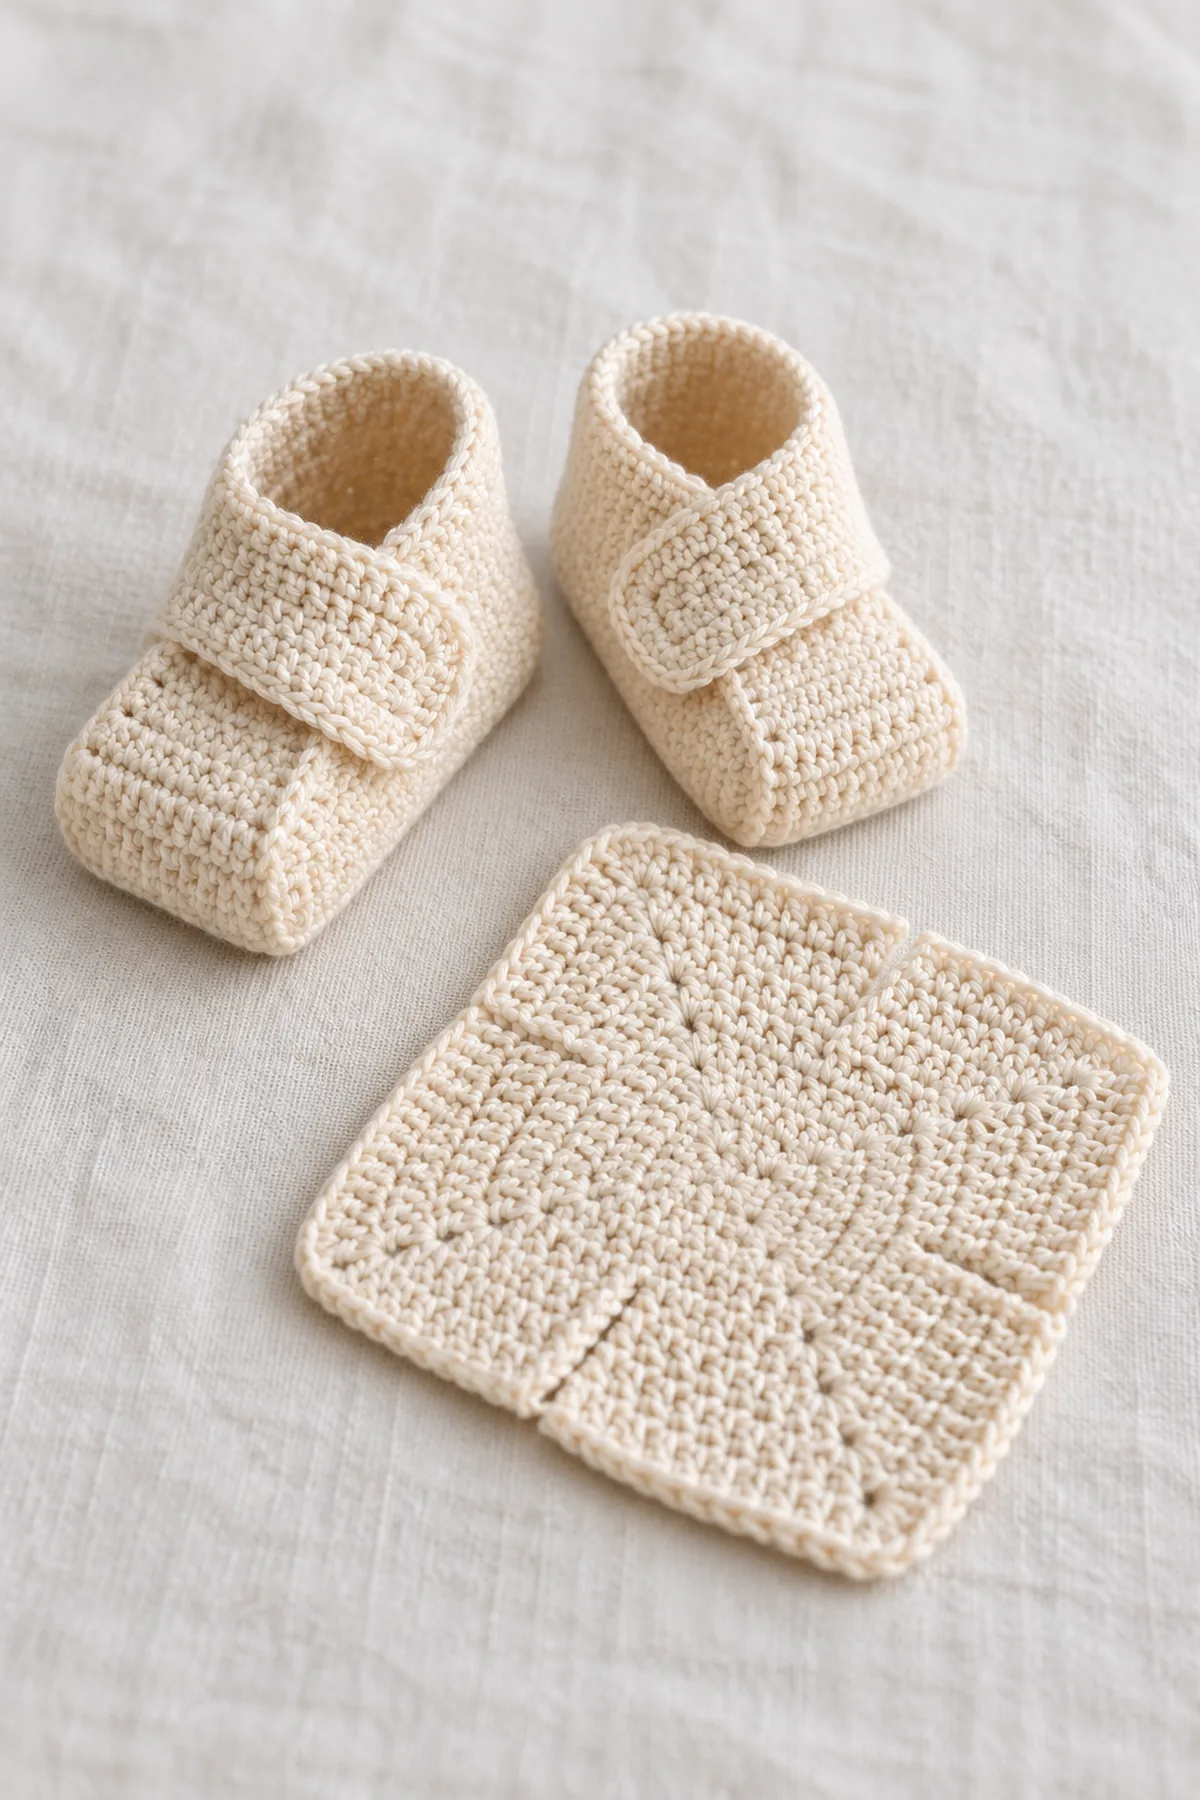
This original crochet origami baby booties uses the construction described in its own design brief: Each bootie starts as one dense square; marked fold lines and two short seams form a square toe, overlapping vamp and ankle opening. A narrow integral ridge locks the overlap without buttons; size 0–9 months. The written stitch arithmetic is checked, while gauge and fit must still be confirmed by making a sample before gifting or use.
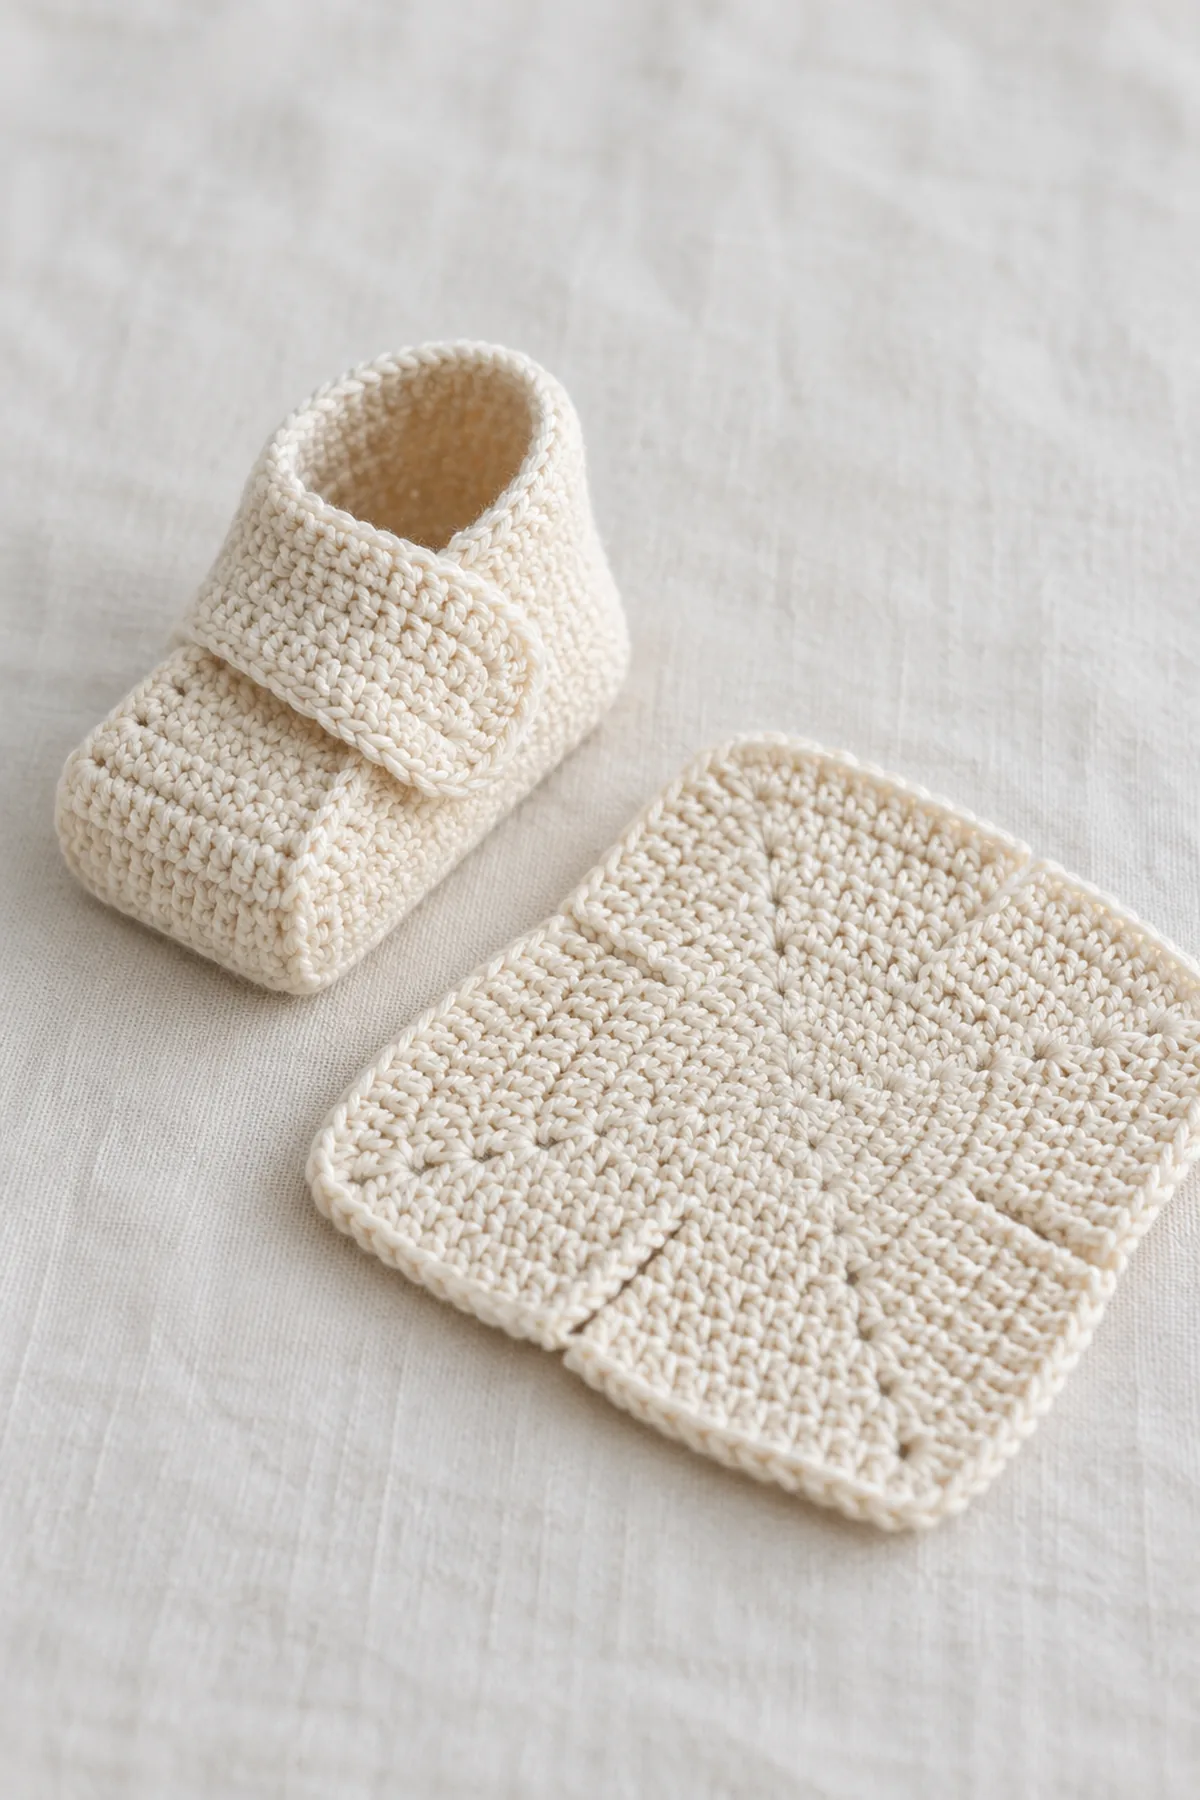
One dense single-crochet square makes each soft bootie. Fold it exactly across its middle row to create a sole fold, seam the two short row-end edges into a square toe and heel, then extend a four-stitch tab from the upper lip across the vamp. The tab overlaps and secures the front without a button; the rear part of the long top opening remains elastic.
Pattern Details
- Hook Size: 3.5 mm starting point; adjust to washed square gauge
- Finished Size: 0–3 (3–6, 6–9) months; target unfolded square 3.6 (4, 4.4) inches per side and folded sole length the same
- Gauge: 20 sc and 20 rows = 4 inches after washing; square must have equal stitch and row dimensions
- Estimated Time: 2–4 hours per pair
- Construction: One 18 × 18 (20 × 20, 22 × 22) sc square per bootie, central horizontal fold, two nine- (ten-, eleven-)row short-edge seams and one integral four-sc by six-row overlapping vamp tab
- Skill level: Intermediate
Why You’ll Love This Project
The shaping is visible at each checkpoint, so a maker can count, measure, and correct the fabric before assembly. The result is a distinct project rather than a recoloring of an older pattern.
Materials
- Planning allowance 130 (160, 190) yards soft washable DK cotton-blend yarn in warm cream, plus swatch allowance
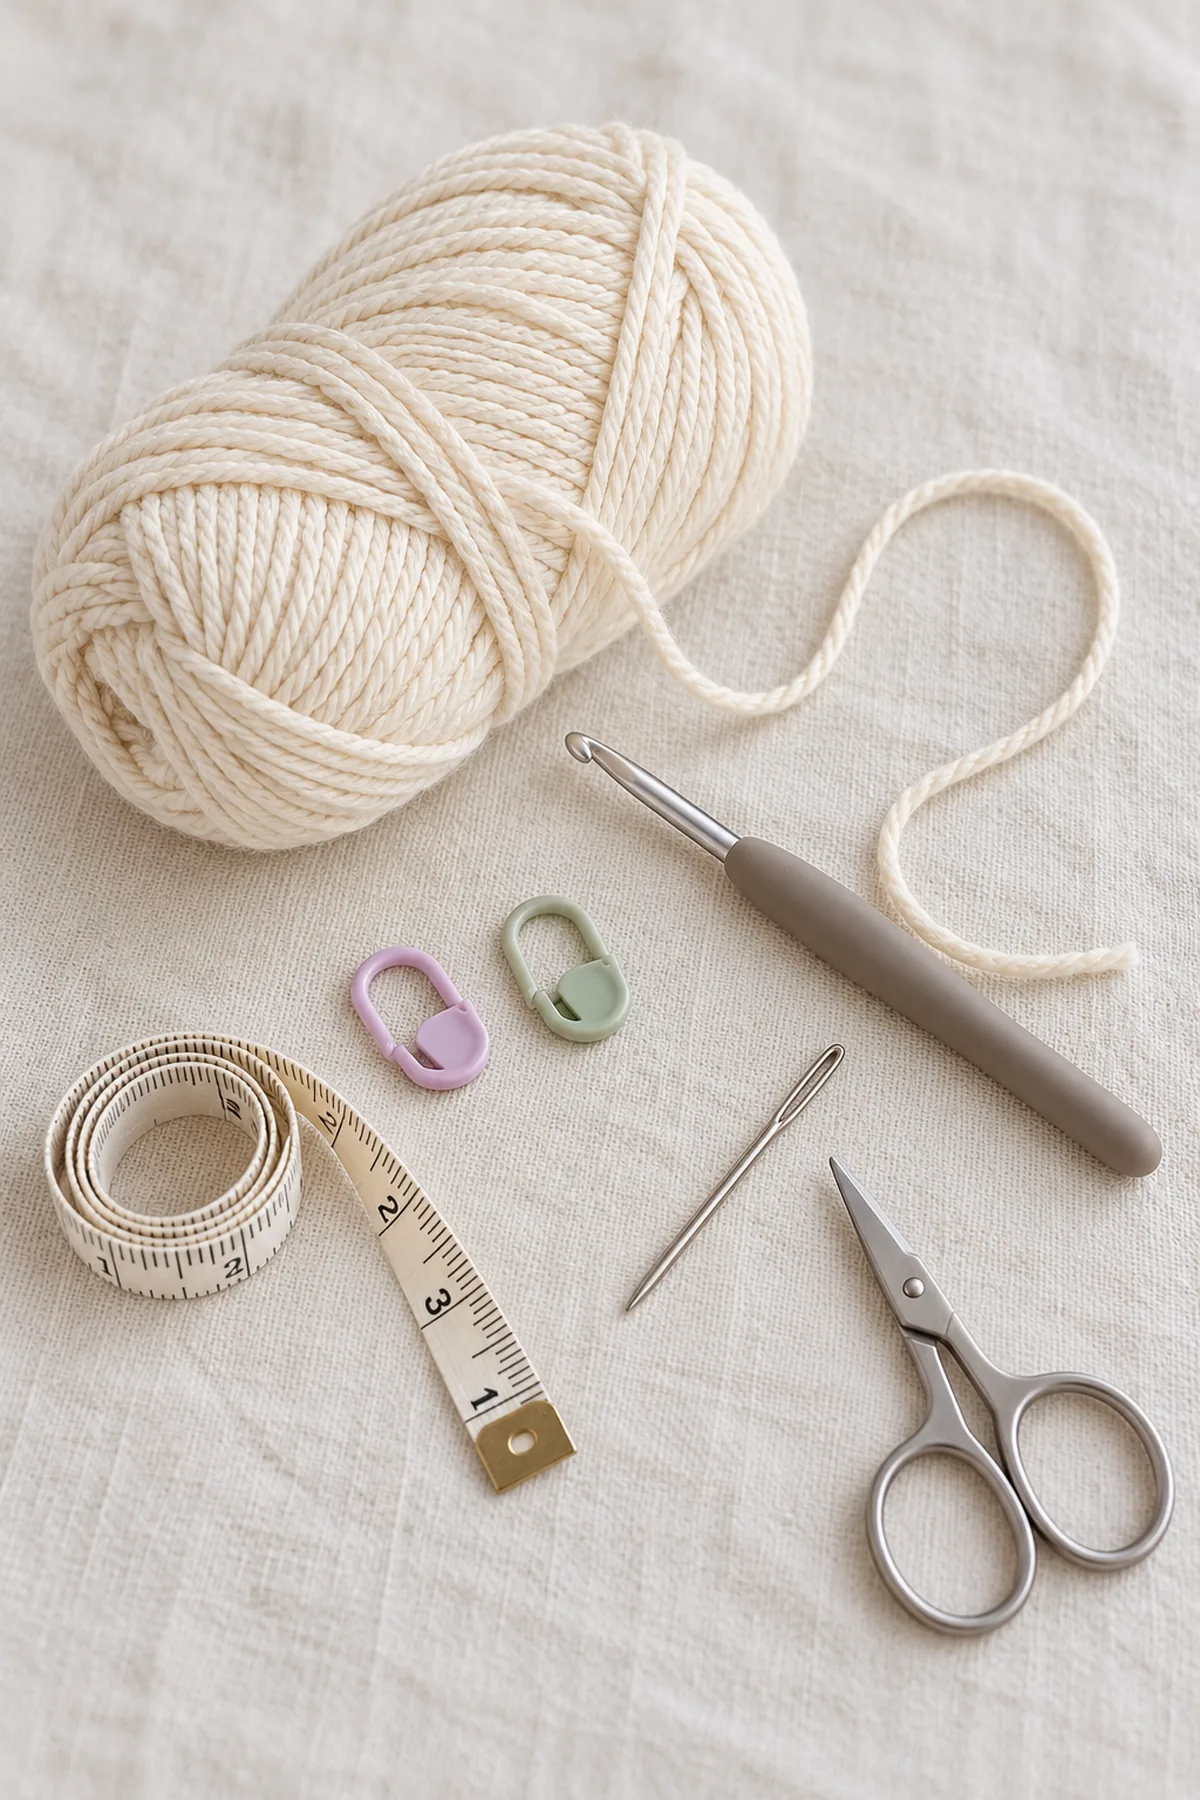
- 3.5 mm hook, two color-contrast stitch markers, tape measure, yarn needle and scissors
Gauge, Measurements, and Planning
Wash a square swatch and verify that 20 stitches and 20 rows each measure four inches. The 18-, 20- and 22-stitch squares then target 3.6, 4 and 4.4 inches. If row and stitch gauge differ, choose a hook or yarn that gives a square, rather than folding a rectangle. Compare the folded sole and top opening with a well-fitting soft bootie; this is not a tested fit guarantee.
Make and wash a gauge swatch before beginning. Measure only after the swatch is completely dry. If the stitch width differs, change hook size rather than pulling the working yarn tighter. Keep a written count at the end of every section so the finished edges remain balanced and the assembly points line up.
Abbreviations and Special Stitches
- ch: chain
- sc: single crochet
- hdc: half double crochet
- dc: double crochet
- sl st: slip stitch
- st(s): stitch(es)
- rnd: round
- BLO: back loop only
- inc: two single crochets in one stitch
- sc2tog: single crochet two stitches together
- dec: single crochet two together
- RS: right side
- WS: wrong side
Special stitch guidance: A turning ch 1 never counts. For a straight, dense square, sc through both loops of each previous-row stitch and turn after every row. The integral tab grows from four marked top-edge stitches near the toe and is sewn flat across the opposite lip.
Important Notes
- Development note: the written stitch arithmetic is computationally checked, but no physically crocheted sample or wear test is claimed. Gauge, yardage, fit and dimensions are planning targets; swatch and check before gifting.
- Beginning chains and joining slip stitches do not count unless the step explicitly says otherwise. Mark the first counted stitch and write down every shaping count.
- Use soft washable yarn. Do not add plastic eyes, beads, buttons, long ties or other detachable parts to young-child projects.
- AI-generated photographs are design illustrations, not stitch charts or evidence of a physically tested sample. Follow the written counts and your measured gauge.
- Use only with supervision. These projects are not for infant sleep or unsupervised crib use; inspect seams and attachments before each use.
Complete Instructions for Crochet Baby Origami Square Booties
Crochet and Mark Two Equal Squares
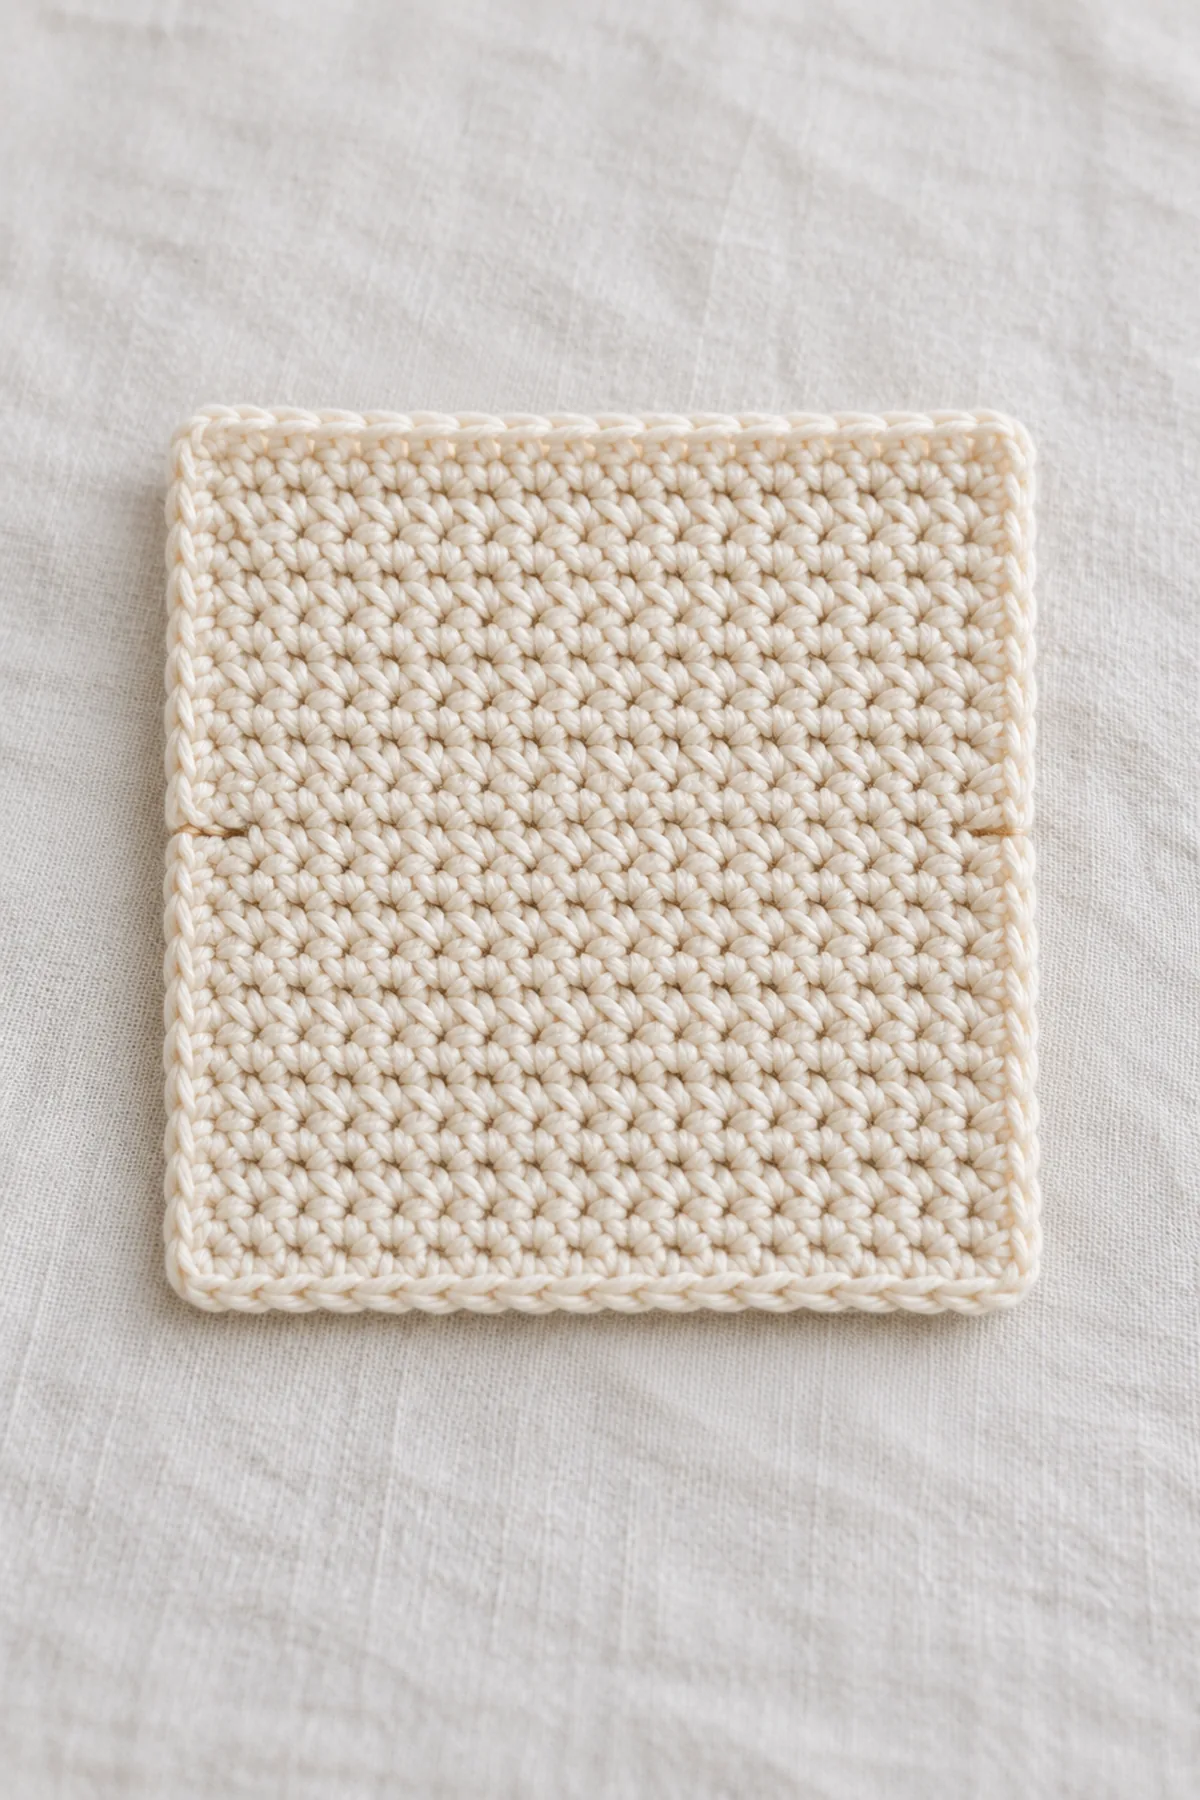
- For the first bootie, ch 19 (21, 23). Row 1: sc in second chain from hook and every remaining chain, ch 1 and turn. (18, 20, 22 sts)
- Rows 2–18 (2–20, 2–22): sc in every stitch through both loops, ch 1 and turn except after the final row. (18, 20, 22 sts) Do not add a border yet.
- For the smallest square, Row 1 and every later row each contain exactly (18 sts). This is a count checkpoint, not an additional row.
- Place a marker between Rows 9 and 10 (10 and 11, 11 and 12) on both row-end edges. Count the same number of rows on each half and check the washed square’s width and height match within one eighth inch.
- Make a second identical square. If its side length differs, remake it before folding; stretching one bootie to match its pair changes the ankle opening.
Fold and Seam Toe and Heel
- Fold each square across the marked middle so the first nine (ten, eleven) rows align with the final nine (ten, eleven) rows. The central fold becomes the sole and the two long free edges become the top opening.
- At the toe short side, pair each of the nine (ten, eleven) lower row ends with its upper mate. Whipstitch all matched pairs from sole fold to top; repeat at the heel short side using the same number of paired row ends.
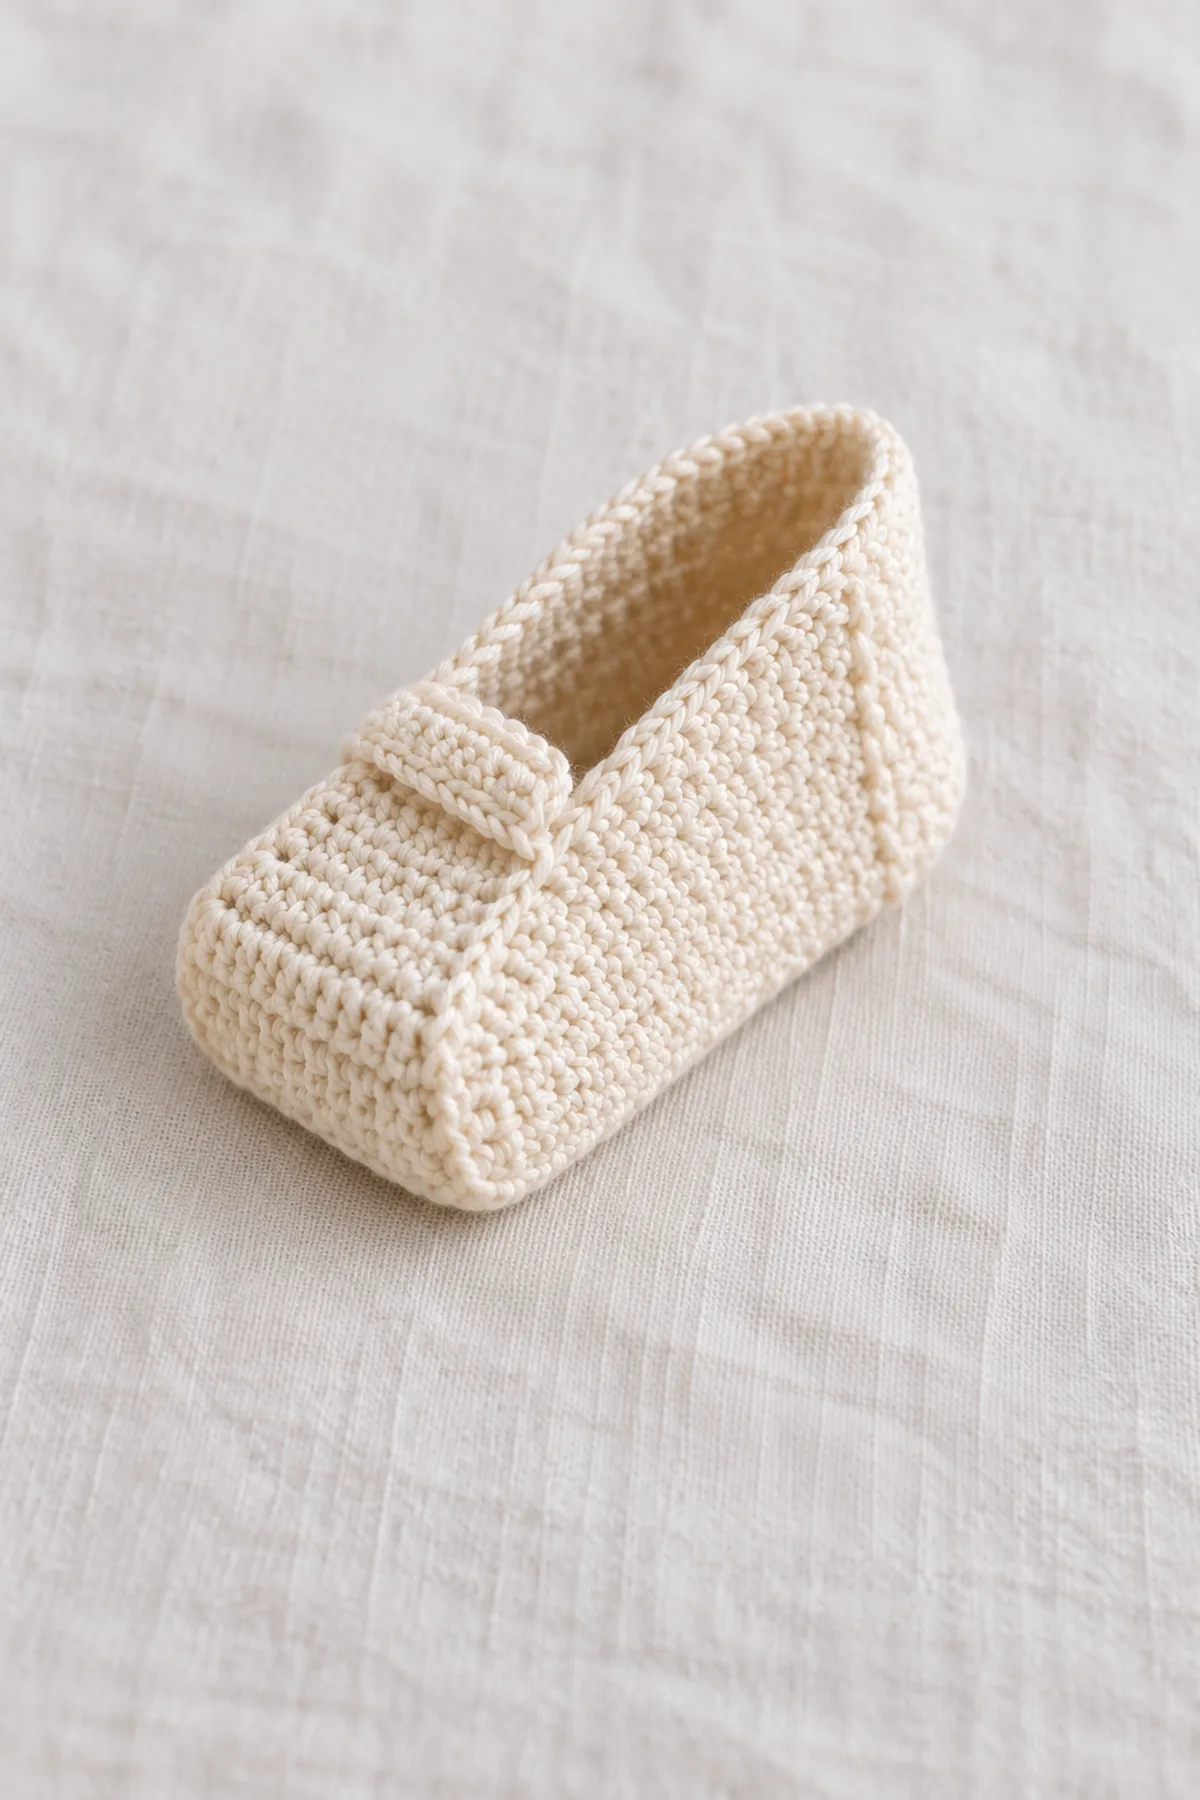
- Turn both seams inward, then gently push the square toe corners outward. The soft bootie now has a flat folded sole and a full-length slit at the top. Leave that slit open; do not sew across the ankle.
- Lay the two folded booties side by side with toe seams facing the same direction. Mark four consecutive stitches on one top lip beginning two stitches behind the toe seam; mirror the position on the other bootie.
Grow the Integral Overlapping Vamp Tabs
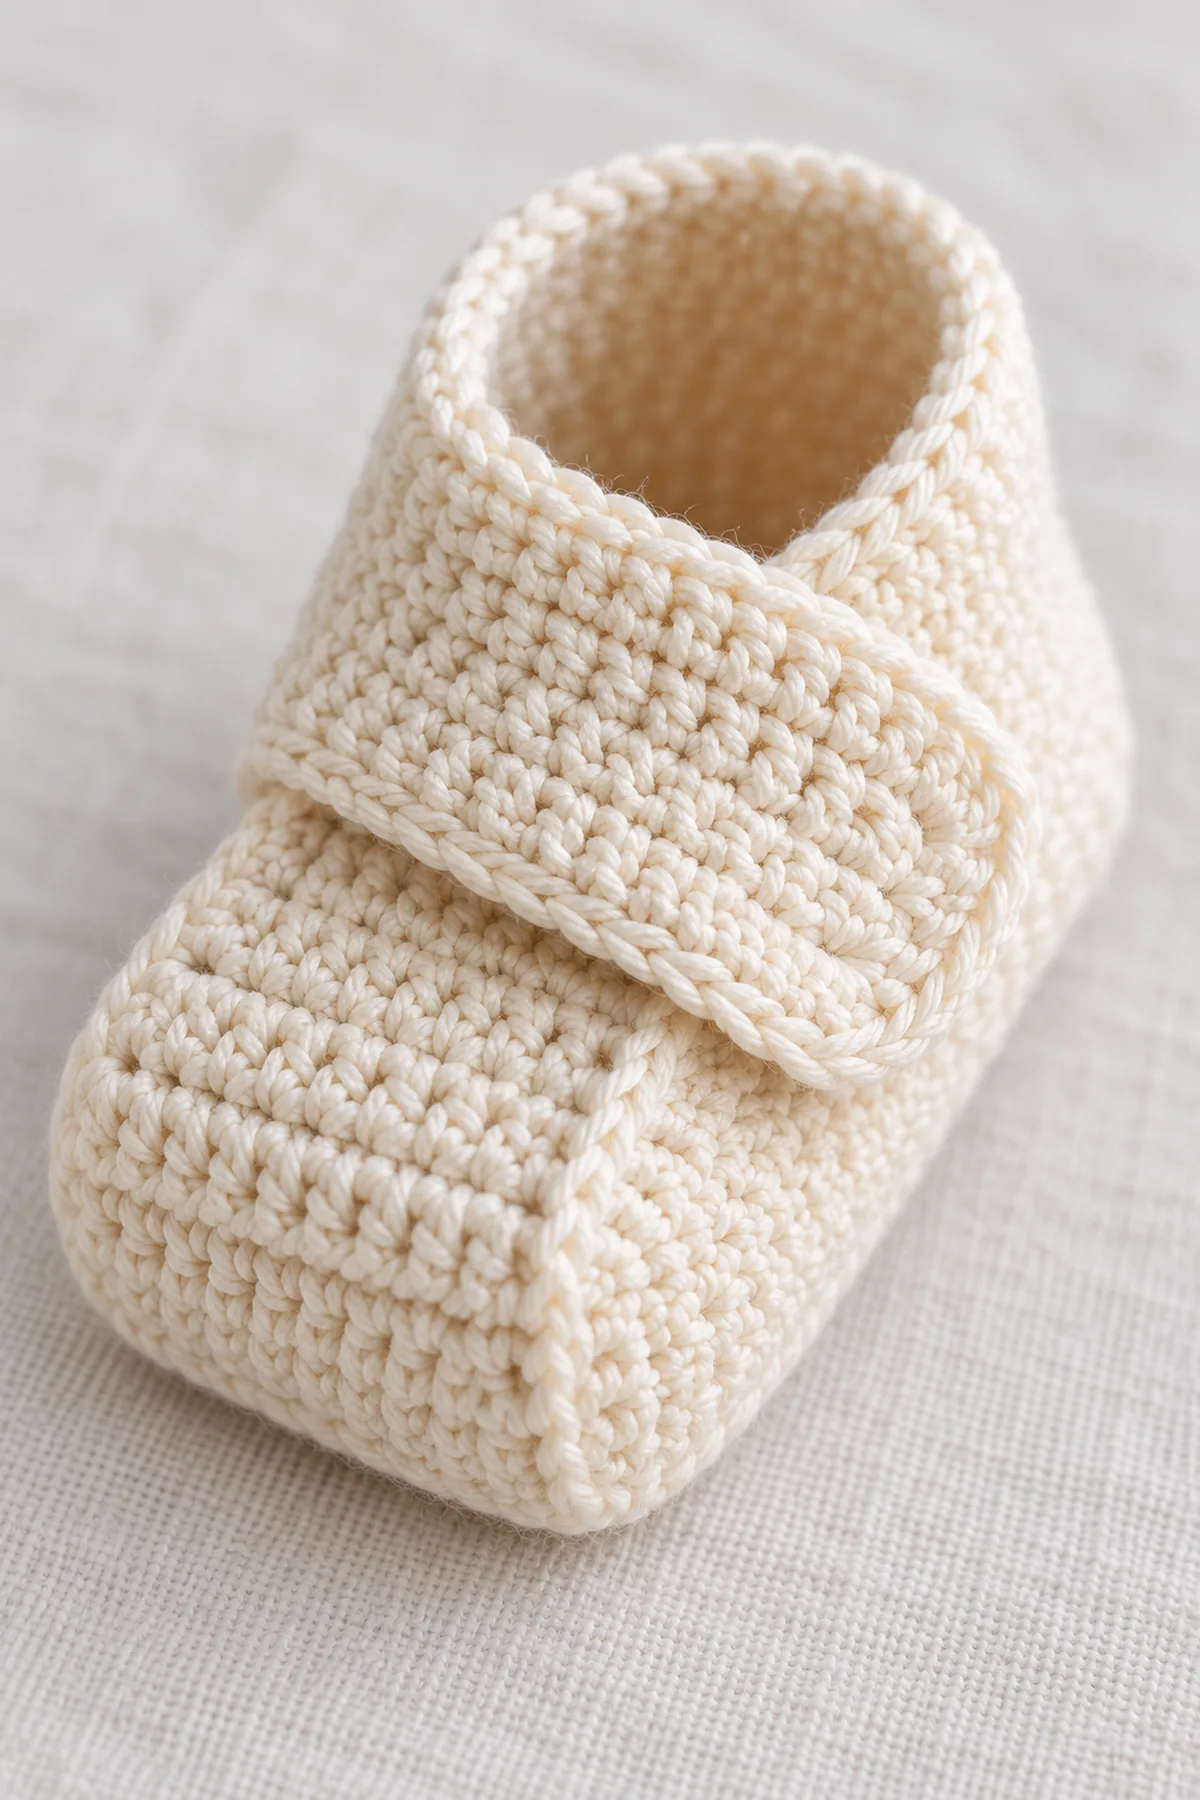
- With the right side facing, attach yarn to the first of the four marked top-edge stitches on one bootie. Tab Row 1: ch 1 and sc in all four marked stitches, ch 1 and turn. (4 sts)
- Tab Rows 2–6: sc in all four stitches, ch 1 and turn except after Row 6. (4 sts) Leave a 14-inch sewing tail. This tab is attached directly to the upper lip; do not make a detached strap.
- Lay the tab diagonally and flat over the toe-side portion of the top slit. Its end should reach the opposite lip about six stitches behind the toe seam; mark four receiving stitches there. Sew all four tab-end stitches to four separate receiving stitches twice.
- Repeat on the second bootie in mirror image so both tabs cross inward toward their opposite lips. The back half of each opening remains free for the ankle; never lace, tie or button it.
Finish, Measure and Inspect
- Work one loose sc edging along only the exposed upper opening of each bootie, including the two tab sides. Do not stitch the opening shut or narrow it with a tight edge.
- Weave the seam and tab tails through several interior stitches in two directions. Feel the inside toe and heel seams with a finger; resew any hard lump with smaller, flatter stitches.
- Measure each sole from the heel seam to toe seam after washing and drying. Compare the pair; both soles, toe widths, ankle openings and tab positions should match.
- These are soft, supervised pre-walking booties, not grippy walking shoes or sleepwear. If the ankle is too tight, remake a larger square rather than stretching the child’s foot through it.
Assembly and Shaping
Fold the square across the line between Rows 9 and 10 (10 and 11, 11 and 12) with the right side outward; the fold is the sole. Match row ends at each short side and whipstitch from fold to the top opening, making identical toe and heel seams. The long top edge remains open until the small four-stitch tab bridges only its toe-side section.
Lay every component on a flat surface before joining. Match the marked centers first, then divide each remaining edge into equal sections. Work through both layers with consistent tension and pause after each section to check that the fabric lies flat. This measured approach prevents twisting and keeps decorative details facing the intended direction.
Finishing
- Fasten off with a long tail and weave it through three separate stitch groups, reversing direction twice.
- Wash and dry according to the yarn label; measure again only after the fabric is fully dry.
- Inspect both sides of every seam and embroidered feature; remove all markers and repair any loose end.
- Keep a written note of the finished dimensions, yarn, hook and care instructions with the gift.
For a polished result, weave each tail through several same-color stitches, reverse direction once, and trim only after the fabric has been gently stretched. Block to the listed dimensions without flattening textured stitches. Inspect joins, borders, straps, and decorative pieces before the project is used or gifted.
Helpful Tips
- Make a generous washed gauge swatch; compare stitches and rows per inch separately.
- Place contrasting markers at every segment boundary and recount before and after shaping.
- Check dimensions against an existing well-fitting item; never pin a project directly on a child.
- If a section cups, flares, or twists, fix the underlying count or gauge instead of hiding it in a seam.
Good lighting and a contrasting stitch marker make counting much easier. If a section looks uneven, compare the current count with the previous checkpoint before continuing. Fixing one missed stitch early is faster than compensating later, and it preserves the measurements used by the assembly instructions.
Frequently Asked Questions
Is this pattern physically tested?
No physical sample test is claimed. The written counts are audited; make a gauge swatch and verify the complete finished sample before gifting.
Can I change the yarn?
Yes, but only after matching washed stitch and row gauge and checking fabric softness and recovery. Yardage and dimensions change with fiber and tension.
Is this suitable for unsupervised infant sleep?
No. Use only with supervision, omit detachable pieces, and follow current safe-sleep guidance.
Conclusion
Check the finished dimensions against your washed gauge and inspect every seam and embroidered feature. Record any size adjustments and make a complete physical sample before relying on the fit.
BabyYarnie Printable Crochet Pattern Card
BabyYarnie — easy-to-follow crochet for everyday makers.
Project: Crochet Baby Origami Square Booties
Skill level: Intermediate Hook: 3.5 mm starting point; adjust to washed square gauge Yarn: DK cotton blend
Finished size: 0–3 (3–6, 6–9) months; target unfolded square 3.6 (4, 4.4) inches per side and folded sole length the same
Card Materials
- Planning allowance 130 (160, 190) yards soft washable DK cotton-blend yarn in warm cream, plus swatch allowance
- 3.5 mm hook, two color-contrast stitch markers, tape measure, yarn needle and scissors
Card Instructions
- Crochet and Mark Two Equal Squares: Two 18 × 18 (20 × 20, 22 × 22) sc squares with a marked exact mid-row fold.
- Fold and Seam Toe and Heel: The middle fold forms each sole; matching short-edge seams form a square toe and heel.
- Grow the Integral Overlapping Vamp Tabs: One integral four-sc by six-row tab crosses each toe-side vamp and is sewn permanently.
- Finish, Measure and Inspect: Leave a flexible ankle opening, inspect flat seams, and match both square-fold booties.
Finish: Check every count, weave in all ends, block to measurement, and inspect each join.