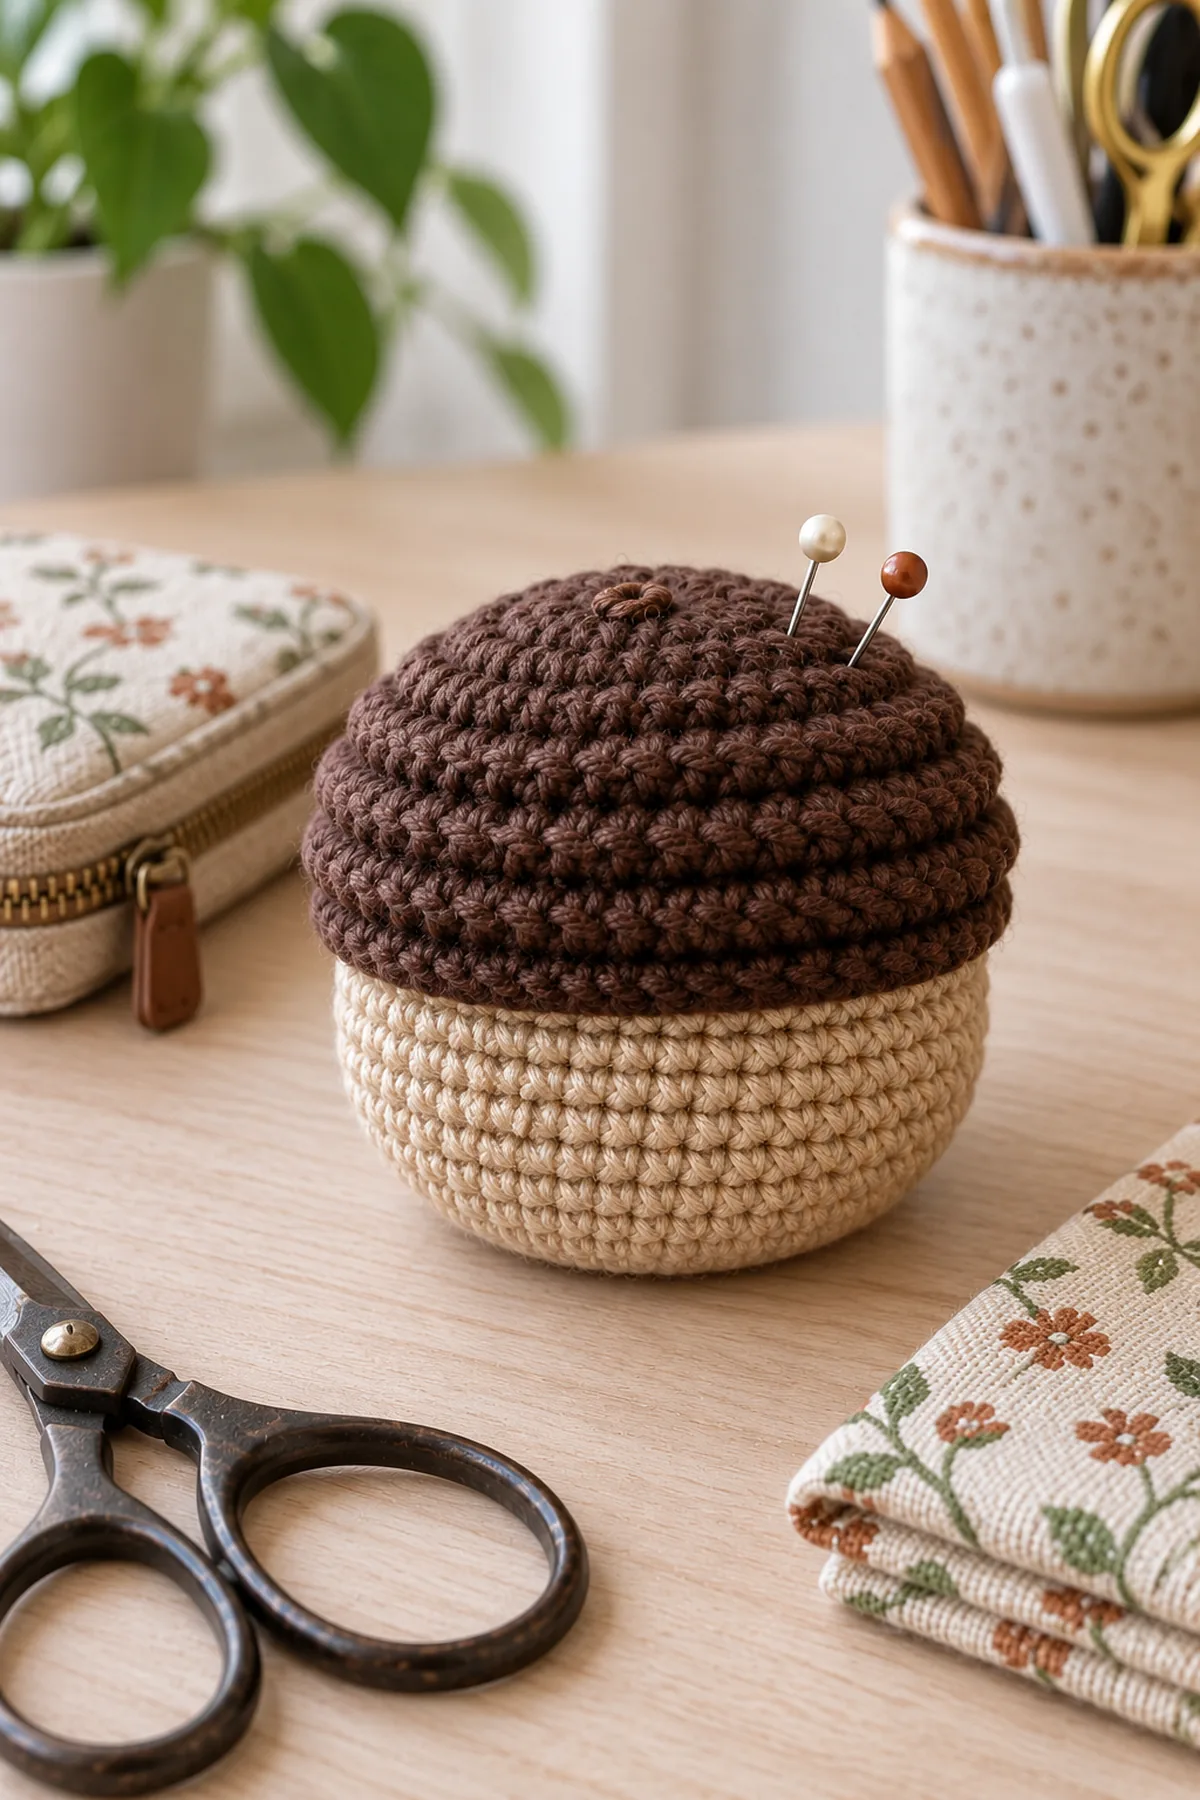
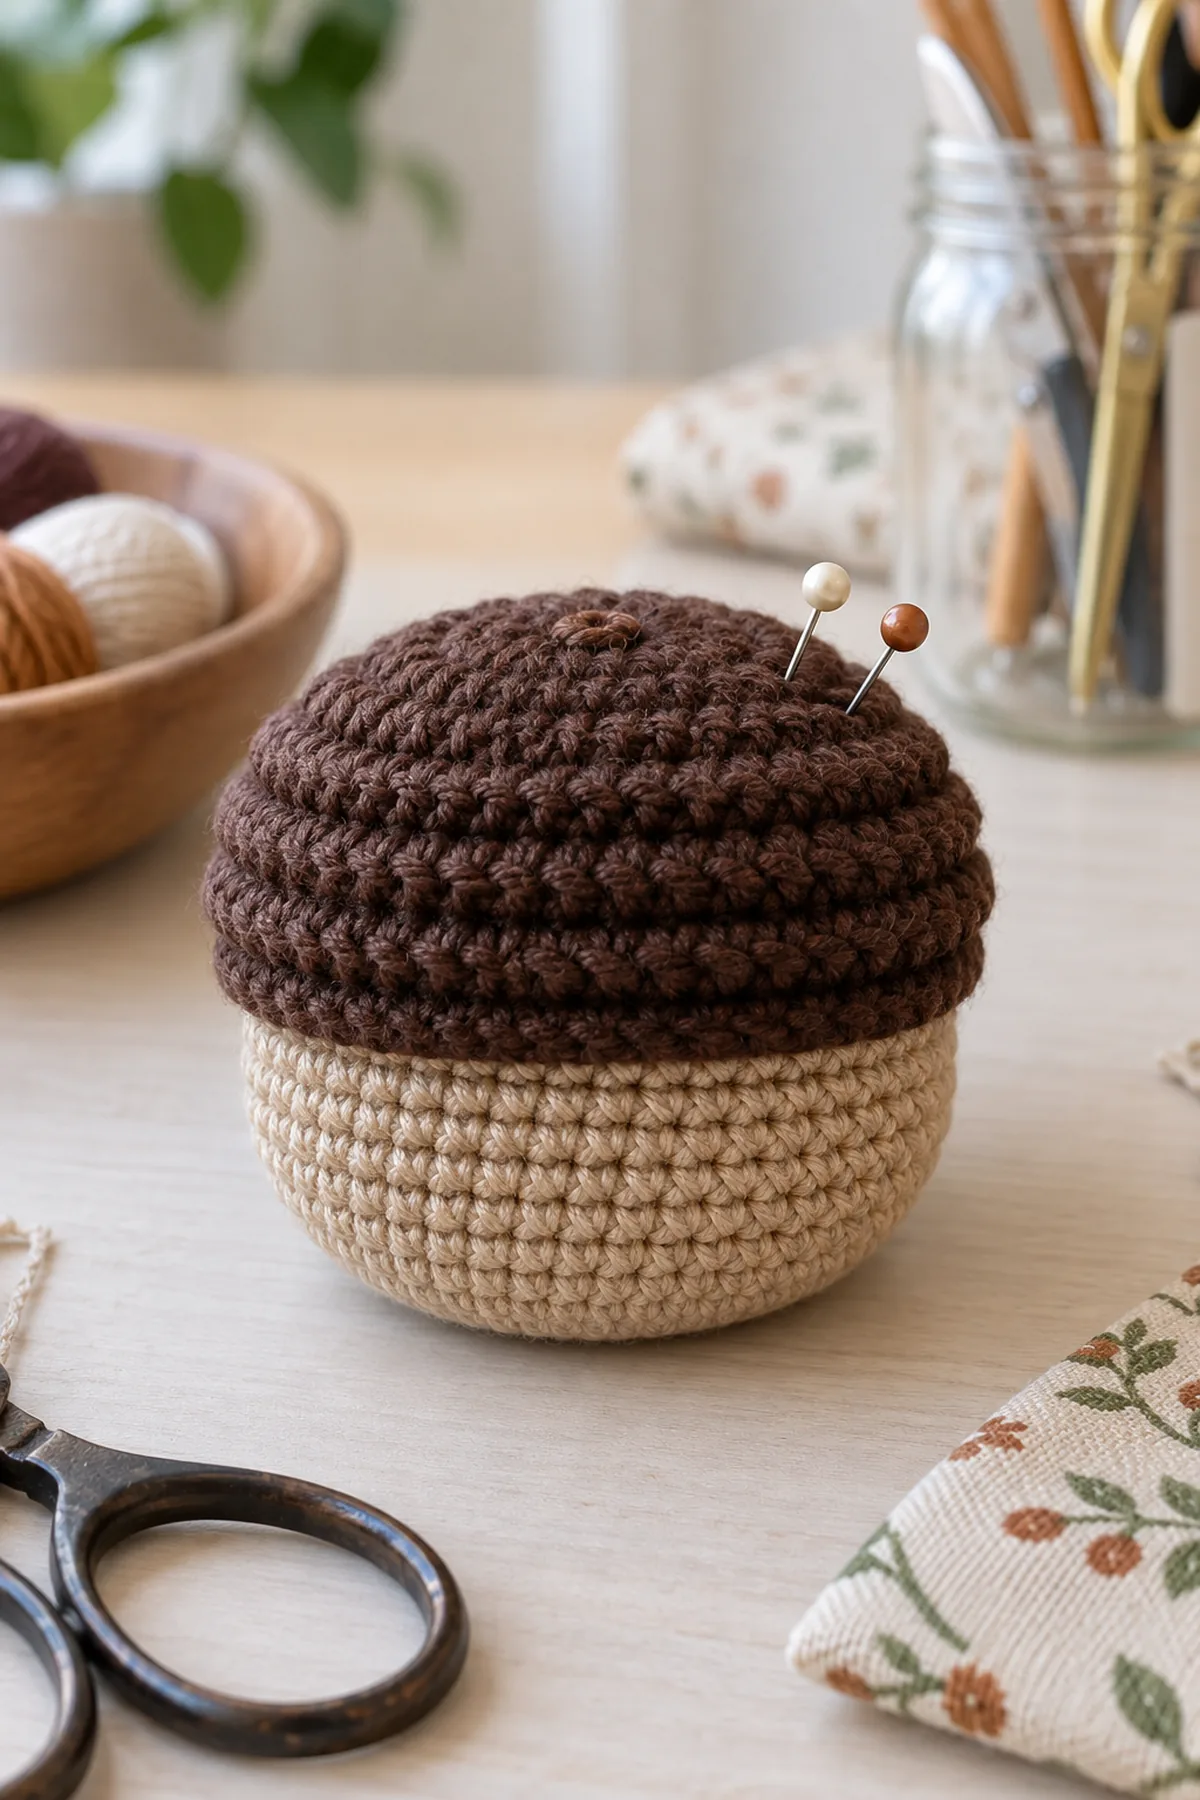
This crochet acorn pincushion is an original practical crochet project. Adult sewing accessory: squat tan stuffed acorn with a deep textured cocoa cap and broad flat stable base, embroidered stem detail, no plastic eyes or hanging loop. Follow the complete US-terminology instructions below, beginning with a washed swatch and the measurement checkpoints.
This squat acorn is an adult sewing-desk pincushion. A flat tan circle turns into a short open cup. A separate cocoa dome fits over its rim; back-loop rounds make horizontal cap ridges. A removable fabric sachet holds the stuffing. Four small hidden yarn tacks secure the cap and can be unpicked for laundering.
Pattern Details
- Hook Size: 3 mm starting point; use dense fabric
- Finished Size: About 3 inches across x 2.5 inches tall; flat circular base
- Gauge: 24 sc and 28 rounds = 4 inches; check density with lining
- Estimated Time: 4-6 hours
- Construction: Tan flat-base cup, cocoa ridged cap, removable sewn filling pouch
- Skill level: Intermediate
Why You’ll Love This Project
The decoration is part of a useful, deliberately shaped project rather than a generic motif added to an unrelated pattern. Separate construction stages make counting manageable, while the limited palette keeps the silhouette readable. You can pause between components and check the measurements before committing to final assembly.
Materials
- Planning allowance: 90 yards tan and 65 yards cocoa DK cotton
- 3 mm hook, markers, yarn needle, scissors and ruler
- Two 5-inch squares tightly woven washable cotton, sewing needle, strong thread and washable polyester filling
- Two or three ordinary headed sewing pins for supervised final testing; store all pins separately during construction
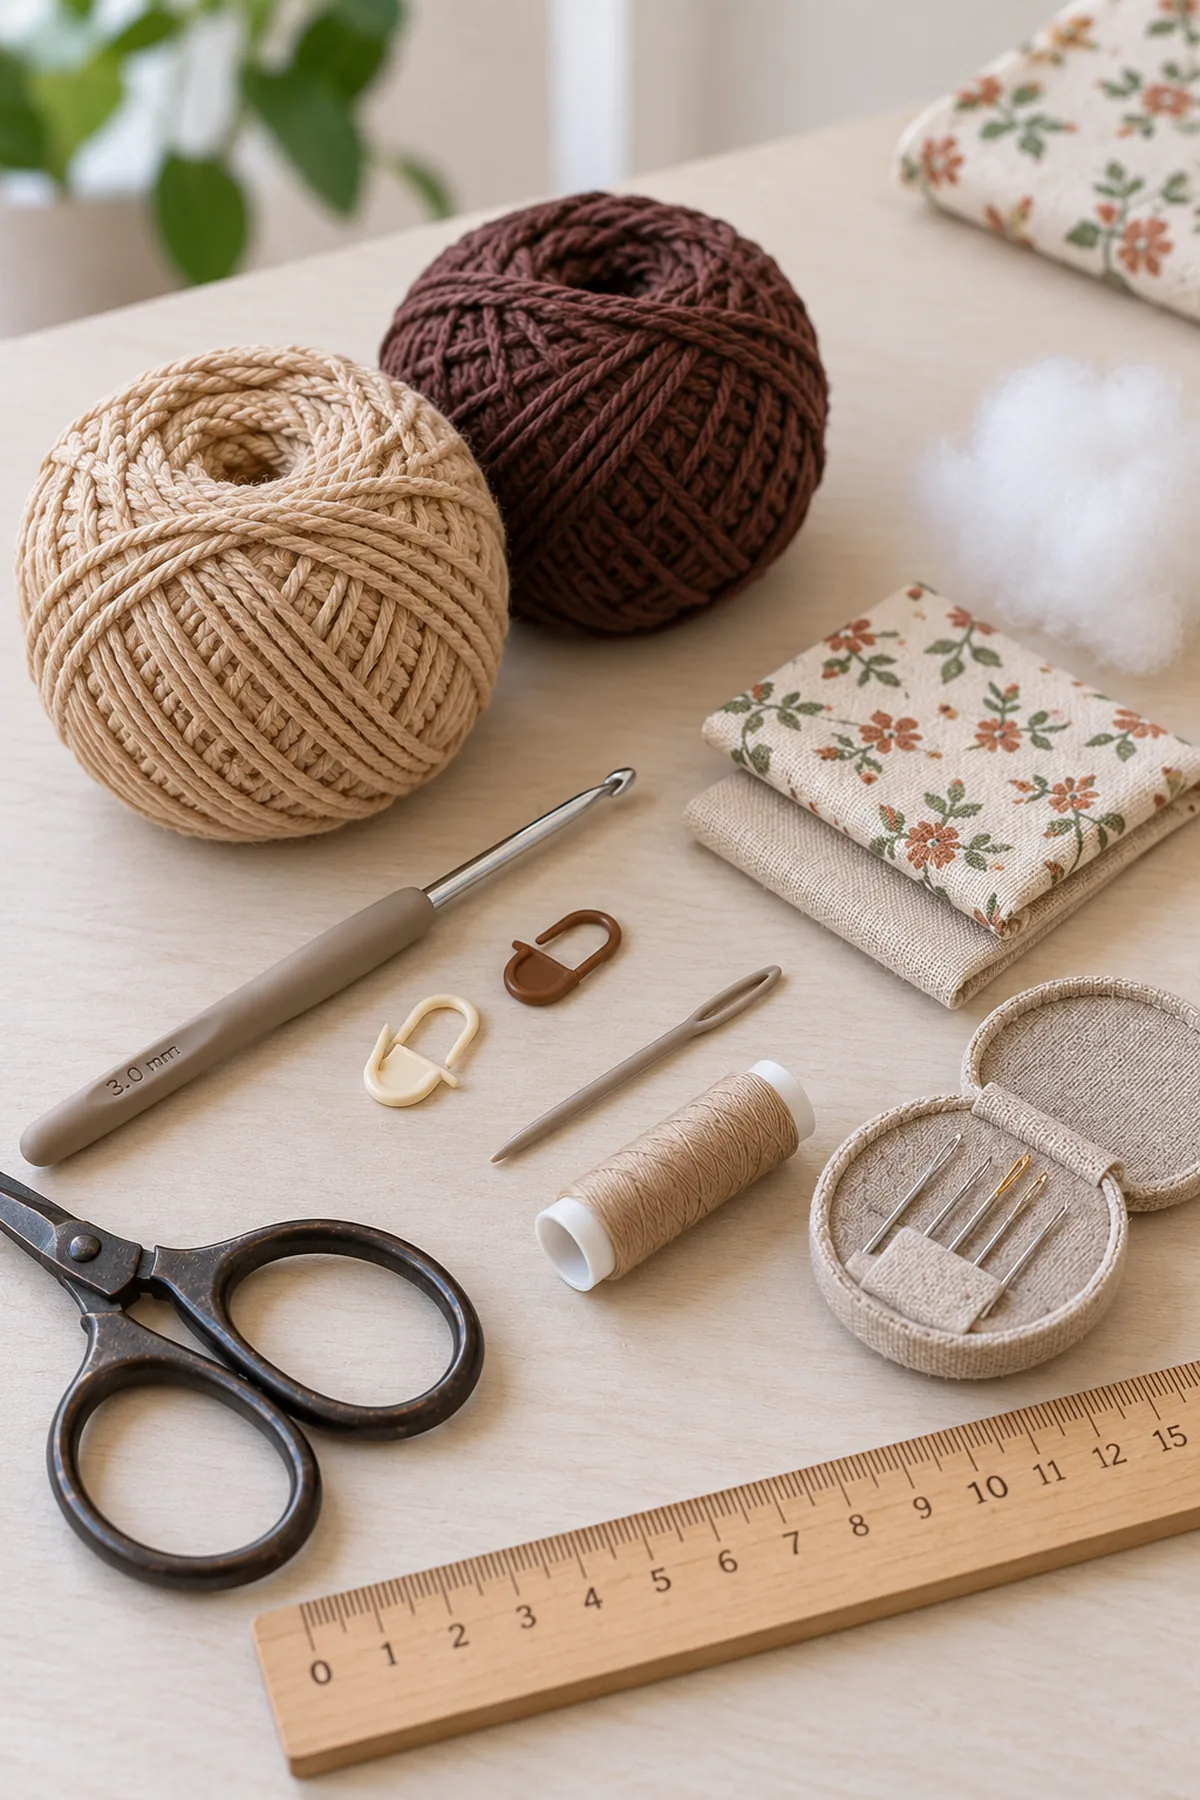
Gauge, Measurements, and Planning
At six sc per inch a 54-stitch circumference is 9 inches, roughly 2.86 inches diameter. The cap expands to 60 stitches, about 3.18 inches circumference-derived diameter, to fit over the body. The base must sit flat without weight; check before adding filling. Different yarns change circular expansion and cap depth, so use the rim fit check rather than forcing it. The short nine-round body wall and shallow cap target about 2.5 inches combined height. Stuff gently: a hard ball lifts the base and makes the pincushion unstable. Never add weighted pellets, rice, sand, wire or cardboard.
Make and wash a gauge swatch before beginning. Measure only after the swatch is completely dry. If the stitch width differs, change hook size rather than pulling the working yarn tighter. Keep a written count at the end of every section so the finished edges remain balanced and the assembly points line up.
Abbreviations and Special Stitches
- ch: chain
- sc: single crochet
- hdc: half double crochet
- dc: double crochet
- sl st: slip stitch
- st(s): stitch(es)
- rnd: round
- BLO: back loop only
- inc: 2 stitches in one stitch
- sc2tog: single crochet two stitches together
- RS: right side
- WS: wrong side
- sp: space
Special stitch guidance: Sc BLO inserts under the back loop only and leaves the front loop as a horizontal ridge. Work continuous rounds with no join or turning chain unless finishing; move the marker each round. Increase means 2 sc in one stitch. The cap grows in both loops, then the last four rounds use BLO without increases. Embroider the small stem flat; do not add a loose stalk or hanging cord.
Important Notes
- Pattern development note: stitch arithmetic and written construction have been reviewed computationally; this design has not been physically sample-tested. Gauge, yardage and finished measurements are planning targets, not a tested guarantee. Swatch and check fit before making a gift.
- Beginning ch 1 or ch 2 and joining slip stitches never count as stitches. Mark the first counted stitch of each round and move the marker after completing the round.
- On flat rows, turn after each row and work the first stitch into the last stitch of the previous row. On joined rounds, join to the first counted stitch and do not turn unless specifically instructed.
- Change color on the final yarn-over of the stitch before the new color is needed. Leave a 6-inch tail and weave it back and forth through same-color stitches after construction.
- Use the written stitch counts for structure and your washed gauge for dimensions. Do not silently add shaping increases to correct a measurement; make a fresh swatch with a different hook first.
- Images are AI-generated design illustrations, not stitch charts or photographs of a physically tested sample. Follow the written counts and your measured gauge.
Complete Instructions for Crochet Ridged Acorn Pincushion
Make the Stable Tan Body
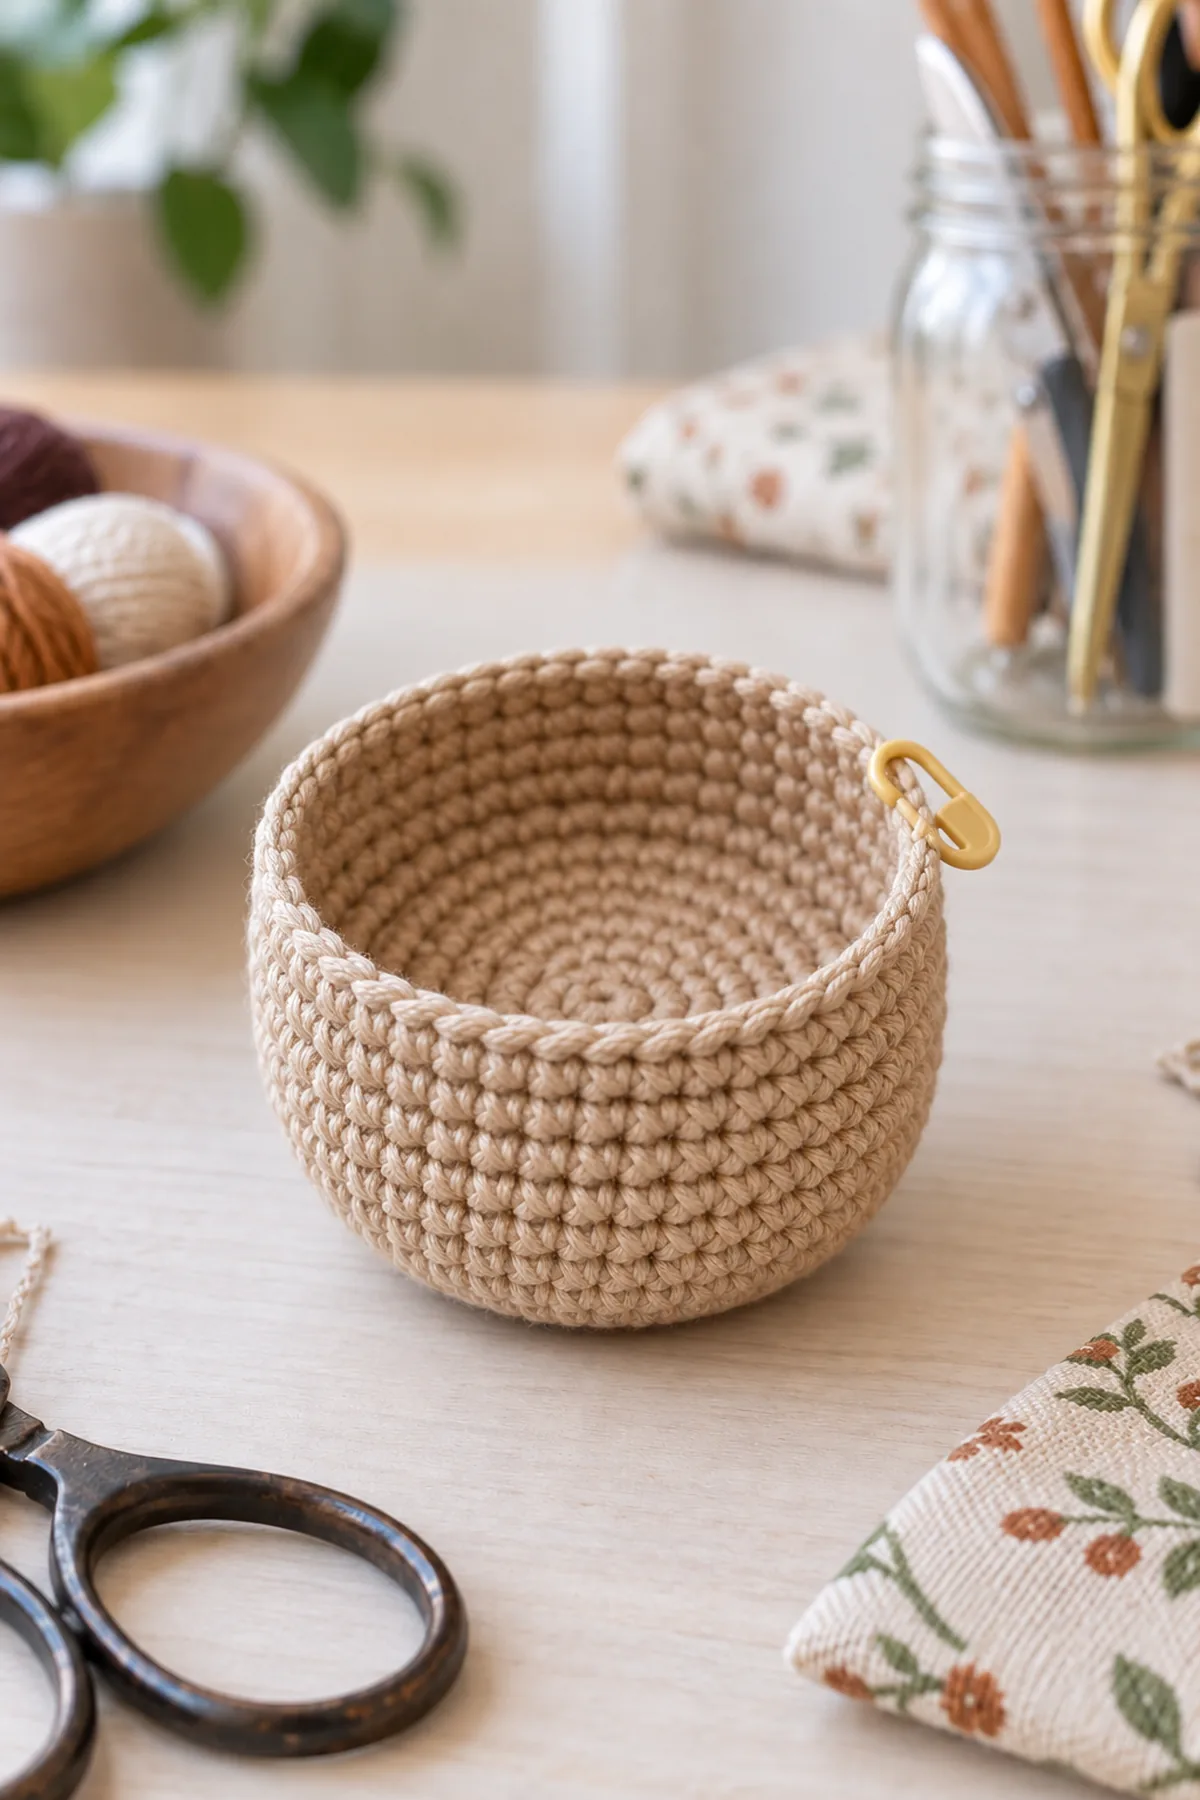
- With tan make a magic ring. Round 1: 6 sc into ring; tighten and mark first sc. (6 sts) Do not join or turn.
- Round 2: 2 sc in each stitch. (12 sts)
- Round 3: [sc in next 1, 2 sc in next] six times. (18 sts)
- Round 4: [sc in next 2, 2 sc in next] six times. (24 sts)
- Round 5: [sc in next 3, 2 sc in next] six times. (30 sts)
- Round 6: [sc in next 4, 2 sc in next] six times. (36 sts)
- Round 7: [sc in next 5, 2 sc in next] six times. (42 sts)
- Round 8: [sc in next 6, 2 sc in next] six times. (48 sts)
- Round 9: [sc in next 7, 2 sc in next] six times. (54 sts)
- Round 10: sc BLO in all 54 stitches. (54 sts) This turning round defines the flat bottom edge. Rounds 11-18: sc through both loops in every stitch. (54 sts) Finish with an uncounted sl st and fasten off. Do not close the top.
- Set the empty cup on a table. Its nine-round base should lie flat and its short wall stand without a hard fold. Secure the ring tail inside with several direction changes. A cupped or rippling base must be remade with corrected gauge before stuffing.
Make the Ridged Cocoa Cap
- With cocoa make a magic ring. Cap Round 1: 6 sc in ring. (6 sts) Do not join or turn.
- Cap Round 2: 2 sc in each stitch. (12 sts)
- Cap Round 3: [sc in next 1, 2 sc in next] six times. (18 sts)
- Cap Round 4: [sc in next 2, 2 sc in next] six times. (24 sts)
- Cap Round 5: [sc in next 3, 2 sc in next] six times. (30 sts)
- Cap Round 6: [sc in next 4, 2 sc in next] six times. (36 sts)
- Cap Round 7: [sc in next 5, 2 sc in next] six times. (42 sts)
- Cap Round 8: [sc in next 6, 2 sc in next] six times. (48 sts)
- Cap Round 9: [sc in next 7, 2 sc in next] six times. (54 sts)
- Cap Round 10: [sc in next 8, 2 sc in next] six times. (60 sts)
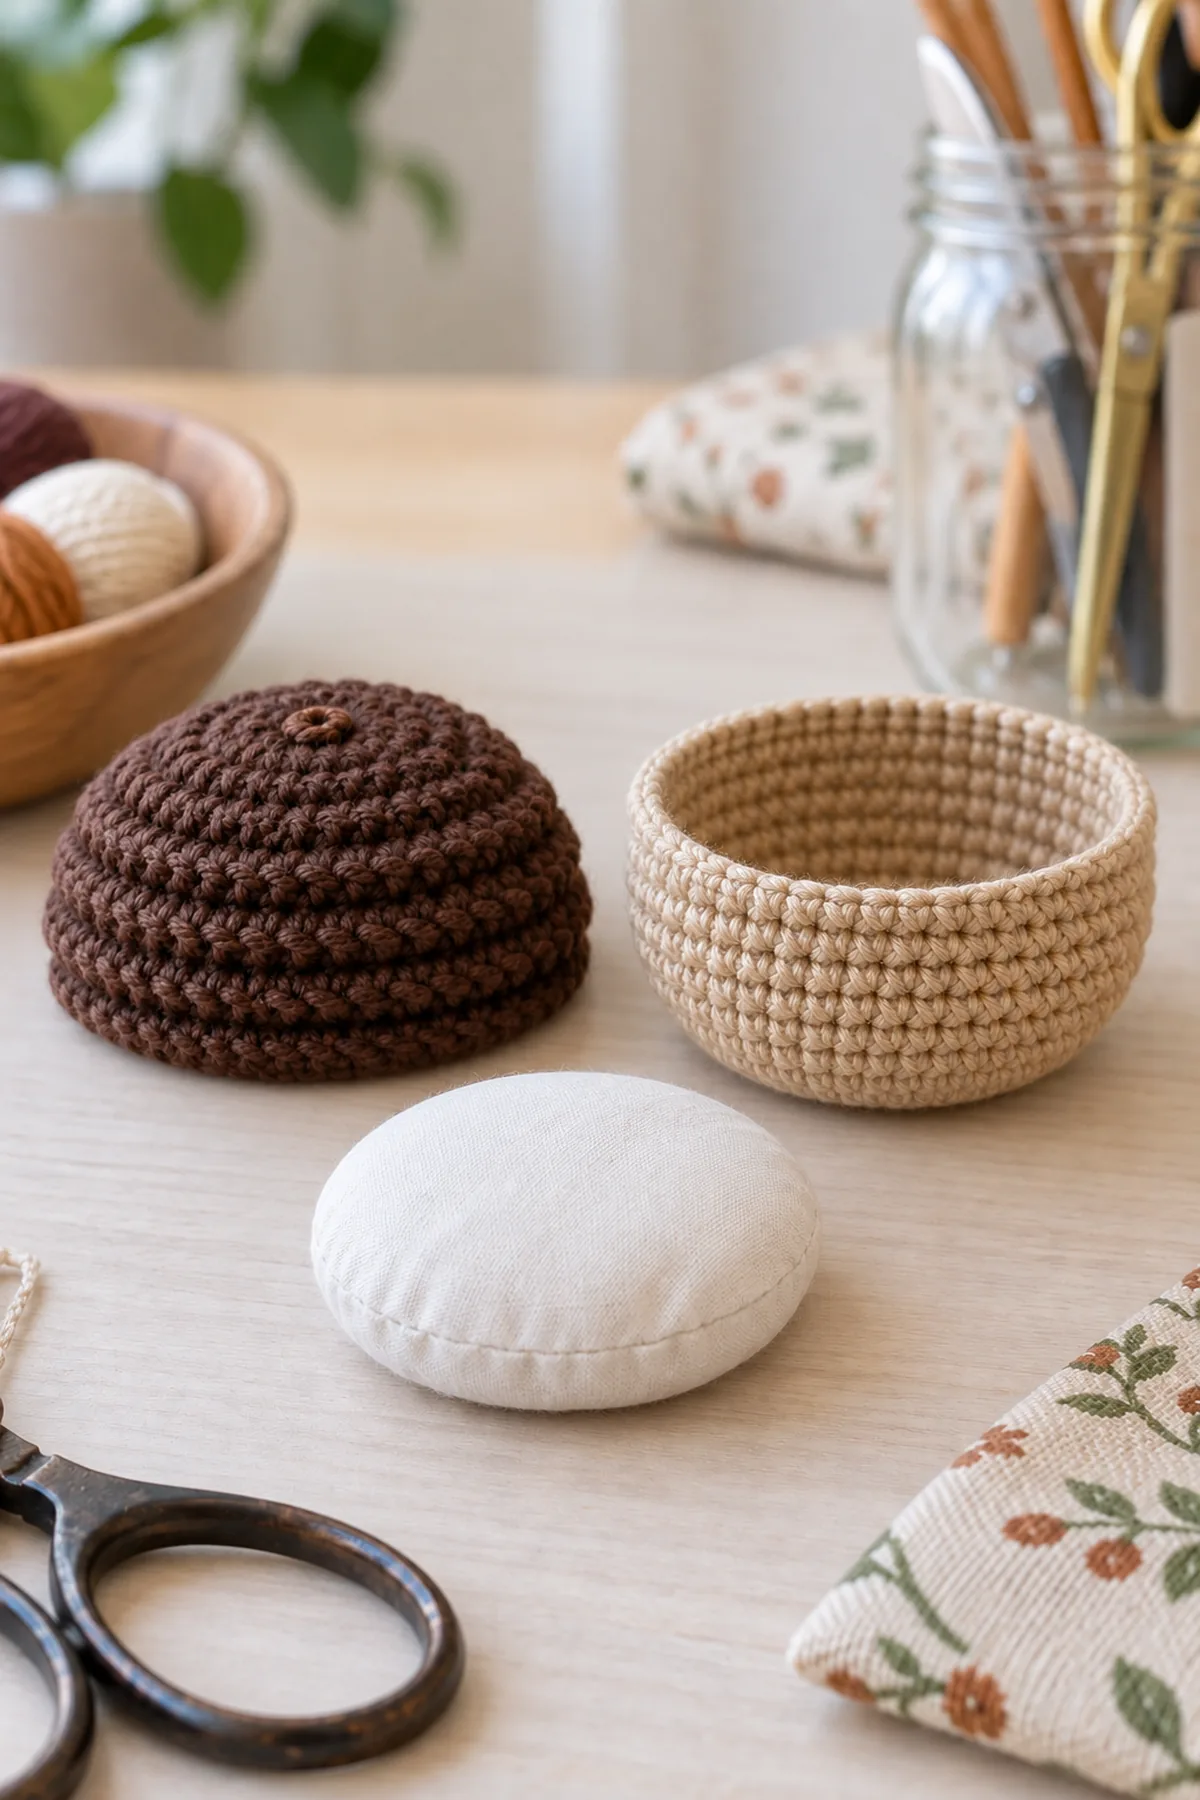
- Cap Rounds 11-14: sc BLO in all 60 stitches. (60 sts) These four plain rounds curl the expanding disc into a shallow cap and leave four horizontal front-loop ridges. Slip stitch in next stitch to level edge; fasten off. Do not stuff the cap separately.
- With a short cocoa strand, embroider three parallel straight stitches across three center-round stitches on the cap top, forming a tiny flat stem mark. Knot and bury ends on the underside; no projecting stem or loop. Check cap rim slips over the tan cup with about three body rounds covered. If too tight, change cap hook size and remake, keeping its counts.
Sew the Removable Filling Sachet
- On each cotton square mark a 3.25-inch-diameter circle. Cut around the circle leaving 0.25-inch seam allowance; cut two equal circles. Place RS together and backstitch along the marked circle, leaving a 1-inch opening. Use small firm stitches, not a running seam that can leak filling.
- Clip shallow notches in the seam allowance without cutting thread, turn right side out and smooth. Add small loose tufts of polyester filling until the sachet is a soft flattened cushion, not a taut sphere. Close its opening with a short removable ladder-stitch seam in contrasting thread on the underside; secure firmly. The stuffing remains completely contained.
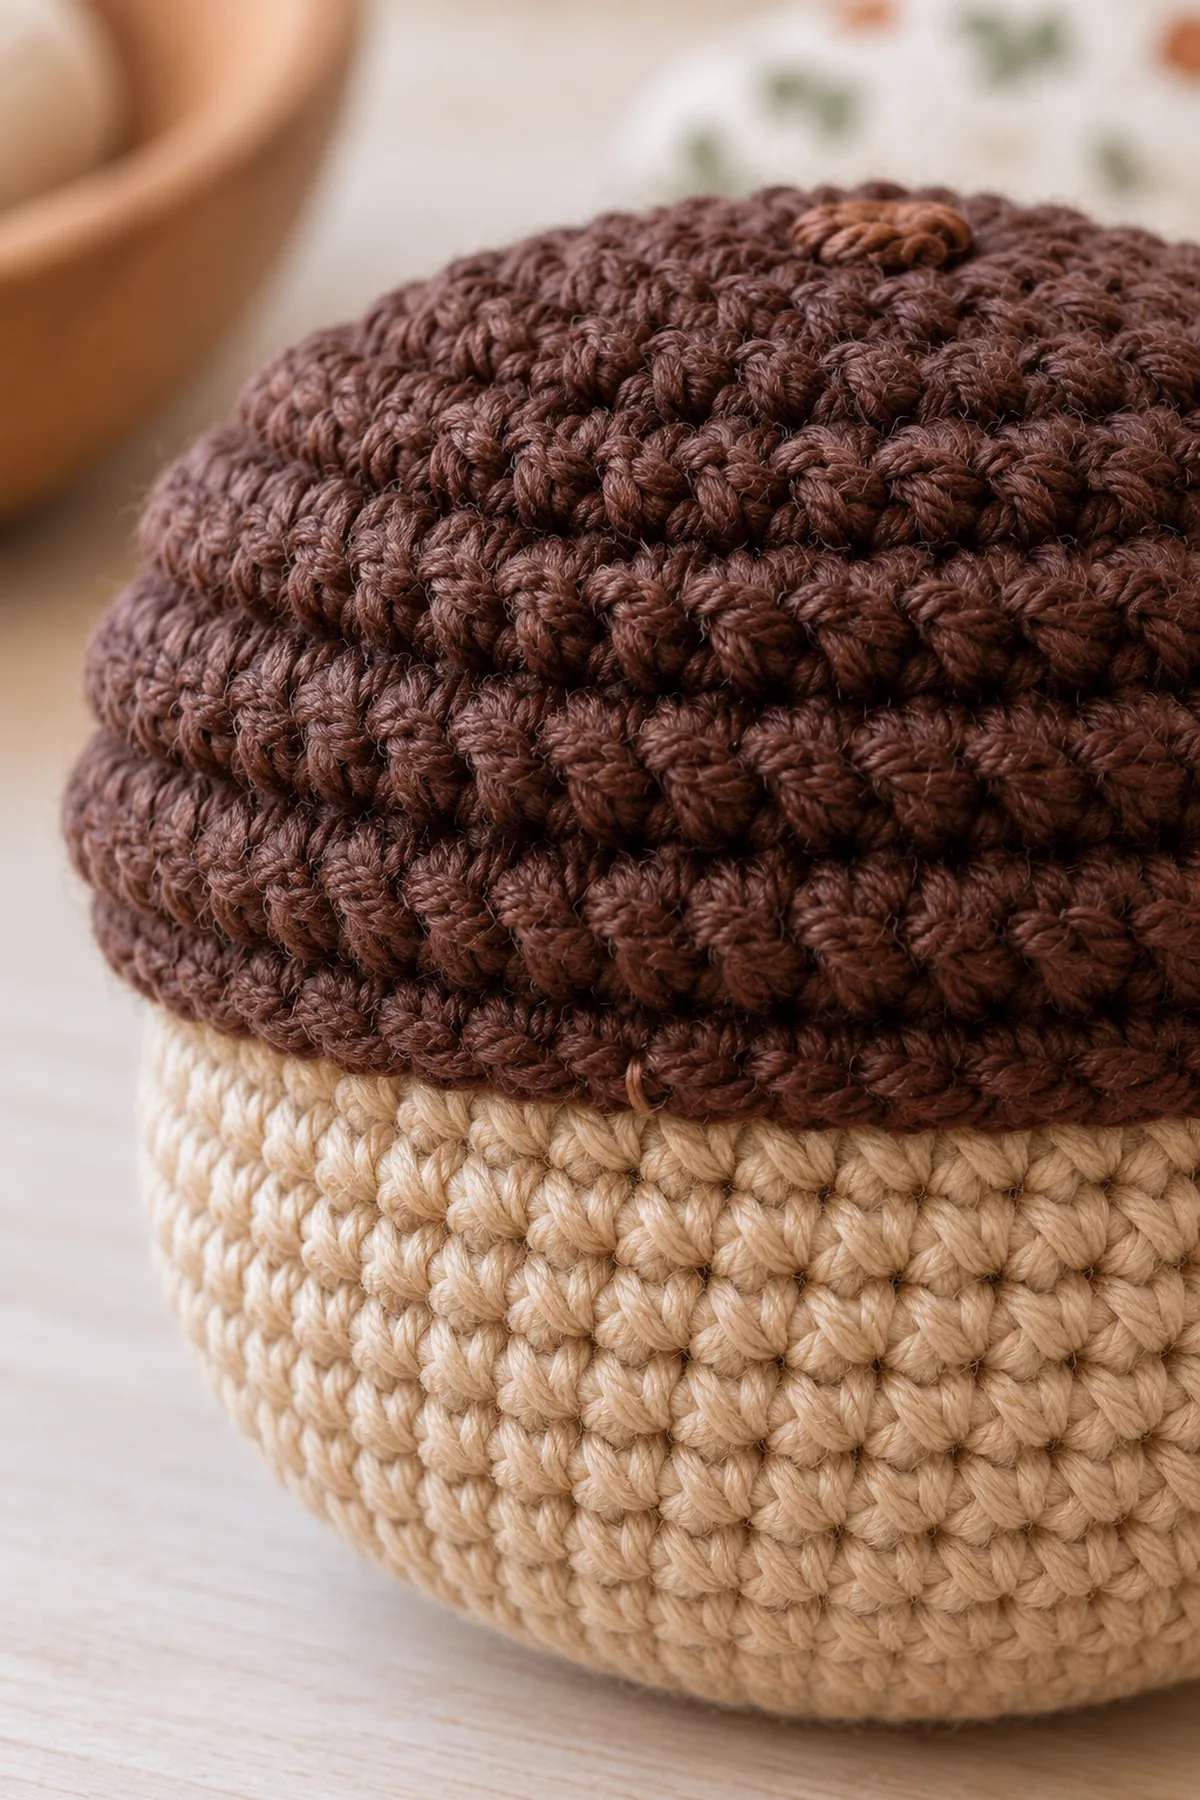
- Place sachet inside tan cup, with closure down. Flatten its bottom gently and distribute filling toward the sides. Place cap over it without stretching. Add or remove filling through the fabric service seam if the cap cannot seat or the base rocks, then close the fabric seam securely again. No loose filling should touch the crochet directly.
Secure and Use on an Adult Sewing Desk
- Divide the 60-stitch cap edge into four equal groups of fifteen and mark positions 1,16,31,46. At each marker sew a separate small cocoa tack through the cap and a secure body stitch beneath its overlap, but not through the fabric sachet. Tie on the hidden inside overlap and leave a short accessible tail so each tack can later be unpicked. Remove all markers.
- Test stability on a level tray. Insert one headed pin shallowly through the cap into the filling at an angle, keeping its point safely inside; hold the cushion steady. Use pins shorter than the filled depth, never bury needles or long sharp tools. If a point reaches the bottom or side, remove it and use a shorter pin or a purpose-made pin holder instead.
- This is not a needle-proof or protective container and must never be squeezed, carried in a pocket or handled by a child or pet while pins are present. Count pins in and out; store needles in a closed needle case, not hidden in the cushion. Remove every pin before storage, transport or washing.
- For washing, remove pins and unpick only four cap tacks. Lift cap and sachet out. If washing the fabric pouch, remove filling through its service seam and follow fabric/filling labels separately. Wash crochet gently, shape flat base and cap, air dry every component completely, then reassemble with fresh tacks. Replace damaged fabric before reuse.
Assembly and Shaping
Keep the tan body open at the top. Place a softly filled closed fabric sachet inside. Slide the cocoa cap over the upper three body rounds. Secure at four evenly spaced points with contrasting-inside, removable small cocoa tacks, not a continuous permanent seam. Remove these tacks and the whole sachet for washing. Never launder with pins in place.
Lay every component on a flat surface before joining. Match the marked centers first, then divide each remaining edge into equal sections. Work through both layers with consistent tension and pause after each section to check that the fabric lies flat. This measured approach prevents twisting and keeps decorative details facing the intended direction.
Finishing
- Fasten off with a 6-inch tail; weave through three separate groups of stitches, changing direction twice.
- Damp-block gently according to the fiber label, check the intended shape, and dry fully before assembly or use.
- Inspect both sides, all joins, and every decorative attachment; resecure a loose stitch before gifting.
- Include the fiber content and washing instructions with the finished item. Keep the item away from candles and other heat sources.
For a polished result, weave each tail through several same-color stitches, reverse direction once, and trim only after the fabric has been gently stretched. Block to the listed dimensions without flattening textured stitches. Inspect joins, borders, straps, and decorative pieces before the project is used or gifted.
Helpful Tips
- Mark both end stitches and keep a row tally.
- Wash the swatch before choosing a hook or final measurements.
- Inspect the reverse side and joins before hiding the tails.
- Record your own yarn use; the listed amounts are planning allowances.
Good lighting and a contrasting stitch marker make counting much easier. If a section looks uneven, compare the current count with the previous checkpoint before continuing. Fixing one missed stitch early is faster than compensating later, and it preserves the measurements used by the assembly instructions.
Frequently Asked Questions
Can I change the colors?
Yes. Keep the yarn weight and fiber behavior consistent and use enough contrast for the decorative detail. Make a washed swatch with every major yarn substitution.
Is this pattern physically tested?
No physical sample test is claimed. The stitch counts are computationally checked and the written construction is reviewed. Make a gauge swatch, use the measurement checkpoints, and test fit or assembly before gifting.
Can a beginner make this?
This is an intermediate project because shaping and assembly require careful counting. Practise the named special stitches in a small swatch before working the main piece.
Conclusion
Keep the completed measurements and your yarn details with your pattern notes. The finished piece should match the described construction before it is styled or gifted. If a checkpoint does not match, correct the underlying count or gauge instead of concealing the difference during finishing.
BabyYarnie Printable Crochet Pattern Card
BabyYarnie — easy-to-follow crochet for everyday makers.
Project: Crochet Ridged Acorn Pincushion
Skill level: Intermediate Hook: 3 mm starting point; use dense fabric Yarn: DK
Finished size: About 3 inches across x 2.5 inches tall; flat circular base
Card Materials
- Planning allowance: 90 yards tan and 65 yards cocoa DK cotton
- 3 mm hook, markers, yarn needle, scissors and ruler
- Two 5-inch squares tightly woven washable cotton, sewing needle, strong thread and washable polyester filling
- Two or three ordinary headed sewing pins for supervised final testing; store all pins separately during construction
Card Instructions
- Make the Stable Tan Body: Body counts 6 through 54; one BLO turn, eight plain wall rounds; top open.
- Make the Ridged Cocoa Cap: Cap grows 6 through 60; four BLO rounds at 60; flat embroidered stem.
- Sew the Removable Filling Sachet: Two fabric circles, 3.25-inch seam line plus allowance; soft removable stuffing sachet.
- Secure and Use on an Adult Sewing Desk: Four removable rim tacks; keep base flat; adult supervised pin storage only; remove pins before cleaning.
Finish: Check every count, weave in all ends, block to measurement, and inspect each join.